Packed Lair casts you as an evil lord with a floor space problem. Heroes keep showing up, and the only thing standing between them and your underground property is whatever you can cram onto a small grid of dirt tiles. It is part inventory puzzle, part base builder, part auto-battler, and the whole run hinges on where things sit next to each other.
Quick answer: Place and rotate buildings on the lair grid, press Fight, and cast spells while your minions auto-battle. Spend the gold each wave pays out in the Market, then dig out more tiles.
The run loop: prepare, Fight, collect gold
Every run is a repeating cycle of one build phase followed by one battle. Nothing about the fight itself is manual beyond your spells, so the preparation phase is where a run is won or lost.
The advisor flags difficulty spikes ahead of time. Before wave 8, it warns outright that the enemies get much stronger, which is a cue to spend rather than save.
Lair grid rules: rotation, adjacency, and digging
Buildings occupy specific tile shapes, and you can rotate them to make awkward pieces fit. That is the core tension. Space is the real resource, and a building you cannot place is a building that does nothing.
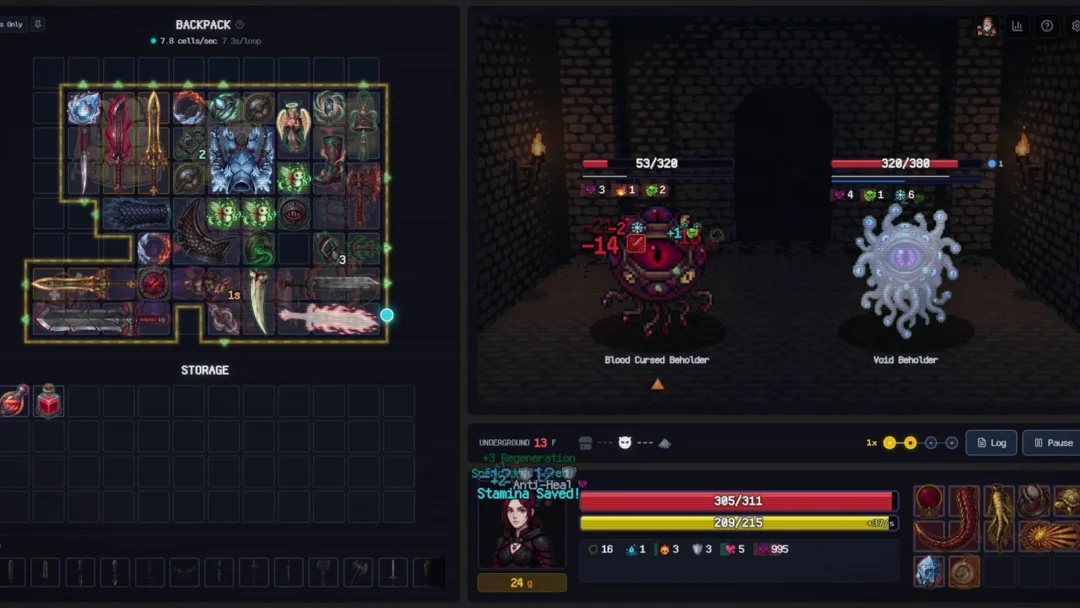
Adjacency is the reason to keep rearranging. Some structures push stat bonuses into the tiles touching them, so shuffling an existing layout to line up neighbours is often worth more than buying anything new. Green arrows appear when a synergy is active.
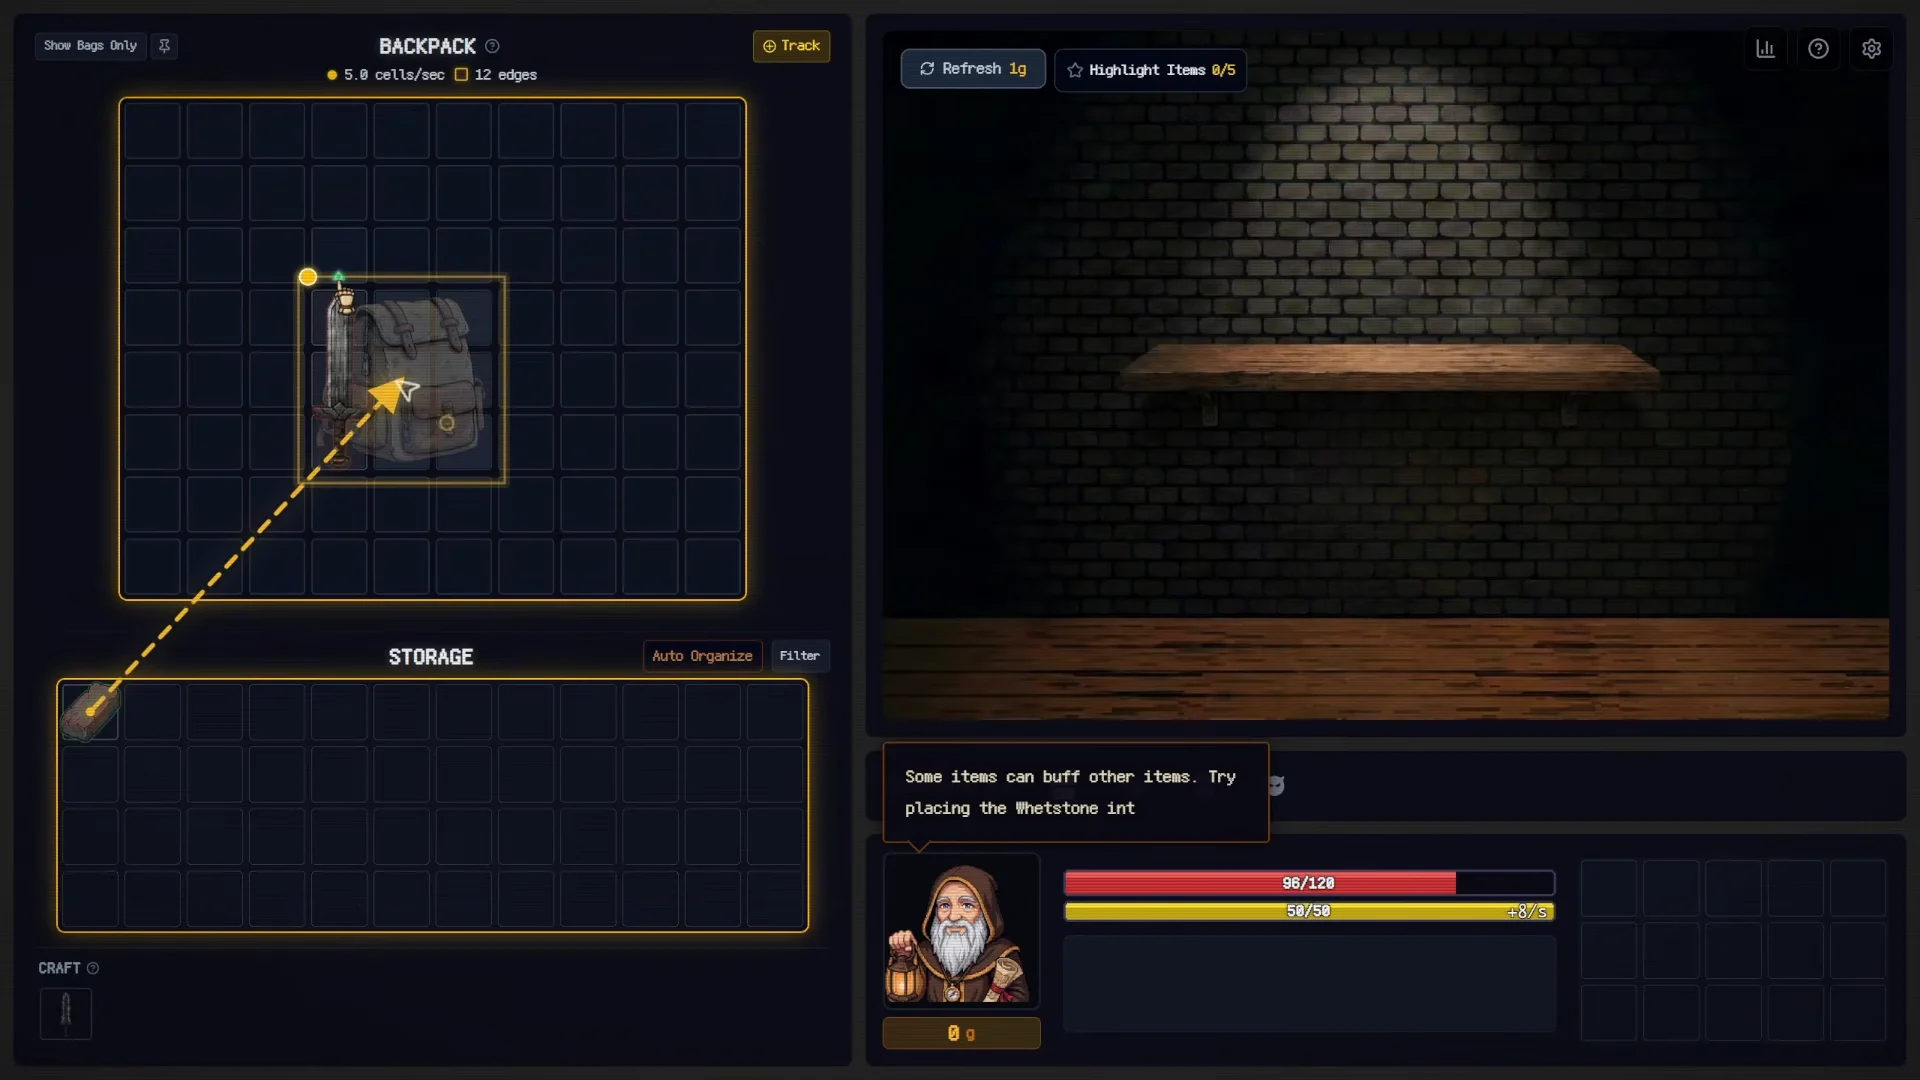
When you run out of room, you dig. Digging opens new tiles above, below, or beside your current footprint, and each excavation has a cost you can check before committing. Expanding upward and downward between waves is how the lair grows from a cramped starting box into something that can hold dozens of minions’ worth of production.
Market buildings and confirmed effects
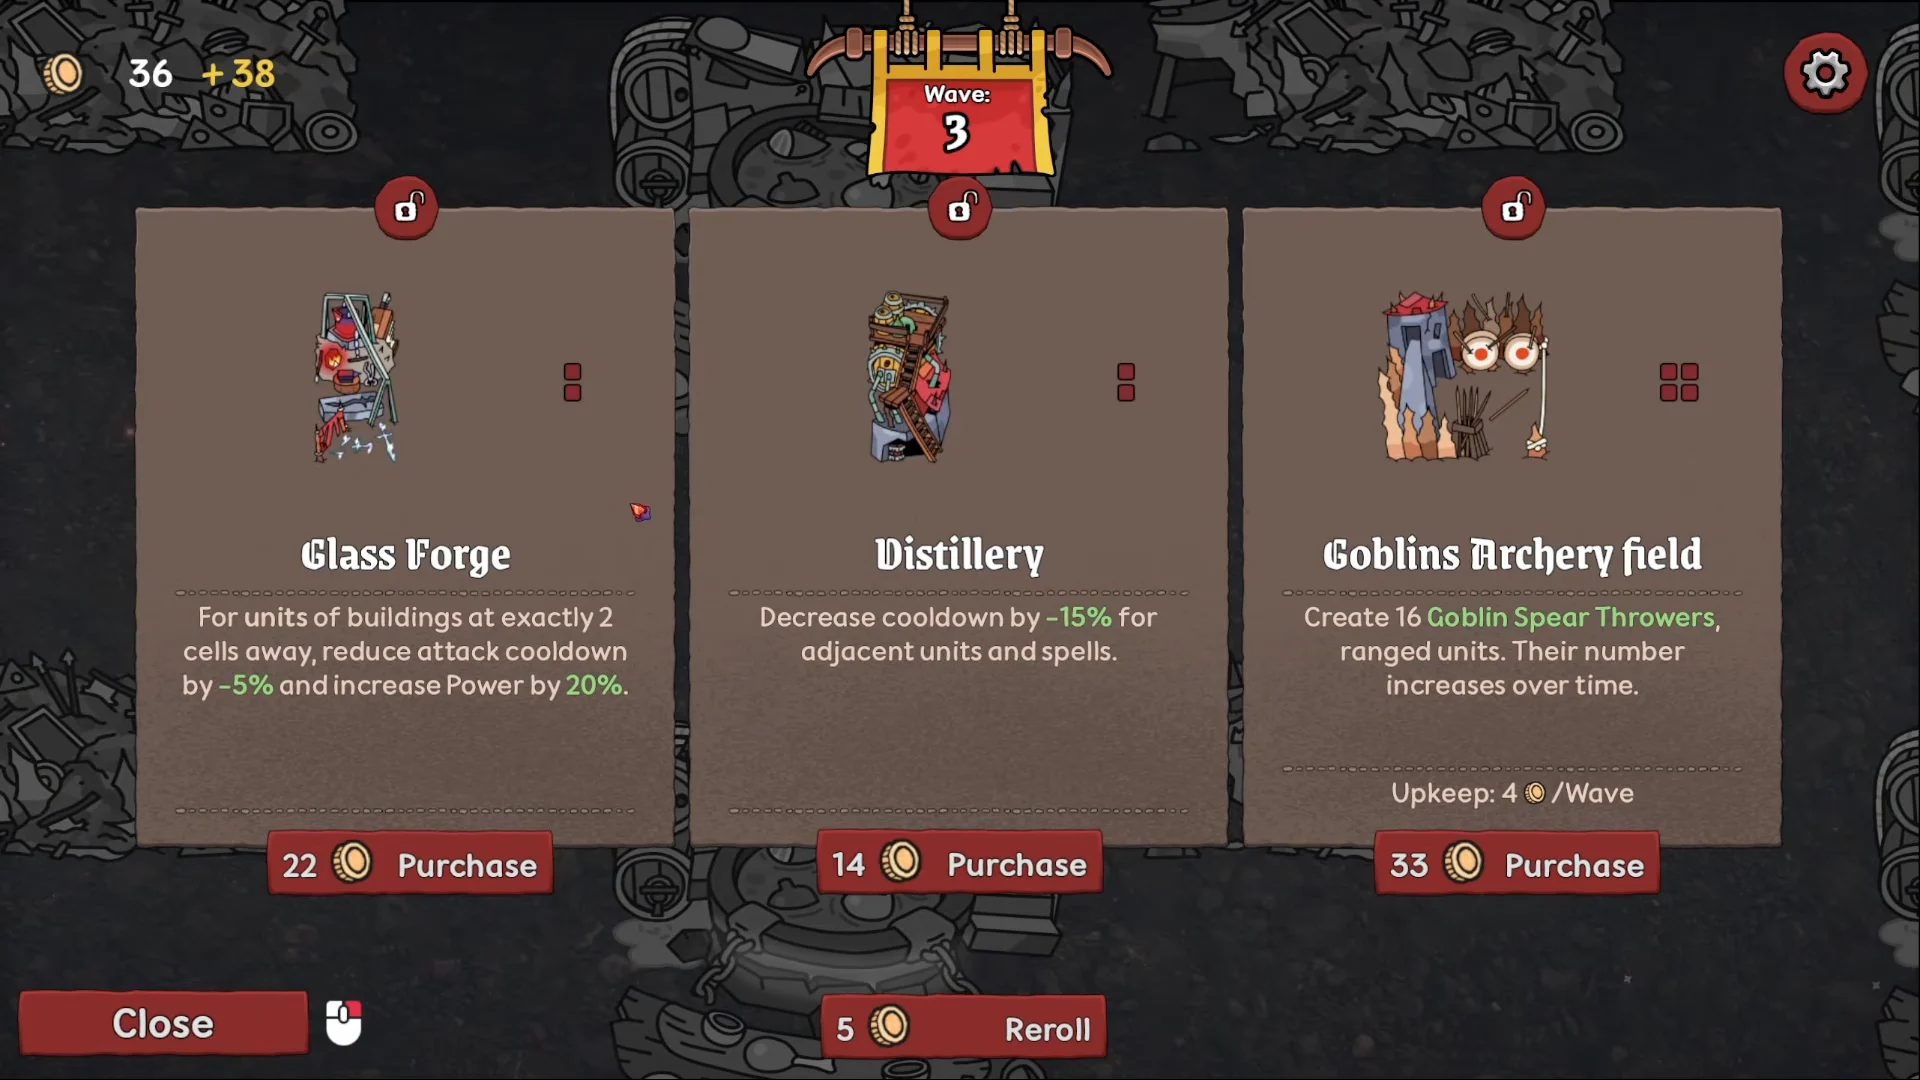
The Market opens between waves and sells new buildings for gold. Its stock rotates, some entries go on sale, and you can reroll the offering if nothing on display fits your layout.
| Building | Effect |
|---|---|
| Glass Forge | Raises attack stats on adjacent buildings |
| House | Increases unit count by 30% |
Other structures that turn up in the Market across a run include:
- Barrack and Goblins barrack
- Cereal Field and Windmill
- Forge, Outpost, and Archery Field
- Arena, Vine sanctuary, and Statues
- Junk Yard
Buying is only half the decision. A purchase that has nowhere sensible to sit will sit in a corner doing nothing, so most Market trips end with a round of repacking and, often, a dig to make room.
Spells during auto-battler combat
Your army fights without input, but you are not idle. Spell buttons sit on the combat screen and can be fired off while the lines are pushing into each other, including fire, lightning, and thorns effects. Zap is the one the tutorial teaches first and the one most useful early, since it chips away at the shielded hero units that otherwise stall your minions.
Later waves are large. A mid-run fight can put around 50 minions against 60 heroes, and dragons, goblins, and shaman lizardmen all end up in the same scrum. Spell timing is the only lever you have once the Fight button is pressed.
Setup options: starting buildings, tutorial, and difficulty
Before a run starts, a setup screen lets you pick your initial buildings, toggle the tutorial on or off, and choose a difficulty. Harder settings list their modifiers on the same screen, so you can see what you are signing up for before pressing Begin.
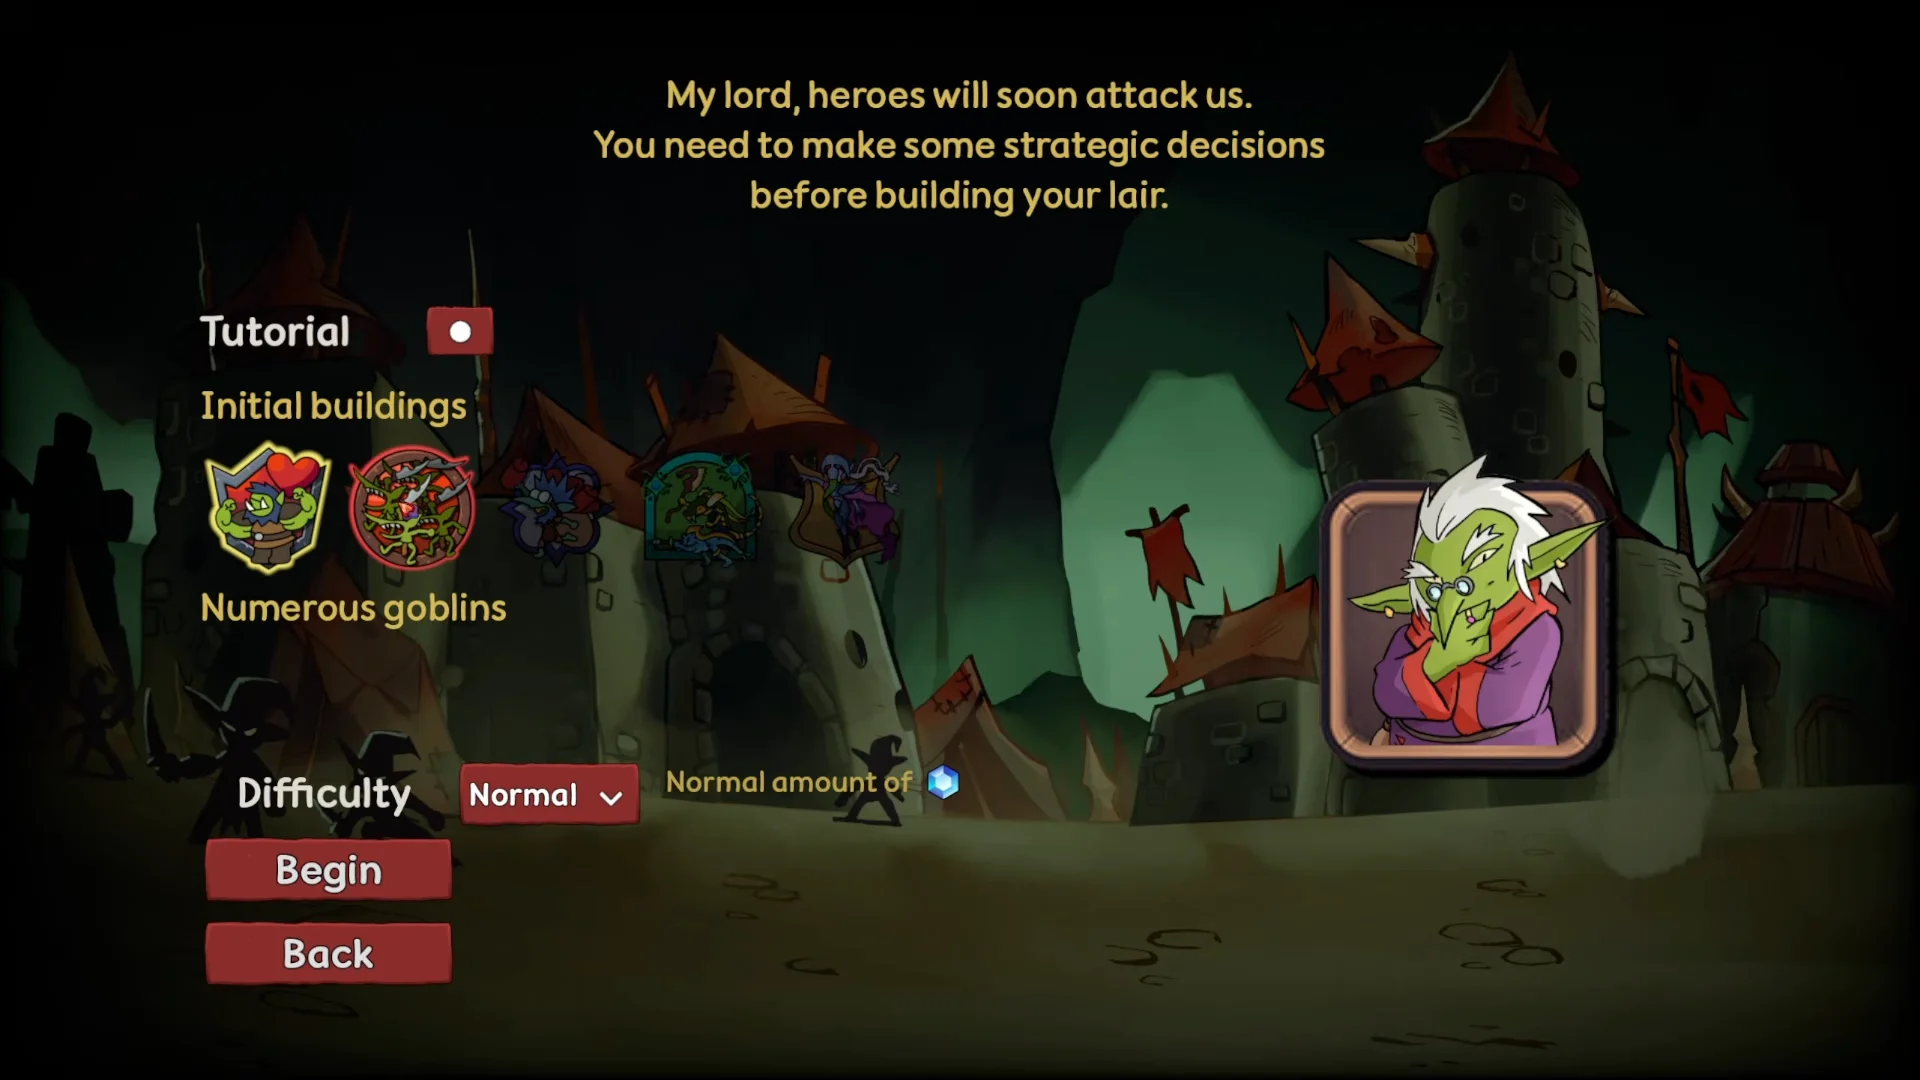
Leaving the tutorial on puts a goblin advisor in the corner. It walks through grid placement, the Fight button, spell casting, and the Market as each system first appears, then keeps commenting on incoming waves.
The main menu itself holds Play, Continue, Endless mode, Codex, Settings, Credits, and Quit.
Losing a run: gems, rewards screen, and the Codex
A run ends when your minions are wiped out. The defeat screen rolls into a rewards screen that shows the wave you reached and the gems you earned, then offers three buttons: start a new run, open the Codex, or head back to the menu. Reaching wave 8, for example, paid out 130 gems.
Gems are the meta-progression currency. In the Codex you can browse locked buildings, read their descriptions and costs, and spend gems to add them to the pool for future runs. Troll’s den and Fire shrine both appear there as unlockable entries.
An unlock is confirmed once the entry stops showing its gem cost in the Codex, and the building becomes eligible to appear in the Market on later runs.
Packed Lair release date, demo, and system requirements
Packed Lair is developed by Fables of Wits and published by Mystic Forge, and it launches on September 22, 2026. It is single-player, with Steam Achievements, Steam Cloud, and Family Sharing support, and ships with interface and subtitle text in eight languages including English, French, German, Japanese, Russian, Portuguese (Brazil), Simplified Chinese, and Traditional Chinese.
A free demo is available now if you want to try the wave loop before launch.
| Component | Minimum |
|---|---|
| OS | Windows 10 or newer (64-bit) |
| Processor | Dual Core 2 GHz |
| Graphics | OpenGL 3.3 support |
| Storage | 500 MB available space |
The pitch is a small one, and deliberately so. Packed Lair asks a single question every wave, which is whether you can find a better arrangement for the tiles you already own, and the answer is usually yes right up until the heroes prove otherwise.