The Mountain is the fourth major step in Valheim’s progression, and it is the first biome where the weather itself is the main threat. The moment you cross the snow line, Freezing kicks in: health regeneration stops entirely, stamina regeneration drops by 60 percent, and you take 1 damage per second. Everything you pack before the climb exists to buy you time against that timer.
Quick answer: Bring full upgraded iron armor, an Iron Mace, Banded Shield, Huntsman Bow with Fire and Poison Arrows, an Iron Pickaxe, the Wishbone, and at least six Frost Resistance Meads — leaving two or three at base.
What you need before entering the Mountain biome
Two things gate the trip. Bonemass must be dead, because the Wishbone it drops is the only reliable way to find buried Silver Veins. And you need an Iron Pickaxe, since nothing weaker will break Silver or Obsidian.
| Slot | Recommended item | Used for |
|---|---|---|
| Armor | Full Iron Armor (upgraded) | Surviving wolf combos |
| Melee | Iron Mace | Wolves, Fenrings |
| Shield | Banded Shield | Blocking and parrying |
| Ranged | Huntsman Bow | Drakes, softening wolves |
| Arrows | Fire, Poison, Obsidian | Drakes, cave Cultists |
| Tool | Iron Pickaxe | Silver, Obsidian, Stone Golems |
Add a Hoe and a stack of stone. Raising terrain under your feet is the fastest way to break line of sight with a wolf pack during a Being Hunted event. Ooze Bombs are worth packing too, since they clear groups inside Frost Caves.
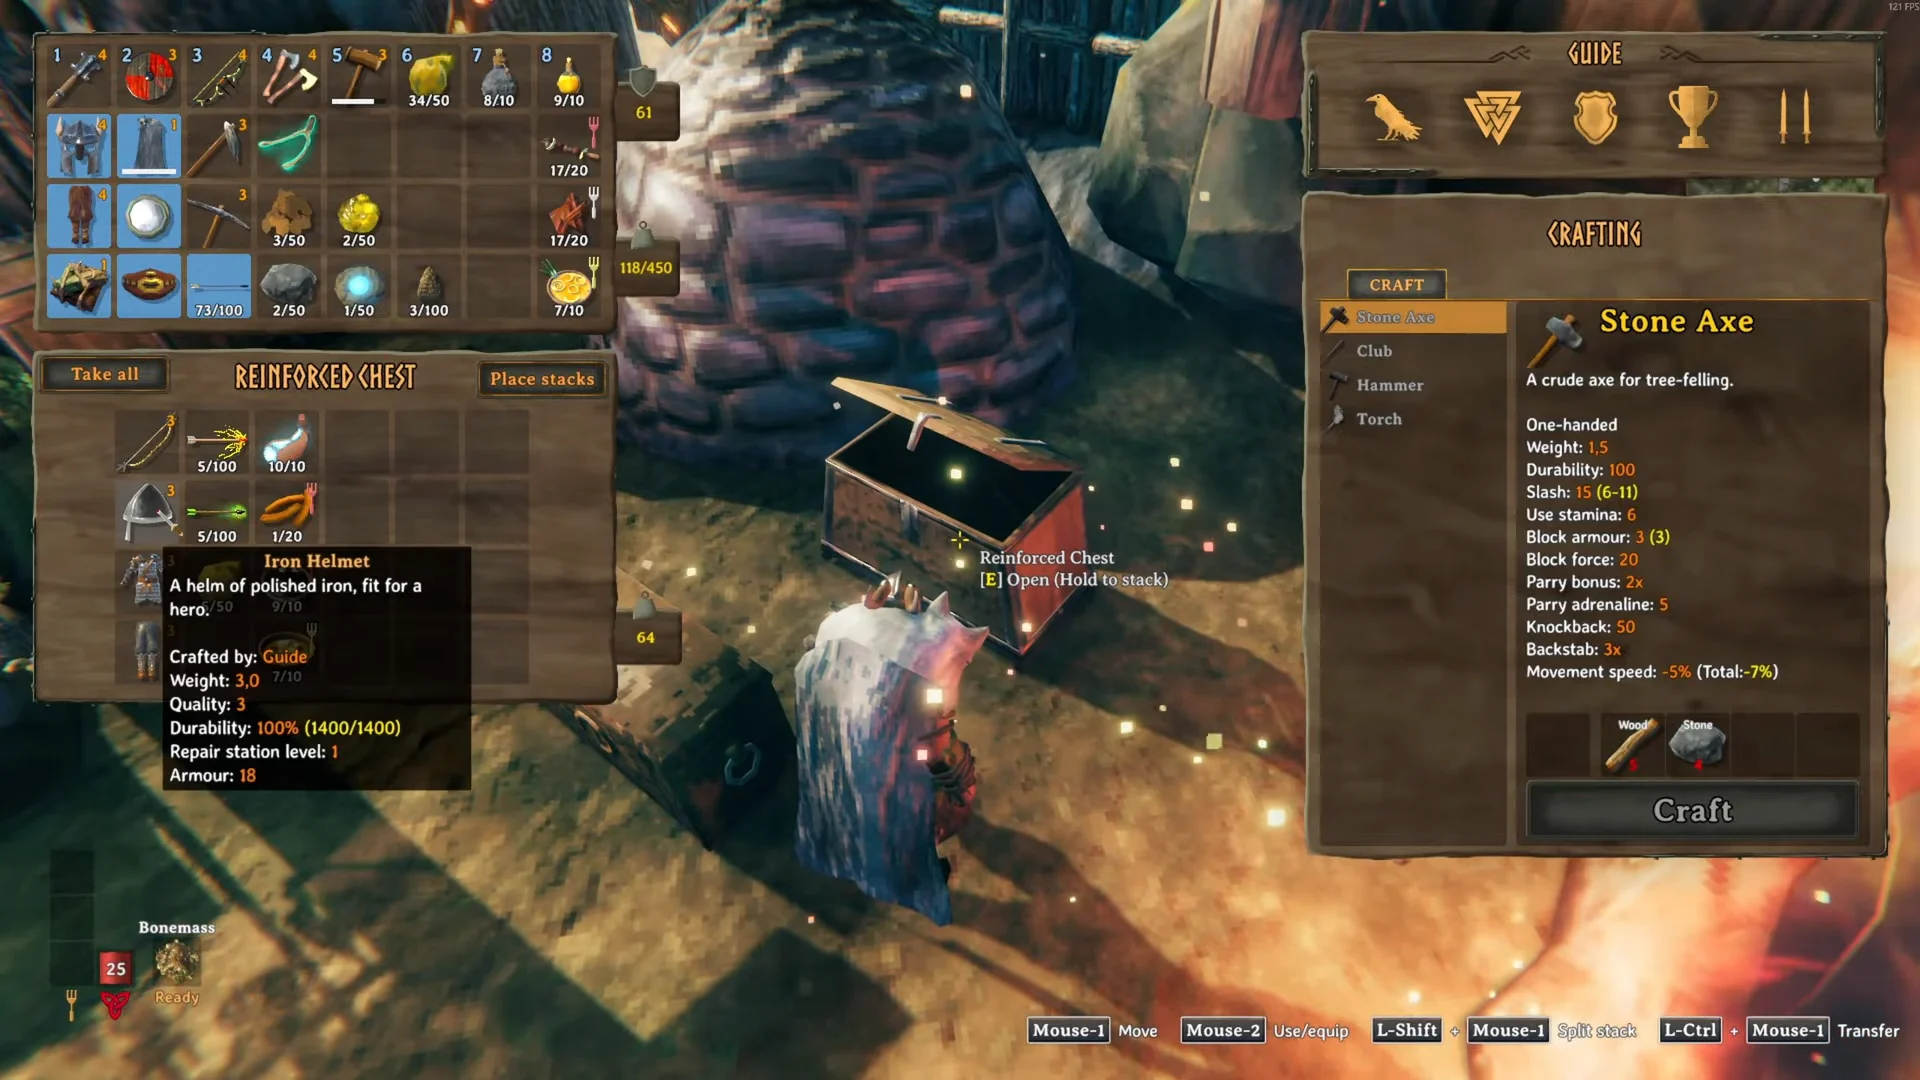
Accessories matter more here than anywhere else so far. The Megingjord raises carry weight by 150, which is the difference between one silver haul and three. The catch is that it shares a slot with the Wishbone, so you swap between them: Wishbone while searching, belt while hauling. An Iron Brooch is a reasonable alternative when you are not carrying ore.
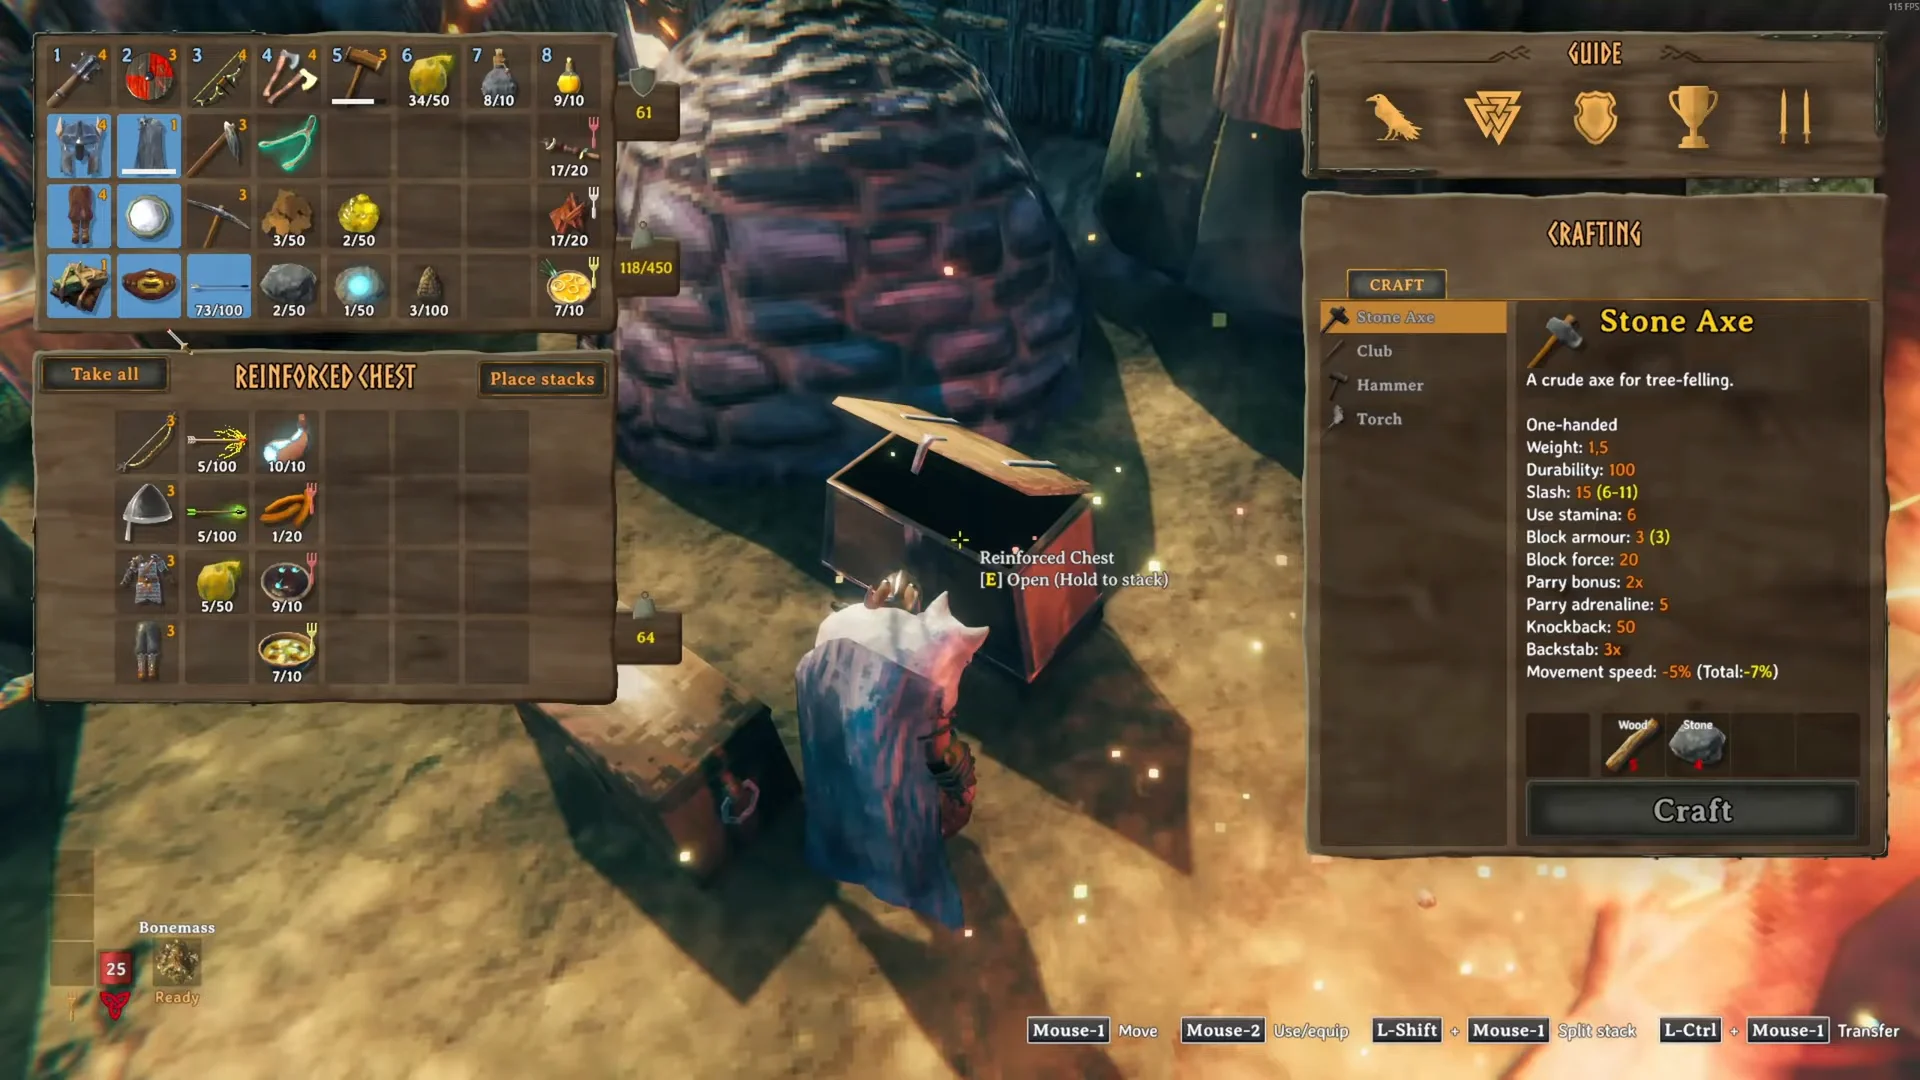
Brew Frost Resistance Mead before you climb
Frost Resistance Mead is what makes the first trip possible at all. You cannot craft permanent frost gear without silver, and you cannot mine silver without surviving the cold, so the mead covers the gap.
Each mead gives 10 minutes of frost resistance. That is enough for a focused expedition, not an afternoon of exploring, so plan around the clock.
If you carry every mead with you and die, all of them drop with your corpse — and you cannot reach that corpse without frost resistance. The reserve stash at base is the single most important thing on this list.
Food and stamina setup for mountain terrain
Steep slopes drain stamina constantly, and Freezing already cuts regeneration. The standard setup is two stamina foods and one health food, eaten before you leave, with the Rested buff active. Leave the biome when Rested runs out rather than pushing on.
- Sausages, Black Soup, and Turnip Stew cover the pre-silver tier well.
- Turnip seeds come from the Swamp, so harvest them before you commit to the climb.
- Onion Soup becomes available once you loot Onion Seeds from mountain chests.
- Wolf Jerky and Wolf Skewer open up after your first successful wolf hunts.
- Eikthyr’s power cuts run and jump stamina cost by 60 percent for five minutes.
Minor stamina and medium healing meads are also worth the inventory space. Running dry at the top of a cliff with a pack closing in is the most common way first-timers die here.
Pack outpost and smelting materials
Silver Ore cannot be teleported, so the practical approach is to process it where you mine it. A second chest of building supplies solves that.
- Portal materials, so you can move yourself (not ore) back to base instantly.
- Smelter and Charcoal Kiln components, plus coal for smelting on site.
- Forge parts and forge upgrade pieces for crafting silver gear in the mountains.
- Wood and stone for a small shelter with a bed and a fire.
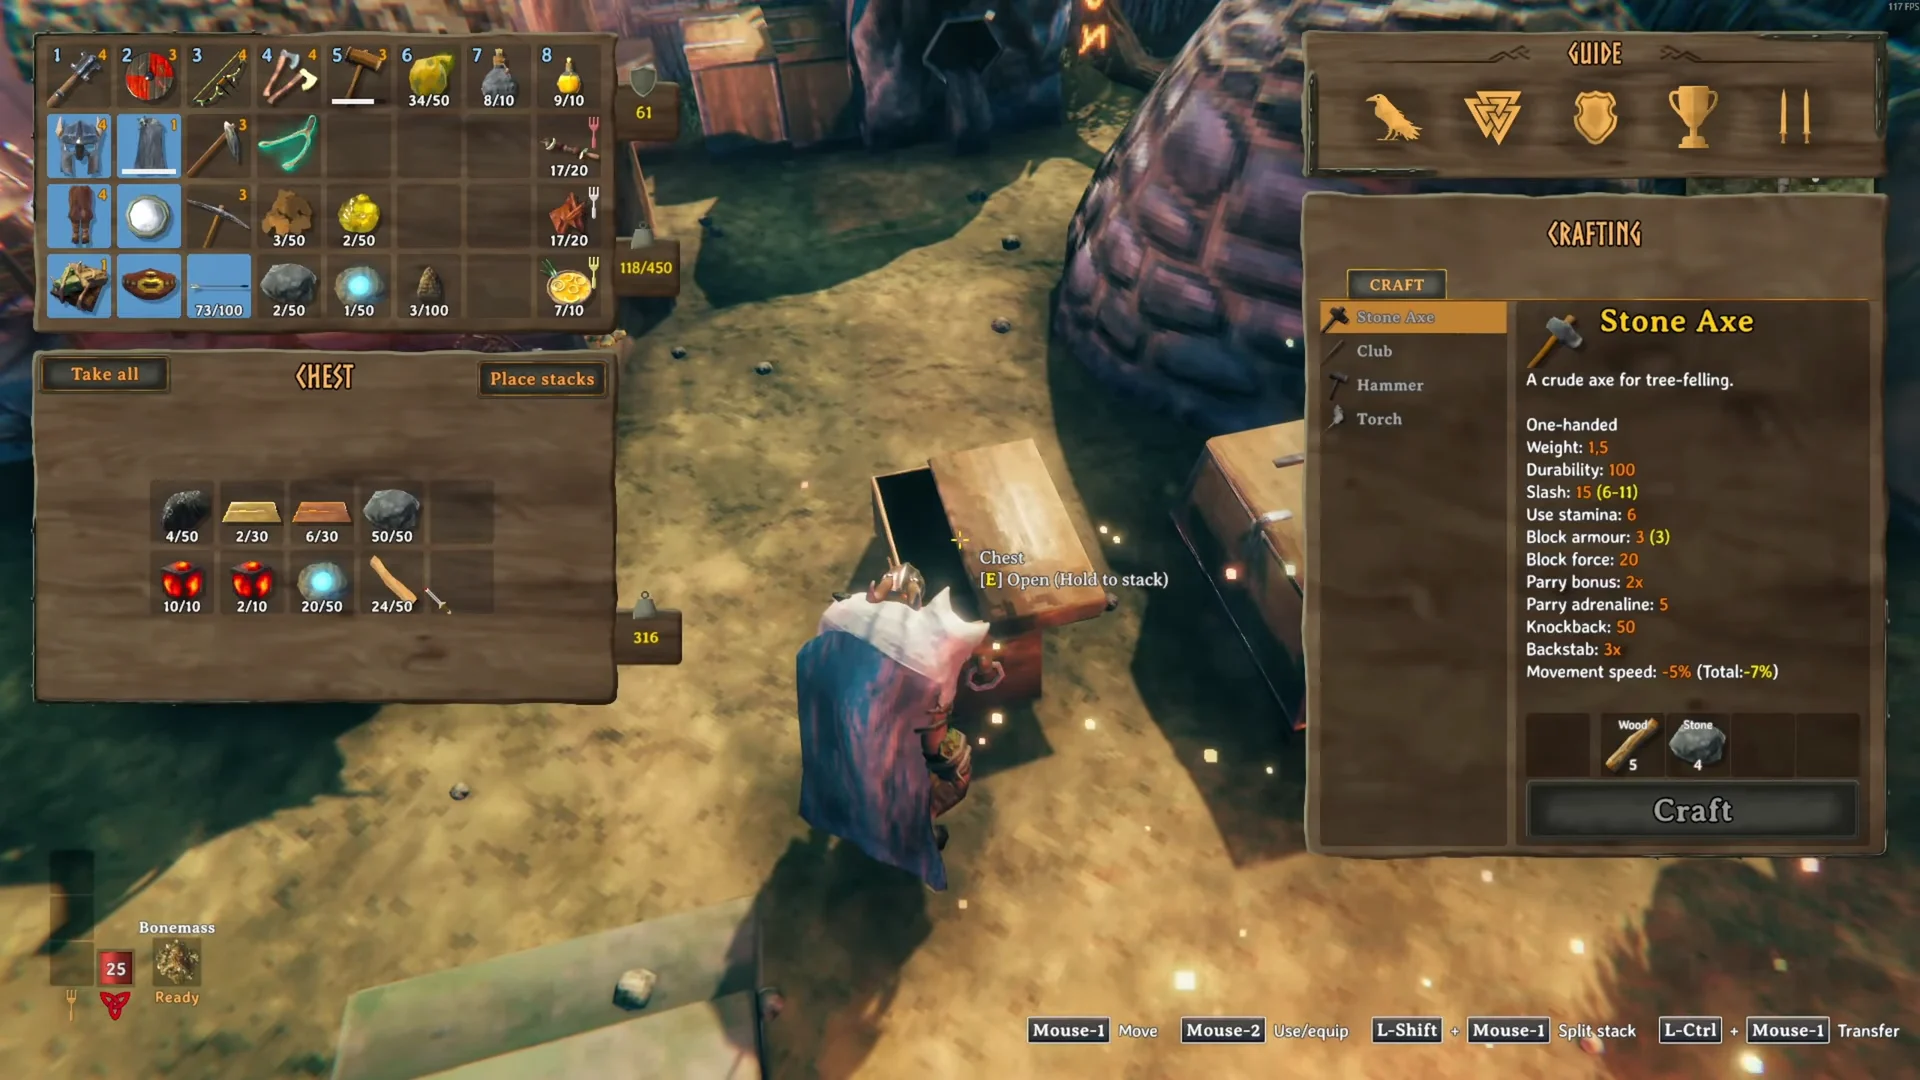
Build the outpost small and dig it into a hillside where you can. A fire at the entrance negates Freezing outright, a bed restores Rested, and the portal turns every death into an inconvenience instead of a lost run. Spread a few workbenches around to suppress spawns, and avoid building right next to ruined shacks, which tend to sit near Stone Golem spawns.
Find and mine your first Silver Vein
Silver Veins sit entirely underground and leave no surface trace. Silver spawns at roughly 120m altitude, the same height as Stone Golems, so golem sightings mean you are high enough. If you are seeing Obsidian deposits, climb about 20m further.
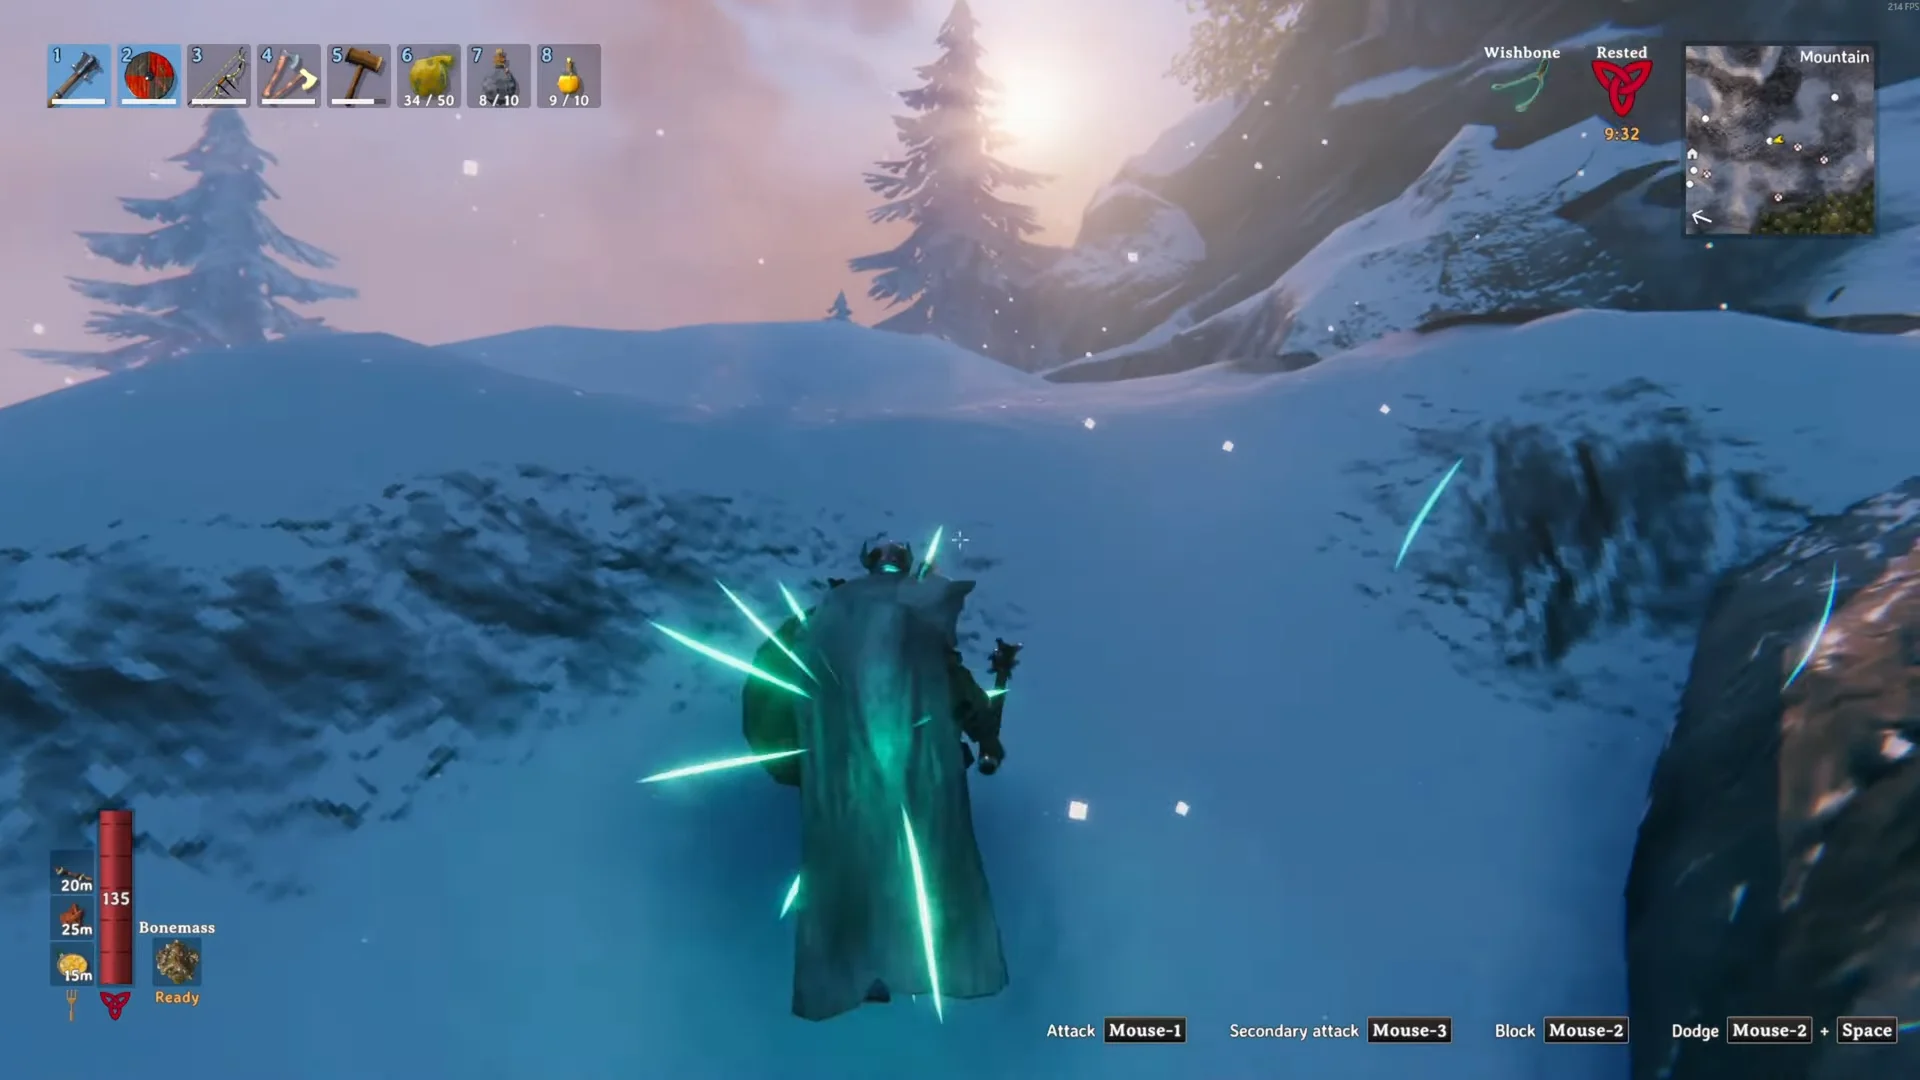
A single vein can yield well over 100 ore. For reference, one of every base Mountain-tier item costs roughly 214 Silver, and fully upgrading the whole tier runs to around 730. Grab Obsidian on the way past as well, since it sits in plain sight as dark glassy nodes and feeds Obsidian Arrows.
Without the Wishbone, slamming flat ground with a Stagbreaker produces a “Too Hard” message where a vein is buried. It is slow and imprecise, but it works.
Handling wolves, Drakes, and Stone Golems
| Enemy | HP | Damage | Key weakness |
|---|---|---|---|
| Wolf (0-star) | 80 | 70 slash | Parry and counter |
| Wolf (1-star) | 160 | 105 slash | Parry and counter |
| Wolf (2-star) | 240 | 140 slash | Parry and counter |
| Drake | 100 | 90 frost | Fire (1.5x) |
| Stone Golem | 800 | 110 blunt/pierce | Pickaxe (2x) |
| Fenring | 300 | 85–95 slash | Fire (1.5x) |
Wolves
Wolves travel in packs and attack in fast three-hit combos. Thin them out with the bow from range first, then block with the Banded Shield and answer with the Iron Mace’s special attack. An Iron Atgeir is a strong alternative because its sweeping attack staggers several wolves at once from a safer distance. Never sprint blindly across open snow — they are faster than you.
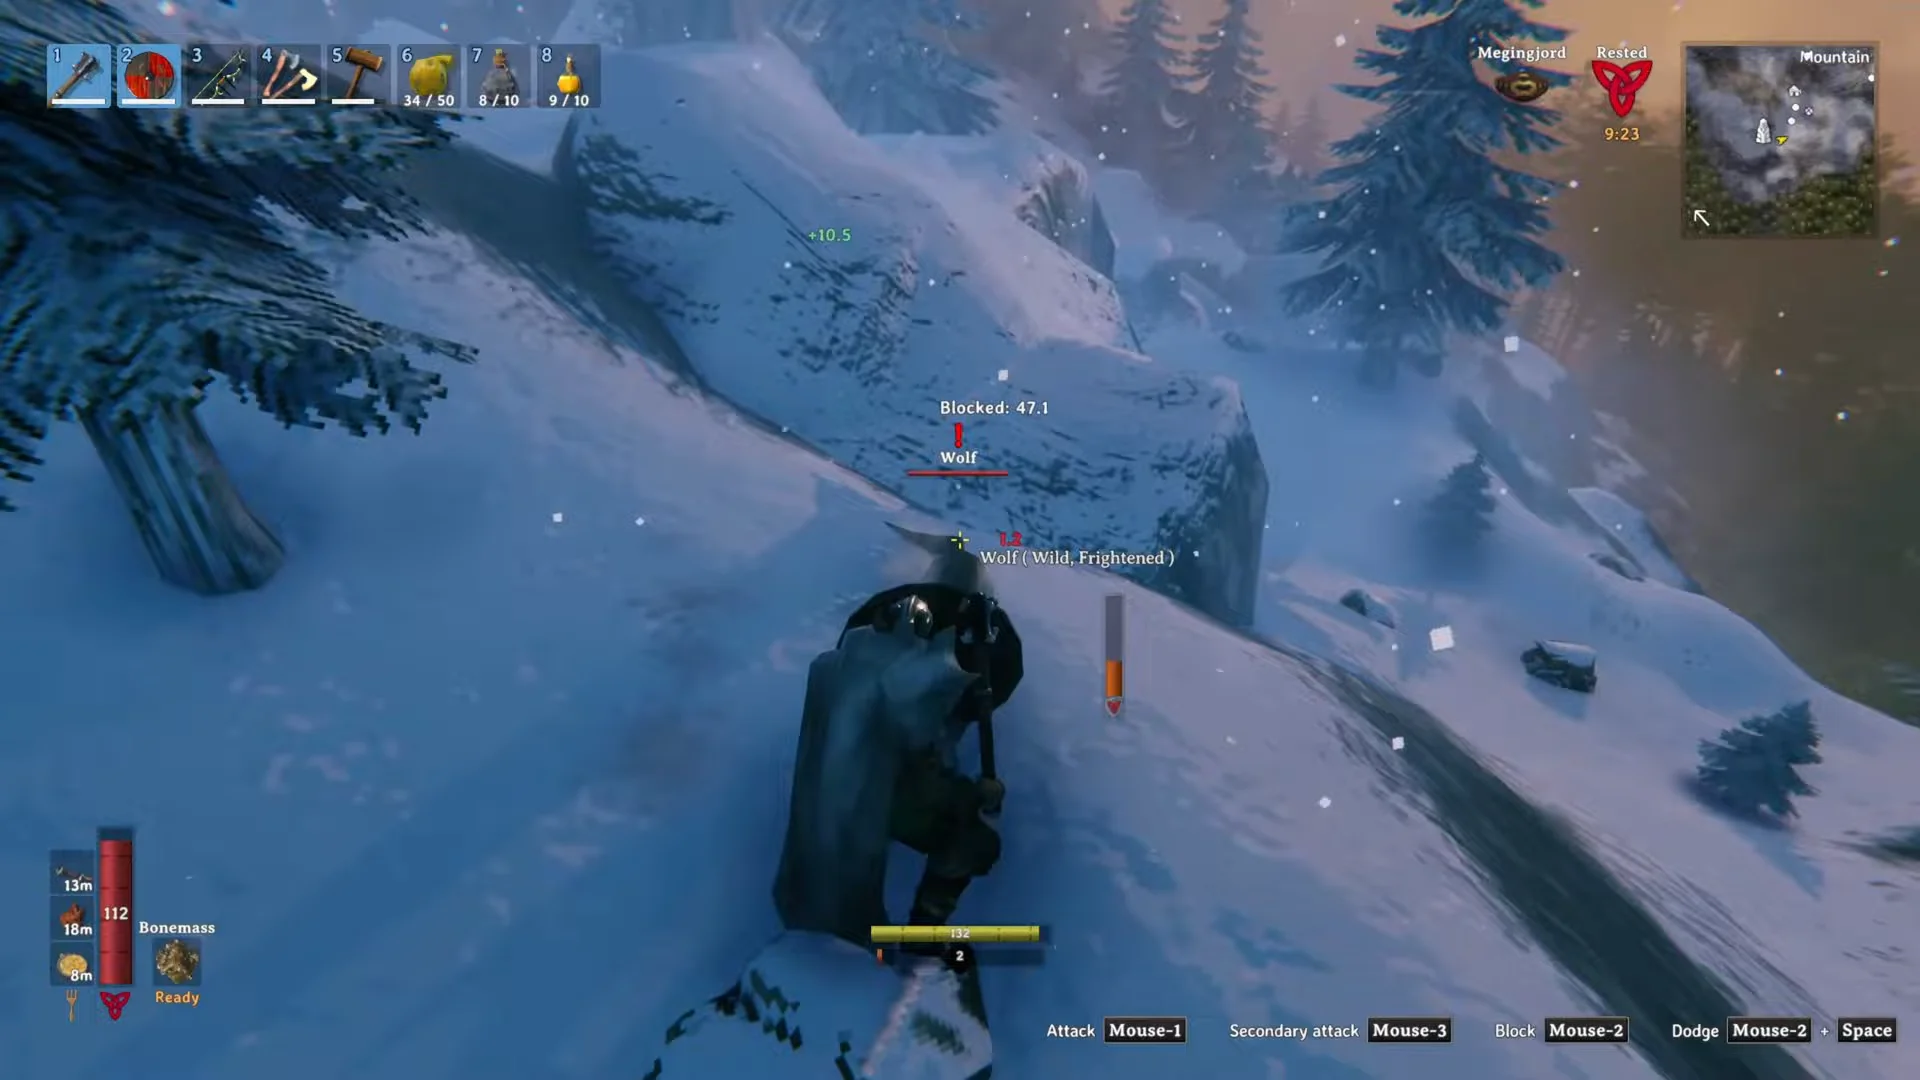
Their drops are the point of fighting them. Wolf Pelt, Wolf Fang, and the Wolf Trophy feed directly into your frost-resistant gear.
Drakes
A Drake hangs in the air before launching three frost shots in a spread. Their slow, easily read pattern can be avoided with one sidestep or dodge roll. Fire Arrows benefit from the creature’s 1.5x fire weakness, but Obsidian Arrows deal more damage overall. Each Drake yields a Freeze Gland, while the Drake Trophy has a 5 percent drop chance and unlocks the Drake Helmet.
Kill Drakes over flat ground. Loot dropped on a steep face rolls away and is often unrecoverable.
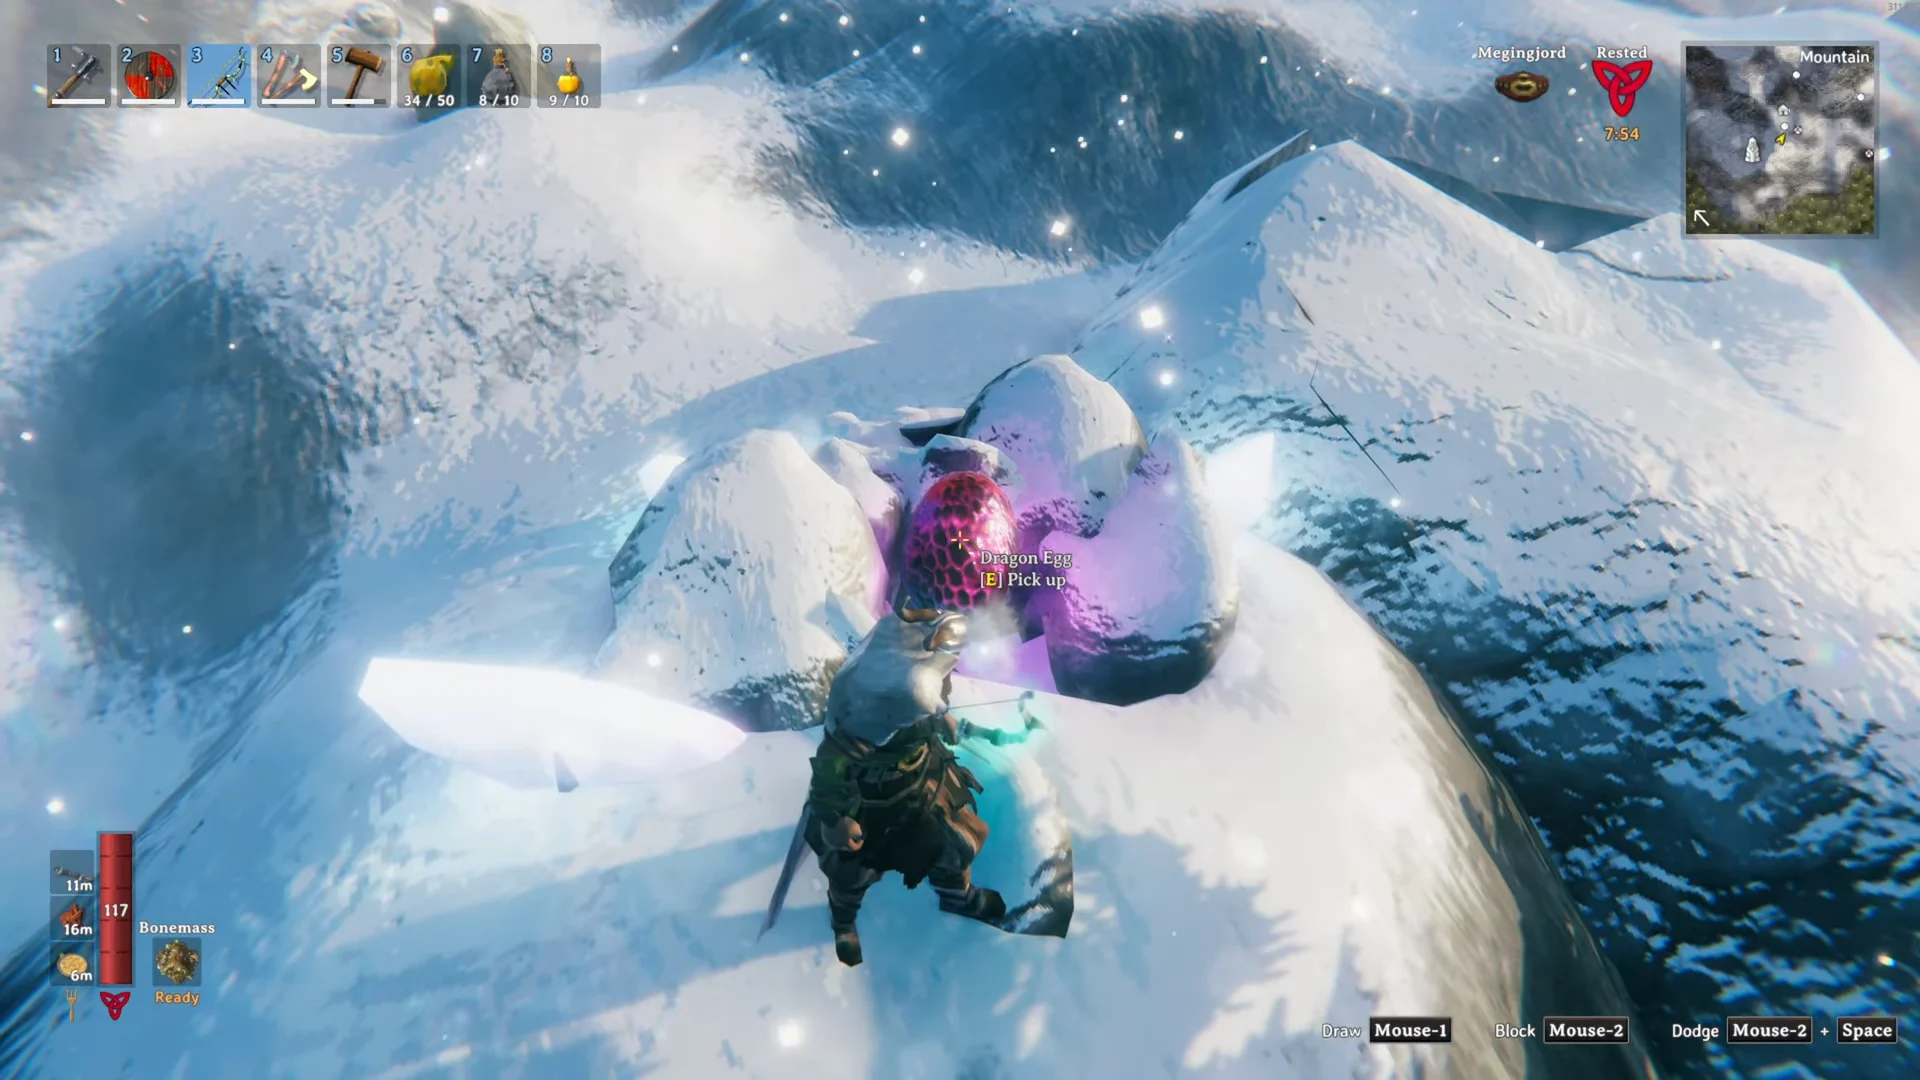
Mark every Dragon Egg you pass. Moder’s altar needs three of them, and eggs cannot be teleported, so you will be planning routes around them later.
Stone Golems and Fenrings
Stone Golems have 800 HP, ignore fire, frost, and poison, and hit for 110. They sit disguised as rock piles until you walk close. If you must fight one, use the Iron Pickaxe for double damage: bait an attack, dodge sideways, land one hit, back off. On your first trips it is faster to simply walk away, since golems are slow enough to outrun.
Fenrings only spawn at night and vanish at dawn. Sleeping to reset the day cycle removes them from the equation entirely, which is the real reason every experienced player tells you to be off the mountain by dusk. Night also brings starred wolf packs.
Crafting permanent frost resistance
Your first silver goes toward getting off the mead treadmill. Two items end Freezing permanently.
| Item | Station | Cost |
|---|---|---|
| Wolf Fur Cape | Workbench (Lv 2) | 6 Wolf Pelt, 4 Silver, 1 Wolf Trophy |
| Wolf Armor Chest | Forge (Lv 2) | 20 Silver, 5 Wolf Pelt, 1 Chain |
The Wolf Fur Cape is by far the cheaper route at 4 Silver, which is why it is usually the first thing you craft at your mountain outpost. Frost resistance effects do not stack, so one piece is enough. The Lox Cape, Fenris Coat, and Feather Cape do the same job later on.
Once the cape is on, the biome changes character. You can explore without a countdown running, which is when Frost Caves, Onion Seed chests, and Drake Helmet farming become practical. Even then, keep a few meads at base — corpse runs are the one situation where permanent gear does not help you, because the gear is on the corpse.
How to know you are ready to leave the Mountain
The end state for this tier is a fully upgraded Drake Helmet, Wolf Hide Trousers, a chest piece such as the Root Harnesk or Wolf Armor Chest, permanent frost resistance from a cape, a stock of healing and stamina meads, and Obsidian Arrows in reserve. Three Dragon Eggs at Moder’s altar is the final requirement, and the altar will not accept a summon until all three are placed.
If wolves are no longer forcing corpse runs and you can cross the biome without watching a mead timer, the preparation phase is done. Everything past that point is a Moder problem, not a Mountain one.