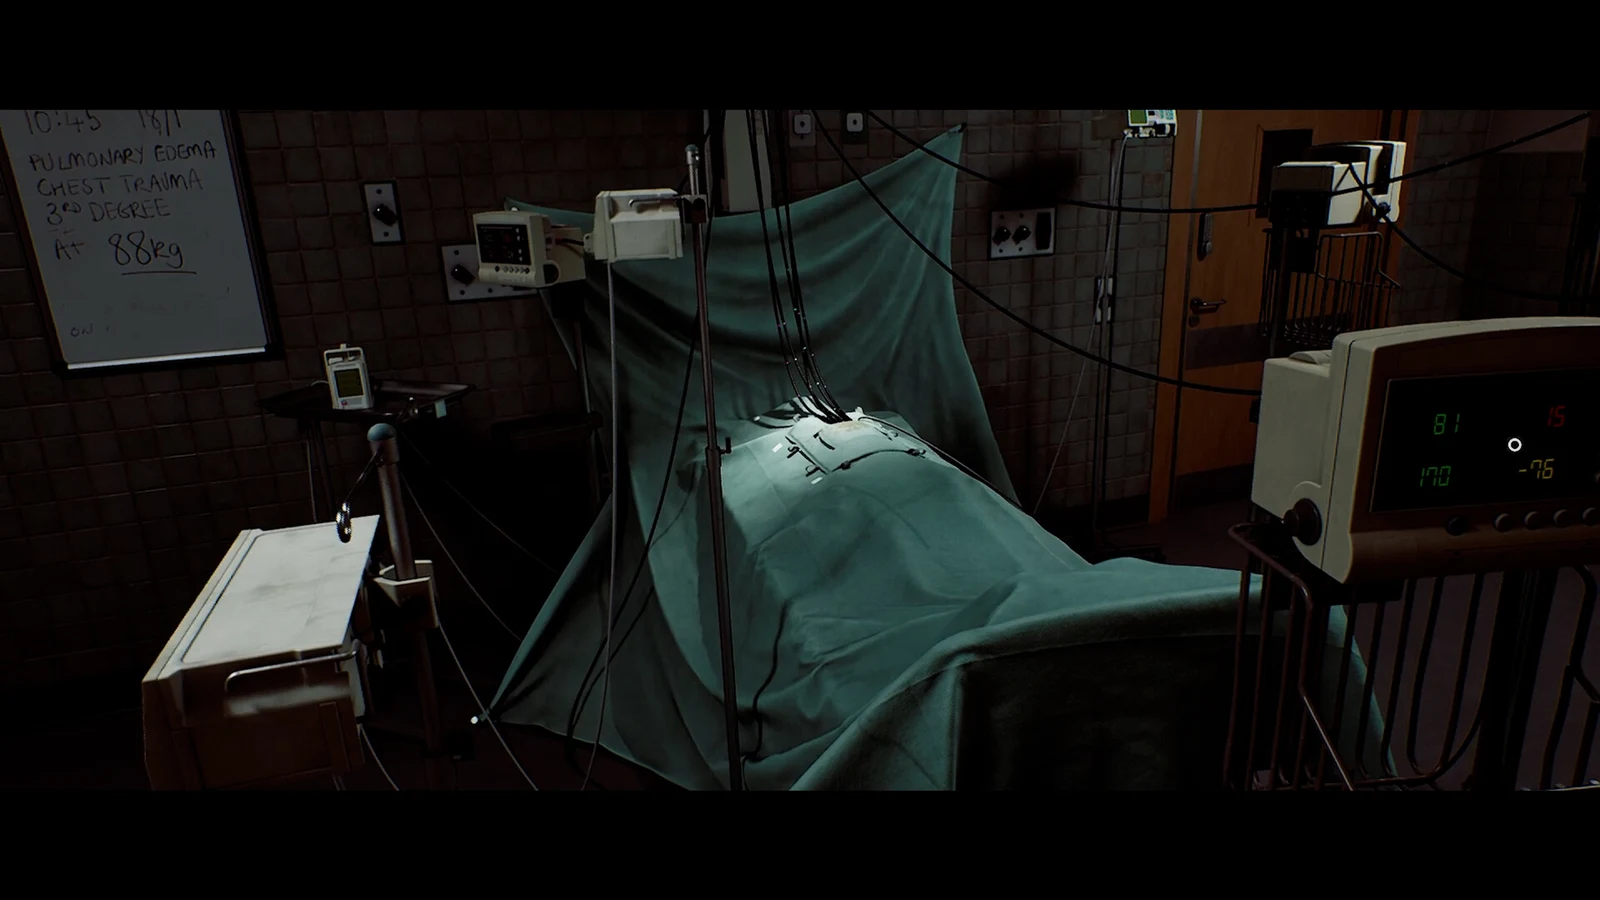
The three scales sitting in the back room of the Shorefront Family Clinic are the gate into the next part of Simon’s story, and they only open once you hand Zoe her own failures in the right order. Each scale expects one specific object, and the Resignation Letter lying around the clinic spells out which one goes where.
Quick answer: Put the Broken Stethoscope on the left scale, the Prescription Dosage Error Note on the middle scale, and Zoe’s Lanyard on the right scale.
Clinic scales puzzle solution: what goes on each scale
| Scale | Item | Matching letter line |
|---|---|---|
| Left | Broken Stethoscope | “I didn’t listen closely enough” |
| Middle | Prescription Dosage Error Note | Mistakes, couldn’t focus on the task |
| Right | Zoe’s Lanyard | I’m no longer able to do this job. |
The logic is literal rather than cryptic. A stethoscope is a listening tool, so it answers the first confession. The dosage error is the documented mistake, so it sits in the middle. The lanyard is the badge that defines her job, so it closes the letter’s final line. There is no weight or balance element involved — the scales are reading intent, not mass.
Grab the Scalpel before anything else
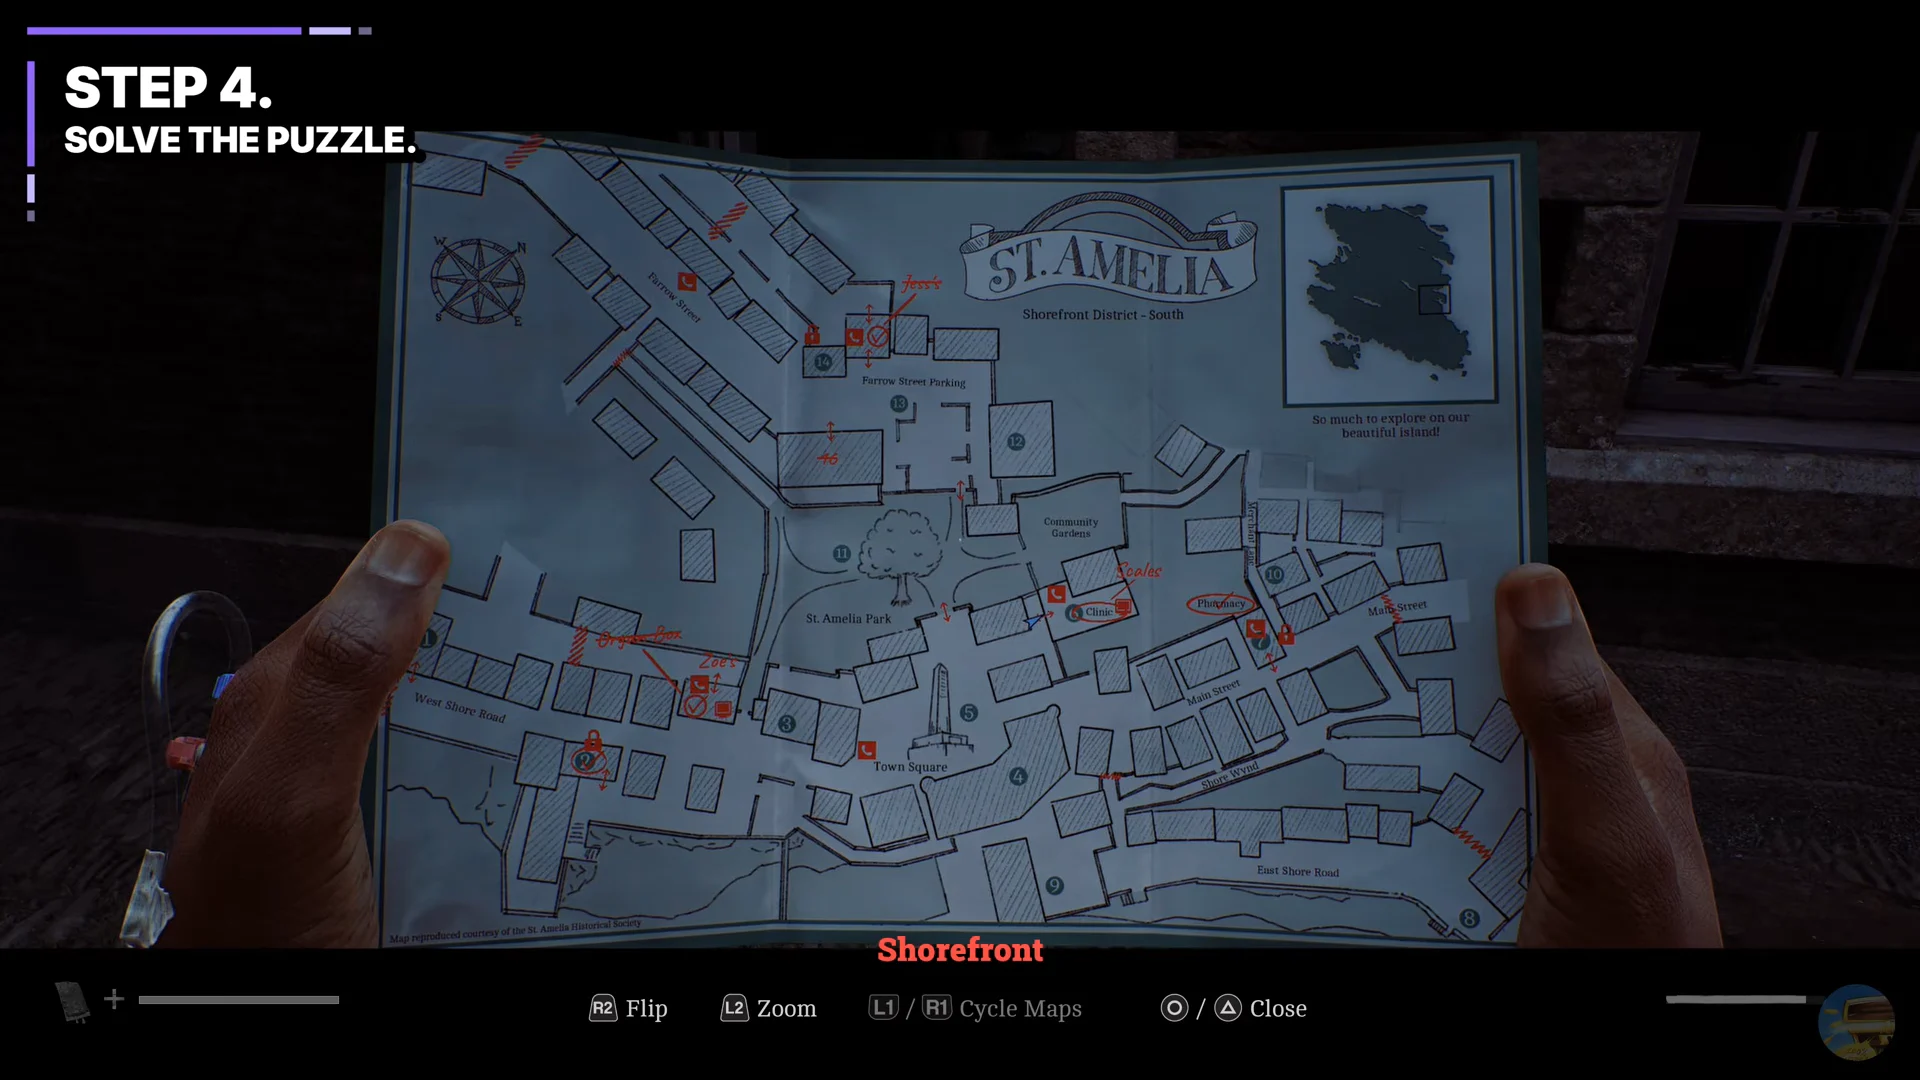
Two of the three items are locked behind the same tool. The Scalpel sits inside a medical case in Zoe Ellis’s office in the clinic, and it is what lets you cut through into St. Amelia Park and, from there, reach the pharmacy and the residential block on Farrow Street. Skip it and you will be circling the Shorefront with nowhere new to go.
Where to find all three scale items
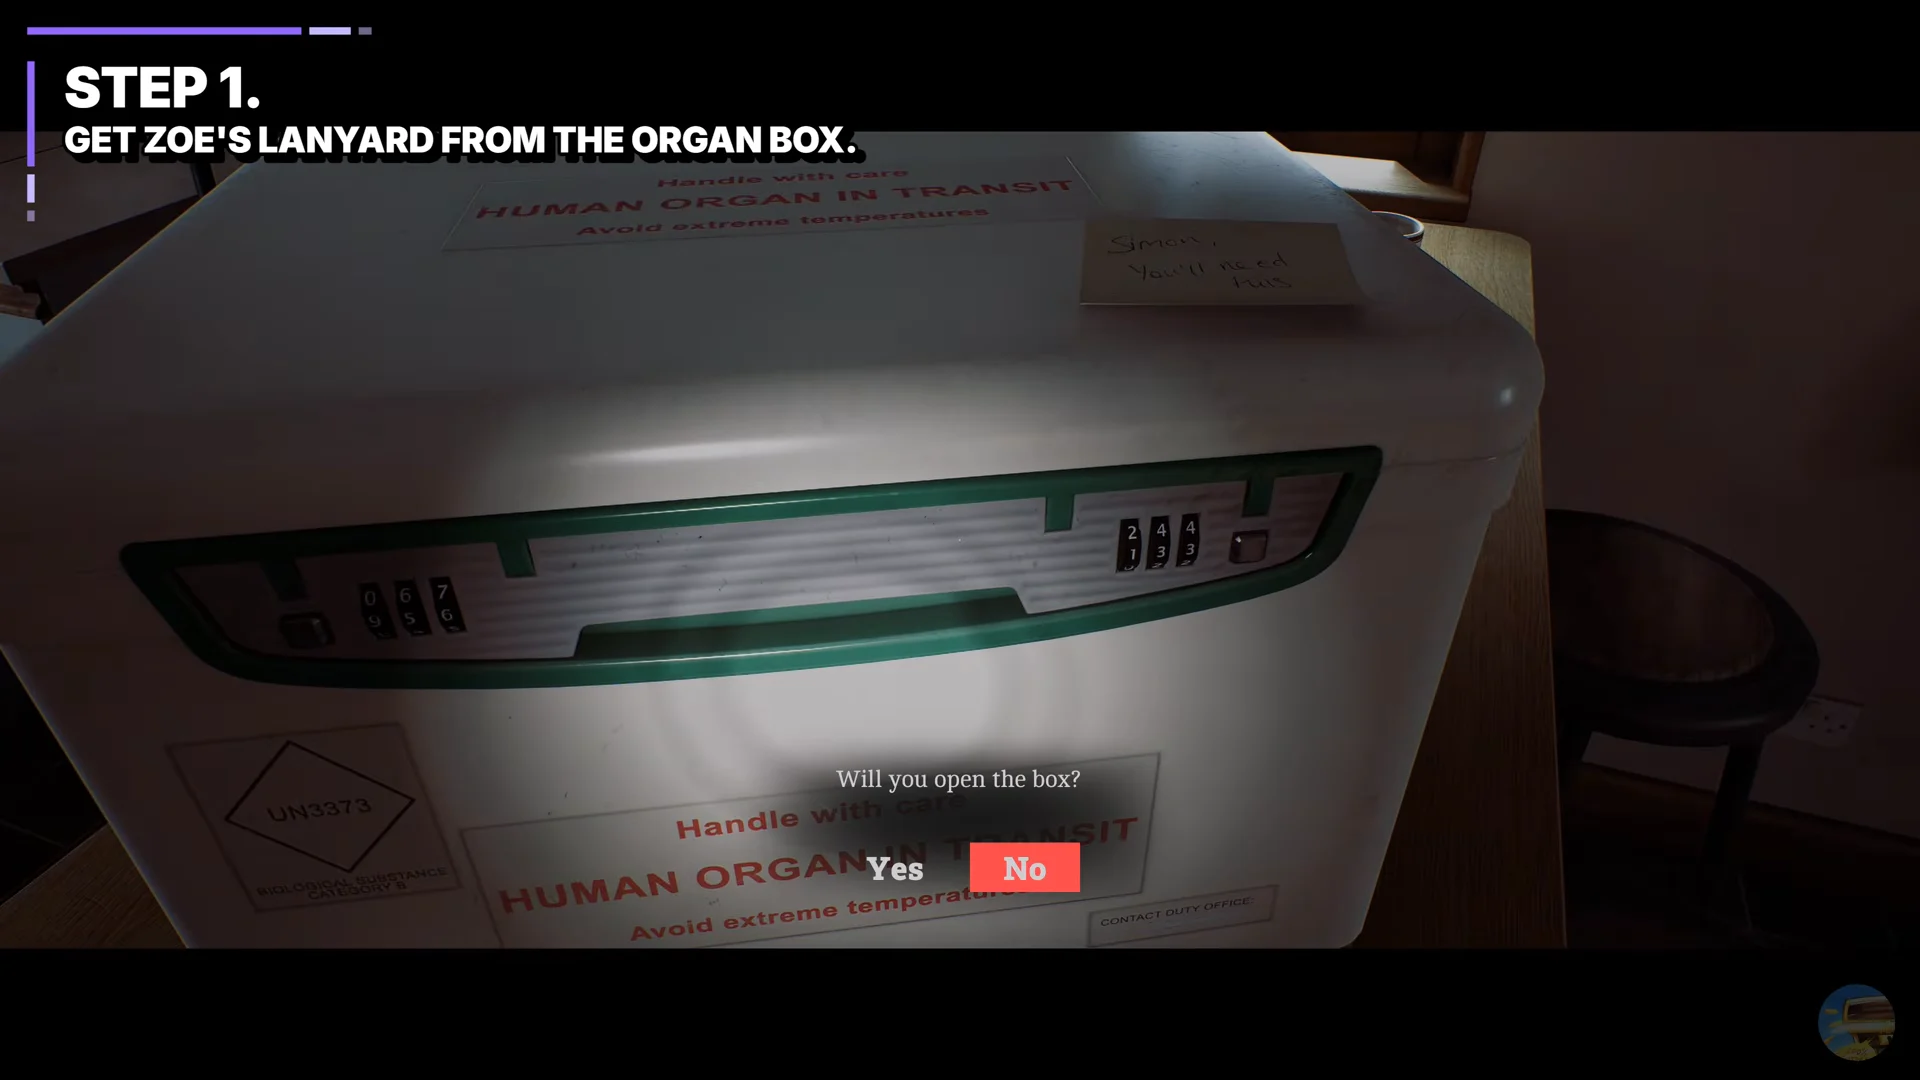
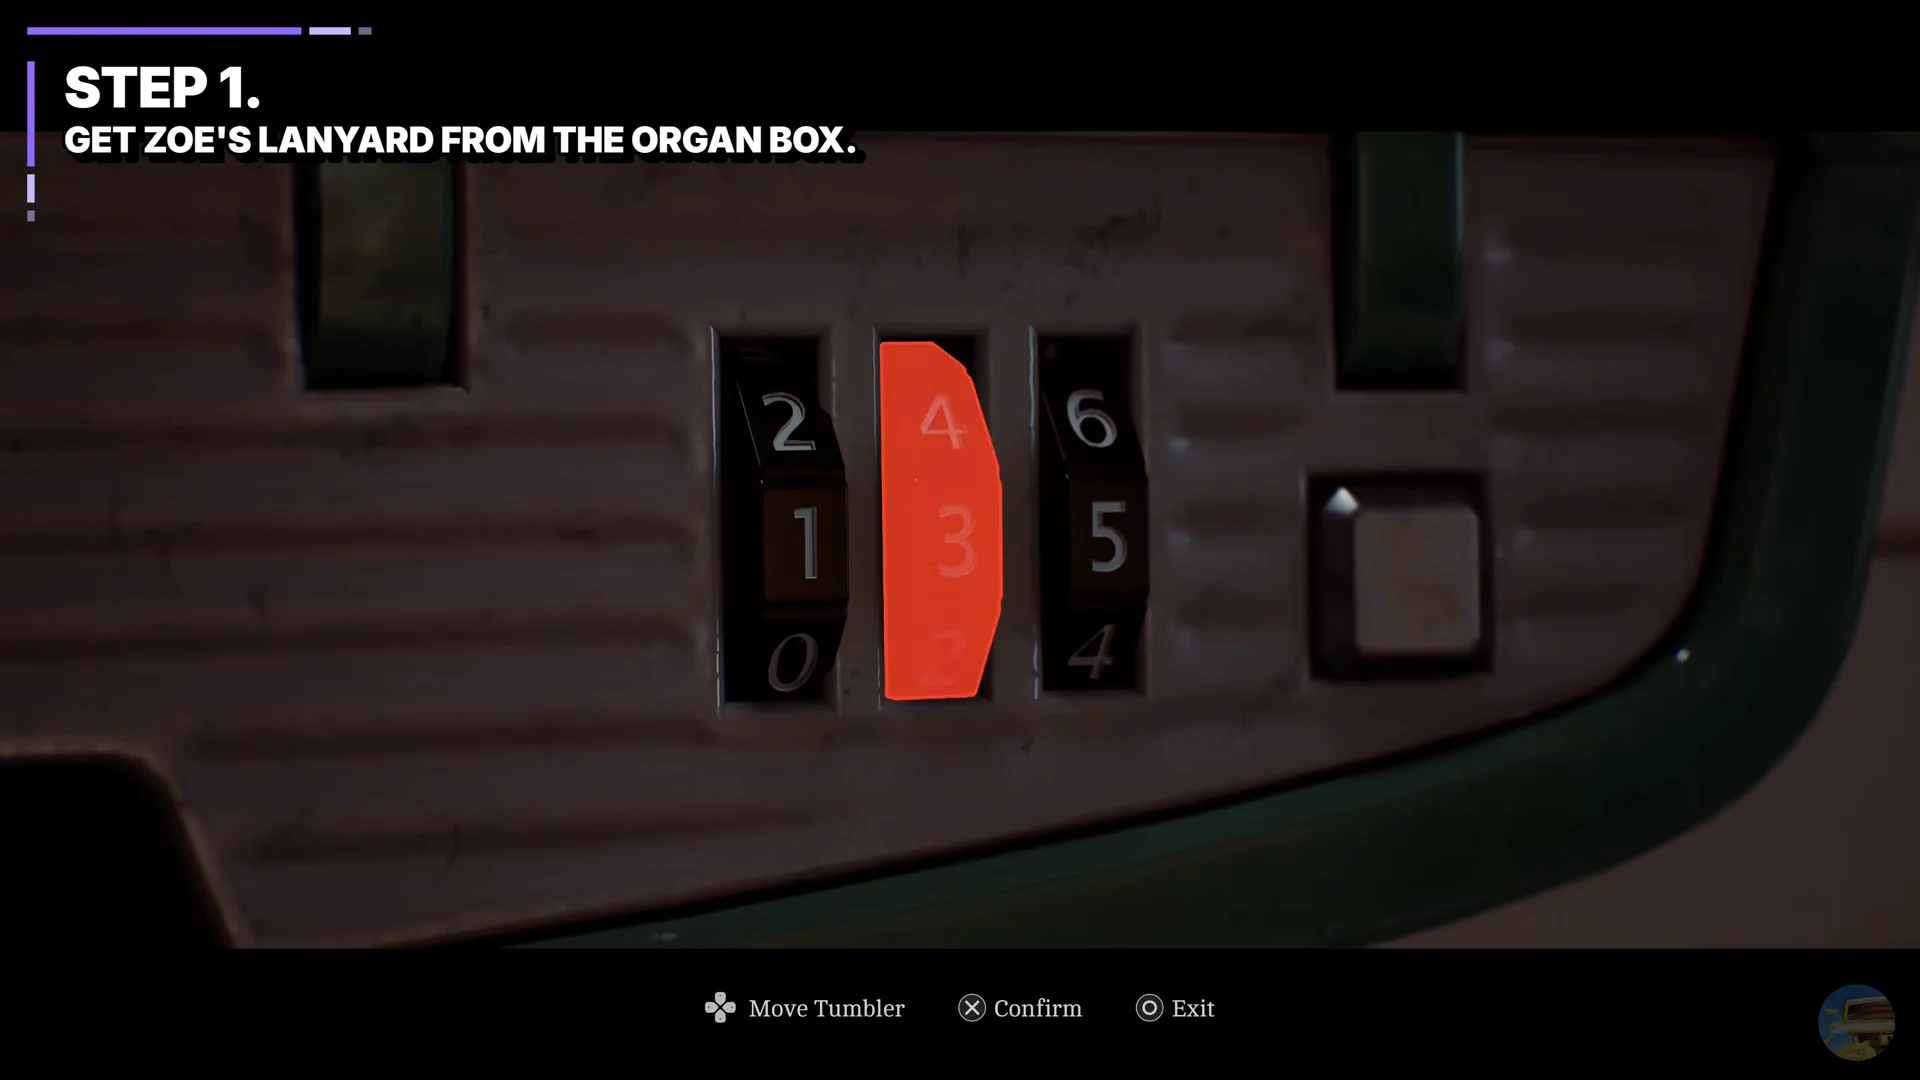
Zoe’s Lanyard: the human organ transit box
Prescription Dosage Error Note: the pharmacy locker
The pharmacy sits near the town square, and the Scalpel is what gets you inside. Walk past the front counter into the back storage room, where a locked metal cabinet is waiting against the wall.
Spin the four padlock dials to 6539 and open the door. The Prescription Dosage Error Note is inside, tucked in a paper bag.
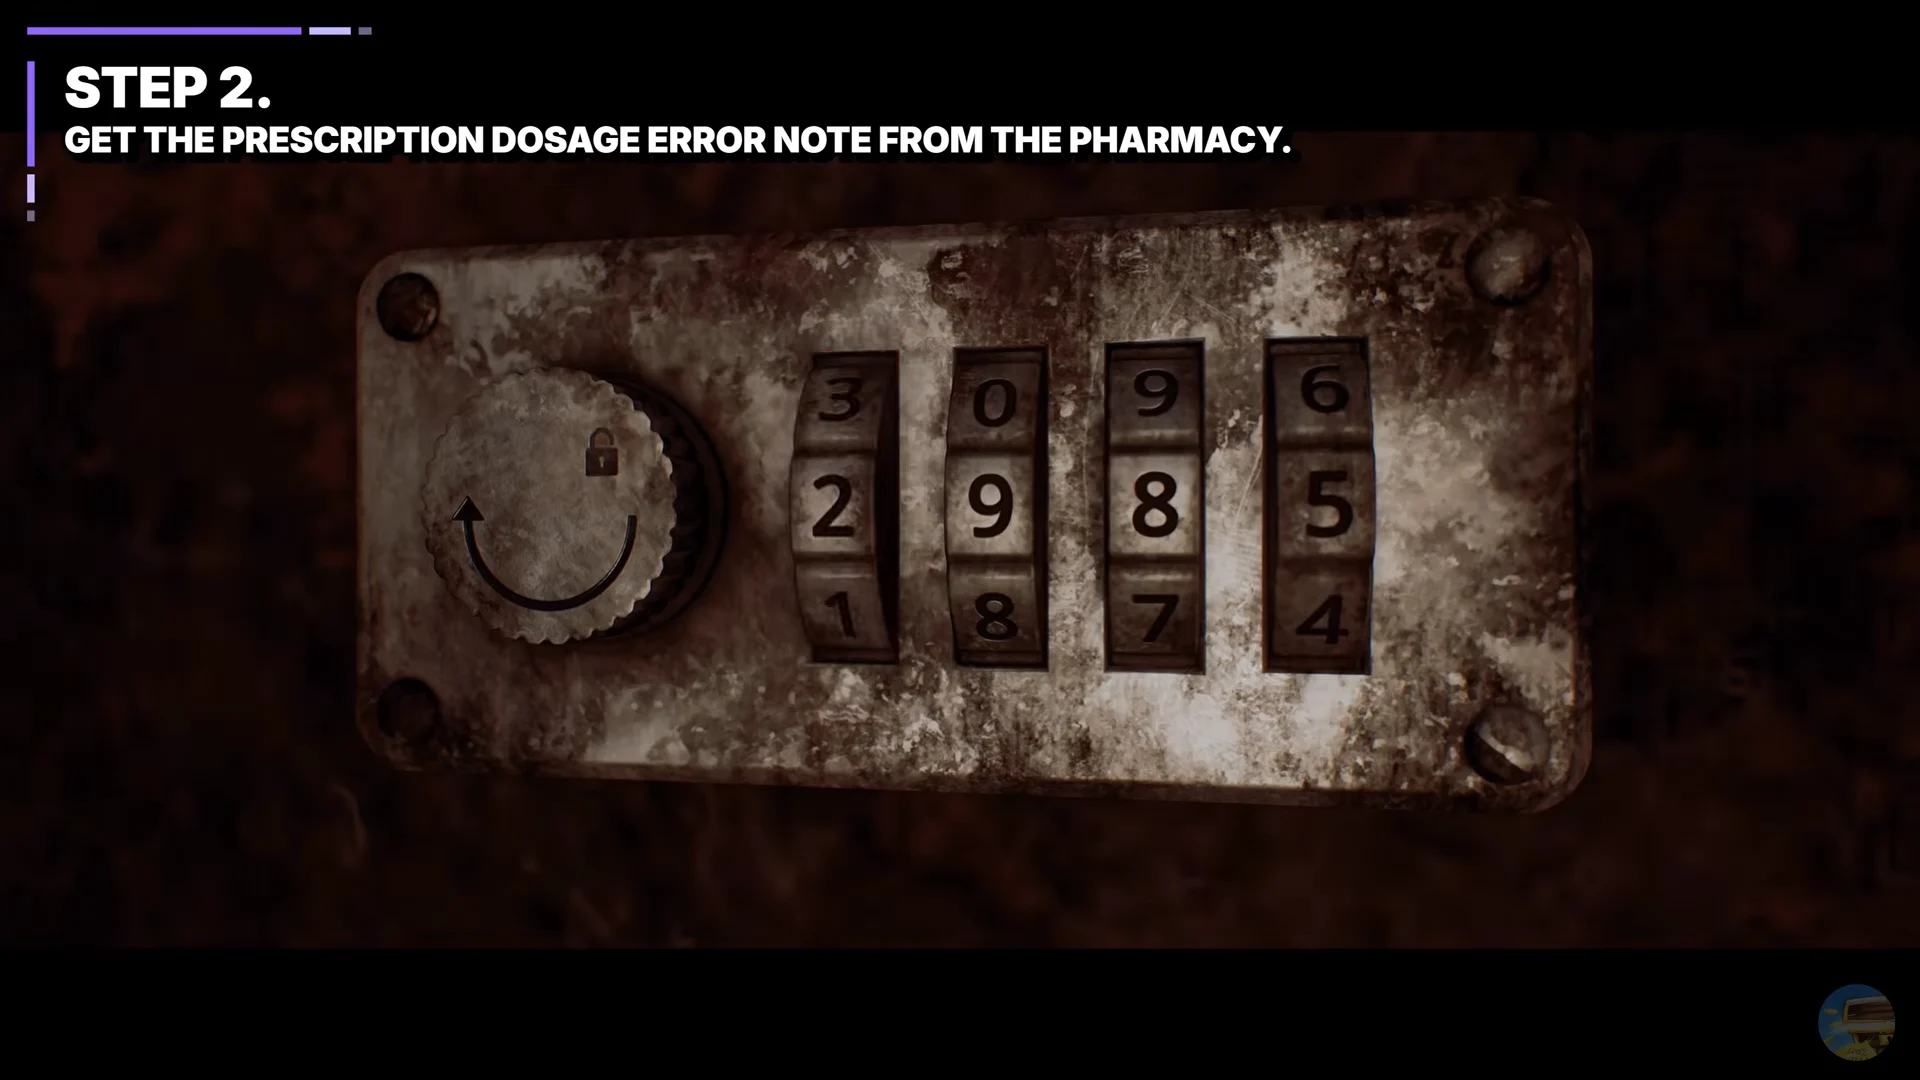
The locker dials have also been seen landing on 7649, so if 6539 refuses to release the padlock, try that combination before assuming you are at the wrong cabinet.
Broken Stethoscope: Jess’s house on Farrow Street
Placing the items and confirming the puzzle is solved
Open the map, set a course for the Shorefront Family Clinic, and go in through the front door. The scales are down the main hallway in a side storage room packed with cardboard boxes.
Assign the scales as follows: Broken Stethoscope to the left, Prescription Dosage Error Note to the centre, and Zoe’s Lanyard to the right. You can place the items in any order, provided each one rests on its own scale.
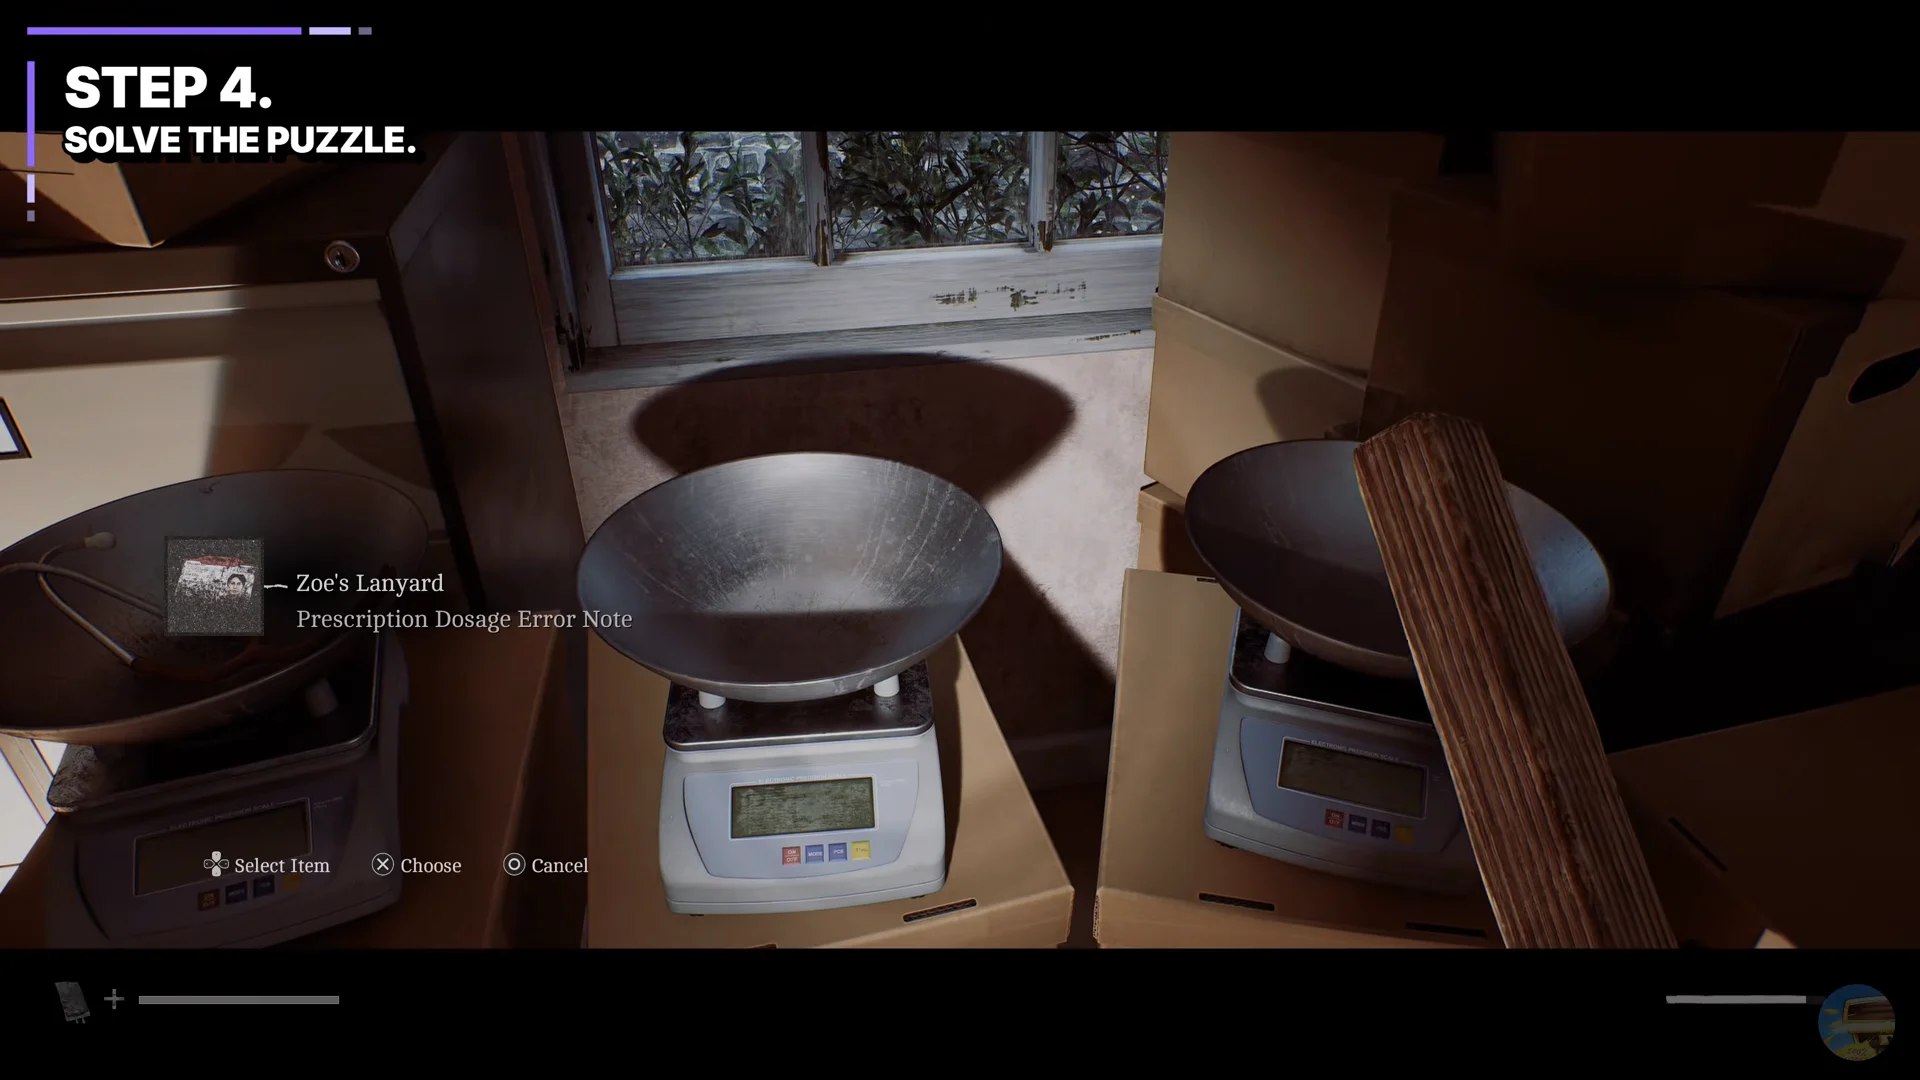
You will know it worked immediately. The third correct placement triggers a cutscene with no further input from you, pushing the story into the next Part, and the Resignation trophy pops at the same moment. If nothing happens after all three are down, one item is on the wrong plate — pull it back and swap the stethoscope and the note, since those are the two easiest to mix up.