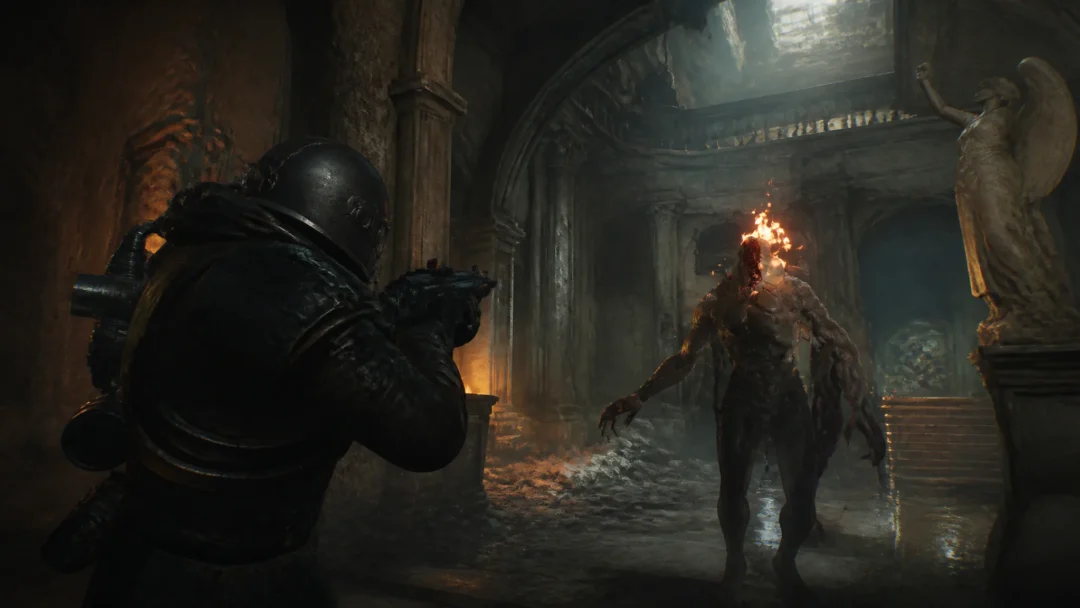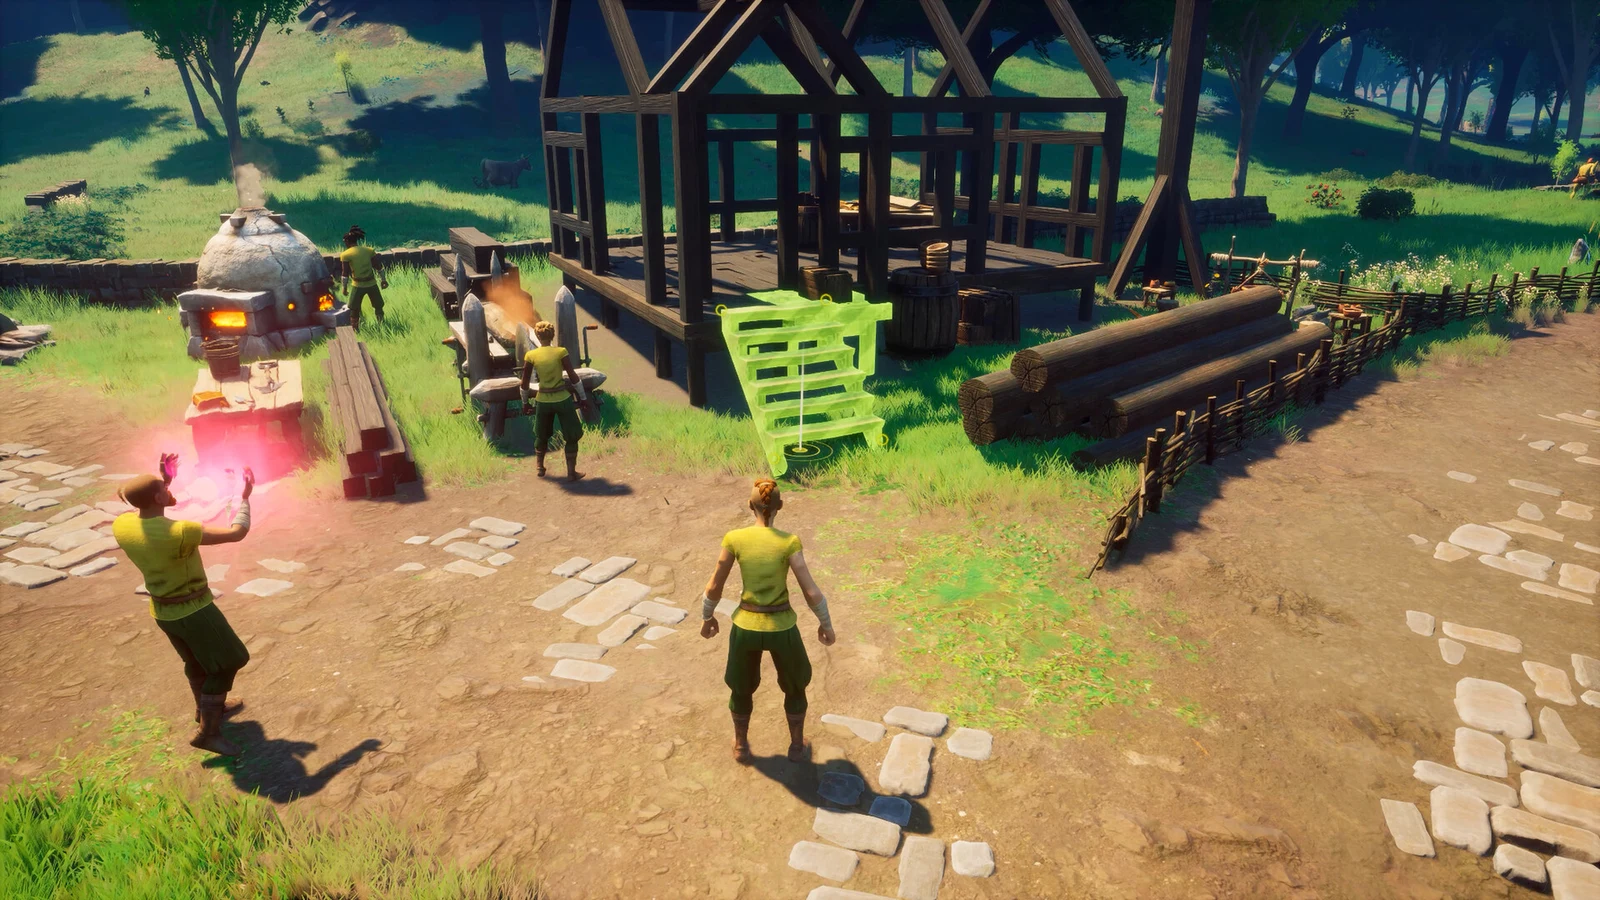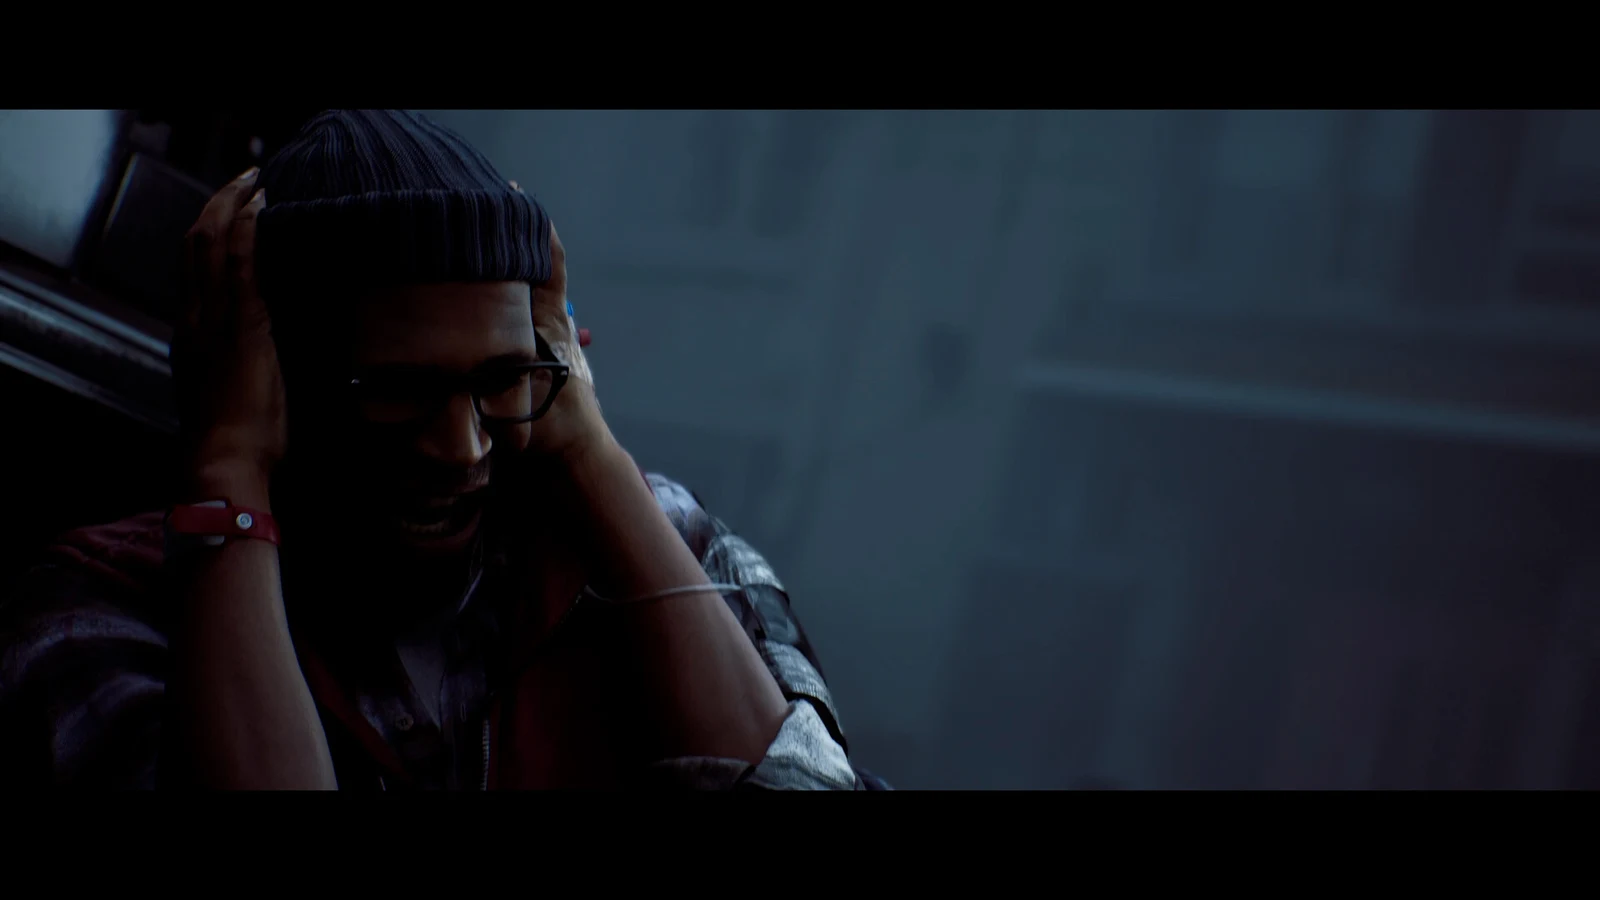
The blue locker in the back office of the St. Amelia pharmacy is one of the first hard stops in Silent Hill: Townfall. It needs a four-digit combination, and the game never writes the digits down anywhere. Instead, they live on four ordinary health posters scattered around the shop, and the only thing that tells you which posters matter is a CRTV broadcast you have to tune in yourself.
Quick answer: Enter 6539 on the pharmacy locker. Inside is the Prescription Dosage Error Note, a key item for the scales puzzle back at Zoe’s clinic.
What you need before the pharmacy locker puzzle
You cannot reach the locker on a first pass through the Coastal District. The pharmacy door is one of the rusty, hatch-fitted doors, so you need the Scalpel from Zoe’s clinic first. It sits in a green container on the desk in the Z Ellis room, at the end of the clinic corridor.
- Zoe’s Lanyard Badge, used on the panel beside the clinic entrance.
- The Scalpel, which opens the pharmacy’s rusty exterior door.
- The CRTV, handed to you automatically earlier in the game.
- A working flashlight, for the darker corners of the shop.
Once you are inside, the locker sits in the back office. Interacting with it does nothing until you have the combination, and the game will not let you shortcut the sequence by typing the digits before you have tuned the local signal.
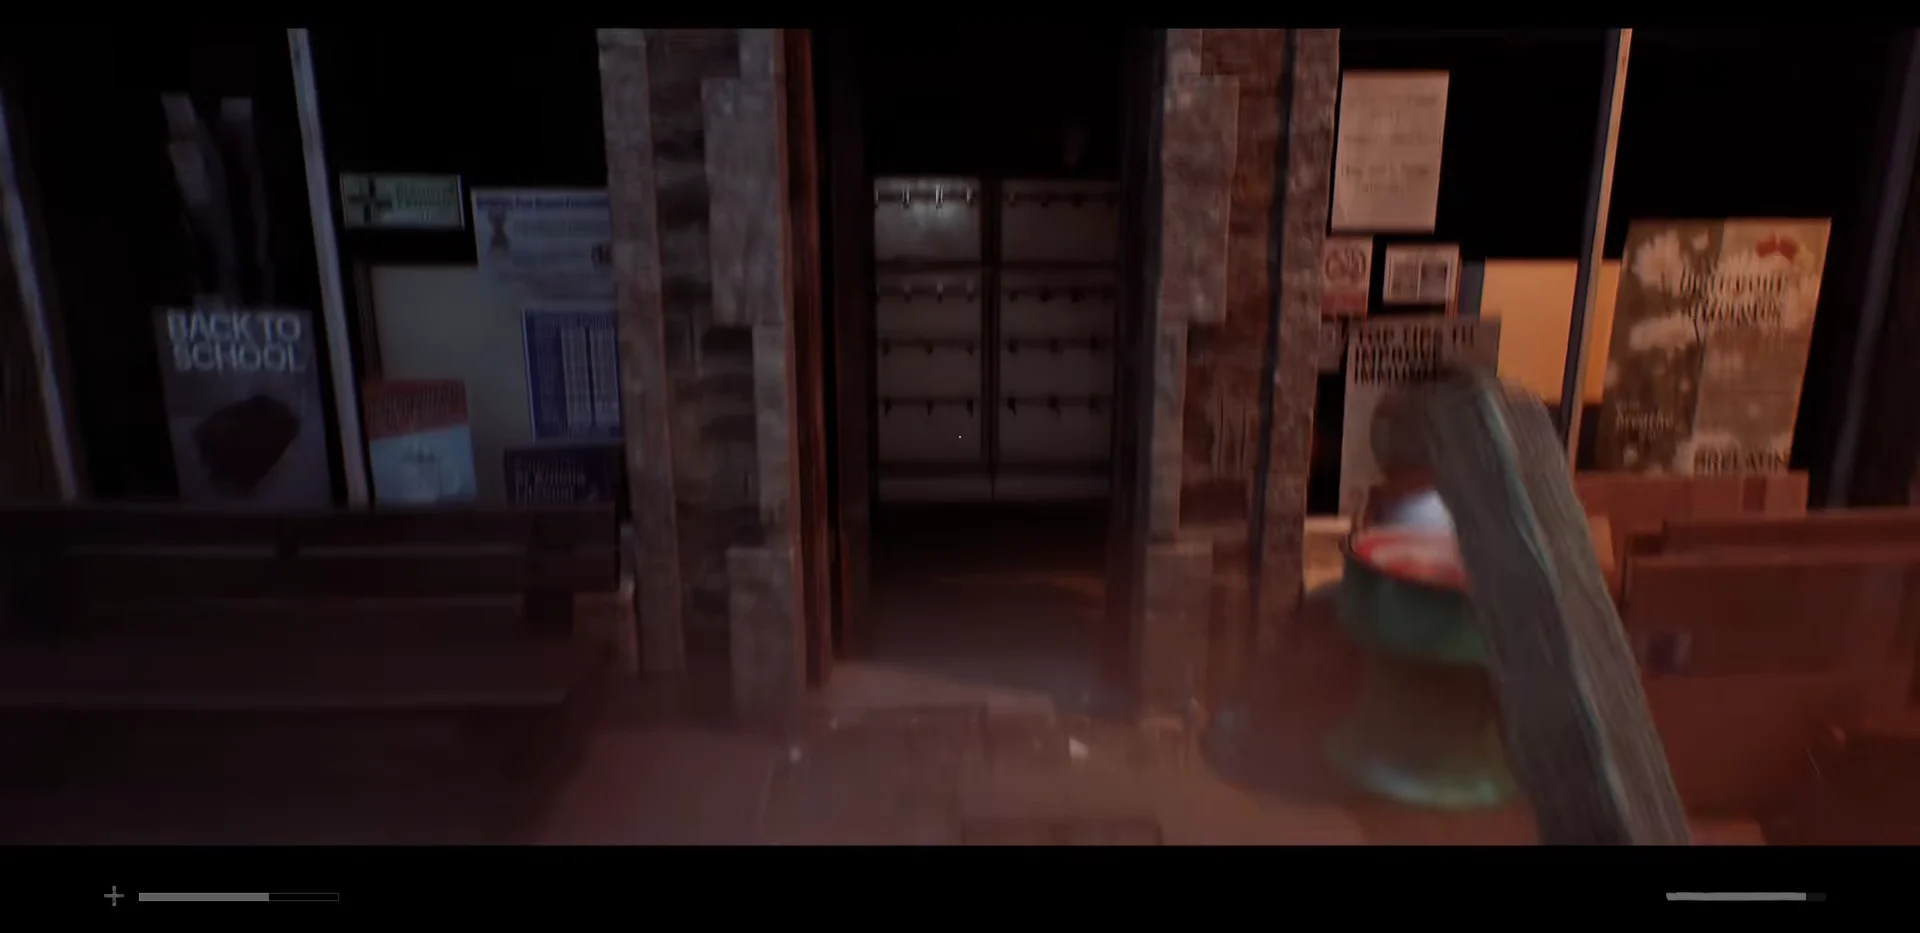
Tune the CRTV to the pharmacy radio signal
The broadcast that names the four posters comes from the radio on the desk in the back office, next to the bathroom. Tuning is a small dexterity puzzle in itself, and it has three distinct stages.
Watch the recording through at least once before you go hunting. It cuts between four separate images, and the order they appear in is the order the digits go into the lock.
Where each digit of the combination comes from
Each snippet in the broadcast is a blurred, washed-out flash of a poster that physically exists somewhere in the shop. Finding the poster is only half the job — you then have to work out what number it is quietly showing you.
| Digit | Poster | Where it is | What to count |
|---|---|---|---|
| 6 | Hand-washing | Bathroom, left of the locker | Fingers and thumbs shown |
| 5 | Prescription Drugs and You | Near the window, down the stairs by the desk | The printed “5 Steps” |
| 3 | Glucose, Blood Pressure and Cholesterol | Right of the pharmacy entrance | Where the gauge arrow points |
| 9 | Antibiotics information | Back office, right of the lockers | Red pills left in the blister pack |
The hand-washing poster (6)
The first flash in the recording is almost pure white, and the fingernails are the only readable detail. The matching poster is in the bathroom. Look closely and the illustrated hands show six fingers between them, which is deliberate rather than an art mistake.
The prescription drugs memo (5)
The second image reads “Prescription Drugs and You.” From the desk, use the short stairs on the right and go towards the window as you head for the back office. You will find the matching poster there, marked “5 Steps for Safer Medicine”; its prominent 5 provides digit two.
The blood pressure reader (3)
A brief measuring-dial view appears third. Return in the direction of the pharmacy entrance, then take the right turn to reach the Glucose, Blood Pressure and Cholesterol poster. Its needle points near 3, so use that reading as the digit, not a number in the wording.
The antibiotics pill pack (9)
The final clip shows largely unreadable writing alongside a blister pack. In the back office, look right of the lockers for the poster about taking antibiotics. One tablet has been pushed out of the pack in its lower corner; counting the remaining red pills gives 9.
Opening the locker and confirming it worked
Return to the blue locker and dial the digits in broadcast order: 6, then 5, then 3, then 9. A correct entry pops the locker open and reveals a prescription bag with a Collect prompt on it. Take it and the Prescription Dosage Error Note is added to your key items, which is the confirmation that the puzzle is finished.
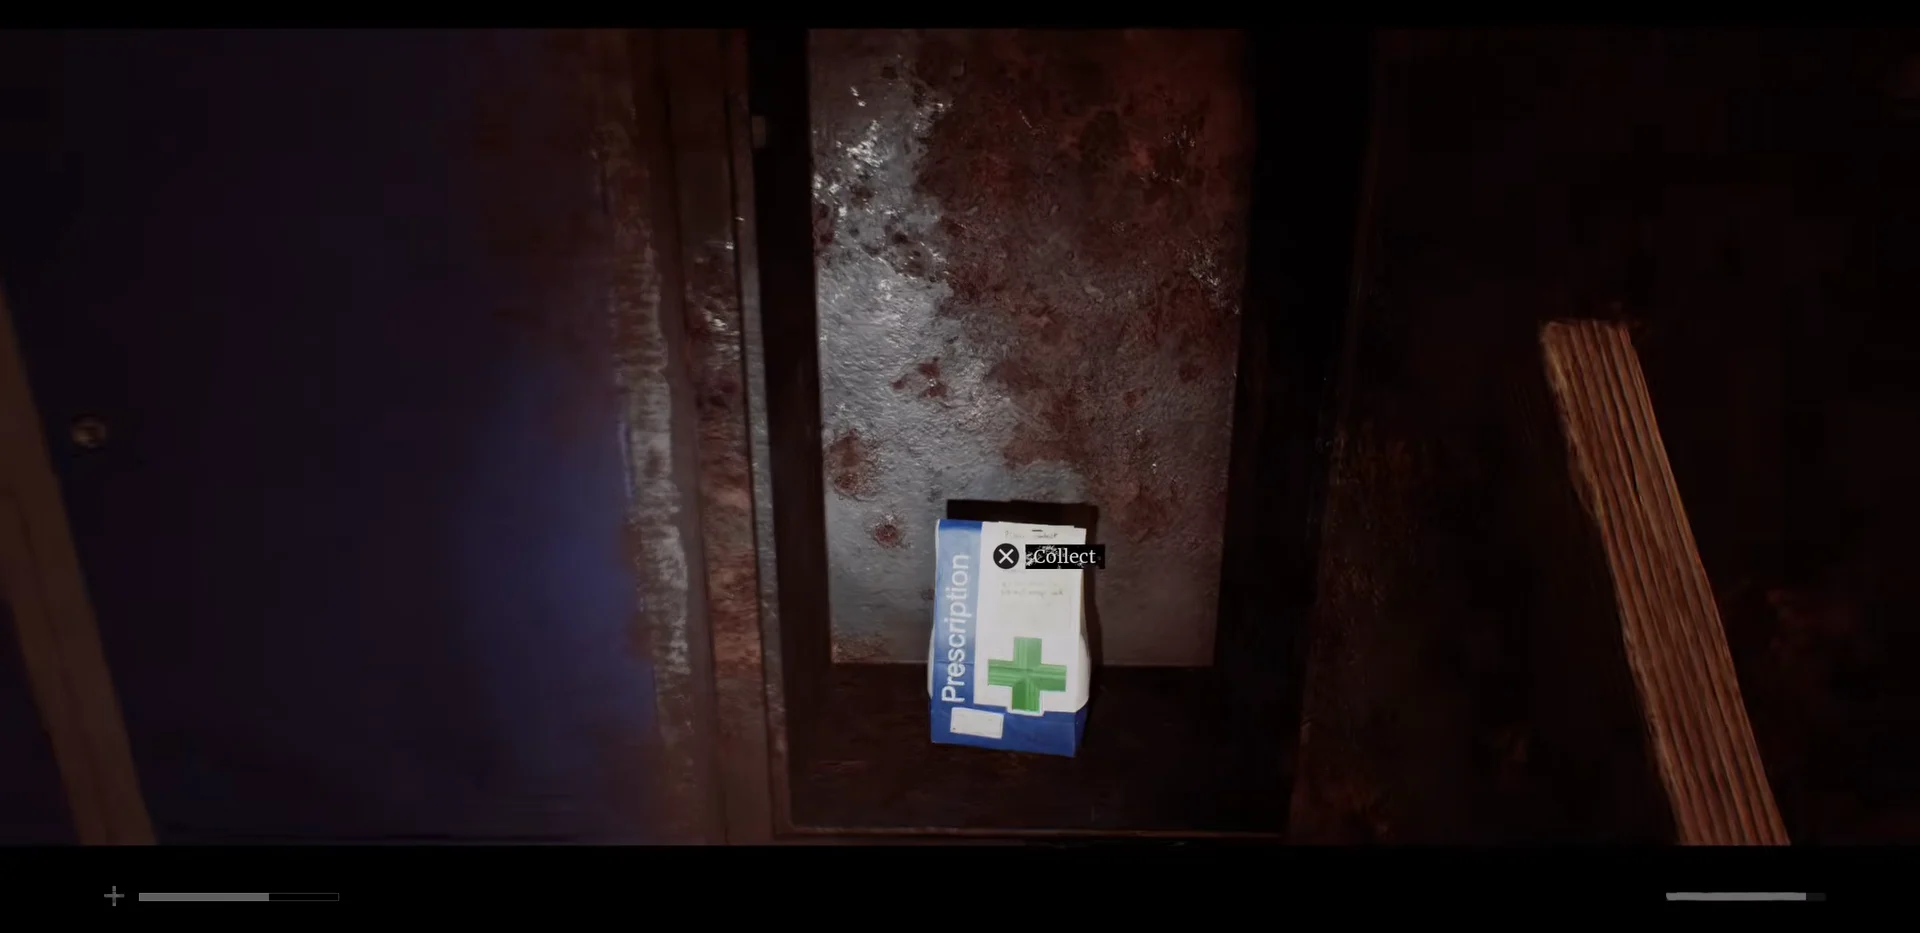
The note is not readable flavour text — it is one of three items the clinic scales puzzle needs, alongside the Broken Stethoscope from Jess’s House and Zoe’s Lanyard Badge.
Where the Prescription Dosage Error Note goes next
Return to the clinic and enter the Z Ellis room at the corridor’s far end. Use the scales, putting the note on the middle pedestal; place the Broken Stethoscope on the left and Zoe’s Lanyard Badge on the right. The obstruction is then removed, finishing the Shorefront section of the Coastal District.
If you are speeding towards the Fleeting Visit achievement, which asks for a sub-four-hour run, the pharmacy is a place where time quietly evaporates. Knowing the digits in advance helps, but the game still gates the locker behind tuning the signal, so budget a minute for the CRTV even when you already know the answer is 6539.