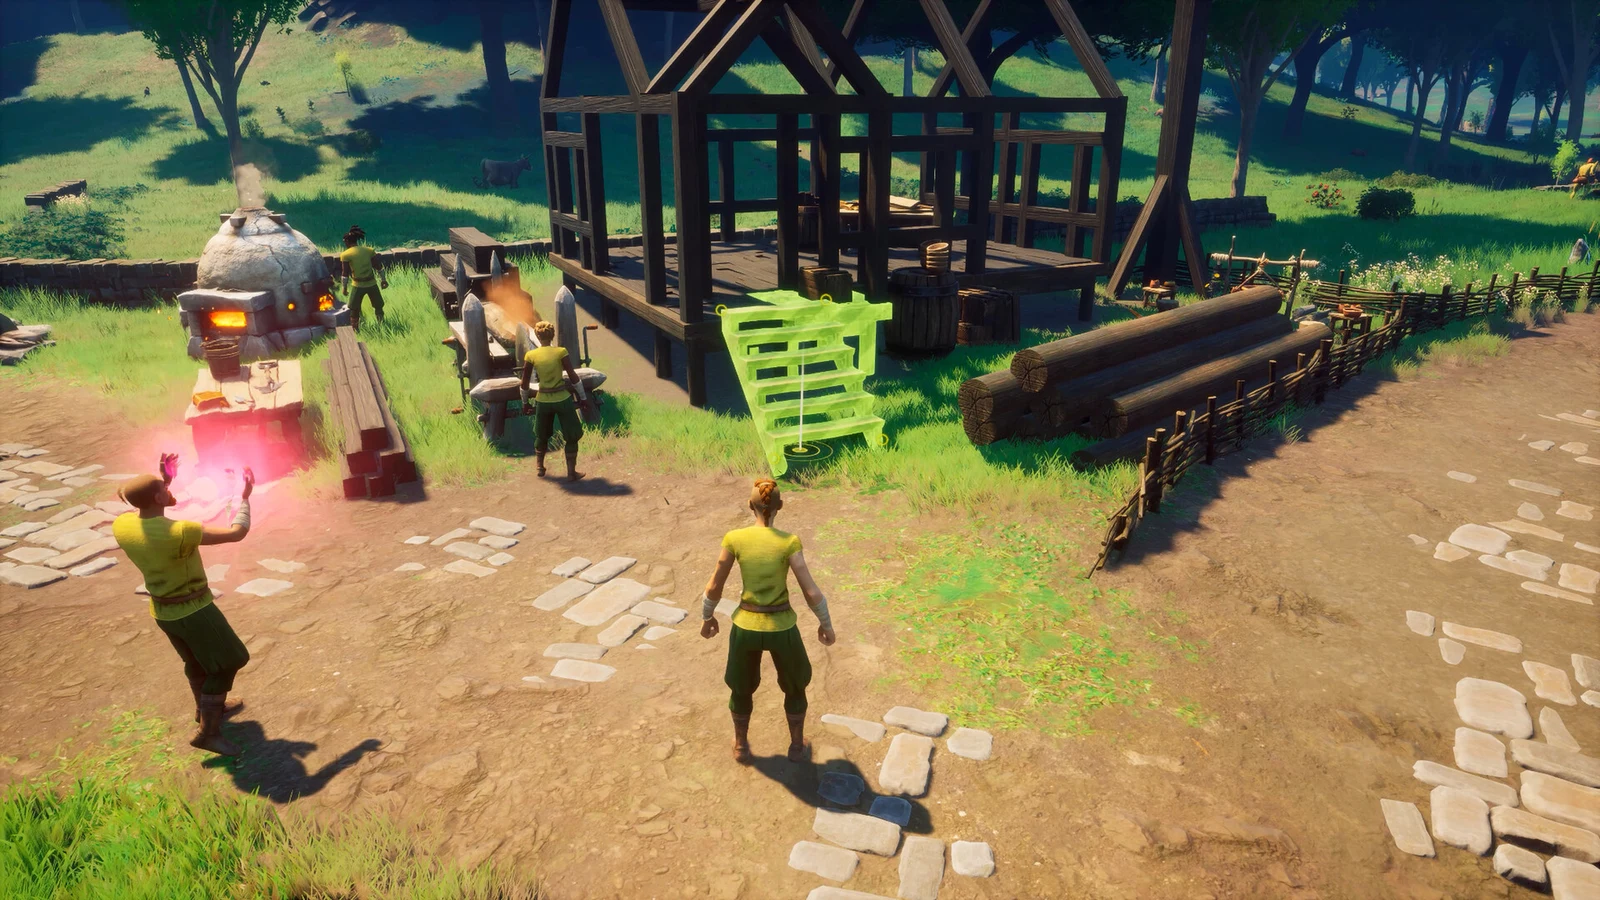
An endgame base in RuneScape: Dragonwilds is a different project from the shack that carried you through Dragon Slayer. By the time advanced stations, bulk processing, and a full farm are all competing for space, the deciding factors stop being “is there copper nearby” and become raid pressure, usable water, flat buildable ground, and how far the site sits from your teleport network.
Quick answer: Build the permanent base in a raid-free area — Dowdun Reach, Temple Woods, or the Library Courtyard — on flat ground beside usable water, and leave open sky for farming plots and campfires.
When the starter base stops being enough
A thoughtfully arranged starter base supports the complete crafting cycle from about Gear Level 1 to Gear Level 4 and can fit early Gear Level 5 equipment. It intentionally skips the advanced station tier: setting aside endgame production space in your first proper build only enlarges the house beyond what your materials warrant.
The practical trigger to relocate is friction, not aesthetics. When chests block walkways, new stations have nowhere sensible to snap, and you are dragging equipment outside purely because the room is full, the layout has hit its ceiling. Distance alone is not a reason to move — a forward Lodestone is far cheaper than hauling an entire workshop across Ashenfall.
Best endgame base locations in Dragonwilds 1.0
Raid behaviour is the single biggest variable. Goblin war bands and dragon attacks will grade your walls in most regions, and a few areas skip them entirely — which is why veteran builds cluster there.
| Location | Raids | Water and fishing | Main draw |
|---|---|---|---|
| Dowdun Reach | None | — | No walls or repairs needed; close teleport access |
| Library Courtyard | No spawns inside | Usable; 4 net fishing spots | Huge flat space inside existing architecture |
| Witch Willow Range | Harder regional raids | Pond; 2 net spots plus standard fishing | Kebbit Burrow rune-free travel, coal, iron, runes |
| Twiscorn Wilderness | None | Nearby fishing | Rain for farming; cliff and waterfall terrain |
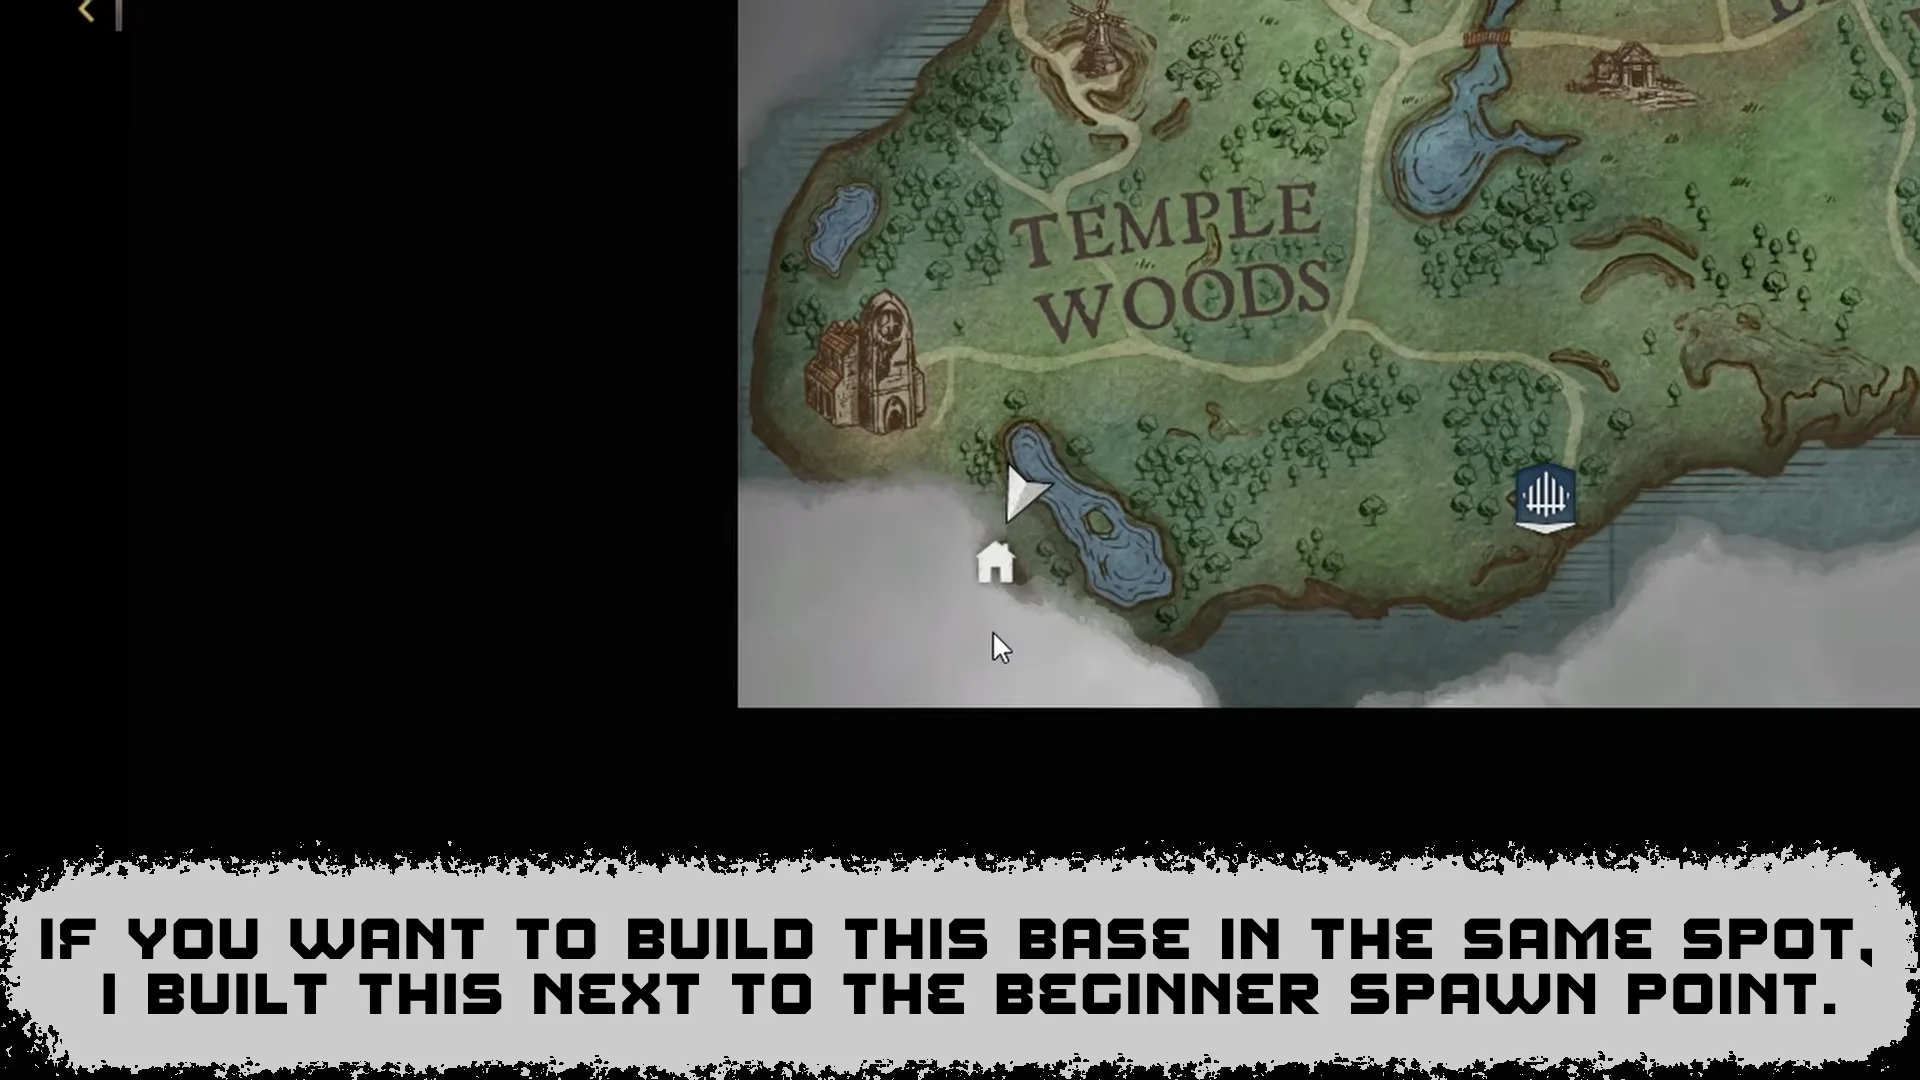
| Temple Woods | None | Lake; multiple fishing spots | Safest permanent address in the game |
Dowdun Reach
For a showcase build, the community generally chooses Dowdun Reach because base raids never happen there. That makes defensive walls optional, prevents repairs after a dragon passes through, and puts teleport access closer than it is in Fellhollow. You can build a castle without reshaping the floor plan around choke points at this location.
Library Courtyard
An enormous walled courtyard with usable water, four net fishing locations, and a repeatedly accessible chest just outside. Nothing spawns or normally roams inside the courtyard itself, though a few dangerous enemies sit nearby and will respond if disturbed. The existing stonework also means you are not fighting terrain for every expansion strip.
Witch Willow Range
If you can manage the region, this is the best site for practical use. A small pond borders the build area, and enemies are not immediately nearby; the surrounding area also supplies runes, berries, trees, coal, and a broad stretch of level ground. The nearby cave network adds iron and further coal, while another Nether cave lies only a short journey away. Its lasting advantage is the Kebbit Burrow: open both ends and you gain a long-range route that costs no runes.
Witch Willow Range is a higher-level region, so you inherit tougher raids than anywhere in Temple Woods. The immediate build pad is peaceful, but the neighbourhood is not.
Twiscorn Wilderness
An open flora field near cliffs and waterfalls, with no raids, regular rain to water crops, and fishing within reach. The elevation is the trade-off and the appeal — overhangs and rock faces give a multi-tiered build something to anchor to, but they also mean more beam work before anything reads as stable.
The ruined gate area, and where not to build
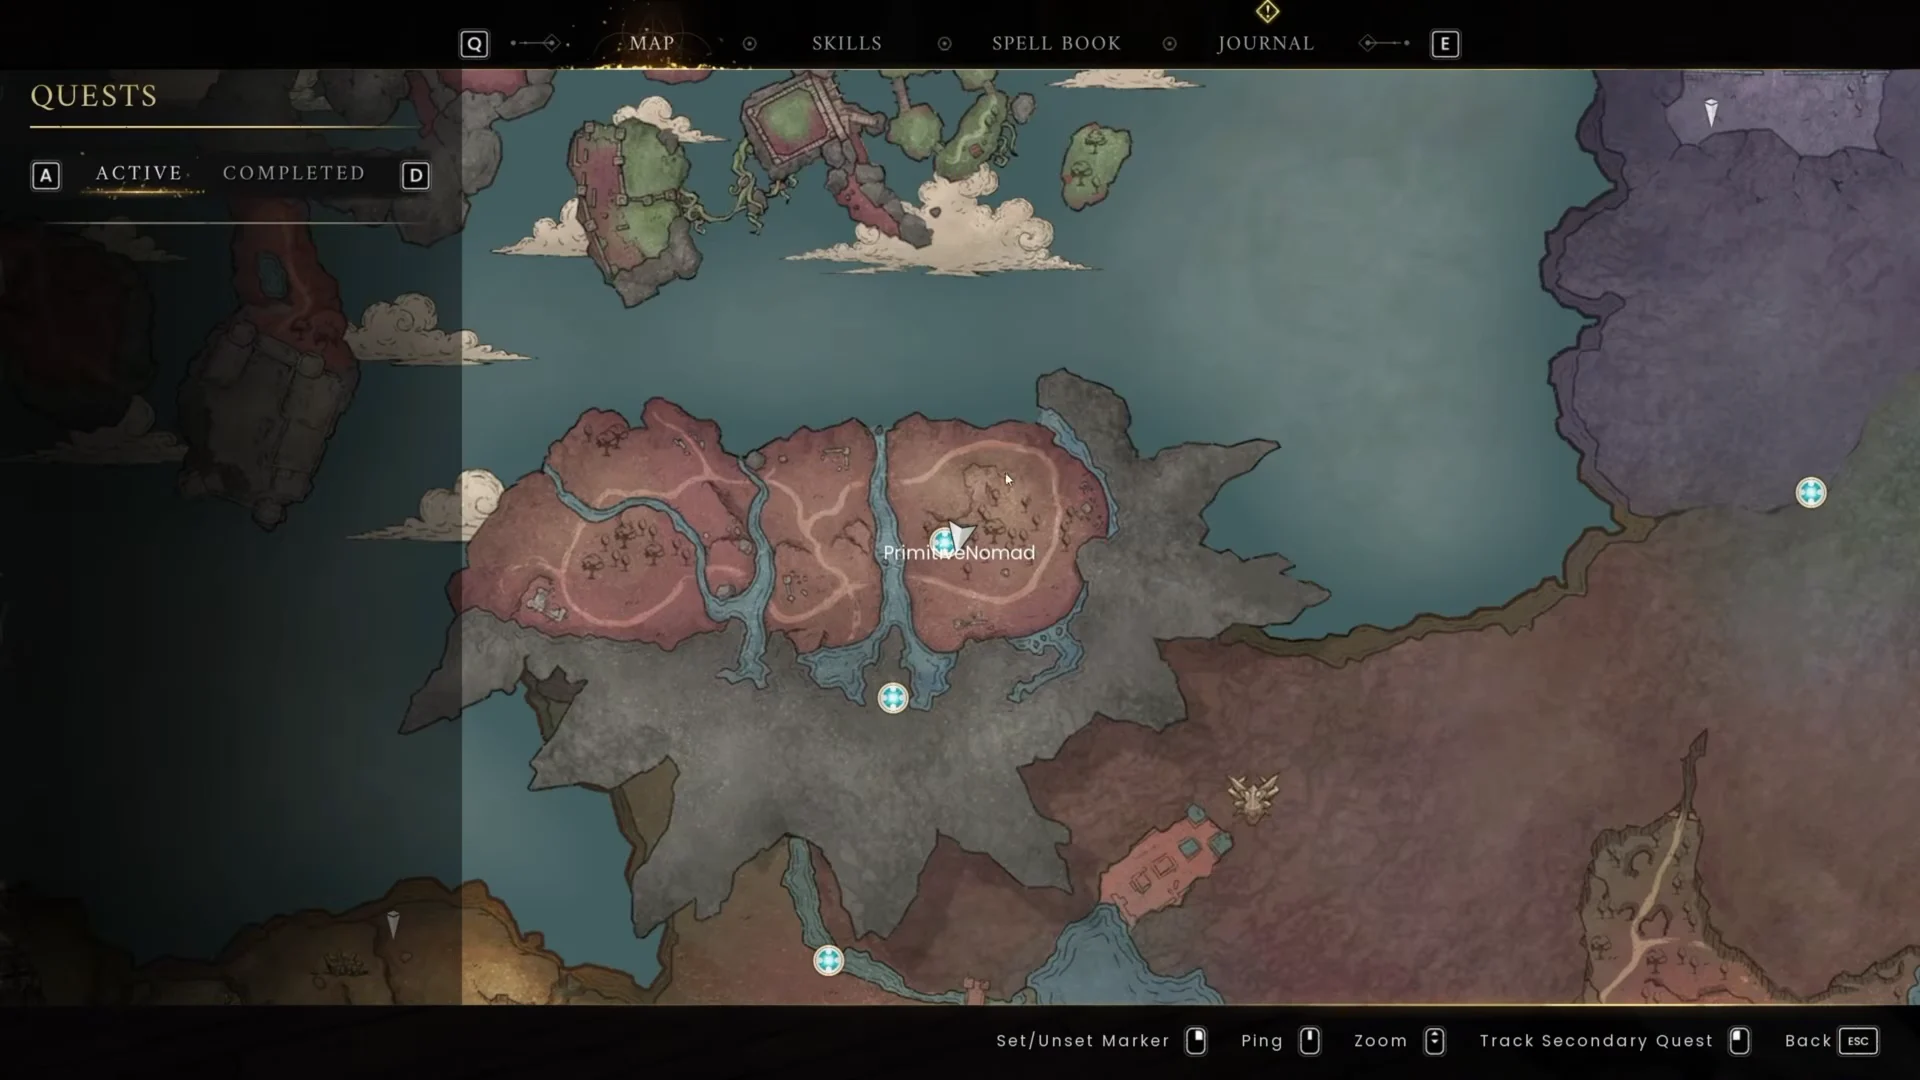
Single-player worlds get one more option near the entrance leading toward the 1.0 area: a ruined stretch with a huge amount of flat space and no enemies in the immediate interior. The catch is water — the nearby water is not usable, so it only works once rain collection can supply the base. Treat it as a luxury build rather than a functional one.
Umbral Sands is the region to skip entirely. It applies a Scorch debuff during the day and hosts dragon hunts at night. Run your desert business from pop-up Lodestone camps and keep the permanent base elsewhere.
Placement rules that decide the floor plan
Three hard restrictions dictate the shape of an endgame base, and all three are easier to design around than to retrofit after the roof is on.
- Farming plots cannot be placed on foundations. The farm has to sit on real ground beside the structure, not as another room on the same floor.
- Crops cannot be covered by a normal roof. A decorative greenhouse can use pillars and low walls, but the growing area stays open to the sky.
- Campfires cannot be placed underneath a roof. Leave part of the cooking area uncovered before you finish walling in the building.
- Rows of three plots wide work cleanly with watering magic and stay reachable at harvest.
- Reserve a small clear pad at the edge or rear of the property for the Lodestone so teleport arrivals do not land in the crafting lanes.
Two campfires beat one if you cook in bulk, since a long batch otherwise turns one corner into a queue. Keep them at the edge of the outdoor work area rather than on the main route between storage and the door.
Foundations, beams and structural stability
Foundations do more than hold weight. Placing Cottage Foundations or Square Foundation pieces clears ground clutter under the build and stops foliage popping through the floor, which is the difference between a clean platform and grass flickering through your workshop for the rest of the save.
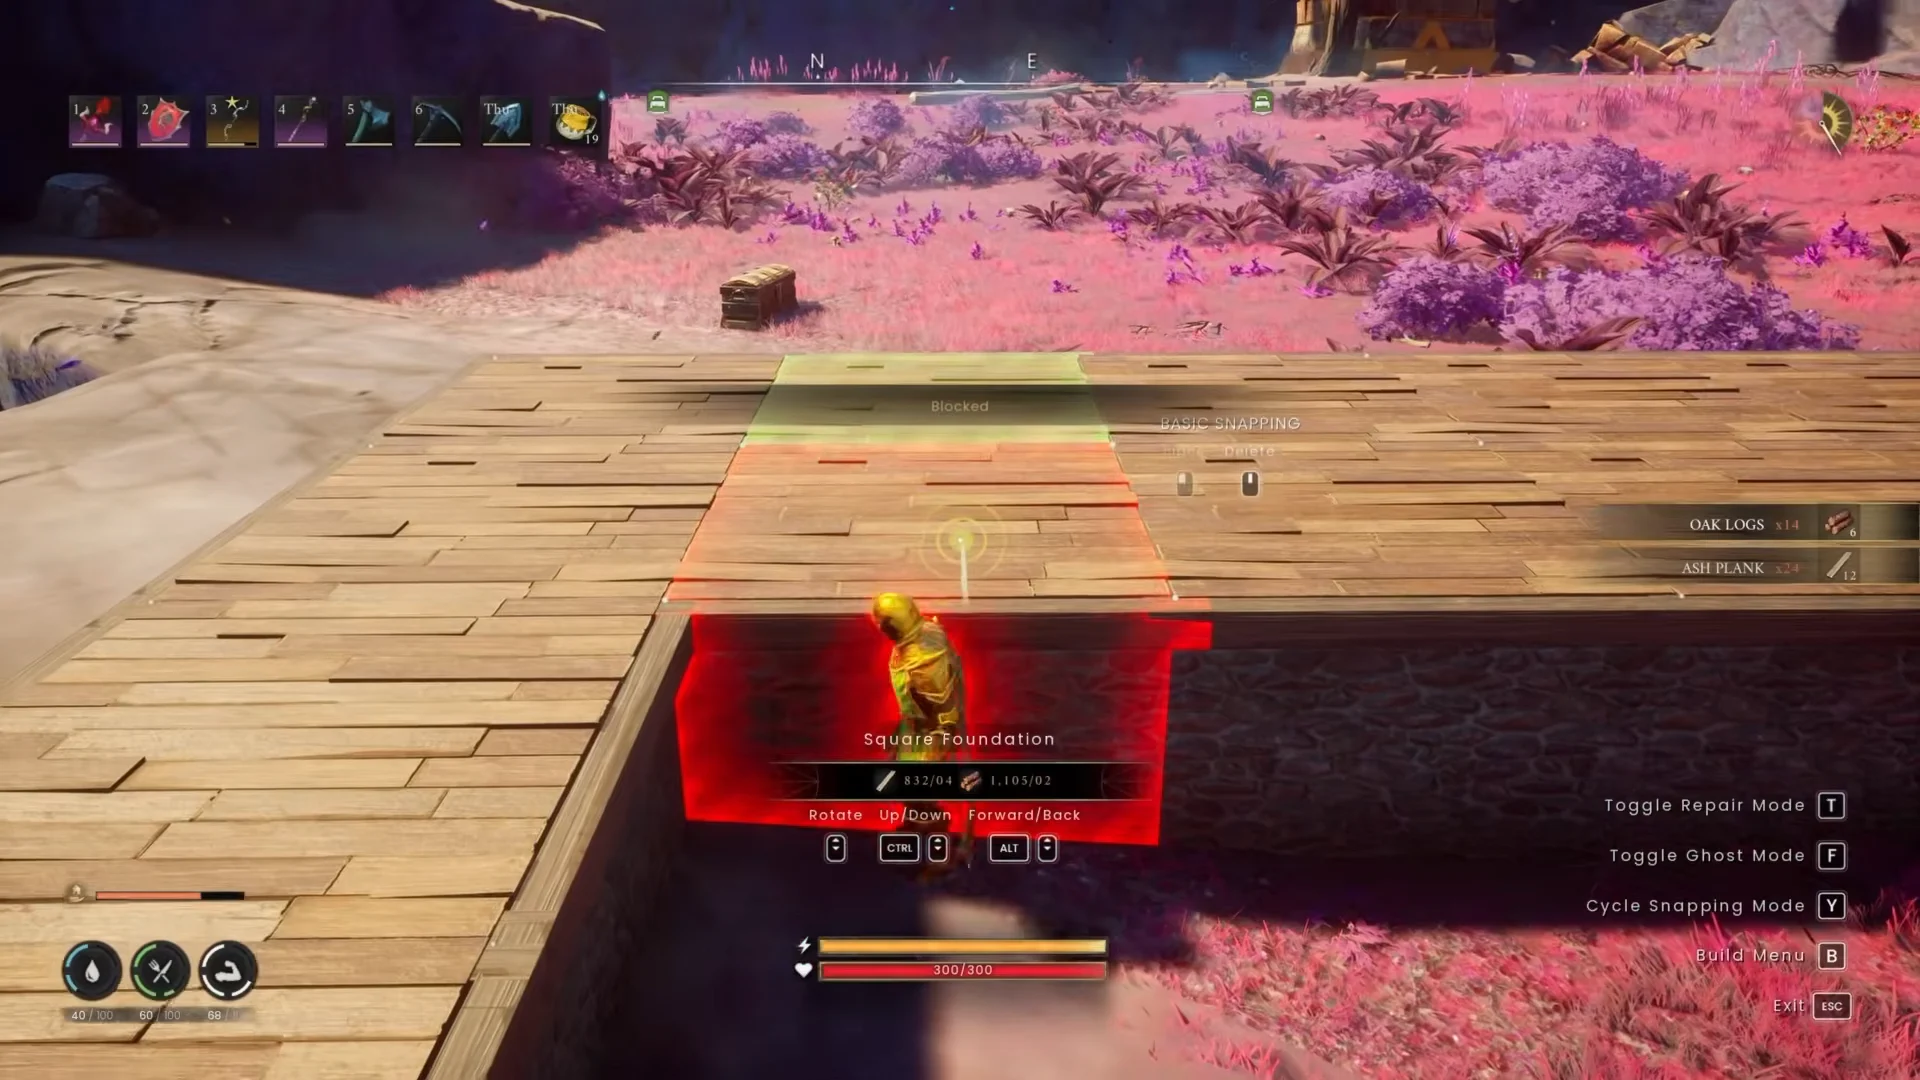
Snap colour is the stability readout. Green means the connection is supported, orange or yellow means the piece is holding on by very little, and red means the game will refuse the placement outright. On cliffside builds, running Vertical Thick Beams and 45° Thick Beams from the rock face up to the underside of the platform converts those orange joins to green.
Long roof spans are where stability bites hardest. If a roof section turns red and will not place, the fix is usually below it rather than beside it — drop Square Foundations directly onto the terrain underneath the floorboards to feed maximum support up through the structure.
Save the Eye of Oculus free camera for roofing and trim once the footprint, doors, and outdoor areas are finalized. Building the roof first wastes materials if the room later requires an additional doorway.
One more scheduling trick: sleep the night away in a claimed bed before a long build session. It preserves food and stamina and puts you back at full daylight, which matters when you are eyeballing beam angles and roof ridges.
Station layout: indoor bench cluster, outdoor production wing
Not every station belongs under the same roof. The rule that keeps an endgame base fast is proximity between storage and the benches you touch constantly, with the bulky, heat-driven equipment pushed outside.
| Placement | Stations | Why |
|---|---|---|
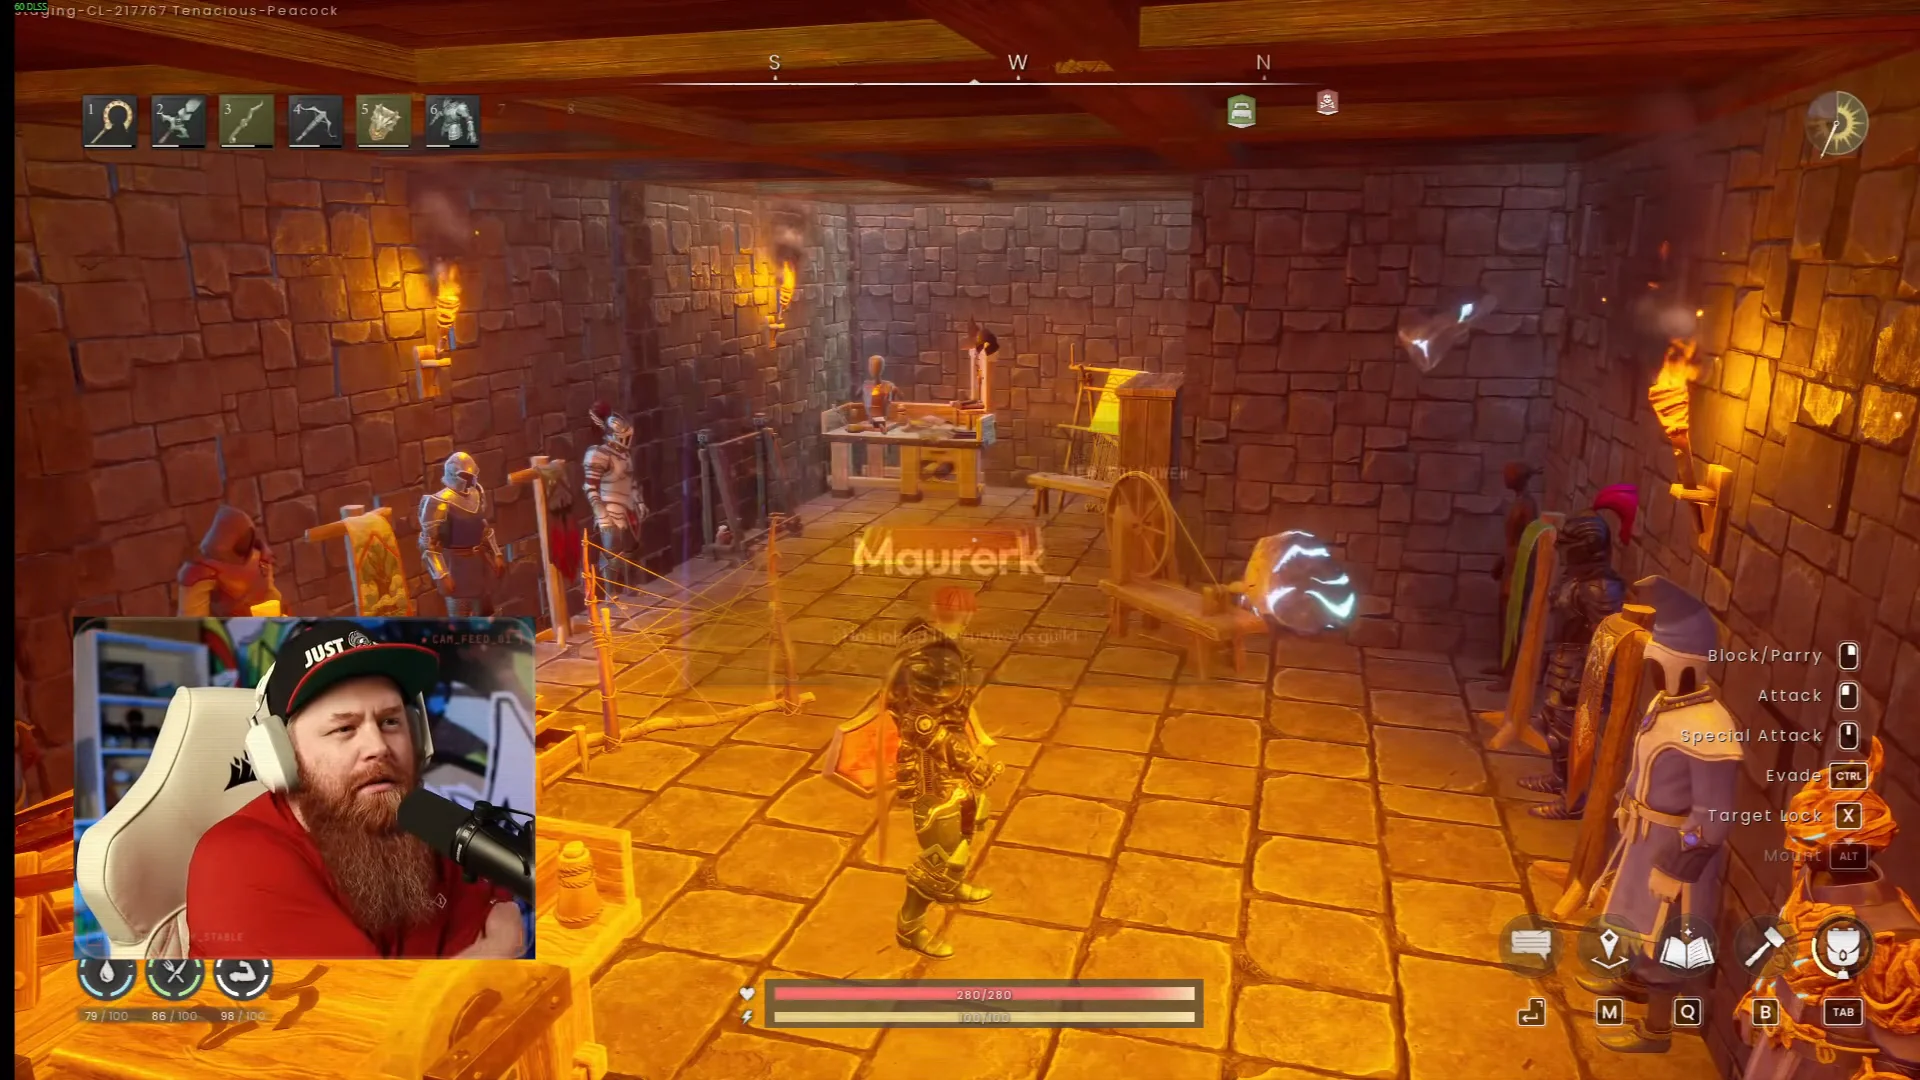
| Indoor, beside storage | Crafting Bench, Armorer Bench, Fletching Bench, Blacksmith’s Bench, Jewelry Bench, Mystic Forge, Tannery, Spinning Wheel, Grill, Cooking Range | Used on every gearing and repair trip |
| Outdoor wing | Furnace, Smelter, Kiln, Loom, Pottery Wheel, Brewing Cauldron, compost bins, campfires | Bulky, open-air, or roof-restricted |
| Edge or balcony | Rune Altar, teleport pad, Grindstone | Out of the main walking lane |
A platform outside the house measuring about three foundations in depth can handle the smelting operation. Plan the workflow sensibly: move ore from storage to the furnace without circling the house, then keep the finished bars near the bench that will use them instead of placing them rooms away.
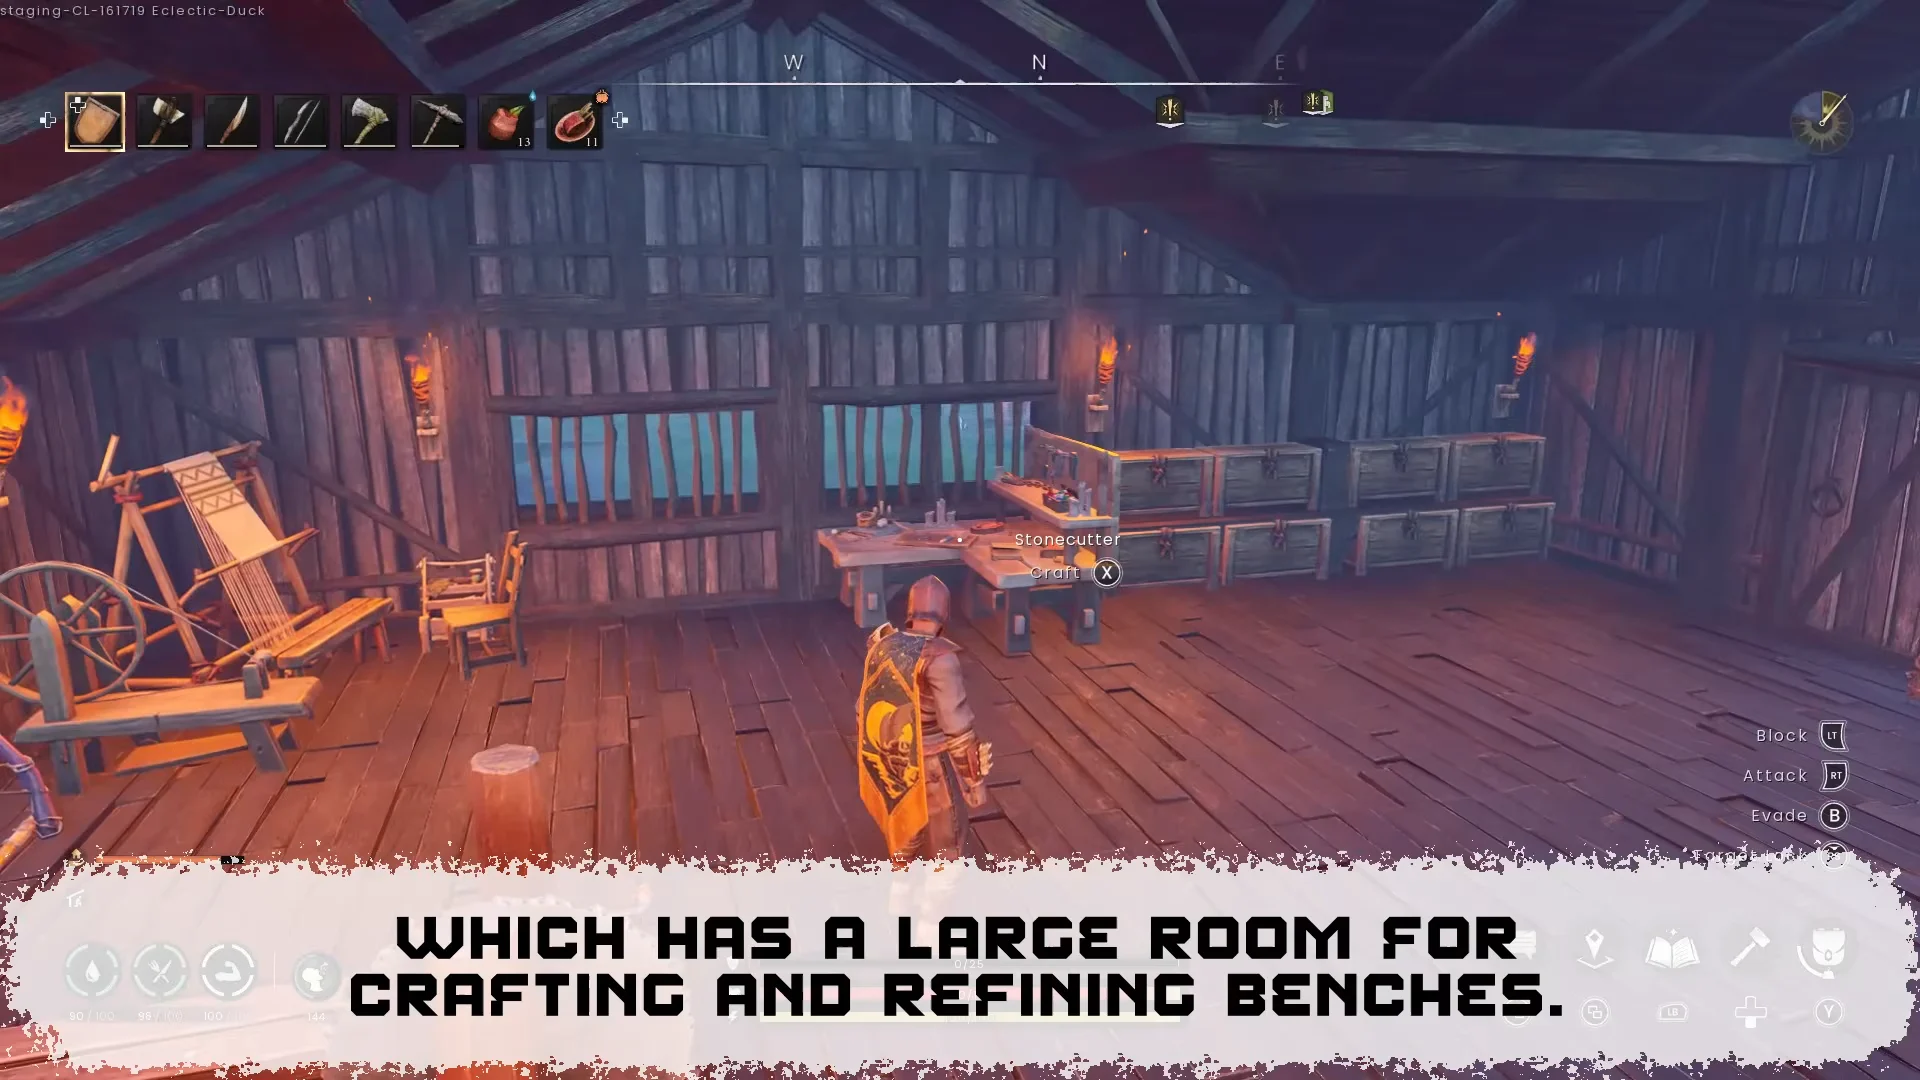
Storage expands more quickly than most players expect. A compact bank of 16 chests handles a medium-sized base well, while reserving room above or beside it lets you add tiers as needed instead of constructing an oversized warehouse before it is full. Give priority to a central location rather than simply adding more chests.
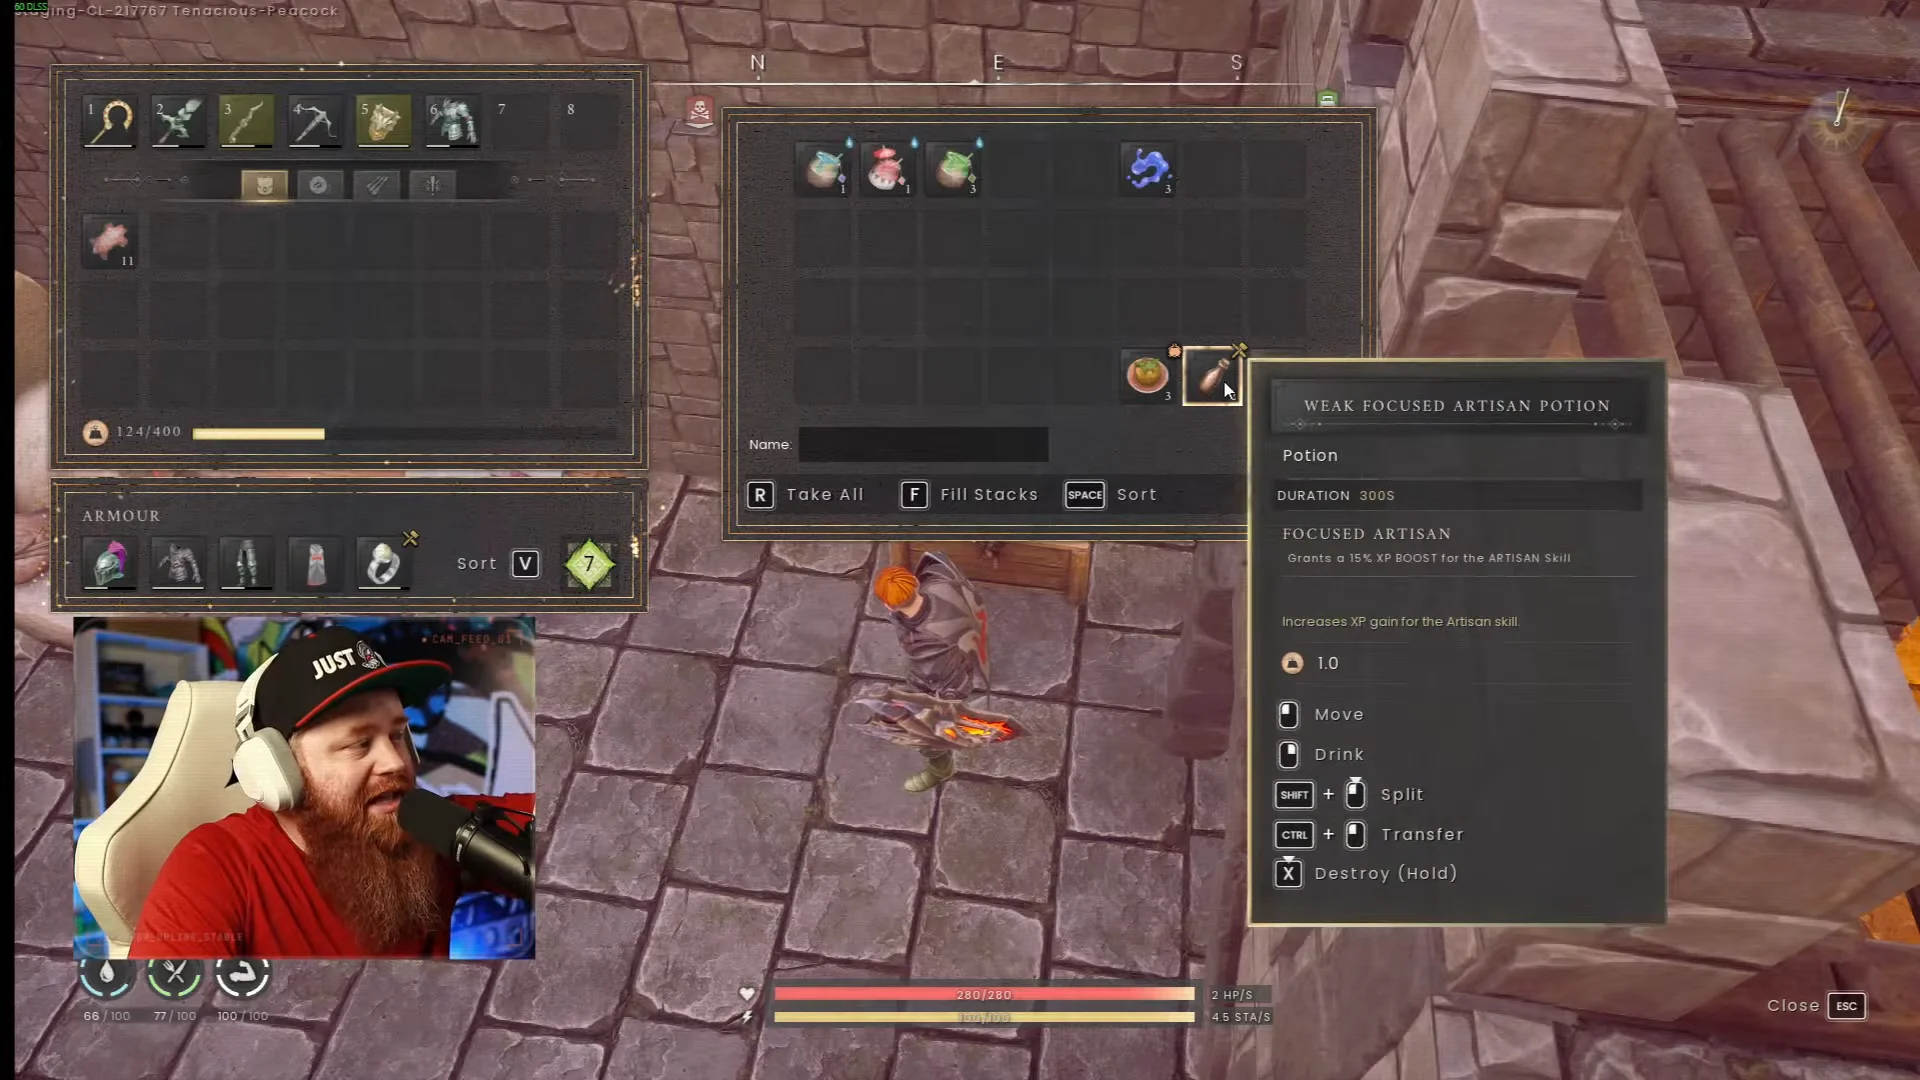
Endgame throughput rewards duplication. Lining up multiple tanneries turns Dragonwolf Hide into Draconic Leather in bulk the moment you sleep, so you wake to a courtyard floor covered in finished stacks. Artisan buffs such as Focused Artisan Potions, the Inspiring Ring of Artisan, and Knowledgeable Nourishment food stack on top of that routine.
Linked storage, the Storage Ledger and Lodestone access
Chests inside build range link into the construction menu, so material counts in the General Build Menu update from everything stored nearby instead of what you are personally carrying. Spreading a few linked chests across a large build site means you can keep placing pieces without walking back to the main storage wall.
Sorting has its own shortcuts. Pressing F deposits matching items into a chest through Fill Stocks, and pressing R pulls an entire container’s inventory at once. The Storage Ledger takes that further by handling matching stacks and letting nearby crafting draw on stored materials.
Constructing a Lodestone uses 1 Vault Core; 32 Stone; and 20 Rune Essence. Dragonkin Vaults provide the Vault Cores. Fast travel consumes Law Runes, and carrying more weight increases the cost, so leave extra ore and building stock behind before a long jump. Keep producing runes at the base.
Checks before you call the base finished
Walk the build once with the build camera up and confirm every structural connection reads green rather than orange. Any remaining warm-coloured join is a piece that will fail as soon as you extend the span above it.
Then test the three restricted placements before decorating. Farming plots should accept placement on the ground strip beside the house, a campfire should place in the uncovered cooking corner, and the roof sections should snap without turning red. Step inside the enclosed portion and the Cosiness buff should apply, which is the confirmation that the walls, roof, and door actually form a sealed home.
After that, the only thing left is the part an endgame base exists for: enough uncommitted ground beside and behind the structure that the next tier of production has somewhere to go without another relocation.