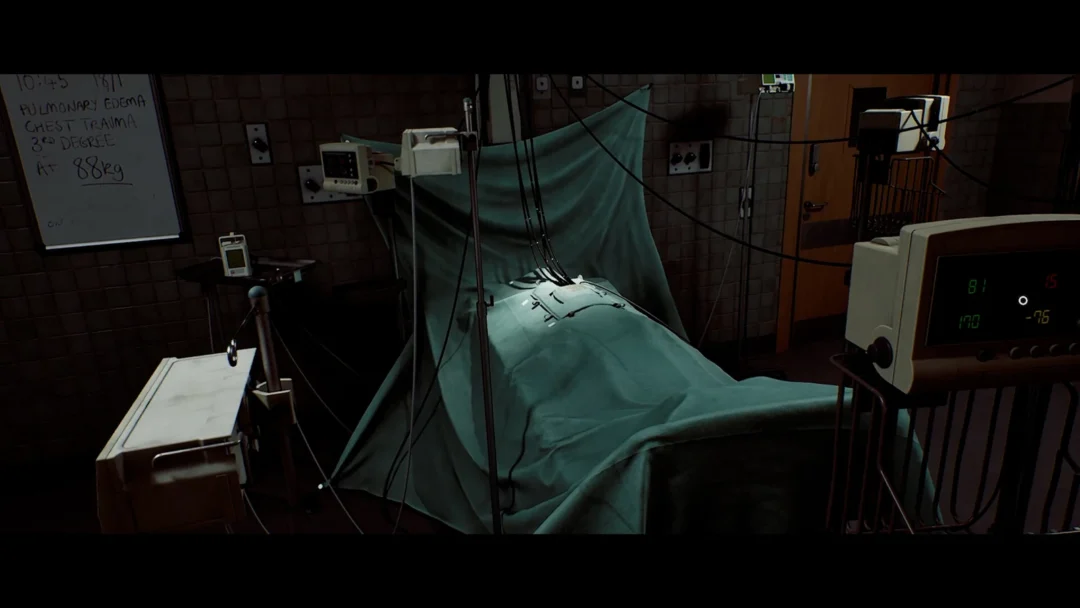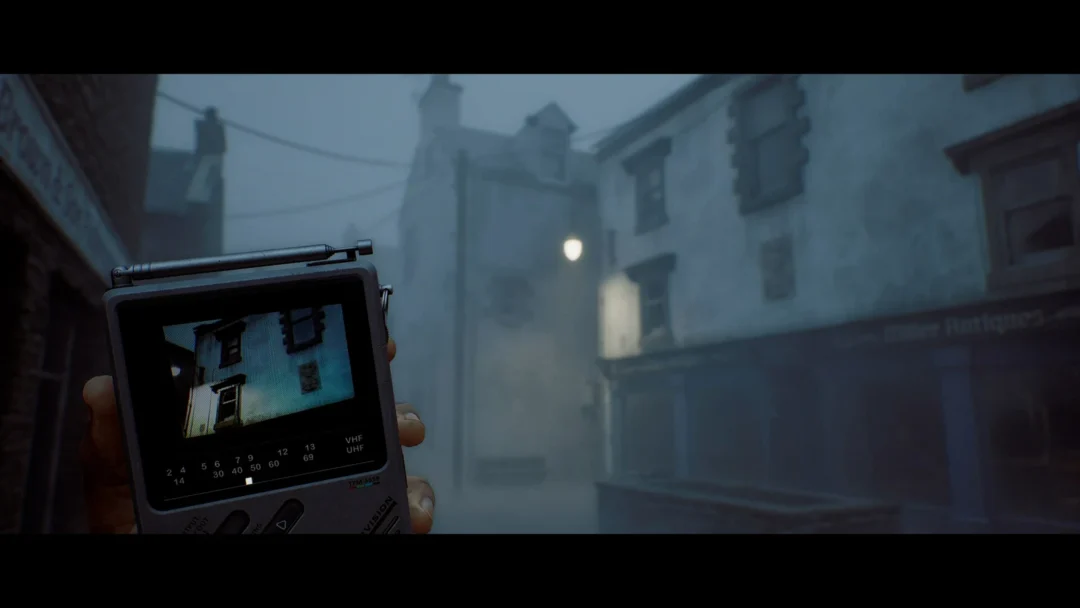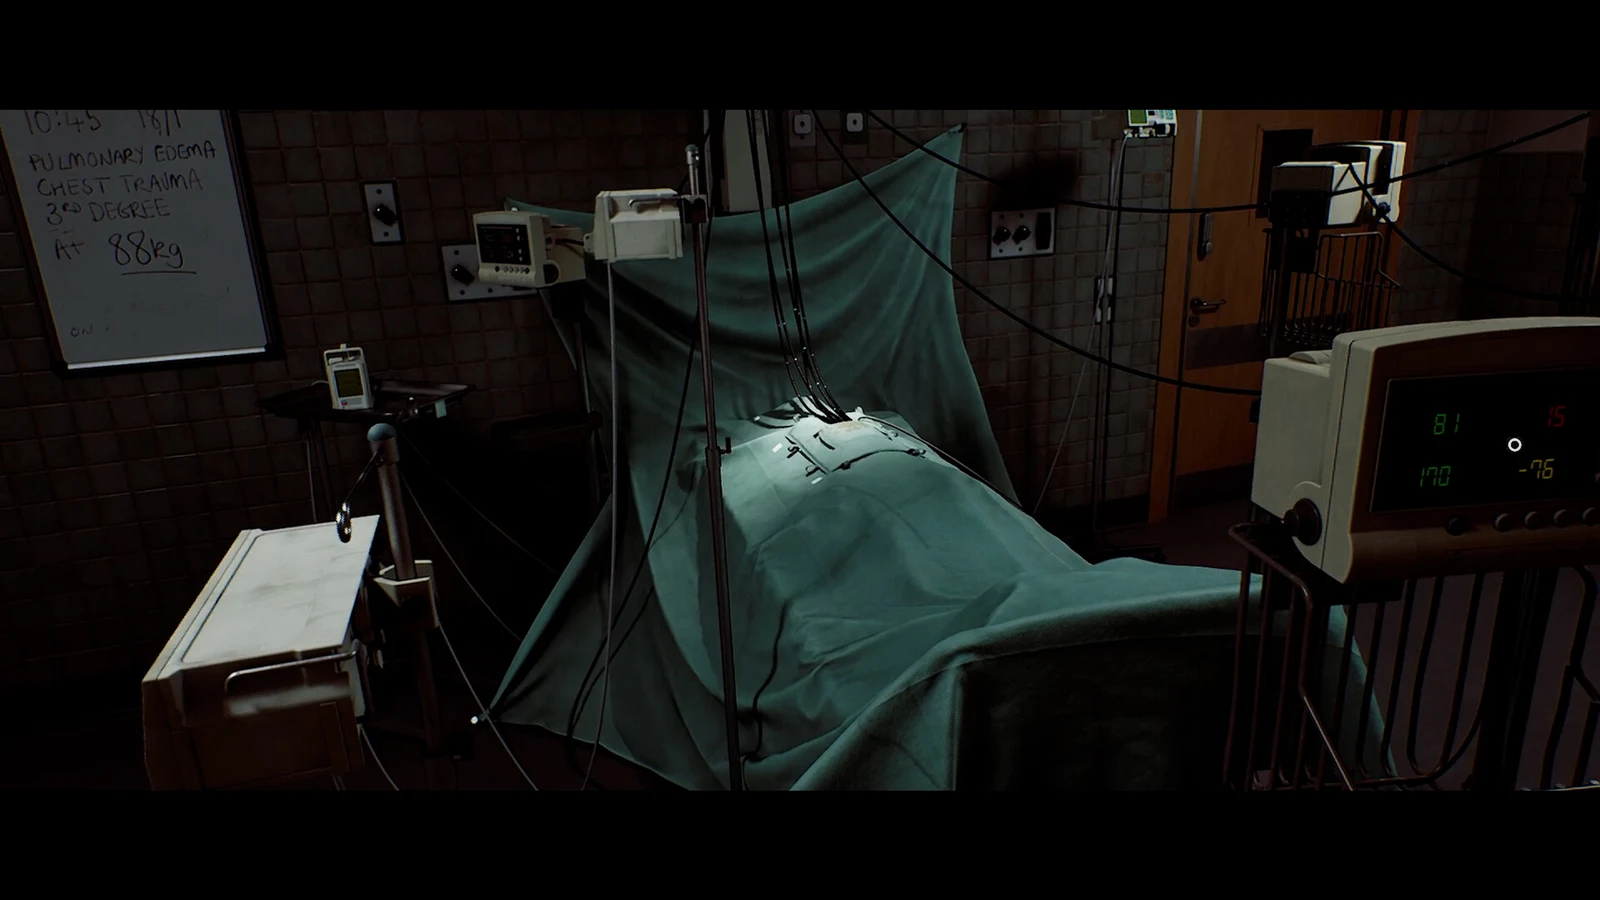
Partway through Part 3 of Silent Hill: Townfall, Dr. Glenn asks Zoe to image the patient lying in the surgery room at St. Amelia Medical Center. Two scans are required — one of the skull, one of the chest — and each needs its own set of dial values on the Zeimann X-ray machine plus a manually aligned camera. Nothing about the sequence is optional, and the story will not move forward until both films are printed.
Quick answer: Open the X-ray room with code 7103, power up the computer and Zeimann machine, then run Skull at kV 3 / mA 7 / Time 1 and Chest at kV 7 / mA 3 / Time 1.2.
Report the patient’s vitals to Dr. Glenn first
The X-ray objective does not unlock until you have answered Dr. Glenn’s three questions over the wall intercom to the right of the patient. Grab the St. Amelia Medical Center map off the wall at the start of the chapter, then walk to each monitor and read the number before replying.
| Reading | Value | Machine location |
|---|---|---|
| Blood pressure | 70 systolic / 40 diastolic | Right of the patient |
| Pulse | 162 | Foot of the bed |
| Blood oxygen | 80% SpO2 | Left of the patient |
Once all three are reported correctly, Dr. Glenn tells Zoe to take X-ray imaging, which is your cue to head for the room next door.
X-ray room door code and machine power
The X-ray control area sits directly beside the surgery room and is locked behind an electronic keypad. Enter 7103 to open it.
A four-digit combination of 5241 has also been seen on this same lock, so if 7103 is rejected, try that before assuming the pad is broken.
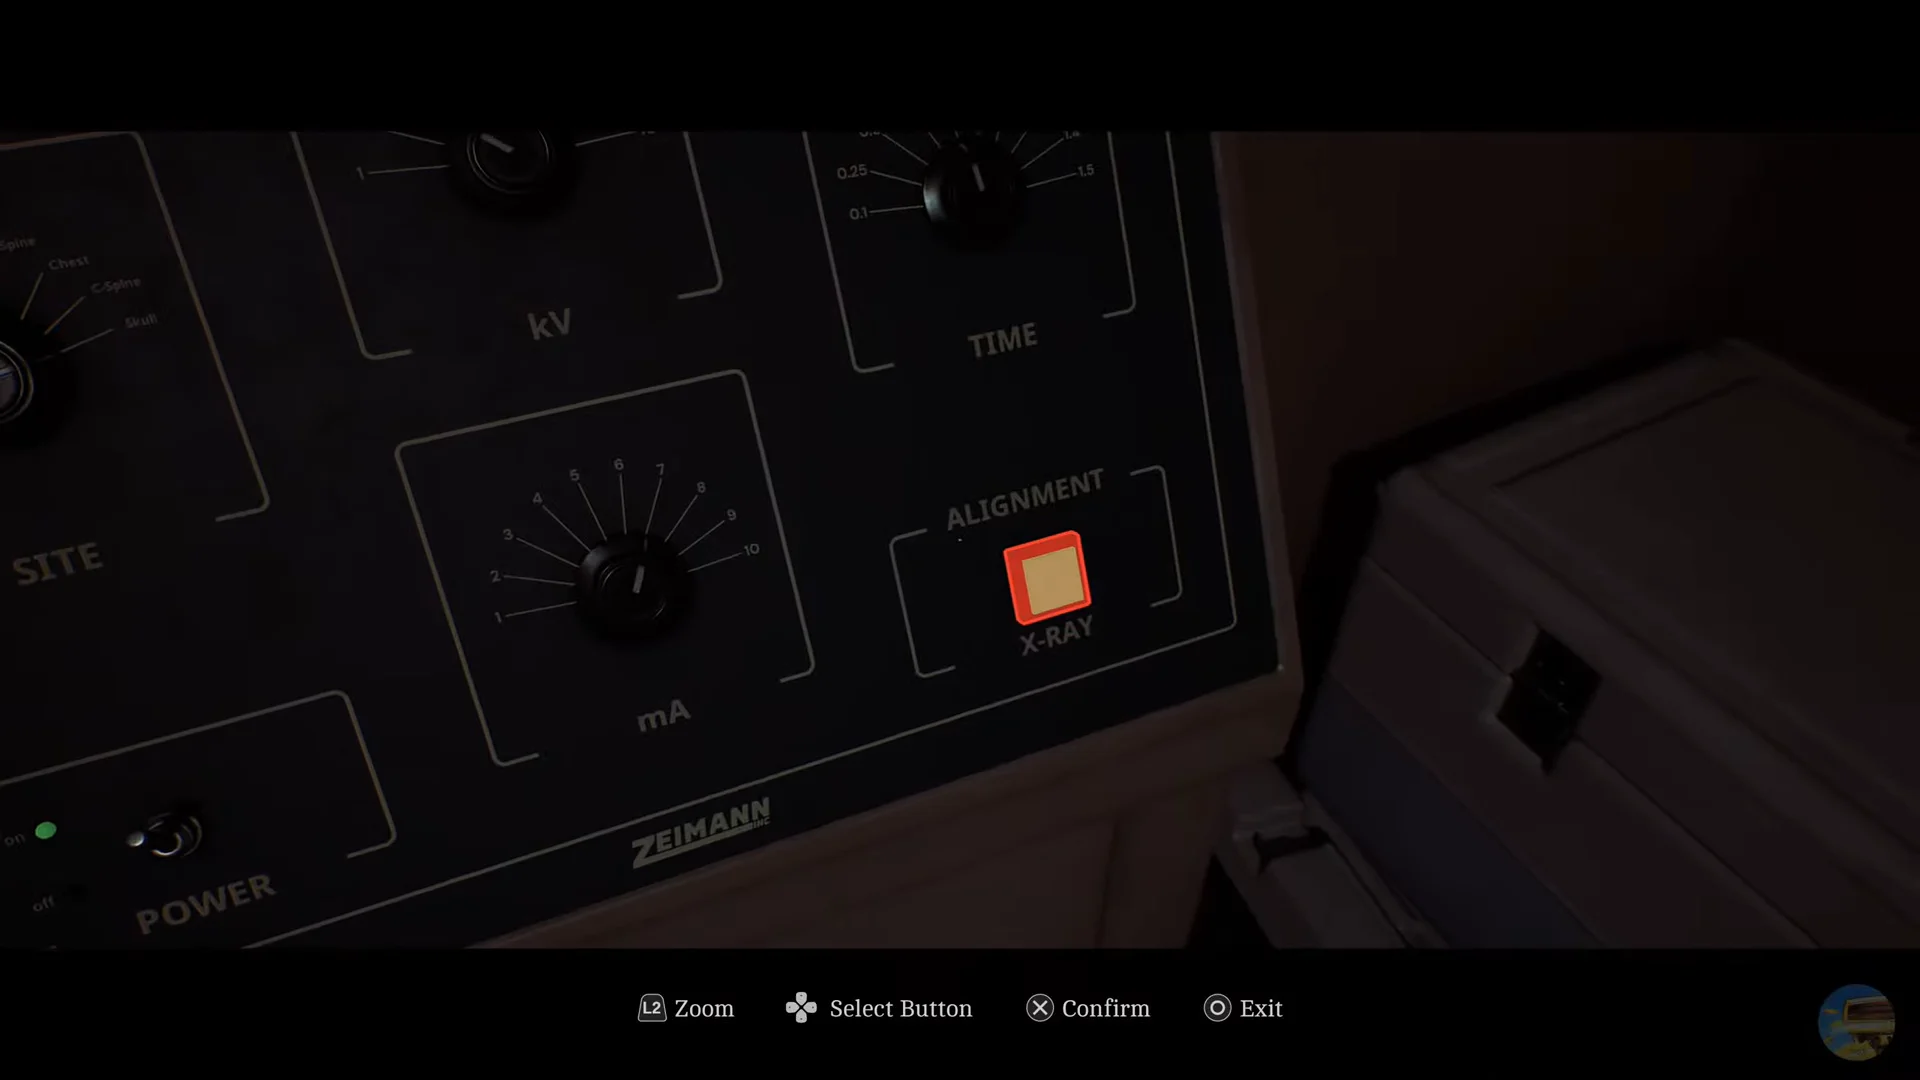
Inside, two pieces of hardware need switching on. The computer terminal has a small switch underneath the monitor, and the Zeimann X-ray machine has a power switch you flick down to bring it online. If the camera view is dead when you interact with the terminal, one of those two is still off.
The game displays these values too. Use the computer beside the patient on the left, then select the X-Ray Dosage Table to see the proper exposure settings for areas such as the Skull and Chest.
Zeimann machine settings for both scans
| Dial | Head scan | Chest scan |
|---|---|---|
| Site | Skull | Chest |
| kV | 3 | 7 |
| mA | 7 | 3 |
| Time | 1 | 1.2 |
The kV and mA values swap between the two scans, which is the easiest thing to get wrong. Time is the only dial that changes to a decimal, moving from 1 to 1.2 for the chest.
Head X-ray: Dials, alignment, and exposure
Chest X-ray: Dials, alignment, and exposure
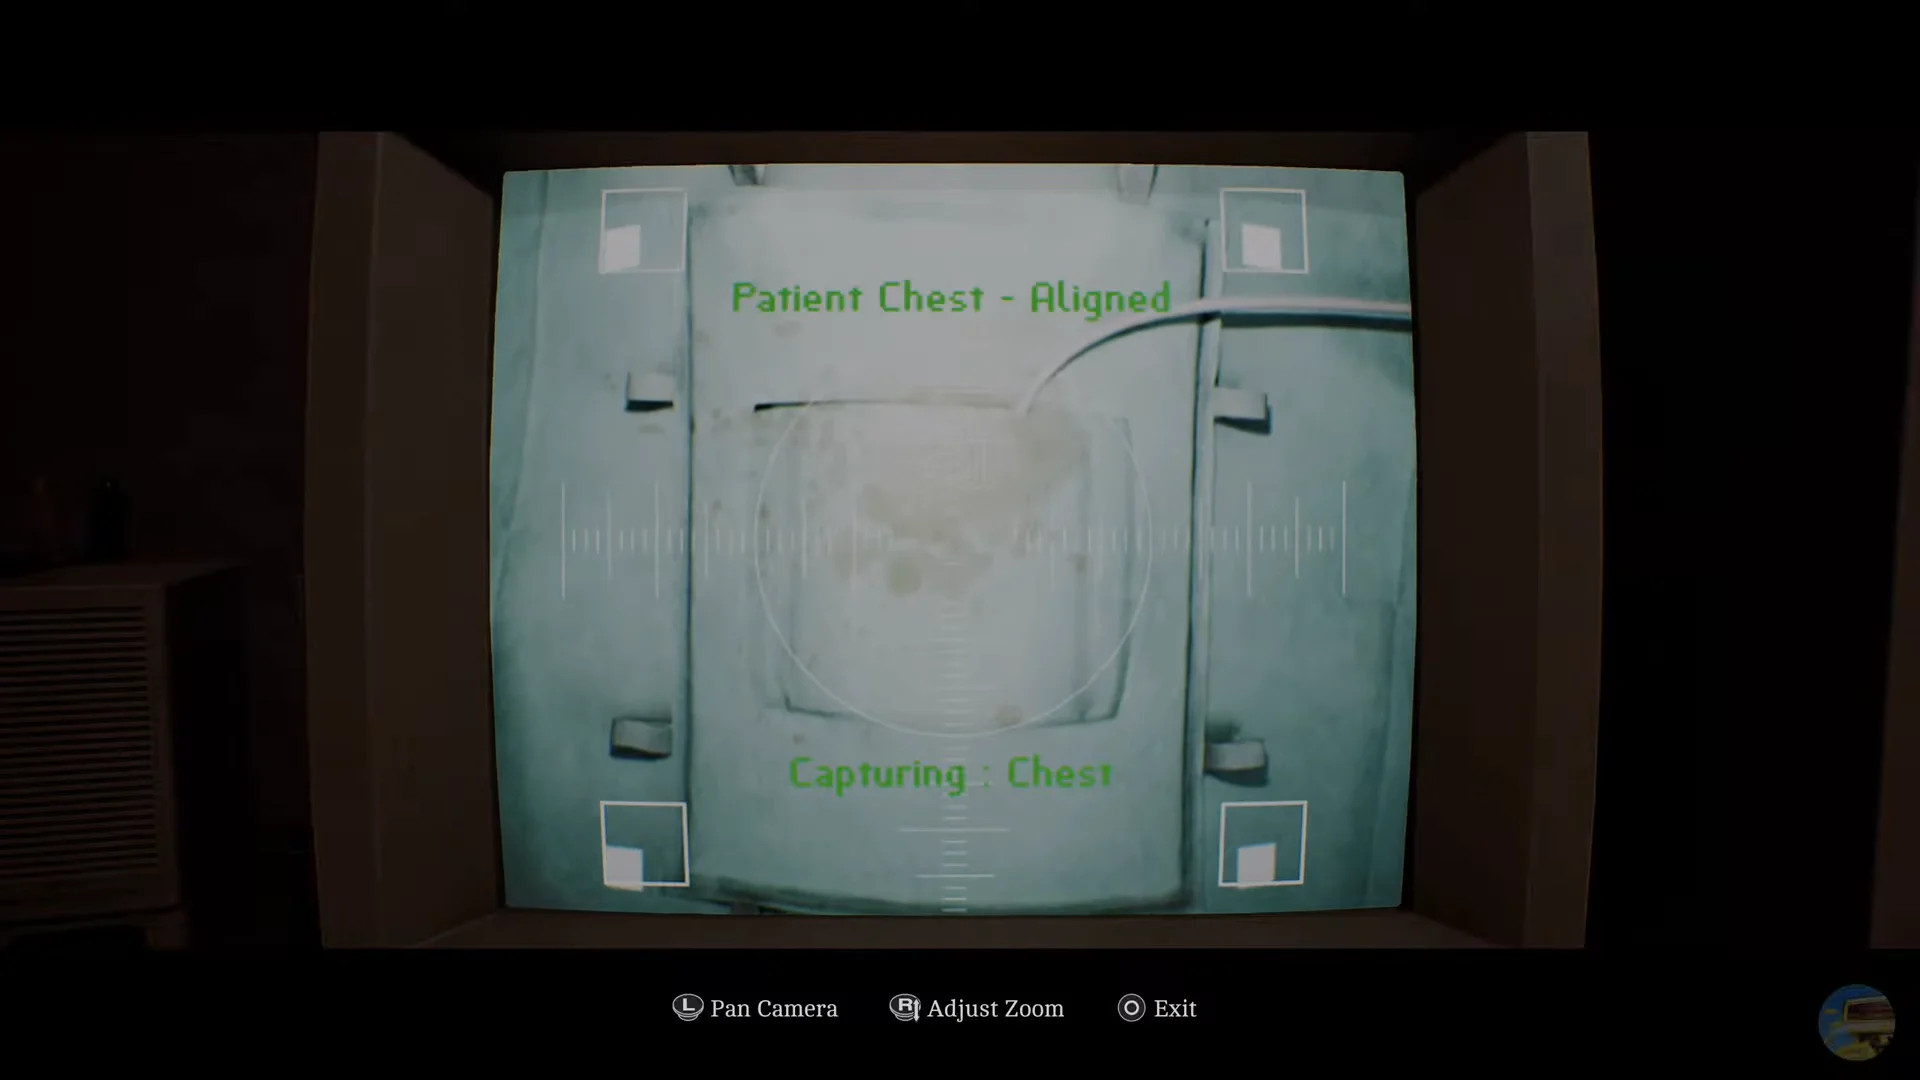
How to confirm the X-ray puzzle is complete
Turn around from the console and check the printer output. Both films appear there as the Head and Chest X-Rays, described in the inventory as X-ray films of a patient’s head and chest. If only one is waiting, the second exposure did not take and you need to re-check the dials and the alignment text.
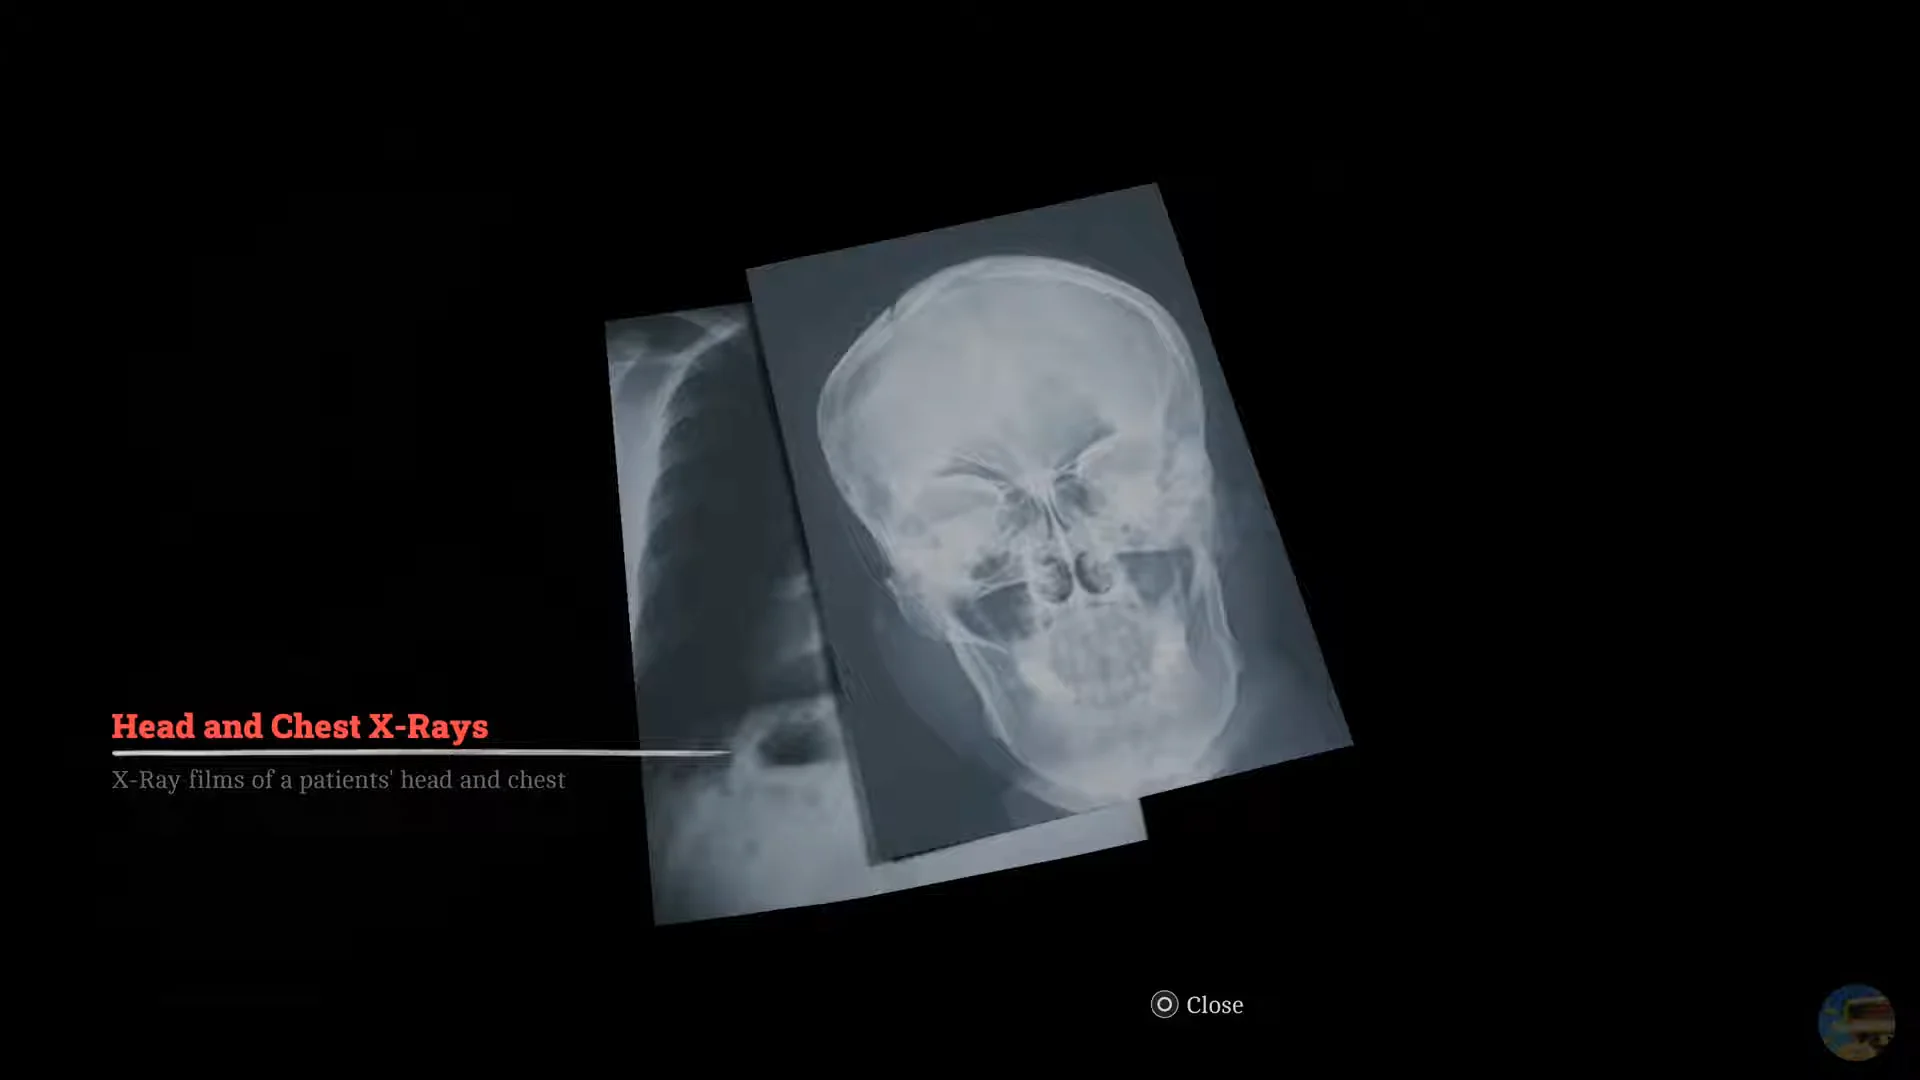
Carry both films back to the surgery room and place them on the whiteboard beside the intercom. Examine them there and speak to Dr. Glenn again. The moment that conversation ends, a new objective appears, which is the clearest signal the imaging section is finished.
What the X-rays unlock next
Reading the films sends Zoe out into the Medical Center for three drugs: Tensobromide 11mg, Dextracyclate 2.5mg, and Hydroxalene 3mg. Monsters are active in the corridors from this point on, though they will not follow you into the surgery room.
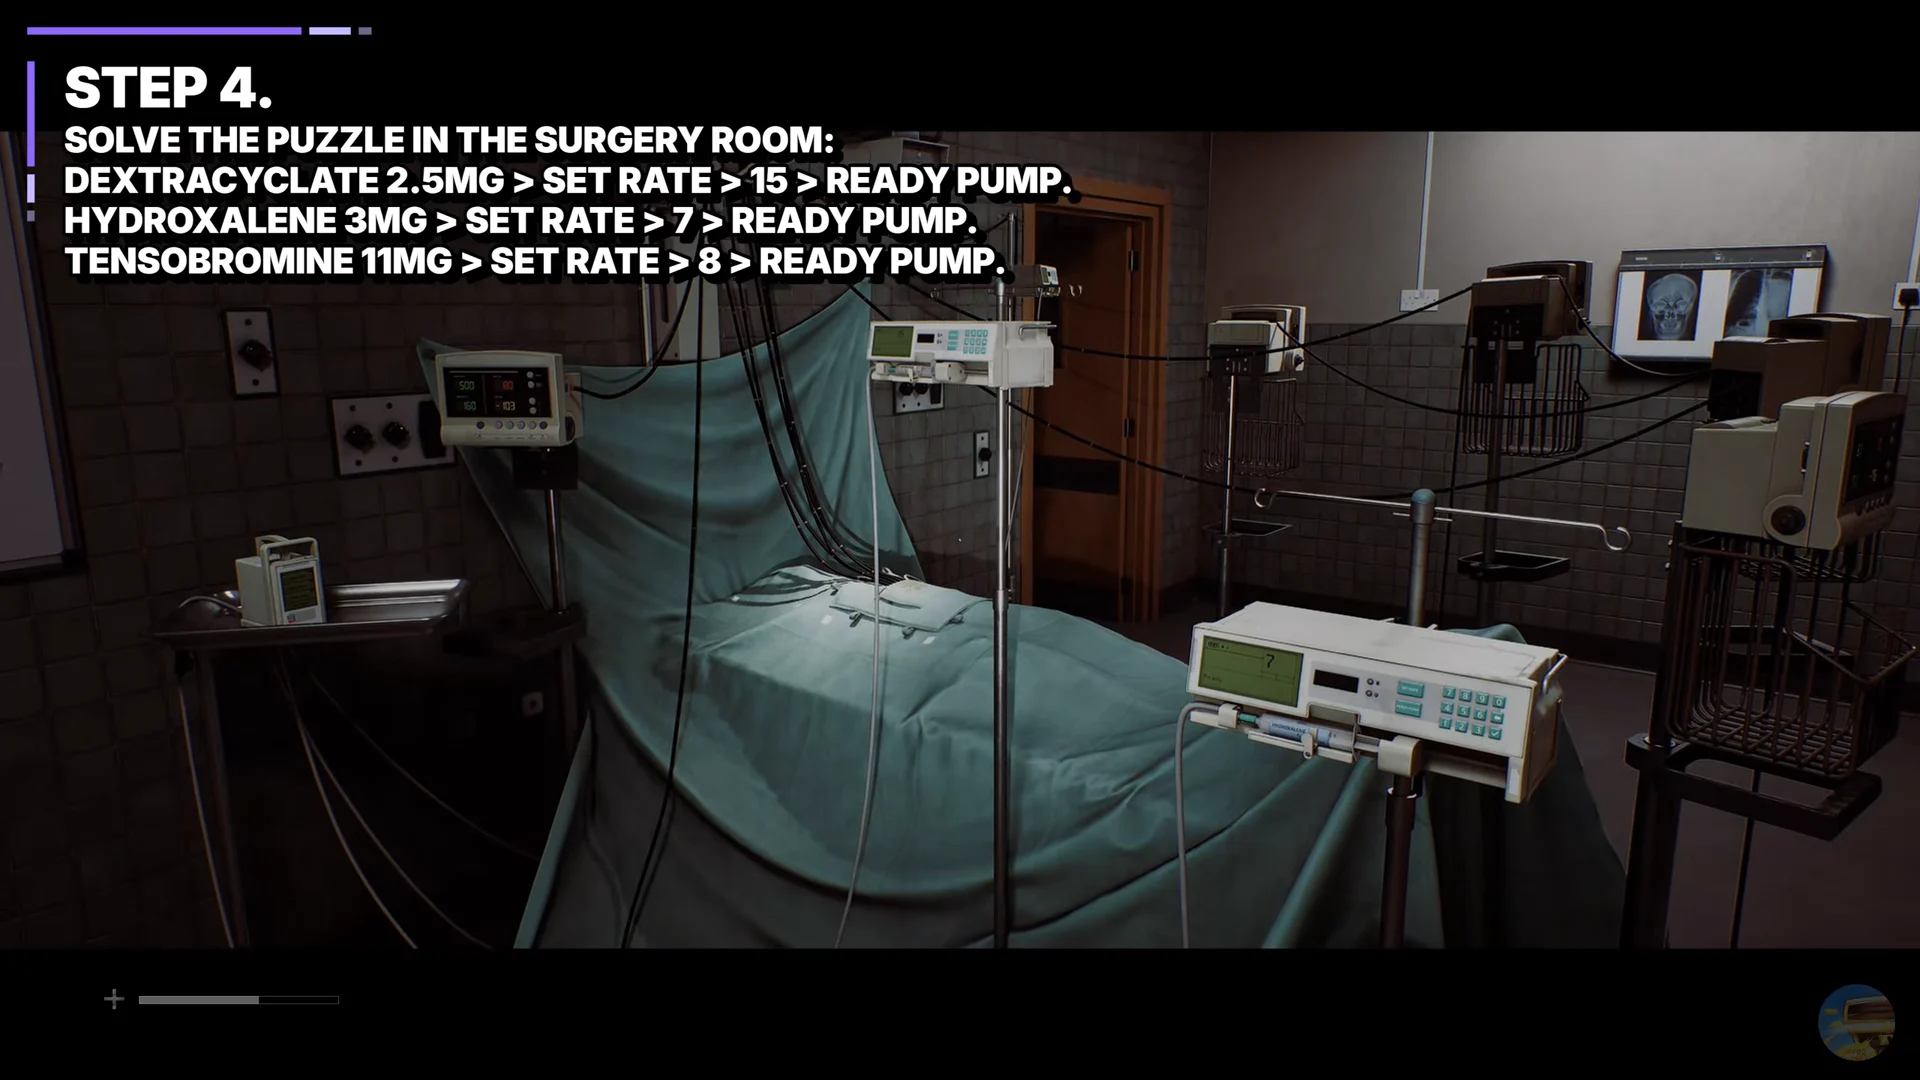
Back at the bed, each syringe goes into one of the three infusion pumps. Load the drug, press SET RATE, enter the number, then confirm with READY PUMP. Dextracyclate runs at 15, Tensobromide at 8, and Hydroxalene at 7 for the 88kg patient.
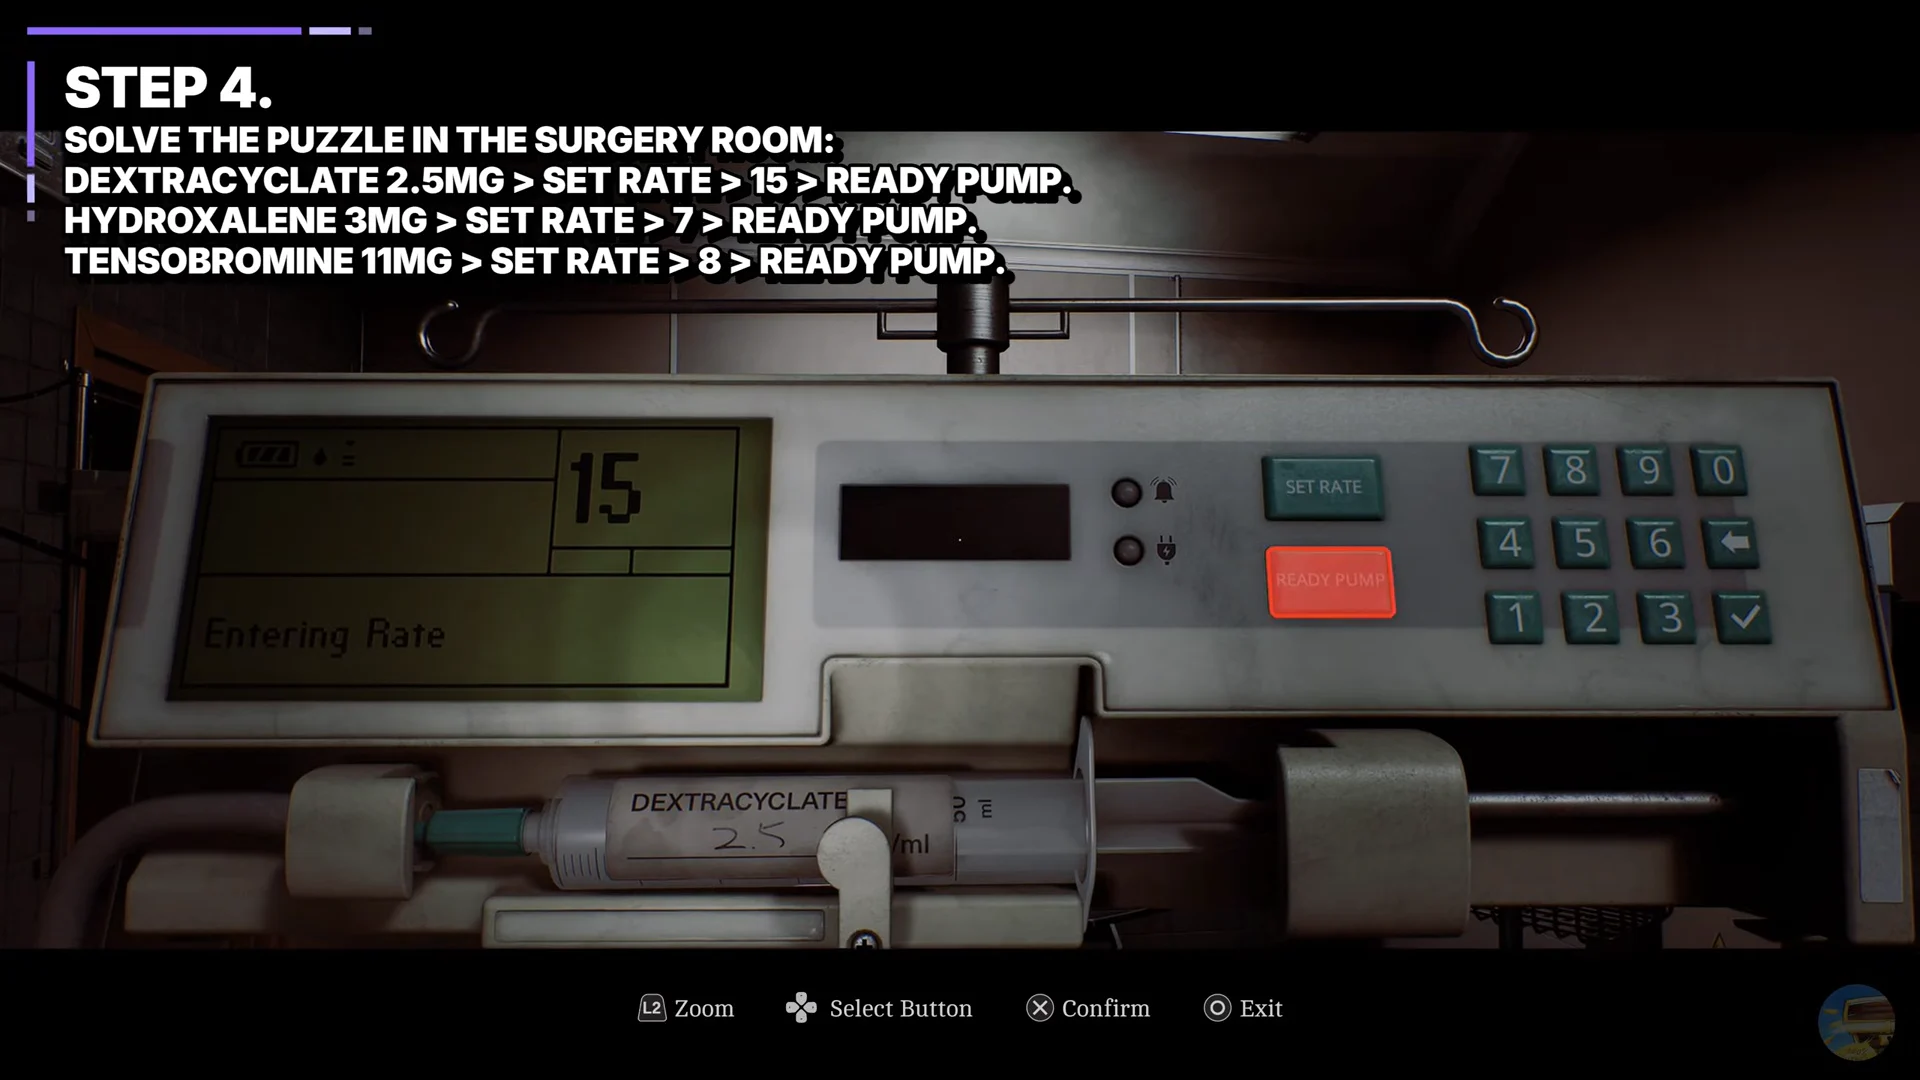
With all three pumps showing as ready, press the start button on the small control monitor to begin the infusion. The patient’s vitals start stabilizing, and the chapter moves on to retrieving the intubation kit.