Lucky Catch — shown in-game as Lucky Strike — is the roll every Aniimo farmer wants, because it drops Sparkling Crystals and pushes the Prismatic Energy of the area you are standing in. The obvious assumption is that a fancier Aniipod buys you more of them. It does not.
Quick answer: Use standard Aniipods. Pod rarity has no effect on Lucky Strike odds, so the cheapest pod at 3,500 credits gives you the most throws — and the most Lucky Catches — per credit spent.
How Lucky Catch works in Aniimo
A Lucky Strike fires at random while you are catching a wild Aniimo. The rarity of the Aniipod you threw does not change the chance, and neither does the current Prismatic Energy state of the zone. It is a flat roll attached to the act of catching.
It also only happens on catches. Hatching eggs never produces a Lucky Strike — eggs run their own separate chance for a higher-rarity Aniimo.
When one triggers, two things happen. The surrounding area’s Prismatic Energy ticks up, which matters because it raises your odds of finding Prismana Aniimo, and 20 Sparkling Crystals drop after the catch resolves.
Aniipod prices and what 7 million credits buys
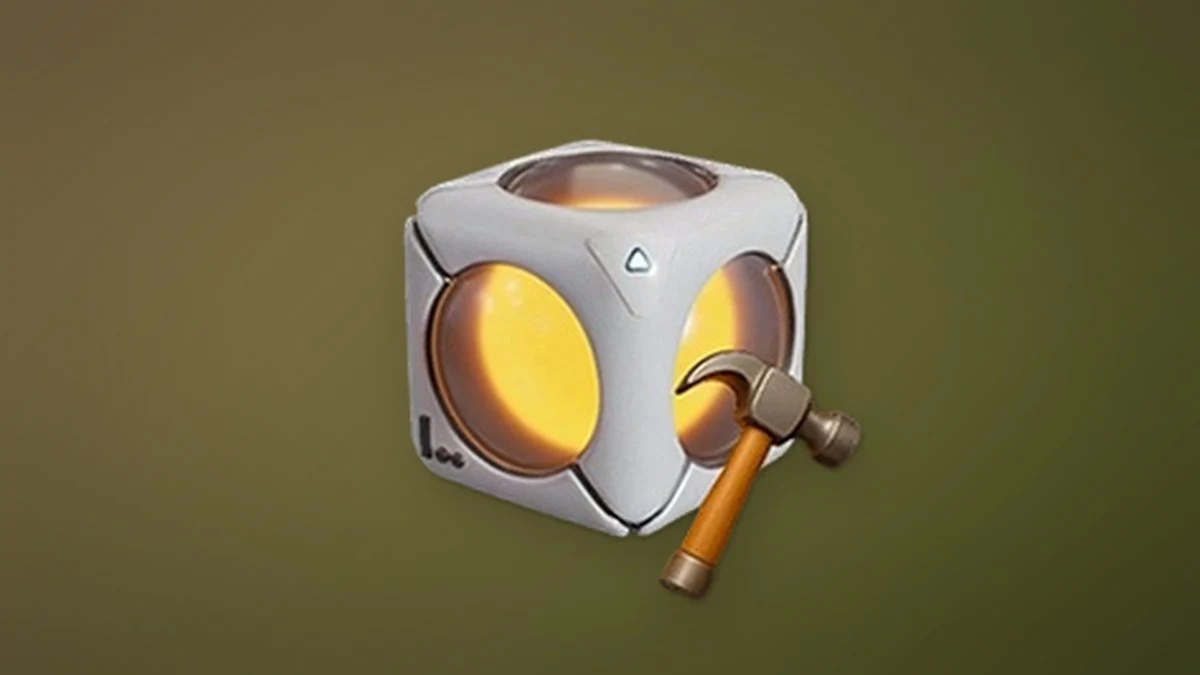
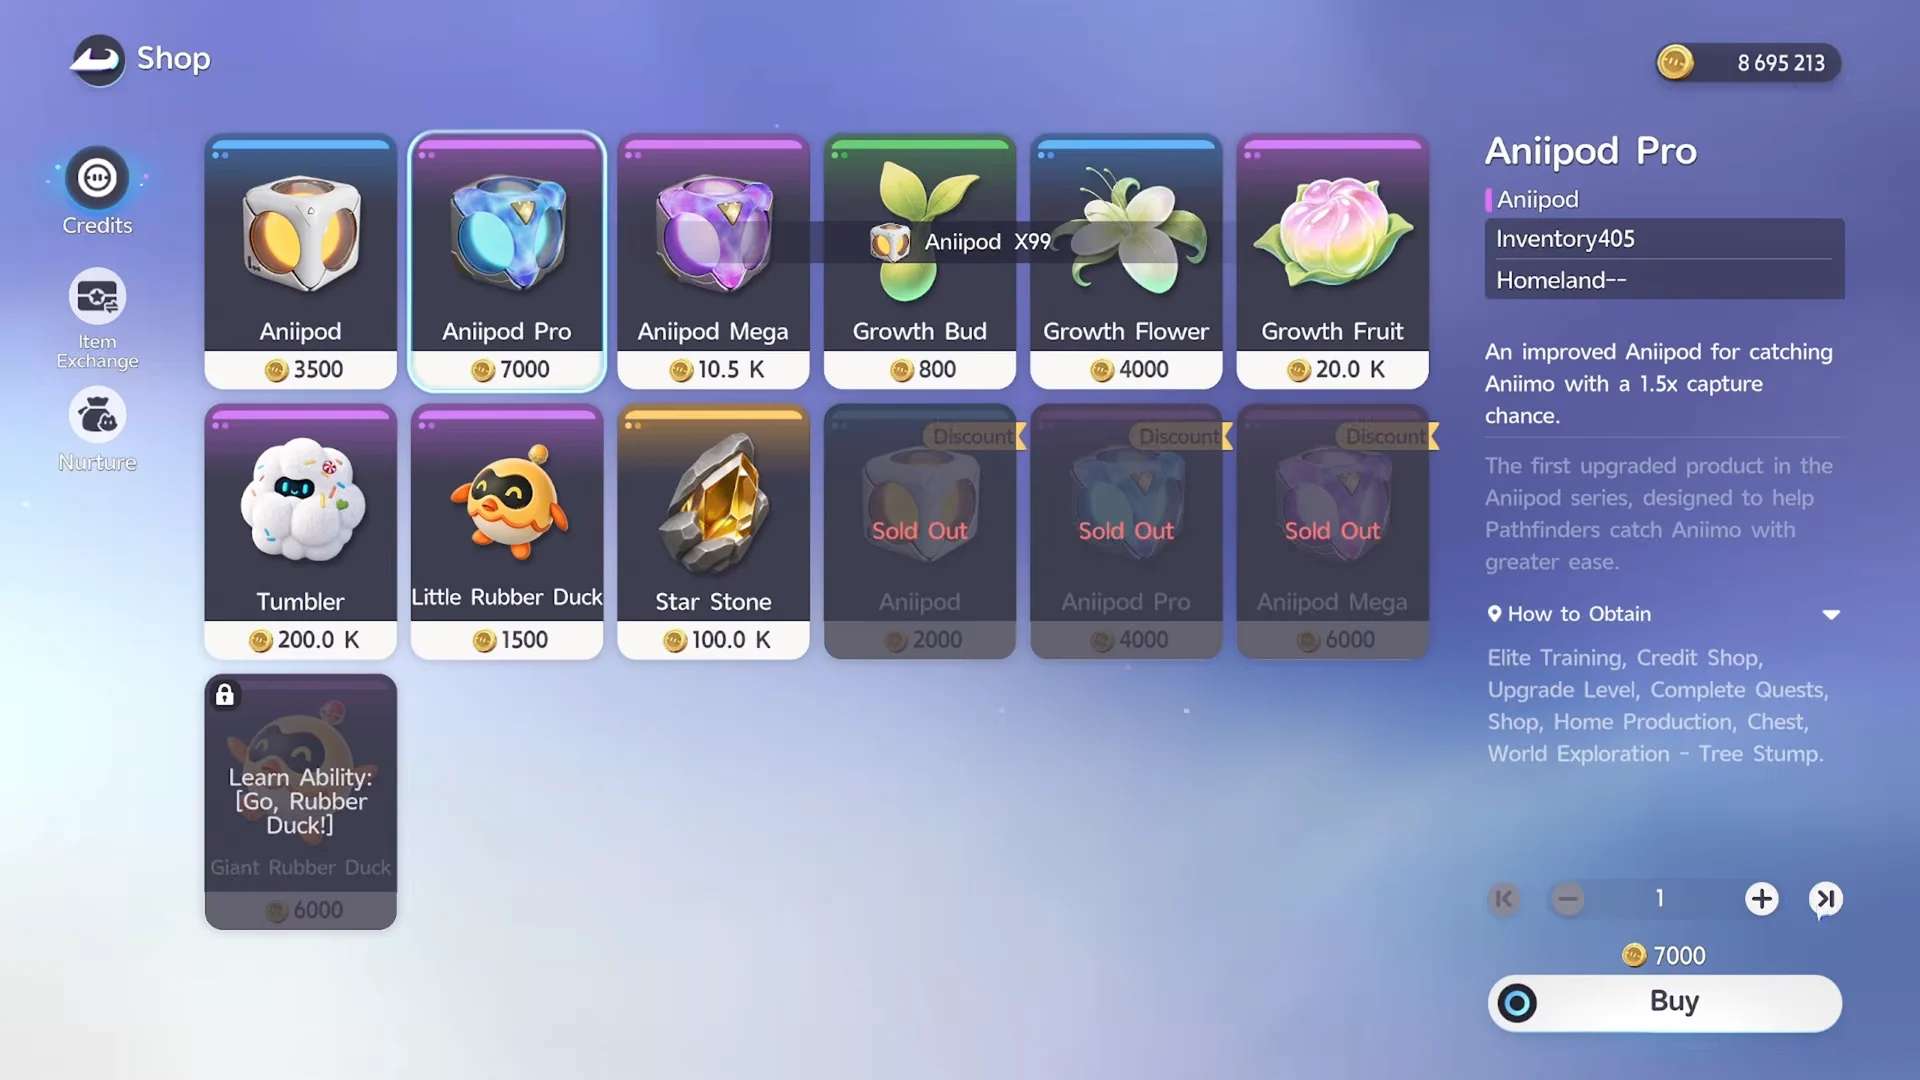
Because the trigger is per-catch rather than per-pod-tier, the only number that matters for farming is how many throws your credits convert into. The Outpost shop sells the three farmable tiers at fixed prices.
| Aniipod | Price | Throws per 7,000,000 credits |
|---|---|---|
| Aniipod | 3,500 | 2,000 |
 Aniipod Pro Aniipod Pro | 7,000 | 1,000 |
 Aniipod Mega Aniipod Mega | 10,500 | 667 |
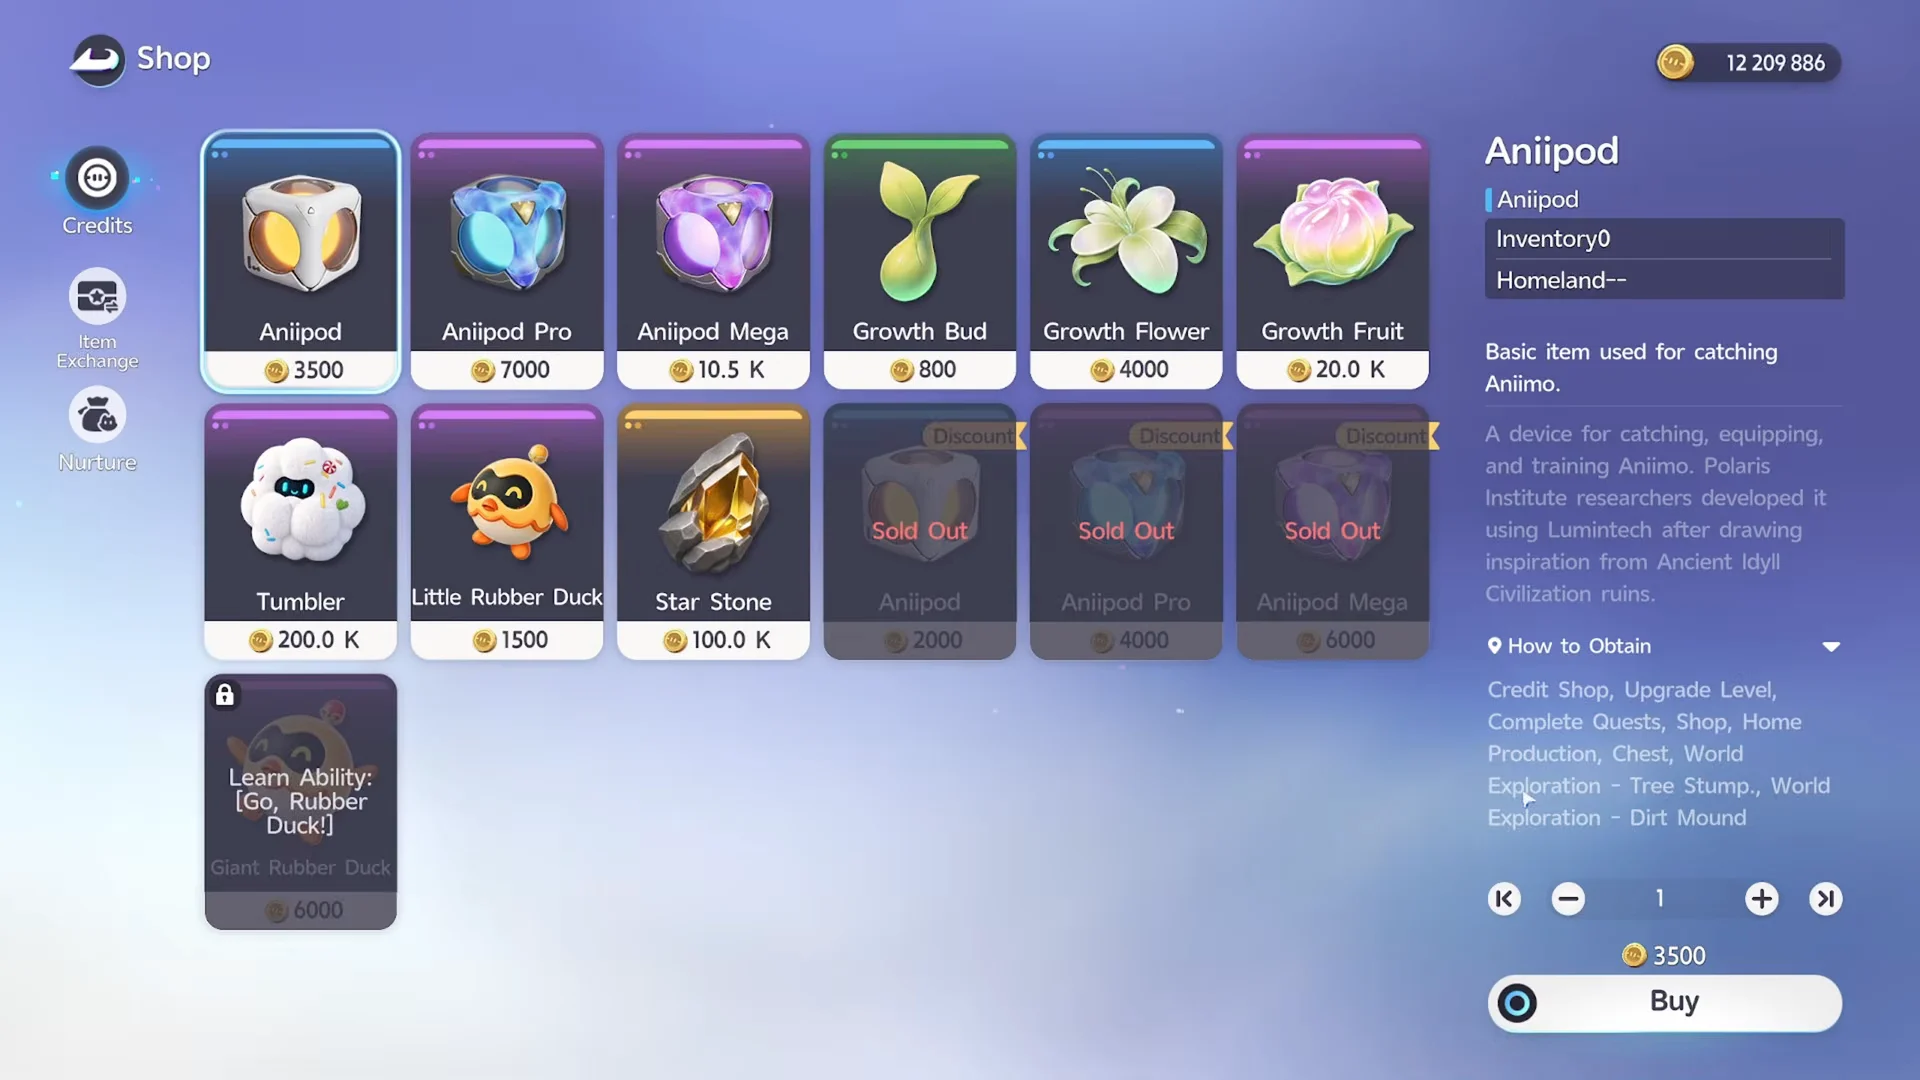
A Mega costs three times what a standard pod costs and rolls the same Lucky Strike chance on the catch. That is the entire argument, and the throw counts above are the reason a 3,500-credit pod wins a farming session outright.
Buy in blocks of 500 so you are not walking back to the vendor mid-session, and clear inventory space first — filling your creature storage stops a farming run faster than running out of pods does.
Lucky Catch results across 3,667 pod throws
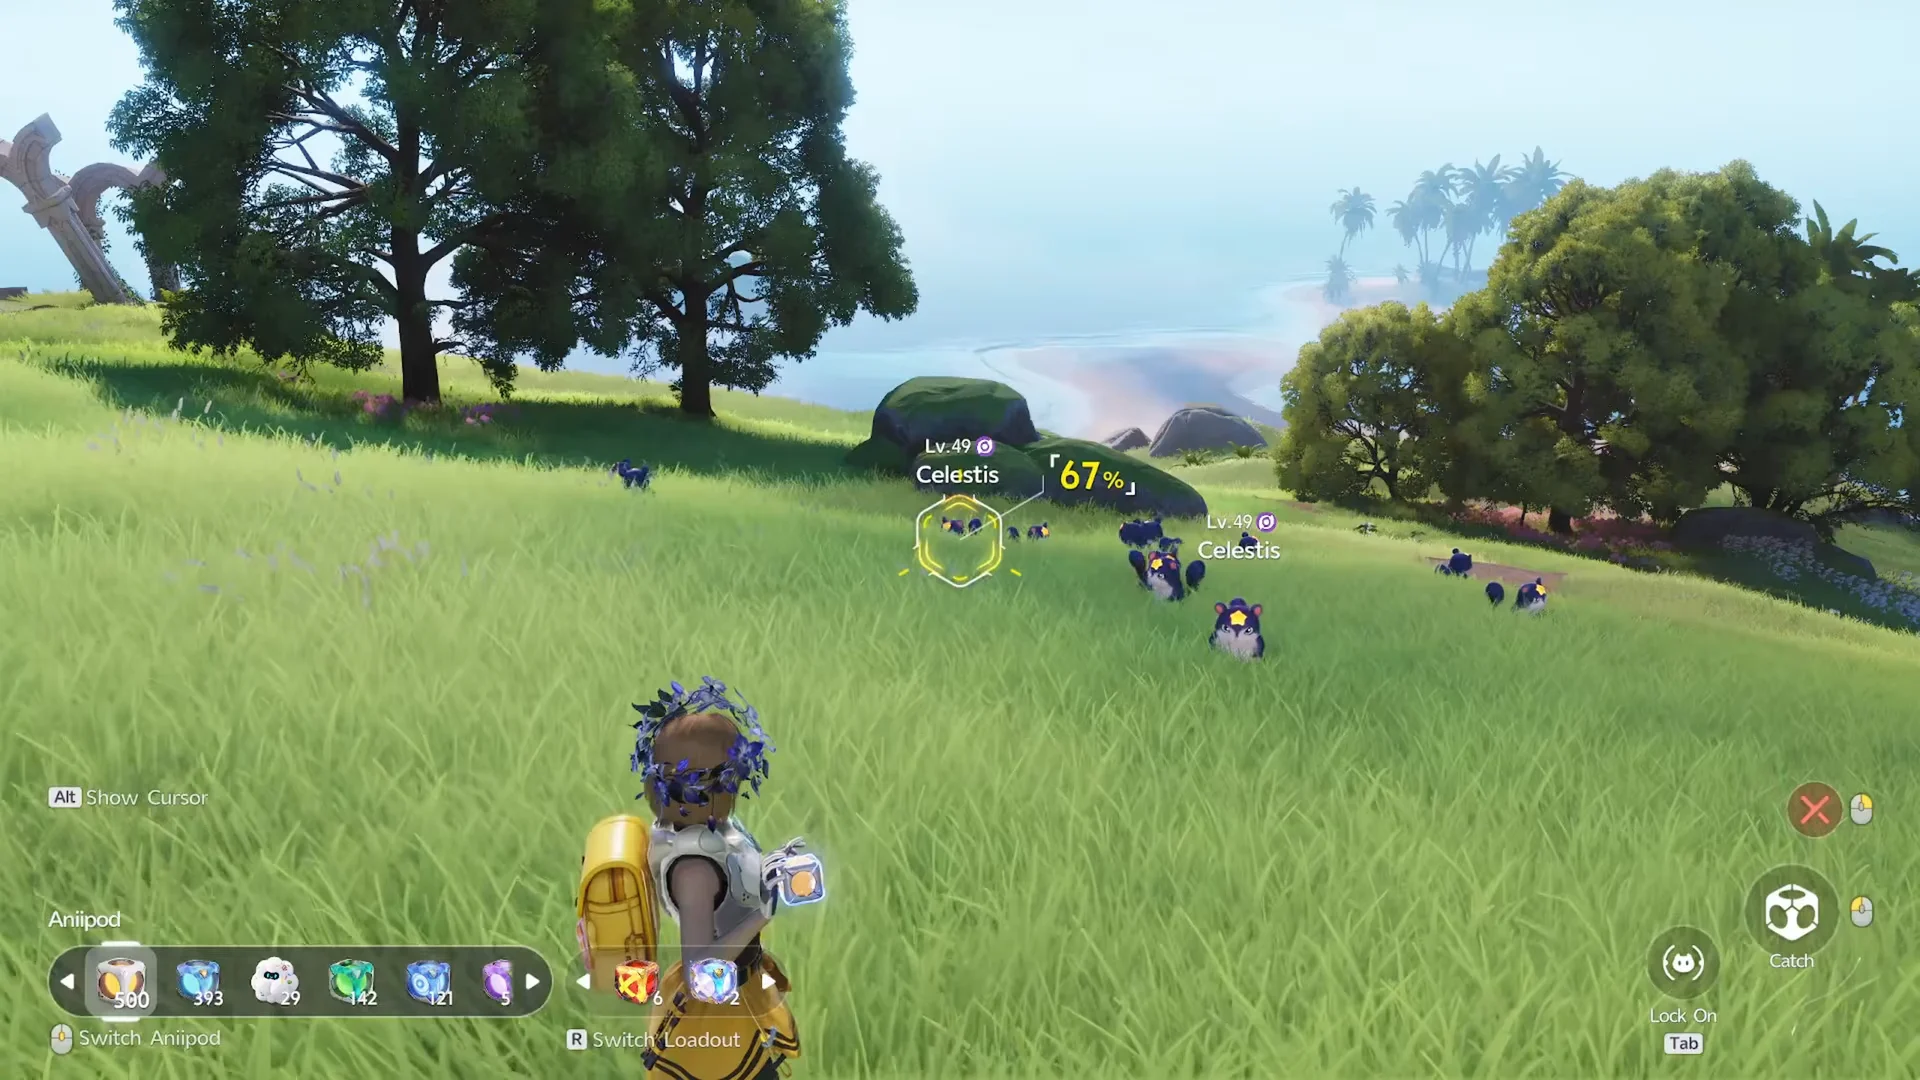
Running each tier against the same 7 million credit budget, thrown at Celestis swarms in Breezy Plains, produces a clean comparison. Same spend, same target, different pod.
| Pod | Thrown | Lucky / Super Lucky | Credits returned |
|---|---|---|---|
| Aniipod | 2,000 | 9 / 0 | About 3,000,000 |
| Aniipod Pro | 1,000 | 5 / 0 | 2,500,000 |
| Aniipod Mega | 667 | 4 / 1 | 1,400,000 |
Standard Aniipod
Two thousand standard pods produced nine Lucky Catches and 11 Perfect results — the most of any tier, simply because it is the only tier that gets you 2,000 rolls for the money. Streaks are brutal in both directions: one run went roughly 400 throws before a Lucky Strike, another stacked three inside 200 throws while the area’s Prismatic Energy climbed.

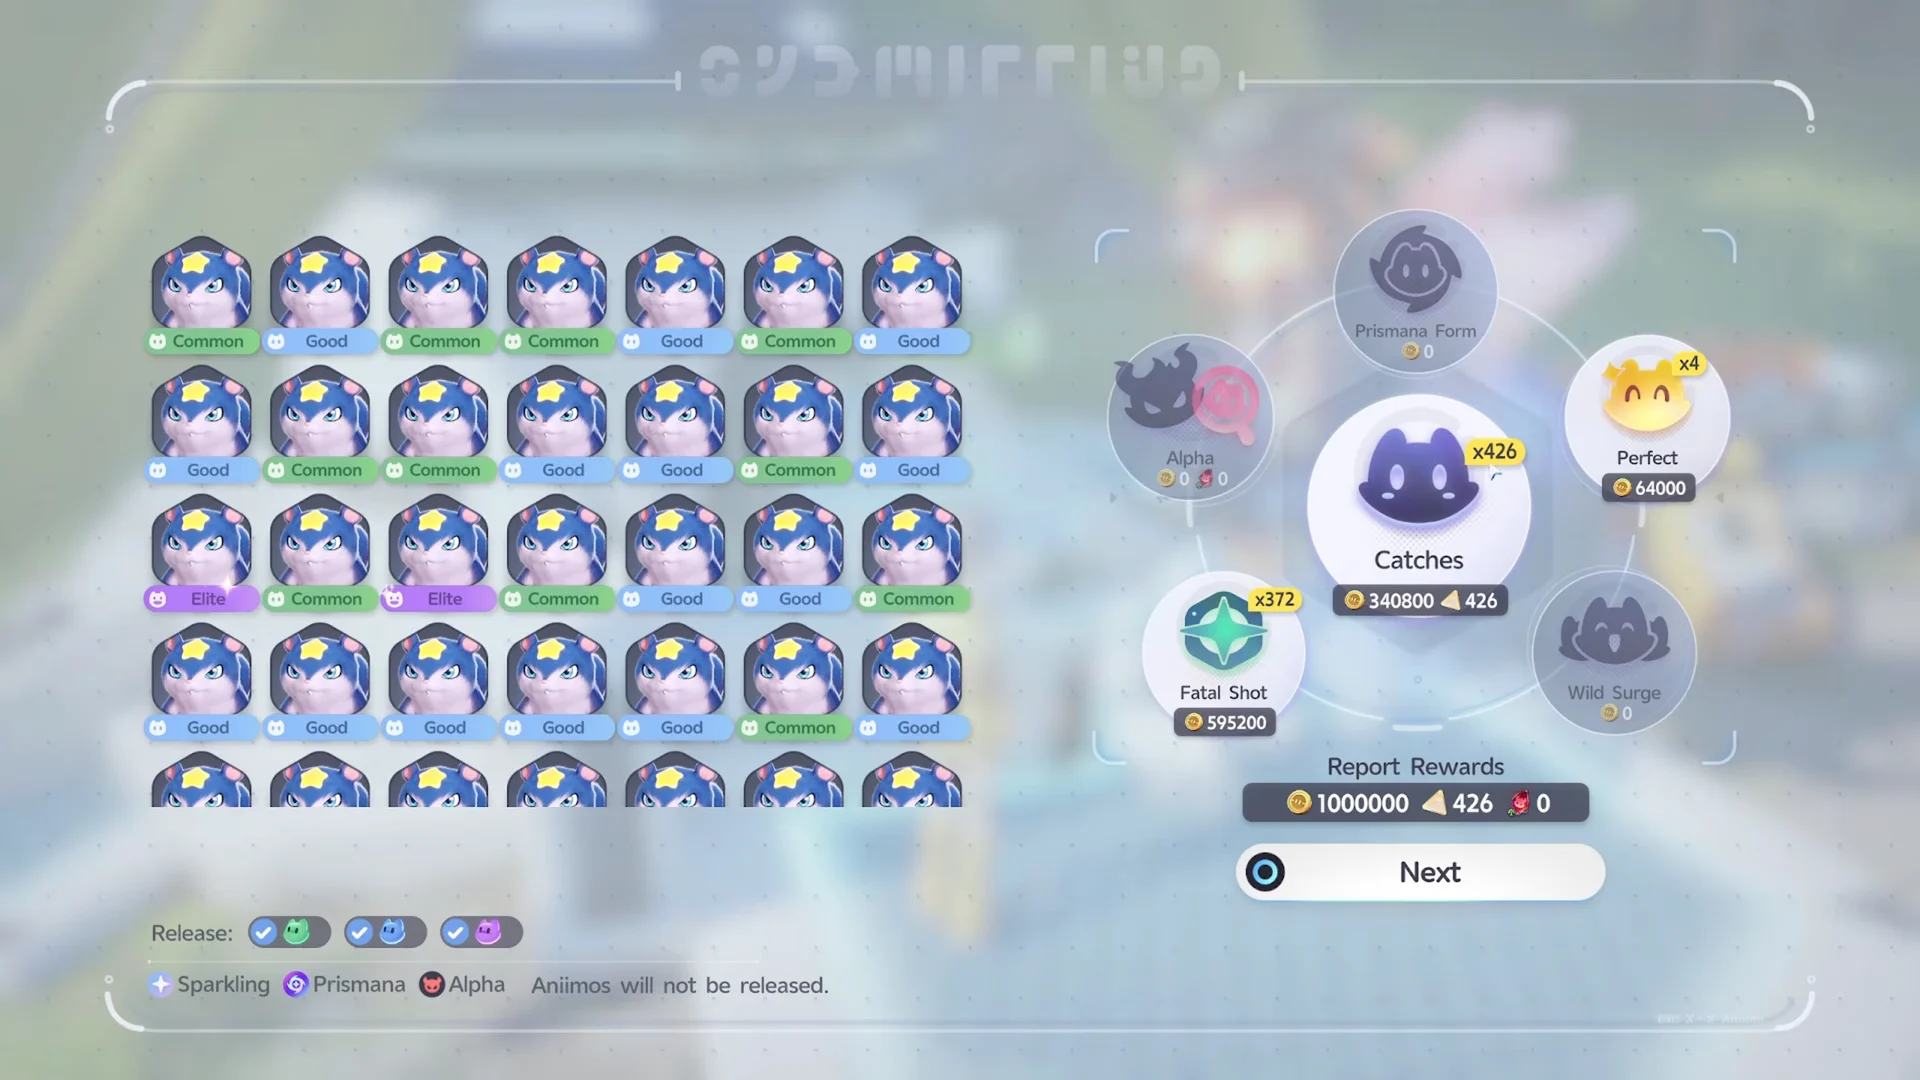
The return side holds up too. The first 500-pod batch landed 426 catches and paid out 1,000,000 credits in catch report rewards; a later batch of 647 catches returned 1,439,200. Across the full 2,000 pods, about 3 million credits came back against the 7 million spent.
Aniipod Pro
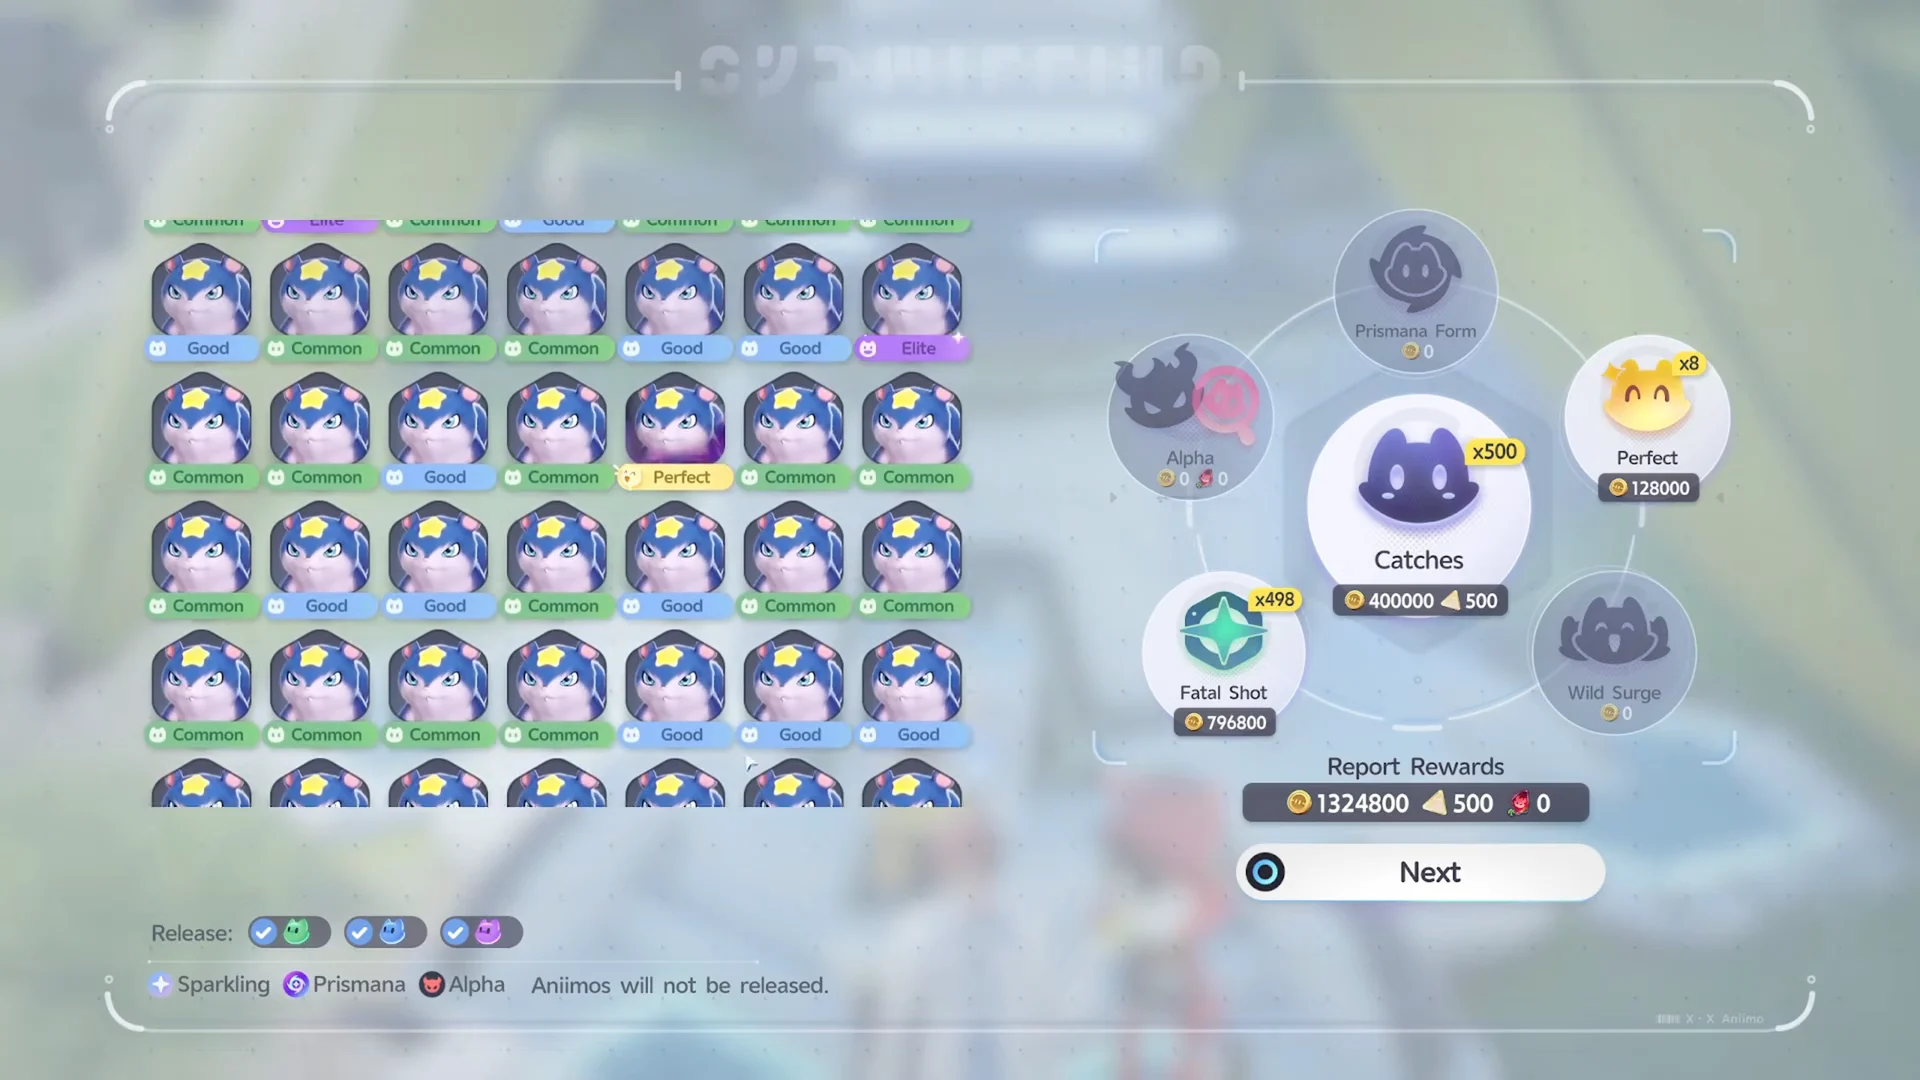
Pro’s 1.5x capture multiplier does exactly what it advertises — it converts throws into catches more reliably, which is why 500 Pro pods can return 500 catches where 500 standard pods returned 426. A 500-pod Pro batch reported 1,324,800 credits and included one Umbral Aniimo graded Perfect.

What it does not do is buy Lucky Strikes. A thousand Pro pods produced five Lucky Catches and zero Super Lucky, with 14 Perfect results and 2.5 million credits returned — better per-throw quality, fewer total rolls, fewer Lucky Catches.
Aniipod Mega
Mega is the worst farming tool of the three despite carrying a 2x capture multiplier, because 7 million credits only buys 667 of them. The run produced four Lucky Catches, four Perfect results and a single Super Lucky that spawned a Prismana Stellaerys nearby — a great moment, and a 1.4 million credit return against 7 million spent.

A Super Lucky can spawn a Prismana Aniimo at a distance from where you are throwing. Stop farming and go catch it before it wanders off.
What each Lucky Catch is actually worth
A Lucky Strike awards 20 Sparkling Crystals, and the Outpost vendor trades 100 Sparkling Crystals for one Sparkling Cube. Each Cube therefore costs five Lucky Catches; it is the game’s rarest Aniipod and the sole one that guarantees a Perfect, Sparkling Aniimo.
Run the numbers on the test batches and the gap gets concrete. Nine Lucky Catches from standard pods is 180 crystals. Five from Pro is exactly one Cube. Four from Mega does not get you there at all, for identical spend.
The Prismatic Energy bump is the second payout. Each Lucky Strike lifts the energy state of the area you are farming, even from zero, and a higher state improves your odds of turning up Prismana variants. Farming a single dense spawn area with cheap pods compounds that effect faster than picking off individual targets with expensive ones.
When to spend the stronger Aniipods instead
None of this makes the higher tiers bad — it makes them the wrong tool for volume farming. They solve capture problems, not luck problems.
- Aniipod Pro (1.5x): your capture chance is uncomfortably low but the target is easy to hit.
- Aniipod Mega (2x): pure odds problem, target standing right in front of you.
- Aniipod Hyper (2x): the target is far away or awkwardly placed and needs a faster, longer throw.
- Aniipod Track (2x): the target keeps moving and normal throws keep missing.
- Tumbler: multiple Aniimo gathered in one spot, with a much larger multiplier against Wild Surge targets.
- Aniipod Ultra: guaranteed catch at Elite Potential or better — Alphas and anything above your level.
- Sparkling Cube: guaranteed catch, Perfect Potential and a guaranteed Sparkling.
Never burn an Ultra or a Sparkling Cube on a common spawn during a farming run. Those are the payoff for the crystals you are collecting, not the tools you collect them with.
Squeezing more throws out of every encounter
Since Lucky Catch odds scale with the number of catches you resolve, everything that lowers your pods-per-catch ratio raises your Lucky Strike rate for the same credits.
A throw that misses entirely is picked back up automatically, so aim freely and keep throwing. Hitting an Aniimo from behind outside combat applies a 1.5x bonus with standard pods, which is the single cheapest way to improve a farming run. Sleeping targets and creatures worn down in combat also convert far more reliably than healthy ones.
The Bubble Gun character skill is the other volume lever. Its vigor bubbles apply an HP Lock that keeps a target from fainting, holding it above 1 HP long enough for repeated capture attempts. It costs 0 EP and has a 2 second cooldown, so there is no reason to ration it while farming.
The short version: for anyone chasing Sparkling Crystals or trying to light up an area’s Prismatic Energy: buy the cheapest pod, find the densest swarm, and throw until your storage fills. Save the 2x tiers for the catches you cannot afford to miss, and keep the guaranteed-catch pods for Alphas and Prismana.