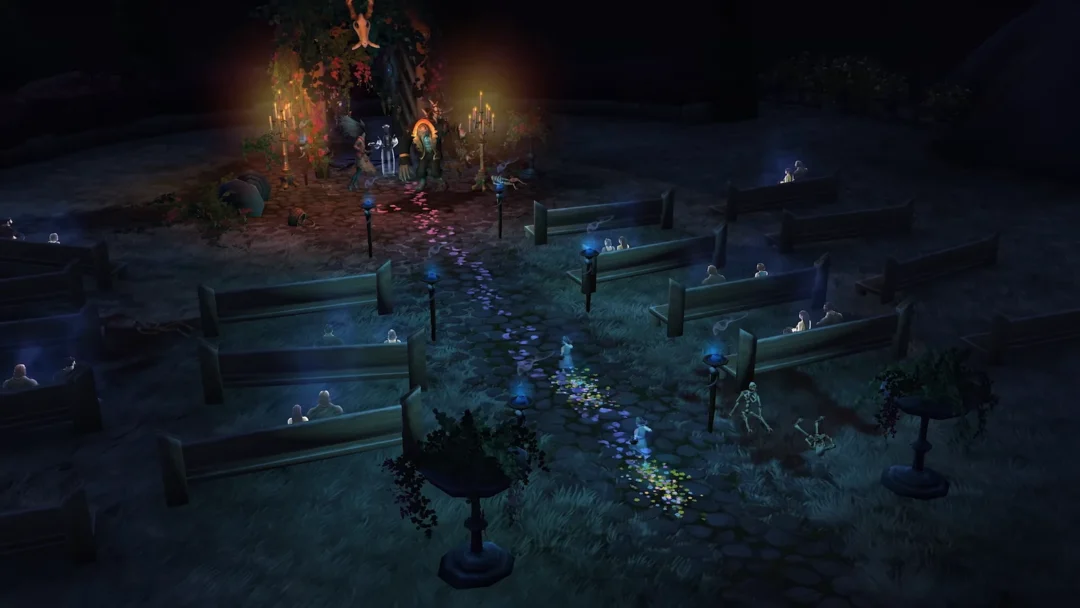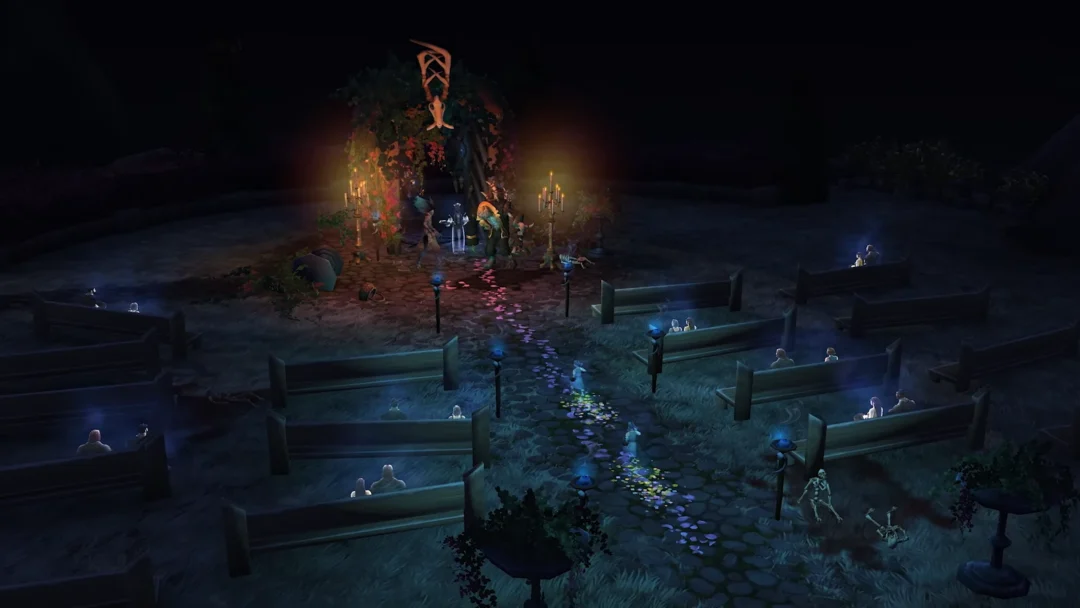
Rocket Arena is the 2008 stop on The Hunt: Roblox 20, and it hands out two badges instead of one. The 5 KO badge is advertised. The other one is not, and nothing on screen tells you it exists until you start stepping on spawn pads in a very specific order.
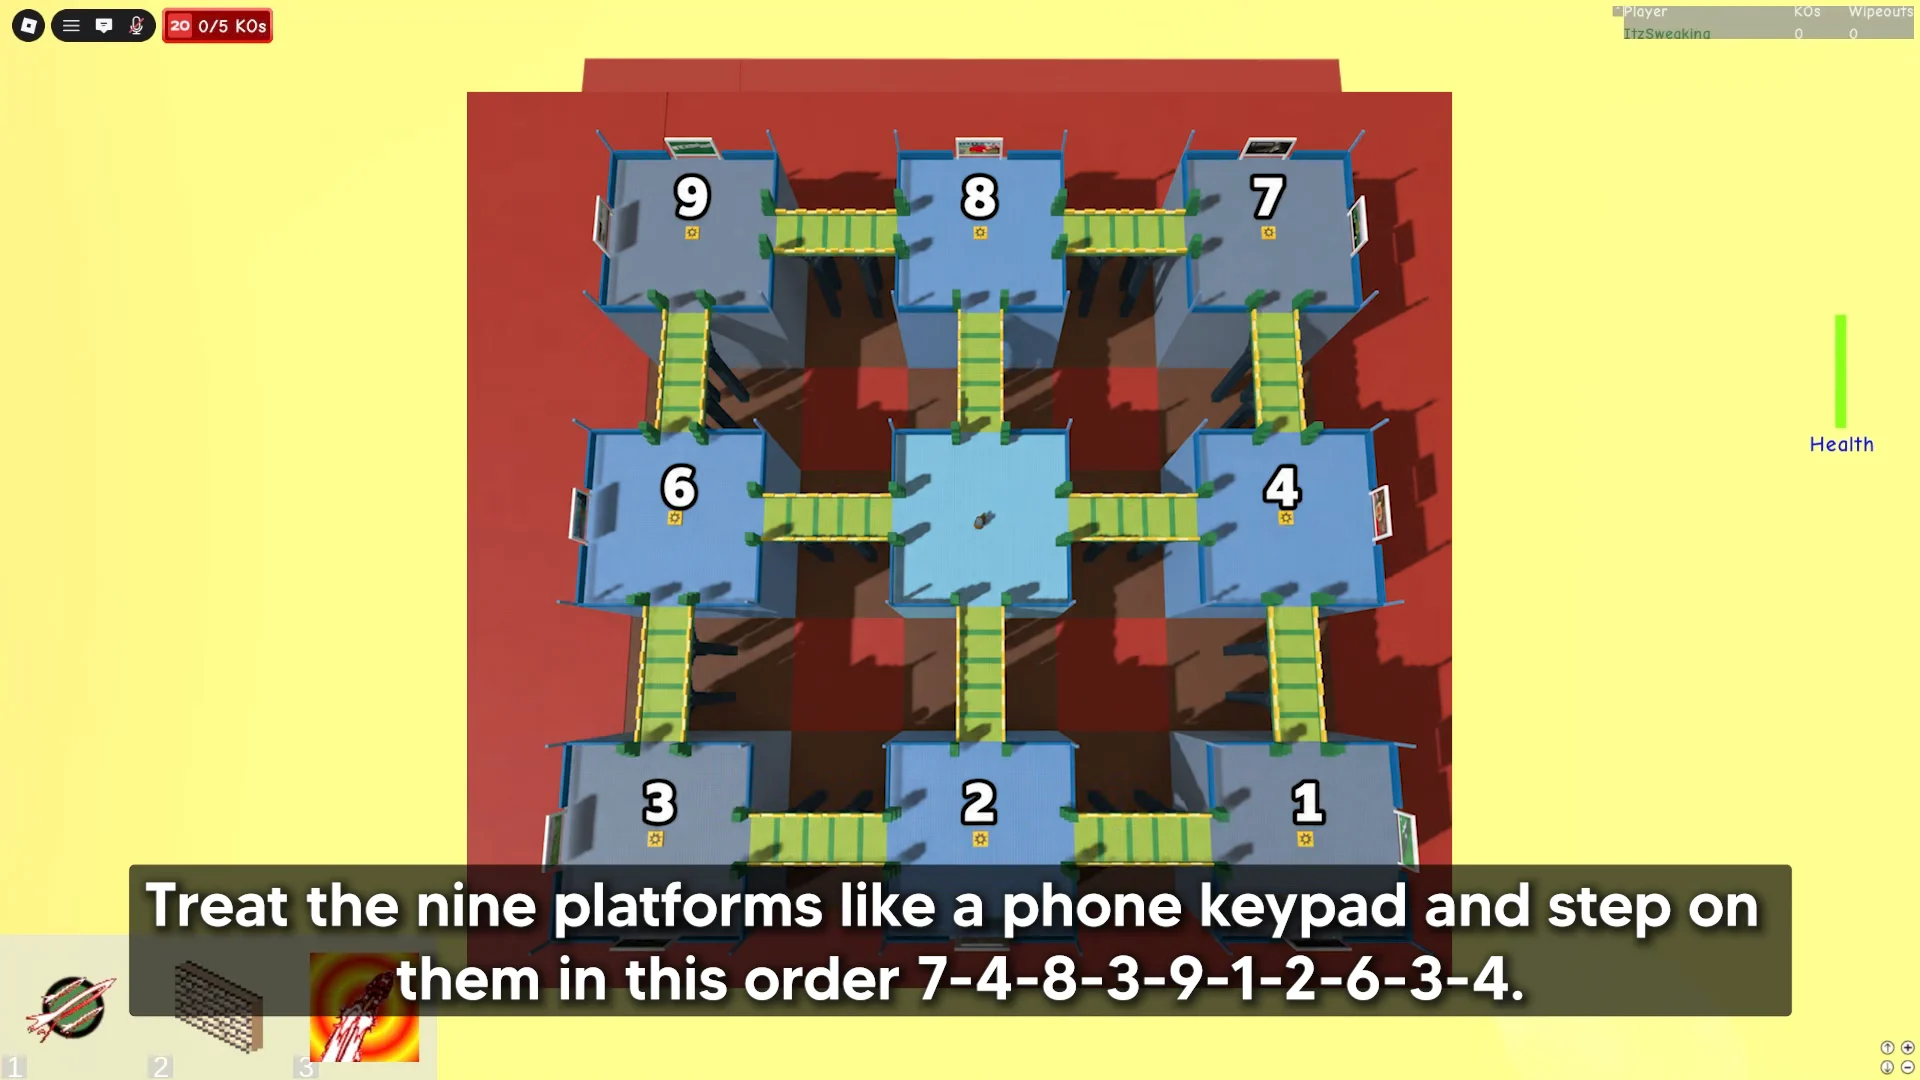
Quick answer: Earn Rocket Arena’s 5 KO badge, rejoin, touch the nine spawn pads in the order 7-4-8-3-9-1-2-6-3-4, take the jet boots from the billboard, clear the obby, then drop down the black chimney.
What unlocks the secret quest in Rocket Arena
The hidden objects in the map are inert until the game already counts you as a Rocket Arena winner. That single condition gates everything below it.
- The standard Rocket Arena badge, earned with 5 KOs in any round.
- Once the badge appears, leave and enter the experience again so its concealed areas count.
- The Hunt: Roblox 20 hub remains available through September 28, 2026.
- Entry through the 2008 portal in the hub, then the game portal inside the 2008 lobby.
All players begin with an identical set of three tools, but just one can earn kills. Before any hit connects, the KO display in the upper-left shows 0/5.
| Tool | Effect | Best use |
|---|---|---|
| Rocket Launcher | Damage and knockback, 3-second cooldown | The only tool that scores KOs |
| Wall | Places a destructible barrier | Blocking incoming missiles |
| Jetpack | Lift and hover time | Repositioning between shots |
Fire into crowded bridges and the central platforms. Knockback into the void counts the same as a direct kill, so volume beats accuracy here. When the counter hits 5/5, a notification confirms you won Rocket Arena, and the hidden quest becomes active on your account.
Find the phone number on the JET BOOT REPAIR billboard
The map is plastered with joke billboards, and one of them is the actual key. Cross the bridges toward the outer platform and look for the board reading JET BOOT REPAIR, with before-and-after panels and a phone number underneath.
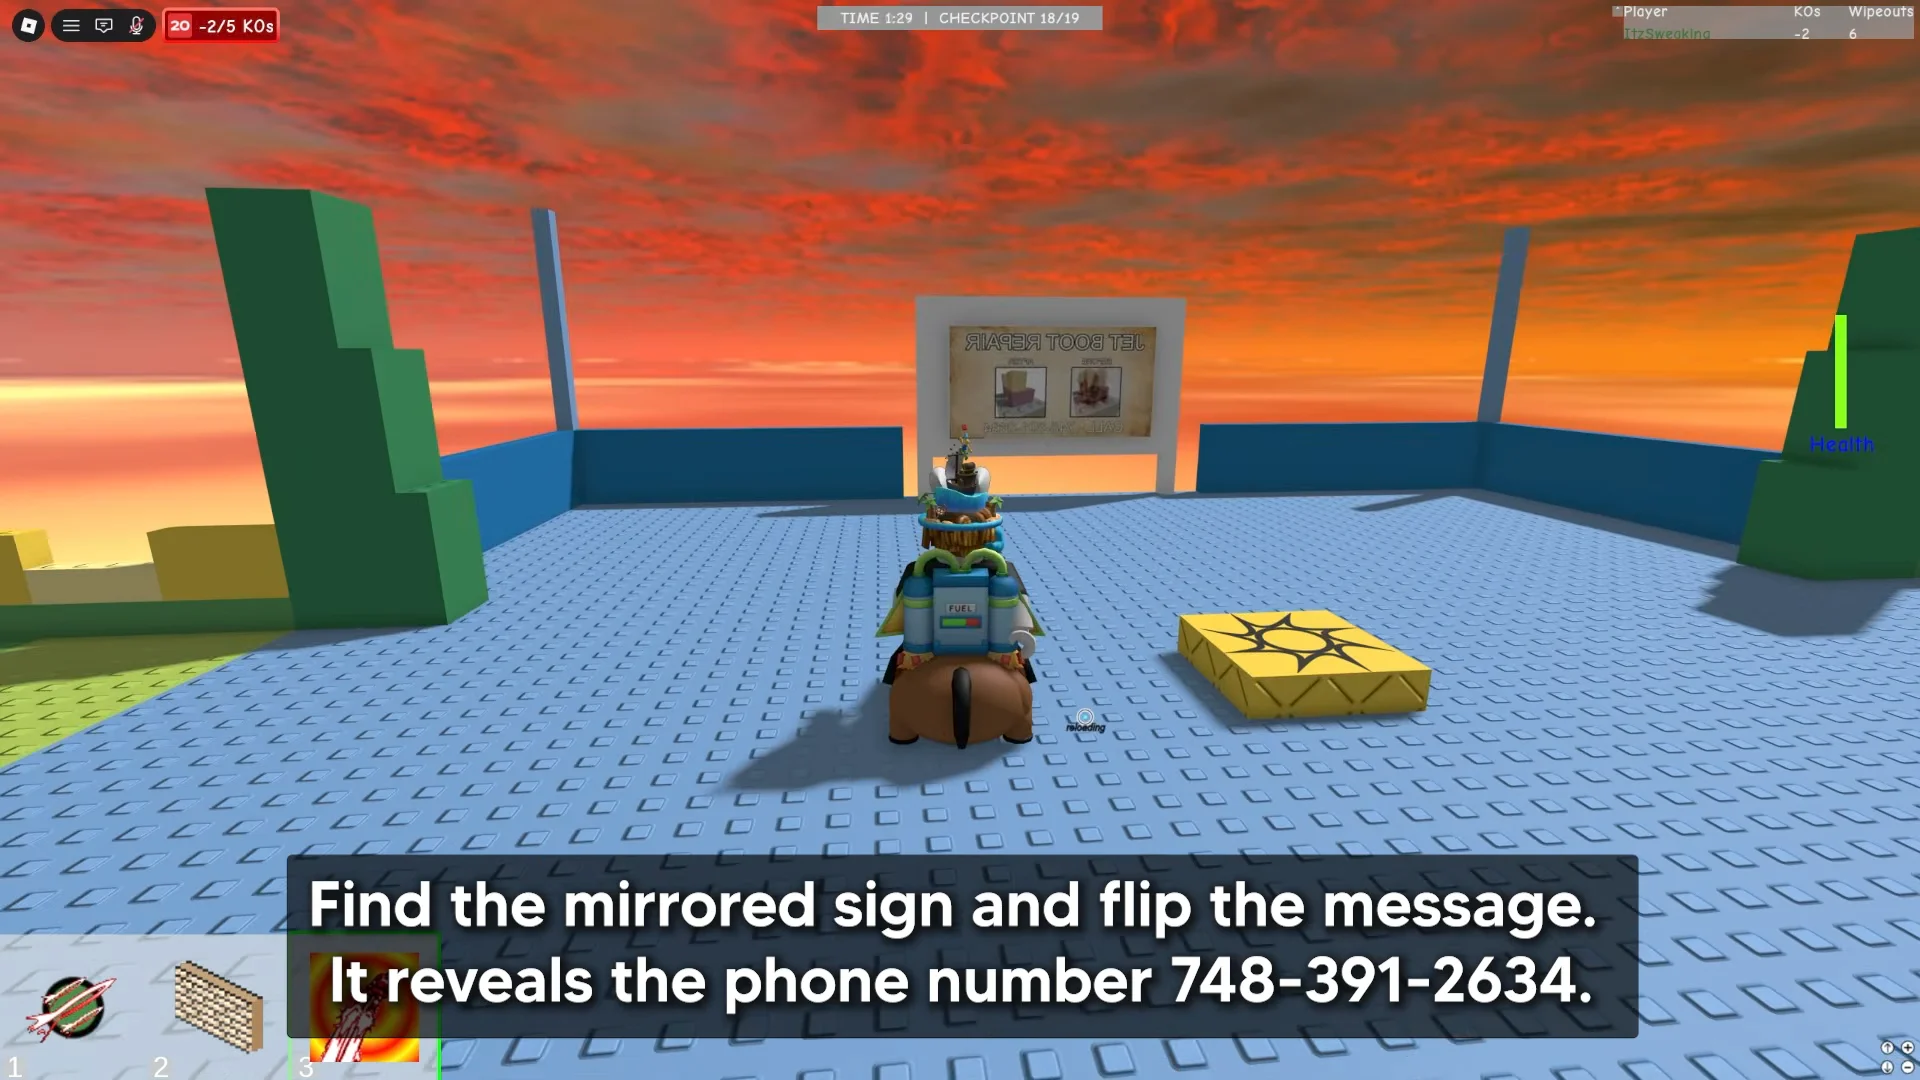
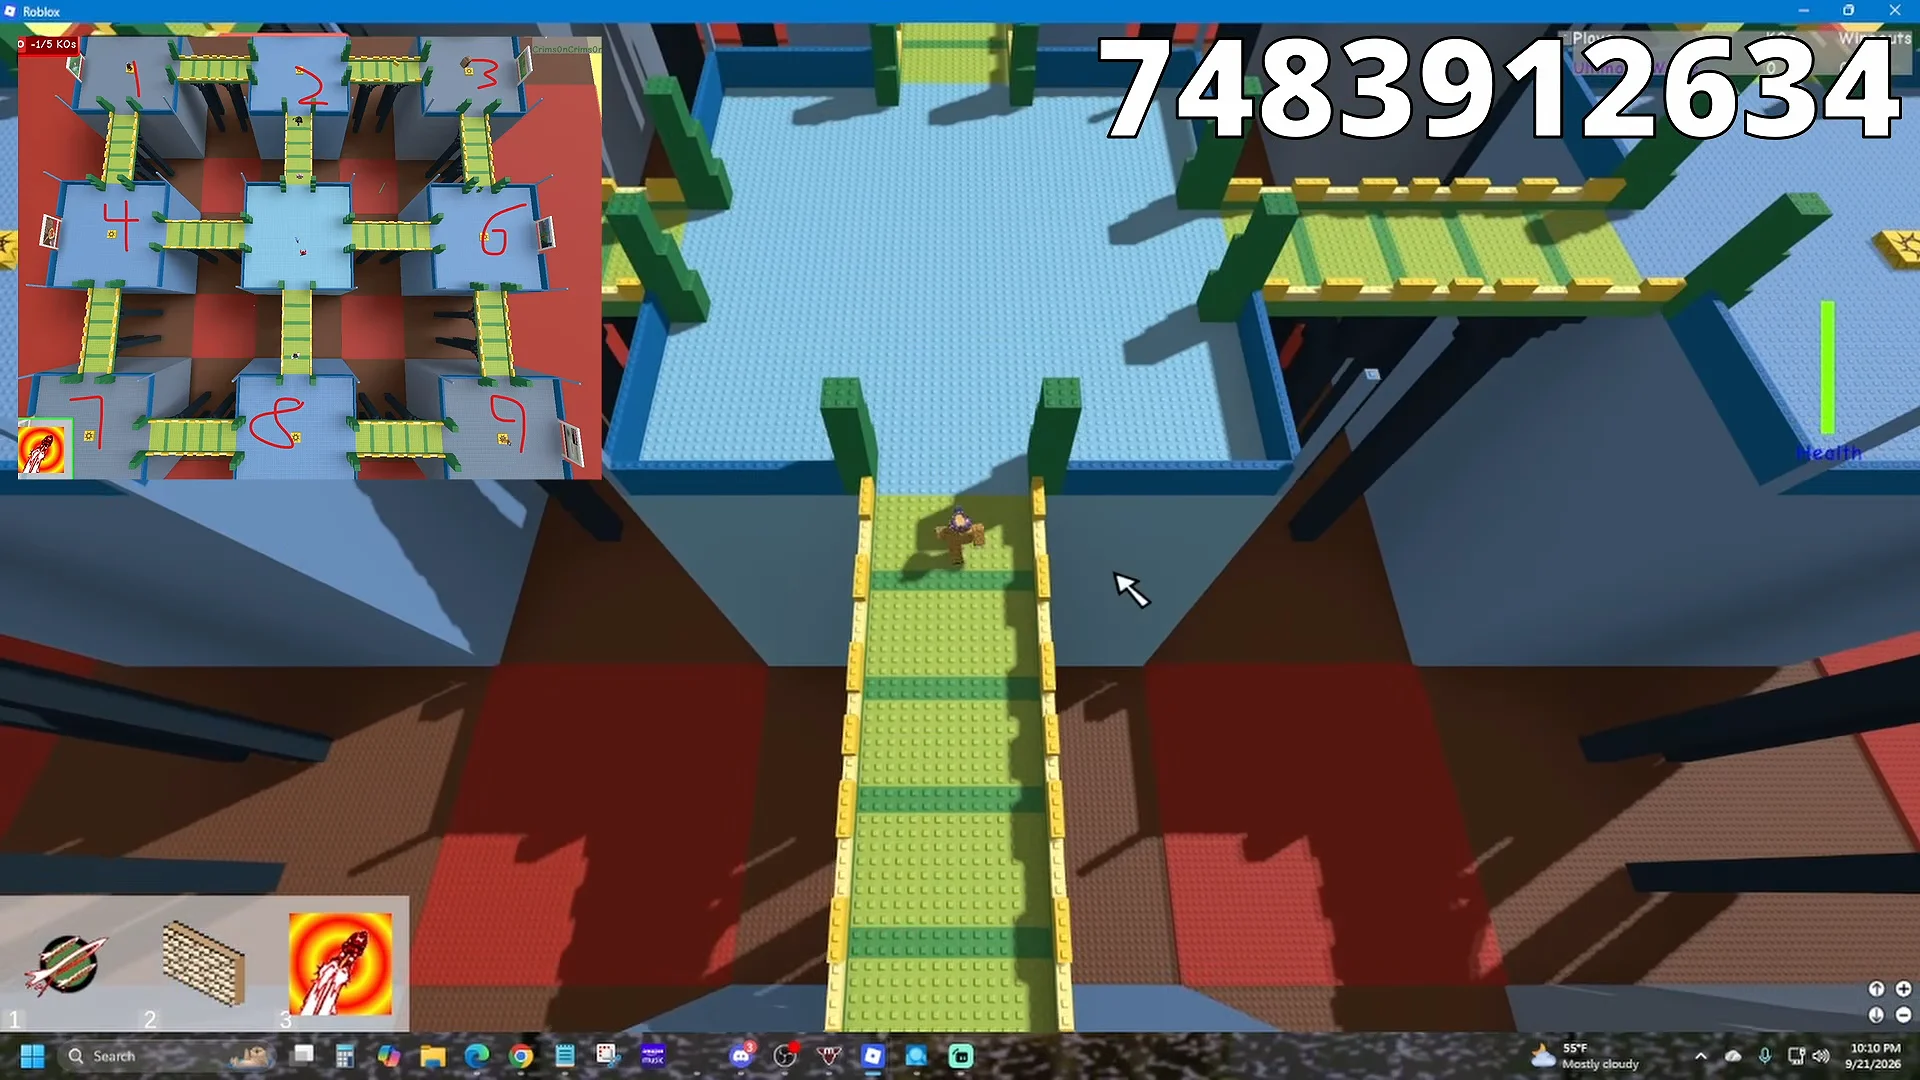
The text is mirrored depending on which face you approach, so flip it in your head to read it correctly. The number is 748-391-2634, and it is not a gag. It is the input order for the spawn pads scattered across the arena.
Do not step on any spawn pad before you have read the number. Touching them out of order wastes the run, and you will want to know the full sequence before you start moving.
Enter the code on the nine spawn pads
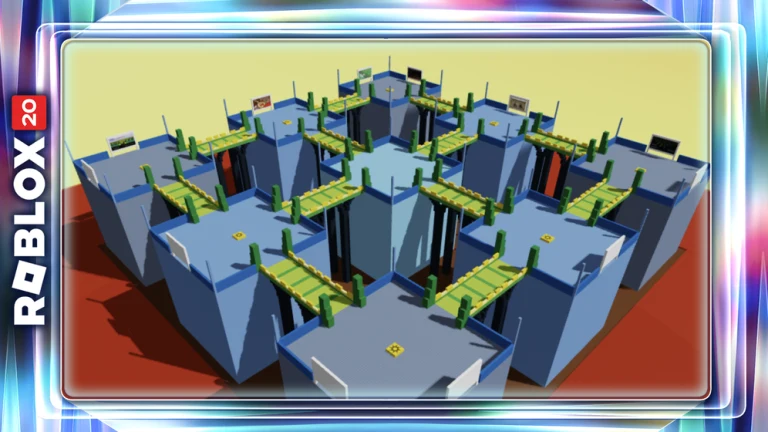
Seen from above, the nine floating platforms sit in a 3×3 grid, and they are numbered exactly like a phone keypad: 1 at the top-left, 9 at the bottom-right. That is the whole trick. The billboard gives you a number, the arena is the dial pad.
Get the jet boots and clear the 19-checkpoint obby
A correct code changes the billboard. An interaction appears on it — a Receive button, or a hold-to-Observe prompt depending on how you approach it — and taking it hands you the jet boots and drops you into a timed aerial course above the arena.
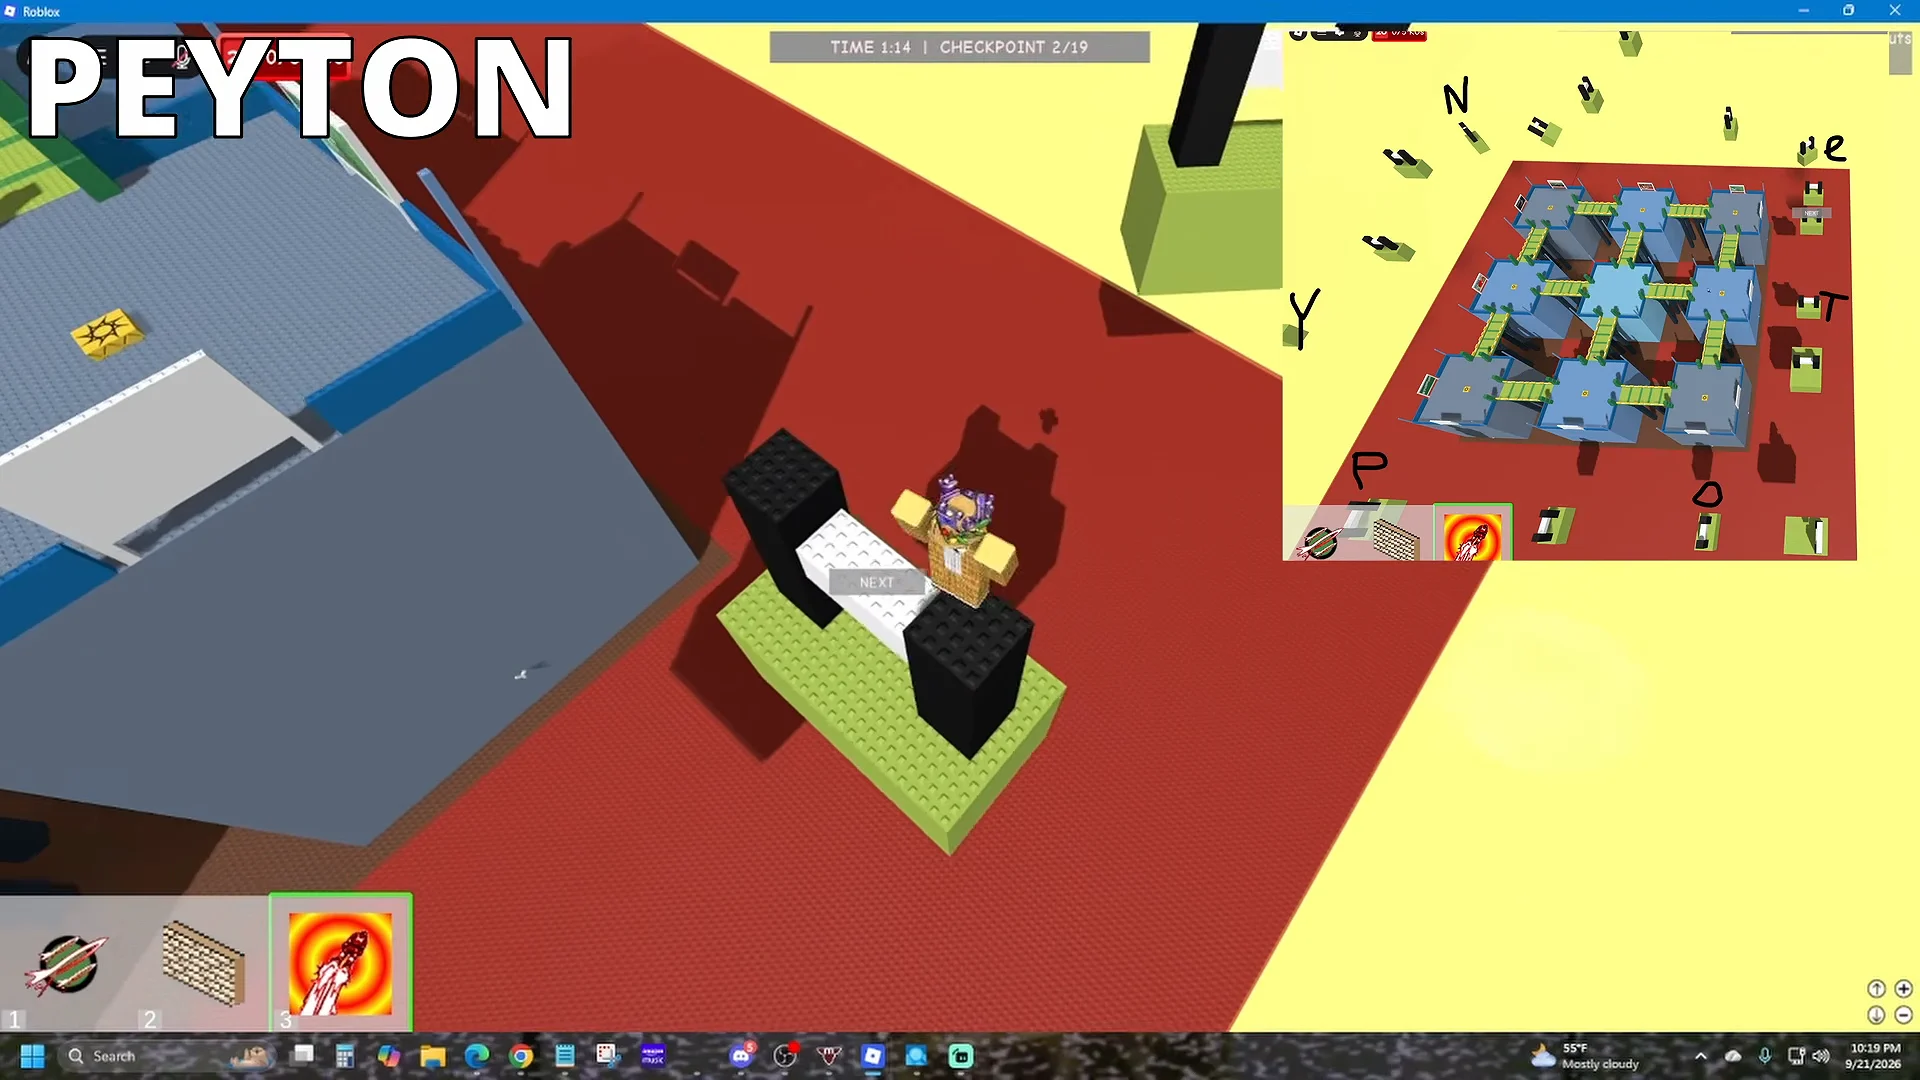
chimney huh?, which also shows up in the developer console if you have it open. That text is your cue that the sequence registered.Some runs hide the same trigger behind letters instead of numbers. The white brick sections on the floating platforms are laid out as characters, and landing on them in turn to spell PEYTON produces the same result as the 15-4-13-1-18-9 route.
Drop down the chimney to claim the Secret Quest badge
The hint is literal. Two tall black towers stand on the green starting platform, and they are hollow.
Leave the badge alone once it lands. The game explicitly tells players not to delete their badges, and clearing them can break claiming later.
The blank sign route to the hidden door
A different hidden area is accessed at a billboard bearing no wording. Rocket Arena’s other signs are gag ads—”NUKES FOR KIDS! HIGH IN SODIUM!”, “ARMOR TOUGH! ARMOR FOR EVERY NEED”, and a property offered directly by its owner—but the sole exception is white on both sides and blank.
If the button refuses to do anything, check that the 5 KO badge is actually on your Roblox profile. The hidden quest stays completely inactive until it is.
Confirm the badge and collect the secret item
Treat the badge as confirmation rather than the reward itself. Success is confirmed by the “Secret quest badge awarded” banner and the notification in the corner. Before exiting the server, inspect your Roblox profile’s badge list if you want to verify it.
With the badge on your account, head back through the 2008 portal to the lobby. Walk around behind the red castle structure, climb the stairs, and the secret item — a floating purple hat — is waiting up there. The item only appears once the badge has registered, and it is also tied to the 2008 year section in the main hub.
Painting 10 eggs scattered through the 2008 lobby is a different objective for the Brick-Blast Jetpack UGC reward. That task does not affect the secret badge.
The whole hidden route takes a few minutes once the 5 KO requirement is out of the way, and the code is the only part that genuinely stalls people. Get the knockouts early while servers are still busy, then come back to an emptier arena and walk the pads without a rocket landing on your head halfway through the sequence.