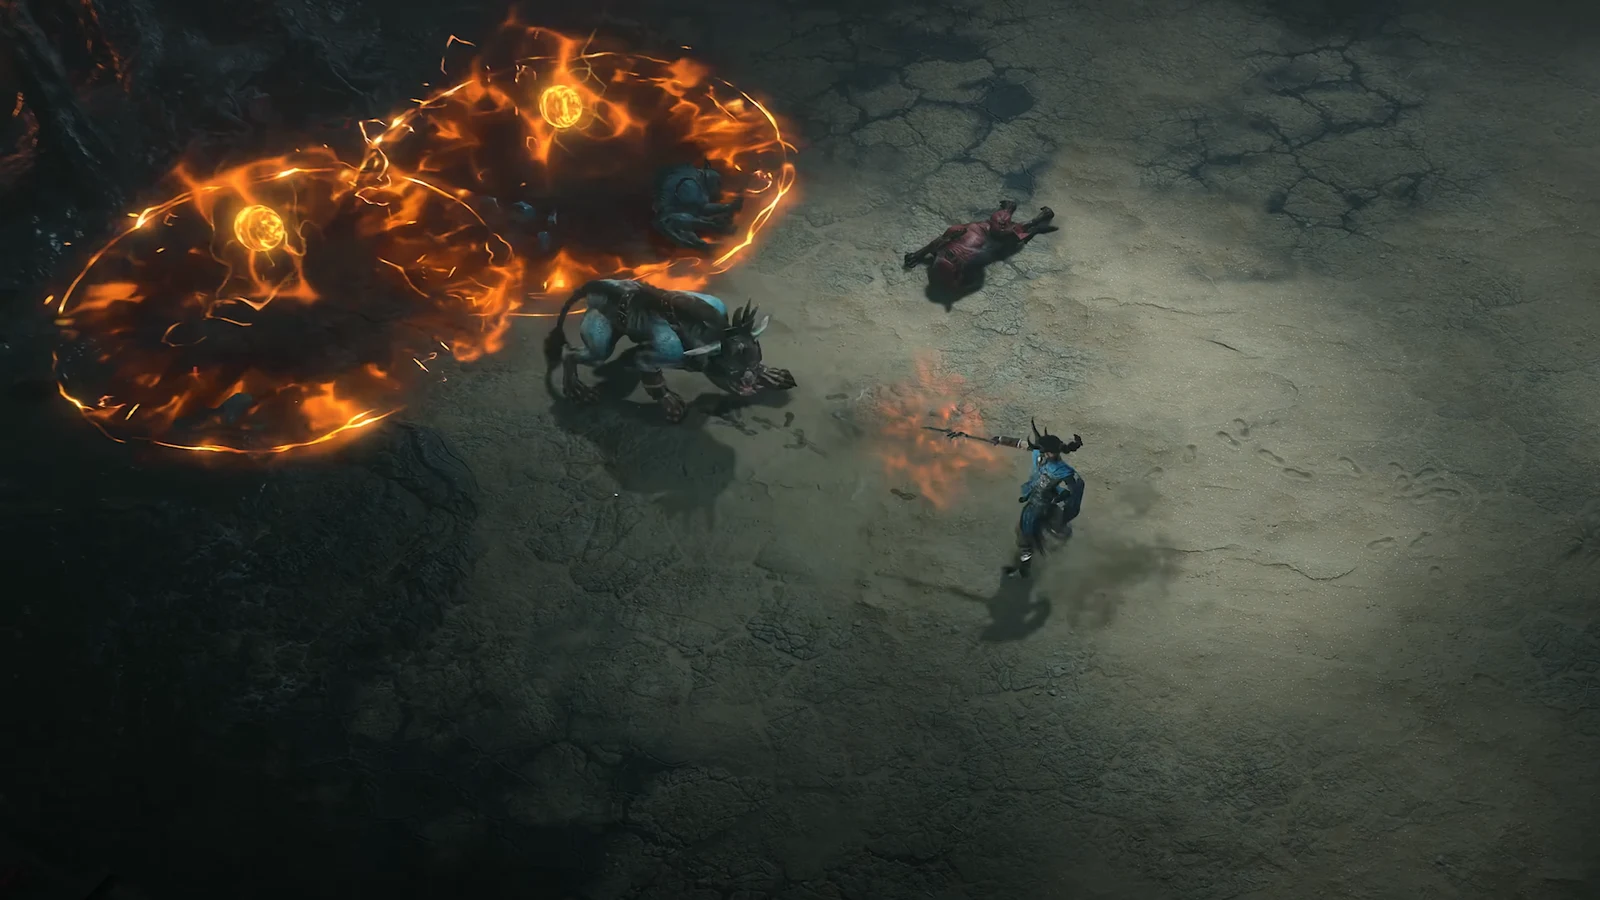
Meteor is one of the few Sorcerer skills that pays you for being reckless with Mana. Its Resource Damage Bonus node dumps your entire Mana pool into every cast and converts it into damage, which is why the build falls apart without the right seal and turns into a screen-filling rain of rocks with it. Getting there in Season 15 takes two distinct phases: a fast, boring climb to Level 70, and then a gear checklist that gates Torment 12.
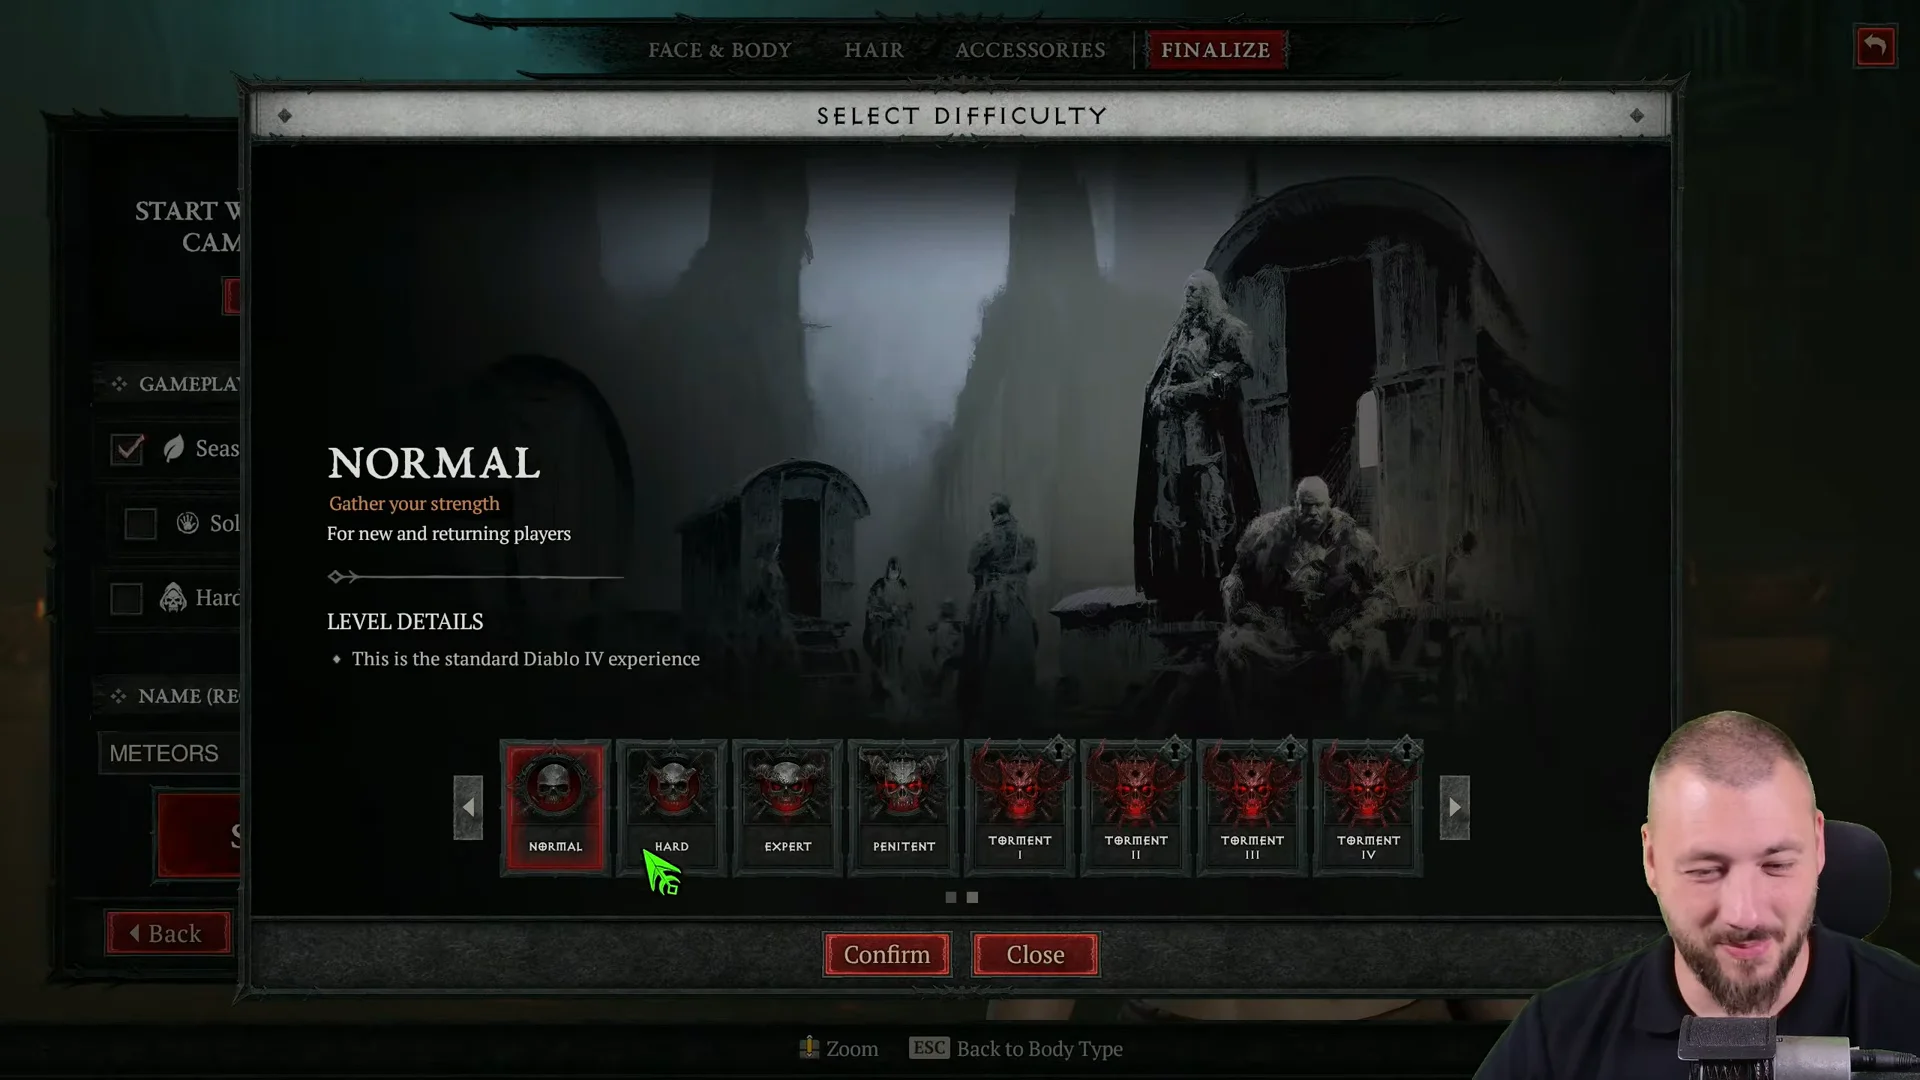
Quick answer: Reach Level 70 with Blizzard, unlock Torment 1, and switch to Meteor after obtaining Starfall Coronet, the Berú of the Threefold 5-set, and a Seal carrying “Mana when a Mastery Skill is Triggered.”
Meteor Sorcerer requirements for Torment 12
Three items decide whether the build works at all. Everything else is tuning.
- Berú of the Threefold 5-set — triggers extra Meteors and Blizzards on its own and activates Static Surge.
- Starfall Coronet — drops 3 Meteors per cast instead of one.
- A Legendary Seal bearing “Mana when a Mastery Skill is Triggered” — nothing else matches Resource Damage Bonus.
That seal affix matters more than a sixth charm slot, so take it the moment one drops even if the rest of the roll is mediocre. You also need a Level 70 character with Torment 1 unlocked before the endgame version is playable at all.
Leveling 1 to 70 before you switch to Meteor
Meteor is not a leveling skill. You spend the climb on cheap area damage and respec into it later, which is why most Meteor runs start with Arc Lash and Fireball and end up on Blizzard.
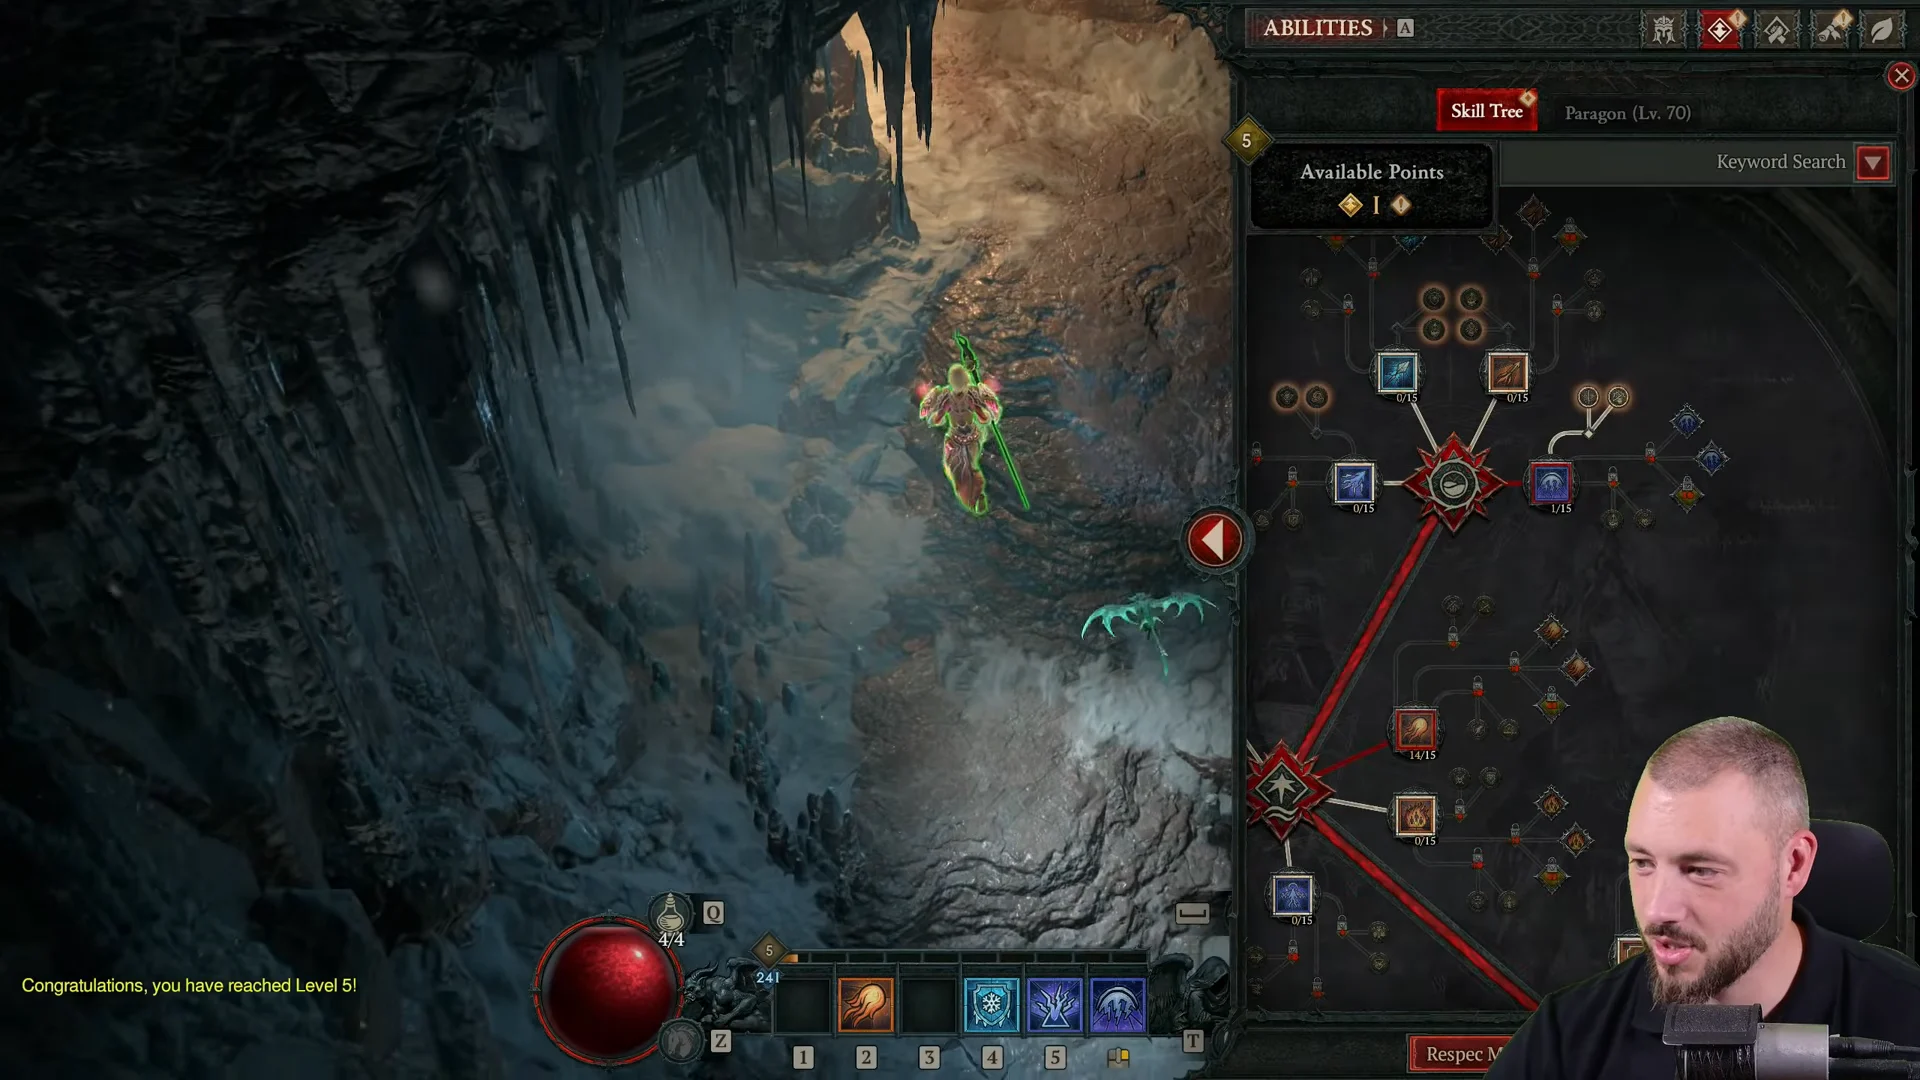
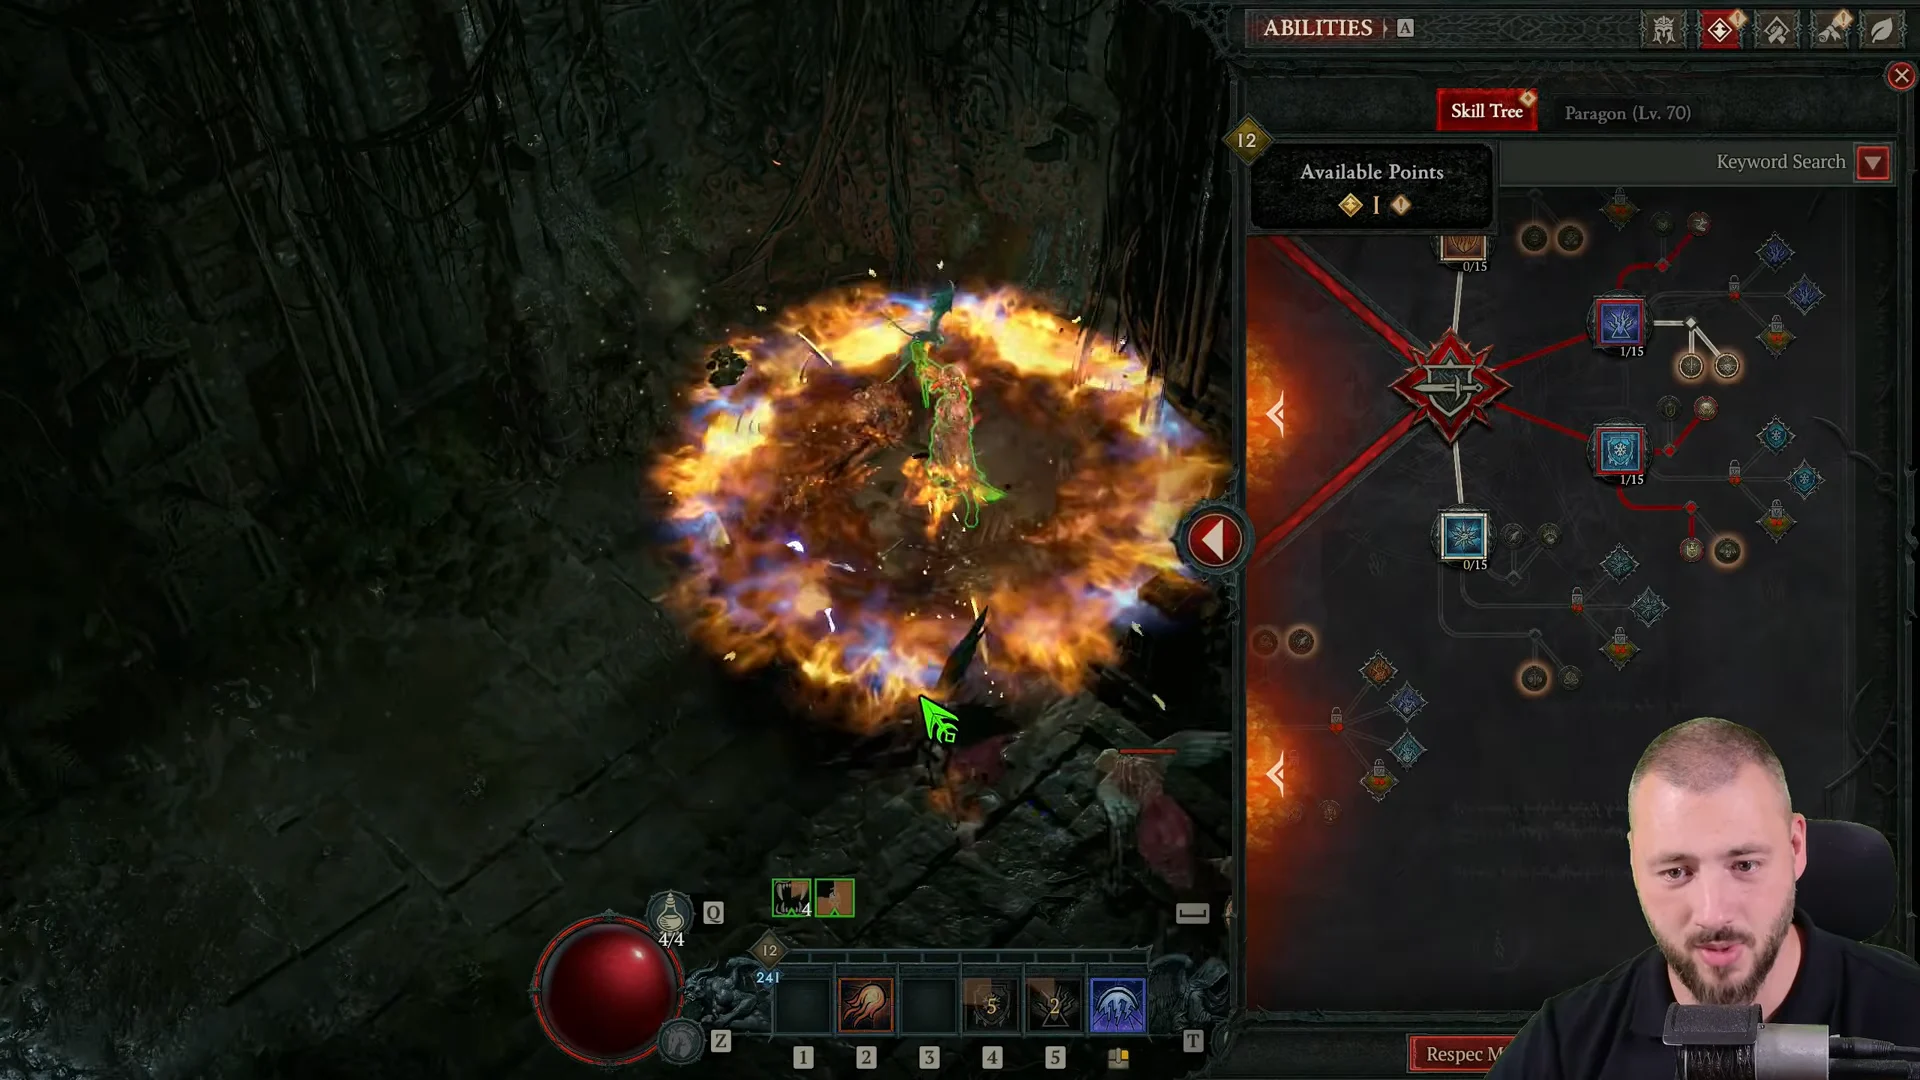
Set your War Plans for XP activities before you start the climb rather than after, since the bonuses only apply to content you run afterwards.
How Meteor’s Mana scaling works
Meteor counts as both a Core skill and a Mastery skill, and that dual tag is the whole engine. Resource Damage Bonus consumes all remaining Mana on cast and adds damage based on how much was spent, so a half-full pool at the moment of casting is roughly a doubling of your damage.
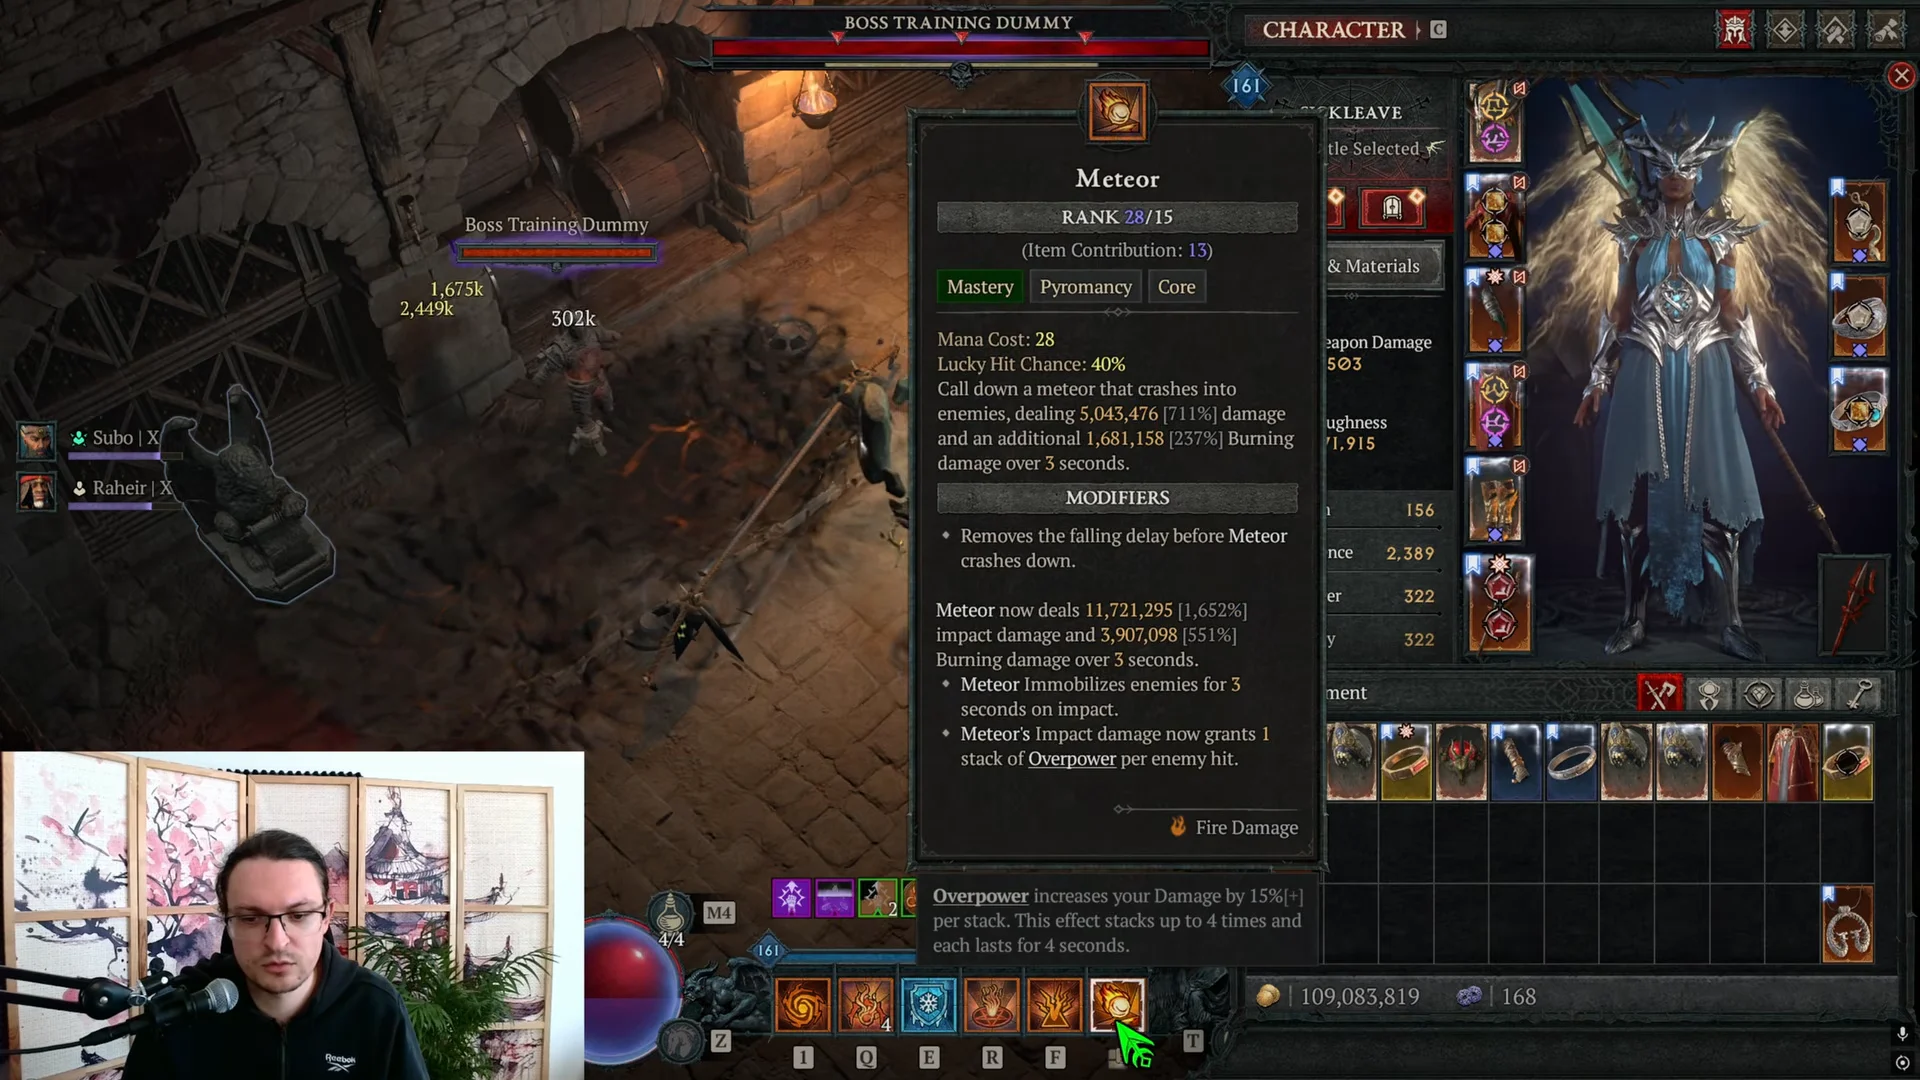
The Seal supplies the Mana refill. Starfall Coronet makes every cast produce 3 Meteors, while Air Burst attaches 6 smaller Meteorites to each one. All 21 objects count as Mastery skill triggers, so “Mana when a Mastery Skill is Triggered” refunds much more Mana than one button press spends.
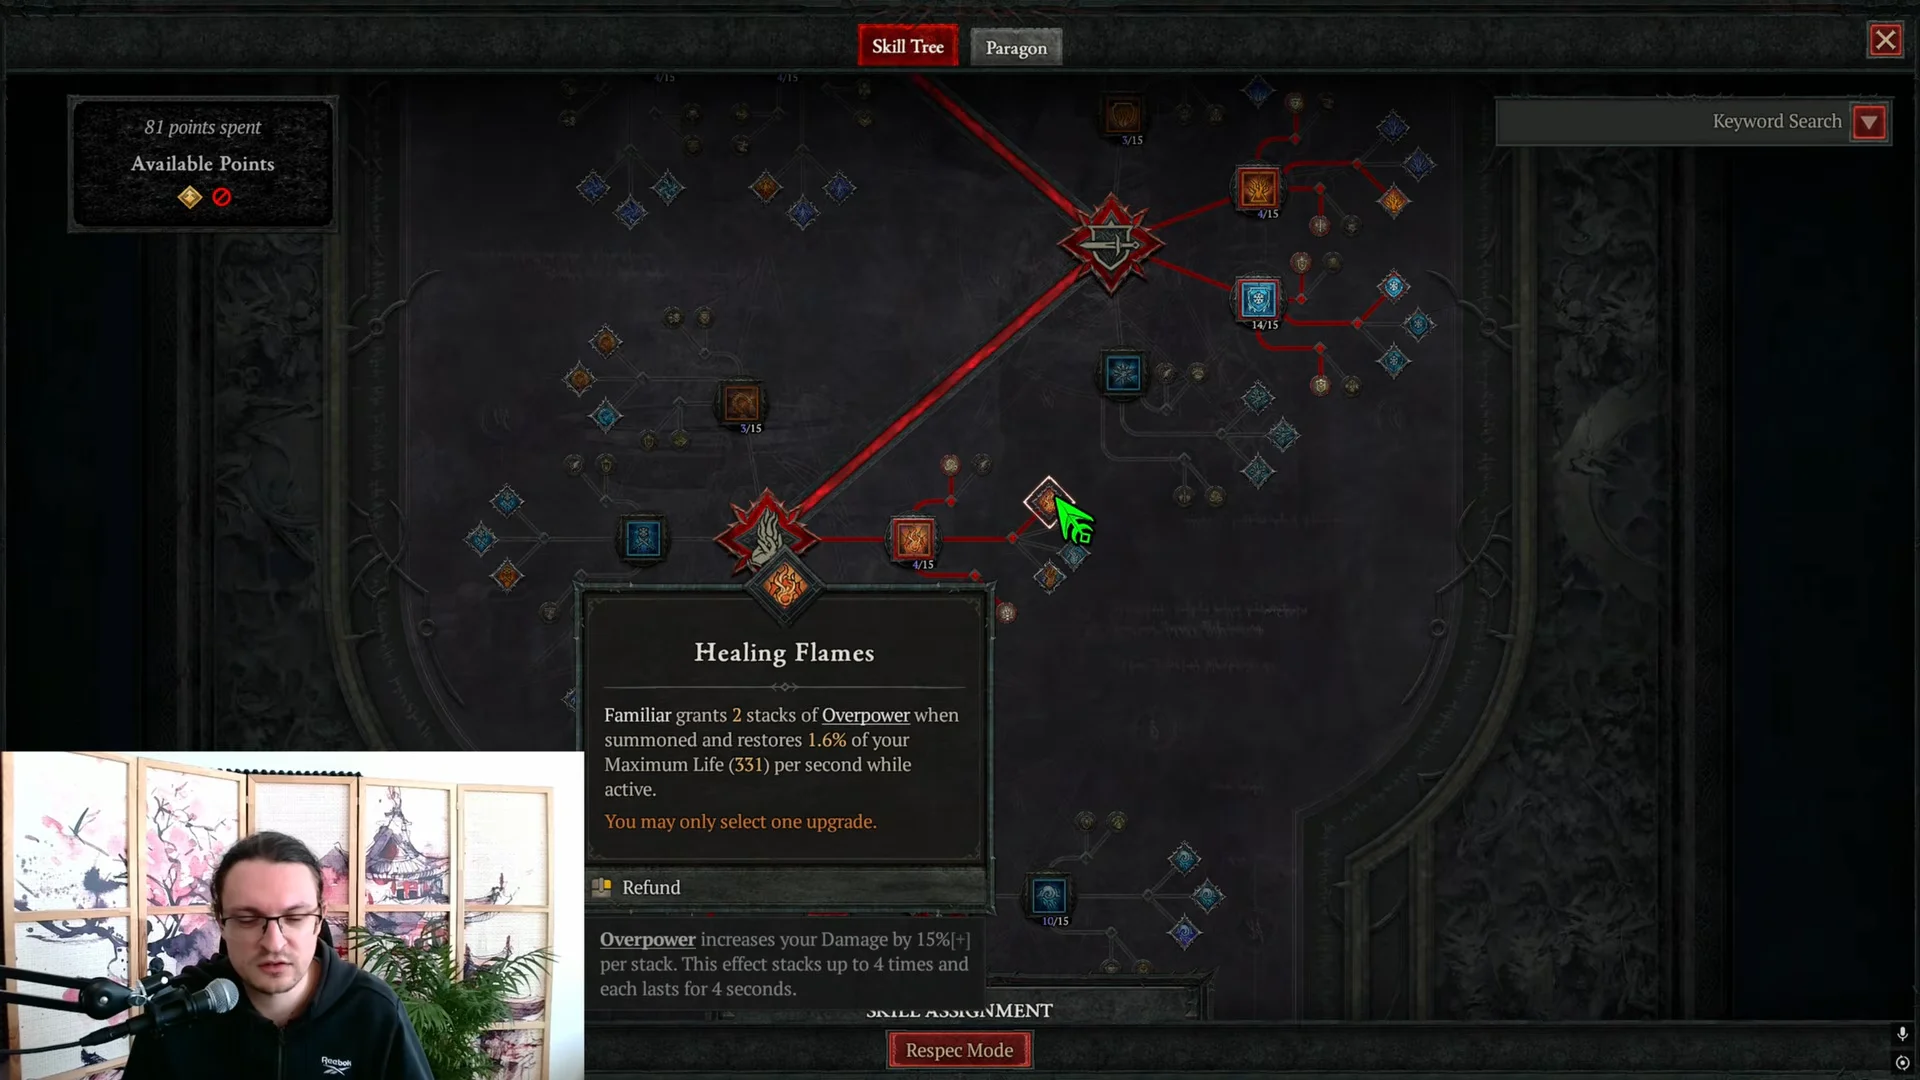
Meteor also builds Overpower stacks on hit, and Teleport’s Blaze upgrade spends those stacks instead of its cooldown. Because Starfall Coronet consumes all your Overpower when Meteor is cast, the rhythm is to fire Meteor, wait about half a second for the stacks to come back, then chain two or three Teleports. Inferno instantly generates 6 stacks when you need to cross a large map.
Endgame skill bar and Enchantments
| Skill | Role | Key nodes |
|---|---|---|
| Meteor | Main damage | Resource Damage Bonus, Air Burst, Overpower |
| Teleport | Mobility | Blaze |
| Ice Armor | Defense | Permafrost, Cooldown Reduction |
| Blizzard | Vulnerable | Vulnerable, Barrier |
| Ball Lightning | Shock upkeep | Crackling Energy |
| Inferno | Overpower burst | Cooldown Reduction |
Ball Lightning does almost nothing on its own, but you need a Shock spell cast every five to ten seconds to keep the Berú of the Threefold 5-set damage bonus live. Points in Ball Lightning and Firewall upgrades are also what reliably switch on Static Surge and Aspect of Combustion.
Your two Enchantment slots go to Meteor and Hydra. Hydra never goes on the bar — the Enchantment paired with the Behemoth variant drops each Hydra to a single head but raises the cap from 1 to 10, which is where your healing and Ice Armor cooldown reduction come from. Since you burn and refill your whole Mana pool constantly, those Hydras stack up almost instantly.
Gear and Mythic priority for the Meteor Sorcerer
Work through the Mythics in this order. Only one crafted Mythic from the Horadric Cube can be equipped at a time, so the first pick matters.
| Item | Slot | Value |
|---|---|---|
| Raiment of the Infinite | Chest | 43% toughness |
| Starfall Coronet | Helm | 15% damage |
| Esu’s Heirloom | Boots | ~10% damage |
Raiment of the Infinite is a defensive pickup first and a grouping tool second, useful for pulling packs together when Inferno is on cooldown. Esu’s Heirloom is your crit engine, but it takes work: tempering and masterworking Movement Speed on the boots gets you to 50%, Teleport adds another 10%, and the Qua Rune covers the gap. Searing Heat grants 5% Critical Strike Chance on top, so you only need 95% showing on your character sheet.
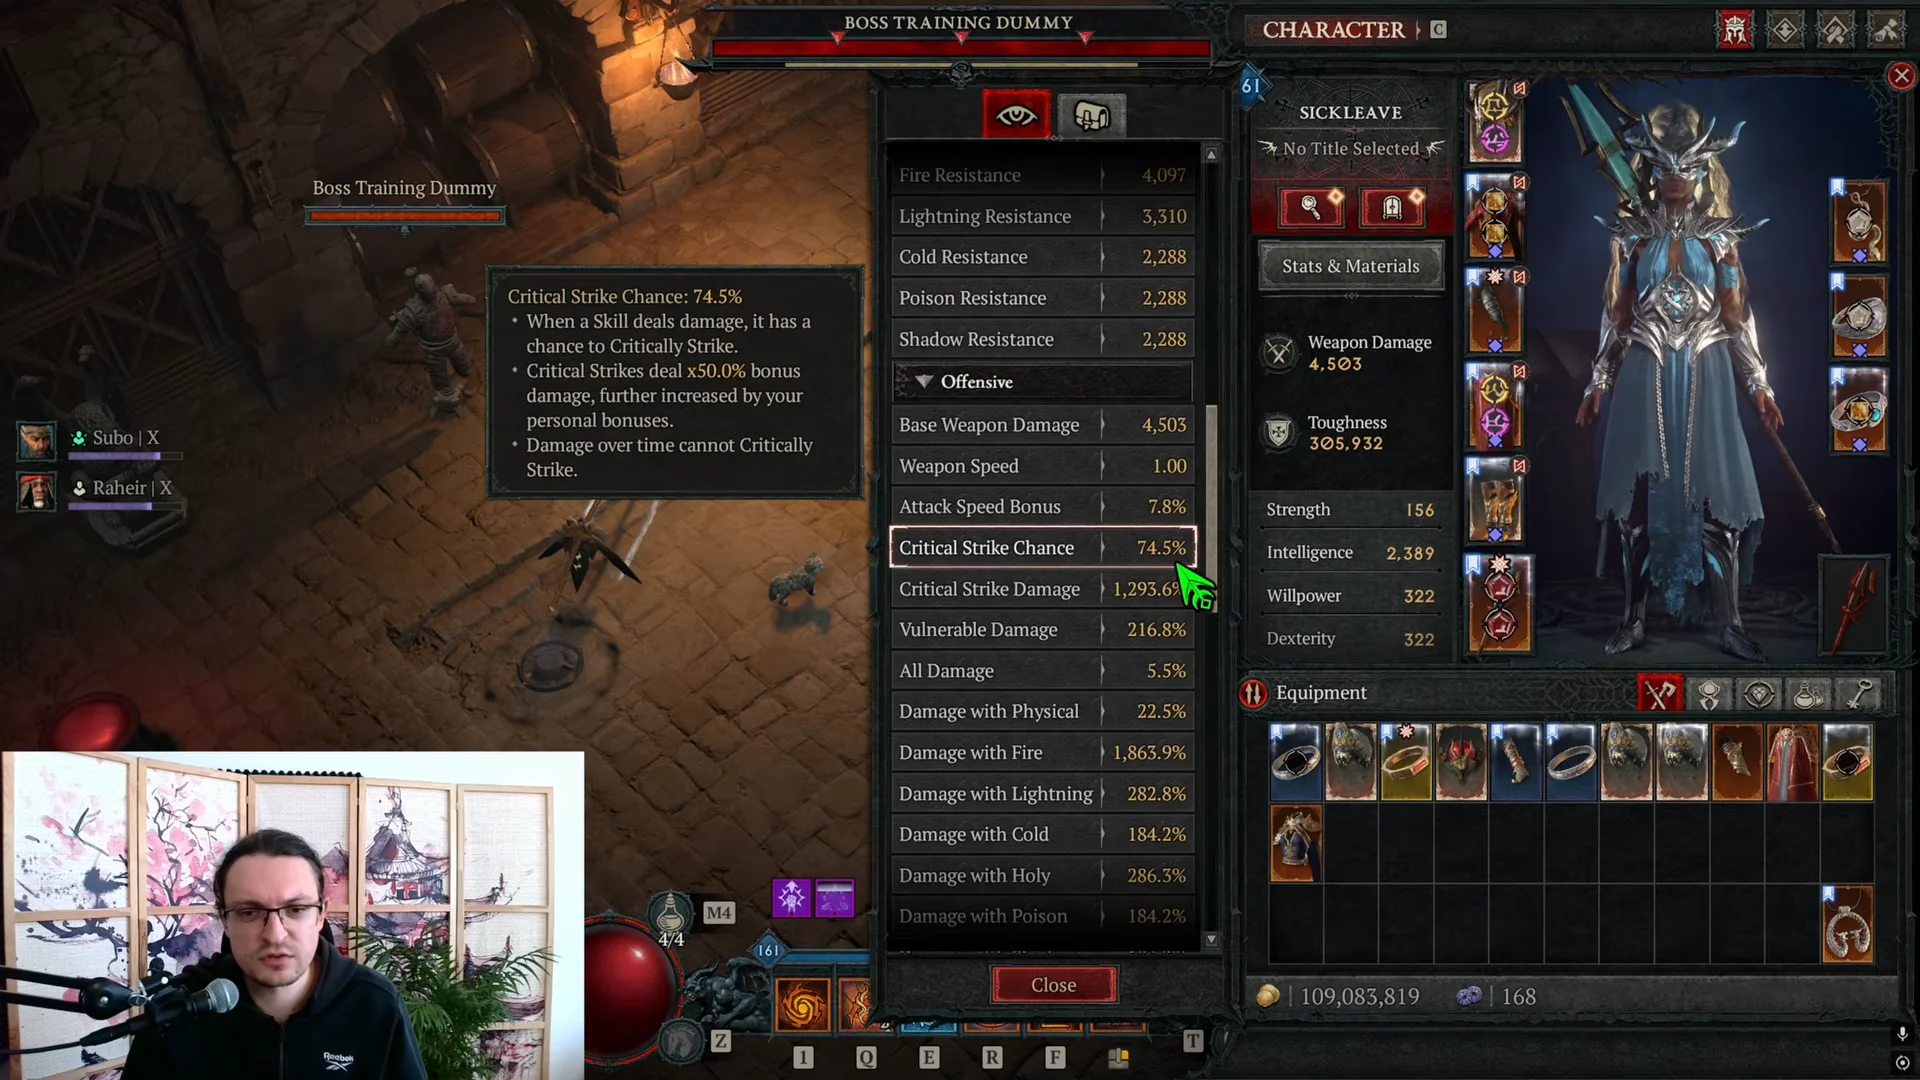
If you hit 100% crit without the rune, swap it for Mot, Jah, or Ohm. Max Mana is a genuine offensive stat here and rolls on Charms, Chest, and Helm. Seal of the Diamond Mind is the theoretical ceiling, since it lets you run the Berú of the Threefold 5-piece alongside a 3-piece Berú of the Cauldron, but the seal still has to carry the Mana on Mastery Skill Trigger affix.
Paragon boards, glyphs, and Soul Splinters
Board choices converge on the same four legendary nodes: Searing Heat for crit chance and Pyromancy crit damage, Static Surge for Mana regeneration plus damage, Frigid Fate for a near-permanent Vulnerable multiplier, and Enchantment Master. Pyromaniac, Tactician, Eliminator, and Elementalist are the glyphs doing the heavy lifting, with Eliminator worth leveling first. Once the offensive legendary nodes are claimed, spend the rest on Armor, Maximum Life, and any Pyromancy damage nodes you pass.
Soul Splinters are the seasonal gems, and they belong in your jewelry in this order:
- Abyssal Splinter of Anguish
- Abyssal Splinter of Pain
- Abyssal Splinter of the Black Soulstone
Glyph levels come from the Pit, so Pit runs double as both your paragon progression and your Masterworking material supply.
Mercenaries and War Plans for farming Esu’s Heirloom
Hire Subo for the map reveal and the Opening Fire bonus, and take Raheir as your reinforcement with Bastion on Injured for a safety net when a Torment pack catches you mid-cast. The build has no real crowd control of its own, so that reinforcement is doing more work than it looks like.
For War Plans, the nodes that matter most for this build are the Astaroth-related upgrades in the Lair Boss and Nightmare Dungeon trees, since that is how you target Esu’s Heirloom. The rest of the tree is personal preference.
How to check the build is ready for Torment 12
There is a simple in-game test for the Mana balance. Stand on an enemy and spam Meteor while watching your Mana bar. If it climbs all the way back to full between casts, you need more Max Mana to convert into damage. If it never refills at all, you have too much, and those Charm slots should go to skill ranks or your Helm and Chest should take defensive stats instead.
The other confirmations are visual. Blizzard should be firing without you pressing it, which means the Berú set is triggering correctly. You should be able to chain two or three Teleports right after a Meteor lands, which means Overpower generation is keeping up. And your sheet Critical Strike Chance should read 95% or higher before Searing Heat.
Meteor has a built-in delay between cast and impact, so fast-moving packs will walk out of your damage. Expect to lead your casts rather than drop them on top of enemies.
Once all three requirements are in place, the build clears Torment 12 comfortably. It is not the top meta pick in Season 15, and it stays fragile against anything that punishes a half-second delay, but very little else in the game puts 50 Meteors per second on the screen.