Control Resonant: How to Escape the Sinkhole (Into the Sinkhole Walkthrough)
Every objective from the diving bell descent to the laundromat exit, including the relay order and the navigation cues that matter.
Every objective from the diving bell descent to the laundromat exit, including the relay order and the navigation cues that matter.
by Kabir Anand
Into the Sinkhole is the main story mission that follows Power Lines, and it is the one that strands you. Dylan rides an FBC diving bell down a collapsing shaft, installs three probe relays at bedrock, and then loses the only way back up when the cable snaps. Everything after that is a vertical climb through floating apartment blocks, a crate warehouse, and a residential maze that finally spits you out onto a city street.
Quick answer: Activate all three probe relays at bedrock to trigger Escape the Sinkhole, defeat the Hiss Ruiner, climb the lit floating rooms to the severed bell cable, then follow the singing and glowing TVs to the laundromat doors.
Into the Sinkhole objective order
The mission runs five objectives in a fixed order, and none of them can be skipped or done early. Escape the Sinkhole is the fourth, and it is not the last, so reaching solid ground does not end the quest.
Objective
Starts when
Ends when
Escort the probe relays
You board the bell in the Evacuation Zone
An alert stops the descent
Find and defeat the Hiss
The alert triggers mid-shaft
The floating-furniture room is cleared
Install the probe relays
The bell reaches bedrock
Third relay activated
Escape the Sinkhole
All three relays are live
You inspect the severed bell cable
Follow the music
The cable trail ends
You push out of the laundromat
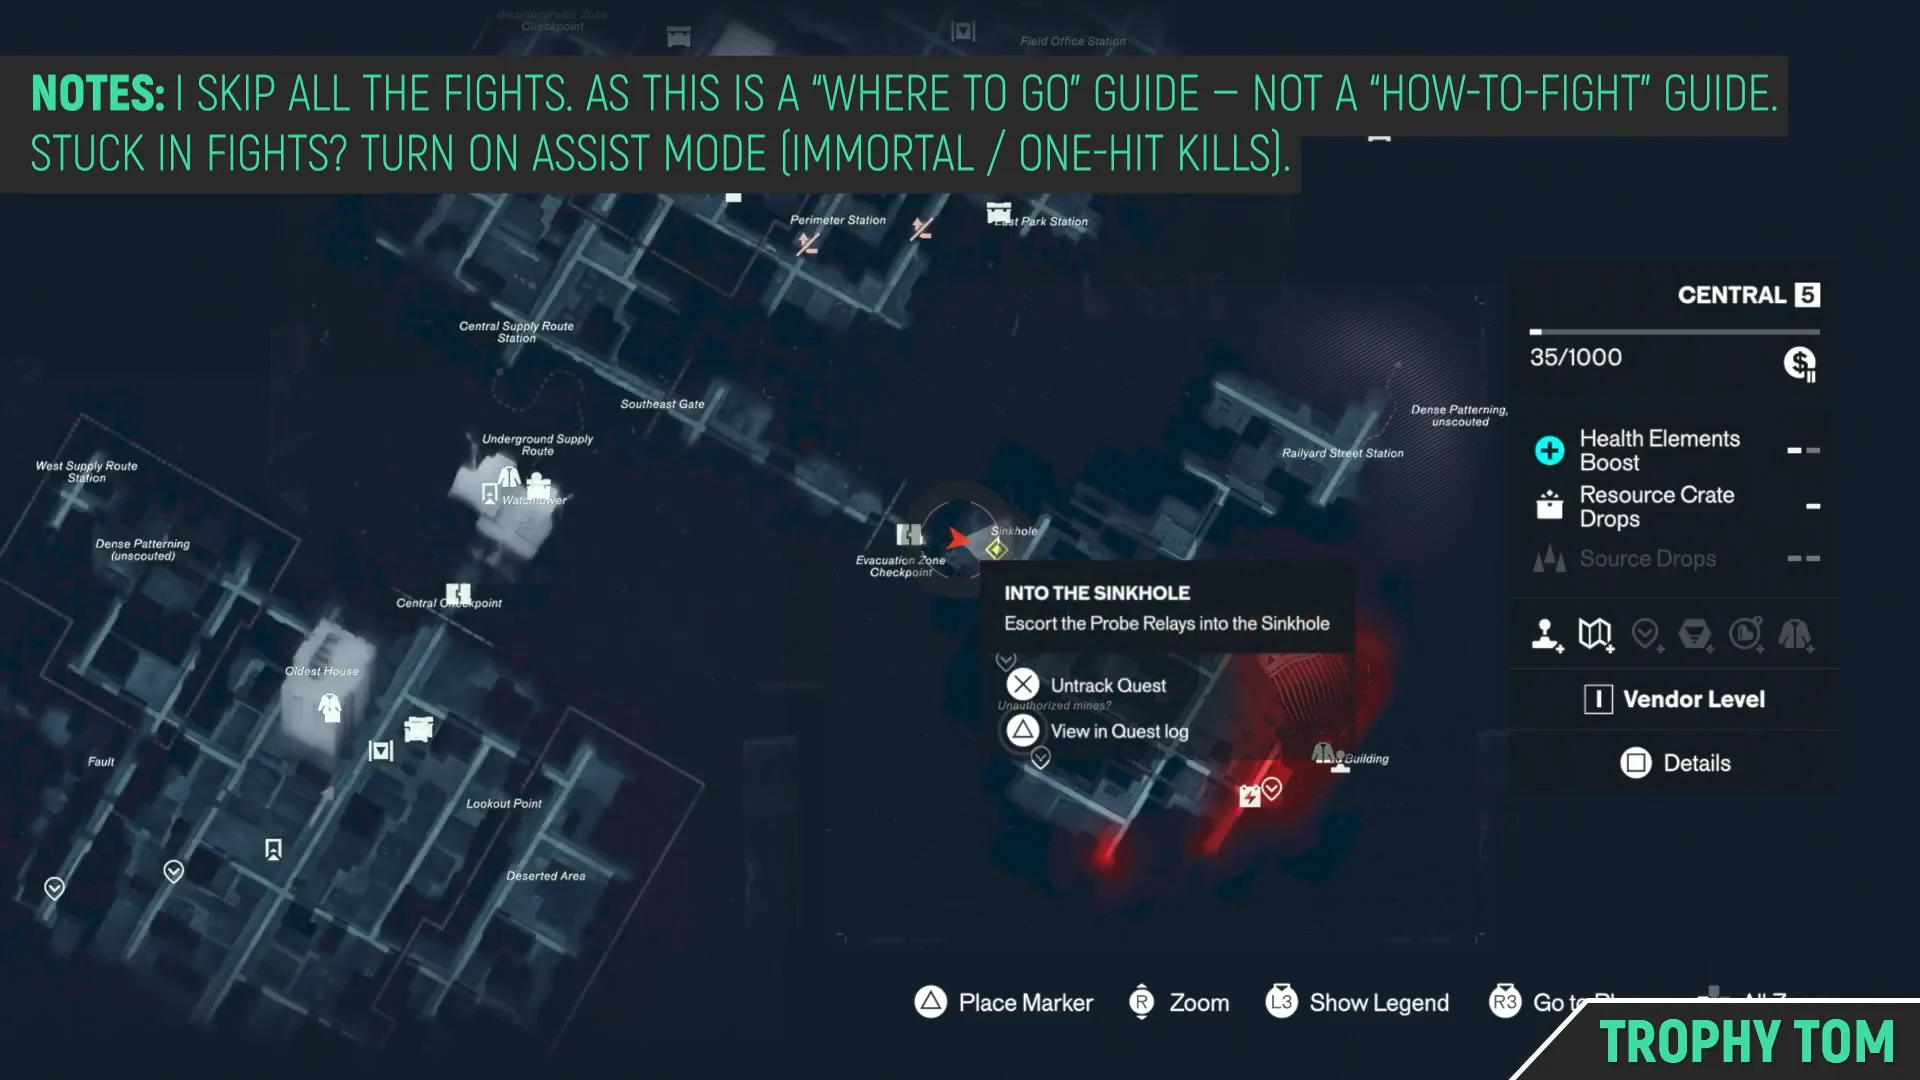
The quest sits under the Contain the Crisis chain in the log, and the sinkhole entrance is marked in Central. Combat here is long, so it is worth arriving with weapon form upgrades and spare Talent Points already spent.
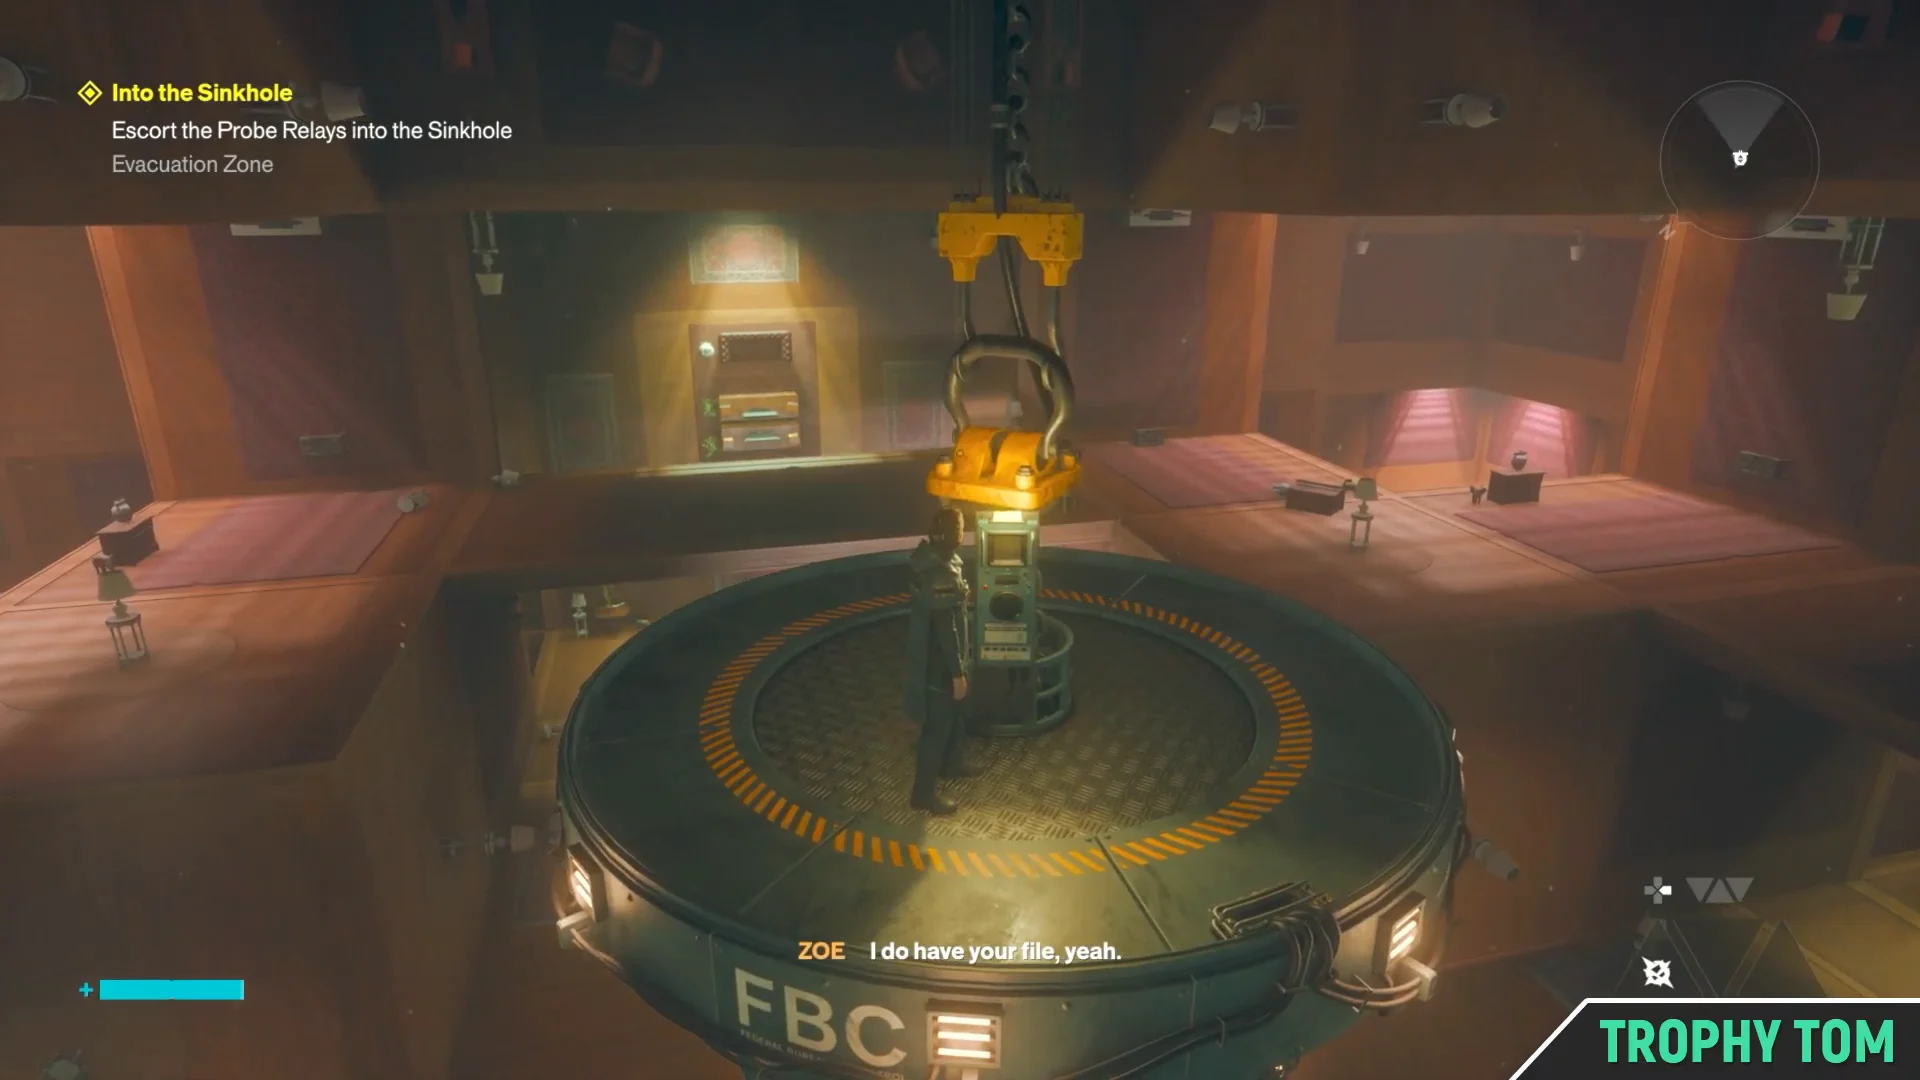
Reach the excavation platform with the crane-hung bell by crossing the upper catwalk in the Evacuation Zone and dropping down. Get inside, select Evacuation Bell, and begin descending as Zoe speaks over the loudspeaker.
An anomaly throws the shaft into turmoil, stopping the bell at a floor washed in red light. Eliminate every enemy on that level, then use the controls once more to continue downward.
At the next stop, you arrive at an apartment floor and receive the Find and Defeat the Hiss objective. Make your way through the warped rooms, ending the battle in the chamber where furniture floats.
Return to the bell, speak to Zoe, and activate it for the rest of the trip. When it settles on bedrock, with drifting buildings and bodies hanging overhead, the objective becomes Install the Probe Relays.
03:06Resuming the DescentResuming the descent on the bell after clearing the second stop, with Zoe on the radio. Shown at 03:06 in Trophy Tom’s video. Image: Remedy Entertainment
Install the probe relays at bedrock
The central probe device produces relays one at a time. You must take each one out, place it, and turn it on before the following relay is dispensed, which prevents preparing all three beforehand.
Remove the first relay from the dispenser at the platform’s center. Bring it over to the apartment structure beside the arena, set it on the elevated terrace, and switch it on.
Carry the third relay up the taller rooftop platforms, the ones marked by the dining table sets. Place it, activate it, and the set is complete.
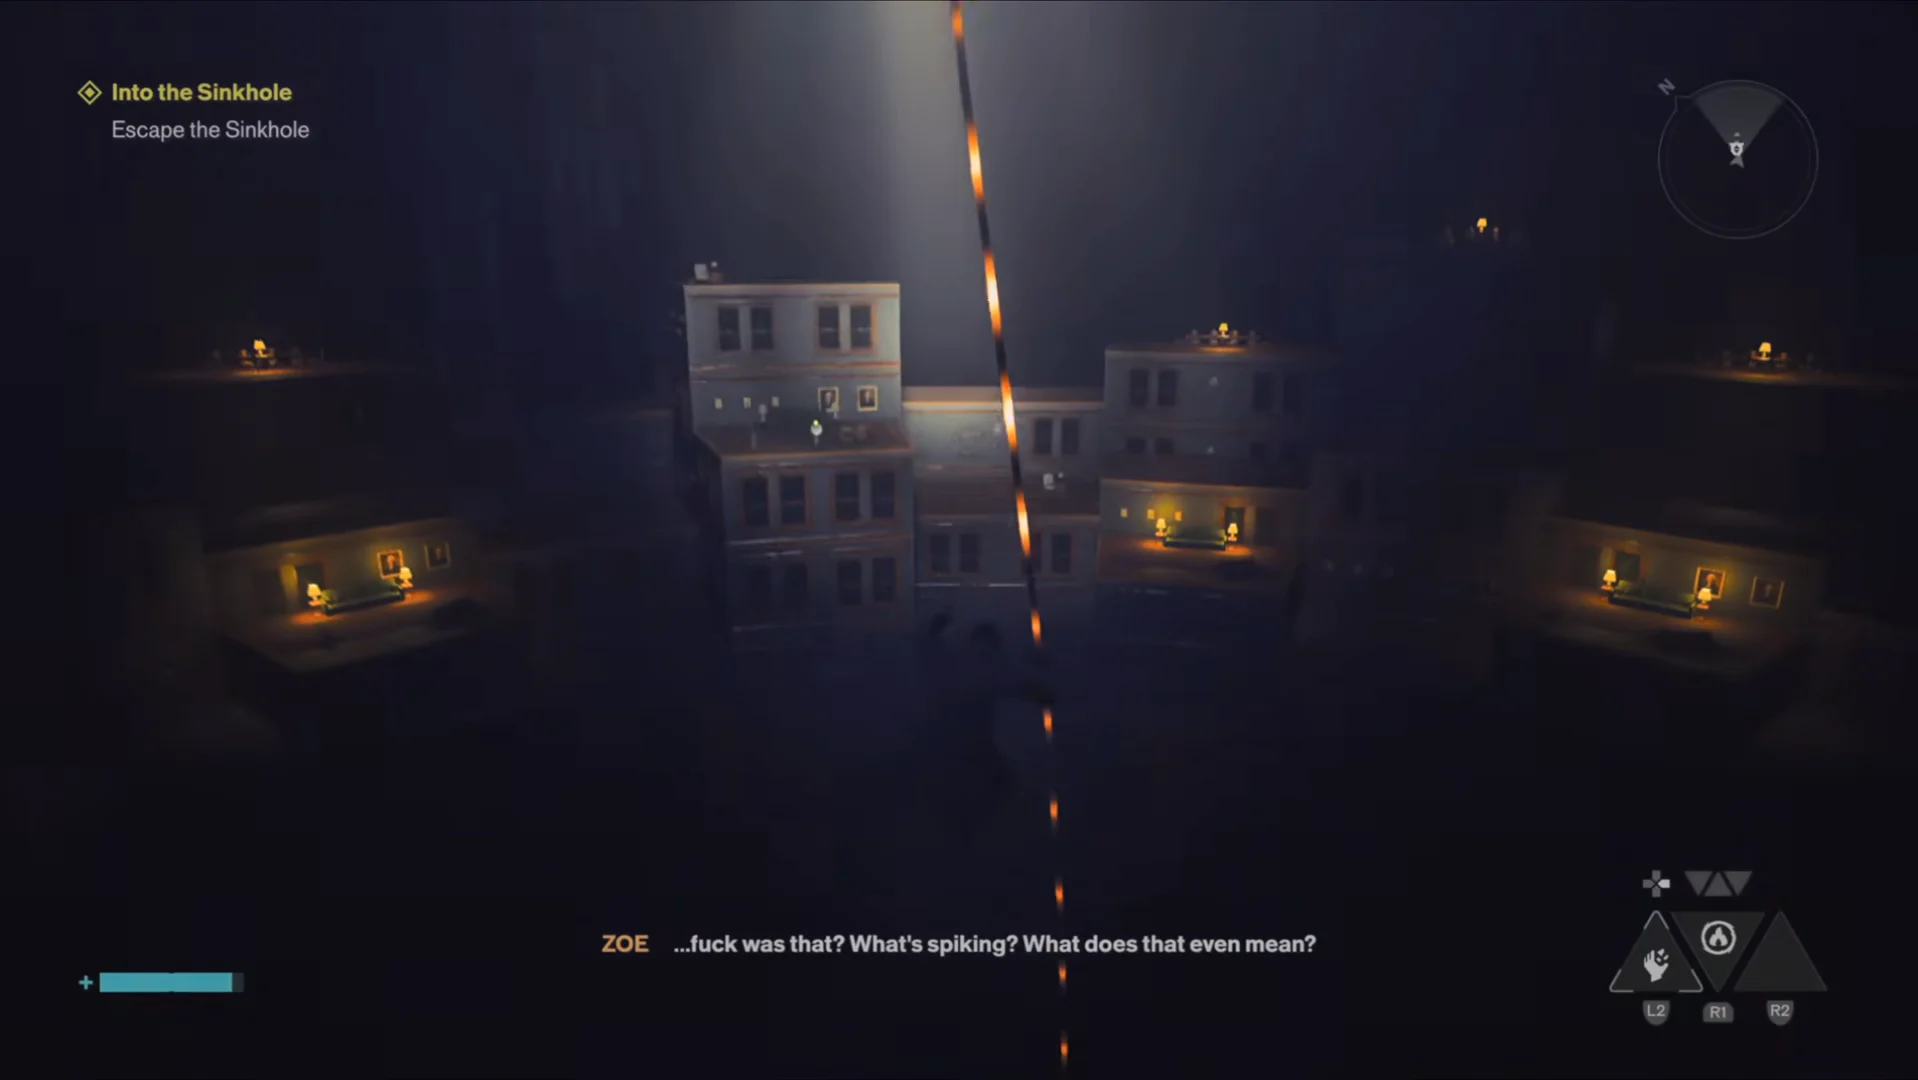
The moment the third relay goes live, the lights cut out, the shaft destabilises, and the diving bell cable breaks. The objective flips to Escape the Sinkhole with no route back to the surface.
Only one route leads upward, and the sinkhole keeps rearranging itself while you travel it. Compass headings are unreliable here, so read the lighting and the structures instead of trying to hold a straight line. Dylan’s slow descent keeps long drops survivable, which is what makes the gaps between structures crossable at all.
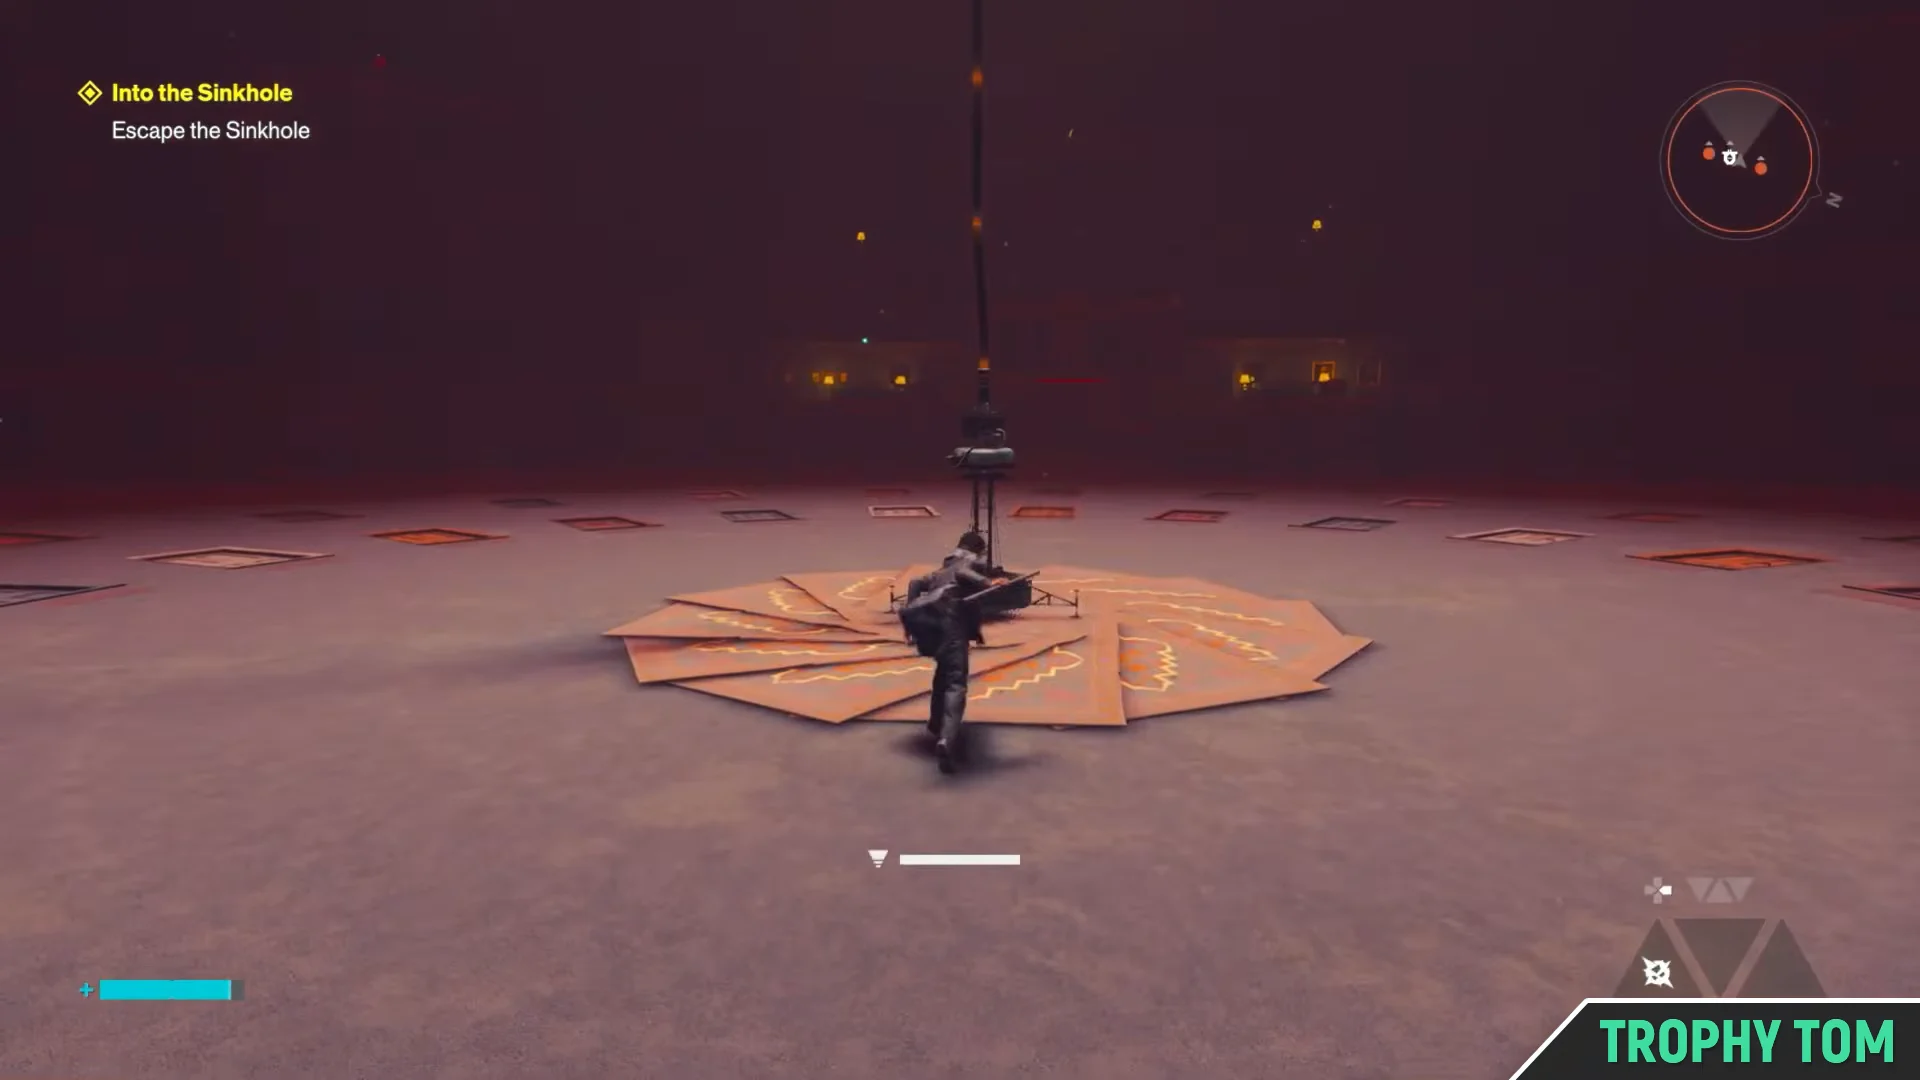
Drop back to the central platform. Red energy waves sweep the floor and summon a Hiss Ruiner, which has to die before anything else happens. Until that fight ends, the route upward stays blocked.
Ascend the rooftops encircling the arena before hopping between the floating room boxes. Follow the upward route through the void marked by the boxes with light bulbs.
Reach the upper ledge covered in wooden debris, where Zoe talks over the radio as the structures shift around you. This is a scripted breather, not a dead end.
Head for the blue-lit openings. The zig-zag tapestry patterns on the inner walls point toward them, so follow the patterns rather than guessing at random gaps.
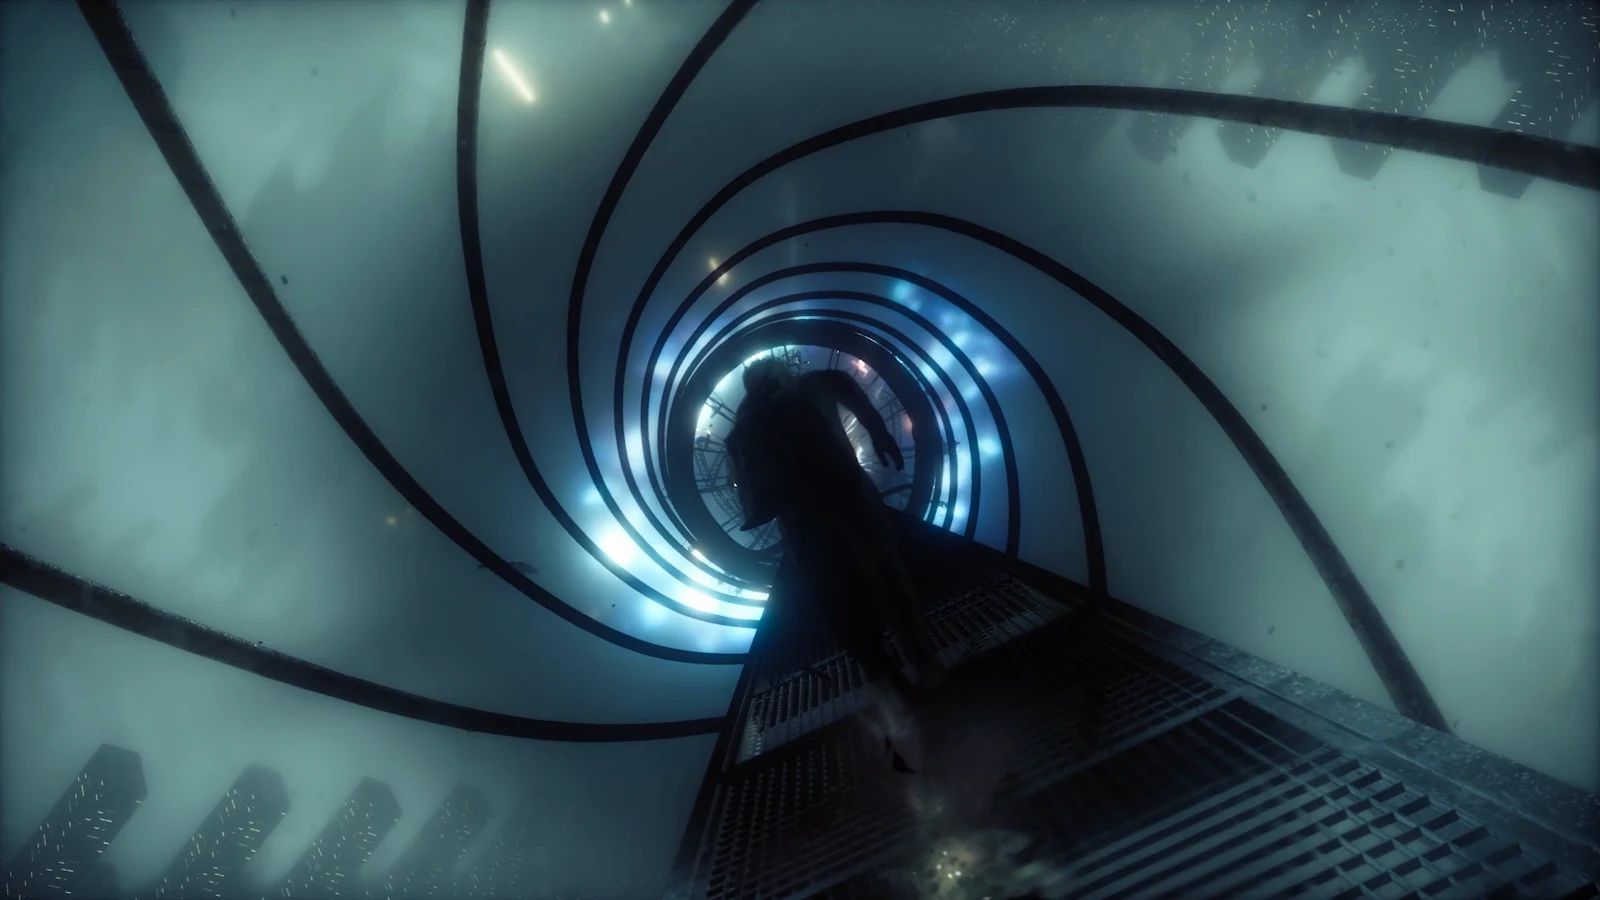
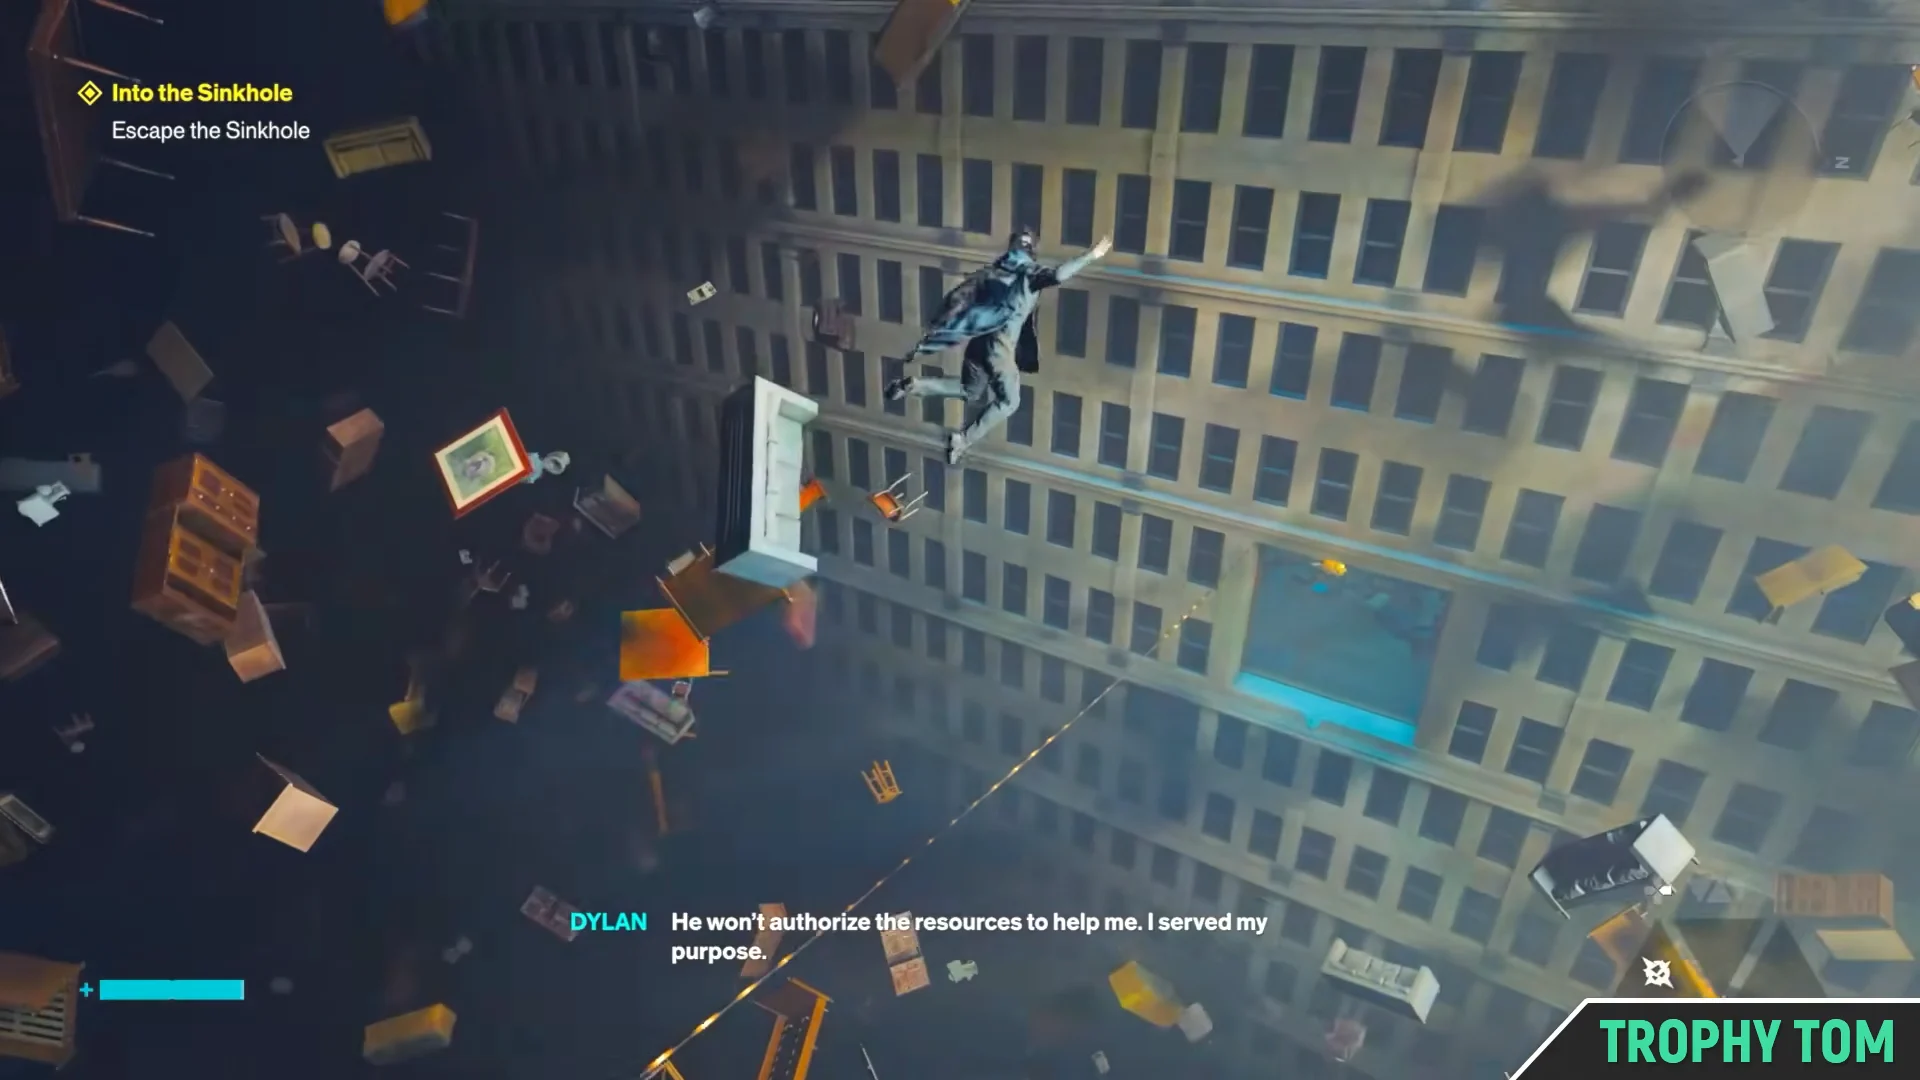
Step out onto the outer face of the falling skyscraper. The drop is long and the camera swings hard, but the debris chunks ahead are stable landing spots.
02:35Void DropLeaping from the doorway onto the outer face of the falling skyscraper. Shown at 02:35 in Trophy Tom’s video. Image: Remedy Entertainment
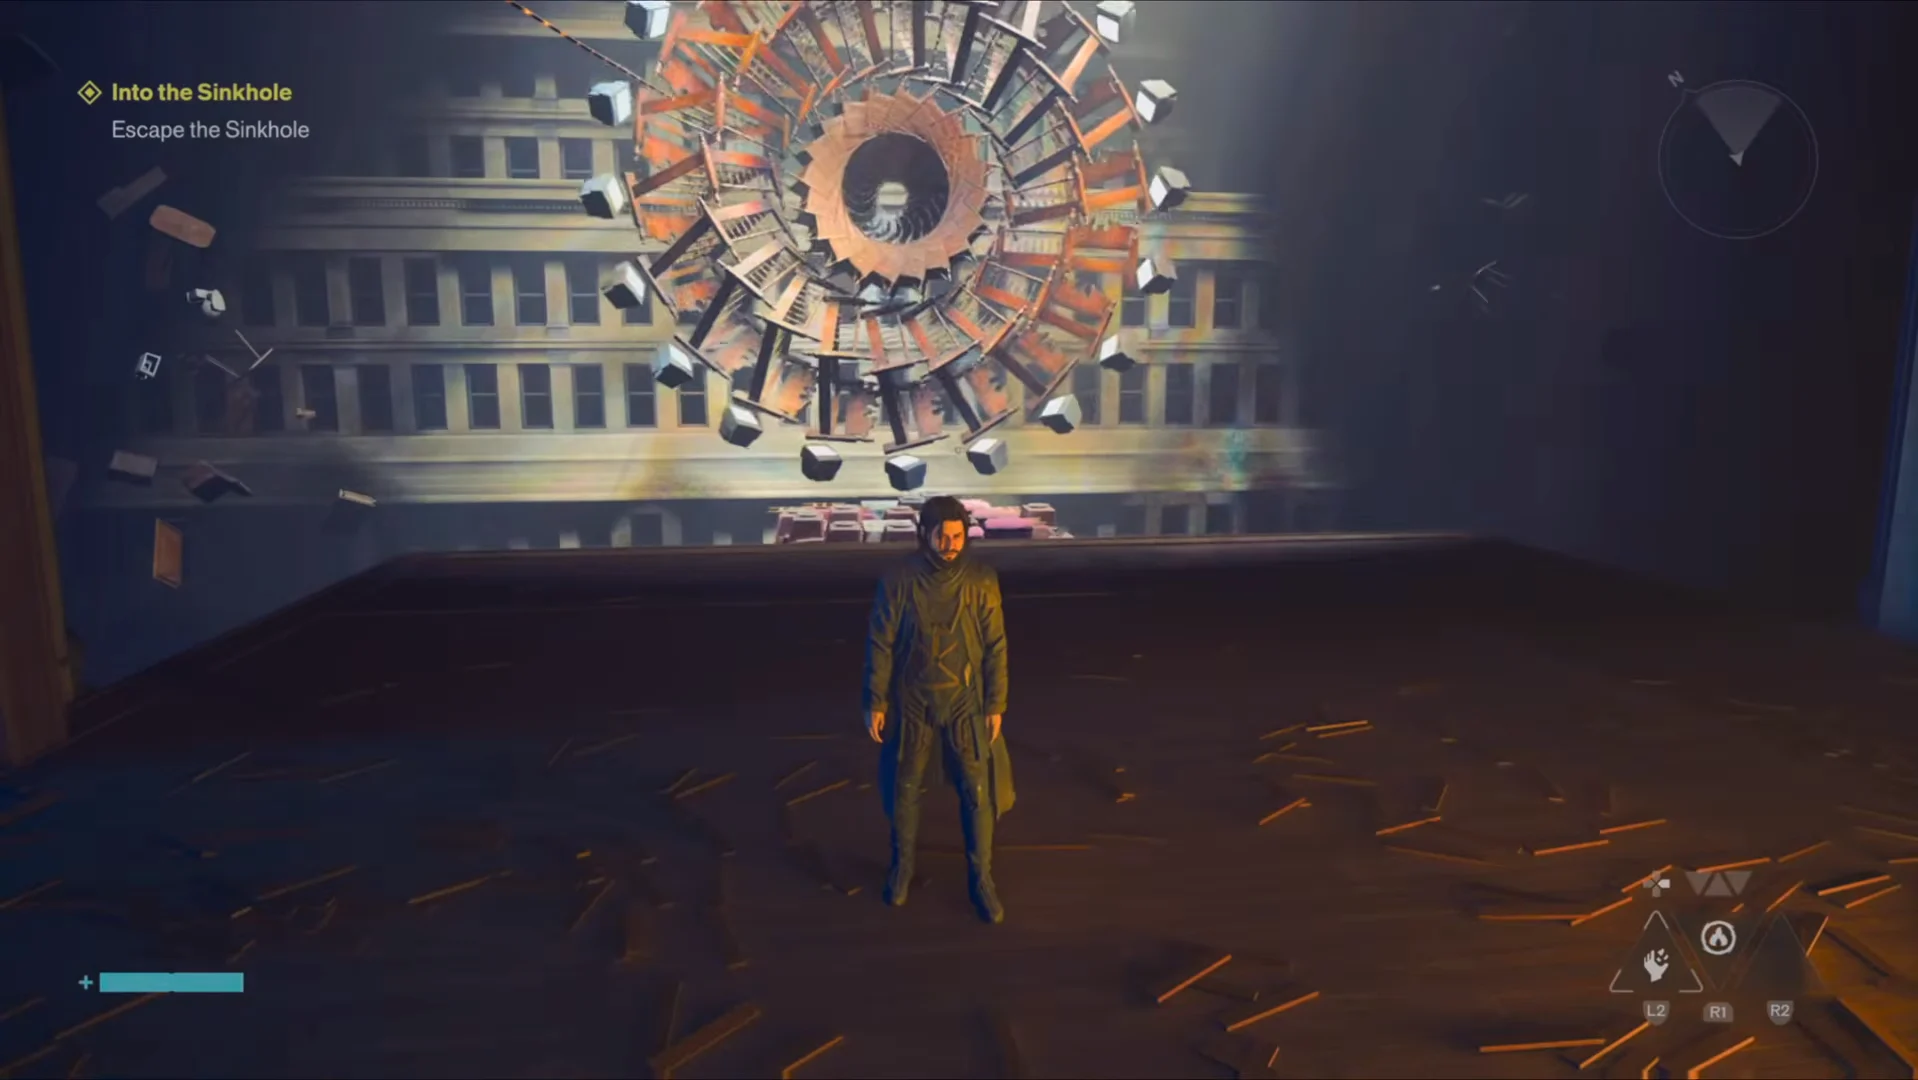
A rotating ring of desks and office chairs blocks the far facade. Time the jump so you pass through the open centre of the wheel; clipping the spinning furniture knocks you off and sends you back to the last checkpoint.
Move through the slanted living quarters strewn with wooden debris and out through the exposed walls. The path opens into an industrial staging area stacked with yellow wooden crates and scaffolding.
Climb the scaffolding ledges into the room above and step onto the balcony overlooking the vertical drop. The glowing diving bell cable hangs here.
Inspecting the cable is what closes the objective. Dylan tells Zoe the cable simply ends, Escape the Sinkhole is marked complete, and Follow the music takes over, even though you are still nowhere near the surface.
Follow the music: navigation cues in the apartment maze
The second half of the escape is deliberately deceptive. Rooms fold back into one another, so the floor plan tells you nothing. Four signals do the actual navigating:
A child’s singing points you in the right direction.
Brightly lit television screens mark the correct doorway.
Climbable floors and frames are indicated by warm light inside them.
Look across the abyss for the glowing green doorway on its opposite side.
Let the singing lead you through the twisted residential halls. When the same rooms begin appearing again, use the glowing TVs to identify which doorway comes next.
Cross the huge chamber of sideways apartment rooms, which are rotated 90 degrees. Climb the furniture, walls, and door frames set into the sides to make vertical progress.
Jump between the stacked floors, stairs, and door frames lit by warm indoor light, then take the narrow walkways over the golden abyss to the green doorway.
Sprint down the seemingly endless yellow-wallpapered corridor with bodies drifting near the ceiling. The hallway is scripted, so do not waste time hunting for a side passage.
The corridor dumps you into a plain yellow-lit maintenance passage where radio contact with Zoe clears up. Run up the concrete stairs, cut through the green-and-white tiled breakroom into the blue-lit laundromat, and push the double doors open.
How to confirm the mission is complete
Stepping out of the laundromat puts Dylan on a wet, foggy street and triggers the Quest Completed: INTO THE SINKHOLE banner along with the Living Shard reward. If no banner appears, you are still somewhere in the repeating apartment section and have not reached the laundromat yet. The maze itself never closes the objective on its own.
Finishing the mission also clears the Notes: Plan of Attack tracker automatically, so it disappears from the quest log without any extra step. The story opens back up afterward, which makes this a sensible moment to spend Talent Points, upgrade weapon forms, and hunt down Health and Power Upgrade Points before the next stretch of main missions.