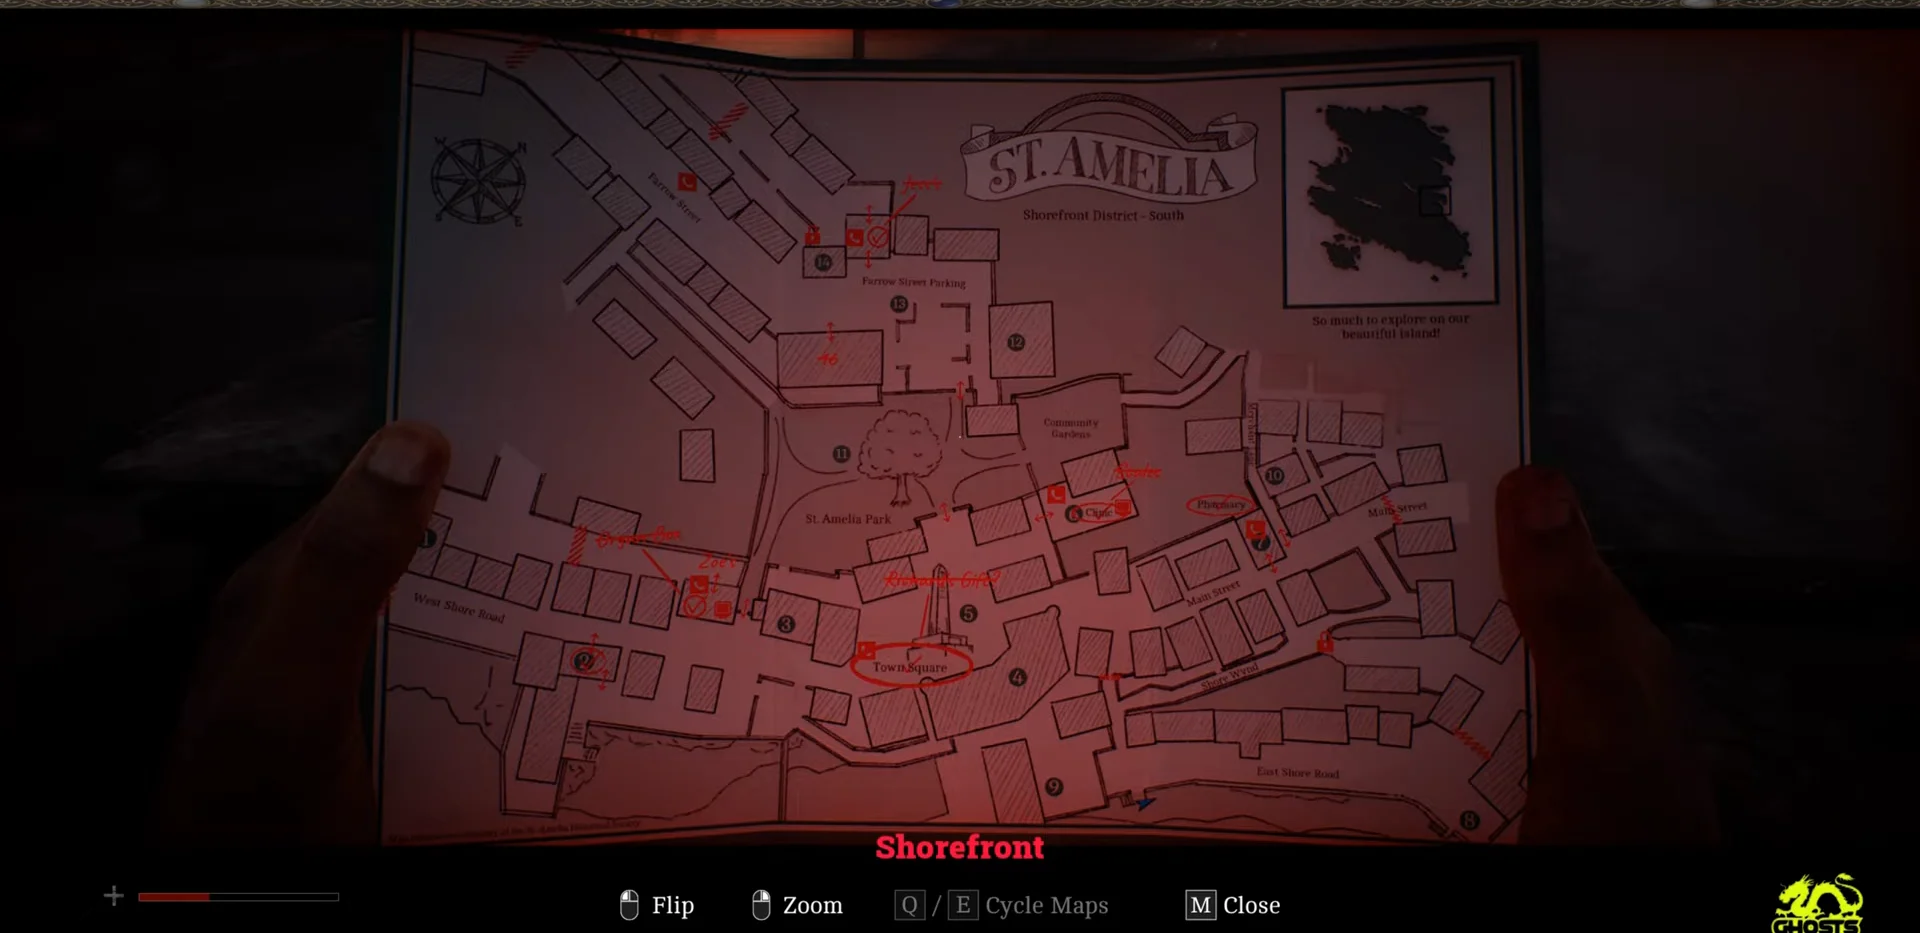
The Crew Patch in Chapter 17 is the clue tied to the golden trophy “Through Observation,” and it hides on the rocky shoreline below St. Amelia’s Shorefront District. Like every document and clue in Silent Hill: Townfall, it is missable, so it needs to be collected before the story pushes you out of the area.
Quick answer: Take the seawall stairs down to the Shorefront beach, inspect the washed-up overalls, follow the red trail to a second pair, then examine its S.W.D.P. patch to log the Crew Patch and unlock “Through Observation.”
Chapter 17: Find the SWDP Crew Patch for “Through Observation”
Set in 1993, Chapter 17 begins amid street fog in St. Amelia’s Shorefront District. The entire sequence stays on the beach just below the seawall, where the only clue is a crew patch sewn onto an abandoned jumpsuit.
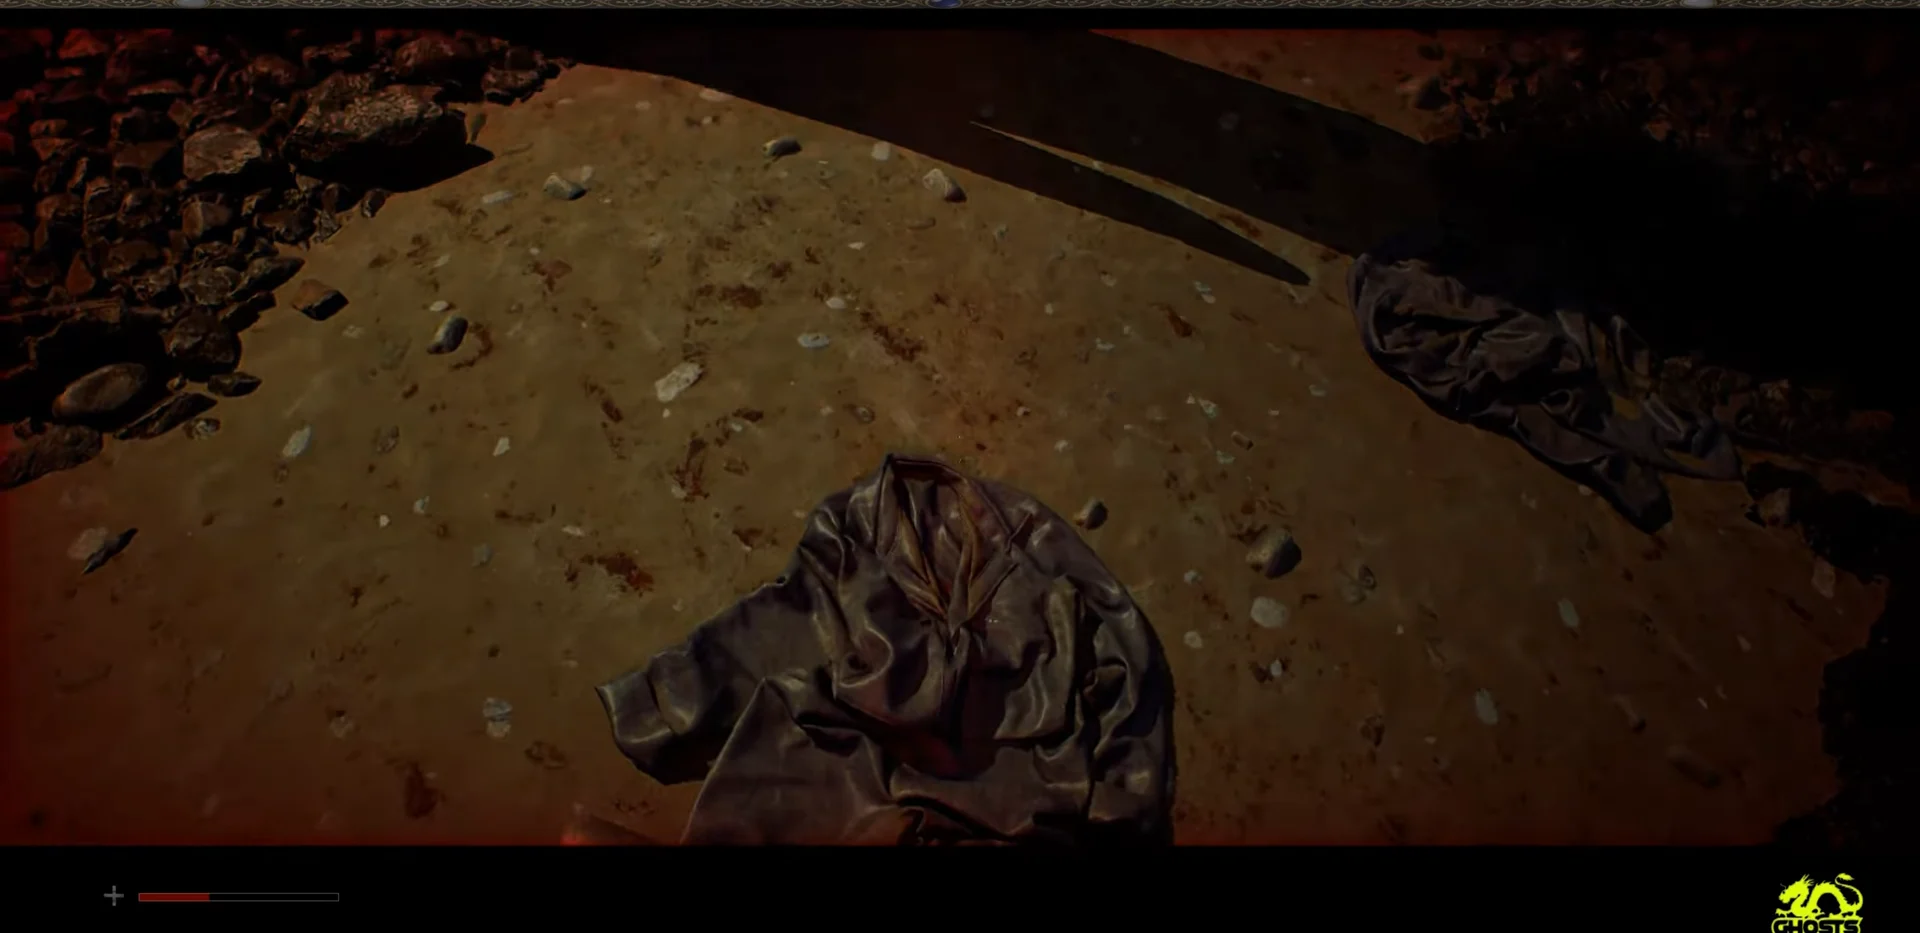
You will know it worked when the Crew Patch is added to your finds and the “Through Observation” golden trophy pops (01/01 for this chapter). There is nothing else to collect on the beach afterward.
How documents and clues work in Silent Hill: Townfall
There are 85 documents and clues in total. Clues usually hold information that solves a puzzle or advances an objective, while documents fill in story and background. Both count together toward your discoveries statistic, and collecting the full set feeds the Observation and Thorough Inspection achievements.
Every pickup is tallied, and each email counts as its own find. Your total discoveries are weighed against your enemy kills to decide the main ending, so the number matters beyond the trophies.
After leaving a district, you can neither select its chapter nor return on foot. Triggering the next story event makes the previous area inaccessible for the remainder of that run, so search each place thoroughly before departing. Collectibles persist between playthroughs, allowing you to find missed items on a later attempt, though finishing a district in one visit is much easier.
Chapter 6: Station Road apartment finds
Chapter 6 plays out inside a Station Road apartment building while a humanoid monster patrols the halls. There are three entries here, and the last one requires printing two photos yourself.
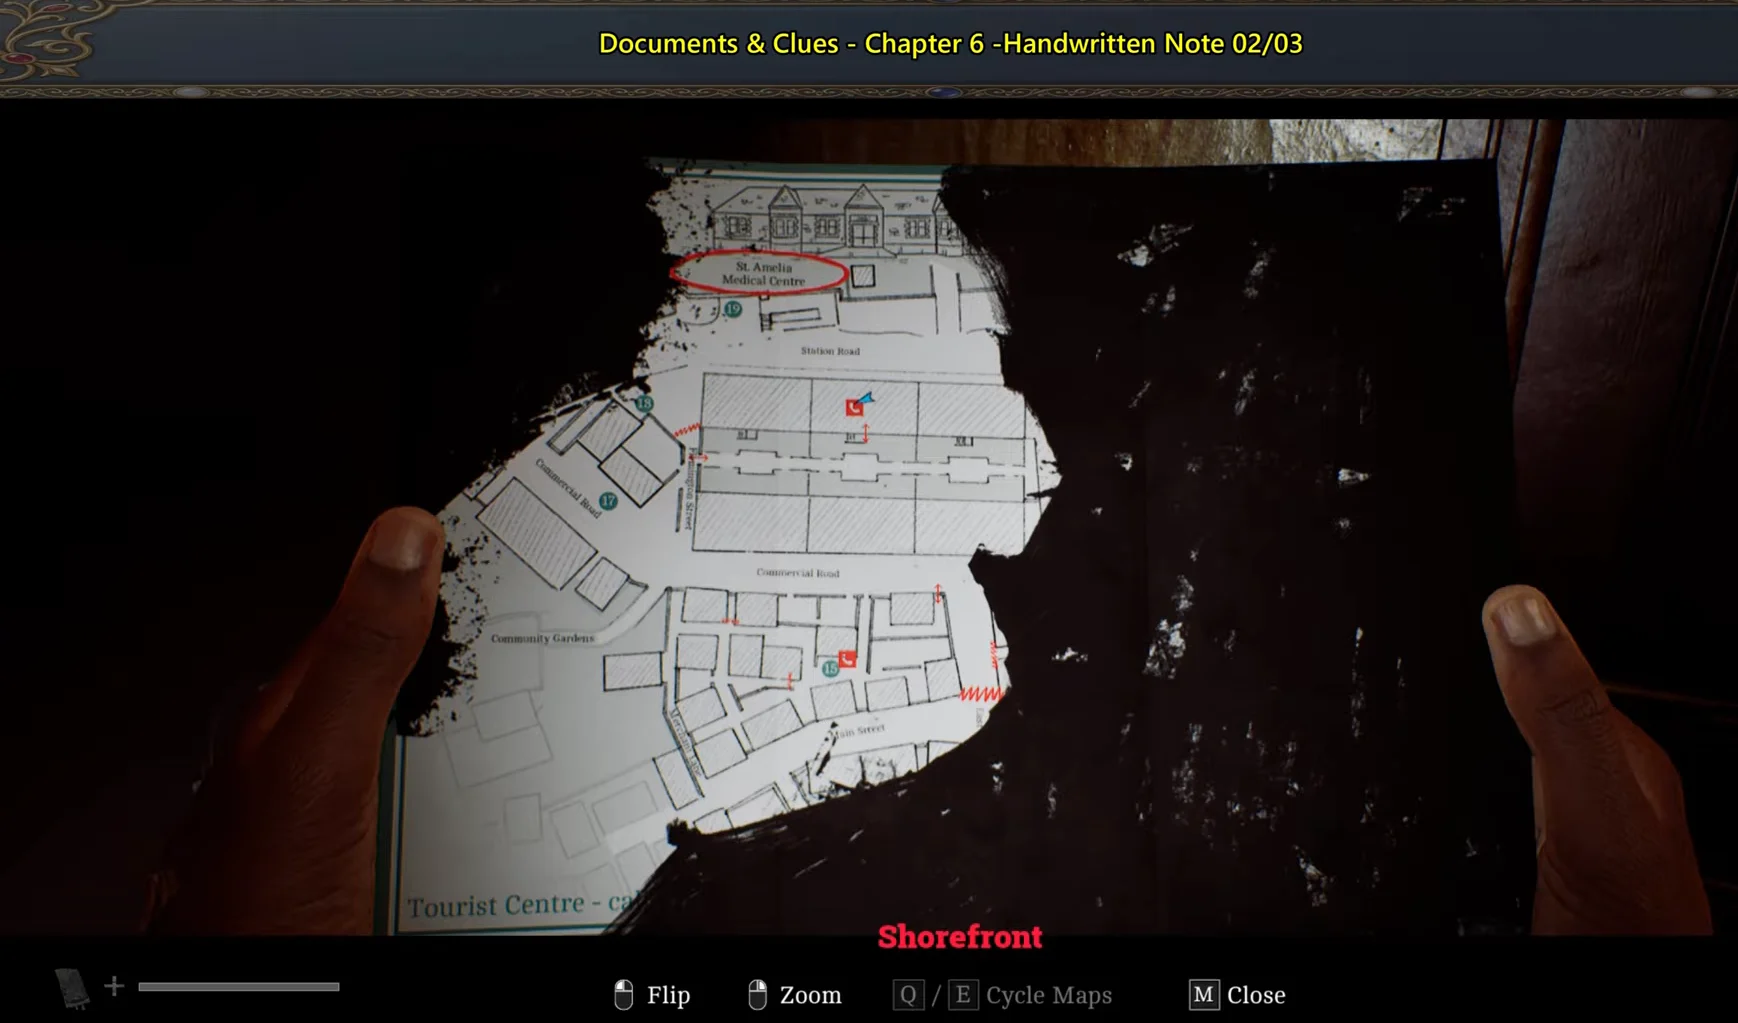
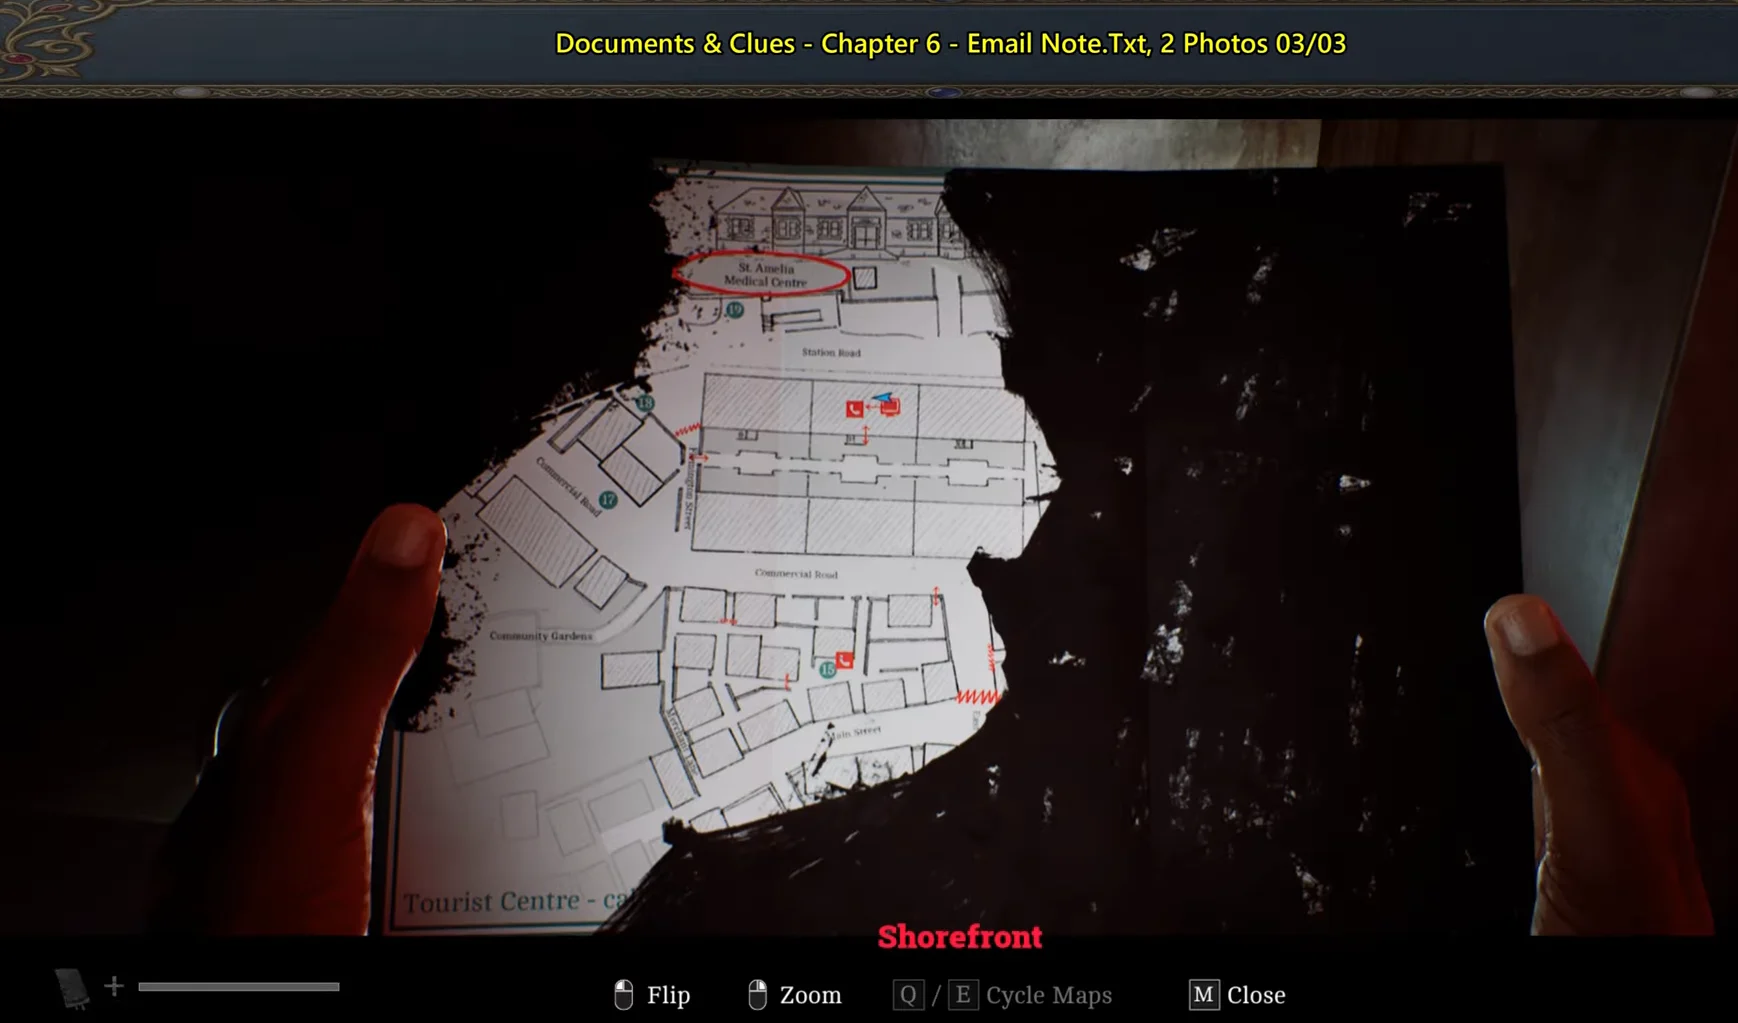
Chapter 7: St. Amelia Medical Centre terminals
Chapter 7 unfolds in St. Amelia Medical Centre, where almost every entry comes from a computer terminal rather than a physical object. Five documents and clues sit across three spots, plus a Records Room Code board upstairs.
| Document or clue | Location |
|---|---|
| Supply Situation Update | Consult Room B computer |
| RE: Supply Situation Update | Same computer, second message |
| Unrealistic Expectations | Chapman Ward computer |
| Duties – Infusion Status | Same inbox, second message |
| Equipment Cleanup Notice | Basement corridor near the Laundry |
On Victoria Ward’s ground floor, pass reception into Consult Room B and sign in to RedSquares E-mail as Admin. Read Dr. Glenn’s Supply Situation Update (2nd January 1996), then Dr. Henderson’s reply to Dr. Isaac to clear that terminal at 02/05.
Upstairs, use the computer behind the desk in the dark reception room by Chapman Ward. Nurse Singh’s Unrealistic Expectations (8th January 1996) and Nurse Roberts’s Duties – Infusion Status (16th January 1996) take the count to 04/05, with the infusion pump locations added to your map.
Before you leave this floor, visit the office in the upper-left section of Chapman Ward. Check the board beside the computer to get the Records Room Code and mark its location on your map.
Finally, take the elevator down with button B, follow the Utilities, Morgue and Laundry signs, then turn into the right-hand corridor. Read the Equipment Cleanup Notice on the gurney at the far end to hit 05/05 and finish the chapter.
Chapter 8: Zoe’s Patient List in the Other Medical Centre
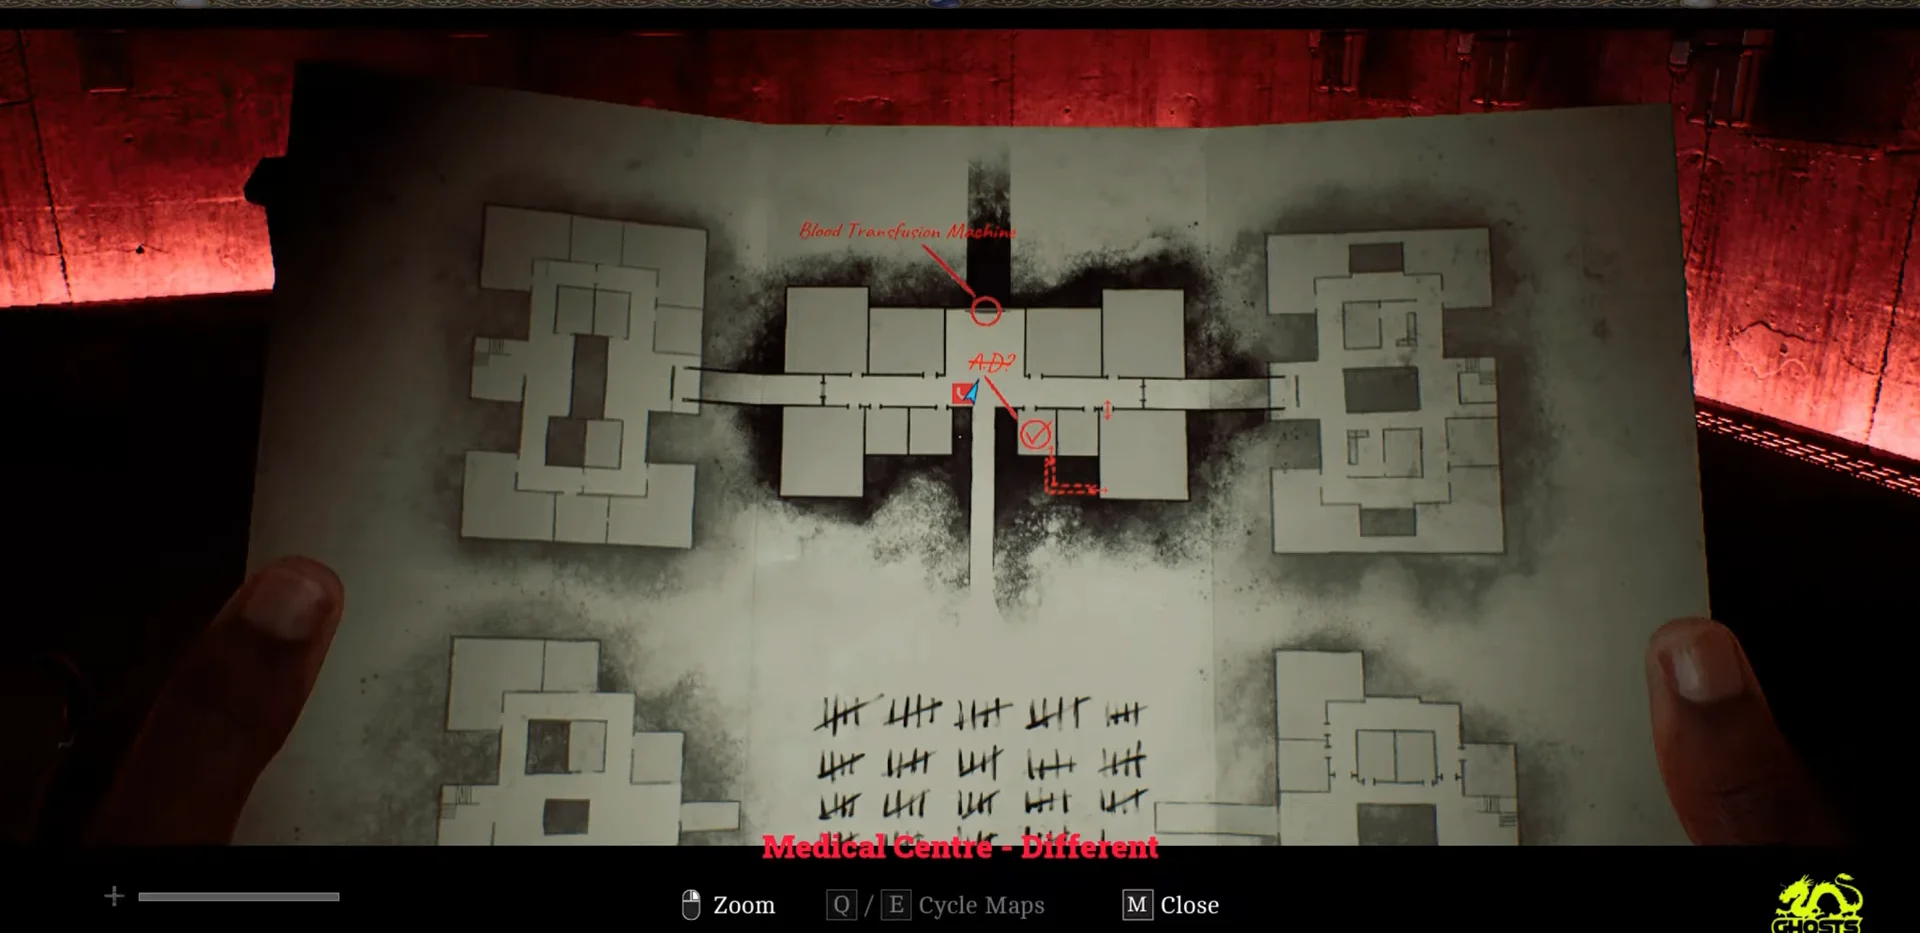
Chapter 8 has one clue: Zoe’s Patient List, found in the Other Medical Centre. Collecting it awards the Observation achievement and adds the blood bag locations to your map, so pick up the list before searching for the bags.
Chapter 15: Office, JOE bunk area, and control room
Chapter 15 takes place in dark underground maintenance passages. The route goes from the office to the JOE room, then on to the control room. Keep your handwritten map open as you travel between rooms: AUX, JOE, Elevator, Generator and Control Room label the pickup locations.
Auxiliary Line command IDs
| Auxiliary Line | Command ID |
|---|---|
| Aux Line A | 135 |
| Aux Line B | 246 |
| Aux Line C | 357 |
| Aux Line D | 468 |
| Aux Line E | 579 |
| Aux Line F | 680 |
Keep these codes ready for the keypad terminal beside the note when working the Auxiliary Lines. With the Chapter 15 haul complete, advancing the story shuts off this district, so confirm all six pickups before leaving.