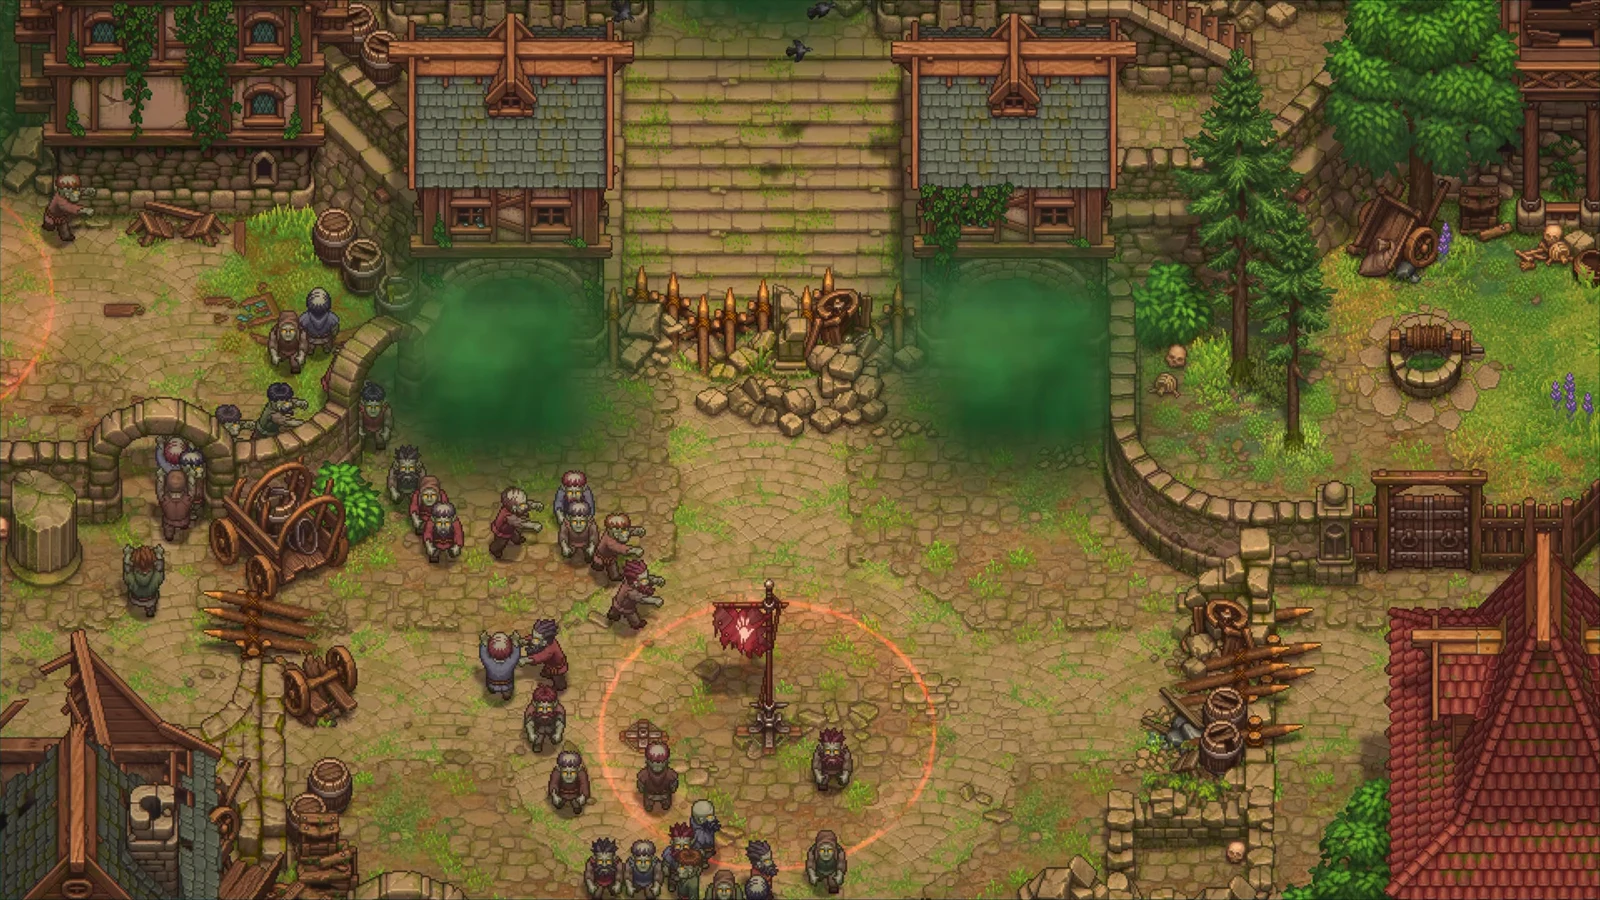
Zombie workers in Graveyard Keeper 2 do not fetch their own materials. A zombie standing at a woodworking bench with a full queue will sit there doing nothing until something puts flitch in front of it. That something is the Zombie Supplier Station, and the zombie you park on it is the only worker in your base that needs no tool and no mastery at all.
Quick answer: Build the Zombie Supplier Station in an area, place any spare zombie on it, and it will carry materials from nearby chests to your working zombies and return the finished goods.
What the Zombie Supplier Station does
The station turns one zombie into a courier. Once placed, it puts on a bright jacket and starts running a fixed loop with no input from you.
- It pulls the raw materials a queued recipe needs out of chests in the same area.
- It walks those materials over to the workstation where your crafting zombie is standing.
- It waits for the craft to finish, picks up the output, and drops it back into a chest.
- It repeats until the queue empties, the chests run dry, or storage fills up.
The supplier role ignores mastery entirely. That is the whole point of it, and it is why the station is the right home for a zombie you would otherwise leave rotting in the garden.
Zombie Supplier Station build cost and unlock
| Detail | Value |
|---|---|
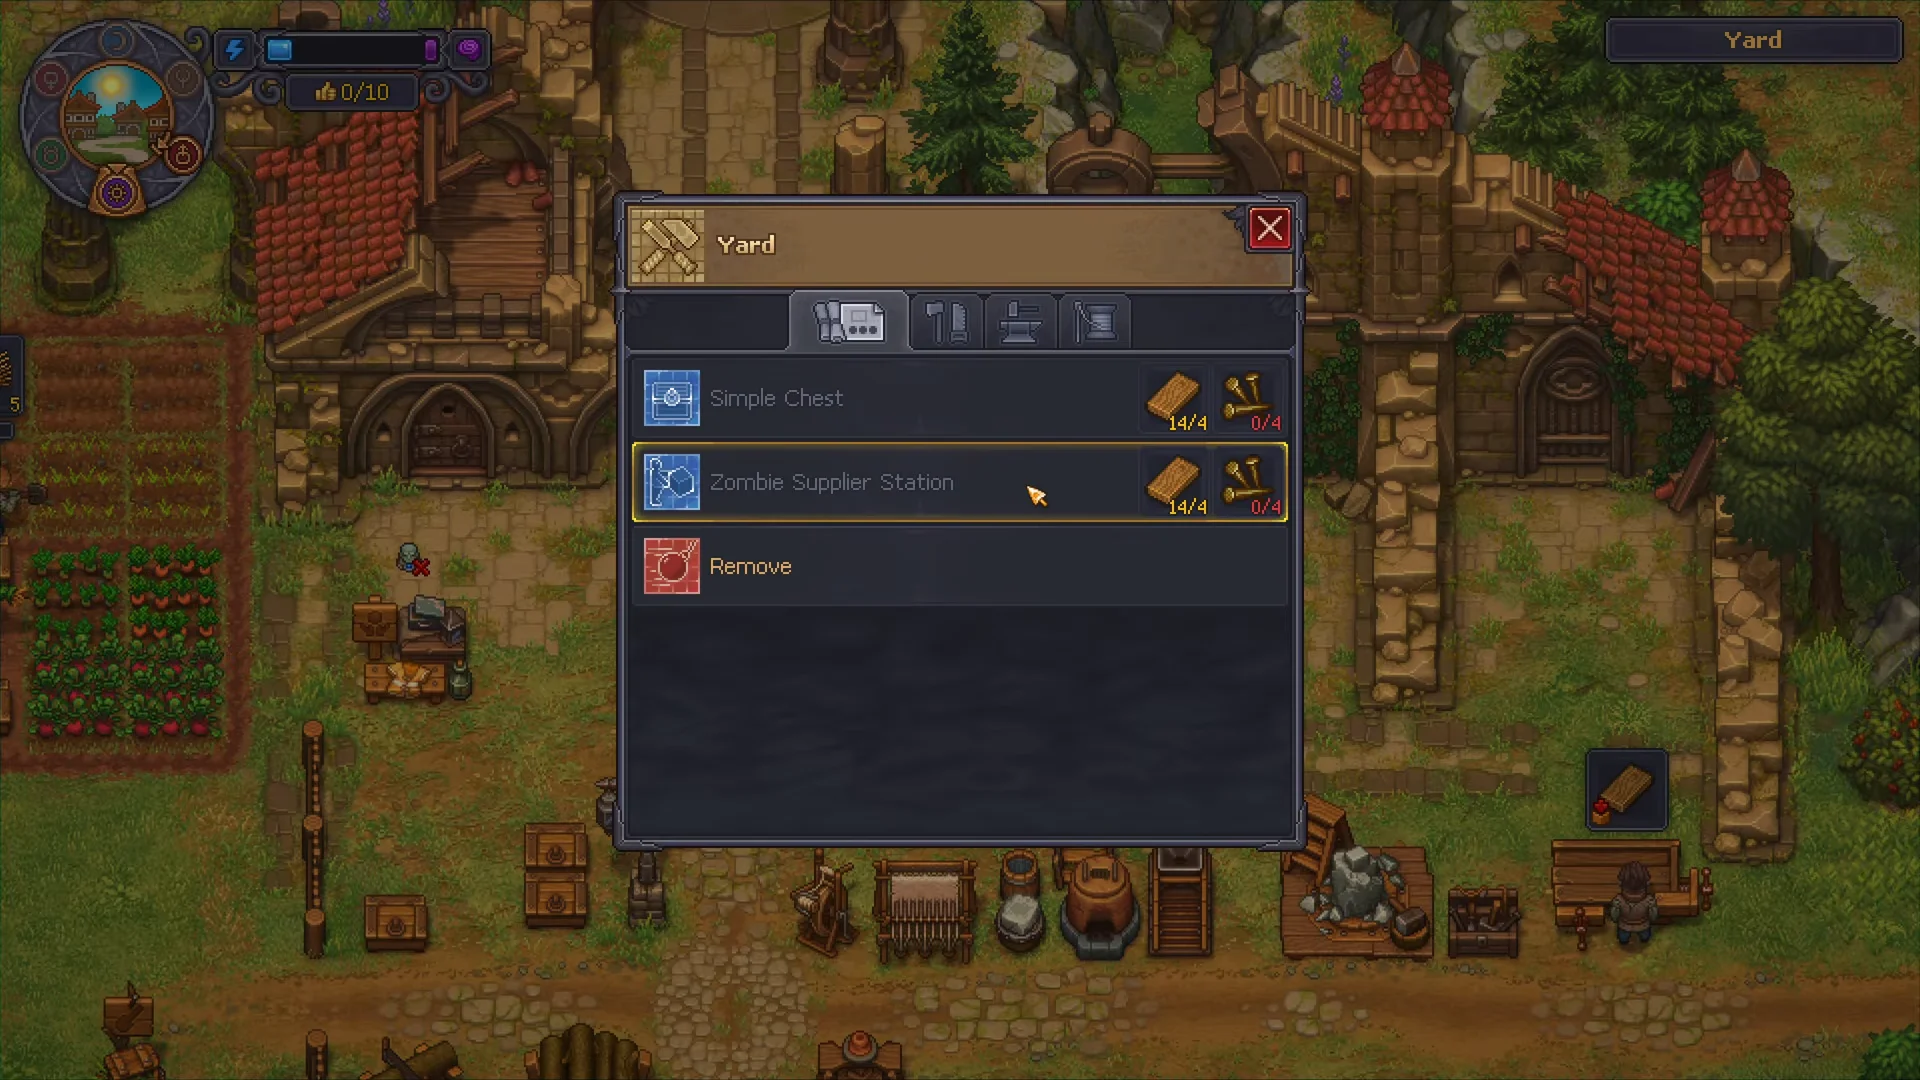
| Cost | 4 Wooden Plank, 4 Bronze Nails |
| Unlocked by | Zombie Assistant |
| Home version unlocked by | Kitchen II |
| Buildable areas | Yard, Quarry, Vineyard Basement, Writing Basement, Alchemy Lab, Home |
The requirement panel on the Yard blueprint table has also listed 4 Flitch next to the planks, so open the blueprint entry and read the cost before you go gathering.
Set up the supply loop
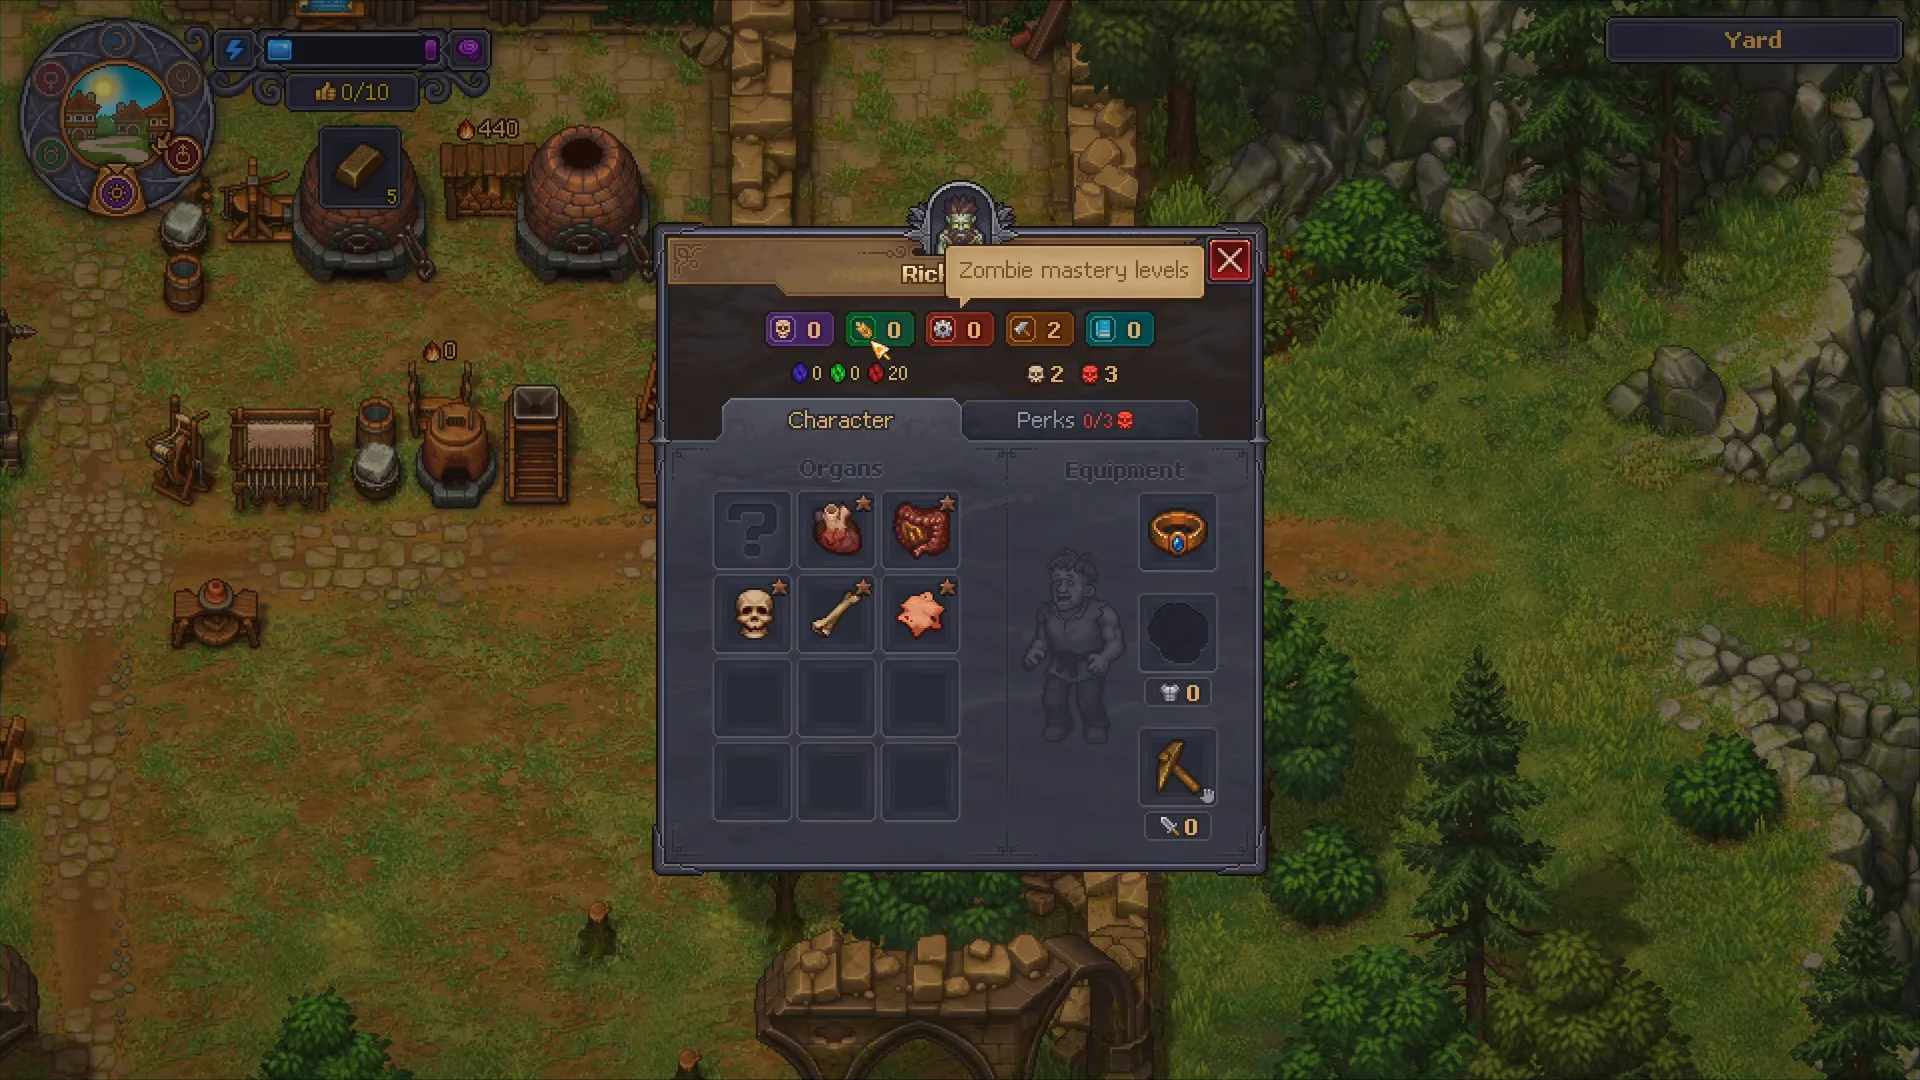
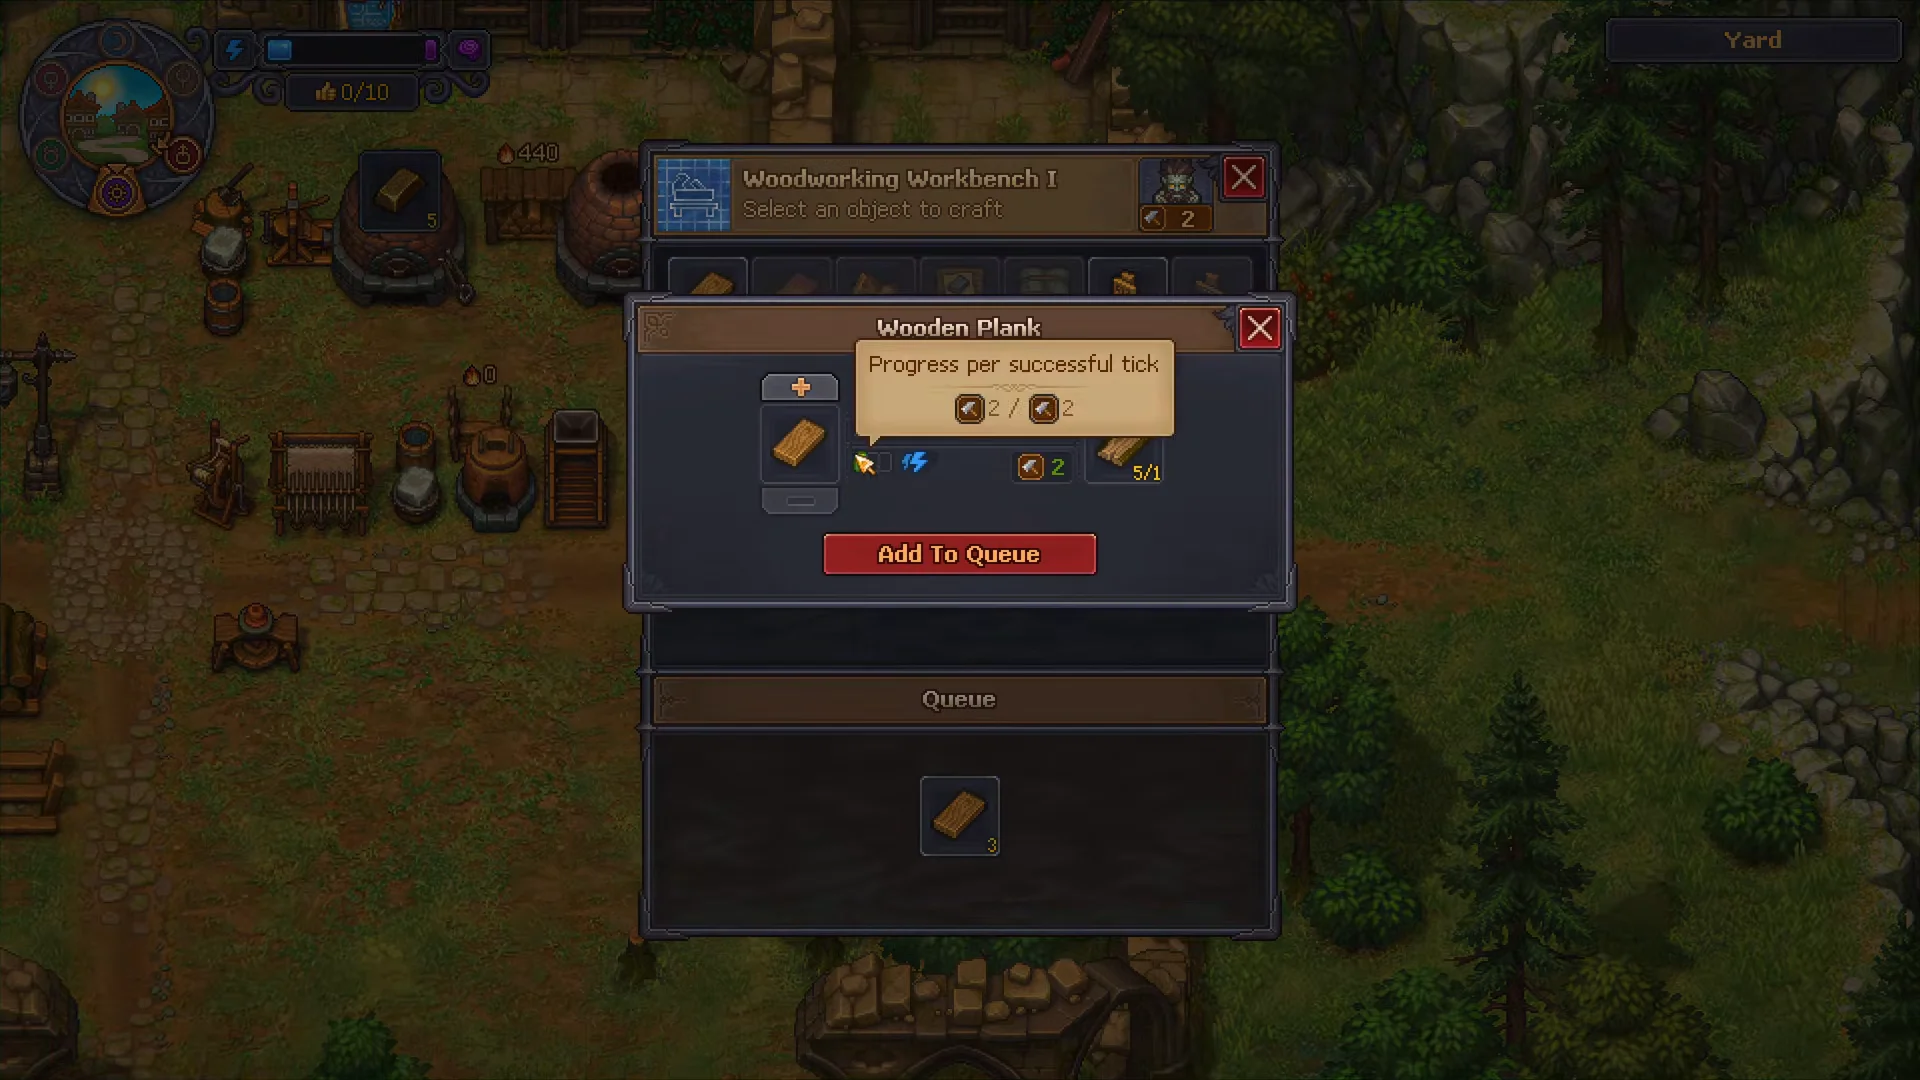
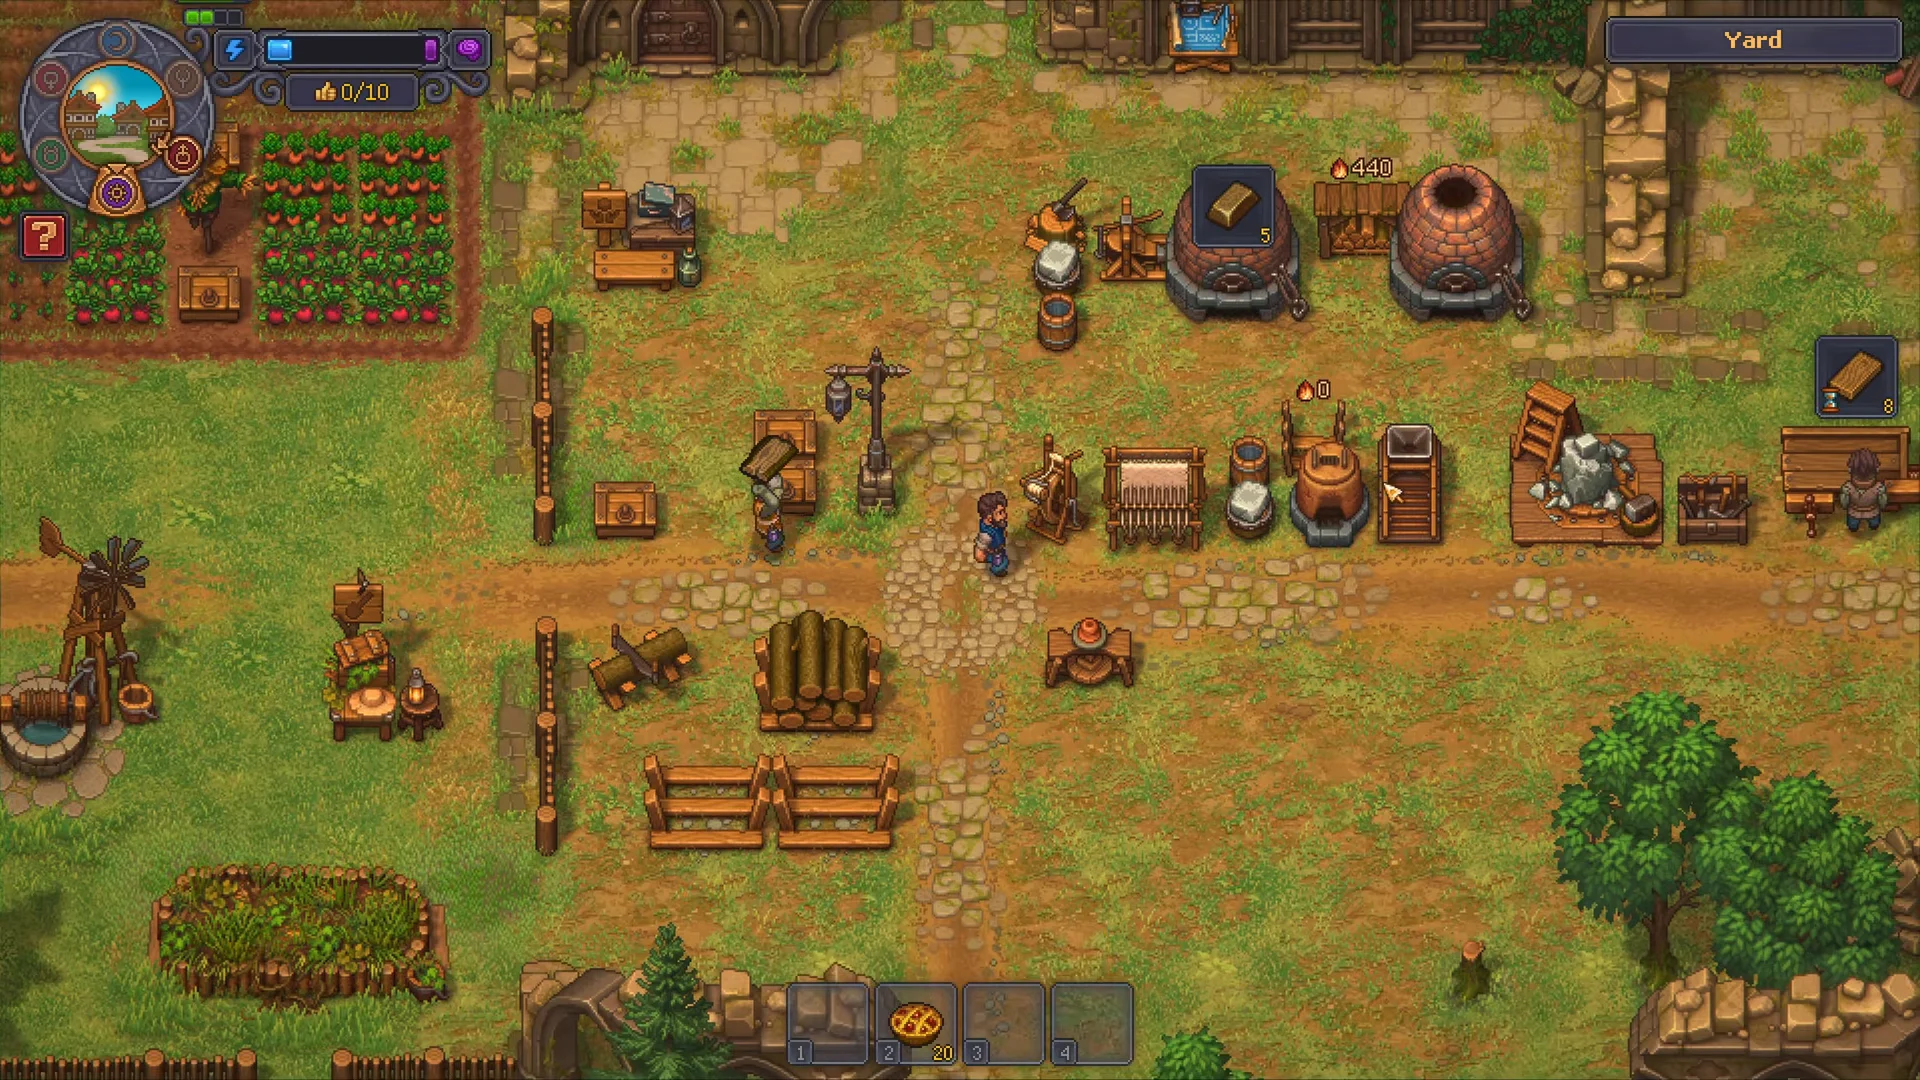
The example below uses the Yard and a wooden plank order, but the same five steps apply to the kitchen, the vineyard basement, or anywhere else the station can go.
Confirming the loop is running
You will see the supplier zombie leave the station, collect the material, and hand it to the worker. When the craft finishes, it picks the finished item up and walks it to a chest. A completed round trip with the output landing in storage is the confirmation that everything is wired correctly.
Which zombies to put on the station
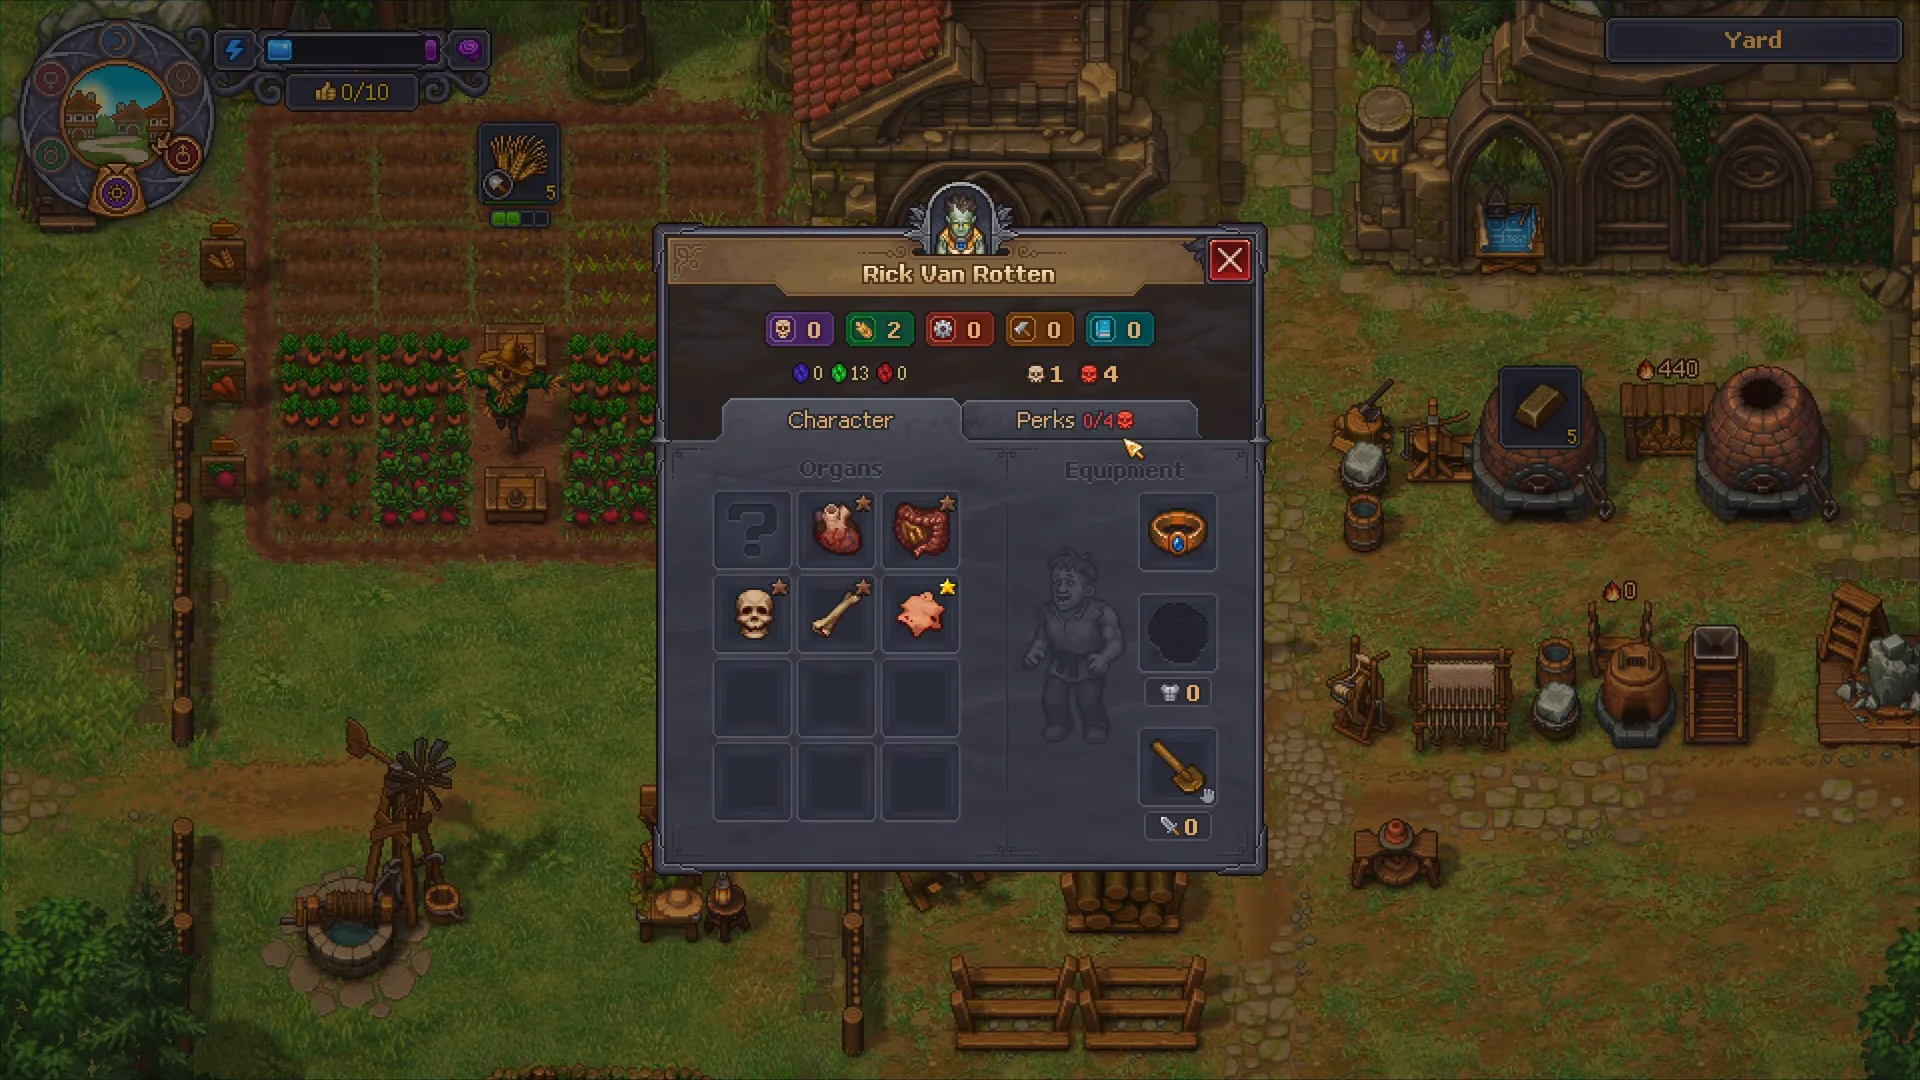
Because the courier role has no mastery requirement and uses no stats, give it your weakest bodies. Zombies with few red skulls, poor perks, or nothing useful equipped do this job exactly as well as your best blacksmith would, so keep the good ones on workstations where their tools and perks matter.
One supplier per work area
A courier and its supply chest are restricted to the same work zone. Treat the yard, garden, vineyard, brewery, science lab, and kitchen as distinct areas; for instance, a kitchen courier will not go to the garden for crops. Automation requires one station and one assigned zombie in each area, while you alone transport goods from one area to another.
When production stalls
A frozen line almost always traces back to one of a handful of causes, none of which is the station being broken.
- Not enough Work Mastery. The crafting zombie can handle a recipe only at or below its current mastery, so a bronze axe that covers planks may not cover the next tier up.
- No tool equipped. A zombie with 0 Work Mastery stands at the bench and does nothing, regardless of what is queued.
- Empty chests. The courier can only deliver what is already in storage inside its zone.
- Full chests or a blocked route. If there is nowhere to put the output or the path is obstructed, the whole loop halts.
Swapping the crafting zombie’s tool also changes which jobs it qualifies for, so a worker that refuses to make one item will often happily make something else once you hand it a different tool. Clear the chests periodically, top up the inputs, and a station plus two zombies will keep producing on its own.