Control Resonant: How to Reroute the Vanished Station (Platform A and B)
Calibration Unit locations, the Mold power sequence, and the exact placements that close out the Power Lines mission.
Calibration Unit locations, the Mold power sequence, and the exact placements that close out the Power Lines mission.
by Kabir Anand
Image: Remedy Entertainment
The Vanished Station is the last stop in Control Resonant’s ‘Power Lines’ mission, and it is the only one that asks you to calibrate two platforms instead of one. Four Calibration Units are scattered across the station, a single electrical charge has to be shuttled between power cores, and the Mold stops being purely an obstacle — on Platform B you actively need it to bridge broken wiring.
Quick answer: Drop two Calibration Units into the yellow squares on Platform A and fire up its Tuning Device, then grow and strip the Mold on Platform B, place its two units, and activate that device.
What the Vanished Station reroute needs
Before you start hauling anything around, it helps to know exactly what the station is asking for.
Four Calibration Units total, two for each platform. The units are interchangeable, so only the squares you place them in matter.
One electrical charge that you carry between power cores. Powering one thing always means unpowering another.
A Tuning Device on each platform, both of which must be activated.
The large gate between Platform A and Platform B opened, so you are not forced to teleport back and forth.
Two behaviours drive every puzzle down here. Light makes the Mold grow back, so switching a light off keeps a cleared patch cleared. And Mold conducts electricity, which is why the broken wiring on Platform B can only be repaired by letting it spread first.
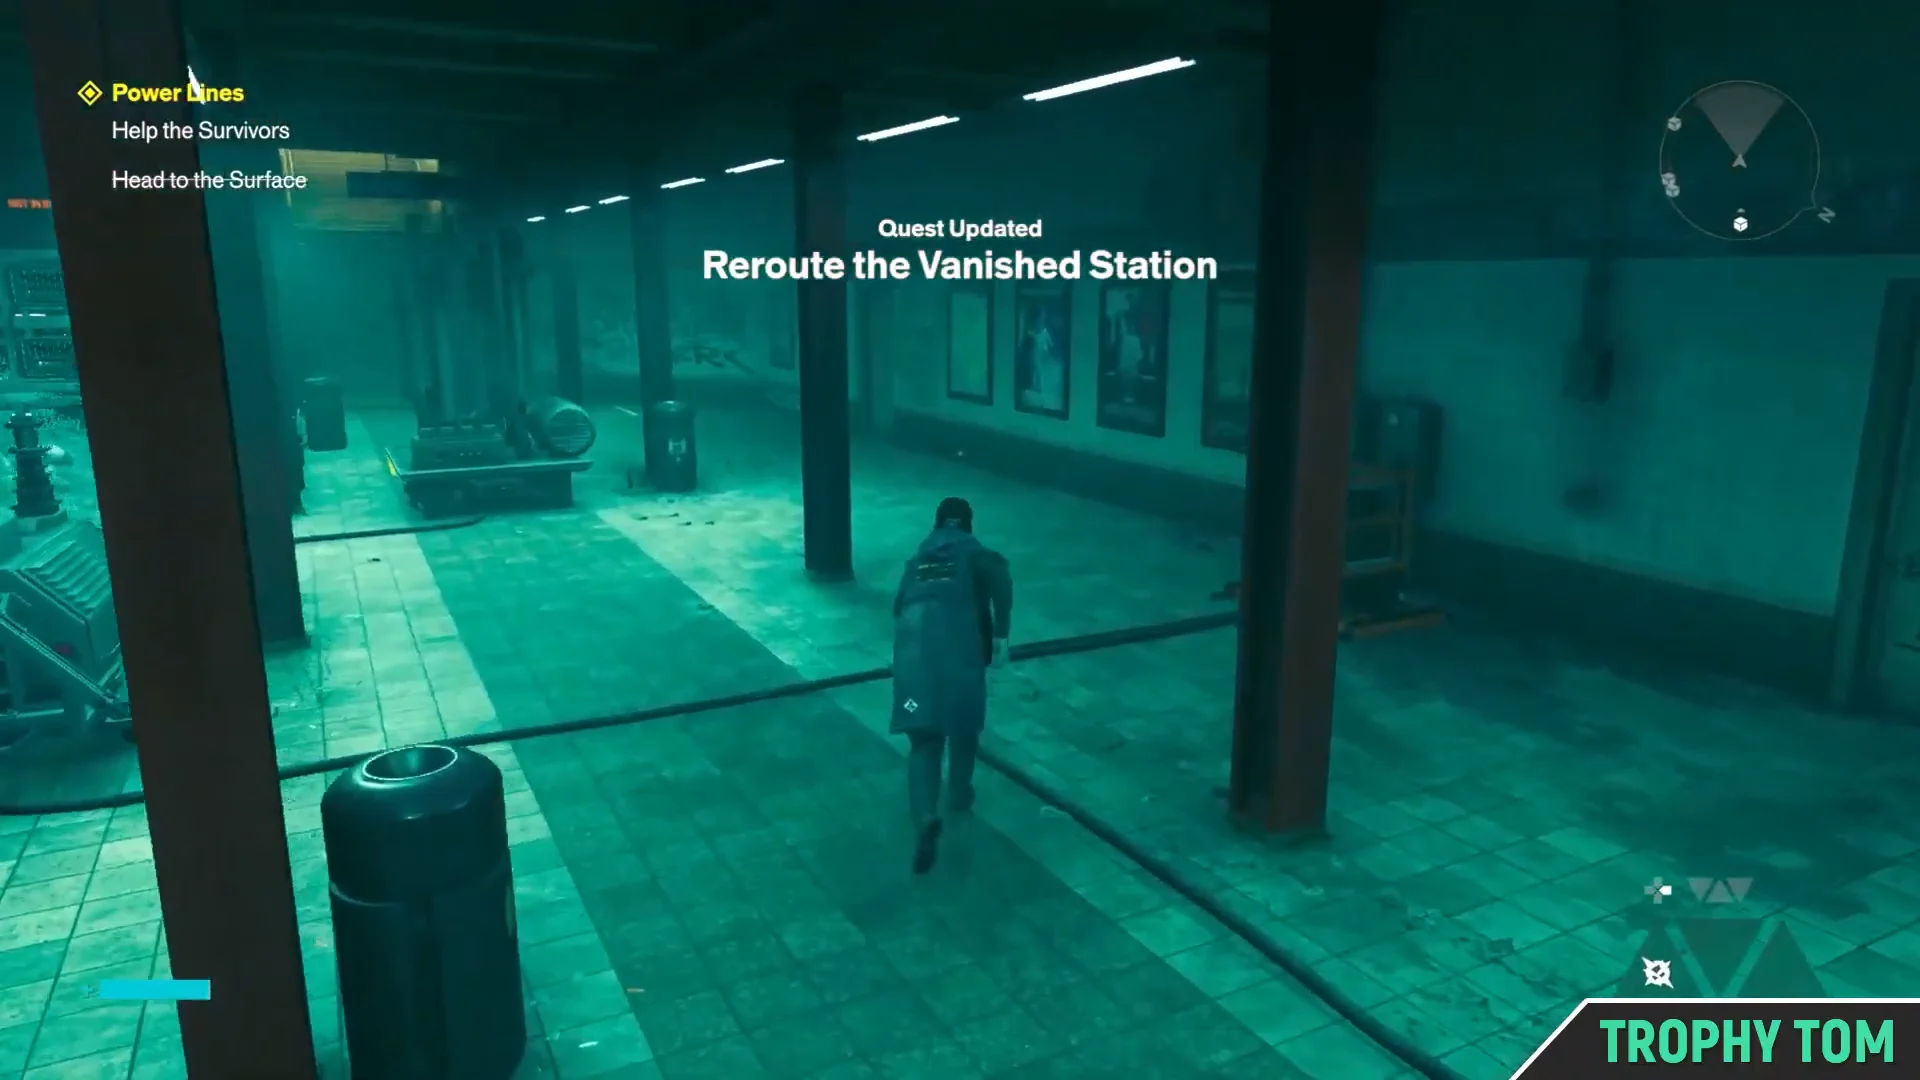
Try to leave first. Head up the stairs you originally came down and you will run straight into a brick wall where the exit used to be. Message Zoe so she knows the station has sealed itself.
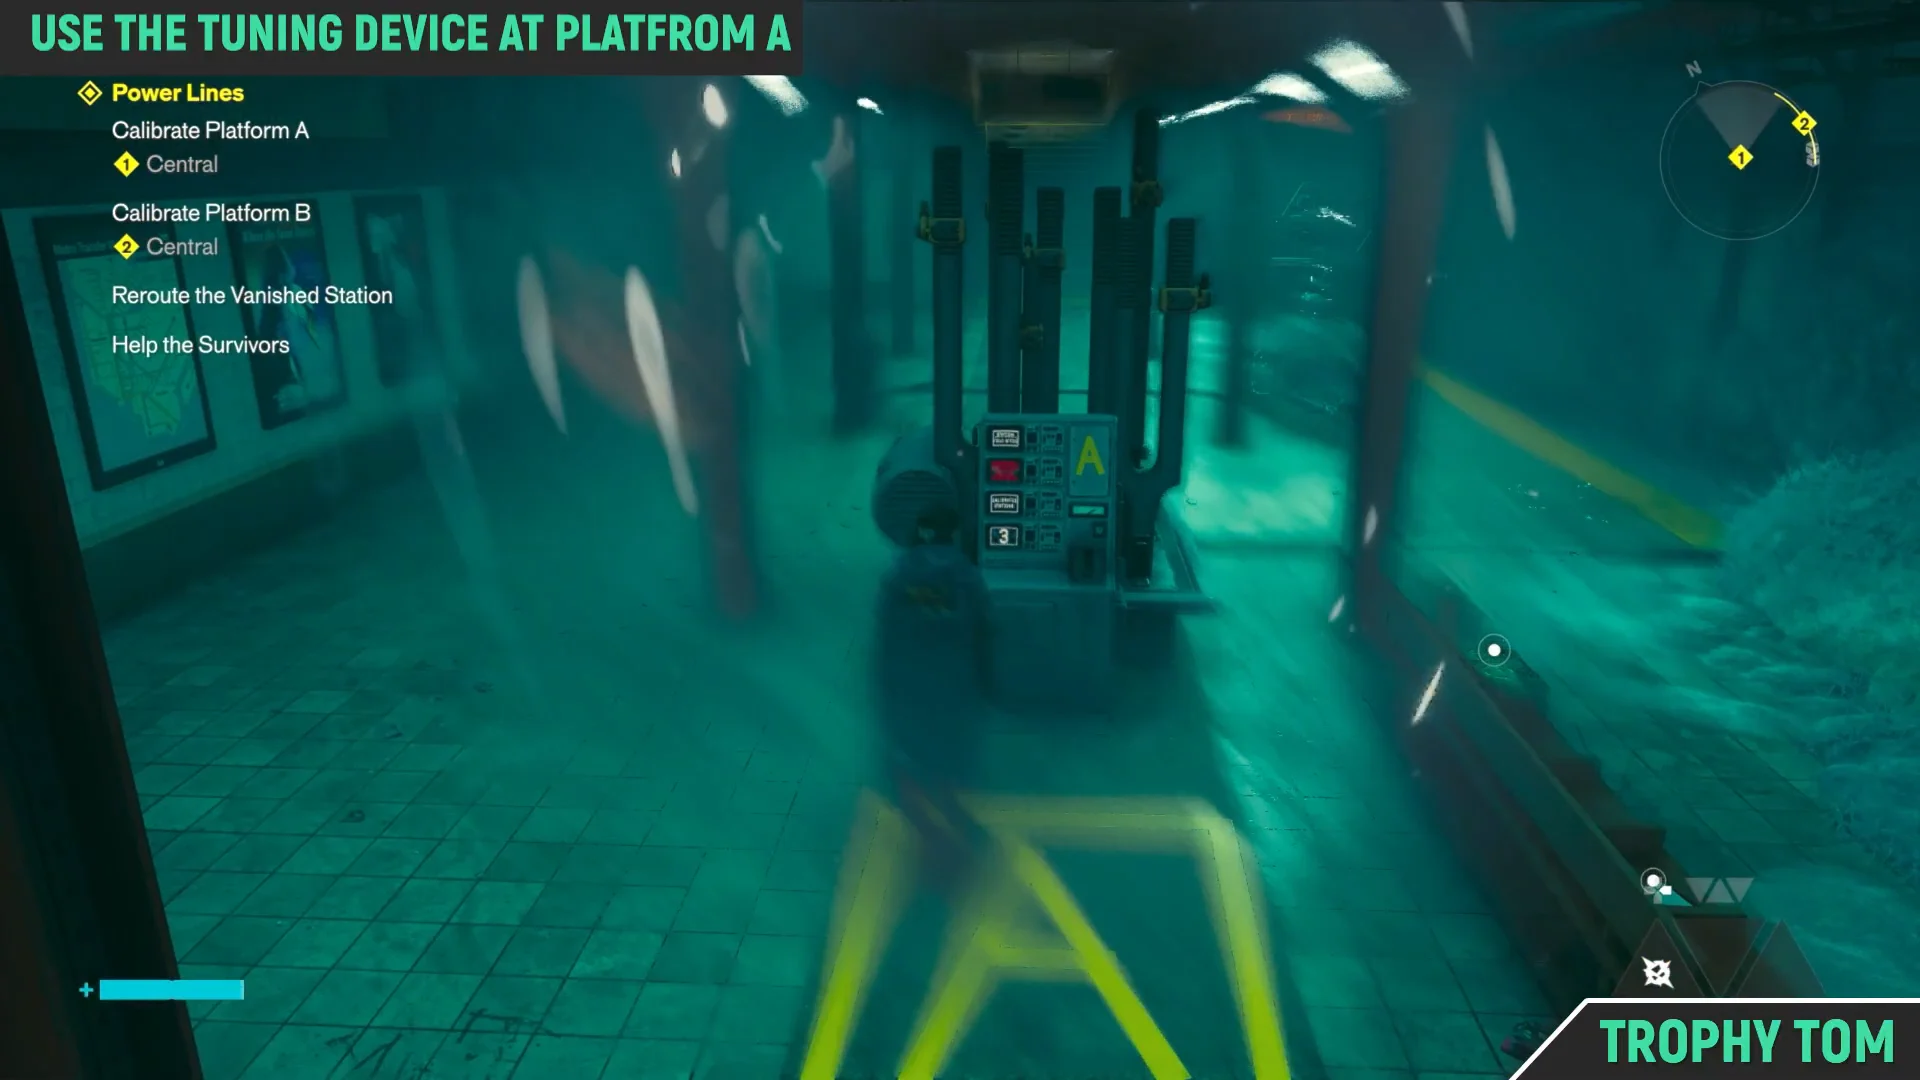
Use the tracks to reach the following platform, dropping down first and continuing along the rail line. Mold monsters attack during the trip, and you can collect an item before arriving at Platform A, where both staircases are blocked.
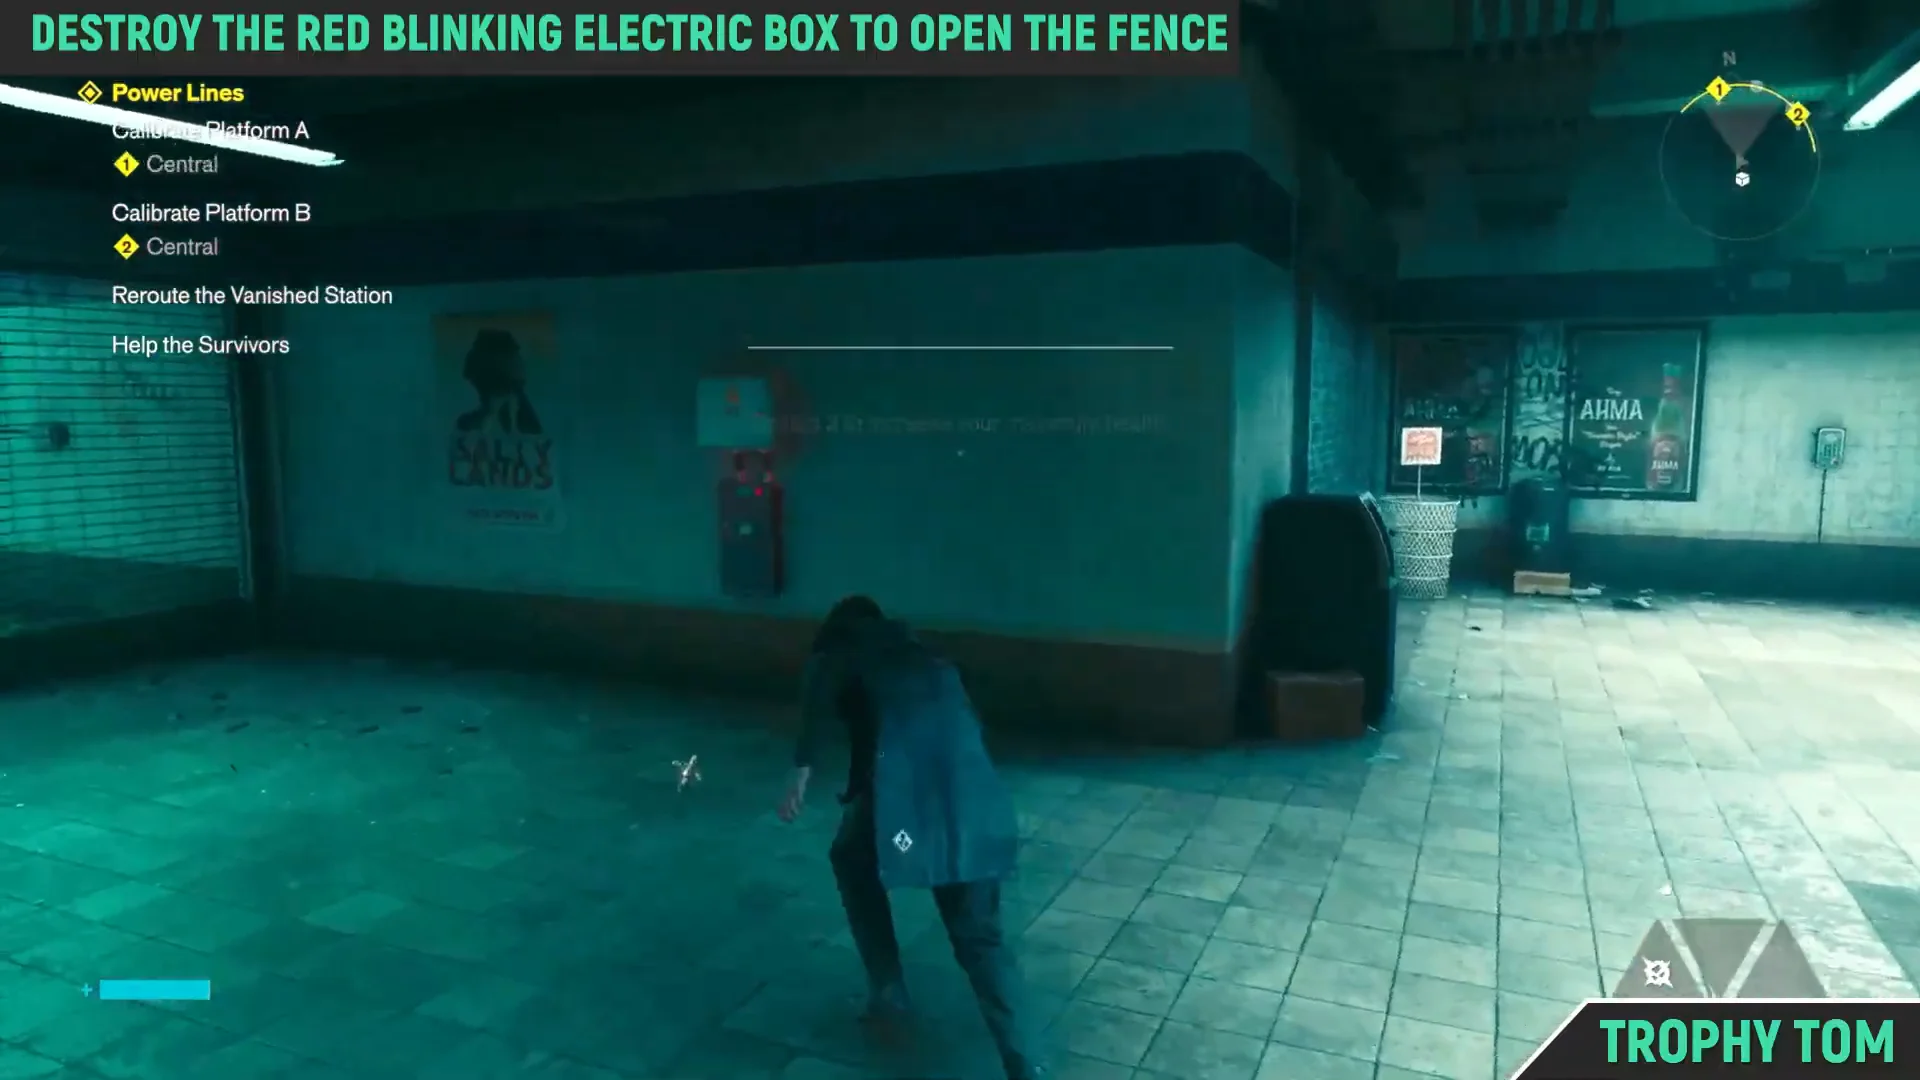
Use the Tuning Device on Platform A to teleport yourself to Platform B. Climb the stairs there and smash the electrical box next to the large gate. The gate rises, and from now on you can walk between the two platforms freely.
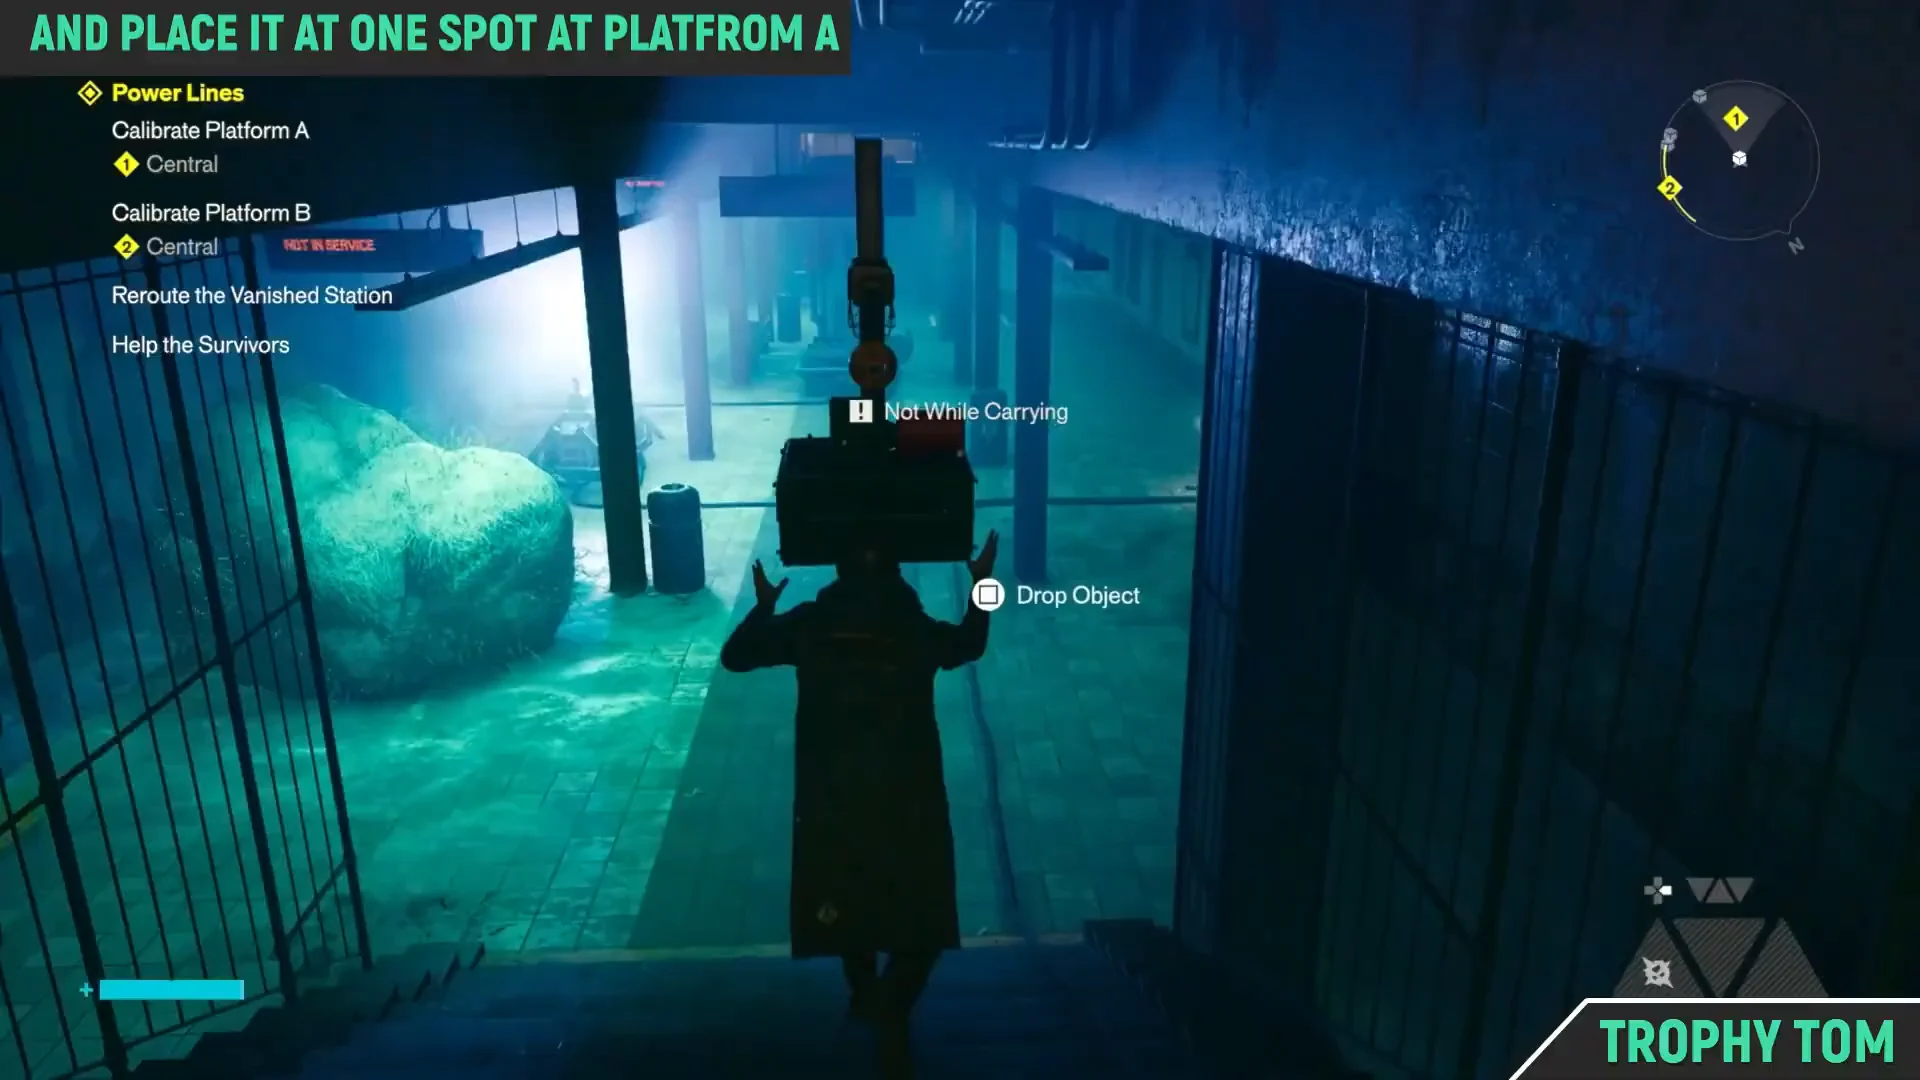
Take the electrical charge out of the power core wired to the lights and put it into the core wired to the little shop. The lights going out is the point — with them off, the Mold cannot regrow once you clear it.
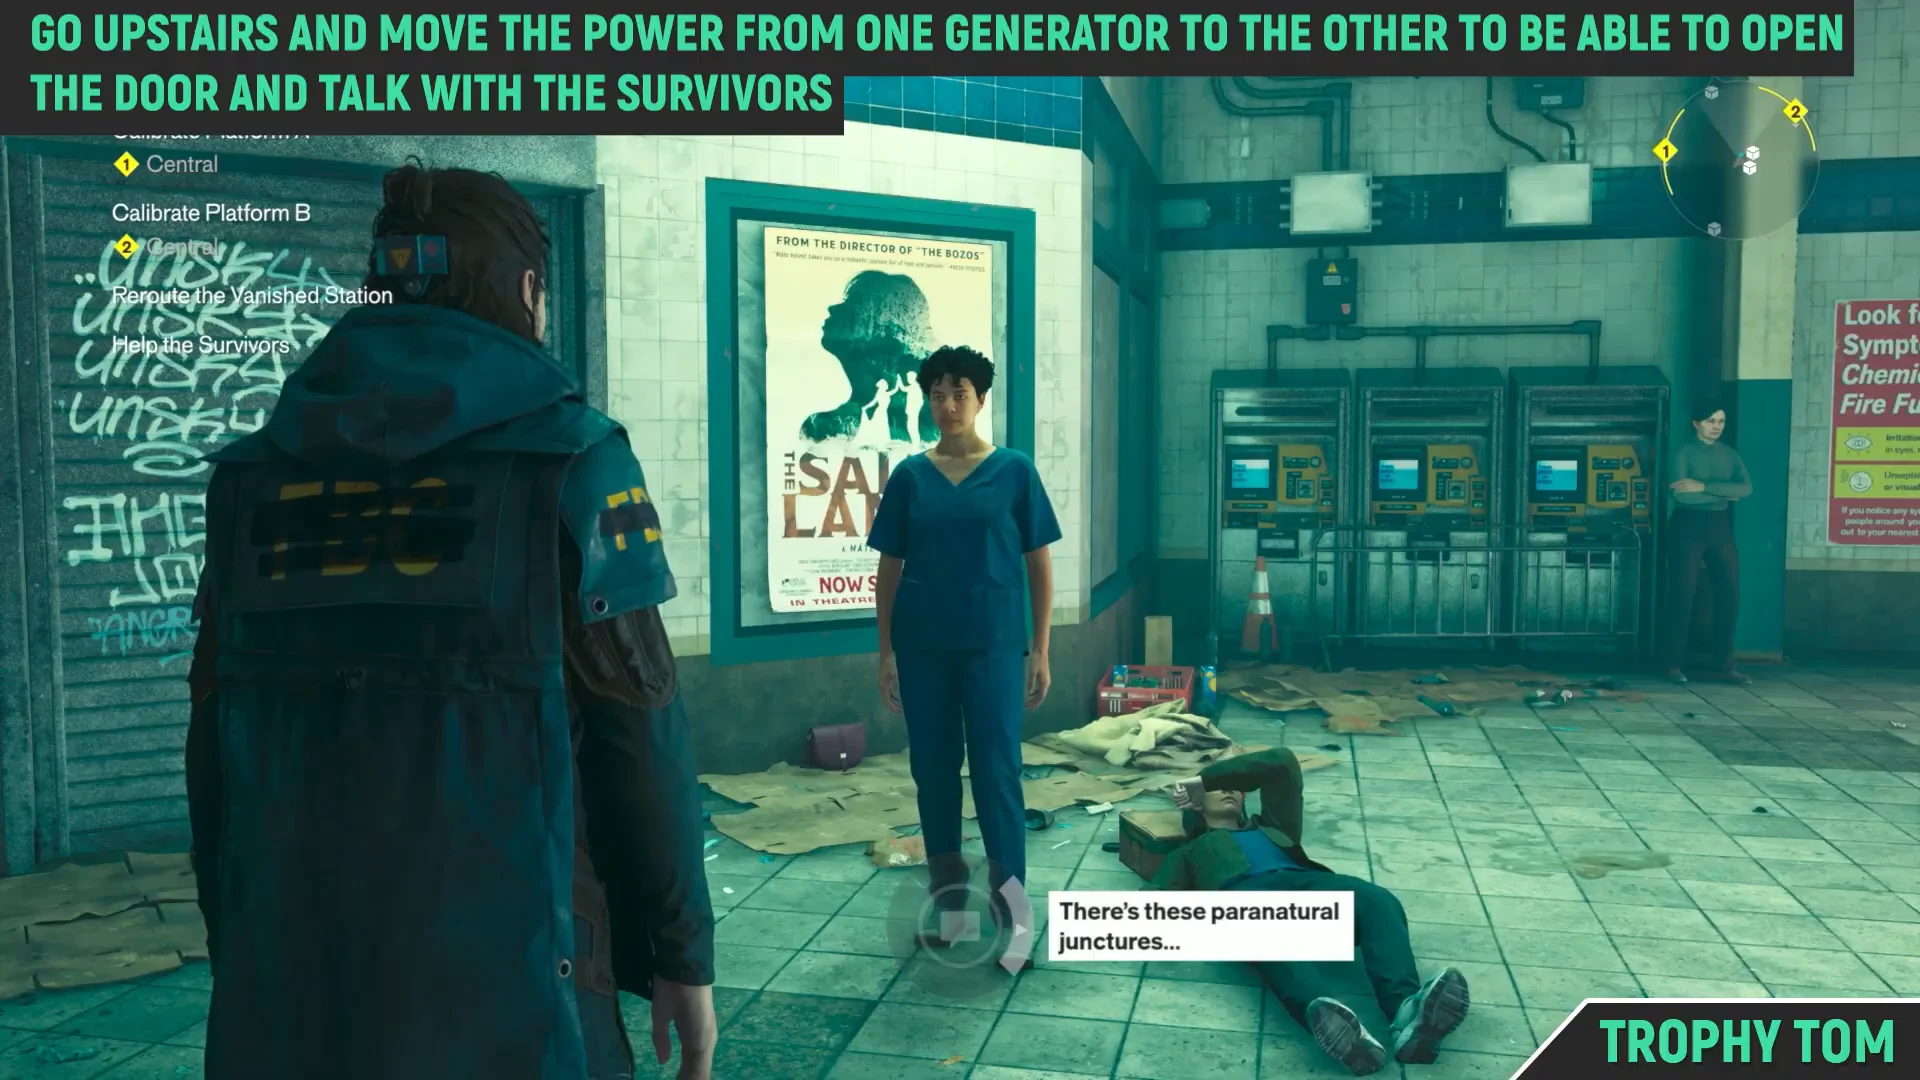
Destroy the Mold now that it has no light to feed on. Doing so unblocks the door the survivors are stuck behind, so head in and speak with Doctor Florez in person.
01:17Meet the SurvivorsDoctor Florez and the injured survivors, reachable once the Mold on their door is gone. Shown at 01:17 in Trophy Tom’s video. Image: Remedy Entertainment
All four Calibration Unit locations
Unit
Where it is
How to reach it
1
Inside the small shop
Move the charge from the lights’ power core to the shop’s core
2
Survivors’ room
Clear the Mold on their door after cutting the lights
3
Survivors’ room
Second unit in the same room
4
Behind the gate on Platform A
Put the charge in Platform A’s power core to raise the gate
Collect all four before you calibrate anything, and leave two sitting on each platform. The two from the survivors’ room are the natural pick for Platform B because they are closest to it, which leaves the shop unit and the gated unit for Platform A. The shop is worth a look regardless, since it also holds a health upgrade.
Calibrate Platform B by growing the Mold, then stripping it
Platform B’s Tuning Device has no power because the cables on the floor are snapped. The fix is to deliberately spread Mold across the gap so it carries the current, then remove only the parts that are in your way.
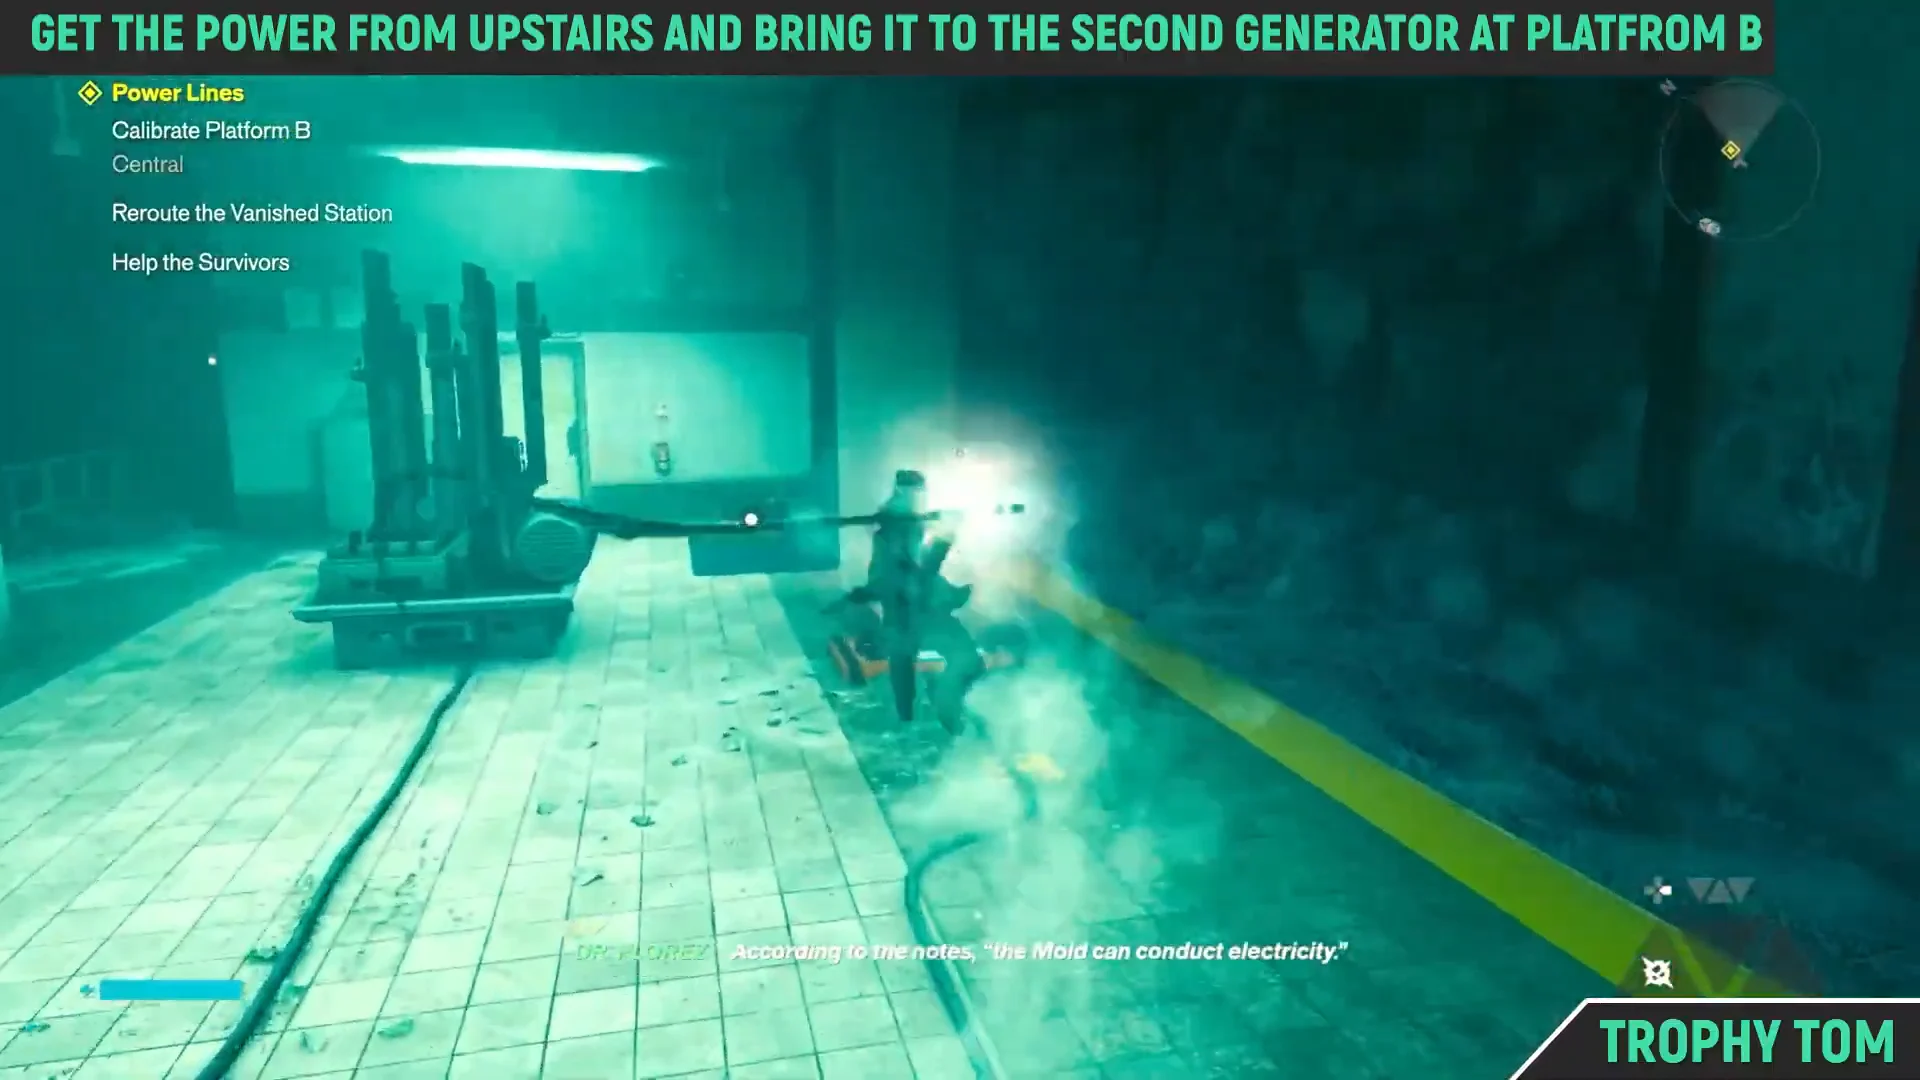
Take the electrical charge that is already sitting in one of Platform B’s power cores and move it into the other core, the one nearer the Tuning Device. A patch of Mold swells up in response.
03:42Route Power to Platform BFeeding power into Platform B's second core, which makes the Mold spread across the broken wiring. Shown at 03:42 in Trophy Tom’s video. Image: Remedy Entertainment
Get the electricity off this platform entirely, otherwise the Mold just keeps regrowing and you will loop forever. Carry the charge to one of the power cores near the survivors — either choice works, and neither one cuts you off from them.
Go back to Platform B, then clear the Mold from the two metal plates positioned on either side. Destroy every piece that lacks a direct wire connection, but do not damage the strands carrying the current.
With the plates exposed, place a Calibration Unit on each one and activate Platform B’s Tuning Device.
Activating the second device spawns a wave of Mold enemies, including a mini-boss named Sandra, so go in with resources to spare.
How to confirm the reroute worked
Both platforms register as done the moment their Tuning Device fires and the station visibly shifts around you. After the final activation the objective changes to talk to Doctor Florez, which is the clearest sign the calibration took.
Clear out the Mold enemies, then walk back to the survivors. The staircase that was bricked over has returned, so Florez and the others can finally get out, and closing that conversation completes ‘Power Lines’ and hands you +1 Living Shard.