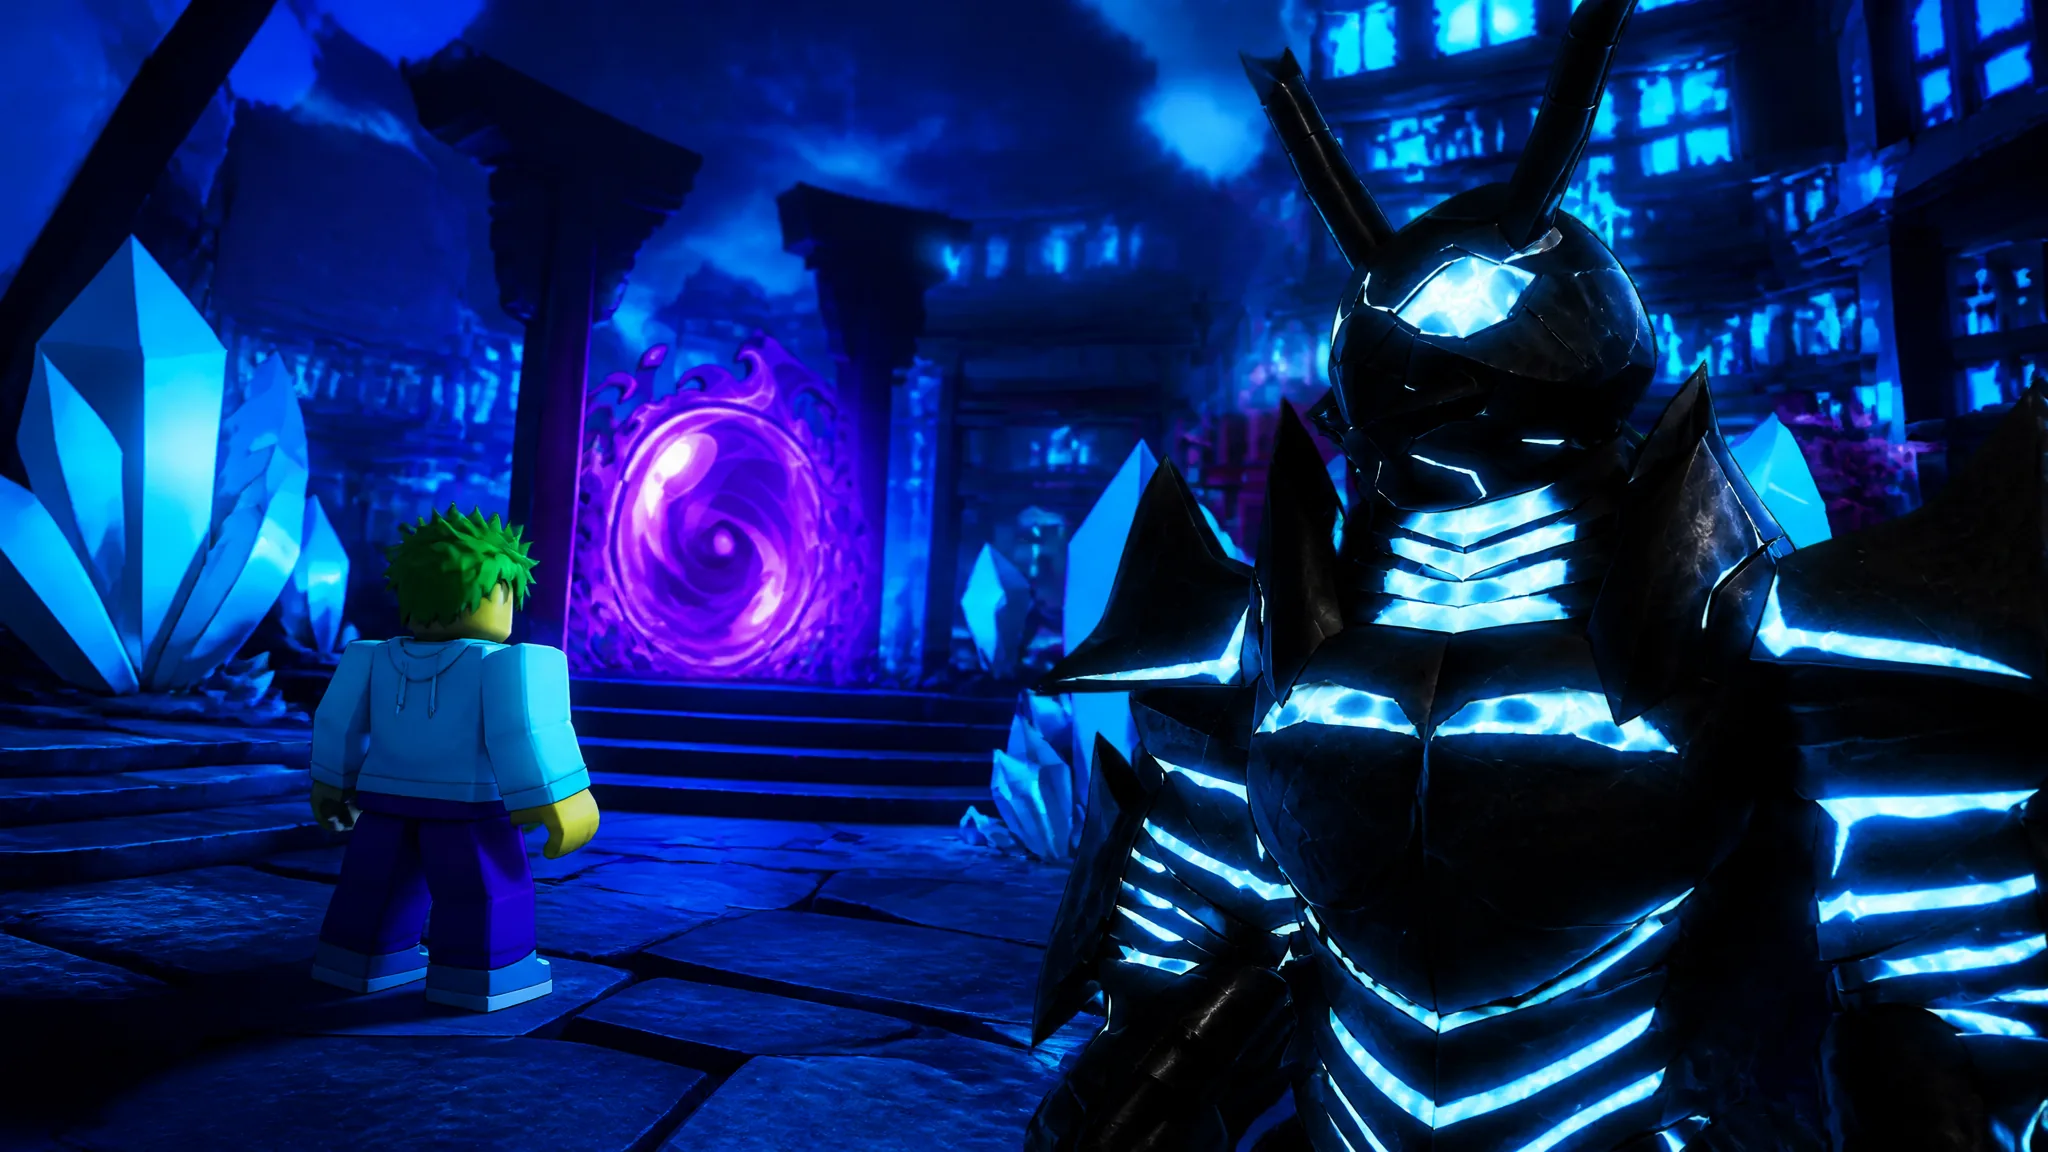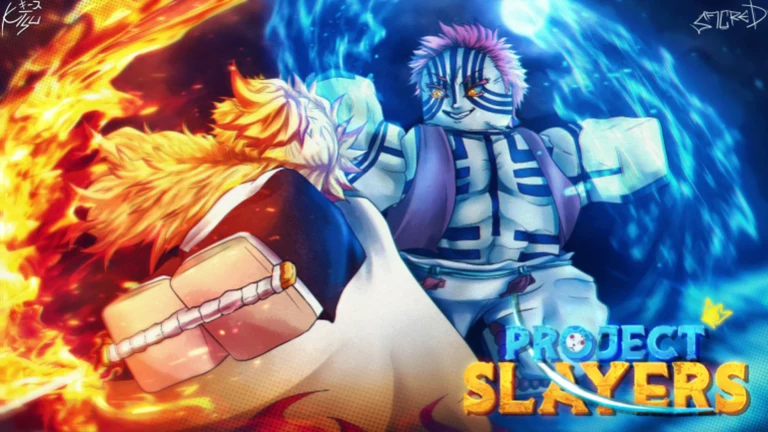
Shockwave is the Blood Demon Art that turns punches and kicks into ranged impact damage, and it currently sits at the top of the Demon Art rankings in Slayers 2 alongside Ice Manipulation. Getting the whole kit takes two separate grinds, though: mastery levels for the skill tree, and one boss drop that has nothing to do with skill points.
Quick answer: Become a Demon, spin for Shockwave at Muzan, then push Shockwave mastery to 60 for the full moveset. Annihilation Type also requires a 5% drop from the Akazo boss.
What you need before rolling Shockwave
Blood Demon Arts are Demon-only. Slayers cannot roll one, so the entire Shockwave route starts with Muzan’s questline rather than a trainer.
- Demon race, obtained by drinking Muzan’s Blood at the end of his quest
- A Biwa Bell, or a Blood Demon Art Orb found in chests
- Low reputation, so Muzan contacts you at night
- Spare skill points, since most Shockwave moves are bought from the skill tree
For an Akaza-inspired build, Shockwave pairs naturally with Soryu. After obtaining both, put on Soryu and Shockwave remains part of your loadout, removing any need to choose between them.
How to get the Shockwave Blood Demon Art
Dying during the orb quest can wipe the questline and consume the orb, so start it early in the night with full resources rather than mid-fight.
Shockwave moveset and mastery requirements
| Mastery | Move | Input | Effect |
|---|---|---|---|
| 1 | Air Type | Z | Ranged shockwave from the fist |
| 23 | Chaotic Type | X | Continuous flurry of punches |
| 37 | Explosive Flurry | V | Sprint on hold, kick barrage on release |
| 39 | Crown Splitter | C | Upward kick from a steady stance |
| 44 | Flashing Willow | B | Ground slam with delayed impact |
| 50 | Compass Needle | F + Q | Defensive window from block |
| 60 | Annihilation Type | N | Forward rush into a palm strike |
Air Type is the opener you will live on for the first 20 mastery levels. It is a safe poke that forces a block, which is exactly what Chaotic Type needs before it does real work. Compass Needle is the piece most players sleep on, since it is activated from block and can carry you through an exchange you should have lost.
After the most recent balance pass, the projectile impact applies strict stun, the barrages can be steered mid-animation, the counter breaks hyper armor while buffing Z and C, and the slam gained armored tap and hold versions. That combination is why Shockwave moved into S tier for Blood Demon Arts.
Where to grind Shockwave mastery
Mizunoto enemies are the workhorse target for mastery. They die quickly enough to keep your skill uptime high, and they spawn densely enough that you are rarely walking between fights. Quest chains in Bamboo Grove, such as Clear Hoyuzo’s Guard, let you push mastery and level at the same time instead of farming in circles.
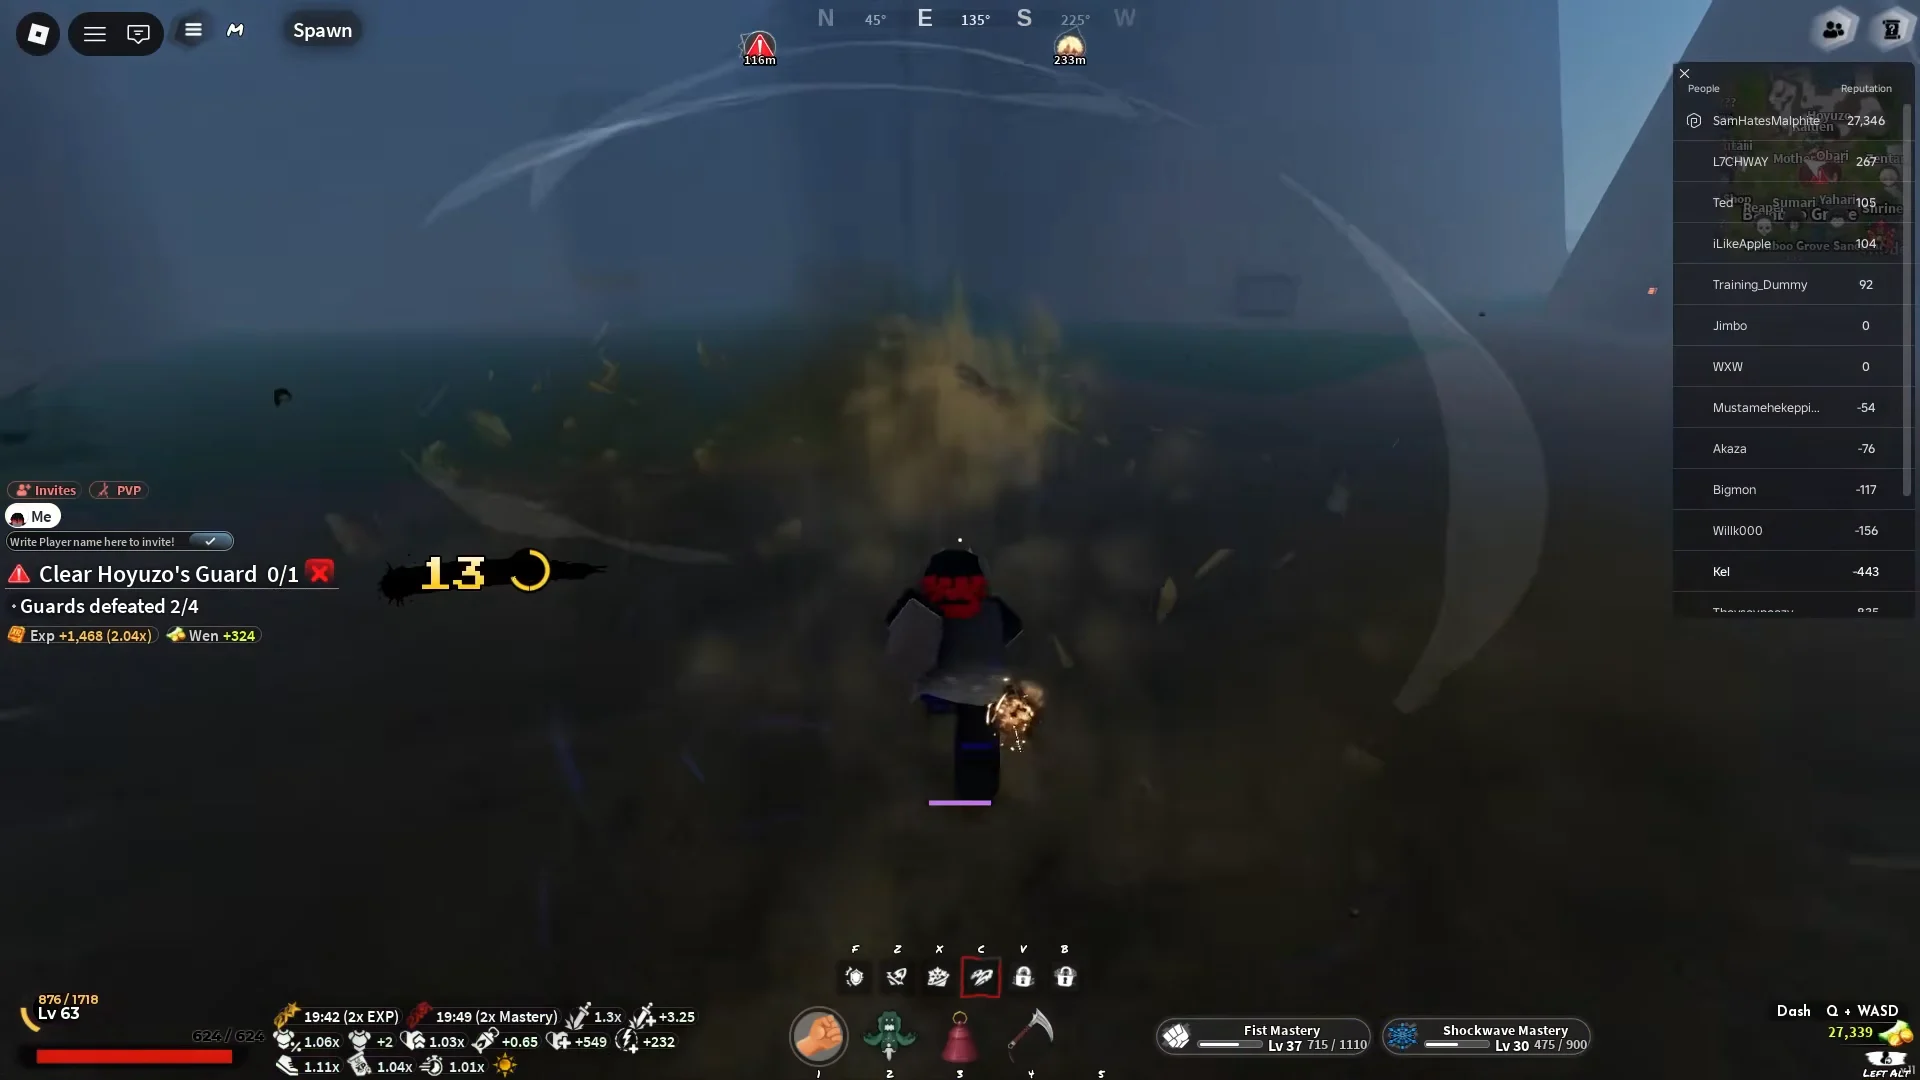
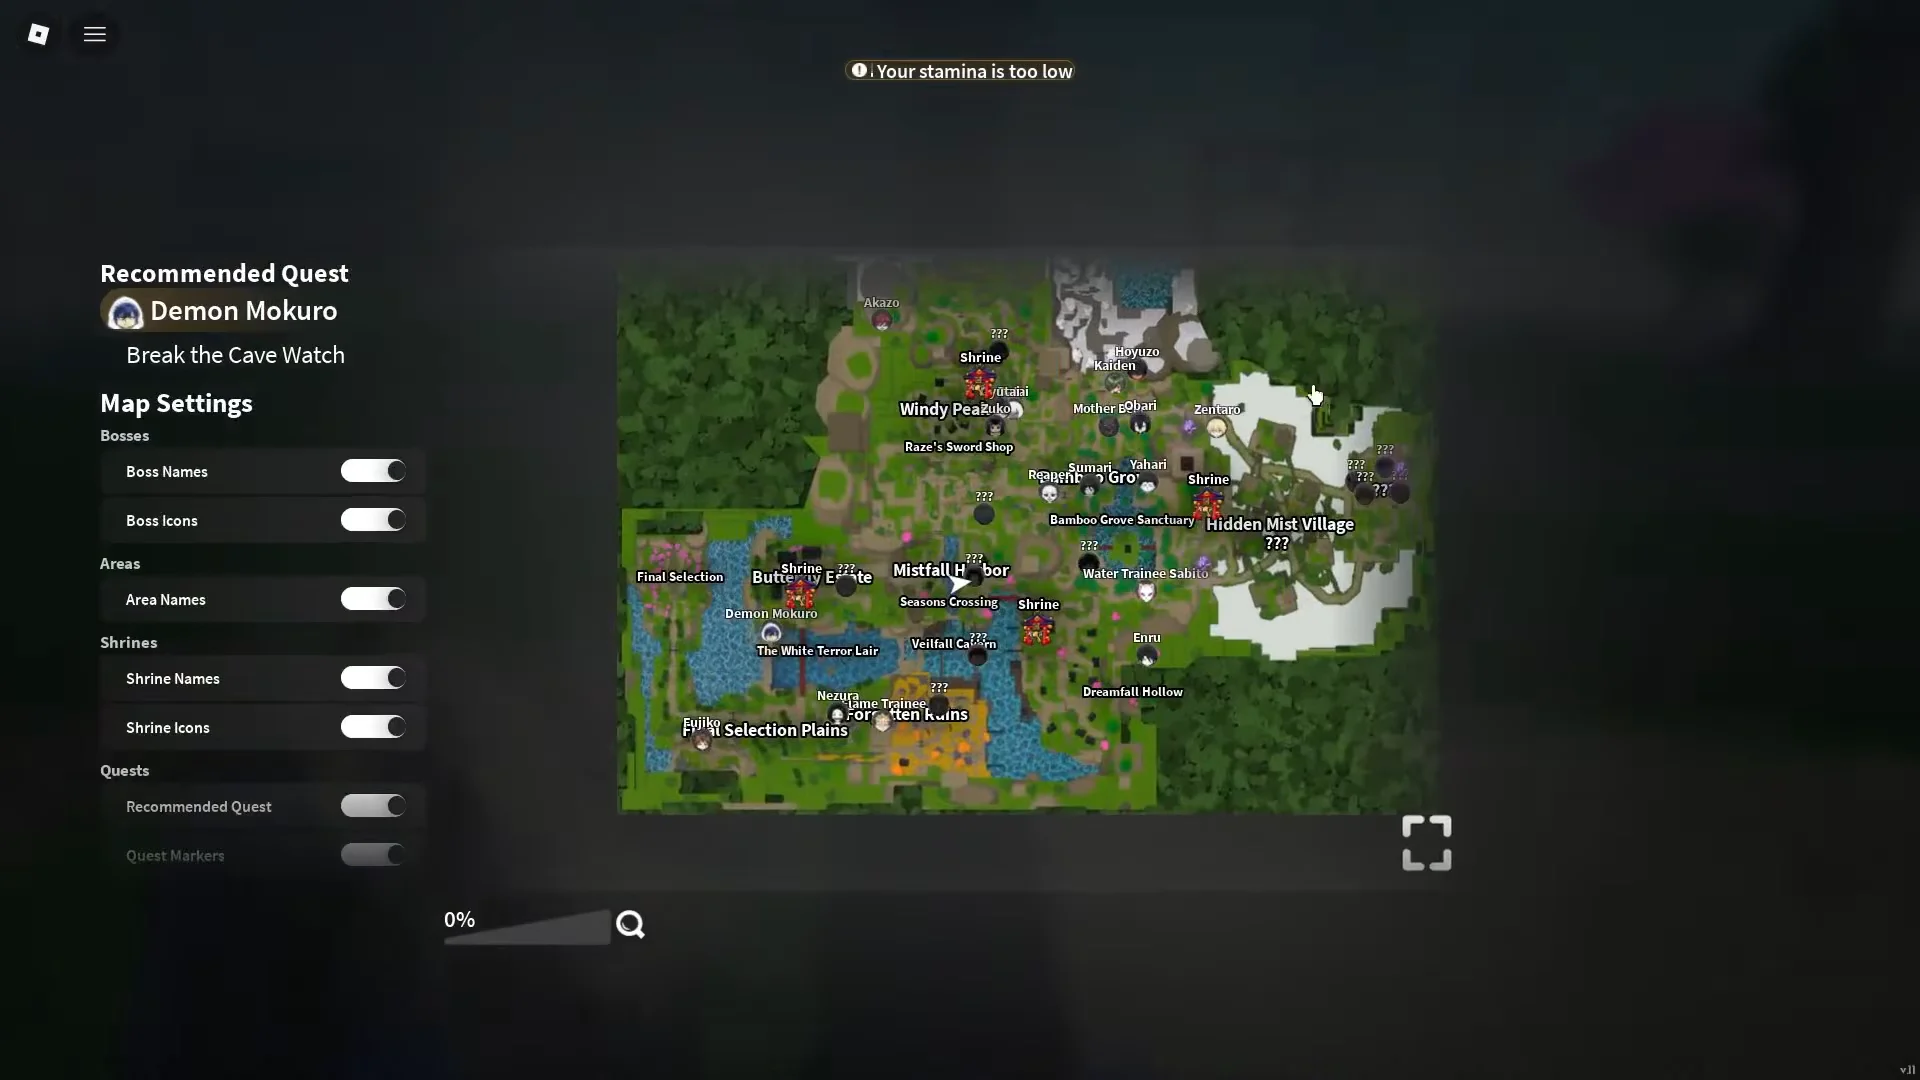
Keep the recommended quest list on the map open as you climb. Turning in a stacked quest can push you several levels at once, which matters because the Akazo farm later is far less painful at level 80 and up.
Skill tree points worth spending first
The skill tree is split into Character, Shockwave, weapon, and clan branches. Stamina is the first thing to fix. Shockwave chains stop dead when you run dry, so Stamina Regen Speed, Max Stamina, and Regen Adrenal pay for themselves long before extra damage nodes do.
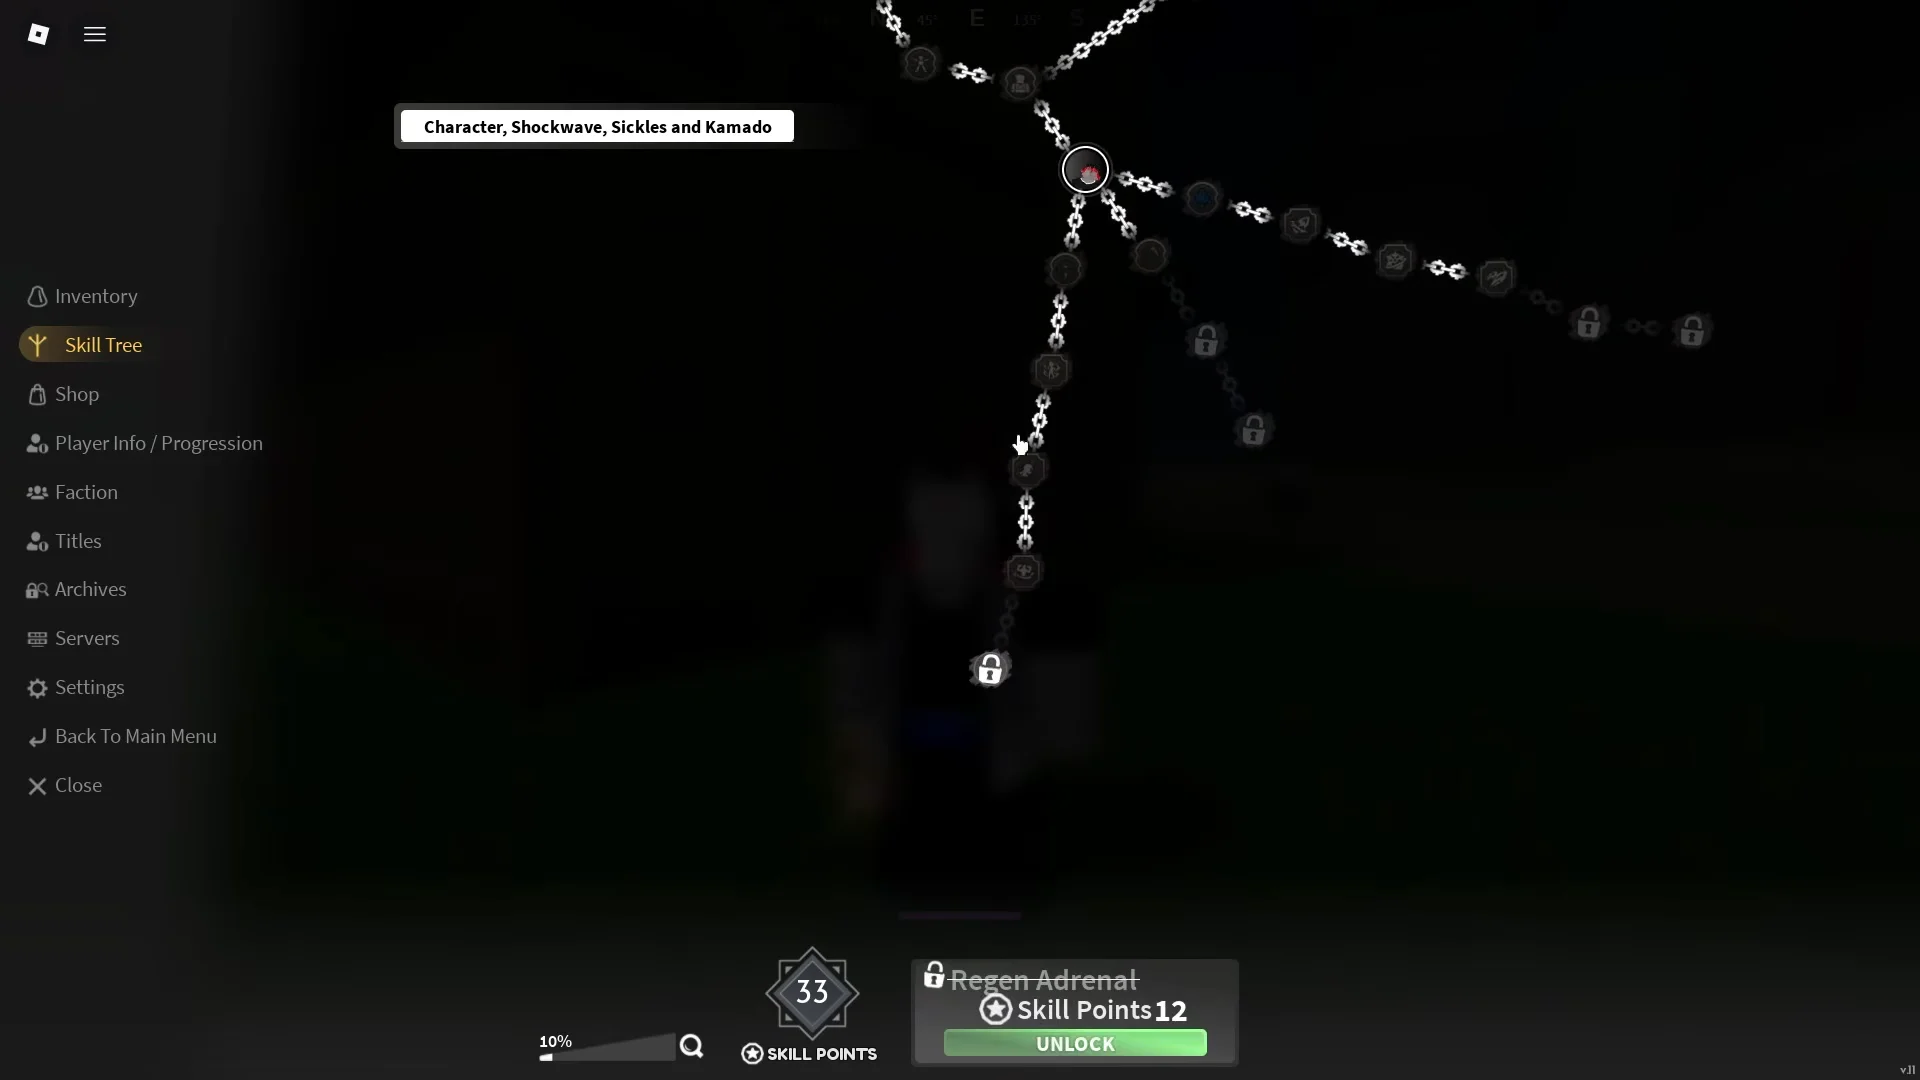
Flashing Willow costs 12 skill points once your Shockwave mastery is high enough to display it. It is the first move that changes how your offense works rather than just adding another button.
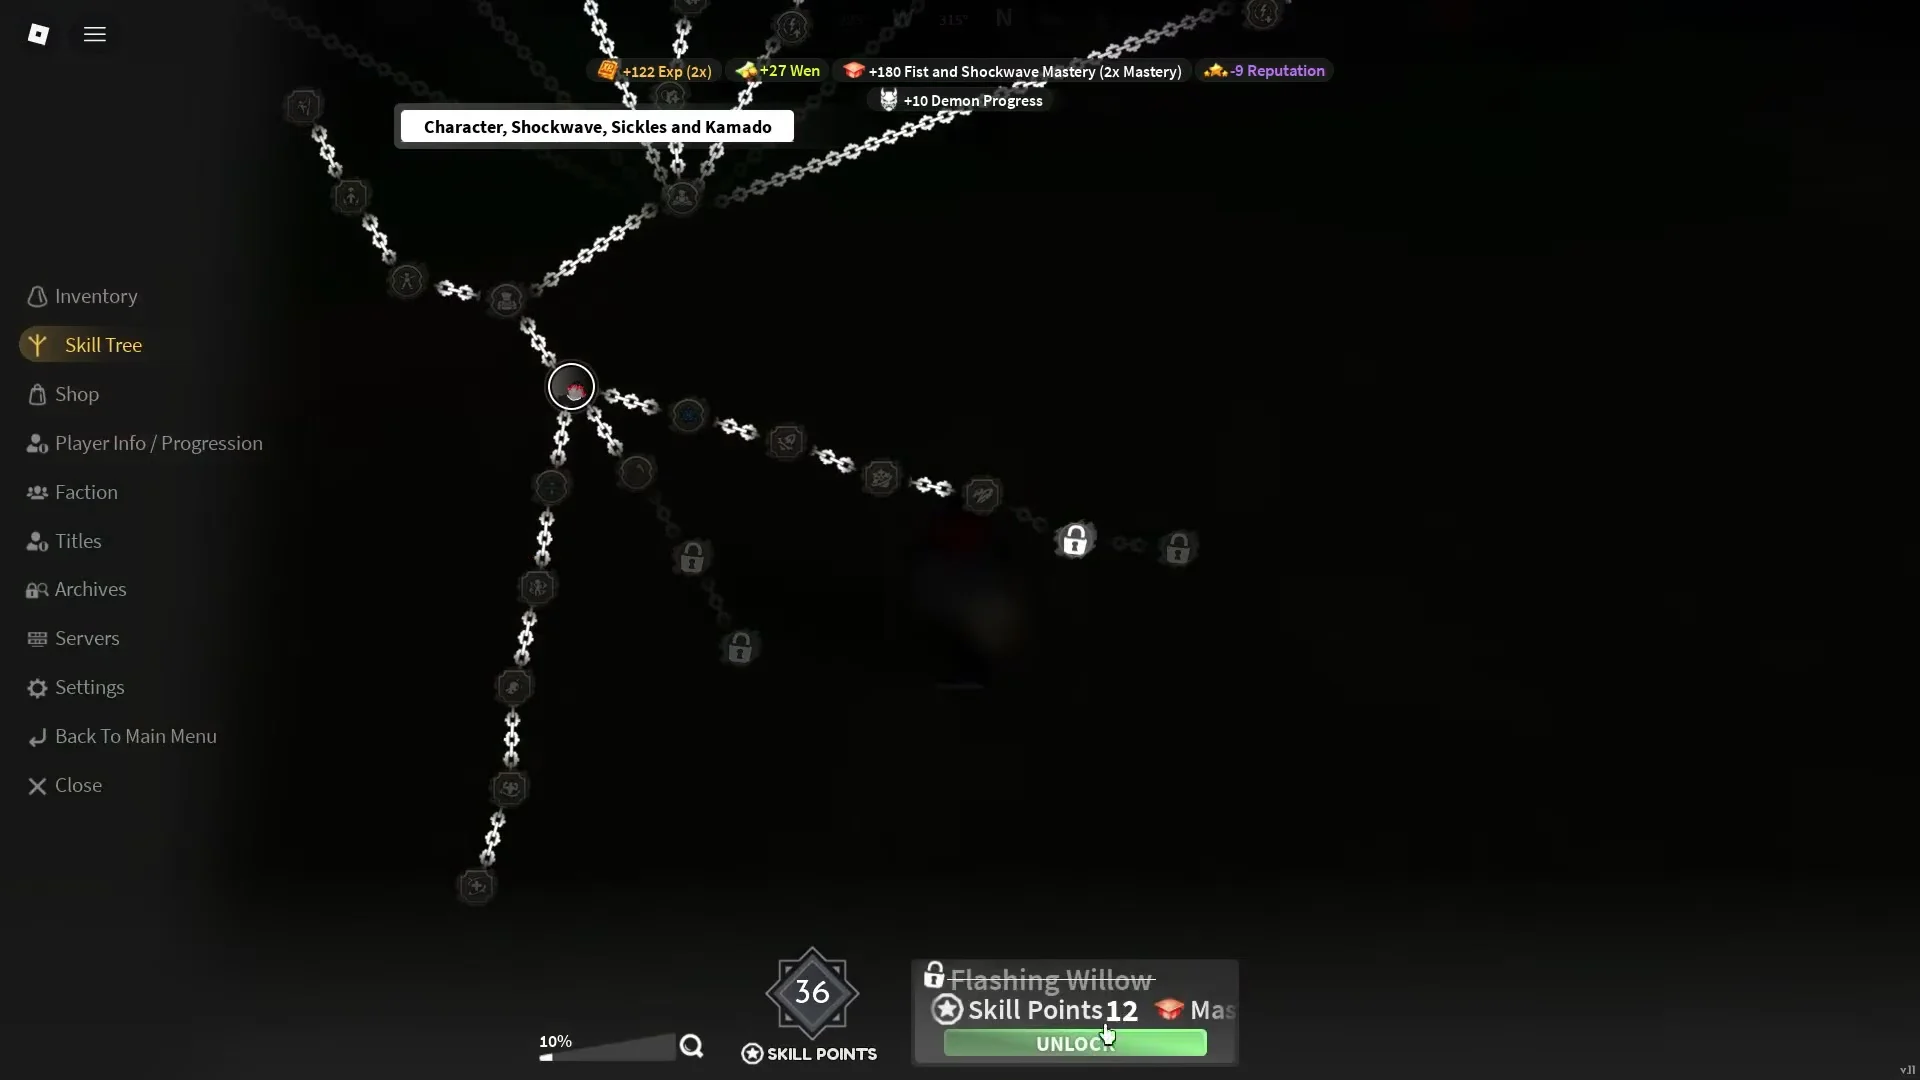
Used on its own, Flashing Willow is a delayed ground impact that punishes players who counter on rhythm. Chained immediately after grabbing an opponent with X, it behaves like a slamming combo extender instead, which is the version you want in most fights.
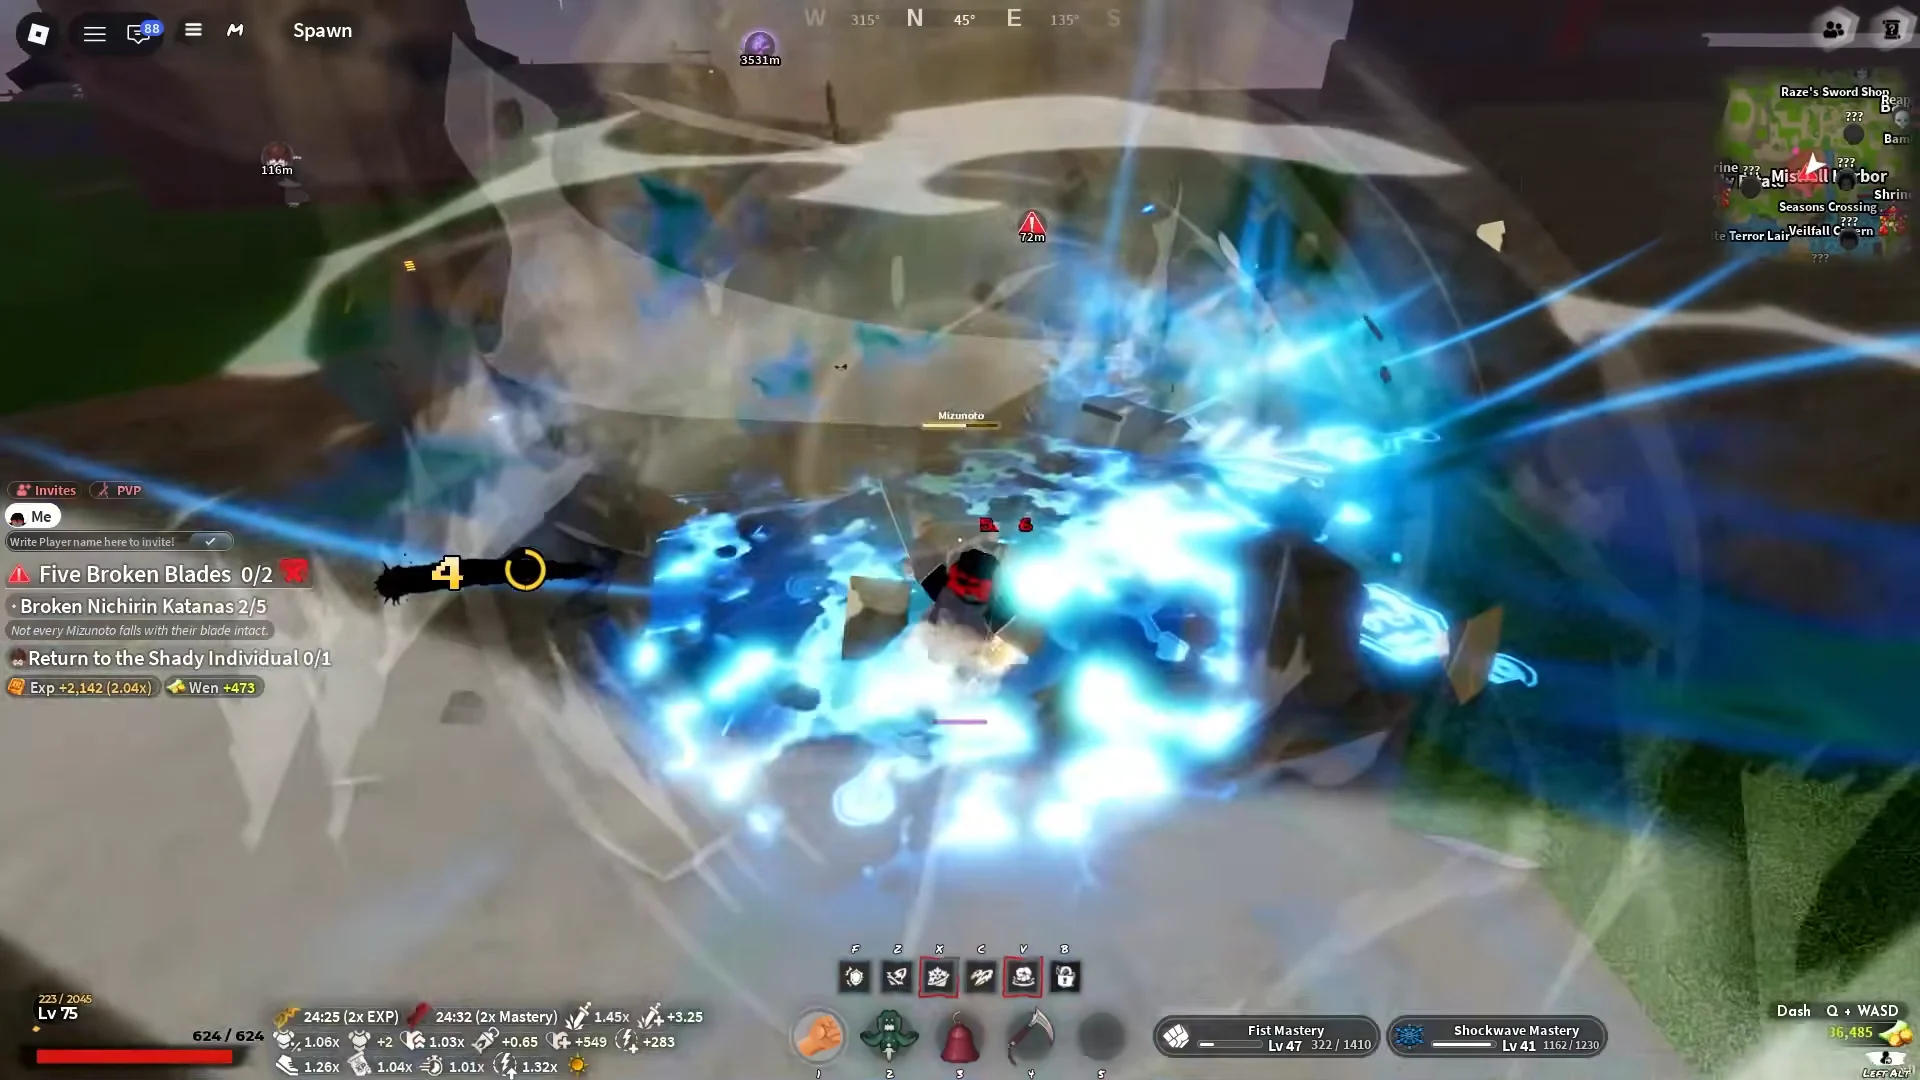
Later points go into Additional Damage and Execution Scyther, but hold a large reserve before you touch either. Annihilation Type alone costs 42 skill points, and spending down to zero right before you earn it means another round of grinding.
Annihilation Type: The Akazo drop requirement
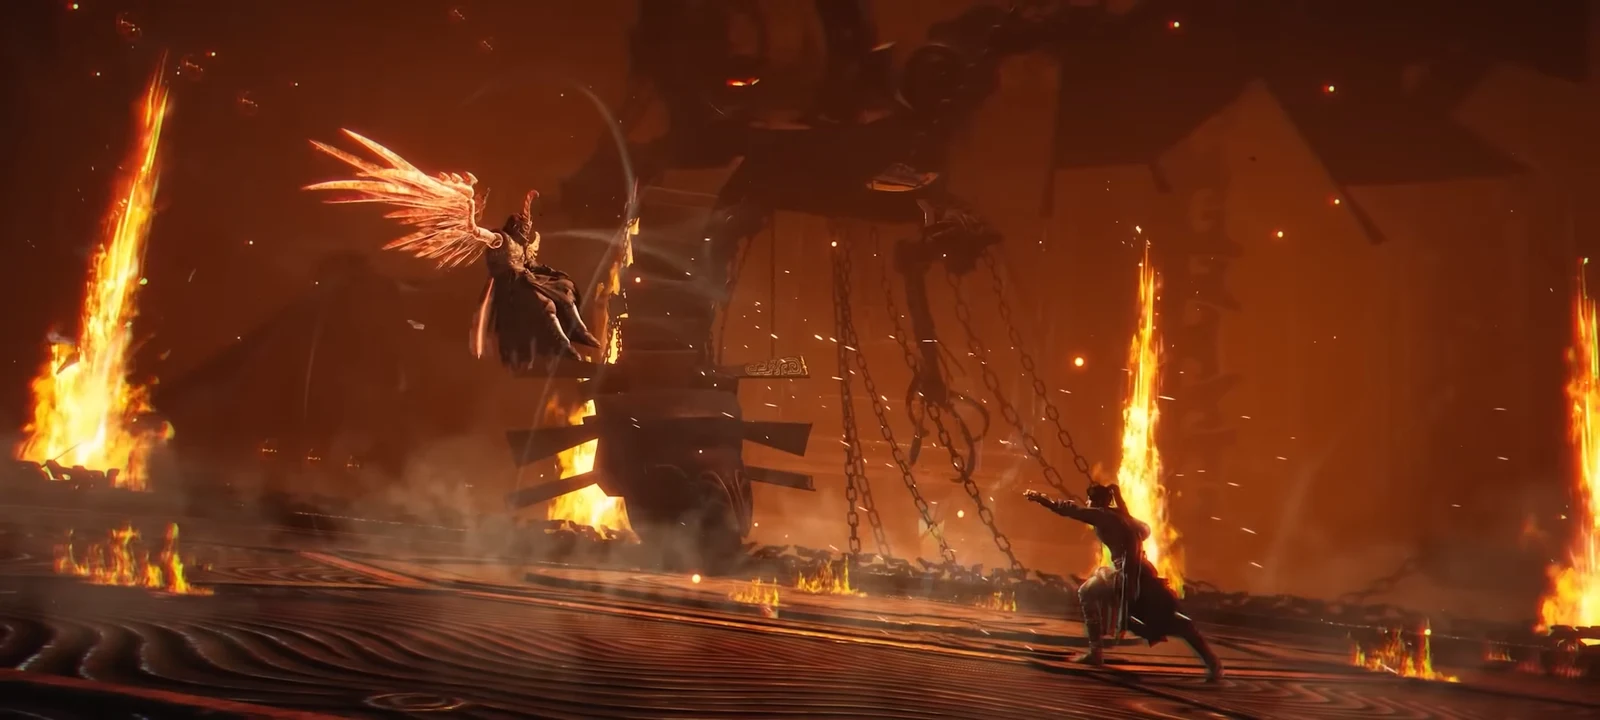
Mastery 60 is only half of the Annihilation Type condition. The move itself is a drop from the Akazo boss, and it has a 5% drop chance, so plan on repeat kills rather than one clean run. Akazo appears in a cave near the starter island, and the map flags him under recommended quests when you are near the right level range.
Respect his ultimate. It hits hard enough to end a run that was otherwise going fine, and dying mid-fight costs you the whole attempt. Once he is down, server hop and repeat. Luck and EXP boosters make the repetition worth more per kill, since Akazo drops gear as well as the move.
| Drop | Rarity | Slot or use |
|---|---|---|
| Akazo’s Bottom | Legendary | Armor |
| Akazo’s Top | Legendary | Armor |
| Flame Haori Style 1 | Mythic | Vanity |
| Obi Manipulation Orb | — | Blood Demon Art orb |
| Annihilation Type | — | Shockwave ultimate |
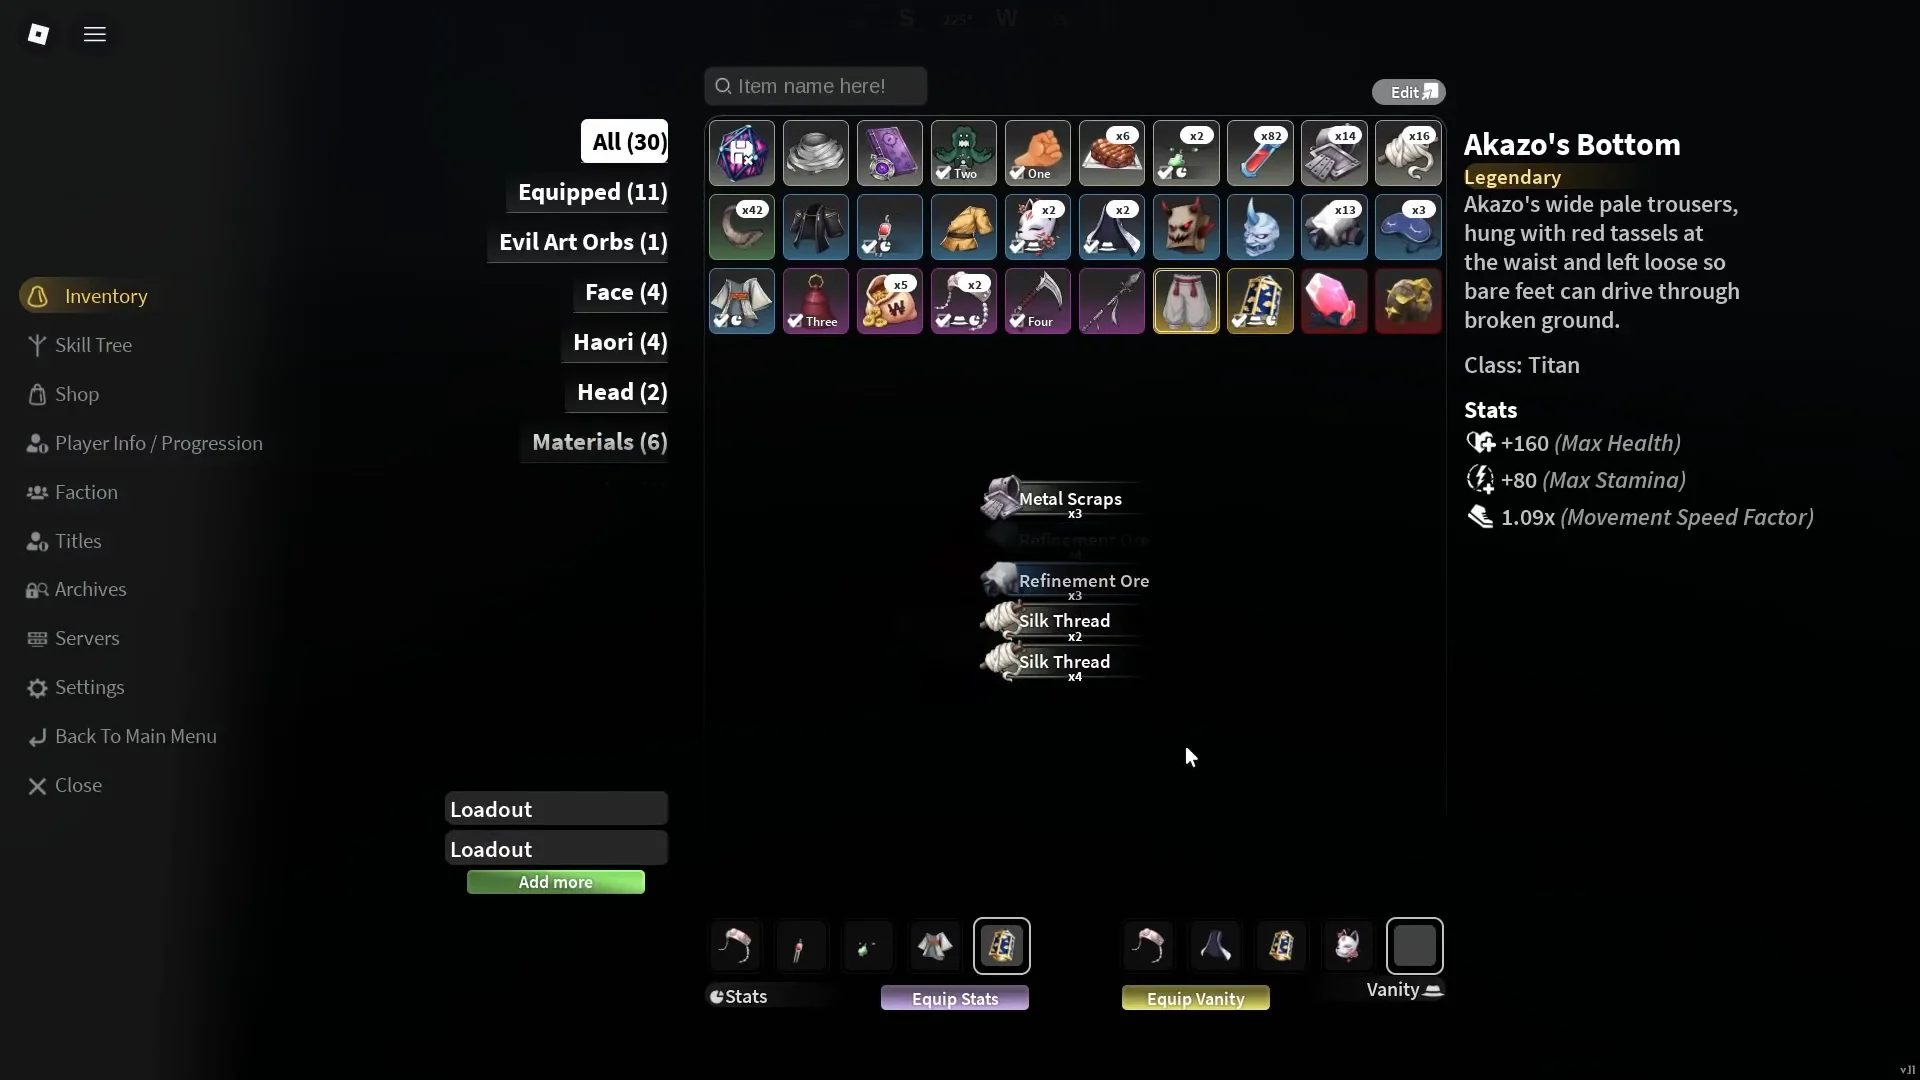
The kill itself confirms the ultimate without requiring a manual check: a golden banner appears and says Annihilation Type has been obtained. Then visit the skill tree, where the technique is available to purchase for 42 points. After buying it, pressing N sends you forward and starts a brief cinematic on impact.
Annihilation Type is a commitment move. Save it for a confirmed opening, such as a boss recovering from its ultimate, rather than throwing it out as a starter.
Why Kamado is the clan to pair with Shockwave
Kamado is a Supreme-rarity clan and currently the strongest overall pick, offering a mix of control, damage conversion, sustain, and Demon utility that suits an aggressive melee art. Passives like Indomitable Will help you stay in the pressure sequences Shockwave depends on instead of being knocked out of them.
Rolling Supreme is a Robux-backed gamble, and the clan branch of the skill tree sits alongside Character and Shockwave once you have it. Keep the two effects separate in your head, though: clan bonuses support the build, they are not part of the Blood Demon Art itself.
Fully maxed, the kit reads as constant pressure. Air Type establishes the threat, Chaotic Type converts it, Flashing Willow punishes the retaliation, Compass Needle buys you a way out, and Annihilation Type closes. The mastery grind is long, but the only genuine roadblock is the 5% Akazo roll standing between you and the last move on the list.