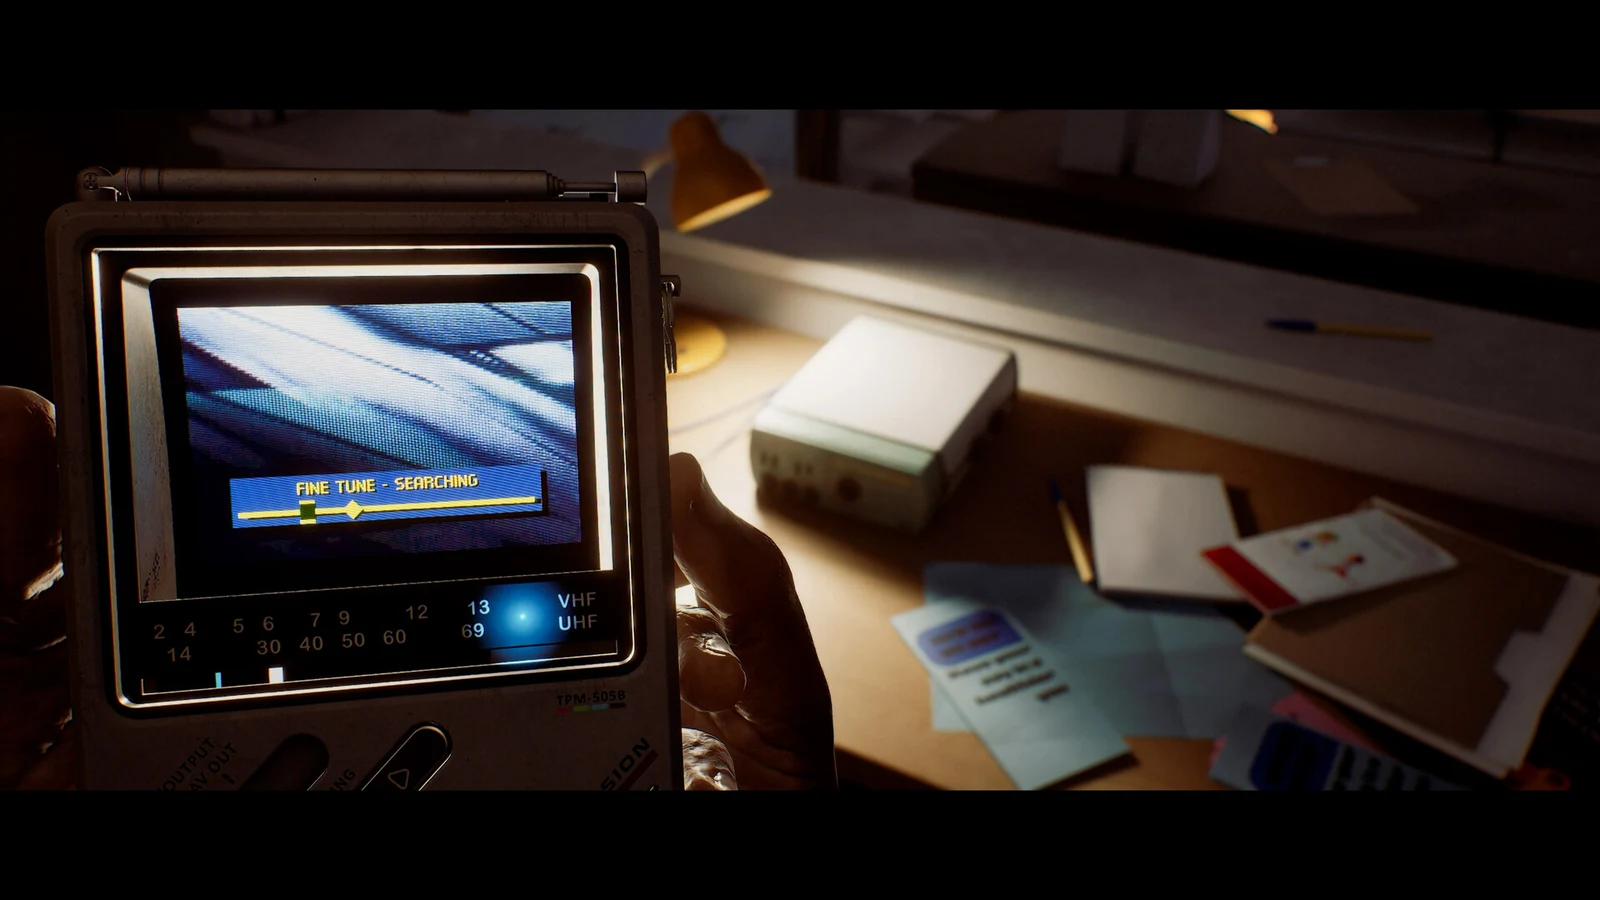
Silent Hill: Townfall hides 85 Documents and Clues across its six story parts, and the game seals off earlier areas the moment you push the plot forward. That makes most of them missable, so a careful sweep matters. Documents fill in story and background, Clues feed into puzzles and objectives, and both count toward the same discoveries total at the end of a run.
Quick answer: There are 85 Documents and Clues spread across the six story parts. Because areas lock permanently as you advance, collect every one in a single playthrough.
How the 85 collectibles work
Collecting all 85 unlocks the Observation and Thorough Inspection achievements. Your overall number of discoveries also feeds into which of the main endings you get, so a complete sweep does double duty.
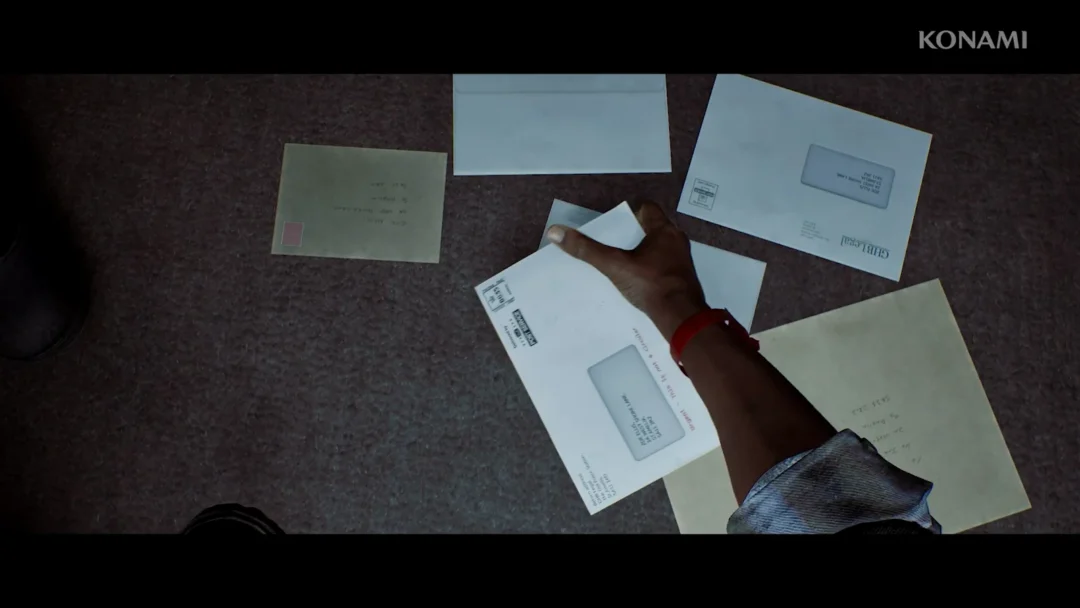
- Some entries are physical notes on doors, desks, sinks, and shelves.
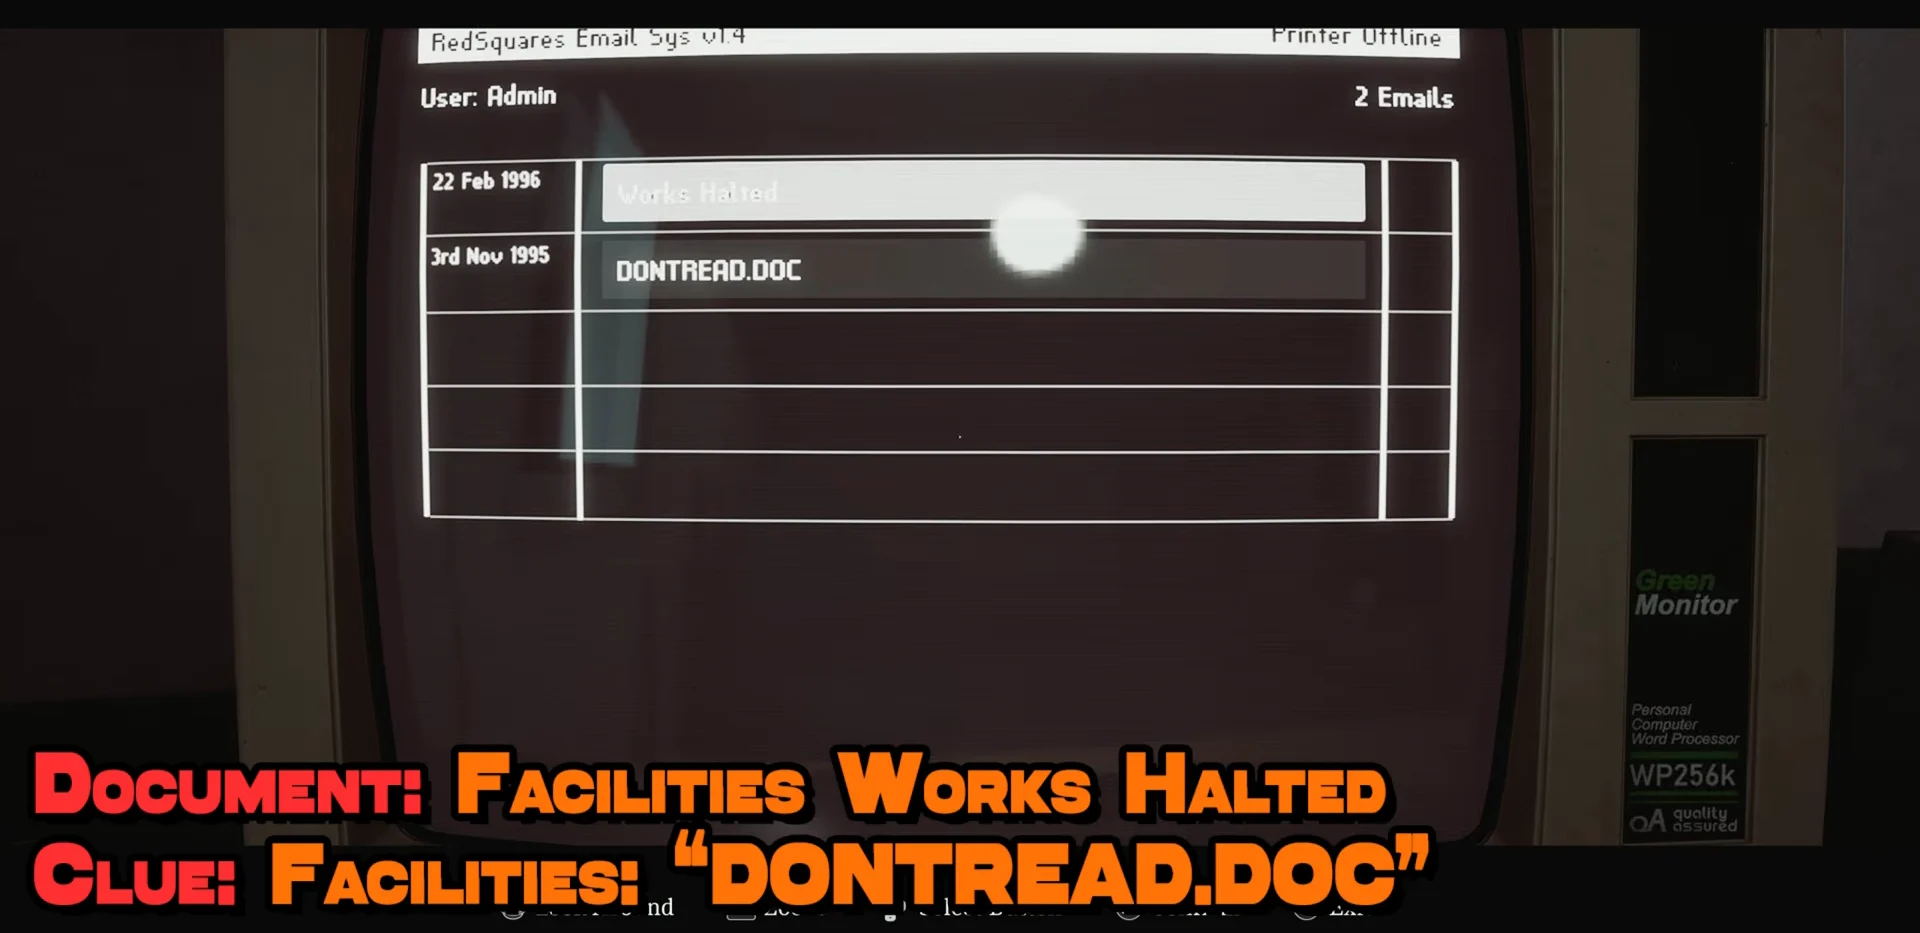
- Many are emails or files read from a computer, and each message counts separately.
- A few need extra steps first, such as restoring power, printing a photo, or swapping a cassette tape.
Once the story moves you into a new area, the previous one is gone for good. Grab everything before you trigger a transition.
Part 1: Arrival (Shorefront South)
The opening stretch across Shorefront South, Zoe’s place, and the clinic holds 23 collectibles.
| Document or Clue | Location |
|---|---|
| Boat Tour Canceled Notice | On a door to the right as the St. Amelia sign first appears in the intro. |
| Room Service Card | Haldane Hotel — examine the table. |
| Hotel Room Note | Haldane Hotel room — on the sink after unlocking the bathroom door. |
| Hotel Reception Notice | Hotel lobby front desk after you leave the room. |
| Hand-Delivered Letter | Zoe’s Place — coffee table in the living room. |
| Organ Transplant Card | Zoe’s Place — floor of the upstairs bathroom. |
| Electricard Note | Zoe’s Place — crawlspace under the staircase. |
| Zoe’s Email: Please Report In | Zoe’s computer after restoring power. |
| Zoe’s Email: Your Letter | Zoe’s computer. |
| Zoe’s Email: For Attending | Zoe’s computer. |
| Newsagents Notes | Counter inside the Newsagents, entered from the back. |
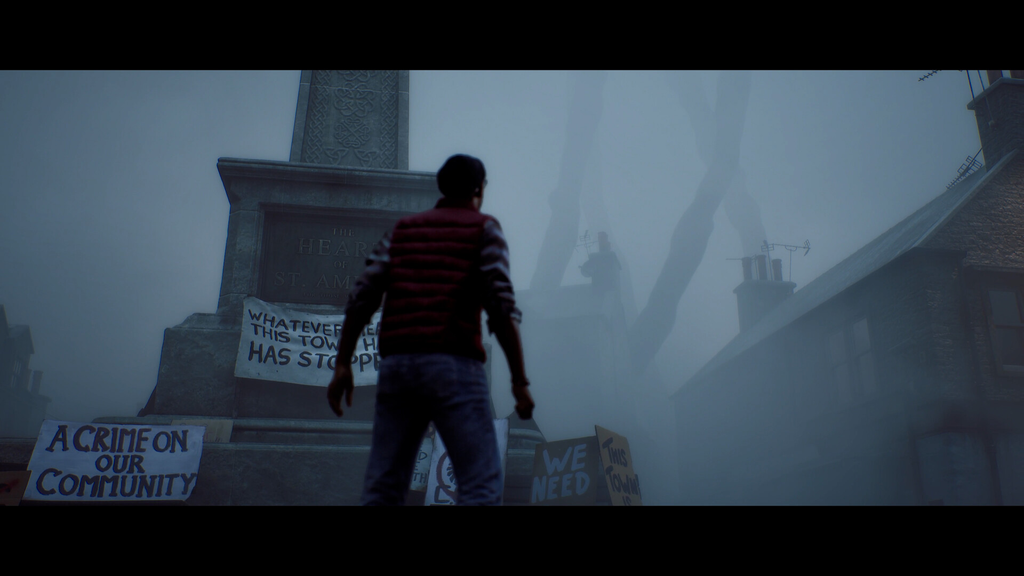
| Vigil and Protest Flyer | In front of the town square monument. |
| Shorefront Family Clinic Notice | On the front of the clinic building. |
| Note on Patient Records | Stevenson’s desk drawer in his clinic office. |
| Resignation Letter | Zoe’s office, by the Scales puzzle. |
| Clinic Email: Where Are You? | Zoe’s clinic computer. |
| Clinic Email: Reception Answer Phone Message | Zoe’s clinic computer. |
| Nurses Rounds Form | Clinic reception desk. |
| Restock Issues | Pharmacy counter. |
| Feeling Sick Note | Building 16’s upstairs bedroom, 1/2, is opposite Jess’s house. |
| Note on Jess’s Door | On the front of Jess’s door. |
| Task Assignment | Jess’s house kitchen. |
| Jess Legal Advice | Jess’s house living room table. |
Part 2: Zoe (Shorefront North and the Otherworld)
Twelve more turn up as you cross Shorefront North and the Otherworld version of the district.
| Document or Clue | Location |
|---|---|
| Zoe’s Email: Coming Back | Zoe’s House computer in the living room. |
| Water Warning | Zoe’s House living room table. |
| Jane Chalmers Obituary | Inside Jane’s shed. |
| St. Amelia Standard | Shorefront North — table in Mr. Stewart’s house. |
| Medical Security Note | Shorefront North — taped on a booth near the Medical Center. |
| Community Help Needed | After calling Dr. Glenn, check the table beside the first tent outside the Medical Center. |
| Exhausted Supplies | Table on the left past the body bags outside the Medical Center. |
| Scaffold Notice | Otherworld Shorefront — commercial road building, by the locked door. |
| Handwritten Note | Second floor of the commercial road building (on the left). |
| Press Photos Note.Txt | Locked scalpel room computer, third floor of the commercial road building. |
| Photo1.jpg | Print from the scalpel room computer after switching on the kitchen printer. |
| Photo2.jpg | Print from the same computer, then collect it from the kitchen printer. |
Part 3: The Patient (St. Amelia Medical Centre)
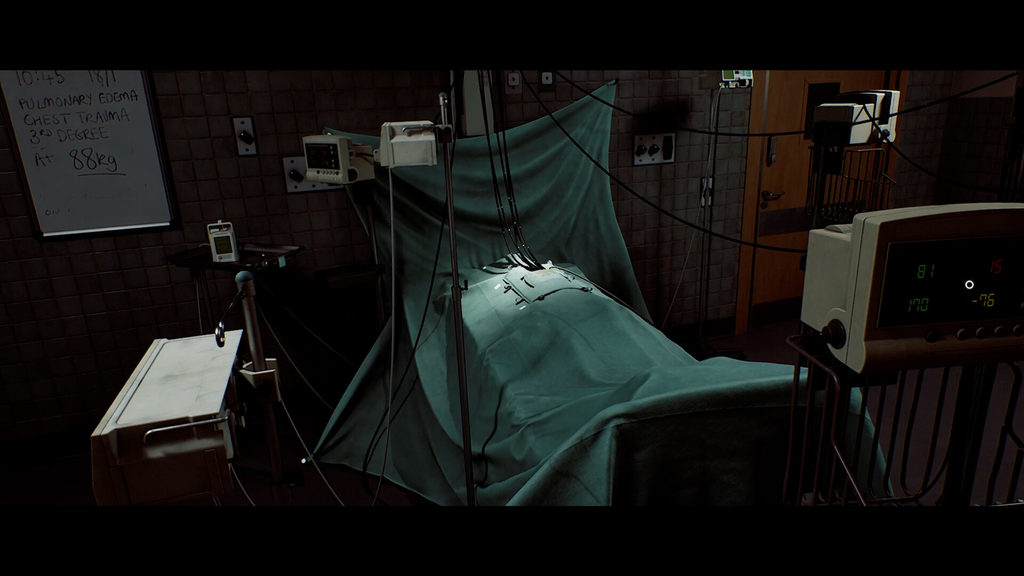
The hospital wards carry seven items, most of them read off terminals.
| Document or Clue | Location |
|---|---|
| Supply Situation Update | Computer in consult room B. |
| RE: Supply Situation Update | Same computer in consult room B. |
| Unrealistic Expectations (1098512…) | Chapman Ward computer, first floor, upstairs. |
| Dailies – Infusion Status | Emails on the first-floor computer. |
| Dailies – Records Room Code | The Office — board by the computer. |
| Equipment Cleanup Notice | Basement, right down the hallway. |
| Zoe’s Patient List | Room southeast of the Blood Transfusion Machine, entered via a vent. |
Part 4: Clara Woods (Brae residences and CEG Tower)
This is the largest haul at 21, spanning the Brae houses and CEG Tower. Several sit behind puzzles: the Floppy Disk puzzle in 5 South Brae, the cassette-tape swaps in 5 Upper Brae, and the split grid codes in the tower.
| Document or Clue | Location |
|---|---|
| Harbor Notice | Edge of the path before the ramp by the elevated boat, before you enter Clara Woods. |
| Store Staff Notice | Look in the newsagents on Clara Woods’s left for the map. |
| Atlas Square Apartment Note | Building opposite the phone booth. |
| Lost and Found | CEG Employee Locker building computer. |
| CEG Employee Locker List | Same computer in the locker building. |
| CEG Lockers Manager’s Note | Back office of the CEG lockers building. |
| Gaming Magazine | 5 South Brae — on a bed upstairs. |
| Reciprocating Compressor | 5 South Brae — from the printer after the Floppy Disk puzzle. |
| Lamenting Poem | 6 North Brae — chair in the upstairs bedroom. |
| The Code Today | 5 Upper Brae — desk upstairs. |
| The Code Before | 5 Upper Brae — kitchen table after playing Tape: Yesterday. |
| The Code After | 5 Upper Brae — living room after playing Tape: Tomorrow. |
| Current Count | 5 Upper Brae — Ammonite Disk in the reader while Tape: Yesterday is playing. |
| Inquiry Preparation Notice | CEG Tower reception desk. |
| Box ID’s and Names | Podium in the room with chairs and black boxes. |
| Grid of Codes 1 | Maintenance room trash can. |
| Grid of Codes 2 | Security room (code 4895). |
| Complete Grid of Codes | Combine both Grid of Codes clues. |
| Out of Hours Access | Security room computer. |
| Urgent Message | Security room computer. |
| Employee File Cover Note | Inside Richard’s Box (#36), opened with code 486. |
Part 5: Richard (facilities and CEG Tower)
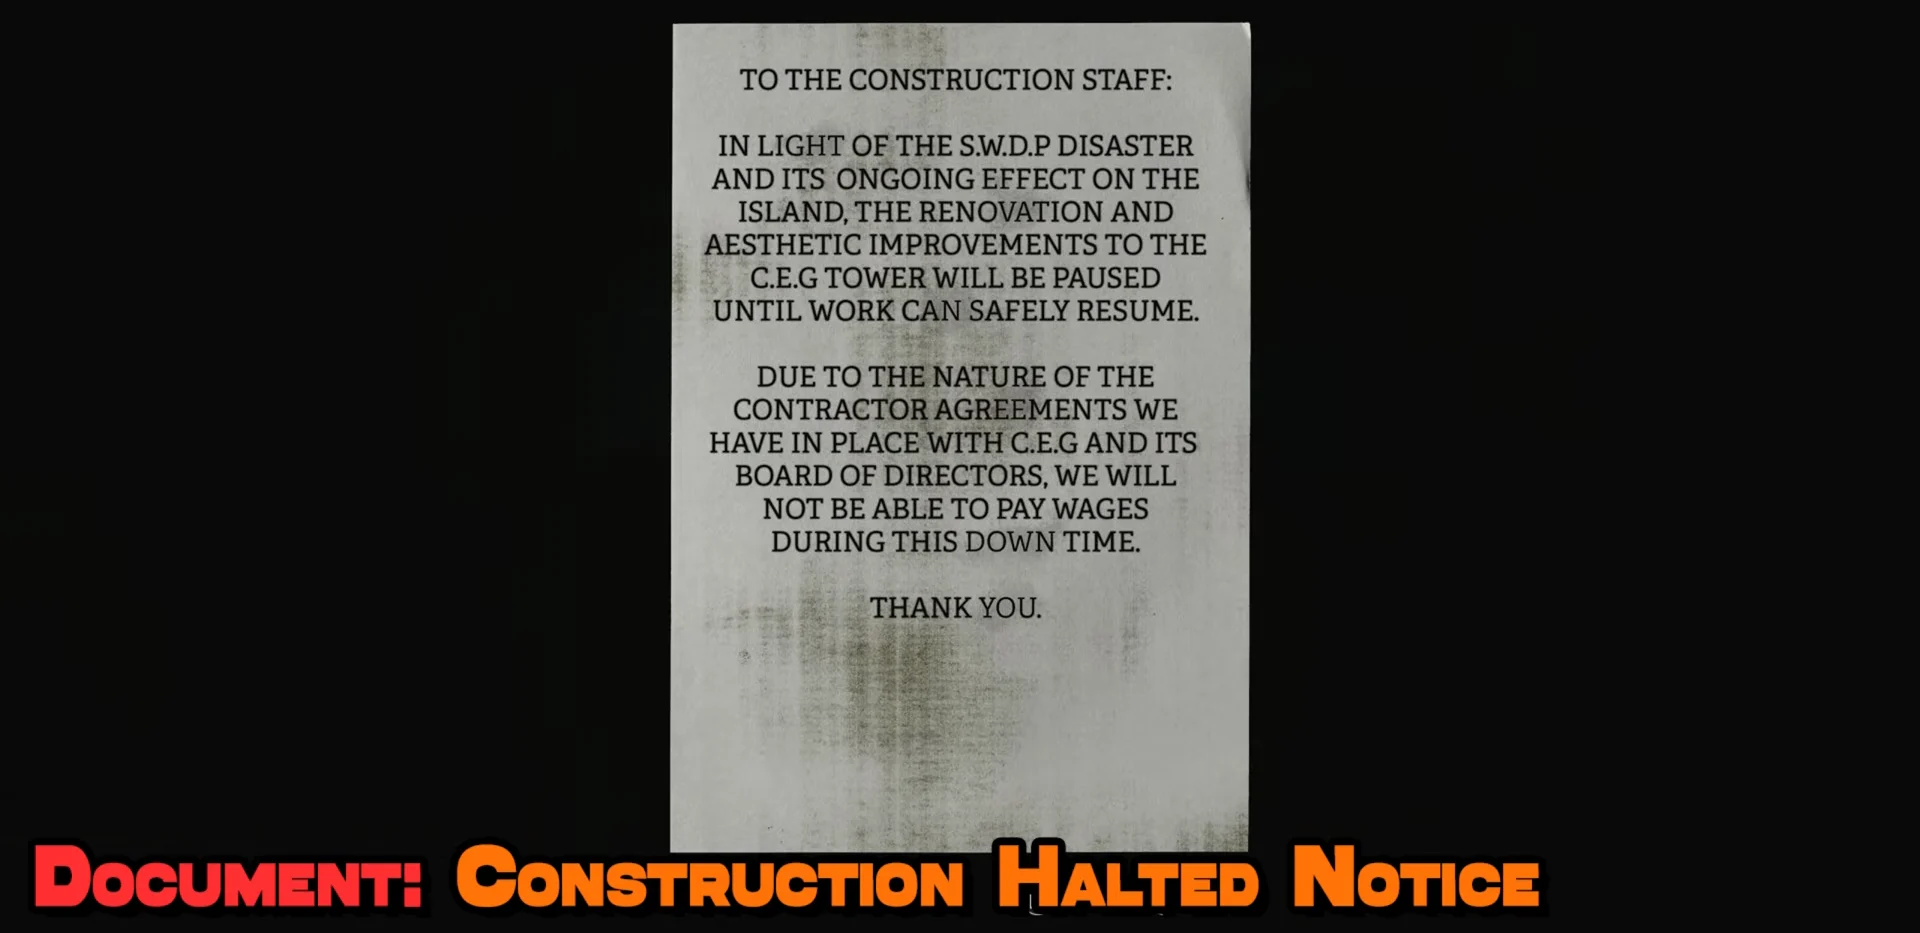
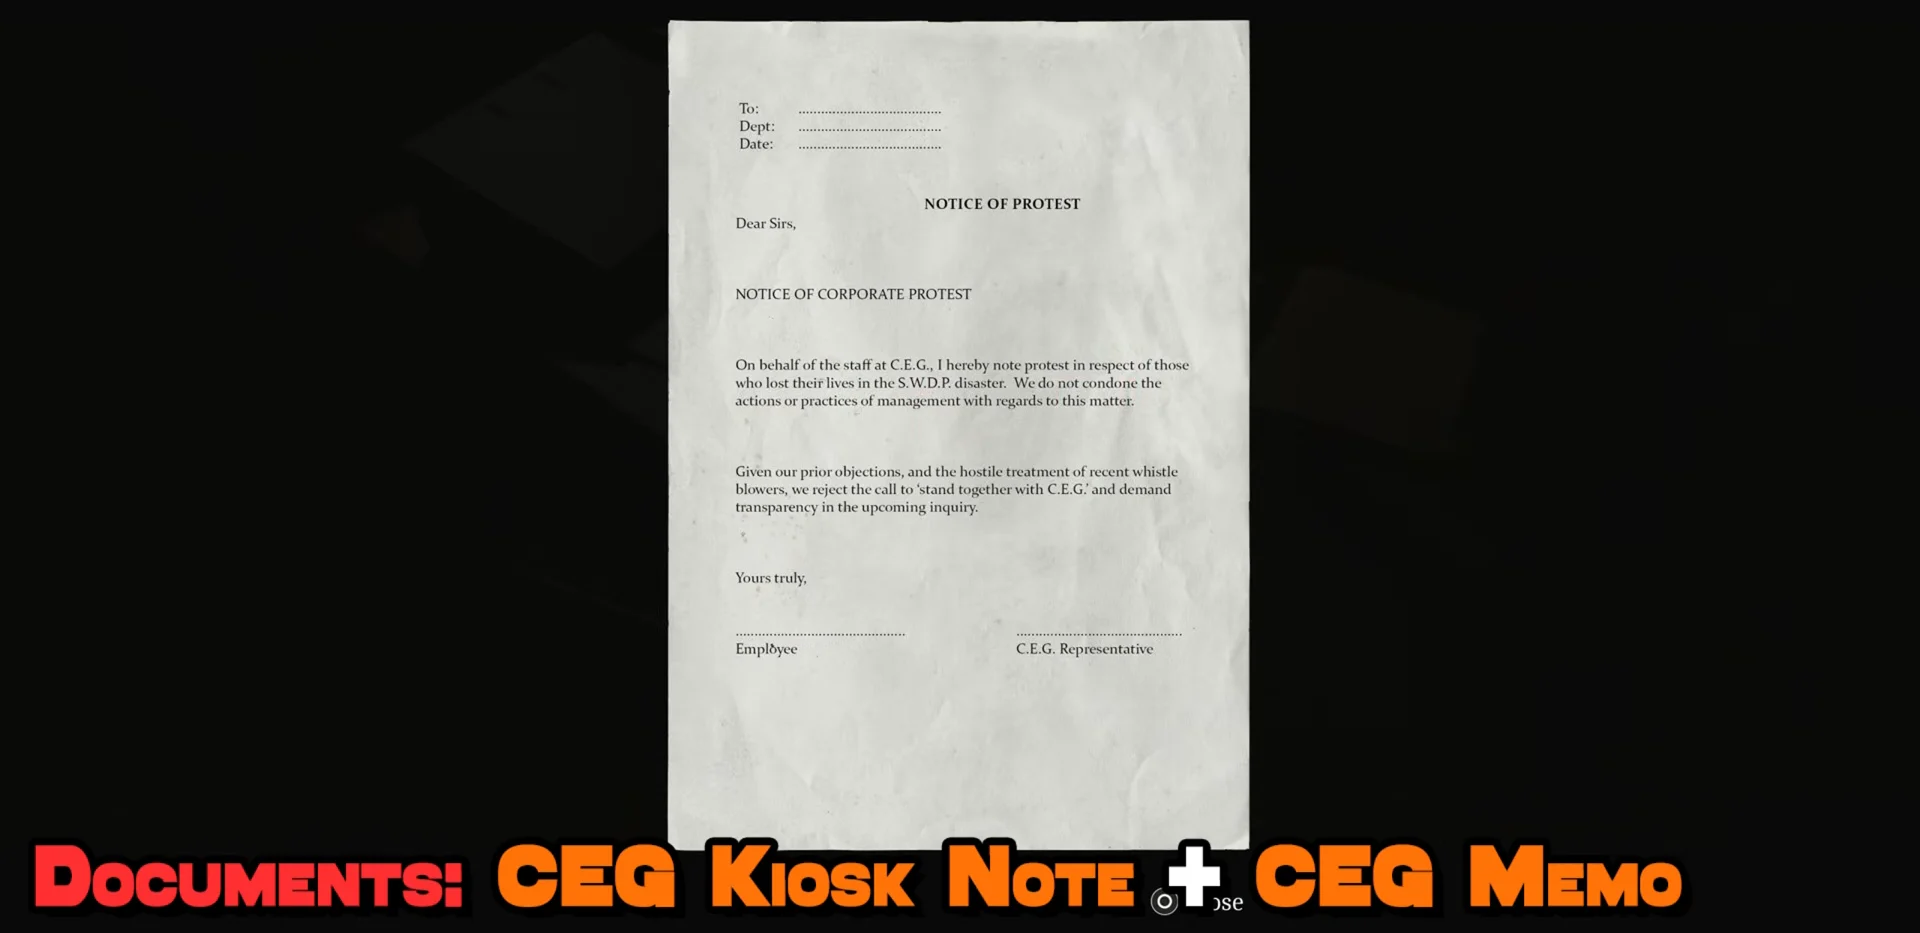
Playing as Richard, you sweep the facilities outside the tower and then work up through its floors for 12 collectibles.
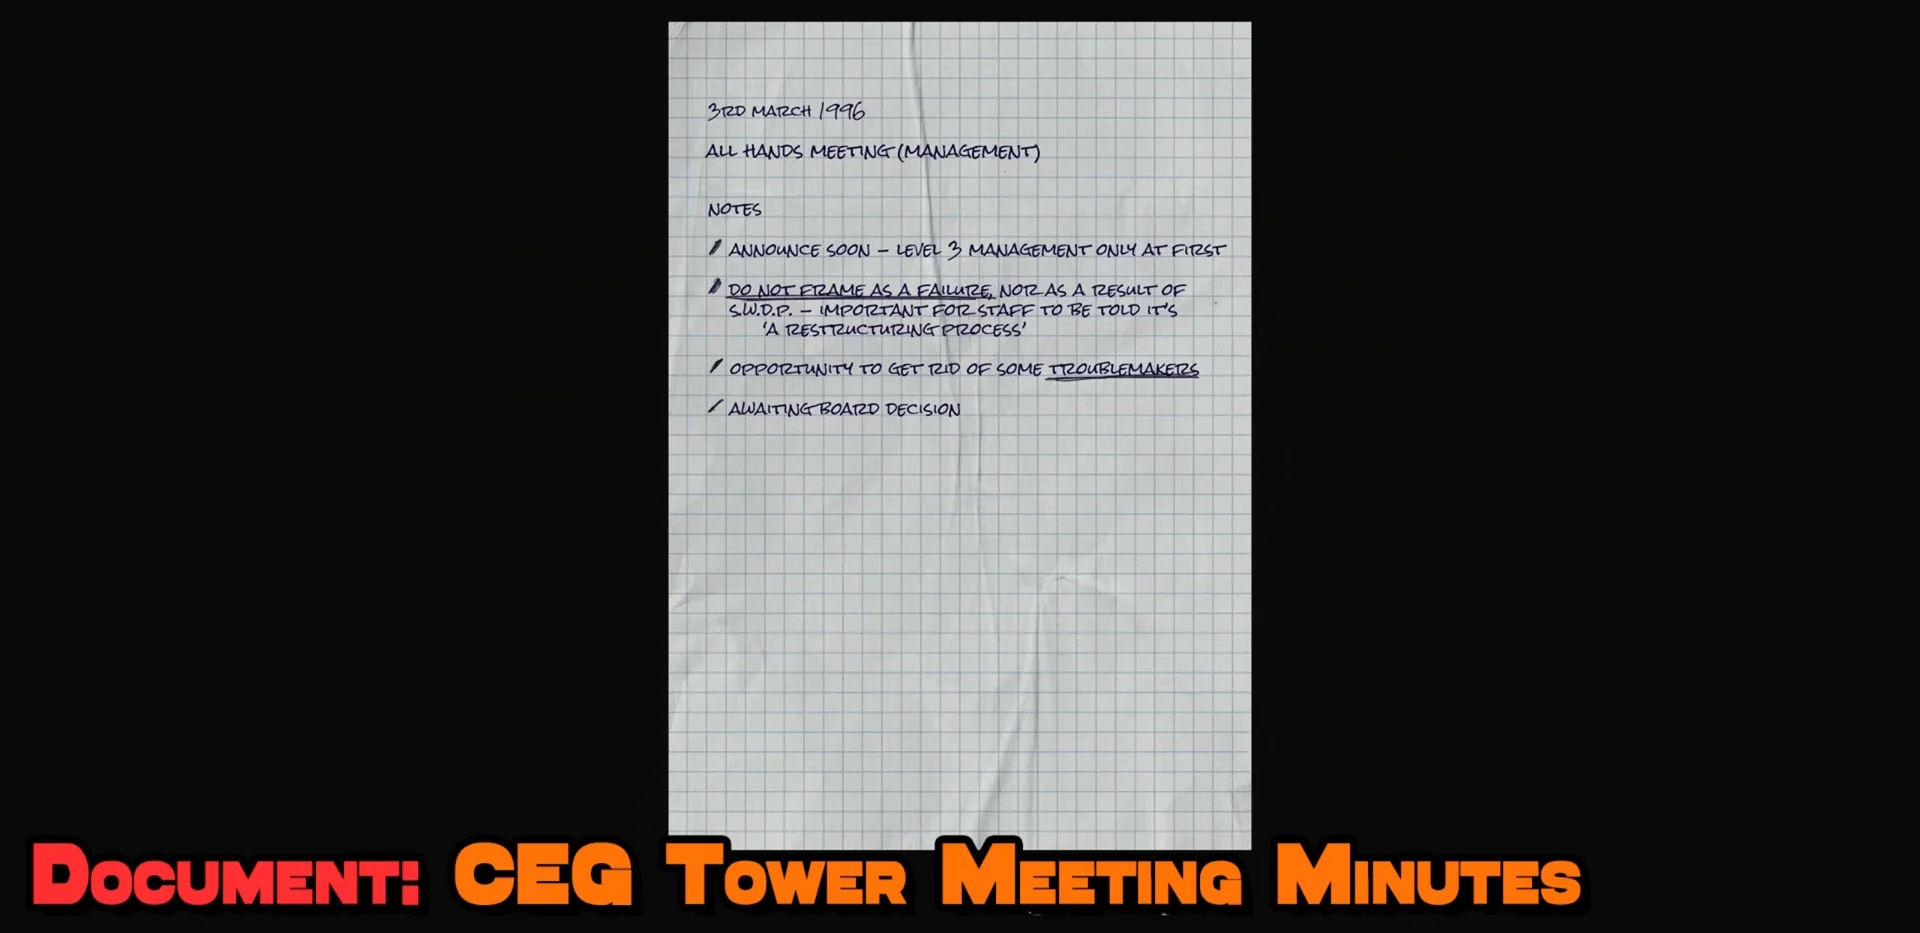
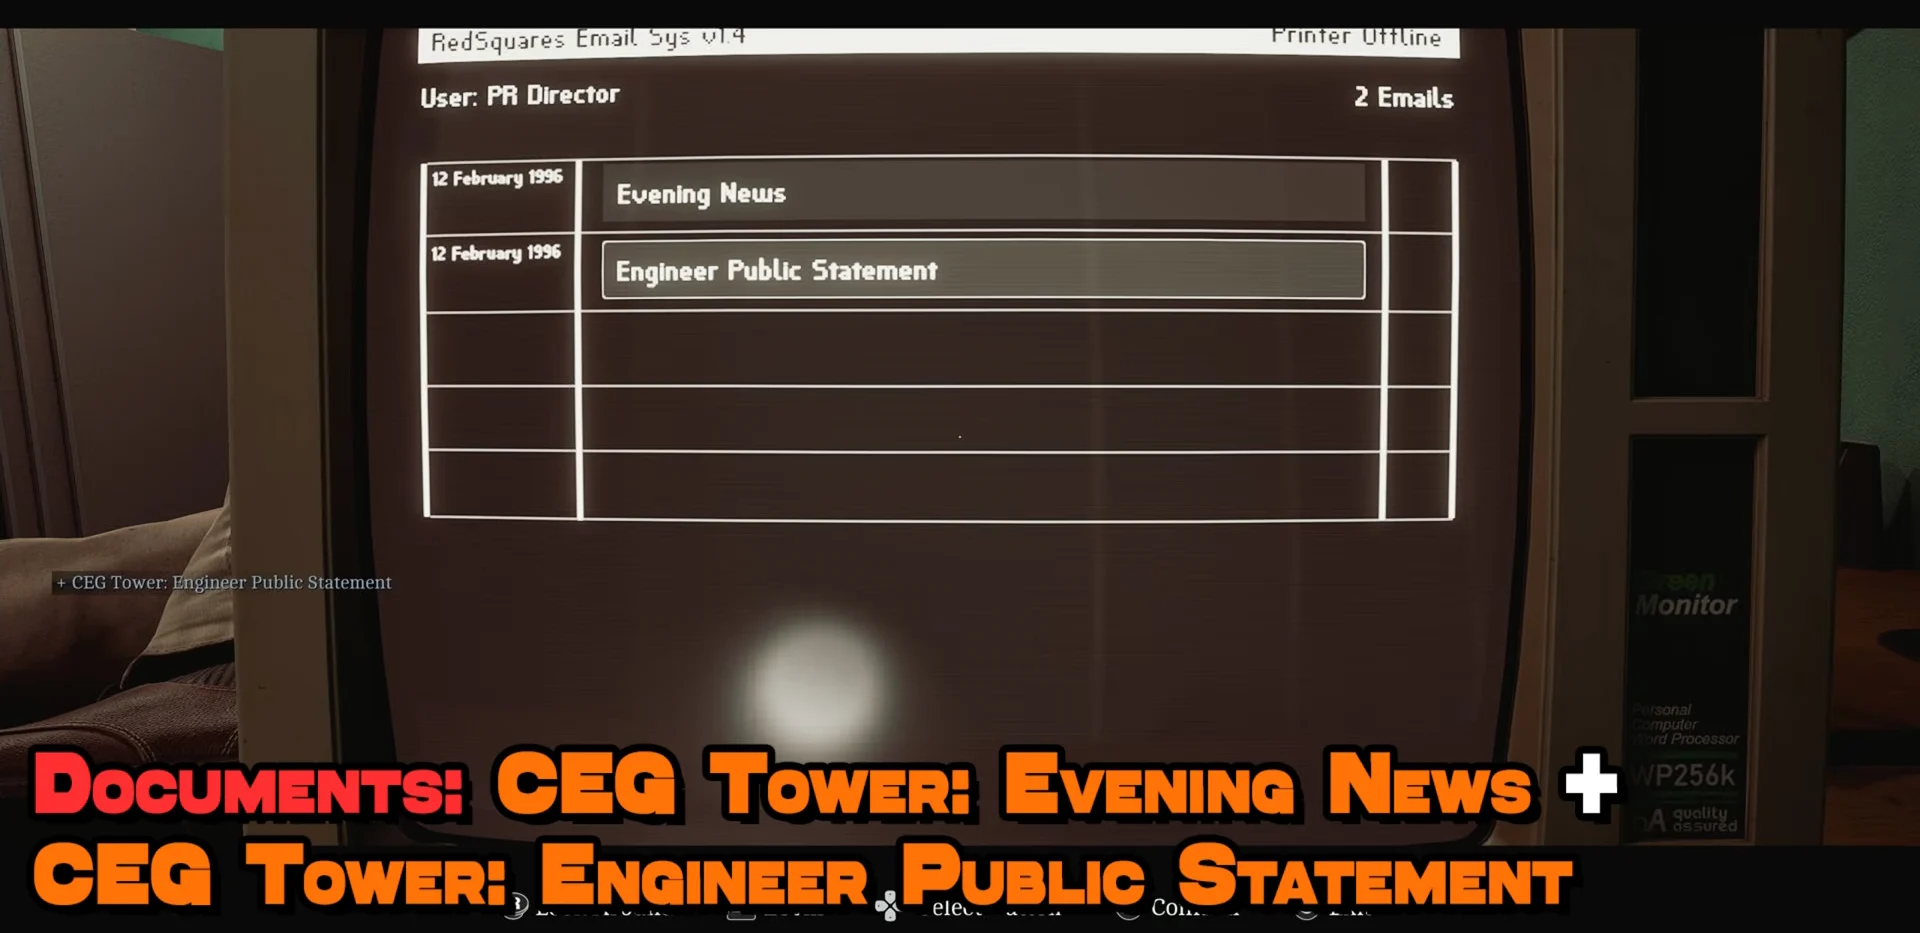
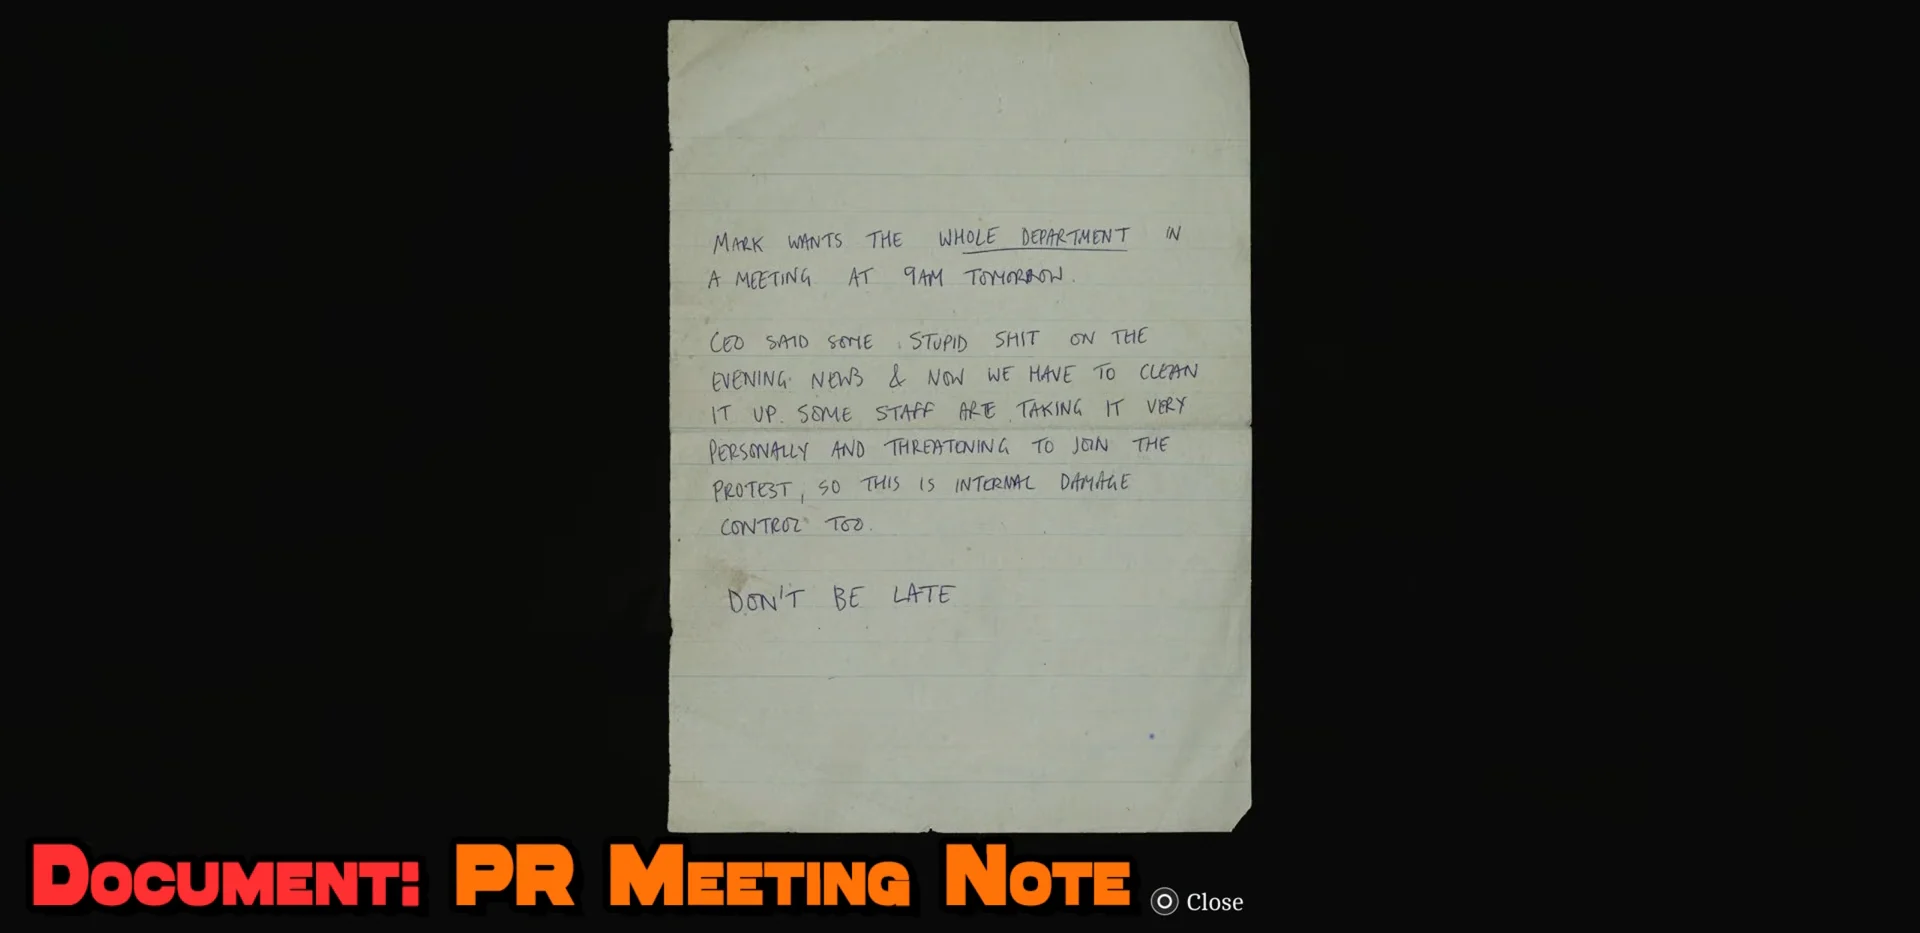
Part 6: Simon (SWDP and the shore)
The final 10 close out the run as Simon, moving from CEG Tower into the SWDP facility and back to the shore.
| Document or Clue | Location |
|---|---|
| Ordell File | On the desk where you spawn as Simon. |
| whatdidyoudo? | Computer email after leaving the 10th floor office. |
| Reference Sheet | Table to the left of the console panel. |
| RE: Ordell Site Visit | At SWDP (Different)’s Level 1, use the computer in the room separating JOE from AUX. |
| RCU Refit Note | JOE room — through the gap, on the bed. |
| Photo of Joe McKenzie | JOE room — through the gap, on the door. |
| Remote Systems Control | Control room, right side of the CCTV puzzle. |
| Auxiliary Lines | AUX Room — use the AUX Disk on the computer. |
| Clamp Release Procedure | From the printer during the clamp release objective. |
| Crew Patch | On the shore after beating the Weight at the finale. |
Unlocking the Observation and Thorough Inspection achievements
When the run concludes, the discoveries statistic records both categories. Securing all 85 triggers the Observation and Thorough Inspection achievements, and the complete discoveries total is included in the ending calculation. If the tally is short, the missing entry is in an area you already passed; Townfall prevents returning there during that run, so clearing each chapter thoroughly is the only dependable way to reach 85 in one go.