Everything the tracker needs, from the four subway reroutes to the probe relays at the bottom of the Sinkhole.
Everything the tracker needs, from the four subway reroutes to the probe relays at the bottom of the Sinkhole.
by Kabir Anand
Image: Remedy Entertainment
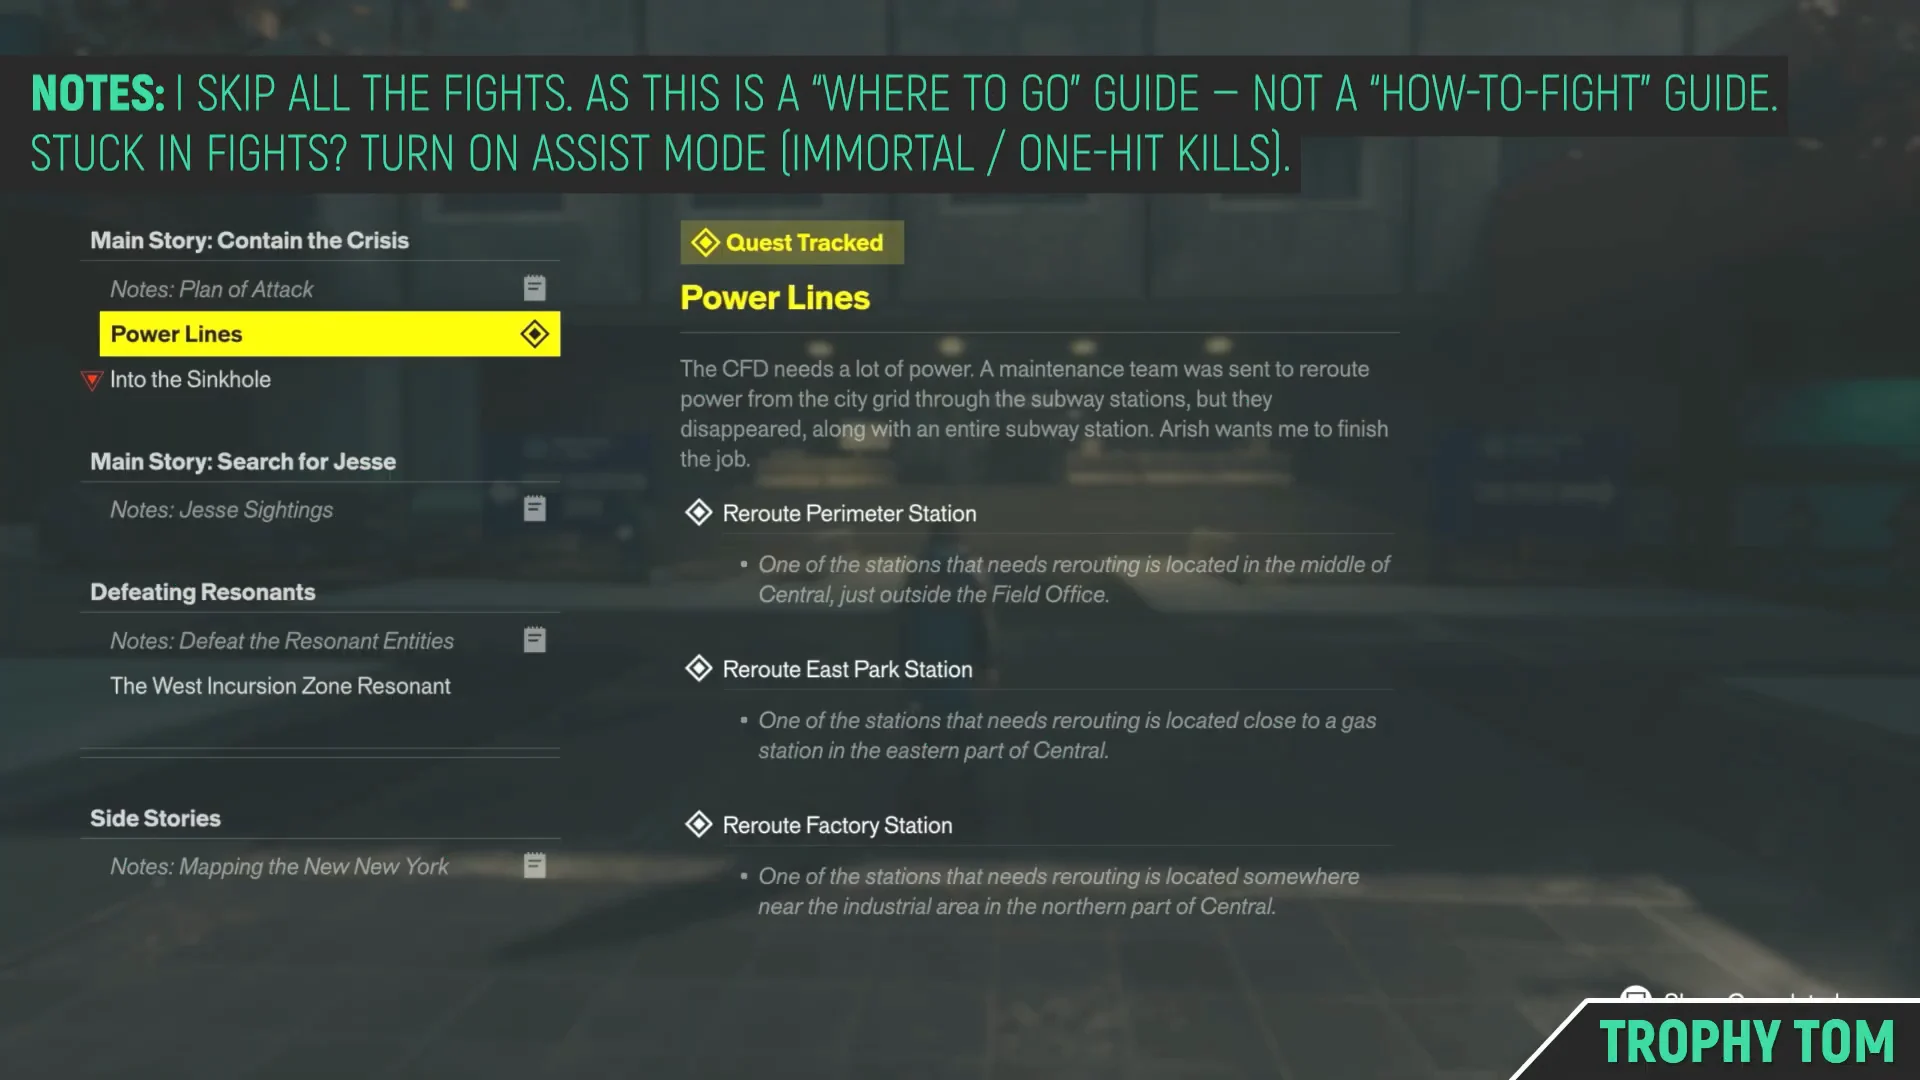
Plan of Attack is not a mission you start or turn in. It is a Notes entry in the Quest Log that groups two main story missions together, Power Lines and Into the Sinkhole, and closes on its own once both are done. Dylan gets it after Arish’s Briefing at the FBC Field Office in Central, and finishing it moves the campaign toward Enemy of My Enemy.
Quick answer: Reroute Factory, East Park, Perimeter and Vanished Stations, report to Dr. Florez, then install all three probe relays at the bottom of the Sinkhole. The tracker completes automatically.
How station calibration works in Power Lines
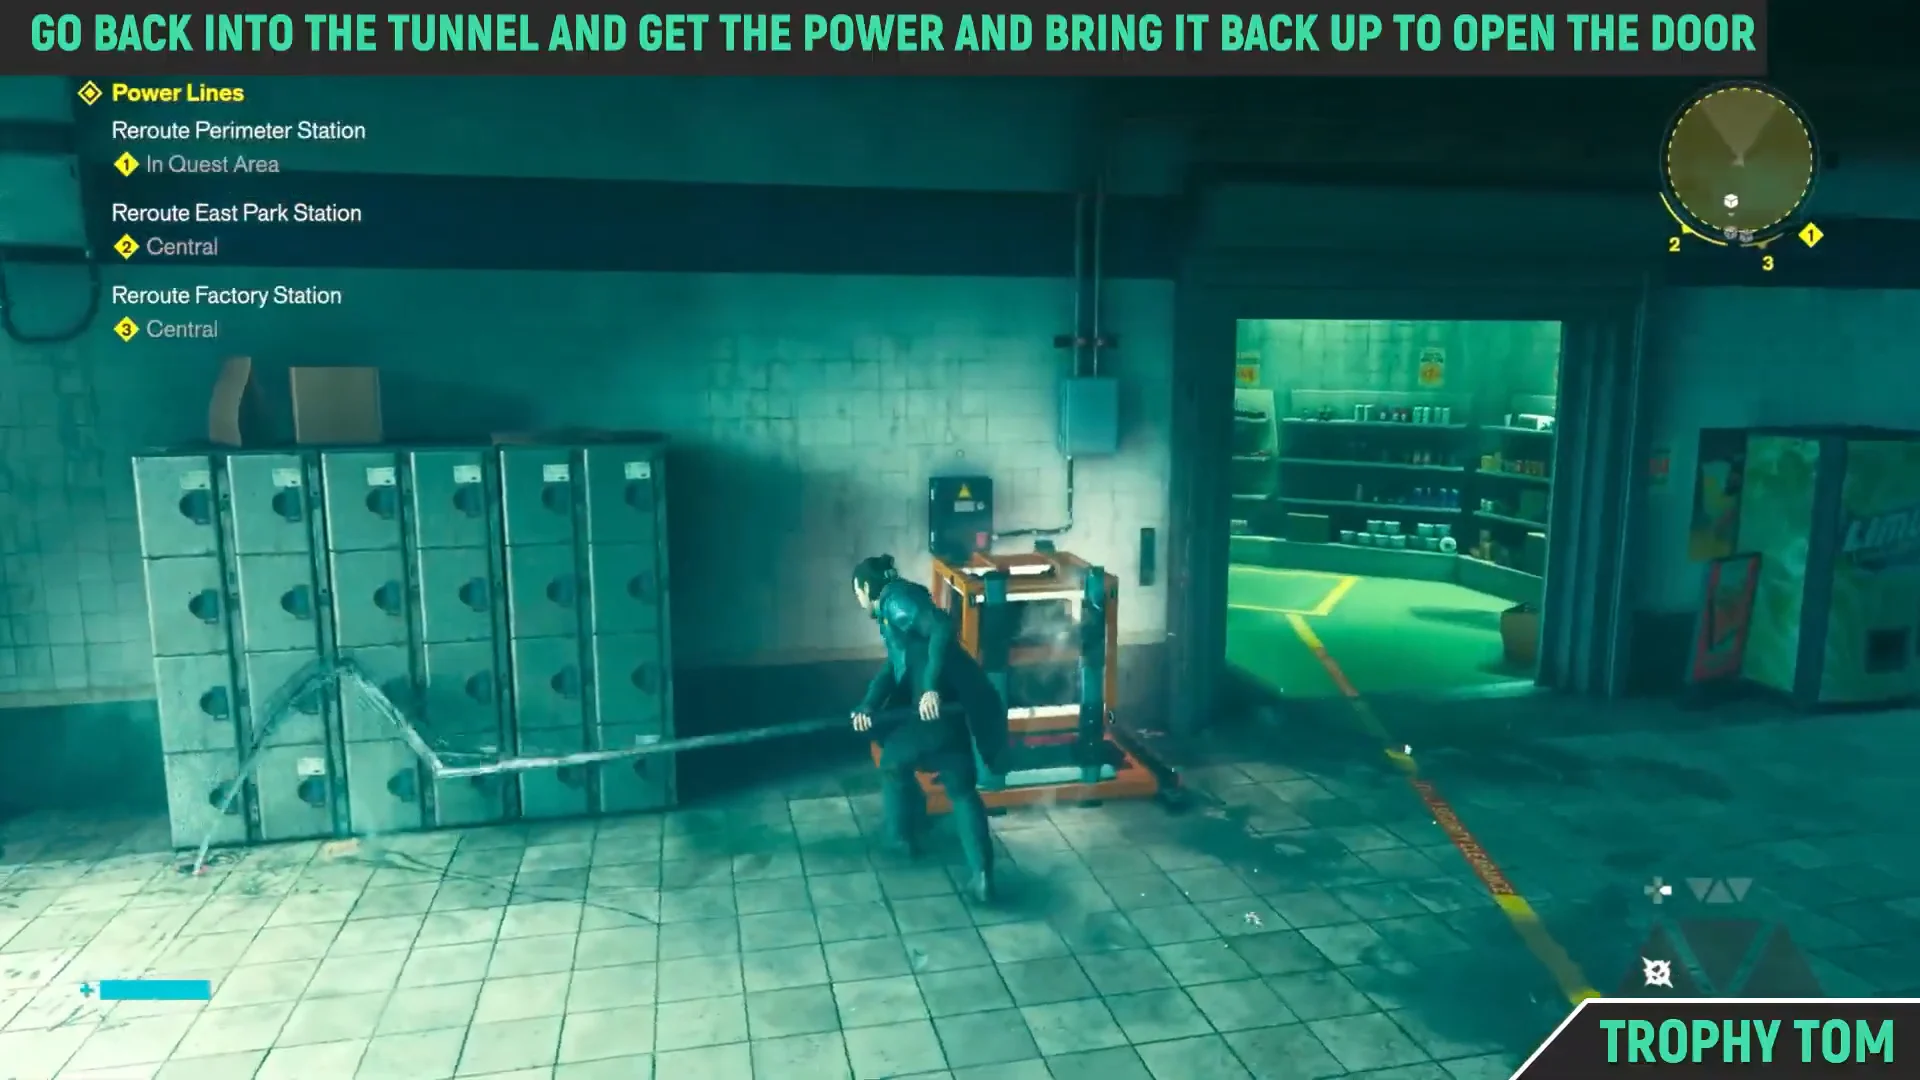
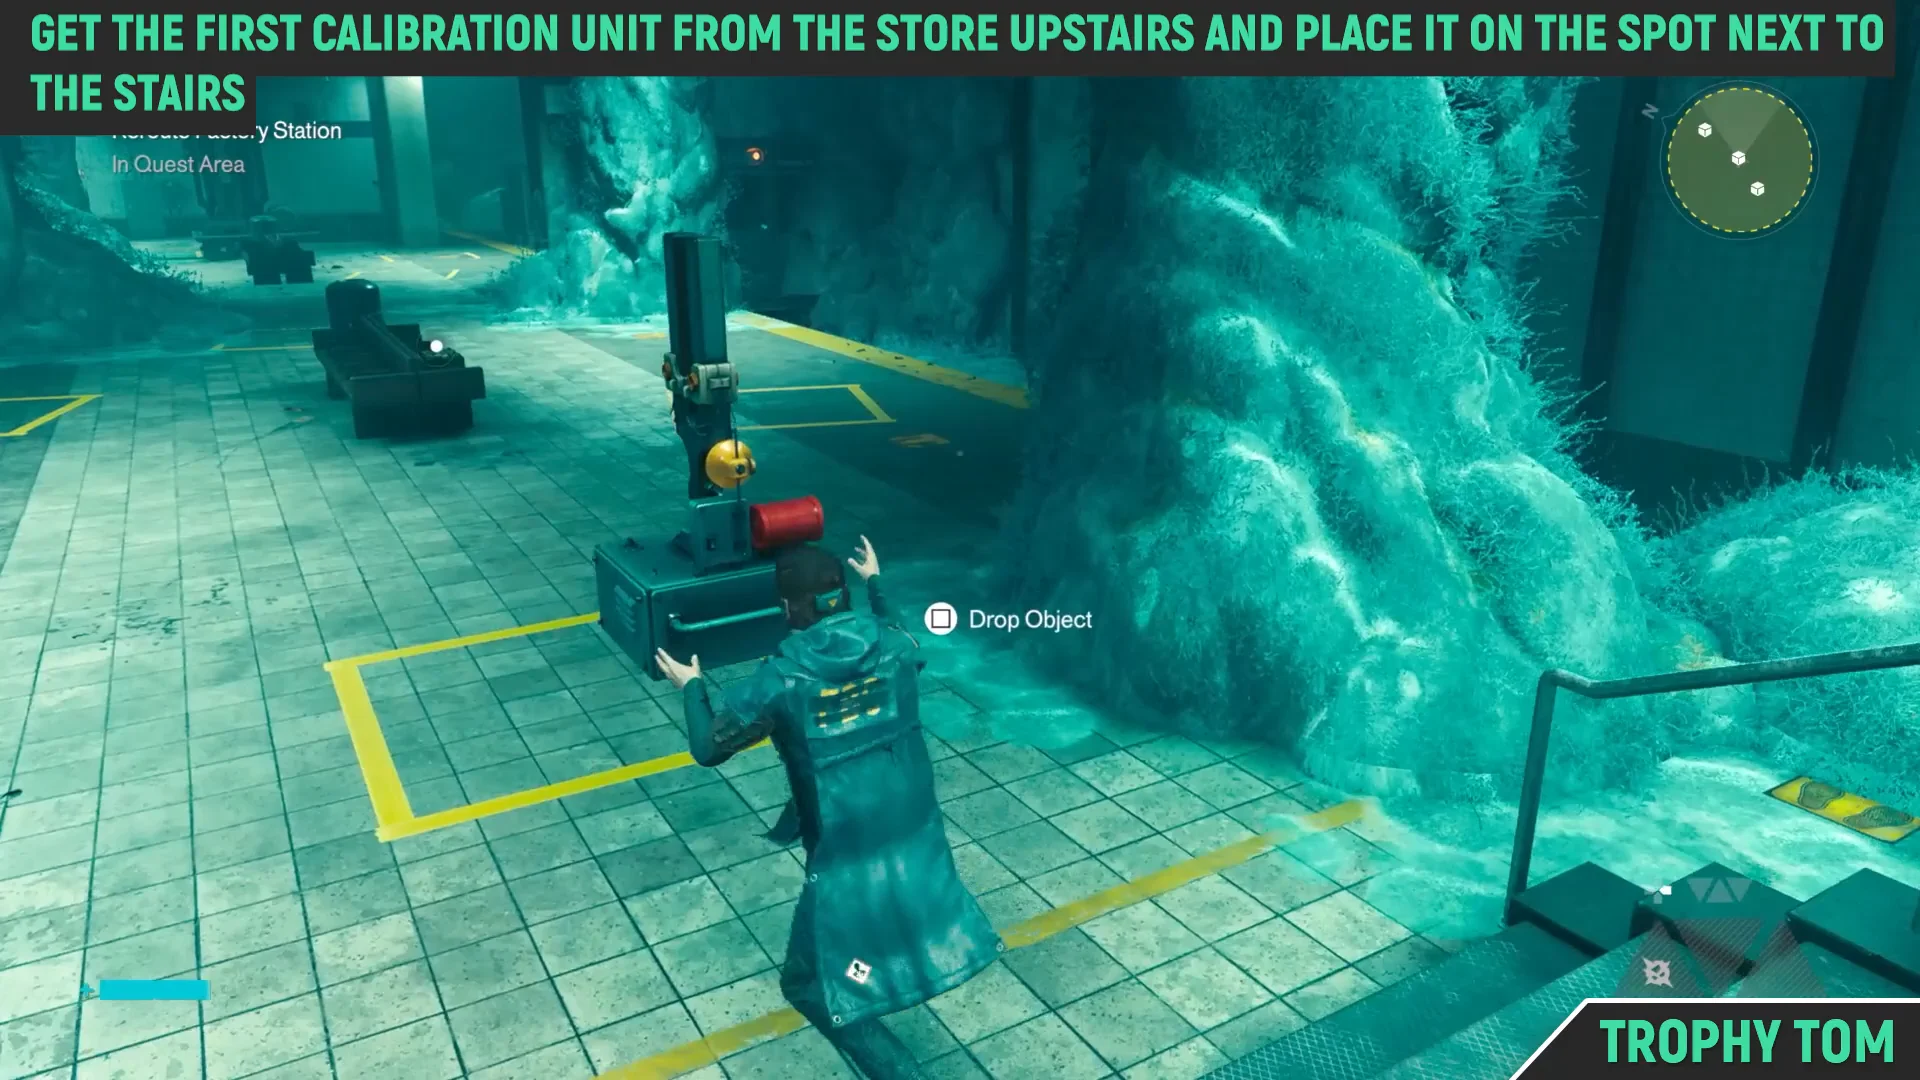
Every subway reroute in Power Lines uses the same puzzle rules, so once you understand one station the other three are variations on it. Each station needs three calibration units parked on the yellow marker squares, and a tuning device or console that you then activate to lock the calibration in.
Calibration units are pushed or carried; they only count when they sit on a marked square.
Power cores are portable. Pull one out of a socket and plug it into another to open a different door.
Mold clumps that block platforms and track beds break with melee strikes.
Tuning devices double as short-range teleporters at East Park and as a warp between platforms at the Vanished Station.
The three surface stations can be tackled in any order. The Vanished Station is different: it only exists after the Factory console misfires, so it always comes last.
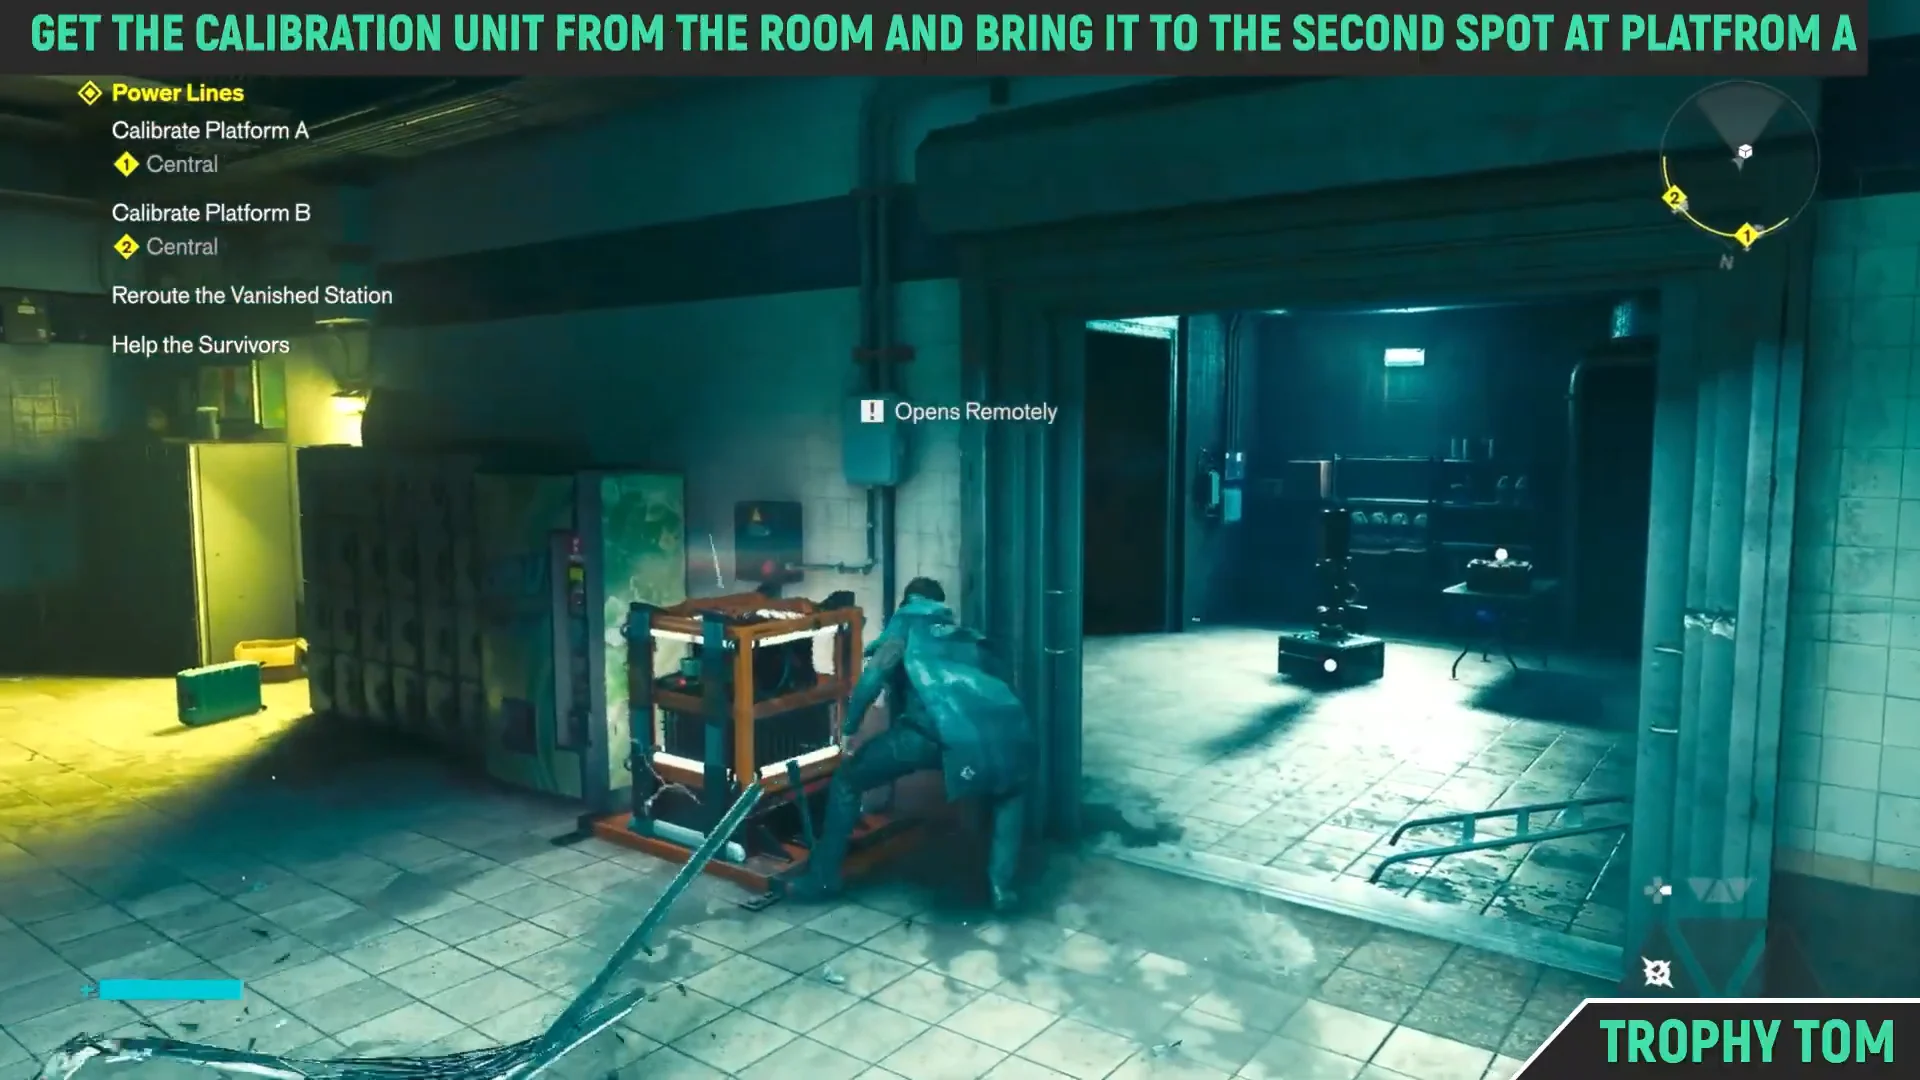
Drop the first calibration unit onto the yellow square beside the tuning device down on the tracks, then take the second unit upstairs to its own marked spot.
Move the third unit into the opened room and onto its square, then pull the lever on the tuning device. The objective ticks off and you can climb back to street level.
Activate the tuning console. Instead of a clean calibration you get a psychic backlash, and the whole station shifts into the Vanished Station.
Help the survivors in the Vanished Station
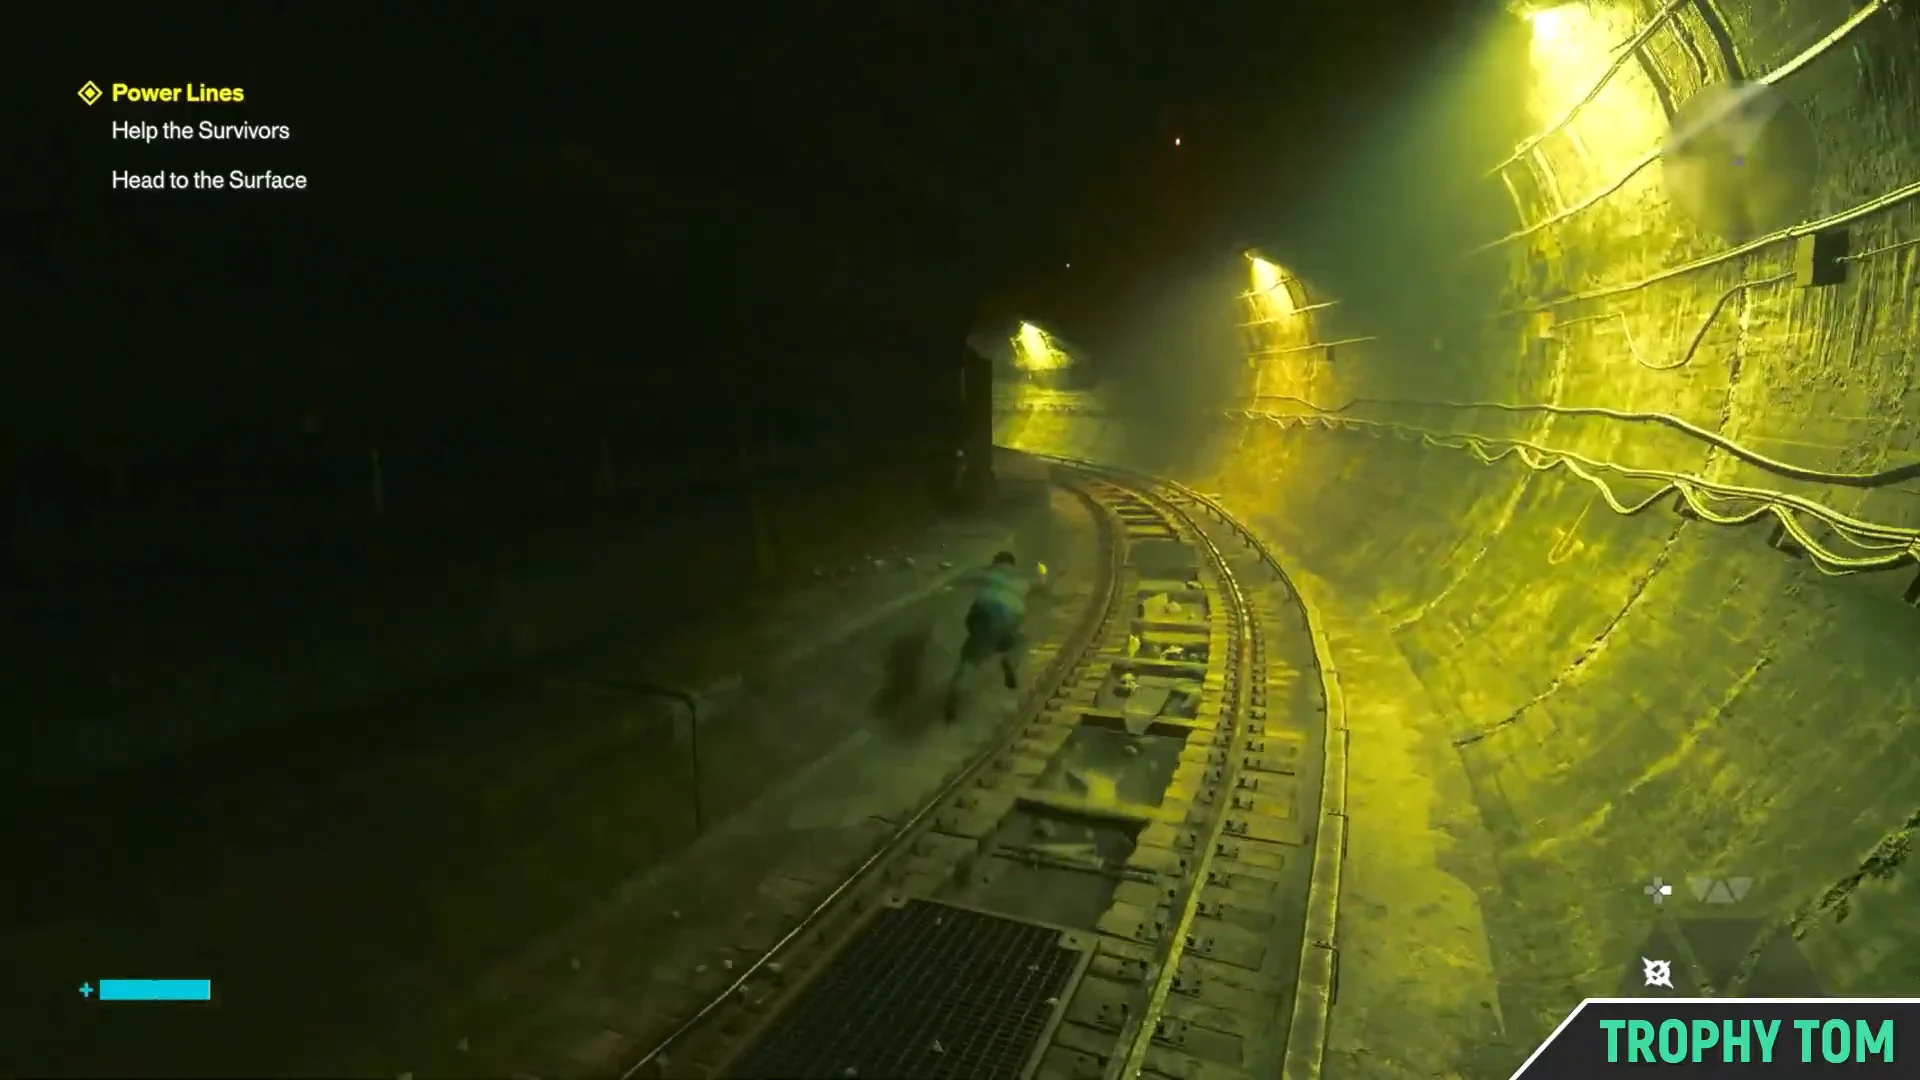
An emergency transmission from Dr. Florez arrives immediately after the station shifts. Respond through the intercom mounted on the station wall, then enter the unlit railway tunnel and follow it toward the trapped survivors.
There is a calibration guidelines note sitting on a station bench along the way, and a console on Platform A with a lever that warps you over to Platform B. Carry a power core into the socket by the sealed gate to free Dr. Florez and the injured survivors in the newsstand area, then talk to them.
Smash the blinking red breaker box nearby to drop a security gate and open a shortcut between the two halves of the station. You will be walking this route repeatedly.
Take both calibration units from the survivors’ room to Platform B. The trip is the mission’s longest, making the breaker box shortcut especially important.
Go back upstairs and talk to Dr. Florez. That conversation ends Power Lines and clears the first half of the tracker.
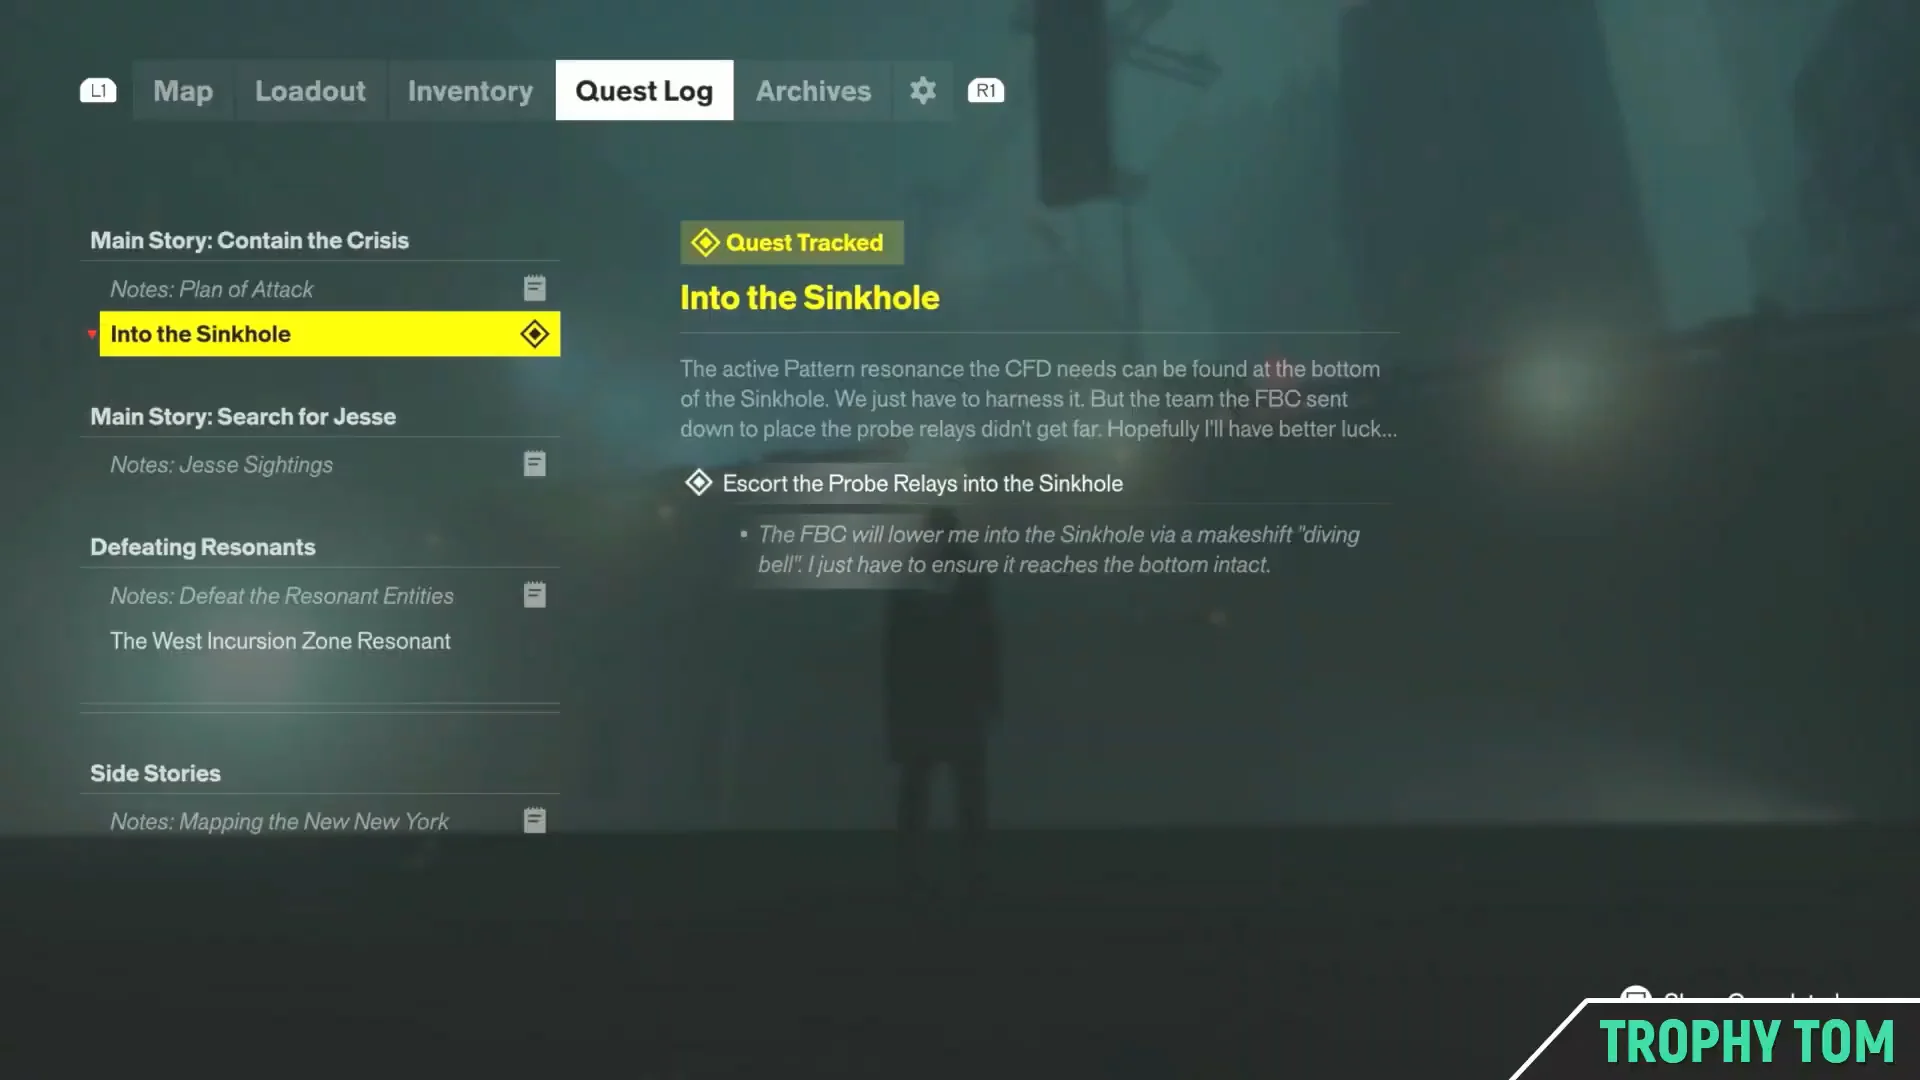
Into the Sinkhole: escort and install the probe relays
The second half of the tracker is a long descent with a sustained Hiss fight in the middle, so spend Talent Points and upgrade your weapon forms before you drop in. Zone levels and short side stories such as Panopticon Service Request are quick ways to raise your Power Level first.
The structure starts collapsing and the tether cable snaps. Climb the floating debris, survive the freefall, and follow the music once you land.
How to confirm Plan of Attack is complete
There is no turn-in step. Open the Quest Log after Into the Sinkhole ends and the Notes: Plan of Attack entry will be marked complete, with Power Lines and Into the Sinkhole both closed under it. If it is still showing as active, one of the four station reroutes or the final conversation with Dr. Florez is outstanding.
00:10Quest OverviewThe Quest Log entry for Plan of Attack, showing Power Lines and Into the Sinkhole underneath it. Shown at 00:10 in Trophy Tom’s video. Image: Remedy Entertainment
From here the campaign continues with Enemy of My Enemy, which starts by meeting Pope at the FBC Field Office. Before you go, it is worth banking a few more Health and Power Upgrade Points, because combat difficulty climbs noticeably after this point in the story.