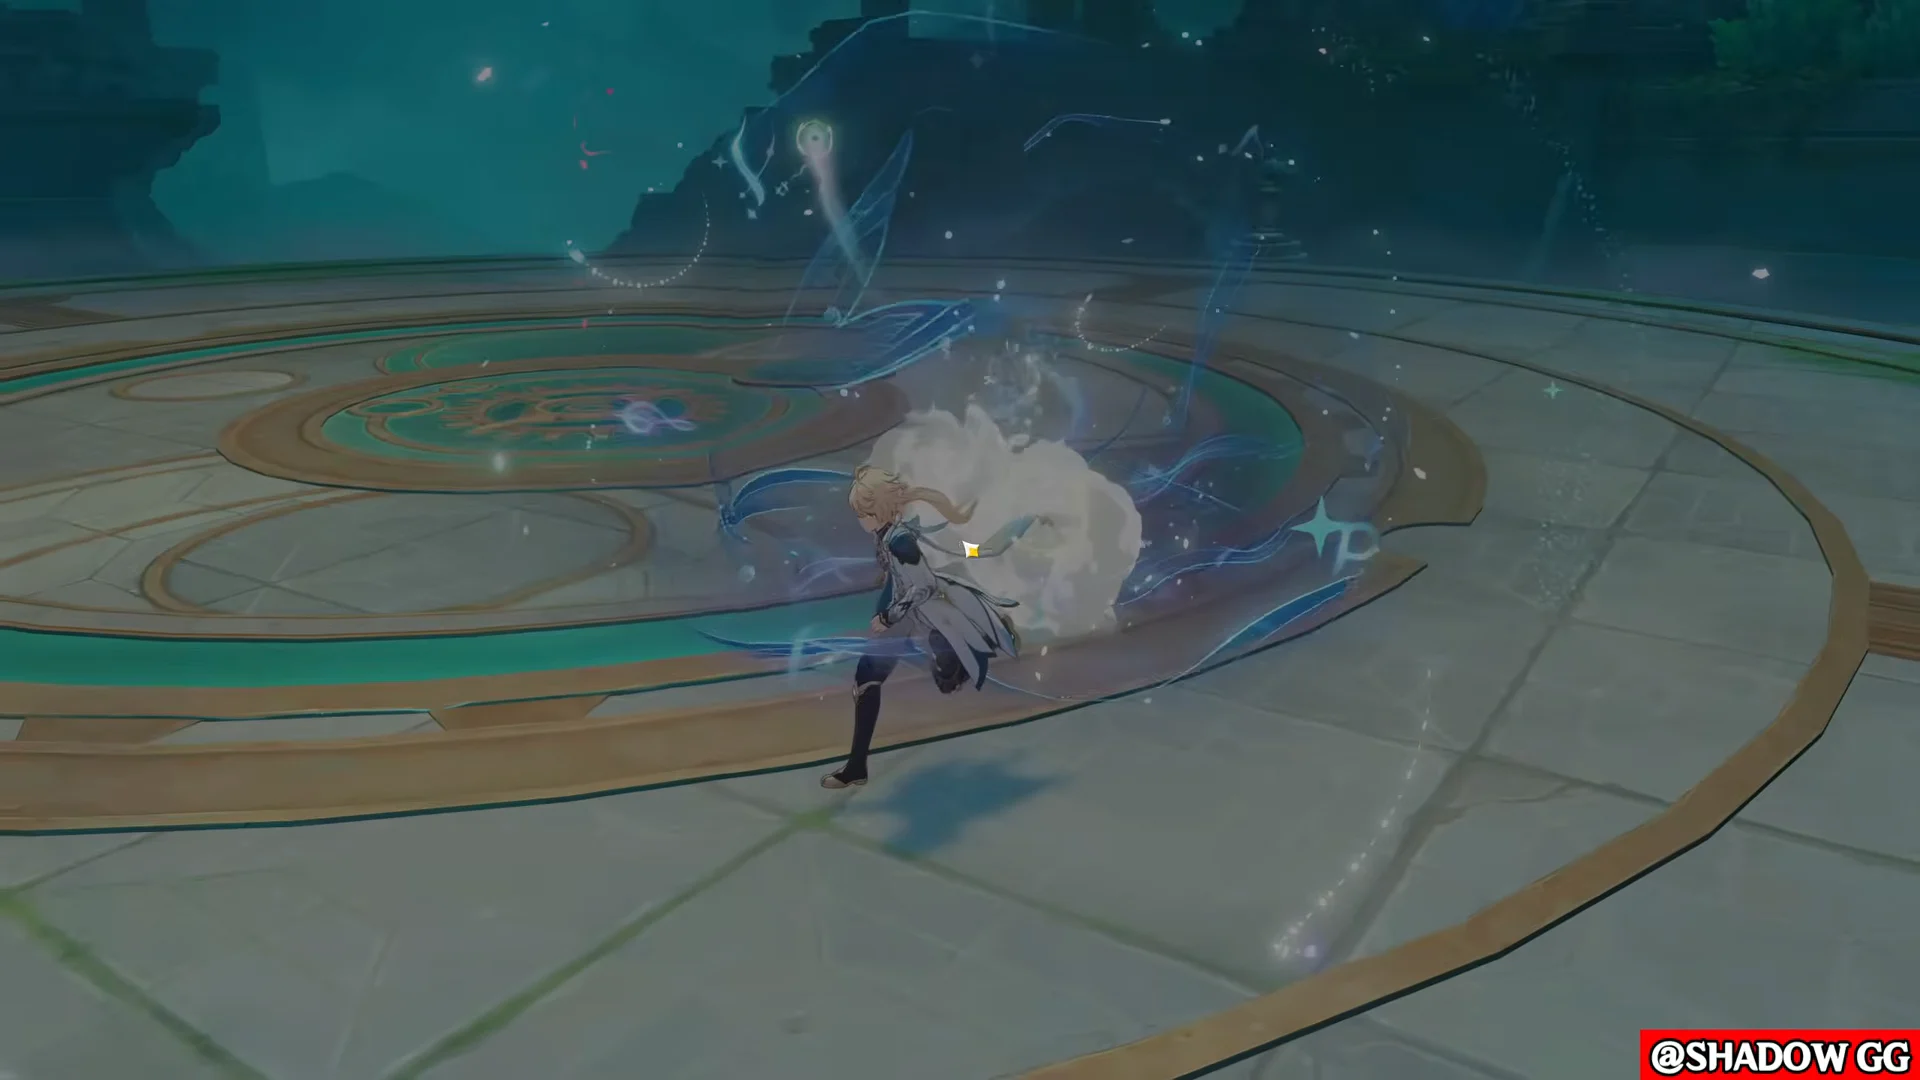
Vesna is a 5-star Anemo sword user who plays as an on-field Stellar Swirl DPS, and almost everything she does is built around one 15-second window. Press her Elemental Skill, and she flips into a mode where her attacks turn into Anemo damage, she banks a resource called Sword Essence, and she spends that resource on a special skill that grows stronger each time you fire it. Play the window well and her Spirit Blades land as Stellar Swirl reaction damage. Play it badly and the mode simply times out.
Quick answer: Cast The Art of Victory, then alternate Normal Attacks with Windborne Sword until it reaches Lv. 3, firing For the Tsaritsa! mid-combo and dash-cancelling attacks to bank Sword Essence faster.
Vesna’s core loop in one pass
Her Elemental Skill, The Art of Victory, deals AoE Anemo damage, hands her 2 stacks of Sword Essence, and puts her into Armed for Action for 15 seconds. Inside that mode her Normal, Charged, and Plunging Attacks become Anemo damage that no other infusion can override, and each swing also summons a wind pinion that attacks alongside her and refunds Sword Essence.
Spending Sword Essence triggers Windborne Sword, a special Elemental Skill that levels up with every use in the same window, from Lv. 1 to Lv. 3. Lv. 2 and Lv. 3 casts summon Spirit Blades, and those Spirit Blades are where her big numbers live. The mode ends when the timer runs out or after she has used Lv. 3 Windborne Sword three times, and any leftover Essence is wiped when she exits.
| Ability | What it gives | Timing |
|---|---|---|
| The Art of Victory (Skill) | AoE Anemo damage, 2 Sword Essence, Armed for Action | 15s duration, 18s cooldown |
| Windborne Sword (special Skill) | Anemo damage, Spirit Blades at Lv. 2 and Lv. 3 | Costs Sword Essence, 3 max-level uses |
| For the Tsaritsa! (Burst) | Spirit Blades, 1 Sword Essence | 15s cooldown, 60 Energy |
The reaction layer comes from her passives. When a party member triggers Cryo Swirl it becomes a Stellar Swirl instead, and once that happens near her, Vesna enters Radiance: Stellar Swirl for 8 seconds. During that state her Spirit Blade damage counts as Stellar Swirl reaction damage rather than plain Anemo damage, which is why a Cryo aura needs to be up before she starts spending Essence.
Her other passive, Rite of Spring’s Procession, adds a Disciplinary Action stack every time she uses Windborne Sword or her Burst, up to six. Each stack raises Spirit Blade damage by 10%. The catch is that the stacks are cleared when she recasts The Art of Victory or swaps off the field, so they only pay off inside a single window.
Vesna’s best rotation, step by step
At C1 she gets a fourth max-level Windborne Sword cast, and the first Lv. 3 use in each window is free, so the C1 loop fits more casts into the same 15 seconds.
Dash cancels: where the seconds come from
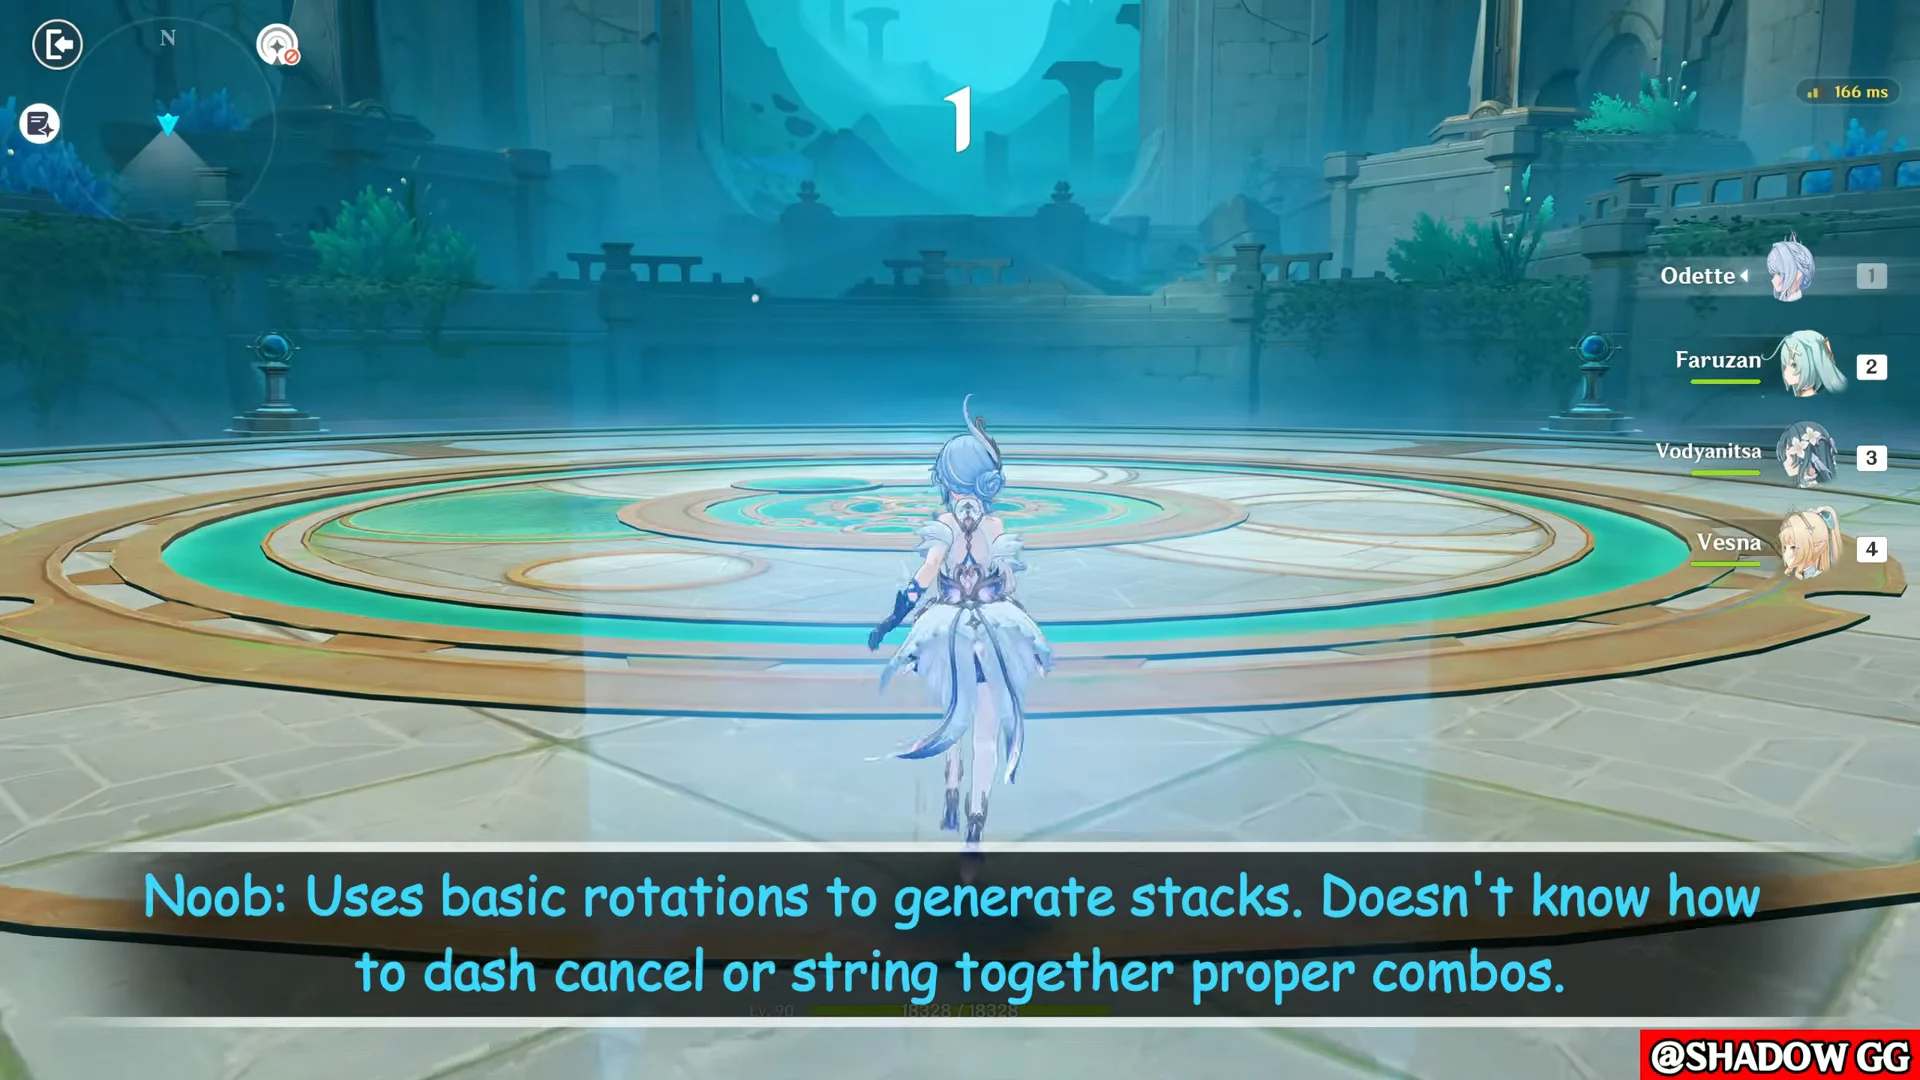
The rotation above is the same for everyone. The difference between a slow clear and a fast one is how much of each attack animation you actually sit through. Cancelling the tail of a Normal Attack with a dash lets the next swing start sooner, which means the wind pinion fires more often and Sword Essence builds faster inside a fixed 15-second window.
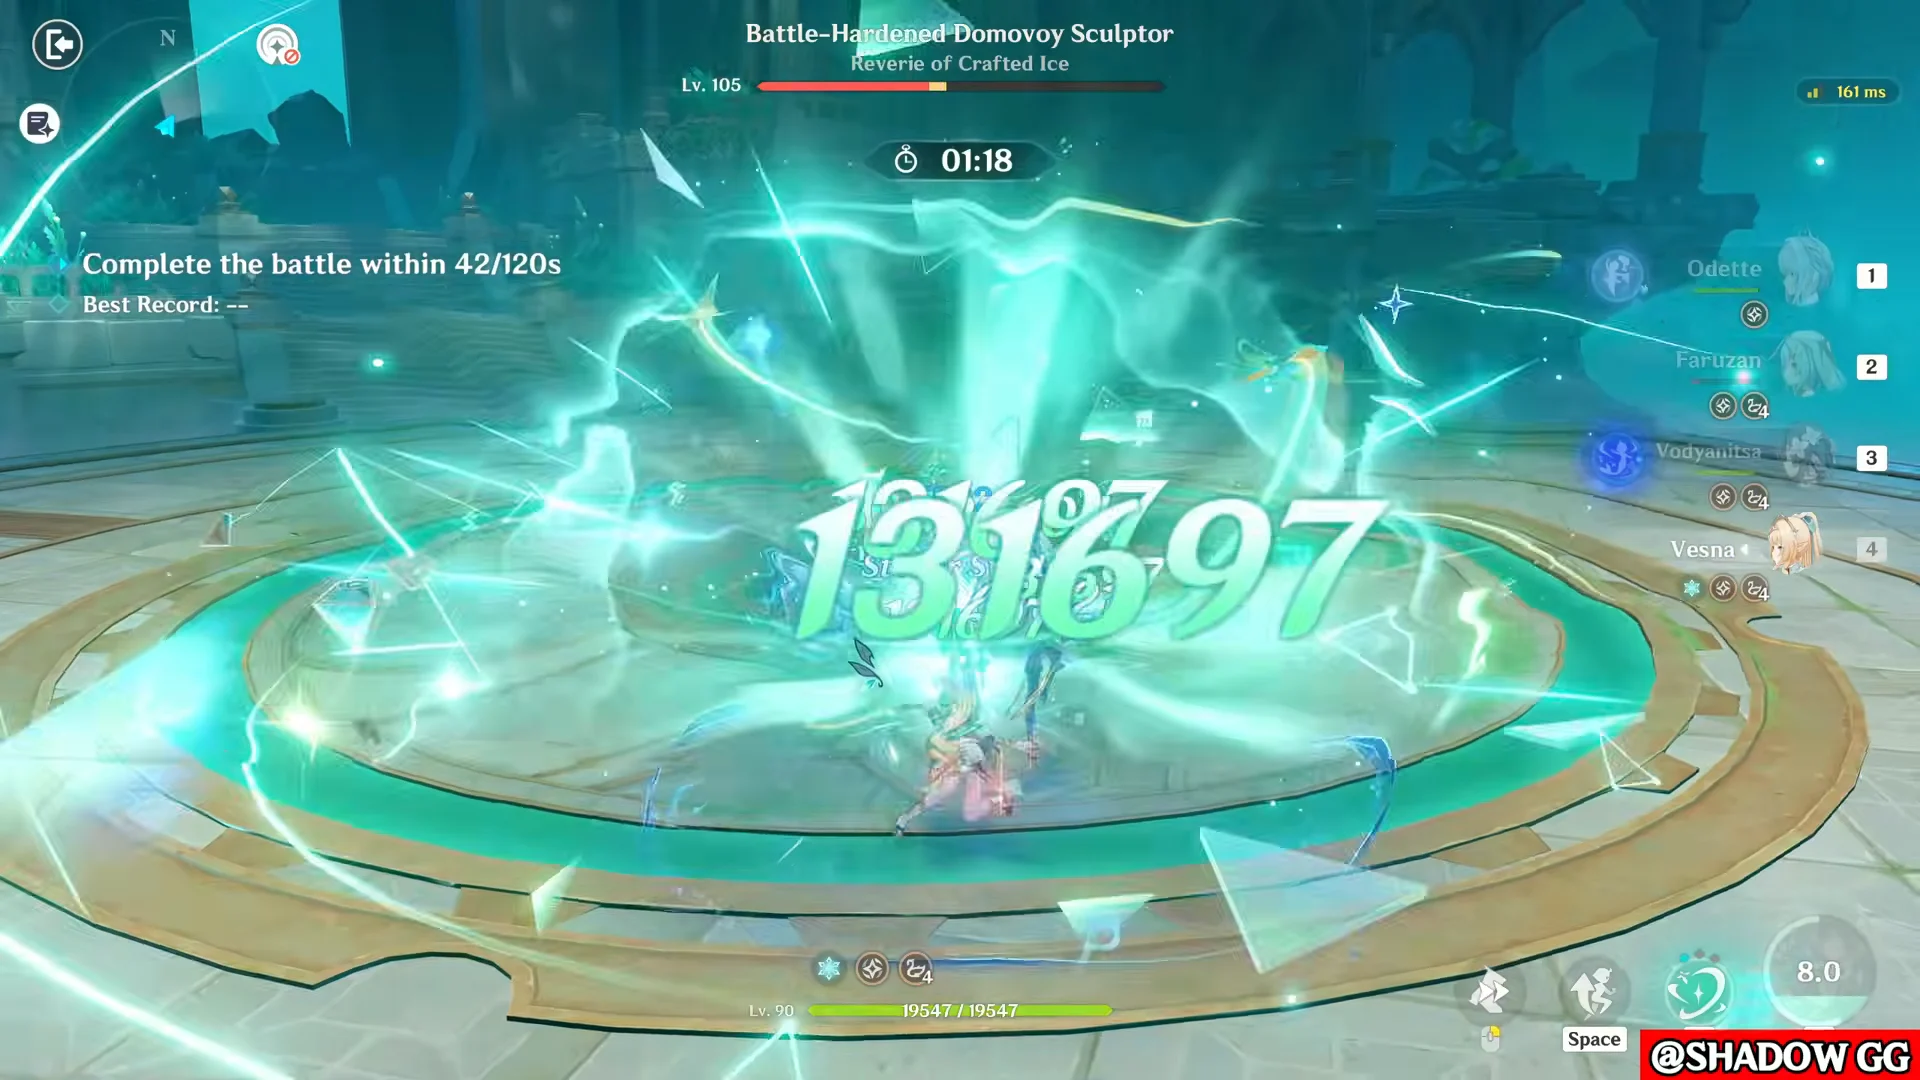
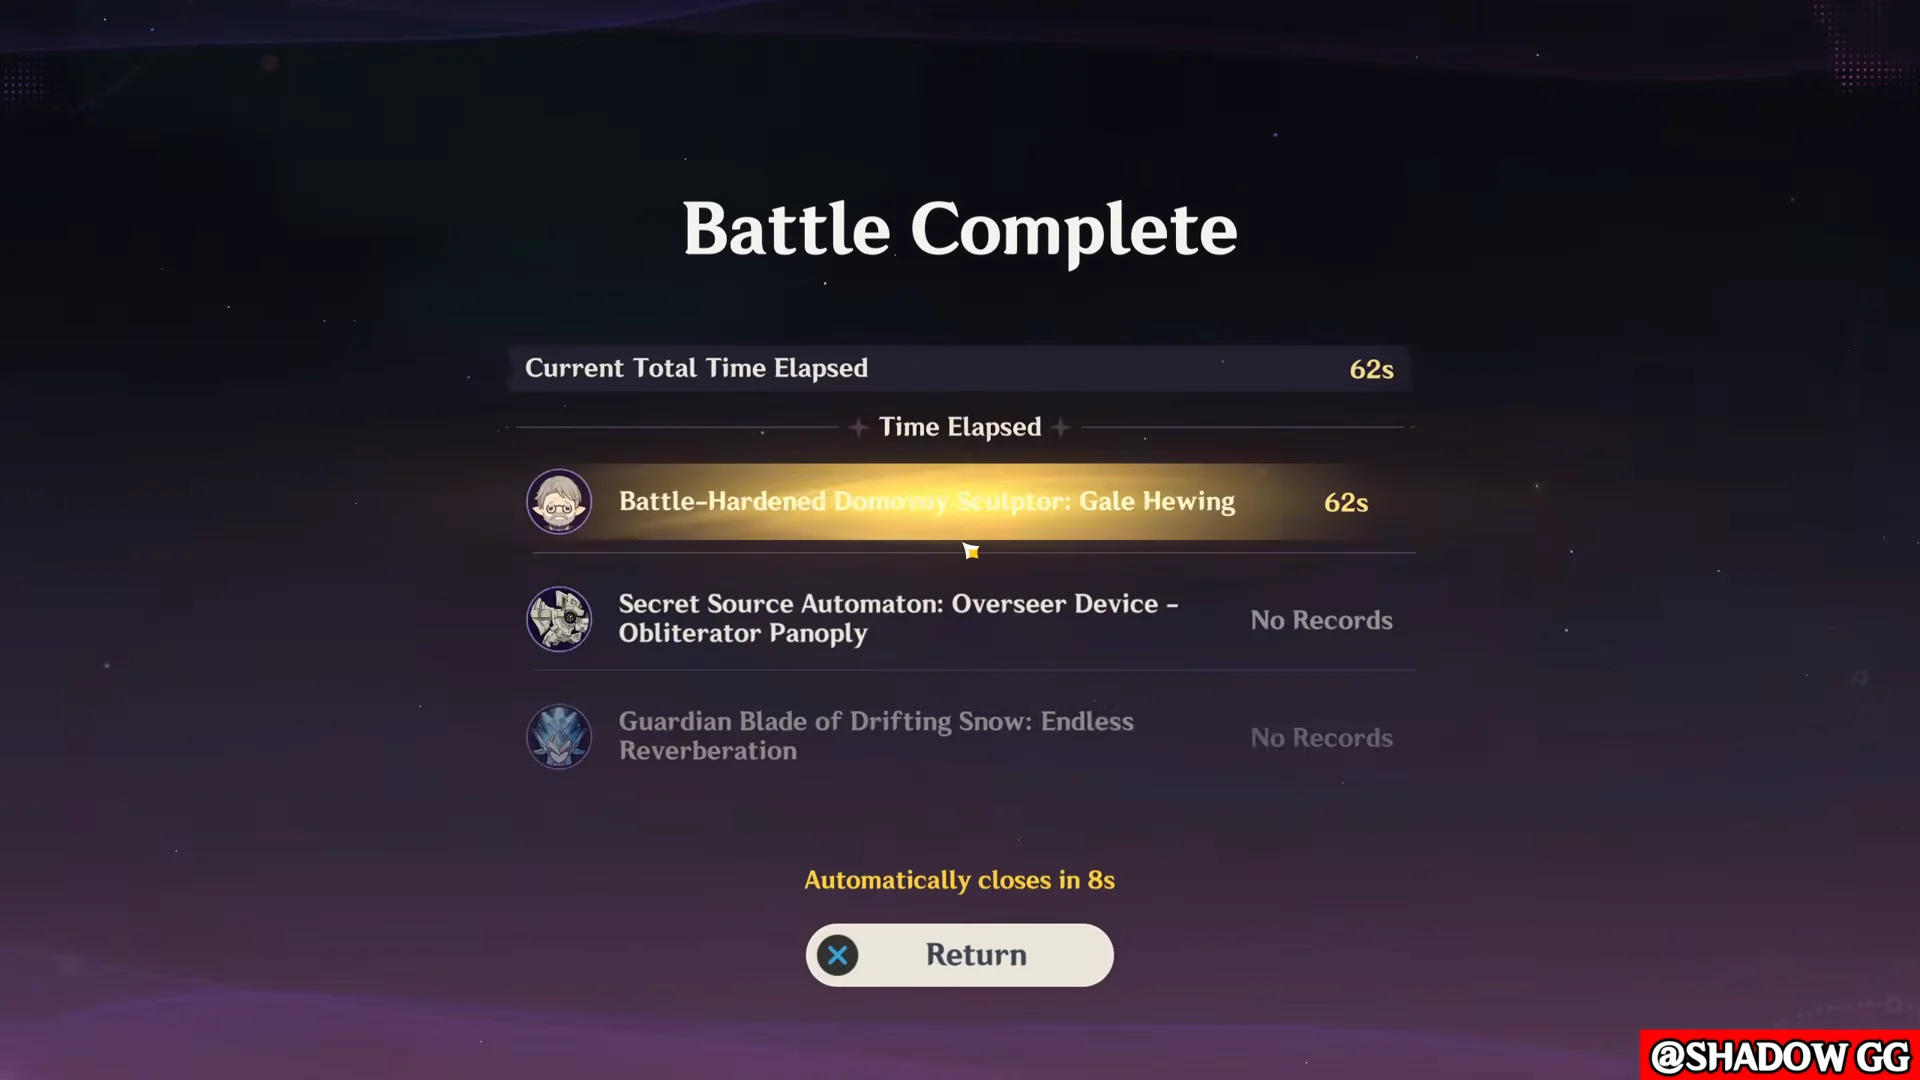
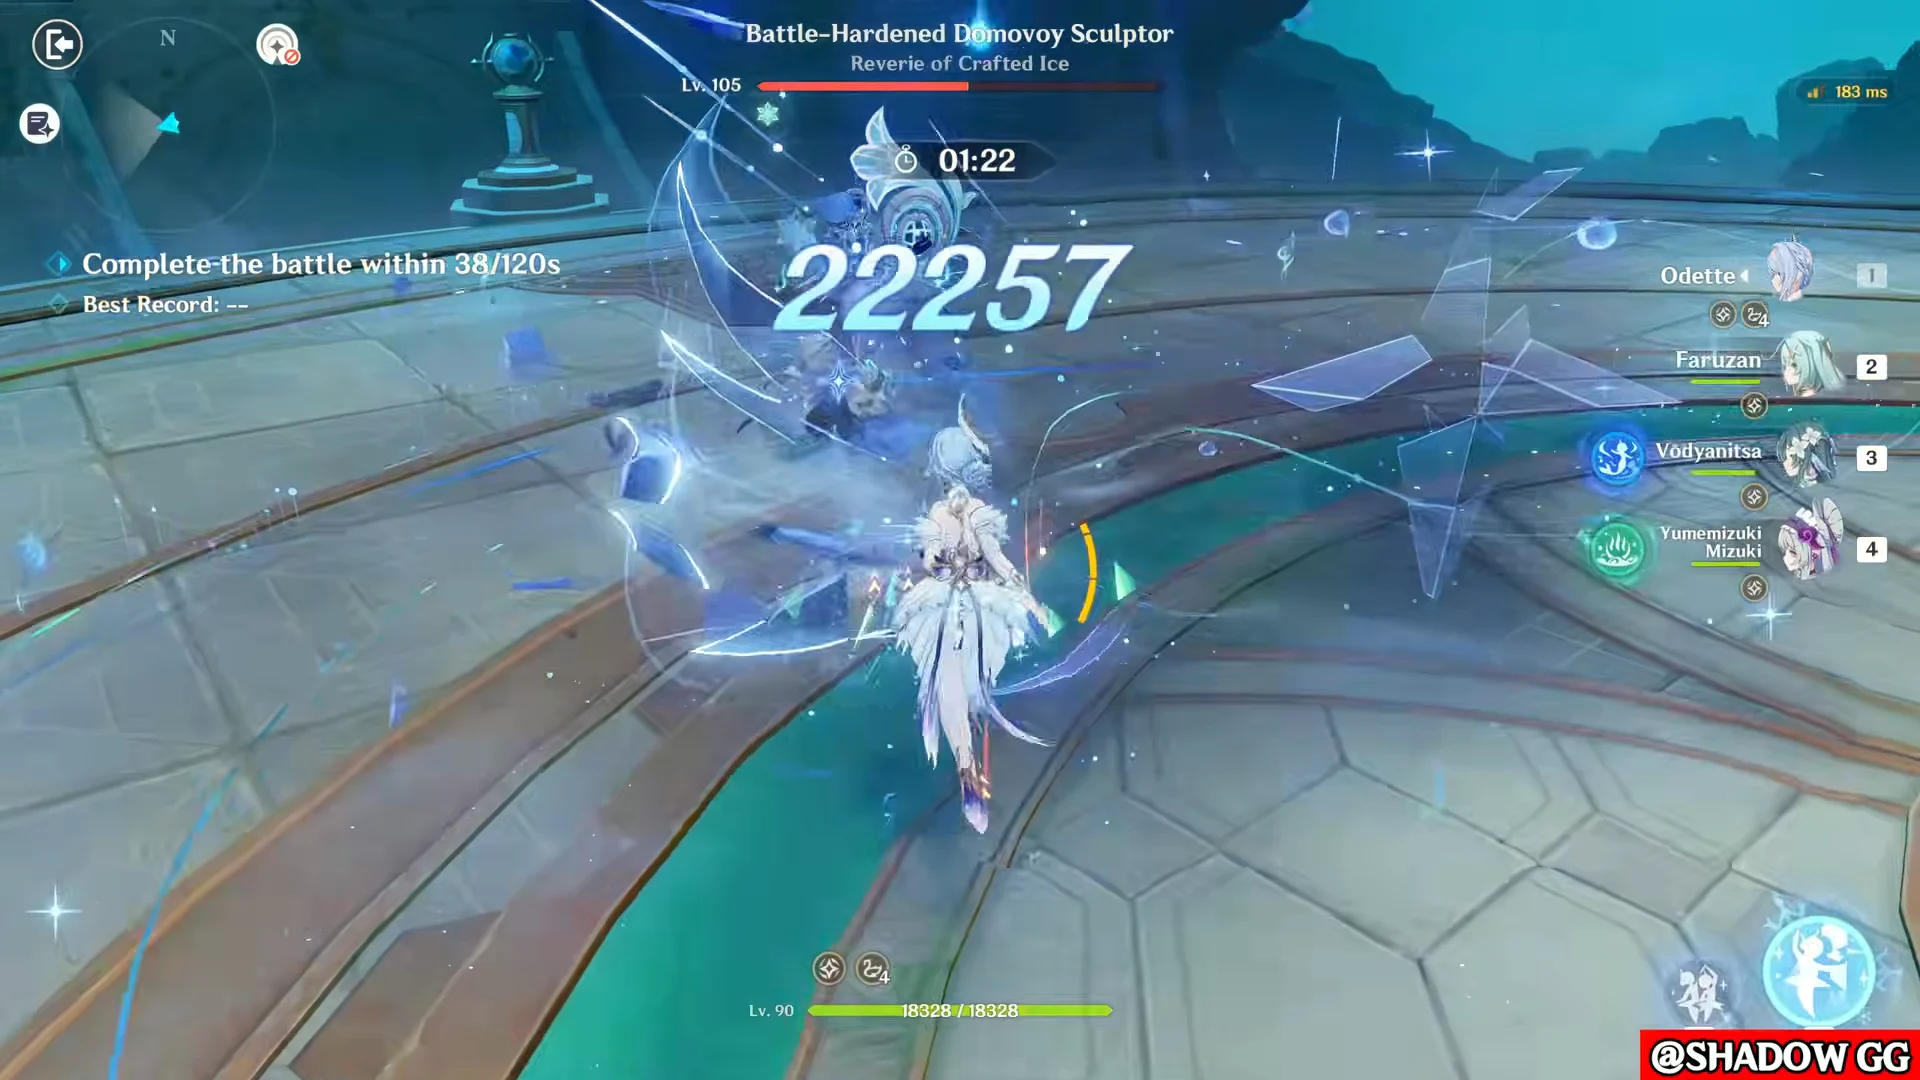
A controlled run against a Level 105 Battle-Hardened Domovoy Sculptor: Gale Hewing shows how much that matters. The same four characters, played with dash cancels instead of plain rotations, cut five seconds off the clear. Swapping Faruzan for Sucrose cut another three, because Sucrose needs almost no field time while still handing over ATK and Elemental Mastery.
| Setup | Team | Clear time |
|---|---|---|
| Basic rotation | Odette, Faruzan, Vodyanitsa, Vesna | 67s |
| Dash cancels | Odette, Faruzan, Vodyanitsa, Vesna | 62s |
| Dash cancels | Odette, Sucrose, Vodyanitsa, Vesna | 59s |
| Vesna replaced | Odette, Faruzan, Vodyanitsa, C2 Mizuki | 70s |
Her Armed for Action mode also raises her resistance to interruption, so you can keep the combo going through hits that would normally stagger a sword DPS out of position.
Support slots that keep the loop fed
Vesna wants at least one off-field Cryo unit, because without Cryo on the enemy there is no Swirl to convert and her Spirit Blades stay as ordinary Anemo damage. Her Truth Prevails passive also pays out by element: every Cryo or Anemo teammate gives her 6% ATK, while every other element gives 25 Elemental Mastery instead. The usual core is Vesna with Odette and the Cryo Traveler, leaving one flexible slot.
Faruzan
She is the strongest fourth pick when she is C6, since she adds a flat damage buff and cuts enemy Anemo resistance, both of which land squarely on Vesna’s kit. The trade is field time, because her setup eats into the seconds you would rather spend swinging.
Sucrose
Sucrose is the pick if your Faruzan is not C6 or you want the fastest loop. She takes virtually no field time and still pushes ATK and Elemental Mastery onto the team, which is exactly what Stellar Swirl scales with.
Vodyanitsa
Hydro is not a natural fit for a Cryo-Anemo team, but Vodyanitsa reduces enemy Anemo resistance and adds a buff to Stellar Swirl damage on top of healing. If you keep dying mid-window, she is the slot that fixes it without gutting the damage.
Yumemizuki Mizuki can deal Stellar Swirl damage too, but she also wants the field. Running both means splitting a window neither of them wants to share.
Energy and stats the rotation depends on
For the Tsaritsa! costs 60 Energy and has a 15-second cooldown, which means it should be available every single window. Around 120% Energy Recharge is the comfortable target, with roughly 100% to 135% covering most team setups. Fall below that and you start skipping the Burst, which costs you both a Sword Essence and a Disciplinary Action stack.
Everything else is standard Stellar Swirl scaling. ATK% on the Sands and Goblet, Crit on the Circlet, then Crit substats followed by ATK% and Elemental Mastery. Beyond the Chrysalis is her signature sword and cycles Crit DMG, Stellar Swirl damage, and an Energy refund on each skill or burst cast, which quietly helps the Burst stay on schedule. New Bough and the craftable Emberwell are the reasonable fallbacks.
For artifacts, the four-piece Scarlet Proof set adds 16% Crit Rate and 40% Stellar Swirl damage for 10 seconds after a Stellar Swirl triggers, which lines up almost perfectly with the length of her window. Viridescent Venerer is the alternative if she is the only Anemo unit in the party and you want the resistance shred instead.
How to confirm the rotation landed
Three things tell you the window went the way it should. Windborne Sword reaches Lv. 3 and summons Spirit Blades on the cast. Vesna exits Armed for Action because she used up her three max-level casts, not because the 15-second timer quietly ran out. And the Spirit Blade hits register as Stellar Swirl damage rather than plain Anemo, which only happens while Radiance: Stellar Swirl is active.
If the Spirit Blades are landing as ordinary Anemo damage, the Cryo aura was not up when you started spending Essence. Go back to the opener and place the off-field Cryo first. Once that ordering is locked in, the only thing left to improve is how tightly you cancel the animations between swings.