Yumemizuki Mizuki is a 5-star Anemo catalyst user who deals almost all of her damage through Swirl and Stellar Swirl reactions, not through her own attack stat. That makes her numbers swing wildly depending on who stands next to her. The same C1 Mizuki can hit for barely 2,000 damage in a solo fight or clear millions once the right Cryo and Anemo units are stacked around her.
Quick answer: Build Mizuki purely for Elemental Mastery, pair her with Odette to unlock Stellar Swirl, then fill the last two slots with Cryo application and Anemo resistance shred. That path reaches roughly 2.85 million total damage.
Where C1 Mizuki’s damage actually comes from
Mizuki’s Elemental Skill, Aisa Utamakura Pilgrimage, puts her into the Dreamdrifter state, where she floats forward and deals periodic AoE Anemo damage. She cannot use Normal or Charged Attacks during it, but she raises the whole party’s Swirl and Stellar Swirl damage based on her own Elemental Mastery.
The real payload is her Witch’s Revelation passive. Every time she triggers a Swirl while drifting, her next periodic Anemo hit gains 1,000% of her Elemental Mastery, on a 2.5-second cooldown. While she is in the Radiance: Stellar Swirl state, that hit is followed by a second instance at another 1,000% of her EM, counted as Stellar Swirl reaction damage.
C1, In Mist-Like Waters, stacks on top of that. It marks nearby enemies every 3.5 seconds, and an Anemo-triggered Swirl on a marked target gains 1,100% of her EM as additive damage, plus an extra Anemo attack worth 1,000% of her EM. Inside the Stellar Swirl state, that extra attack drops to 400% of her EM but counts as direct Stellar Swirl damage. It fires up to three times per Skill and hits every enemy caught in the Swirl.
Her Ascension passives quietly double the window. Triggering Swirl in Dreamdrifter extends the state by 2.5 seconds, twice per cast, taking it from 5 seconds to 10. Meanwhile, allies hitting enemies with Pyro, Hydro, Cryo, or Electro give her a flat 100 Elemental Mastery for 4 seconds.
C1 Mizuki build: artifacts, stats, and weapons
Because every meaningful multiplier in her kit reads off Elemental Mastery, the build is unusually simple. Gilded Dreams is her strongest four-piece set thanks to the EM it hands out, and two-piece EM combinations sit only slightly behind. Scarlet Proof is the set designed for Stellar Swirl DPS, but it gives no Elemental Mastery at all, which is why it lands behind Gilded Dreams on her.
- Sands, Goblet: Elemental Mastery
- Circlet: Elemental Mastery in general Swirl teams, CRIT in Stellar Swirl teams
- Substat priority: CRIT, then Elemental Mastery, then Energy Recharge
- Talent priority: Elemental Skill first, character level next, Burst last
CRIT on the circlet matters only in Stellar Swirl teams, since Stellar Swirl damage can crit. In teams where she is just driving ordinary Swirls, a third Elemental Mastery piece wins.
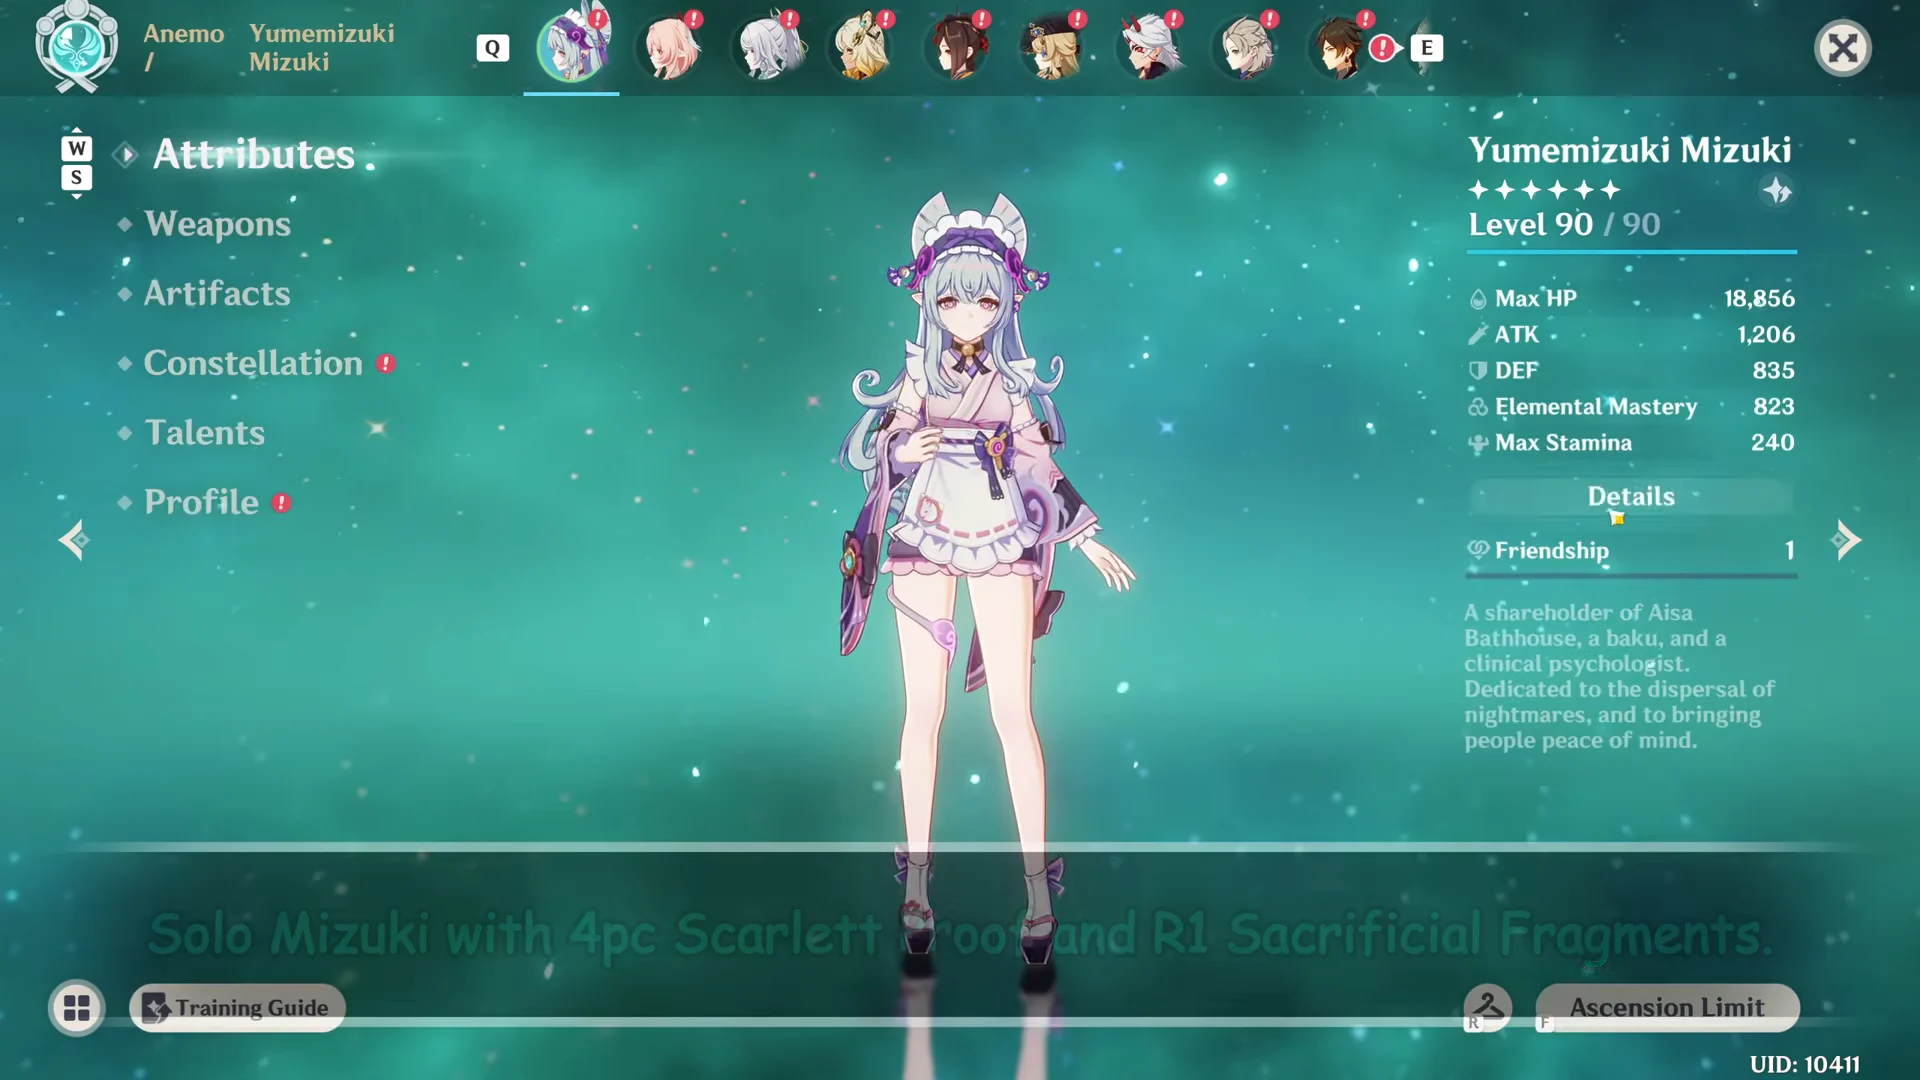
Her catalyst choice is worth several hundred thousand damage on its own. Sunny Morning Sleep-In is her signature and her best option, piling EM on after Swirls, Skill hits, and Burst hits. Starcaller’s Watch and A Thousand Floating Dreams are the closest five-star substitutes, while Reliquary of Truth works as a CRIT and EM stat stick. Among four-stars, Sacrificial Fragments carries the most raw Elemental Mastery, and The Widsith is a gamble that becomes her best budget catalyst whenever it rolls the EM buff.
| Catalyst | Base ATK | Secondary stat |
|---|---|---|
| Sunny Morning Sleep-In | 542 | 265 EM |
| Reliquary of Truth | 542 | 88.2% CRIT DMG |
| Starcaller’s Watch | 542 | 265 EM |
| A Thousand Floating Dreams | 542 | 265 EM |
| The Widsith | 510 | 55.1% CRIT DMG |
| Sacrificial Fragments | 454 | 221 EM |
Team damage scaling: from 2,041 to 2.85 million
Running C1 Mizuki alone against a trial boss, with Sacrificial Fragments and a four-piece Scarlet Proof set, produces a total of 2,041 damage. She has no element to Swirl, so the passive that carries her entire kit never fires. Adding a single Cryo unit like Rosaria to give her something to Swirl lifts the total to 11,827.
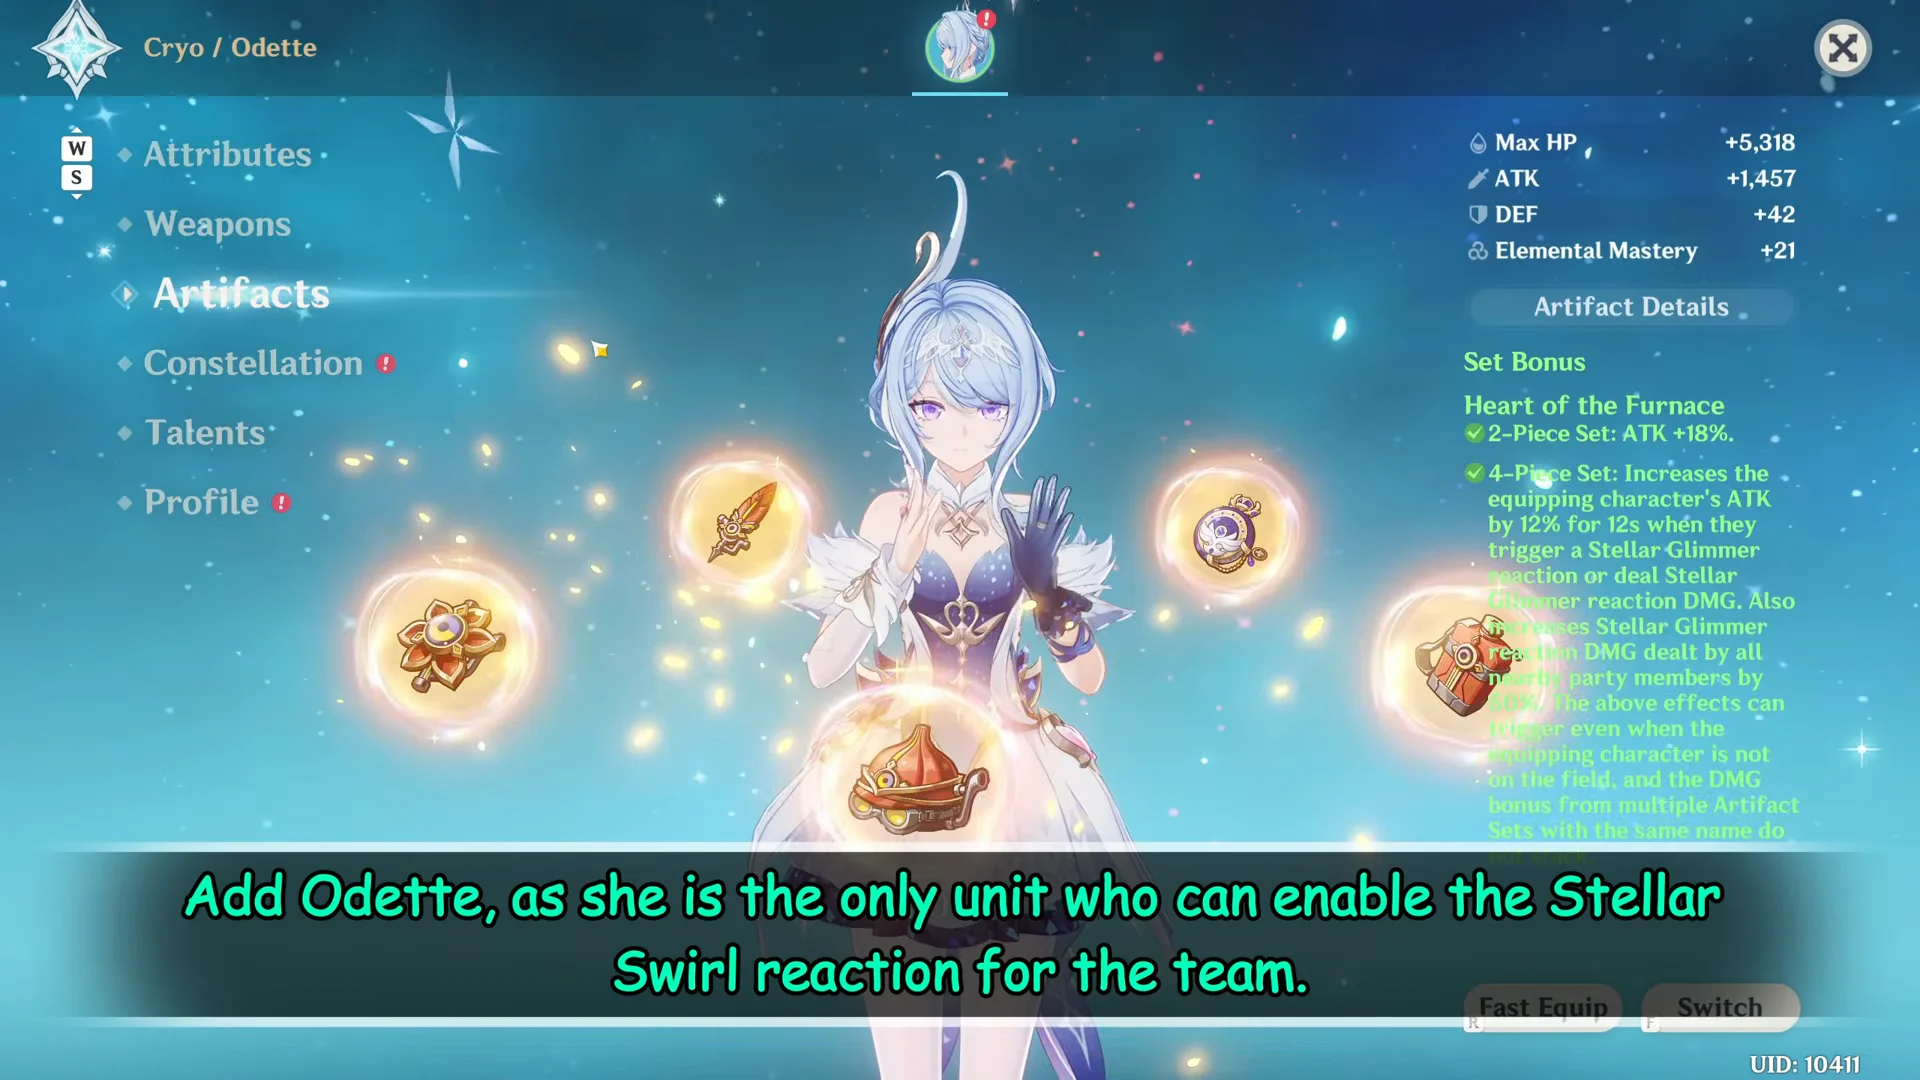
The jump that matters is Odette, who enables Stellar Swirl. With her in the party, the same rotation goes from five figures to roughly 900,000.
From there, each support slot adds a predictable chunk. Qiqi, running Favonius Sword and Tenacity of the Millelith, contributes a 50 percent Stellar Swirl damage buff. C6 Diona with Sacrificial Bow and Noblesse Oblige hands over 200 Elemental Mastery and a 40 percent Stellar Swirl buff through her Signature Mix.

The last slot is an Anemo support question. Sucrose with Sacrificial Fragments and Viridescent Venerer shares Elemental Mastery and shreds elemental resistance. Faruzan, holding Favonius Warbow and the same set, instead offers 30 percent Anemo resistance shred and a 40 percent Anemo CRIT DMG boost, and she pulls further ahead. Vodyanitsa is the other option, since her four-piece Song of Days Past setup shreds both Cryo and Anemo resistance.
| Team setup | What it adds | Total damage |
|---|---|---|
| Mizuki alone | No reactions | 2,041 |
| + Rosaria | Cryo to Swirl | 11,827 |
| + Odette | Stellar Swirl | 900,000 |
| + Qiqi | 50% SSW buff | 1,000,000 |
| + C6 Diona | 200 EM, 40% SSW | 1,500,000 |
| Sucrose in slot four | EM share, RES shred | 1,750,000 |
| Faruzan instead | Anemo RES and CRIT DMG | 2,100,000 |
| Vodyanitsa, Hymn of the Maelstrom | Dual RES shred, ATK buff | 2,300,000 |
Swapping Vodyanitsa from Prototype Amber to her signature catalyst, Hymn of the Maelstrom, is worth 200,000 on its own because of the larger HP pool and the party attack buff it grants. Swapping in Vodyanitsa without that weapon holds the team flat at 2,100,000.
The final 550,000 damage comes from Mizuki’s catalyst
With the team locked at 2.3 million, the only remaining variable is what Mizuki holds. Every upgrade here is pure Elemental Mastery, and the totals move in a straight line with it.
| Mizuki’s catalyst | Team total |
|---|---|
| Sacrificial Fragments | 2,300,000 |
| A Thousand Floating Dreams | 2,500,000 |
| Starcaller’s Watch | 2,650,000 |
| Sunny Morning Sleep-In | 2,850,000 |
If you are choosing between her signature catalyst and pulling for constellations, the weapon is the more flexible purchase. It also has real use on other Elemental Mastery supports.
Rotation order for the Stellar Swirl team
Mizuki cannot Normal Attack during Dreamdrifter, so off-field units that need her normal attacks to trigger their damage, like Xingqiu or Yelan, will not work in her teams.
C0 vs C1 Mizuki on the test dummy
To isolate what C1 is worth, the cleanest comparison is a fixed rotation against a level 100 Mitachurl dummy with Qiqi, Odette, and Sucrose alongside Mizuki, running R5 The Widsith with two-piece Night of the Sky’s Unveiling and two-piece Wanderer’s Troupe.

C0 finishes the run at 102,505 DPS and 6,153,368 total damage, with a strongest hit of 347,354.
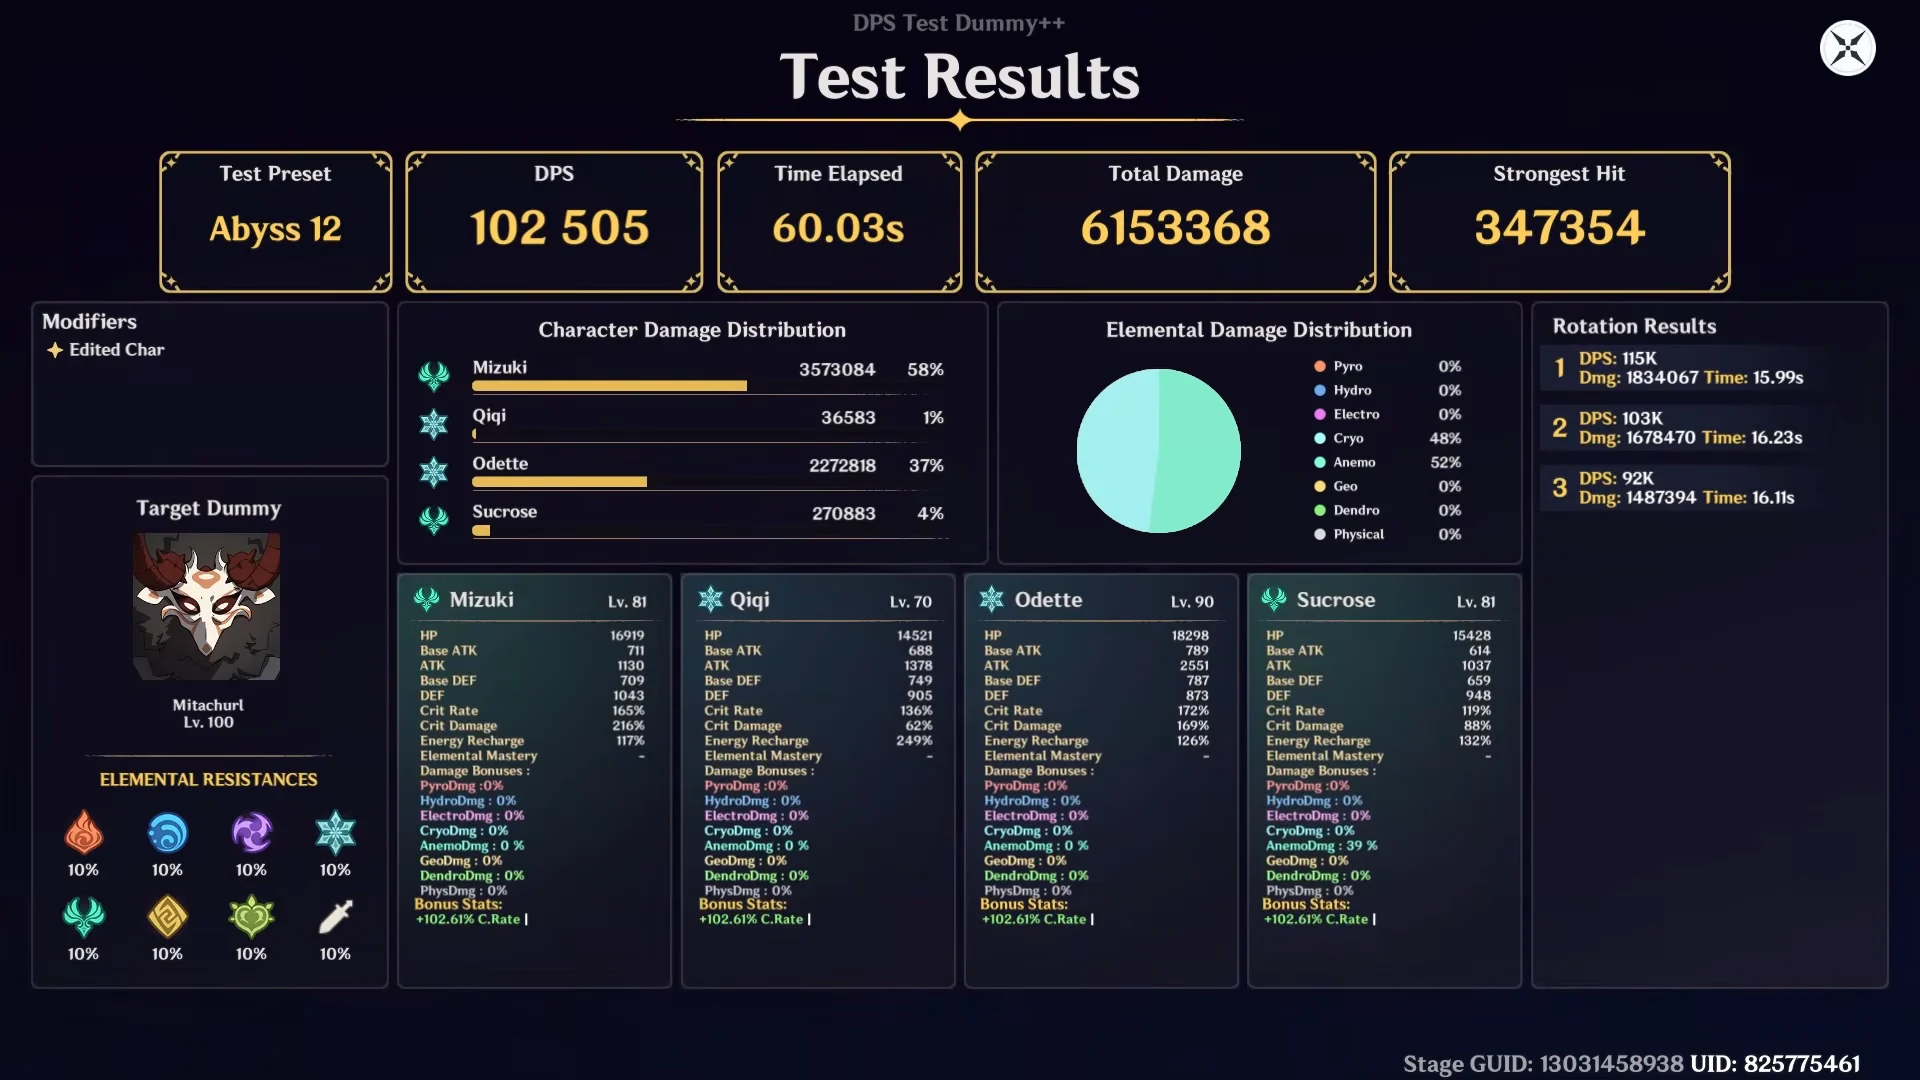
The same rotation at C1 returns 113,474 DPS and 6,811,742 total damage, with an identical 347,354 strongest hit. Highest recorded DPS climbs from 115K to 140K.

That is a gain of about 660,000 total damage, or roughly 11 percent, from a single constellation. Because C1’s bonus is additive damage on a Swirl instance rather than a bigger multiplier on her single largest hit, the strongest-hit number does not move at all.
How to confirm the setup is working
The tell is in the damage numbers, not the buff icons. While Mizuki is drifting, you should see paired hits: her periodic Anemo damage followed immediately by a second Stellar Swirl instance. If that second number never appears, Odette or another Stellar Swirl enabler is not applying in time, and Mizuki is only triggering ordinary Swirls.
For an exact reading, run the rotation at a DPS test dummy and check the results screen, which reports DPS, total damage, strongest hit, and the per-character damage split. If Mizuki is not carrying the clear majority of that split in a Stellar Swirl team, the problem is almost always Elemental Mastery on her build rather than the rotation itself.