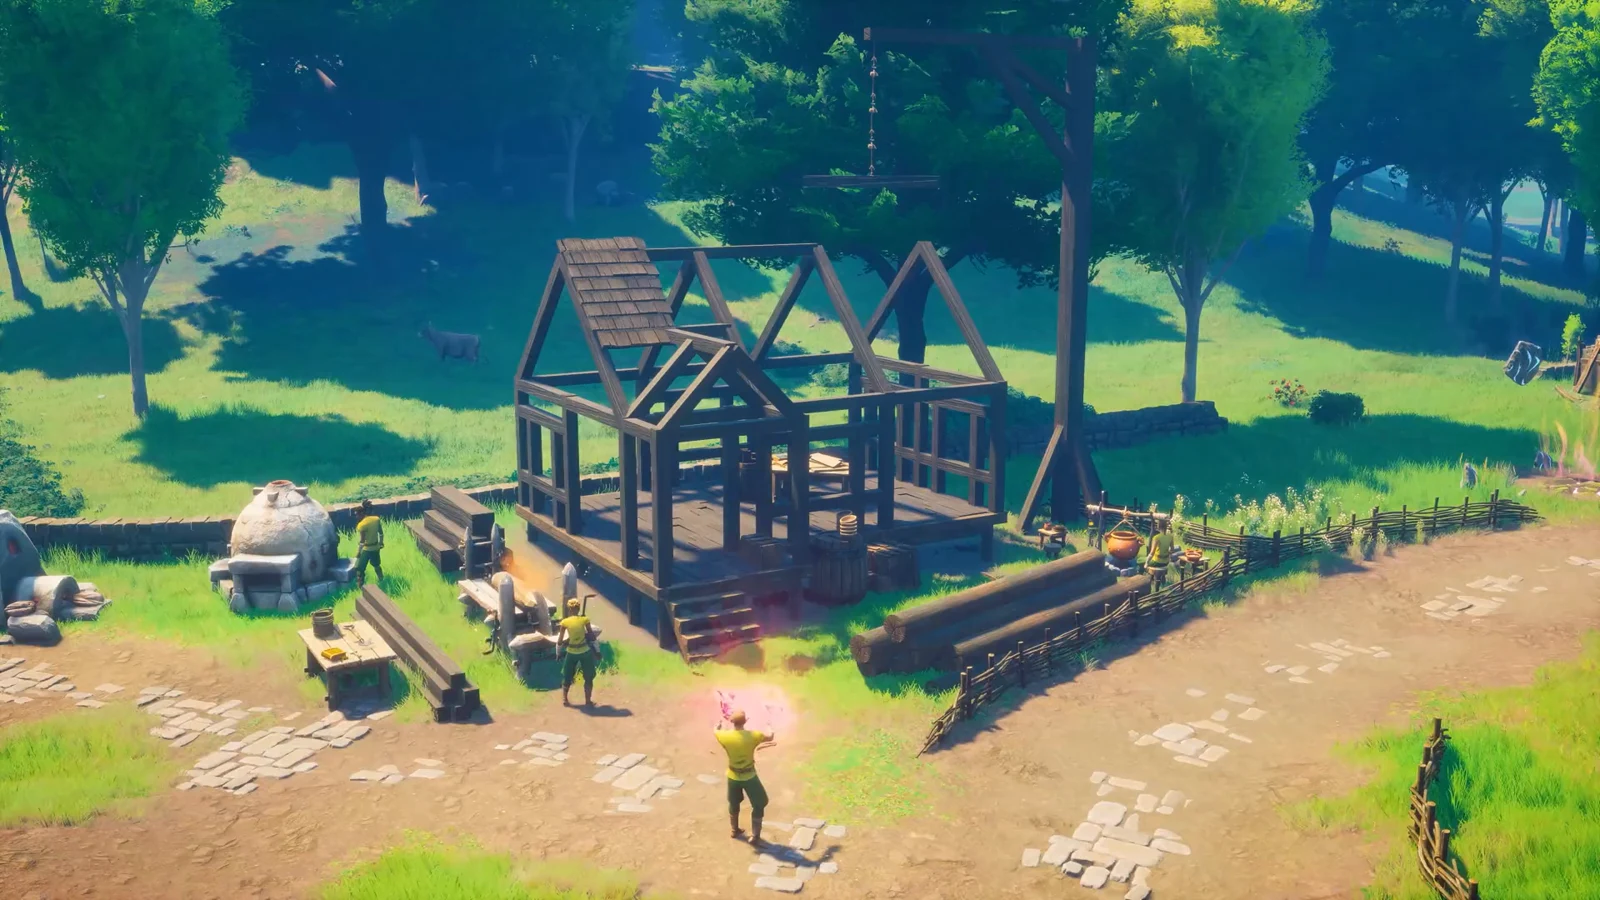
Big roofs are where most bases in RuneScape Dragonwilds fall apart. Walls go up fine, floors snap into place, and then the roof preview turns yellow, orange, and finally red with an UNSTABLE warning that refuses to let the piece land. Beams are the fix. Used properly, they extend the reach of an anchor point out to the edge of a roof that the walls alone cannot hold.
Quick answer: Run a Vertical Thin Beam from the ground up beside the wall, then snap a 30°, 45°, or 60° Thin Beam from that beam out to the overhanging roof piece.
Why roof pieces turn red: the three-piece limit
Stability is measured as the combined horizontal and vertical distance between a piece and its anchor point. An anchor point is any structural piece that sits directly in the terrain, which is why foundations placed on the ground give the strongest support and why a floor tile resting on other floor tiles gives none of its own.
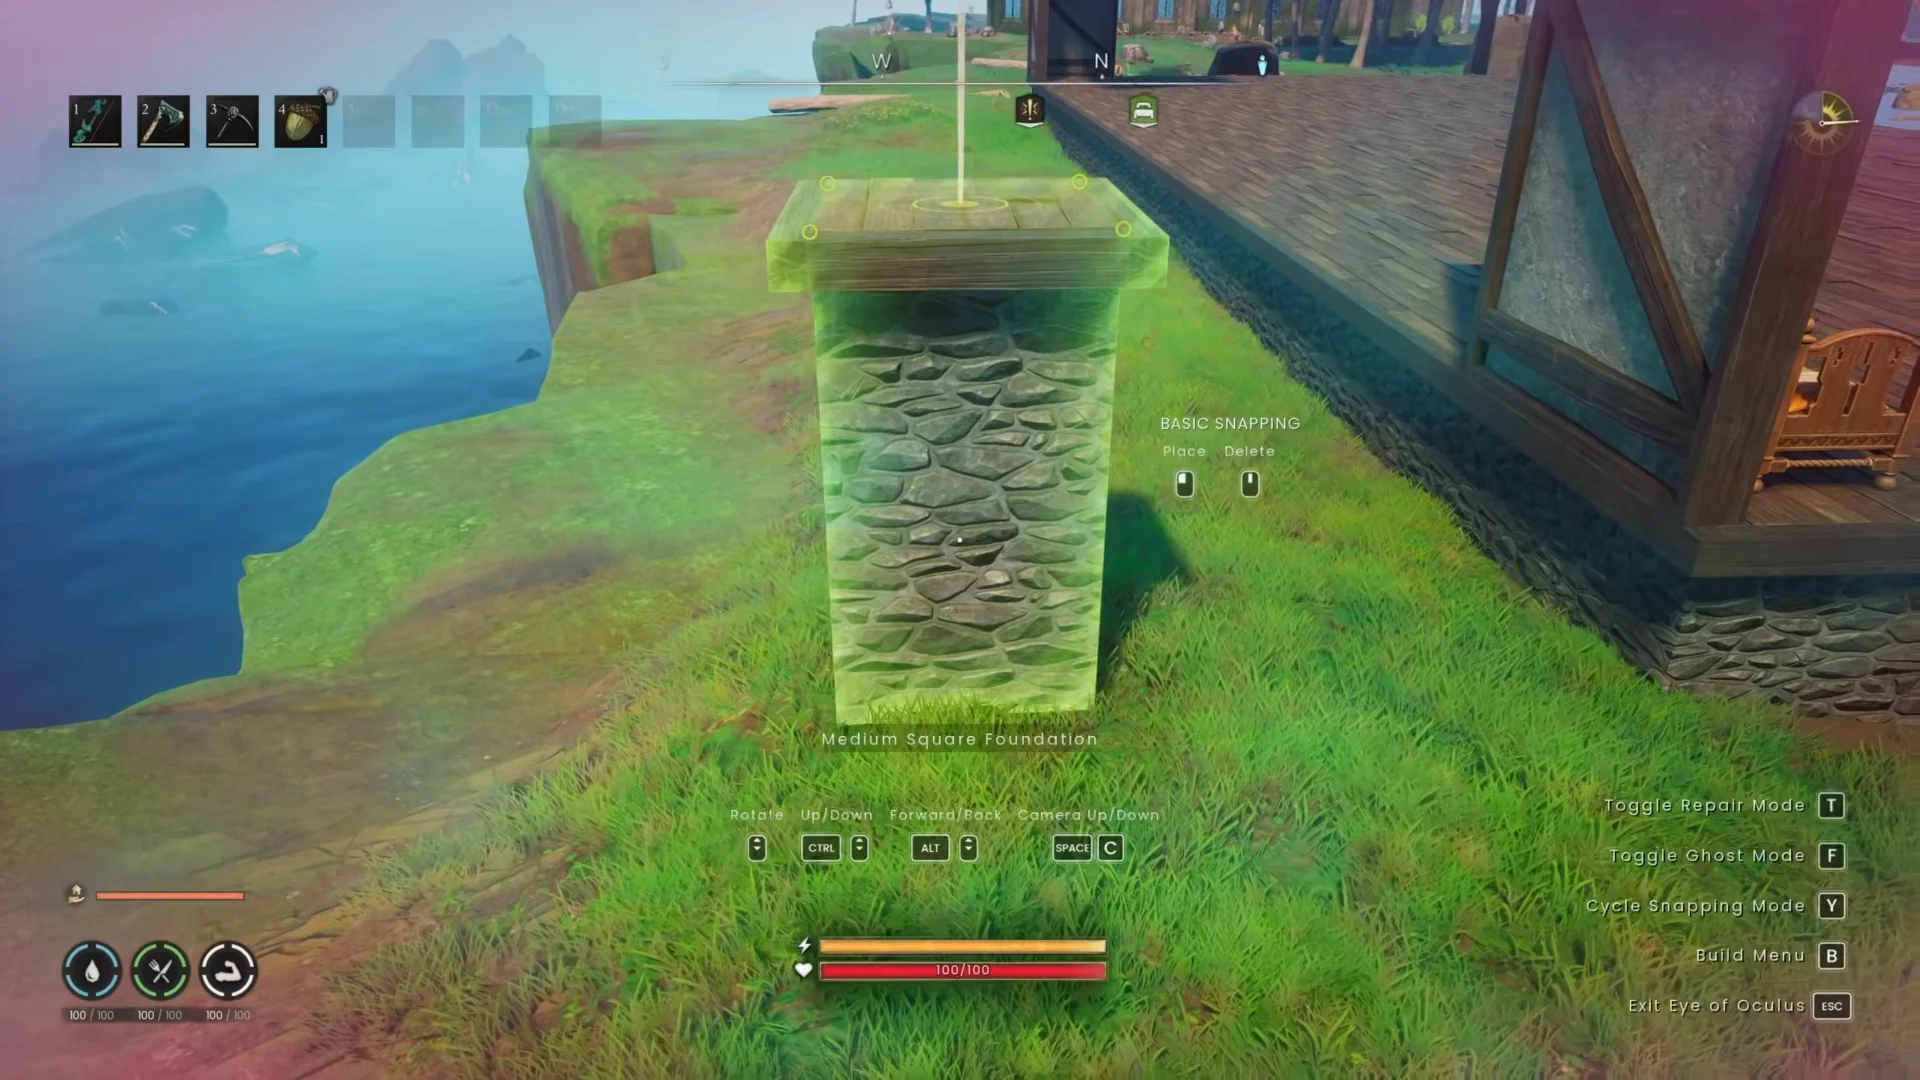
The preview colour is the readout. Green means full support, yellow and orange mean the piece is drifting away from its anchor, and red means the game will not place it at all. A standard roof will only carry about three pieces out from a supported foundation or wall before that budget runs out, no matter how solid the building below looks.
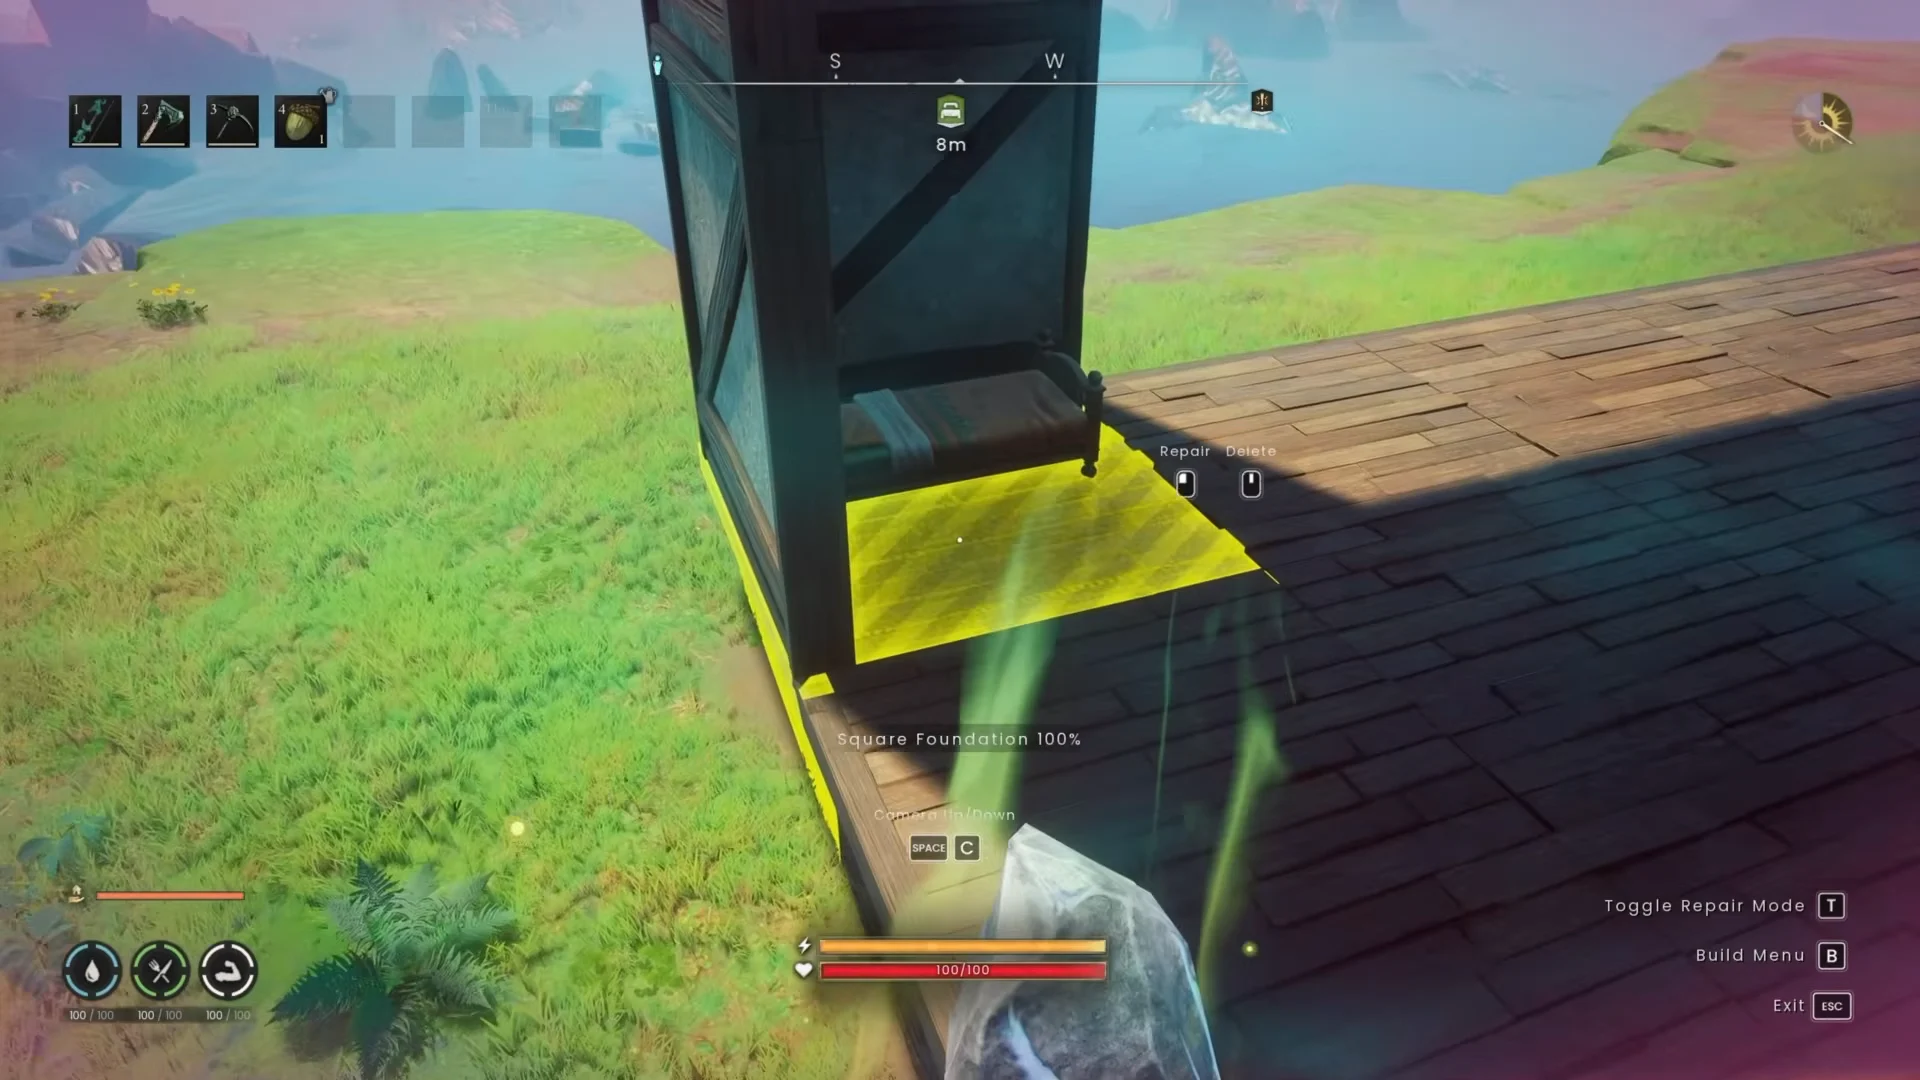
Later building sets help here. Cottage, Castle, and Karidian pieces have higher stability thresholds than the starter Cabin set, so the same roof shape can reach further once you have unlocked them.
Beam types and what each one is for
| Beam | What it does | Use it for |
|---|---|---|
| Vertical Thin Beam | Carries support up from terrain | The main leg of any roof support |
| Vertical Thick Beam | Same support, heavier look | Reinforcing yellow walls |
| Horizontal Thin Beam | Spans sideways | Tying supports under a ceiling |
| 30° Thin Beam | Shallow angle, long reach out | Wide roofs |
| 45° Thin Beam | Even reach out and up | Standard overhangs |
| 60° Thin Beam | Steep angle, more height | Tall roofs and high eaves |
Thick and thin beams provide the same amount of stability, so the choice between them is purely visual. What matters is that beams and foundations are the strongest anchor pieces in the game — walls and stairs used as anchors give noticeably less.
How to build a beam support under an overhanging roof
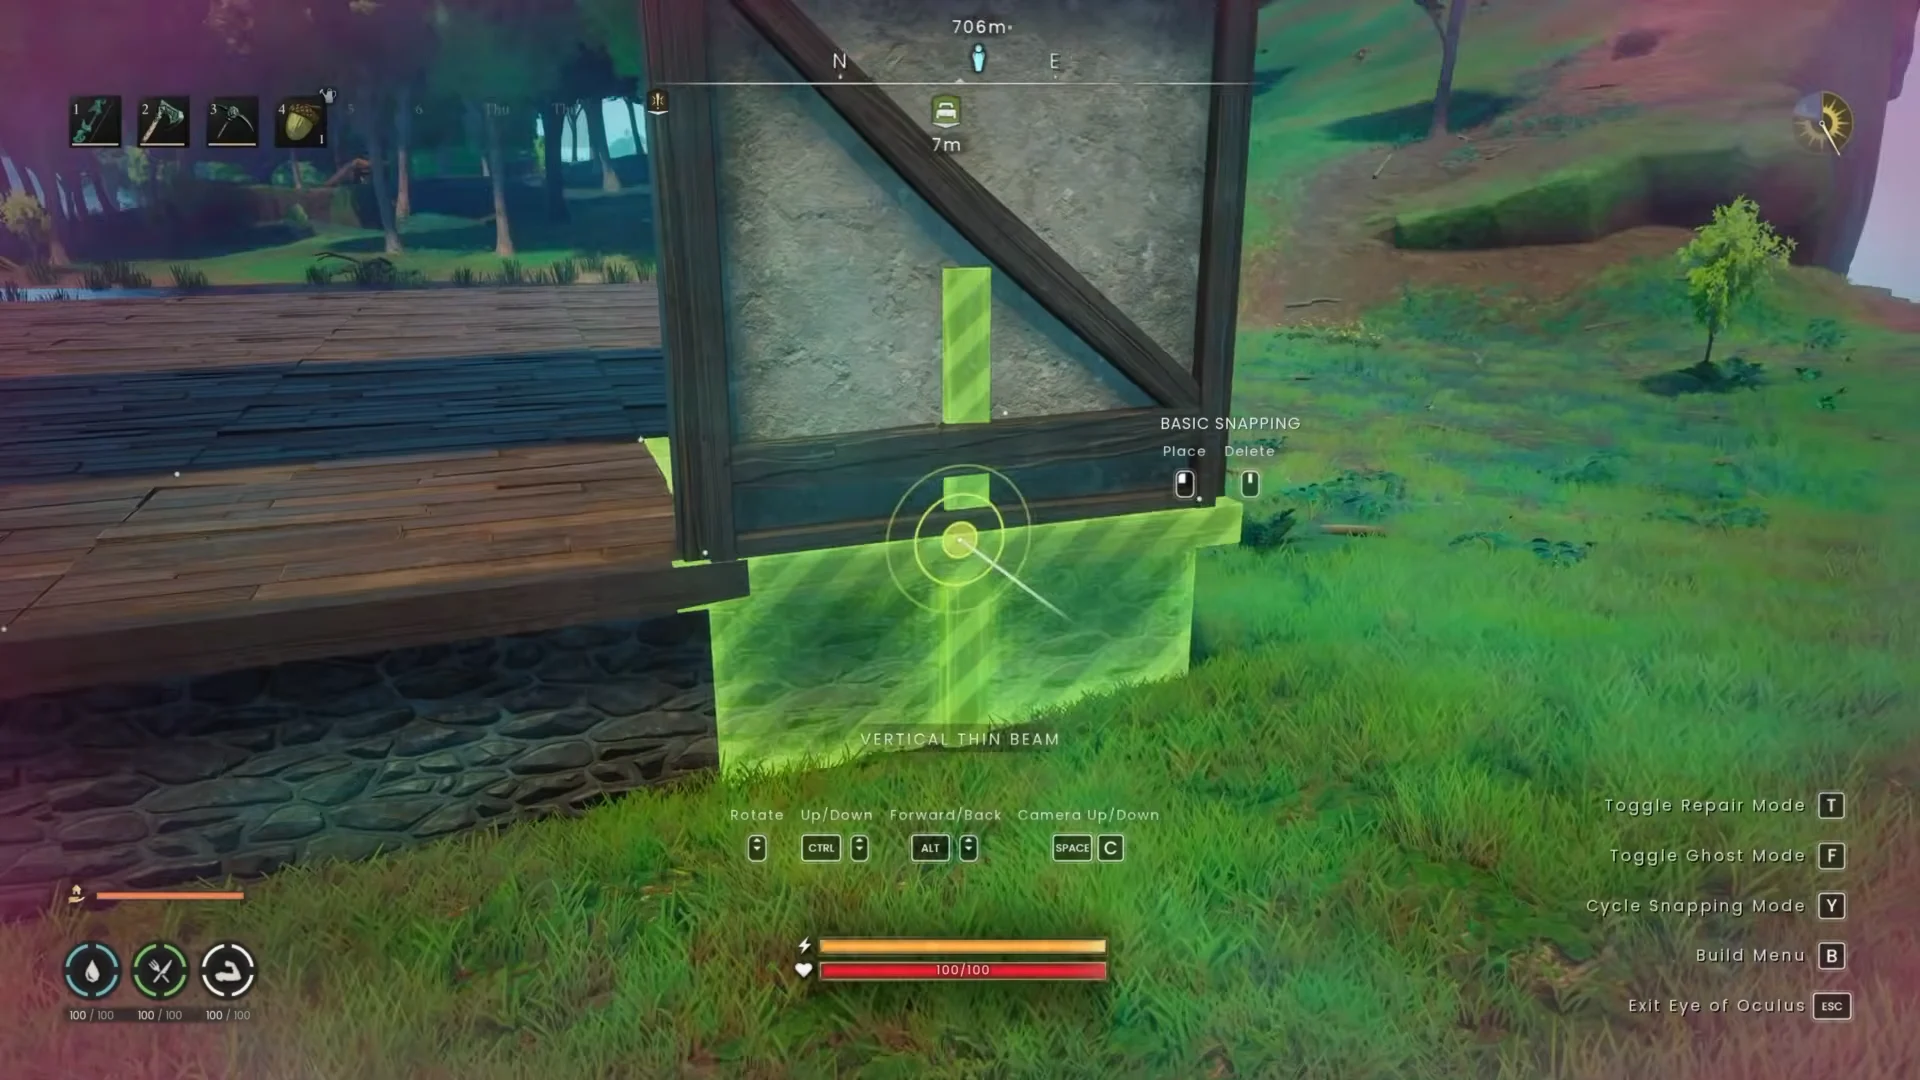
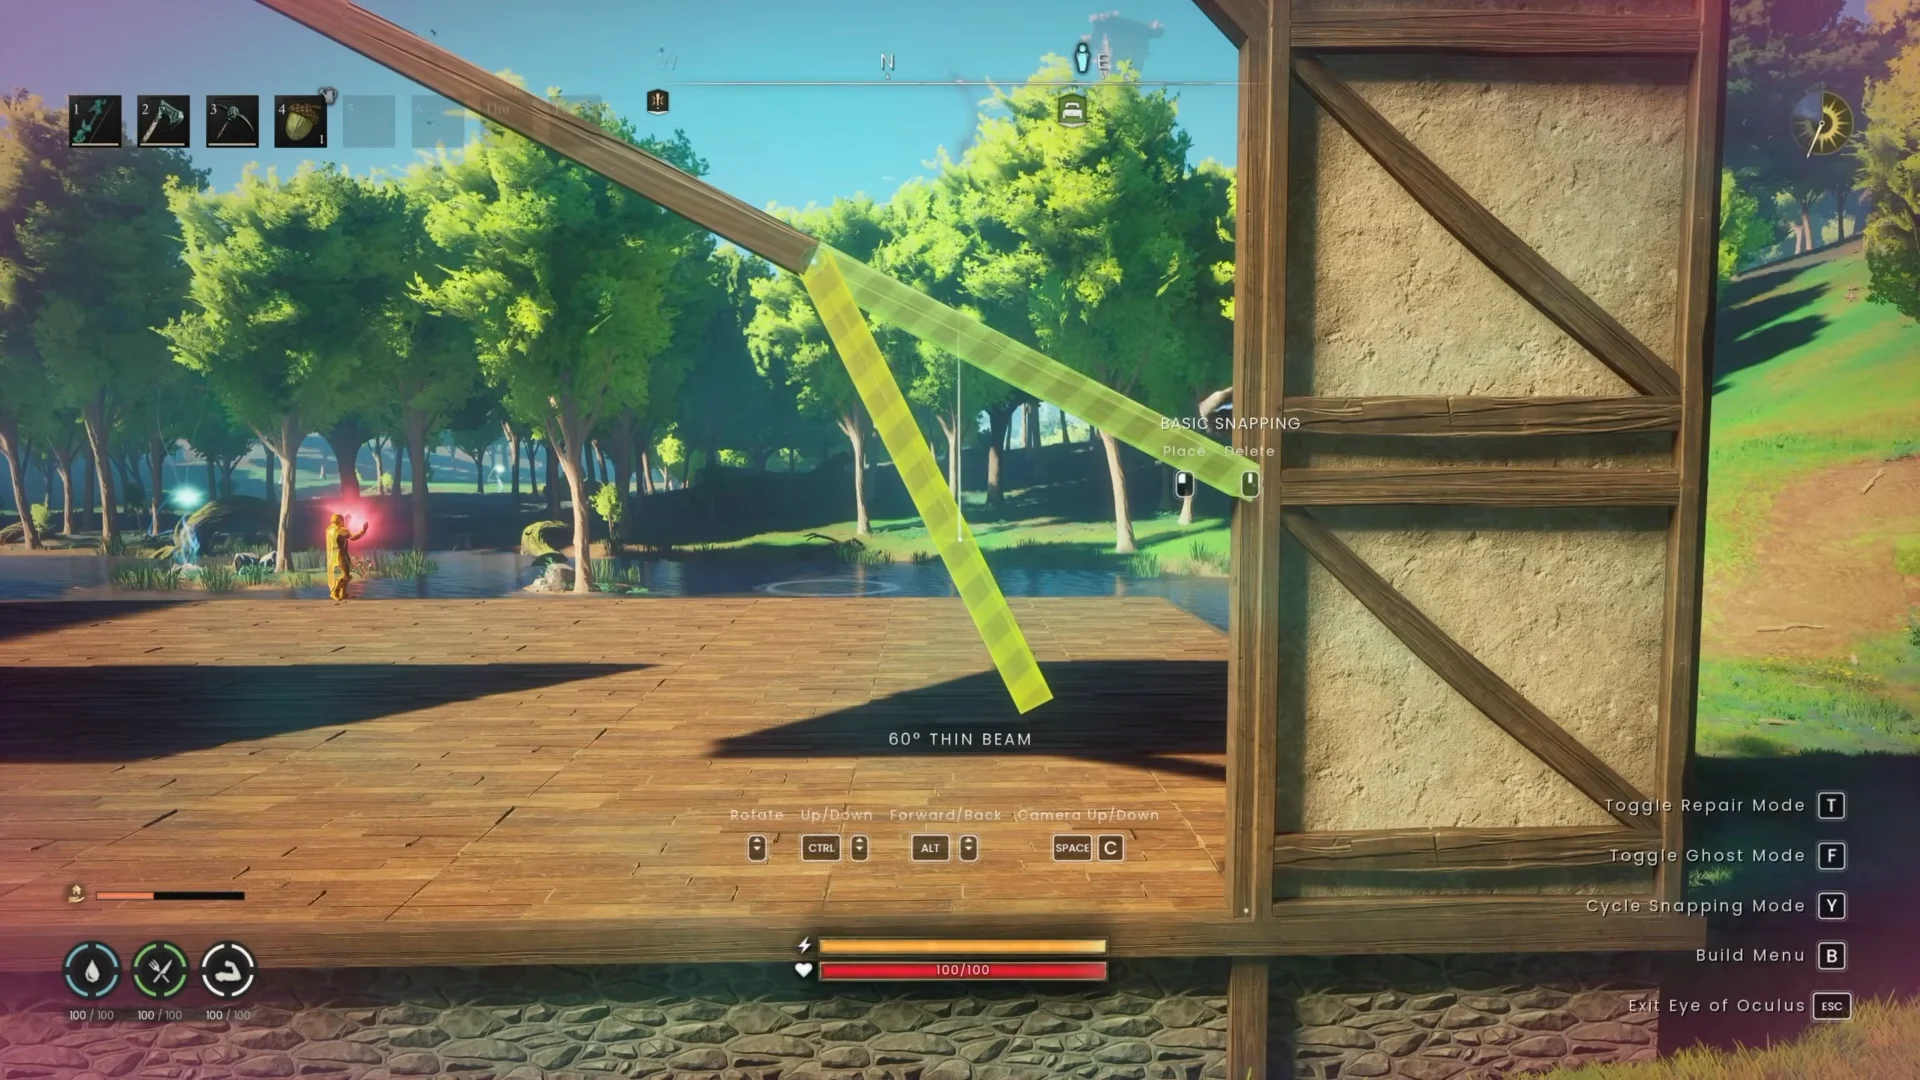
It is easier to lay out the walls and roof shape first, then add beams afterwards wherever a section refuses to close, rather than trying to plan every support in advance.
Reinforcing a base that is already built
Existing structures can be patched the same way. Open build mode and sweep a wall piece across the sections you are worried about — anything previewing yellow is living close to its stability limit. Drop a Vertical Thick Beam against those walls, running down to the terrain, and the surrounding pieces firm up.
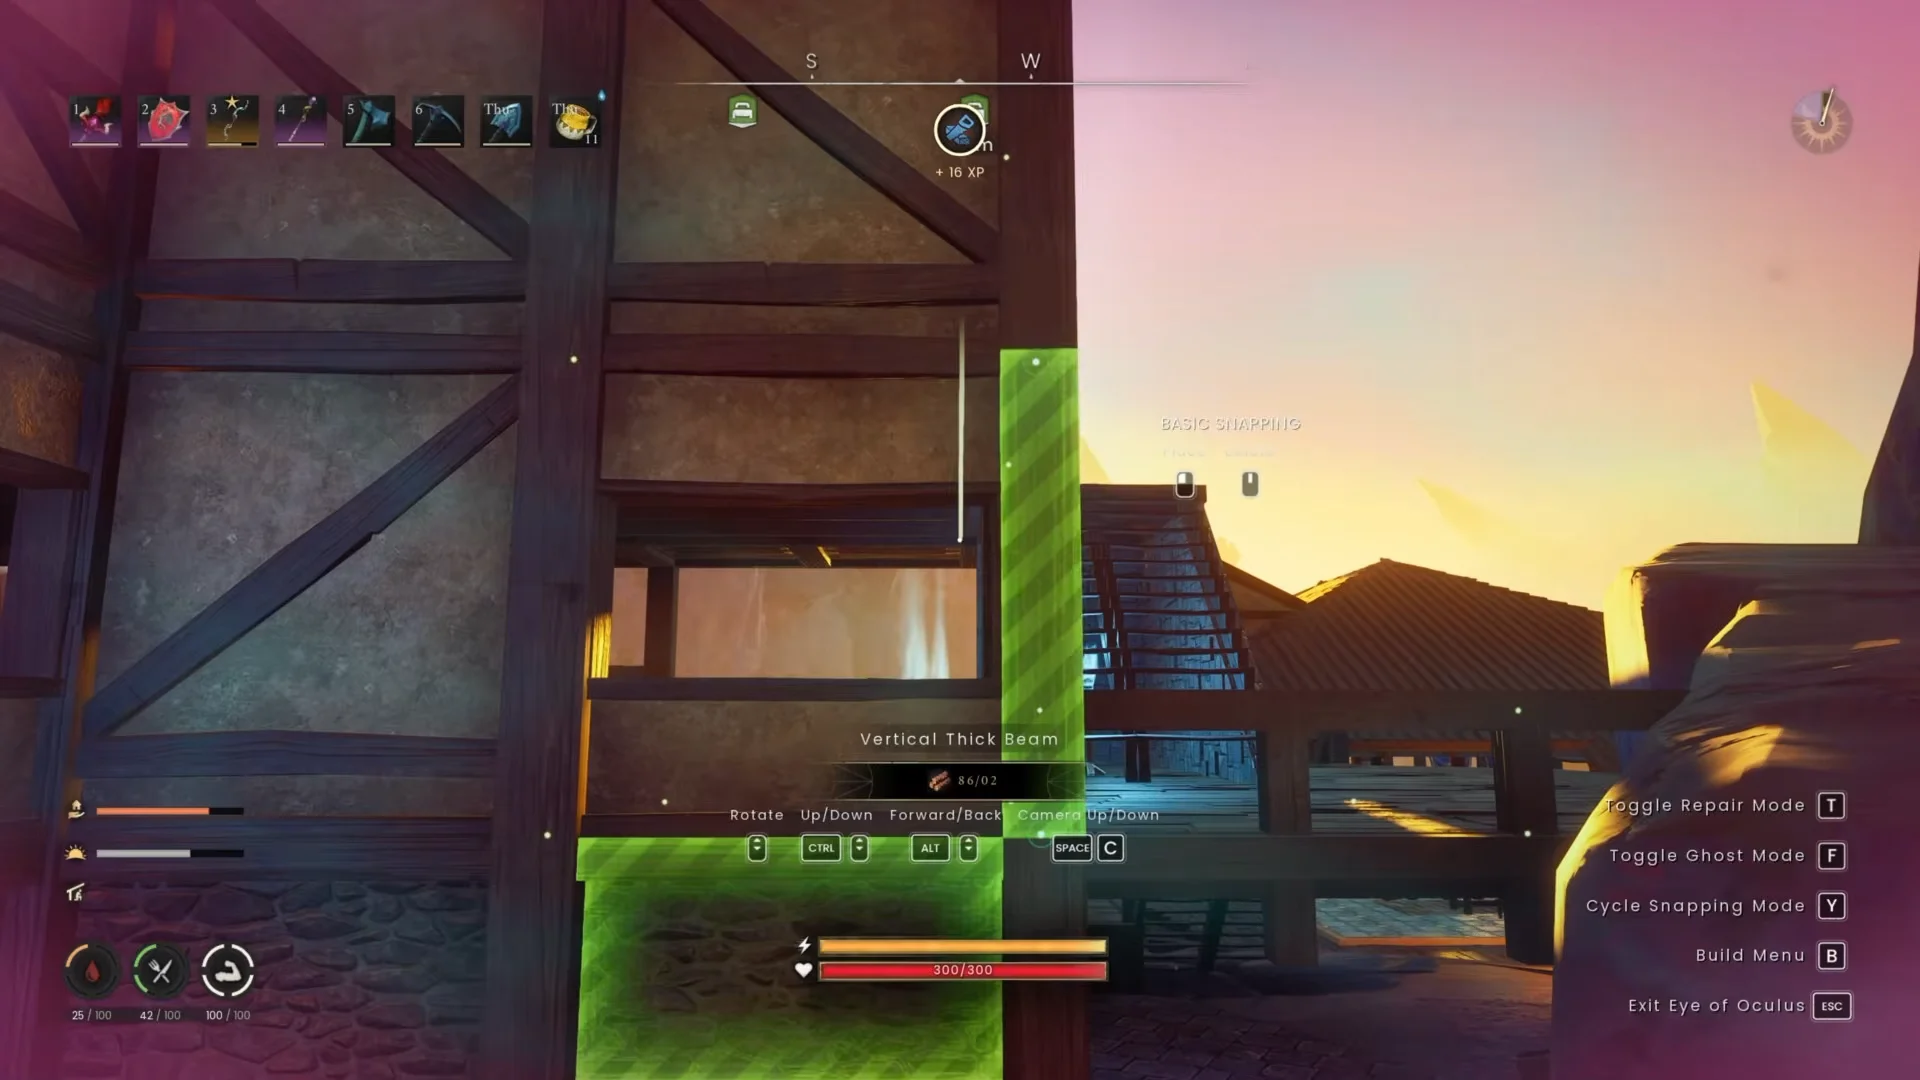
Two common mistakes show up in taller builds. A base held up only on thin pillars has very little stability to give a roof, and the cure is to place solid foundations underneath those pillars. For high-altitude platforms, stacking foundations directly on top of each other is the most reliable way to carry full stability upward before you start on the roof at all.
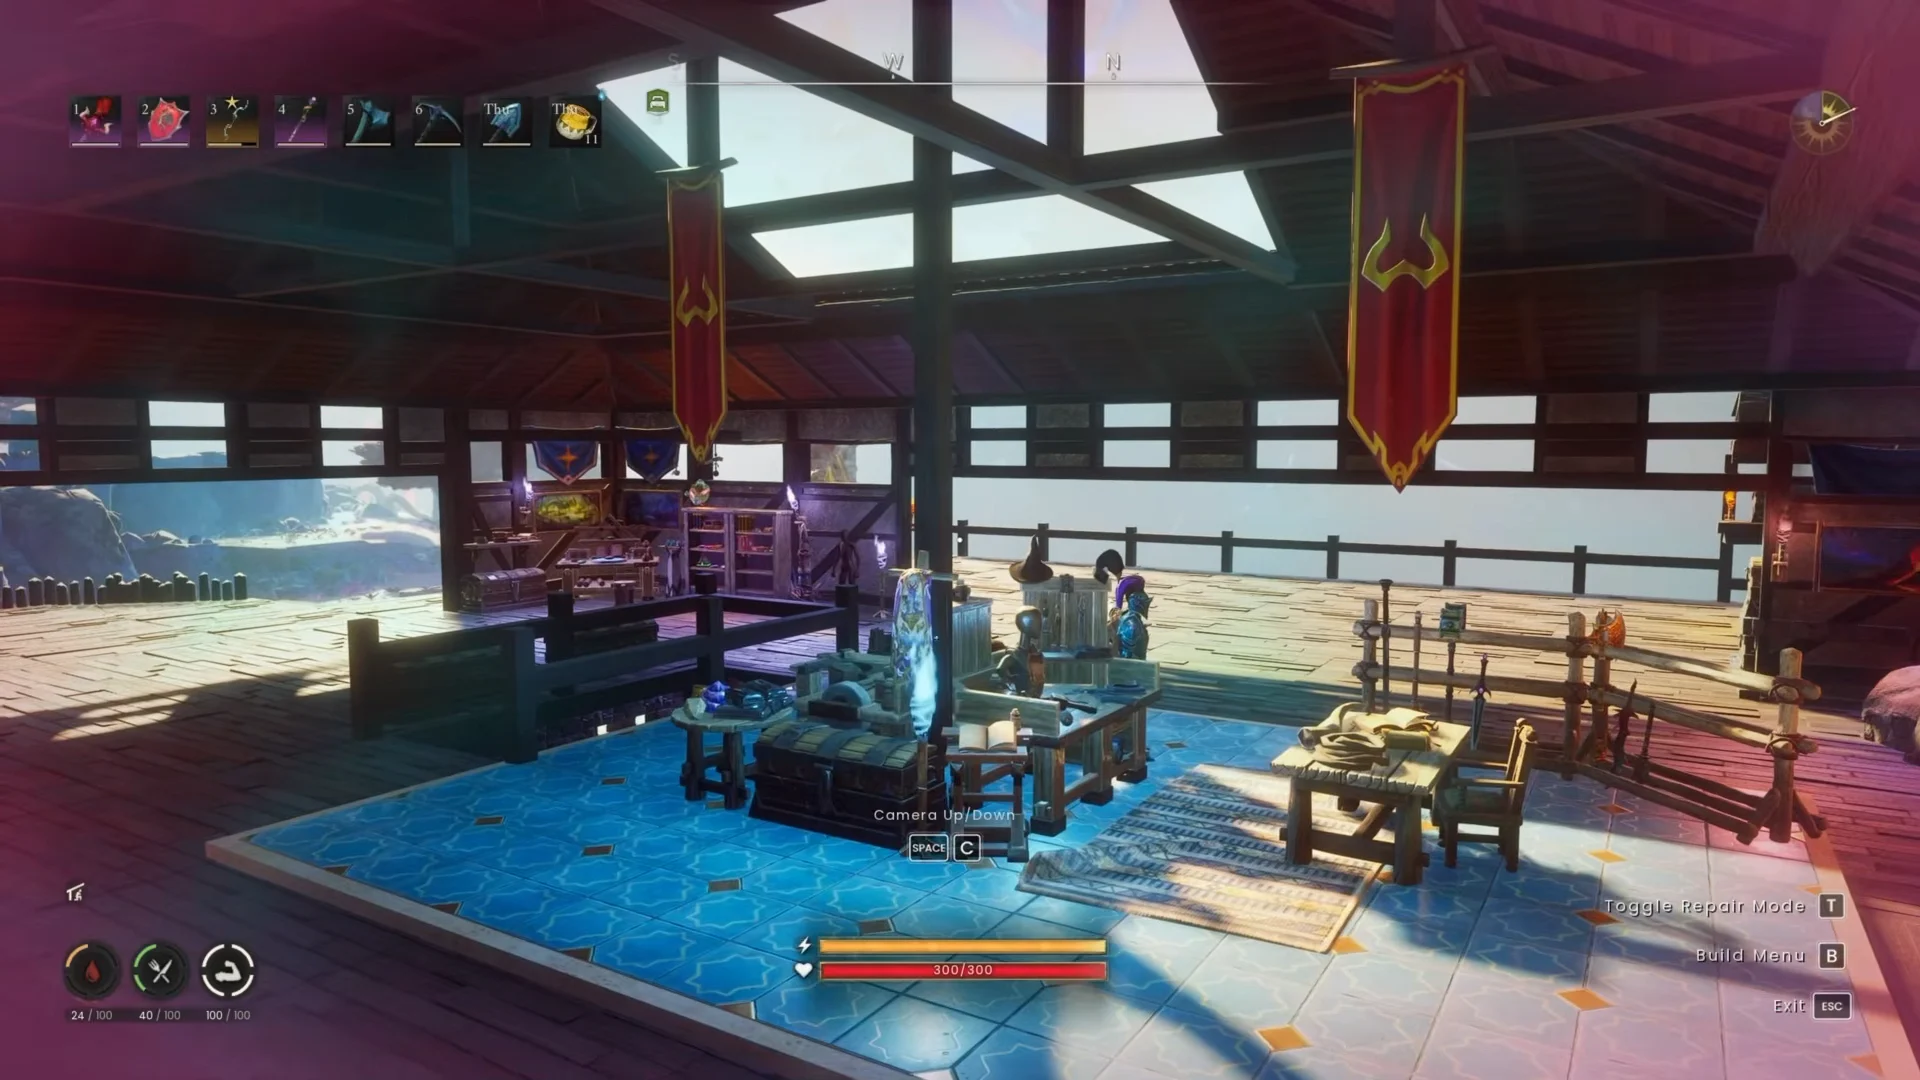
A piece can look green and appear to sit in the ground without actually being a true anchor. Before deleting any beam or foundation, check what is resting above it, because pulling a false anchor’s neighbour can bring a whole section down.
Anchor material sets the ceiling on your span
| Anchor material | Max height | Max width | Stable travel |
|---|---|---|---|
| Ash | 5 blocks | 3 blocks | About 4–5 blocks |
| Oak | 8 blocks | 5 blocks | 6–8 blocks |
| Stone and above | — | 7 blocks | — |
The material of the anchor block, not the rest of the build, decides these limits. That makes oak beams worth prioritising for the support frame even when ash is doing the work everywhere else — you keep the longer reach without paying oak prices for every wall and roof tile.
Once the frame reads green from the ground to the ridge, the rest of the roof tends to fall into place in a few minutes. Plan the beam legs where you would put real posts, keep every one of them rooted in the dirt, and the three-piece span limit stops being the thing that decides how big your hall can be.