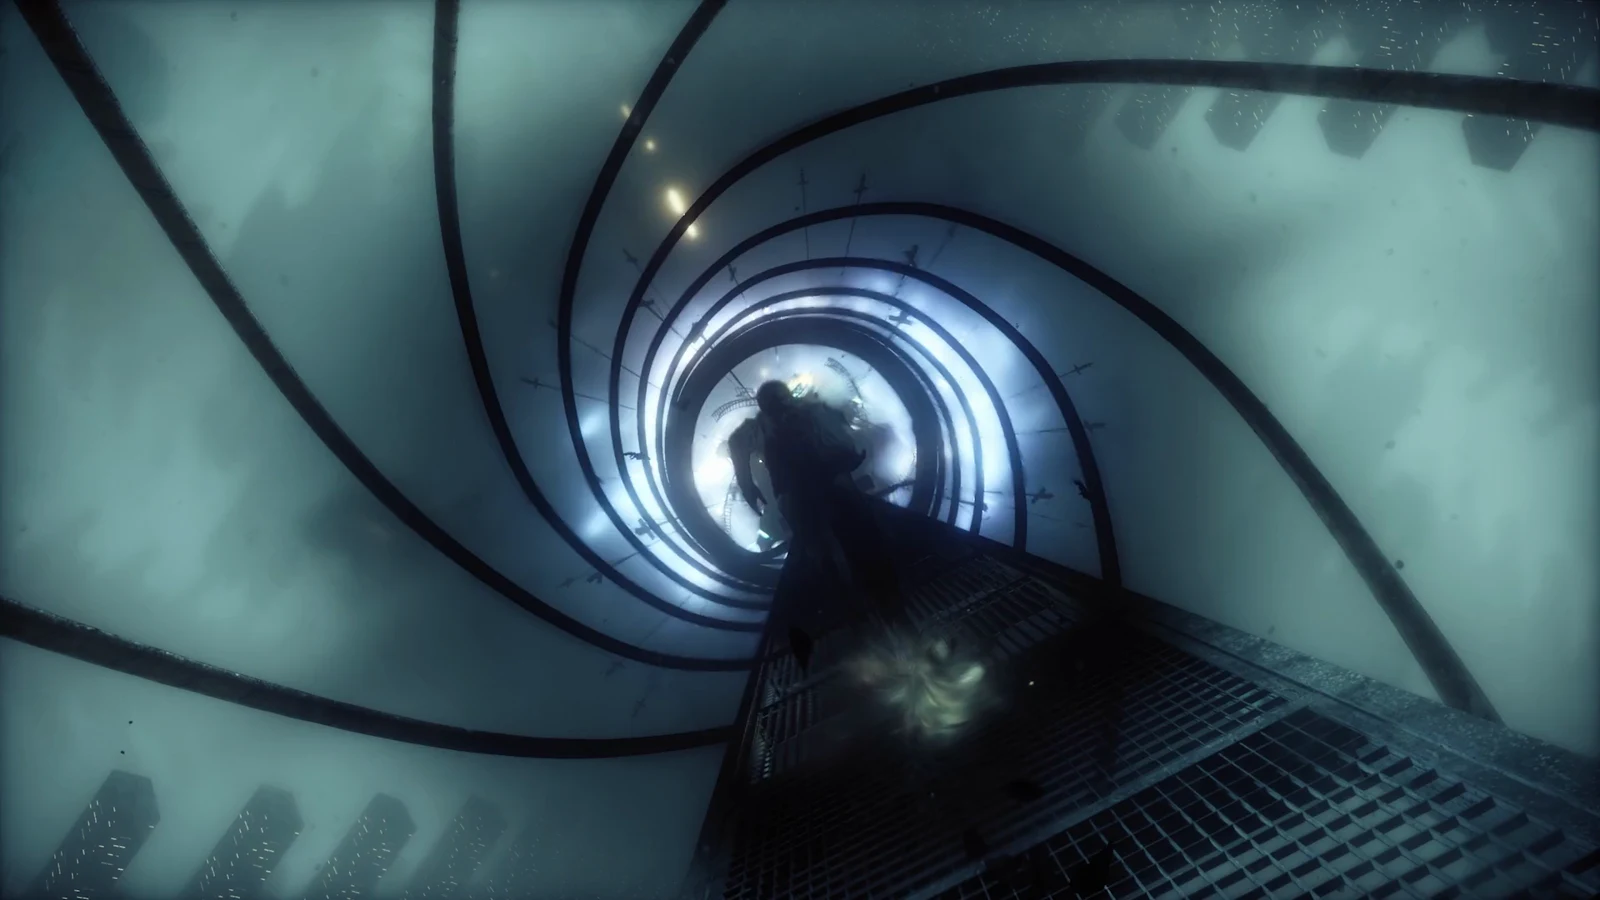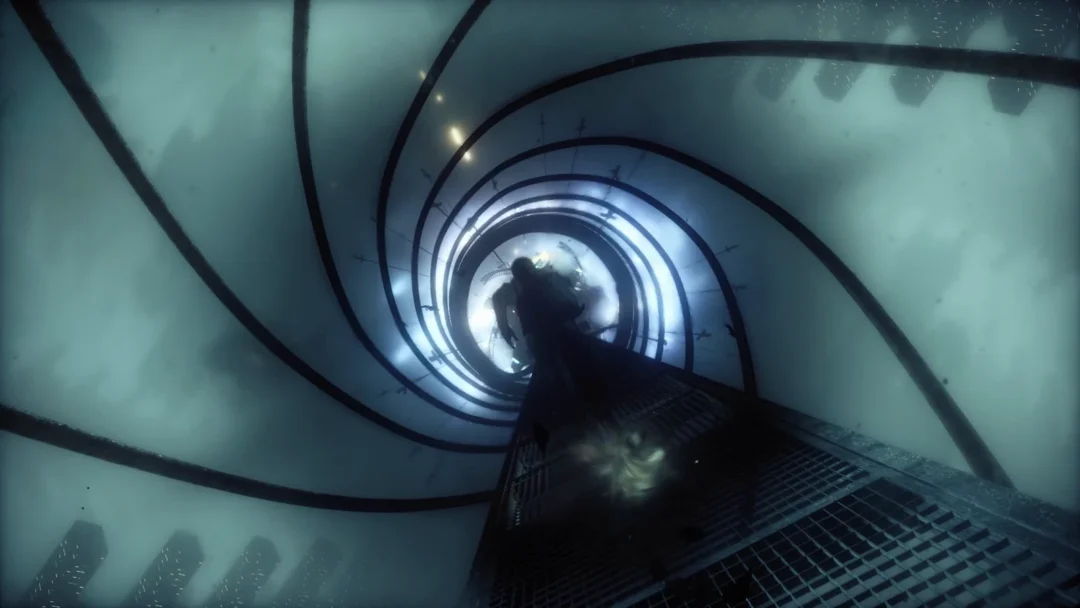
Etched in Time is the second subquest of A Rekviem for the Underworld, the Chapter 7 Act 4 Archon Quest added in Genshin Impact Version 7.1. It keeps you inside the Snezhnayan research complex, moving between two elevator destinations while The Jester digs up the buried history of a notebook the Fatui sealed away years ago.
Quick answer: Finish Delusion first, ride the elevator to the Mirror of Remembrance and report to The Jester, touch the mirror, then descend to the Sealed-Off Archive and wait for all six Harbingers before the vote.
How to unlock Etched in Time
There is only one gate. The quest appears once you have cleared Delusion, the subquest that comes directly before it in the same Archon Quest chain. Nothing else needs to be collected or prepared beforehand, and there is no combat requirement.
- Chain: A Rekviem for the Underworld (Chapter 7, Act 4)
- Order: Delusion → Etched in Time → Black Feathers Scattered at Parting
- Region: Snezhnaya, inside the research facility
- Length: roughly 10–15 minutes if you skip dialogue, 20–30 minutes if you read everything
After activation, the quest appears in the Snezhnaya Adventure Journal with one initial task: ride the elevator up to the Mirror of Remembrance.
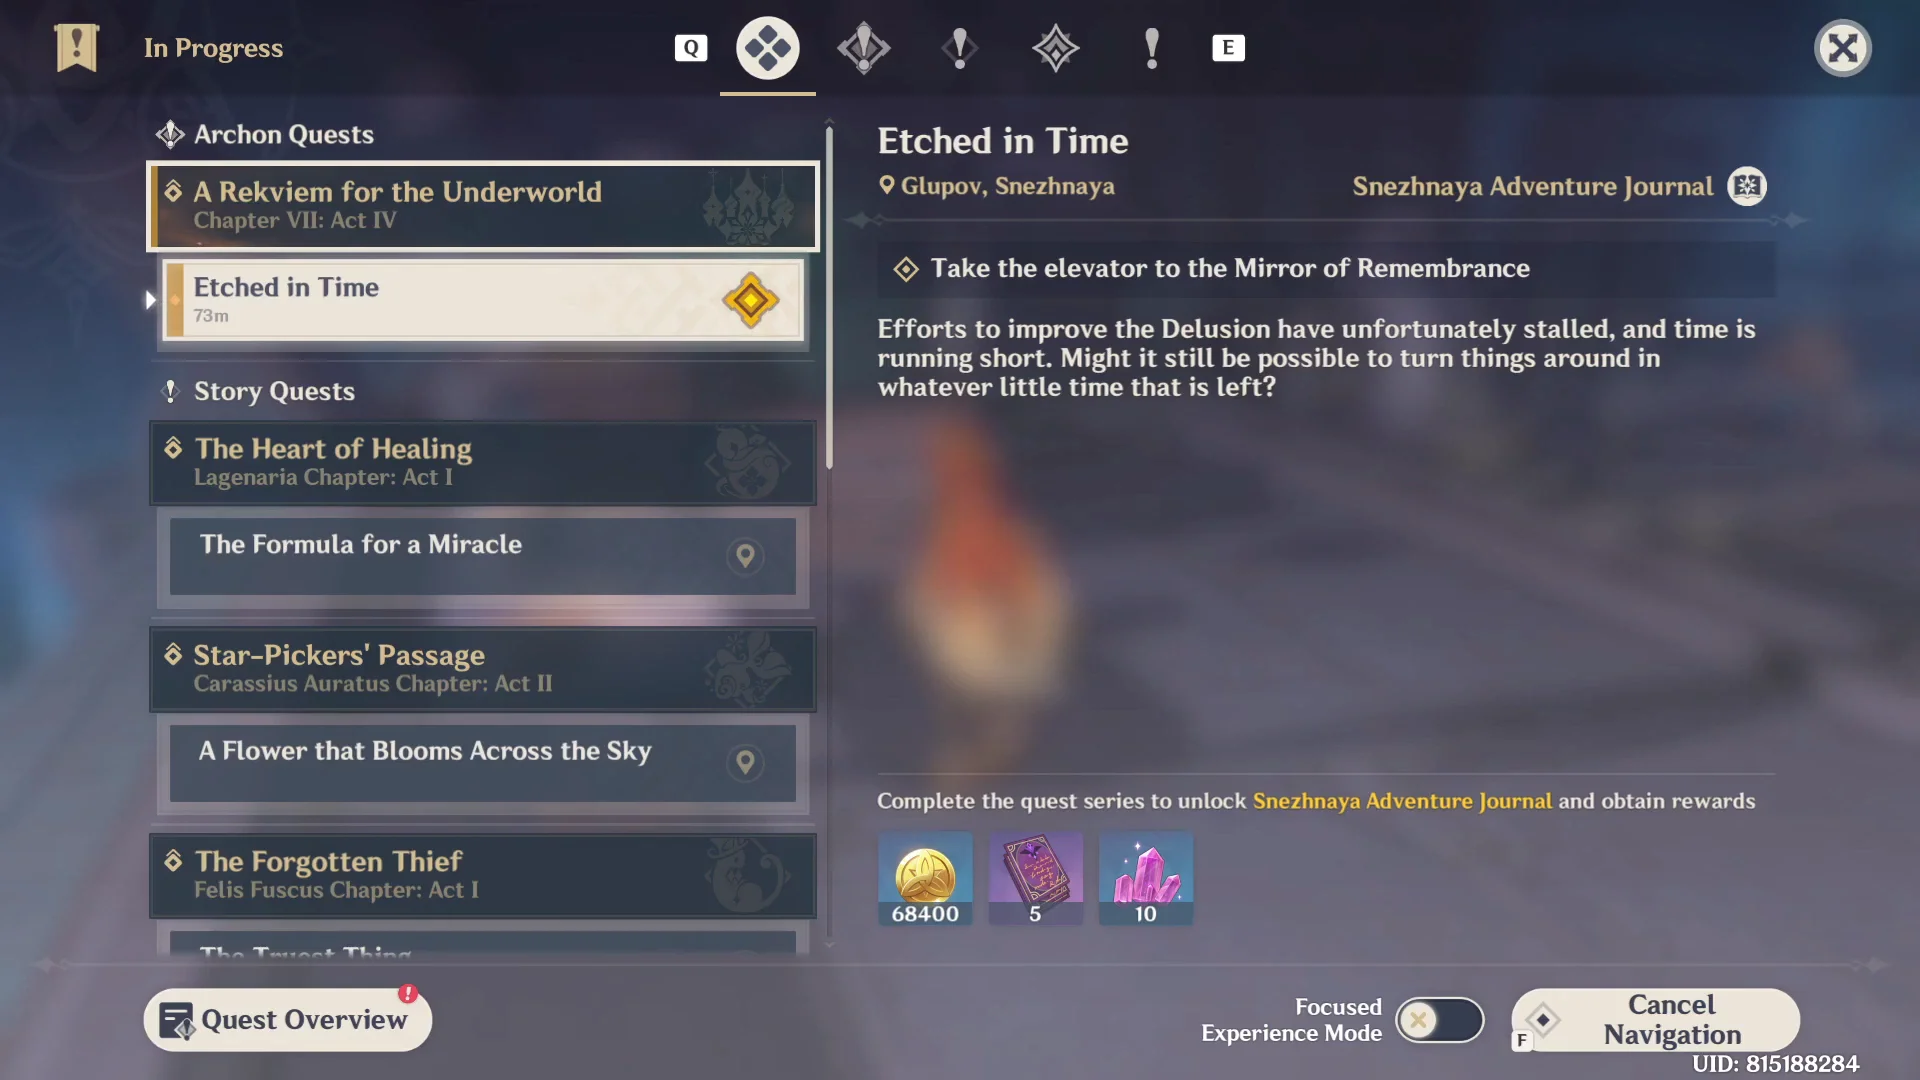
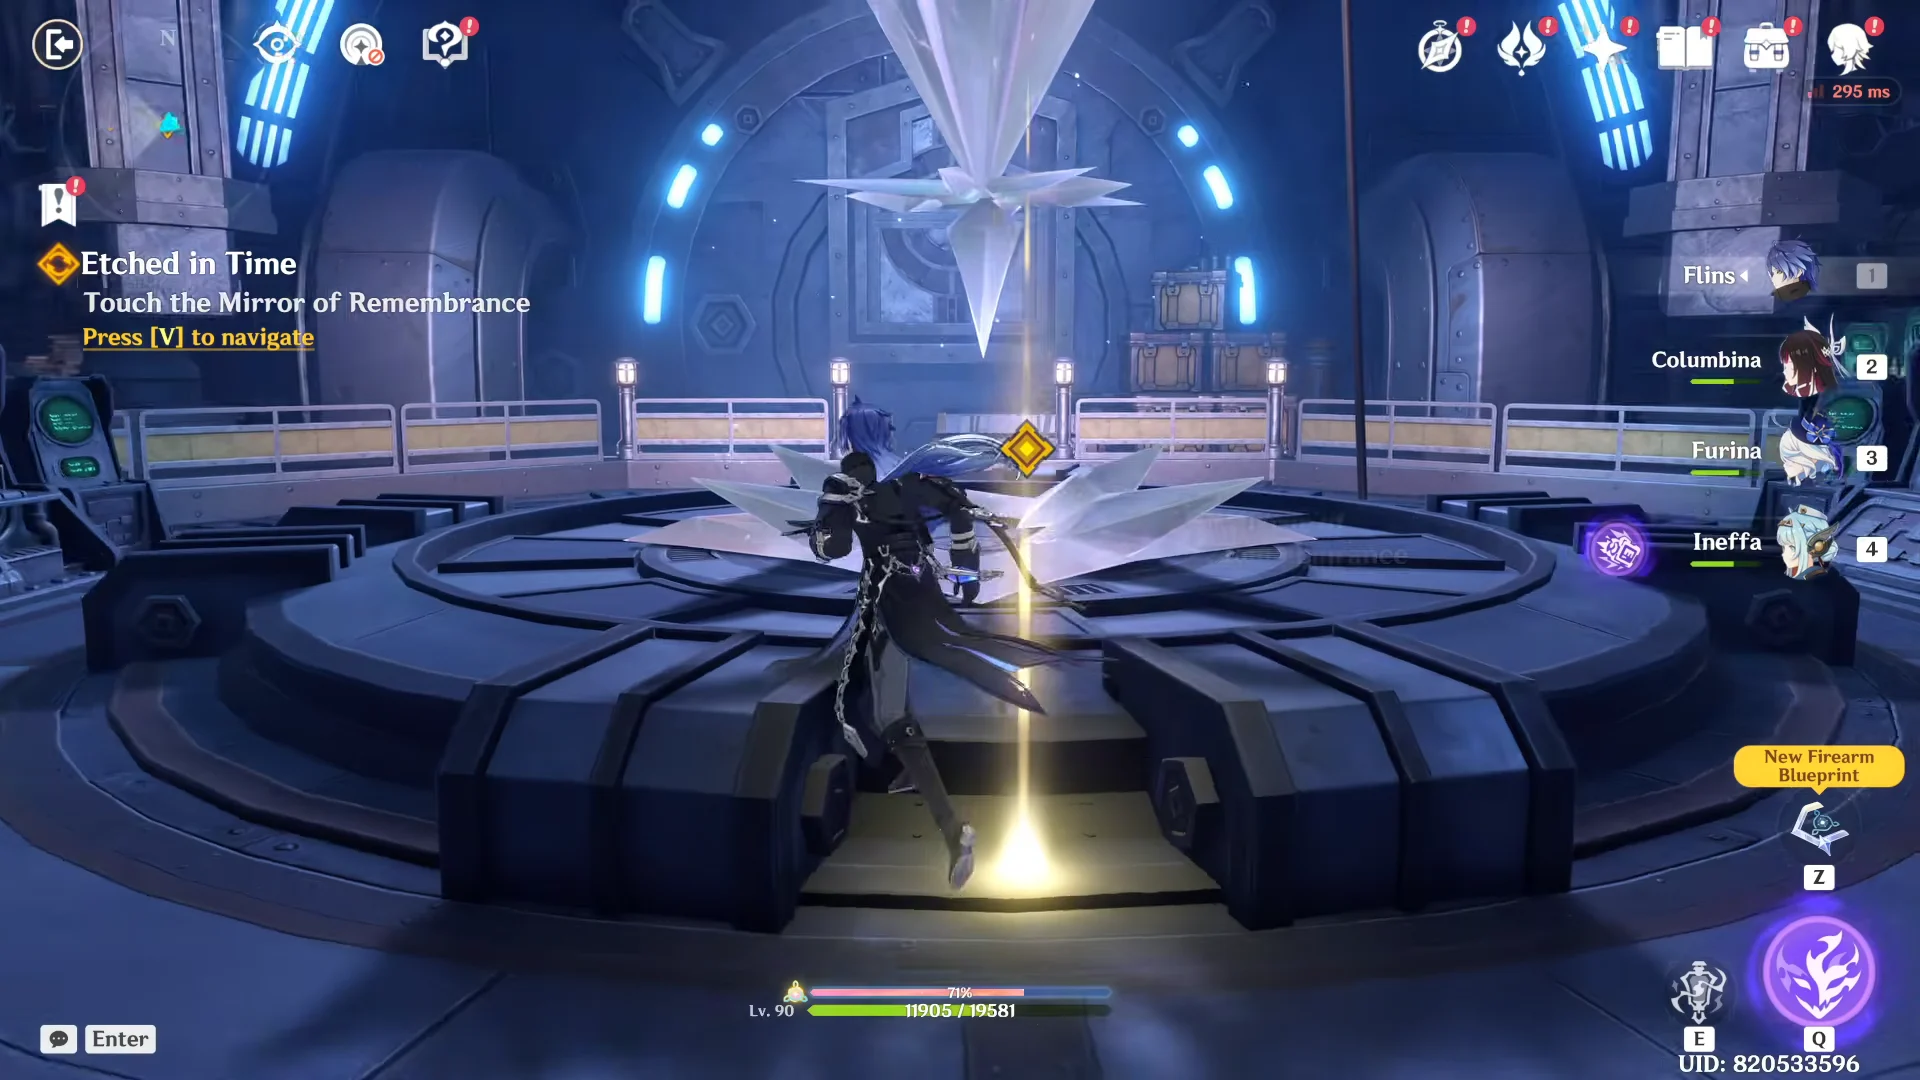
Etched in Time walkthrough: Mirror of Remembrance
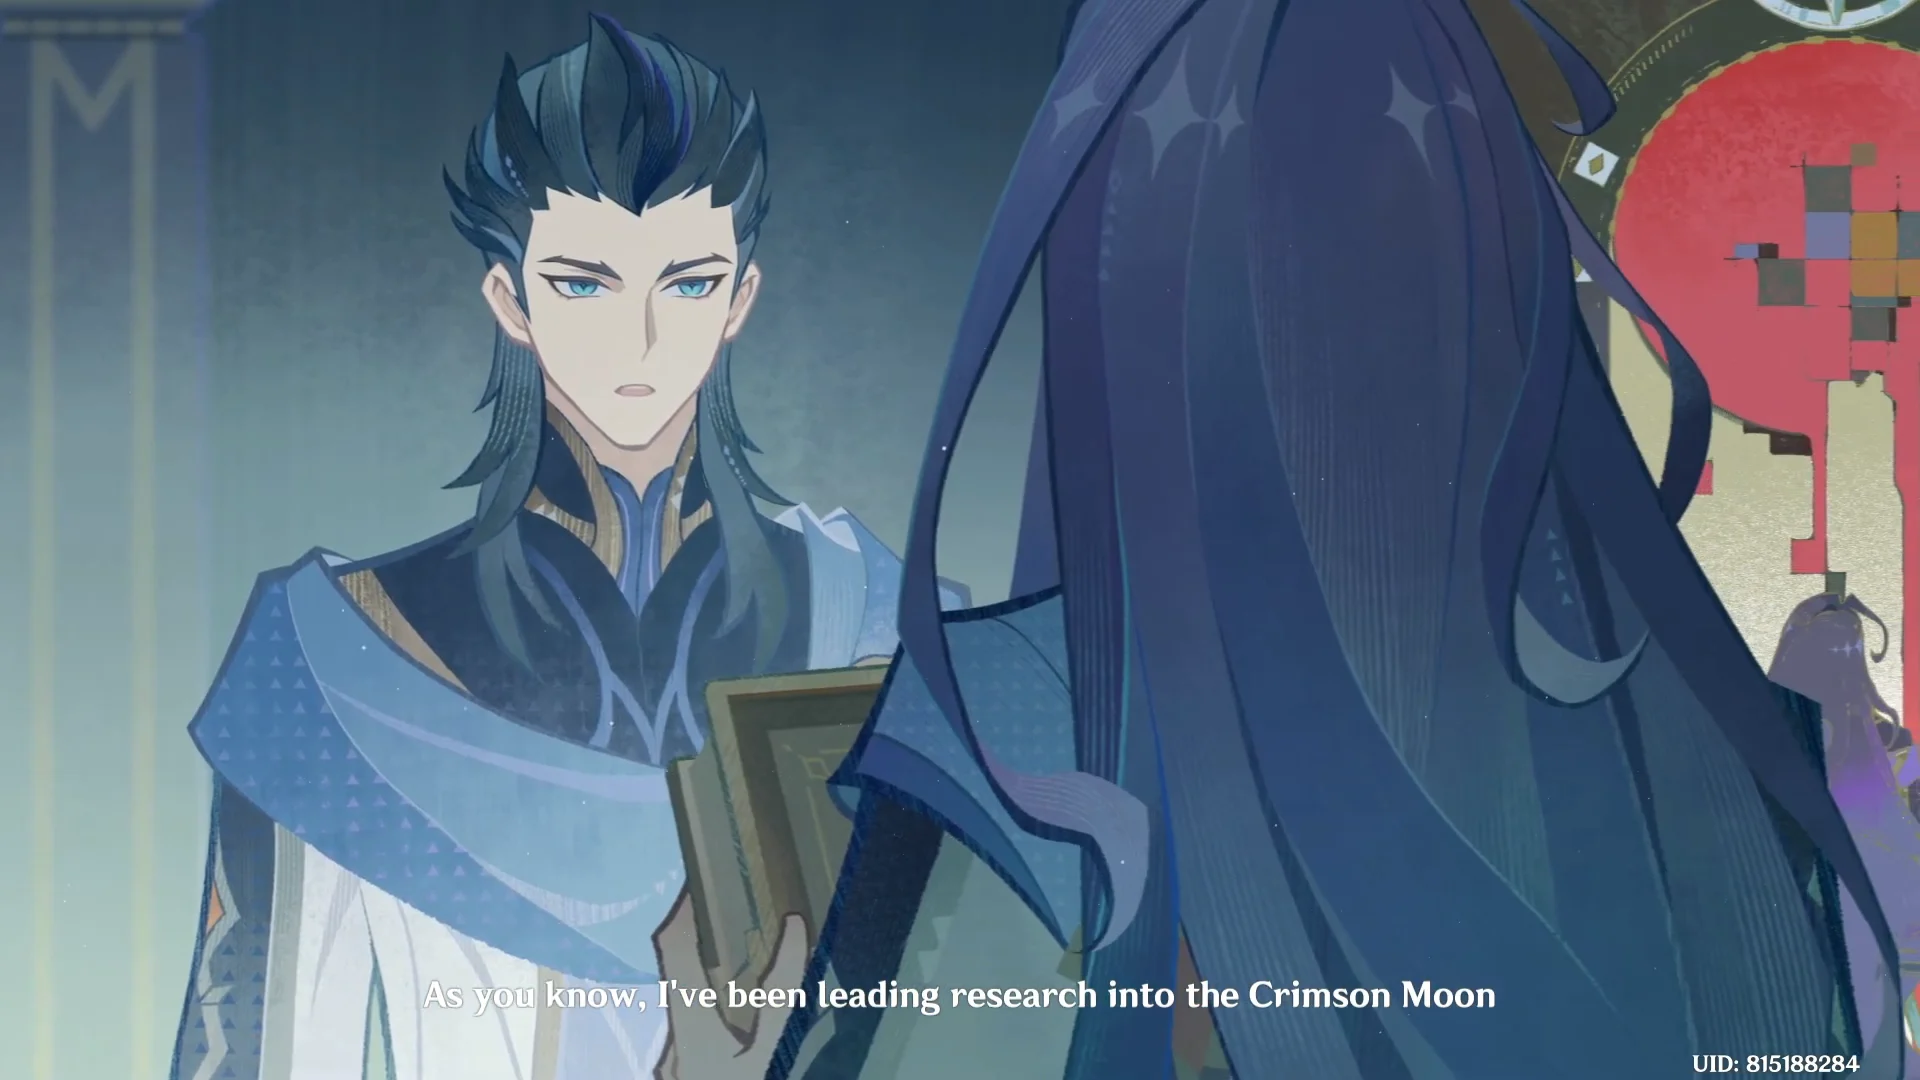
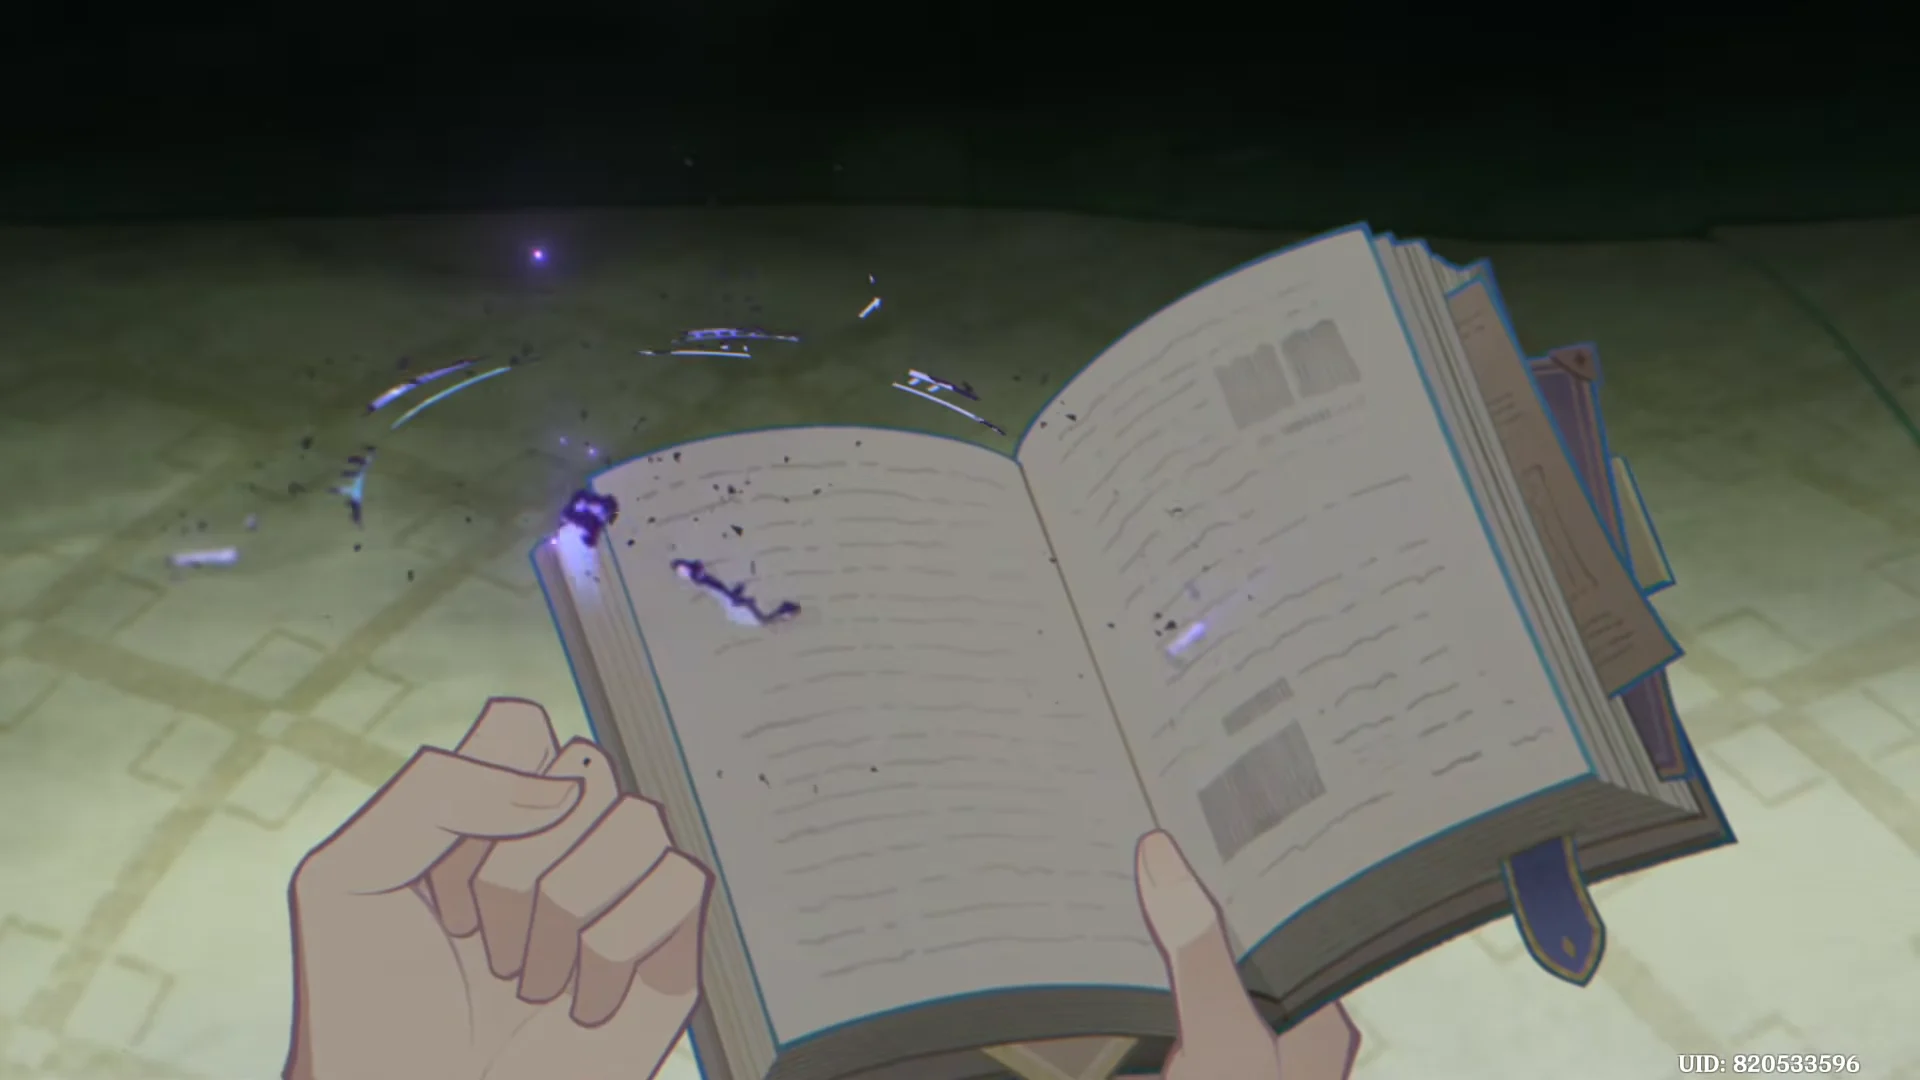
The research is the core of the memory. Hroptatyr tries to use the authority of the Crimson Moon to extend the dying professor’s life, then realizes the method only produces endless pain and renames it the Curse of Immortality. The sequence ends with him abandoning the work, standing at the professor’s grave in the rain, and leaving Teyvat.
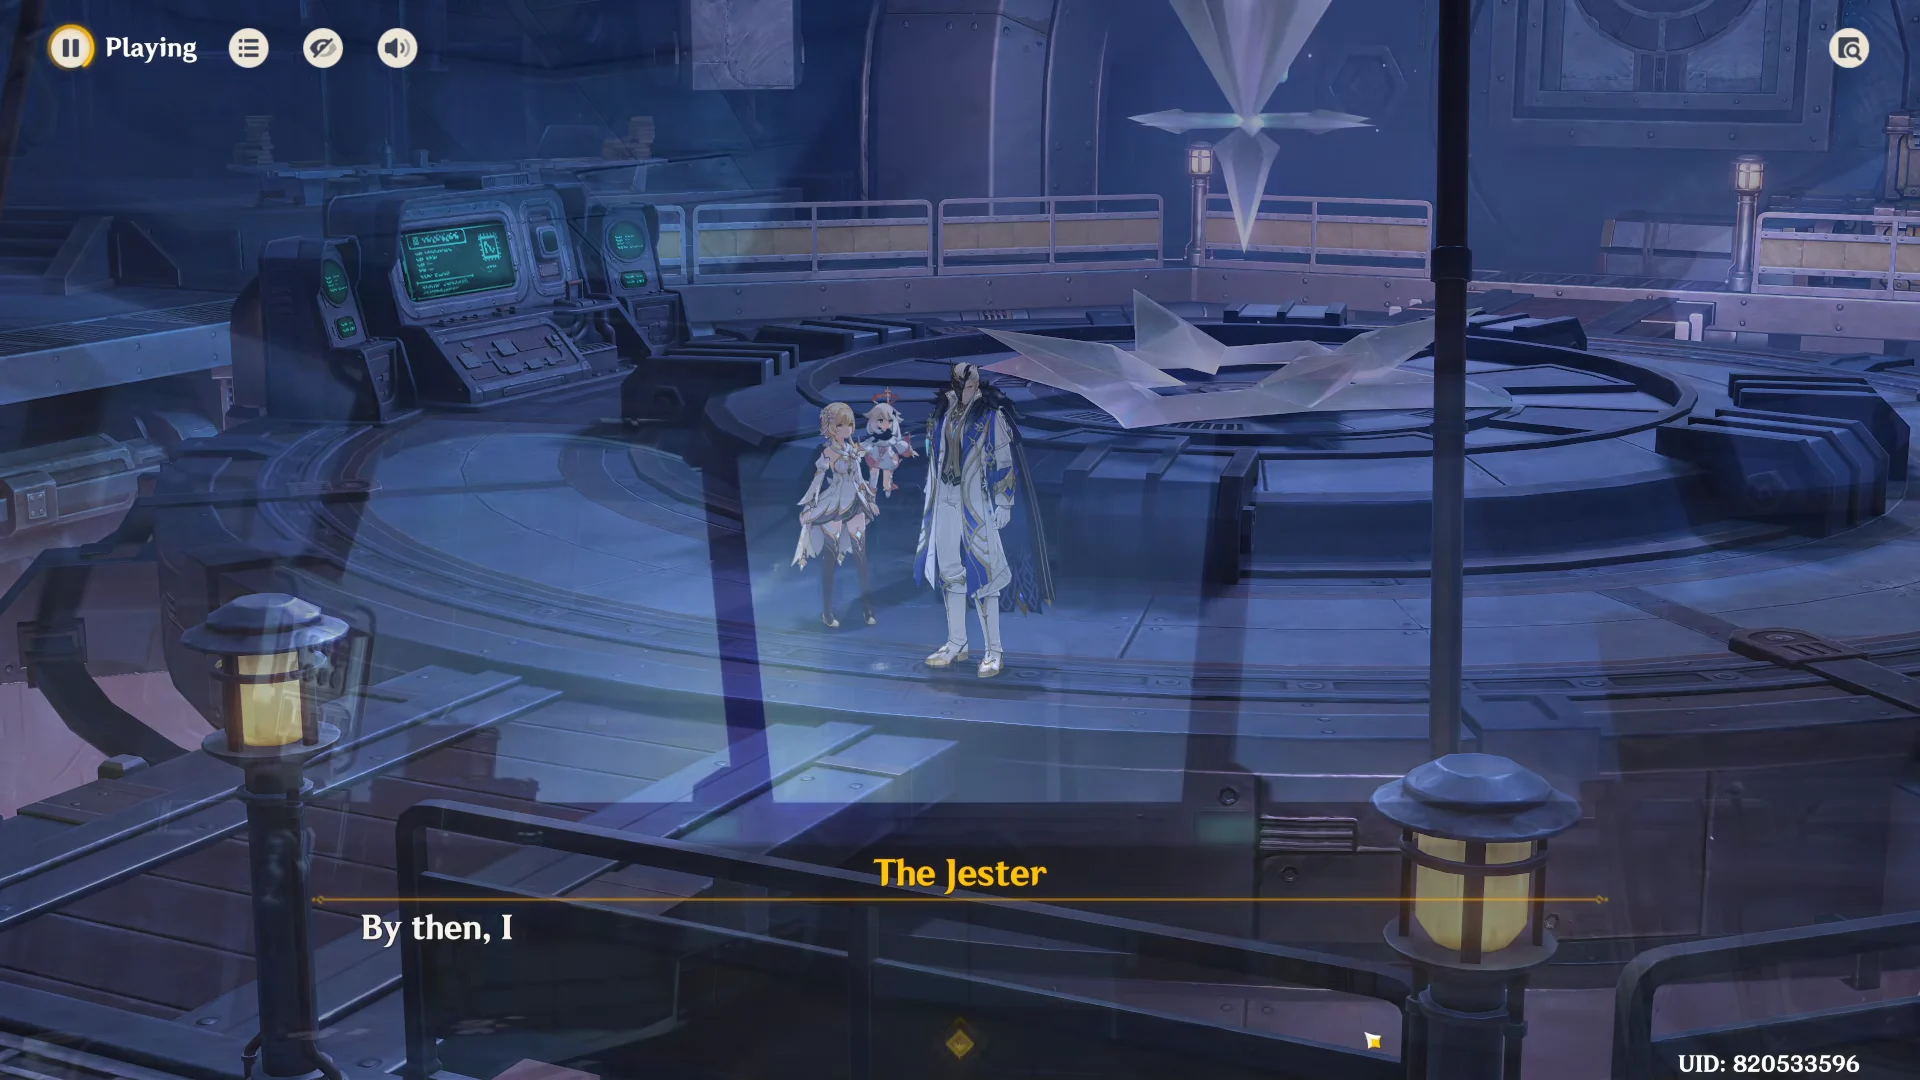
Waiting for the Harbingers at the Sealed-Off Archive
| Arrival order | Harbinger | Title |
|---|---|---|
| 1 | Tartaglia | Childe |
| 2 | Pulcinella | The Rooster |
| 3 | Sandrone | Marionette |
| 4 | Pantalone | Regrator |
| 5 | Arlecchino | The Knave |
| 6 | Pierro | The Jester |
Sandrone and Pantalone turn up mid-argument over Northland Bank vault security, and Arlecchino arrives having recovered from the Delusion experiment, already interested in the Crimson Moon research.
The vote cannot fail. You do not make a choice here, so there is no wrong answer and no branching outcome to worry about.
Reading The Wise’s notes: The side-scrolling section
Walk in with the Harbingers and gather around the notebook. When The Jester opens it, the forbidden research is already blank, leaving only Hroptatyr’s personal notes about his early optimism and his later conclusion about the Curse of Immortality. A framed picture of the two students slips out of the pages, and it turns out to be a memory prism that engulfs the room.
That triggers a short 2D side-scrolling sequence where you control Pierro through the memory. On PC, press A to move left and D to move right. Walk to Hroptatyr and talk to him to advance. A second, much shorter segment puts you in control of the Traveler inside the same garden memory before the scene closes out with a final conversation among the Harbingers.
There is no timer, combat or puzzle in this sequence. If nothing is happening, you have simply walked past the character you need to speak to.
Etched in Time rewards
| Reward | Amount |
|---|---|
| Mora | 68,400 |
| Mystic Enhancement Ore | 10 |
| Hero’s Wit | 5 |
Primogems for this stretch of the story are paid out across the wider Archon Quest rather than at the end of this individual subquest.
How to confirm the quest is complete
You will know it landed when the quest-complete banner appears, the reward drop plays, and the achievement Nine Days and Nine Nights Beneath the Tree pops. The Adventure Journal then swaps Etched in Time out for the next subquest in the chain, Black Feathers Scattered at Parting, which starts immediately.
Stay for the final moment, because the prism’s memory changes the context of the Traveler’s journey. It shows Hroptatyr calling Aether down from Celestia at the same instant Pierro called Paimon.