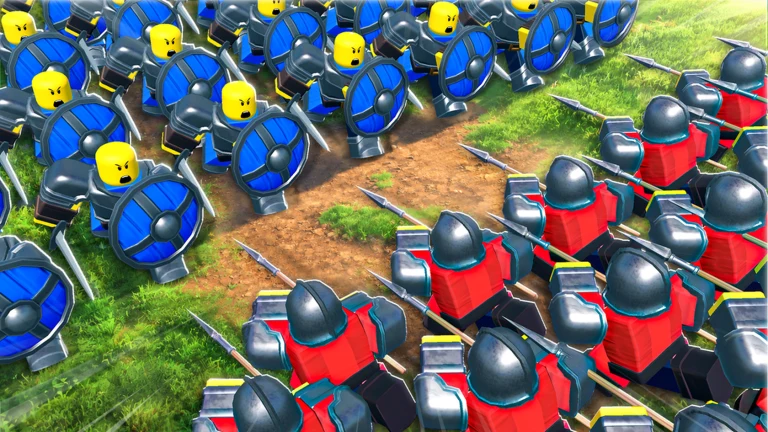
Spartans in Command An Army are not underpowered. They lose because players treat them like a melee strike squad, sending them chasing enemies across open ground where halberdiers, arrows and cavalry pick them apart. Used as a stationary block on an objective, the same unit becomes one of the hardest things in the game to remove.
Quick answer: Park your Spartans directly on the capture circle, switch them to formation 3 (the circular turtle shield wall), and hold position. Break formation only to clear leftovers, then re-form immediately.
Formation 3 is the only formation worth using on defense
The first two formation slots spread your Spartans into a wide line. That looks impressive marching forward, but it hands the enemy exactly what they want. A stretched line has gaps, the flanks are exposed, and each Spartan ends up fighting alone against halberdiers and charging cavalry instead of as part of a wall.
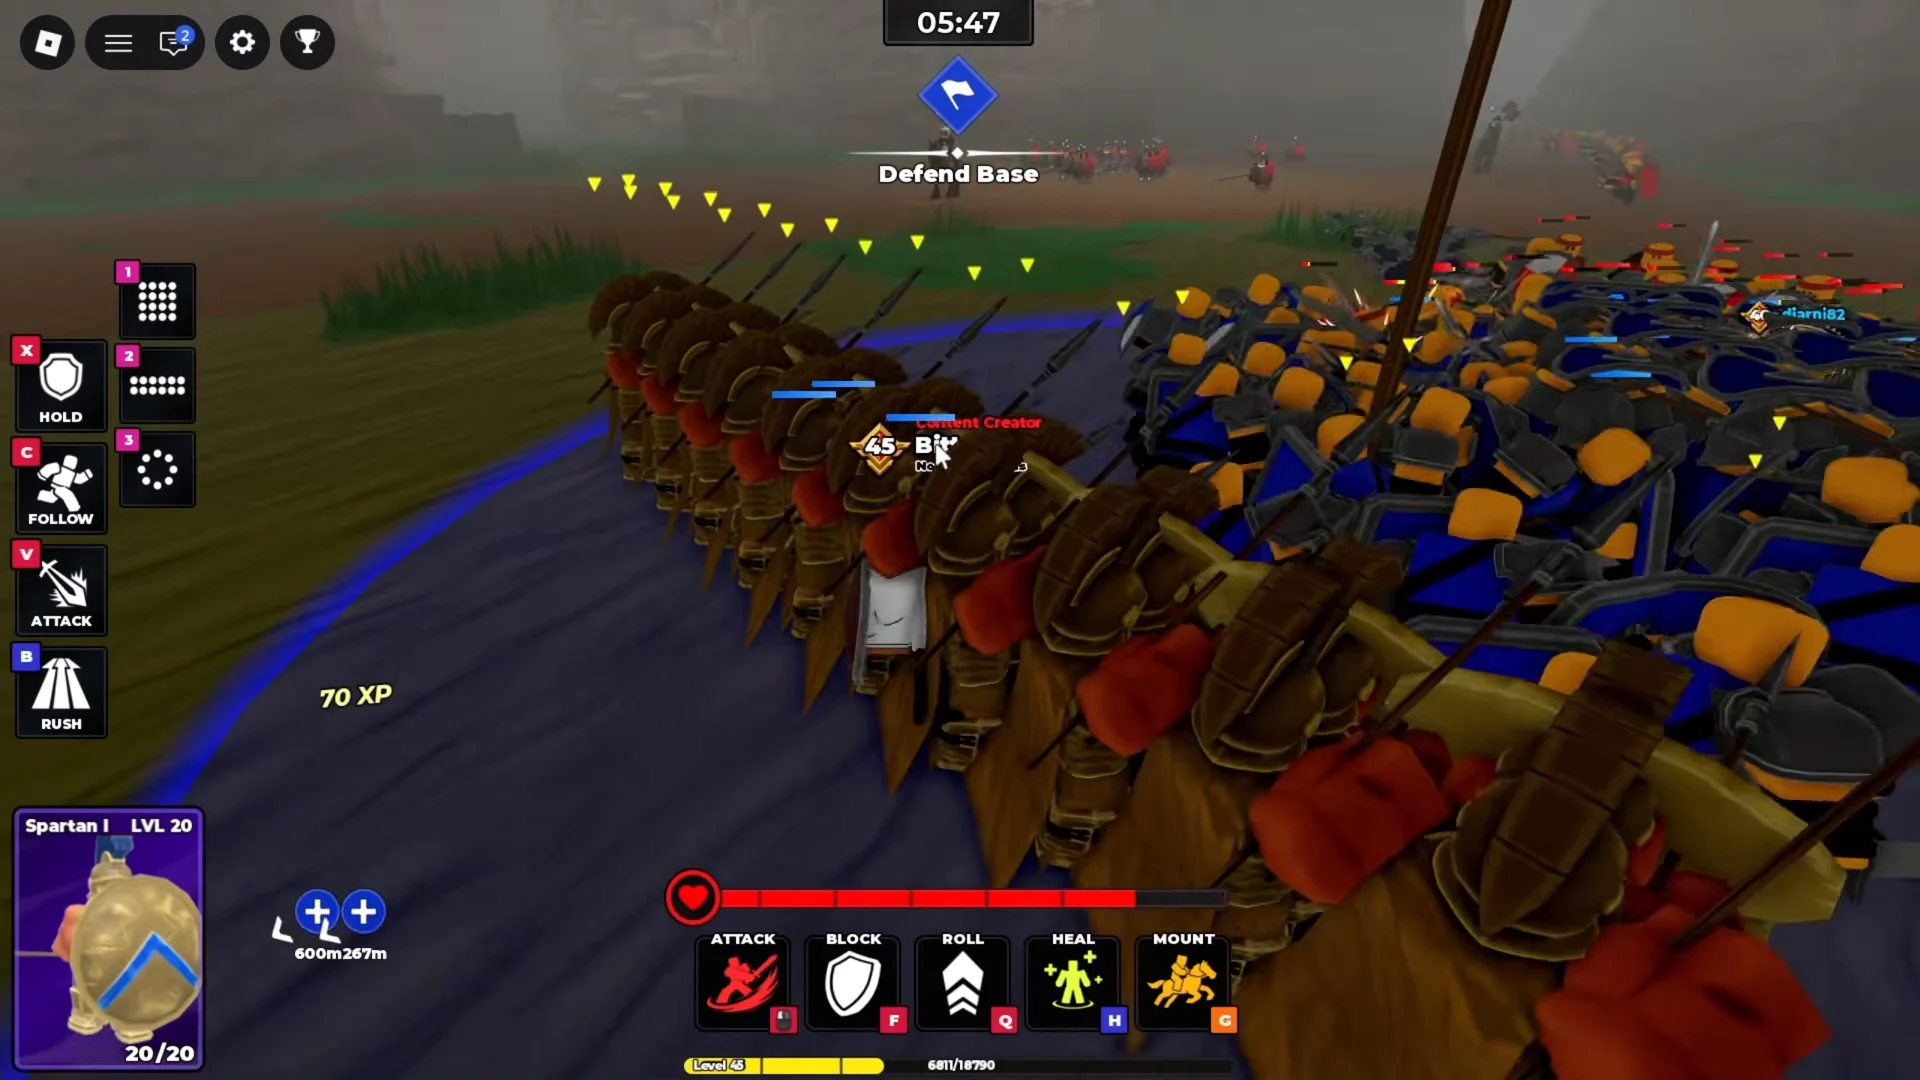
Formation button 3 pulls them into a tight circular shield wall instead. Shields face outward in every direction, so there is no flank to hit and no clean firing line for archers. That single button press is the difference between a squad that evaporates and a squad that holds a point for a full match.
How to set up the Spartan turtle on a capture point
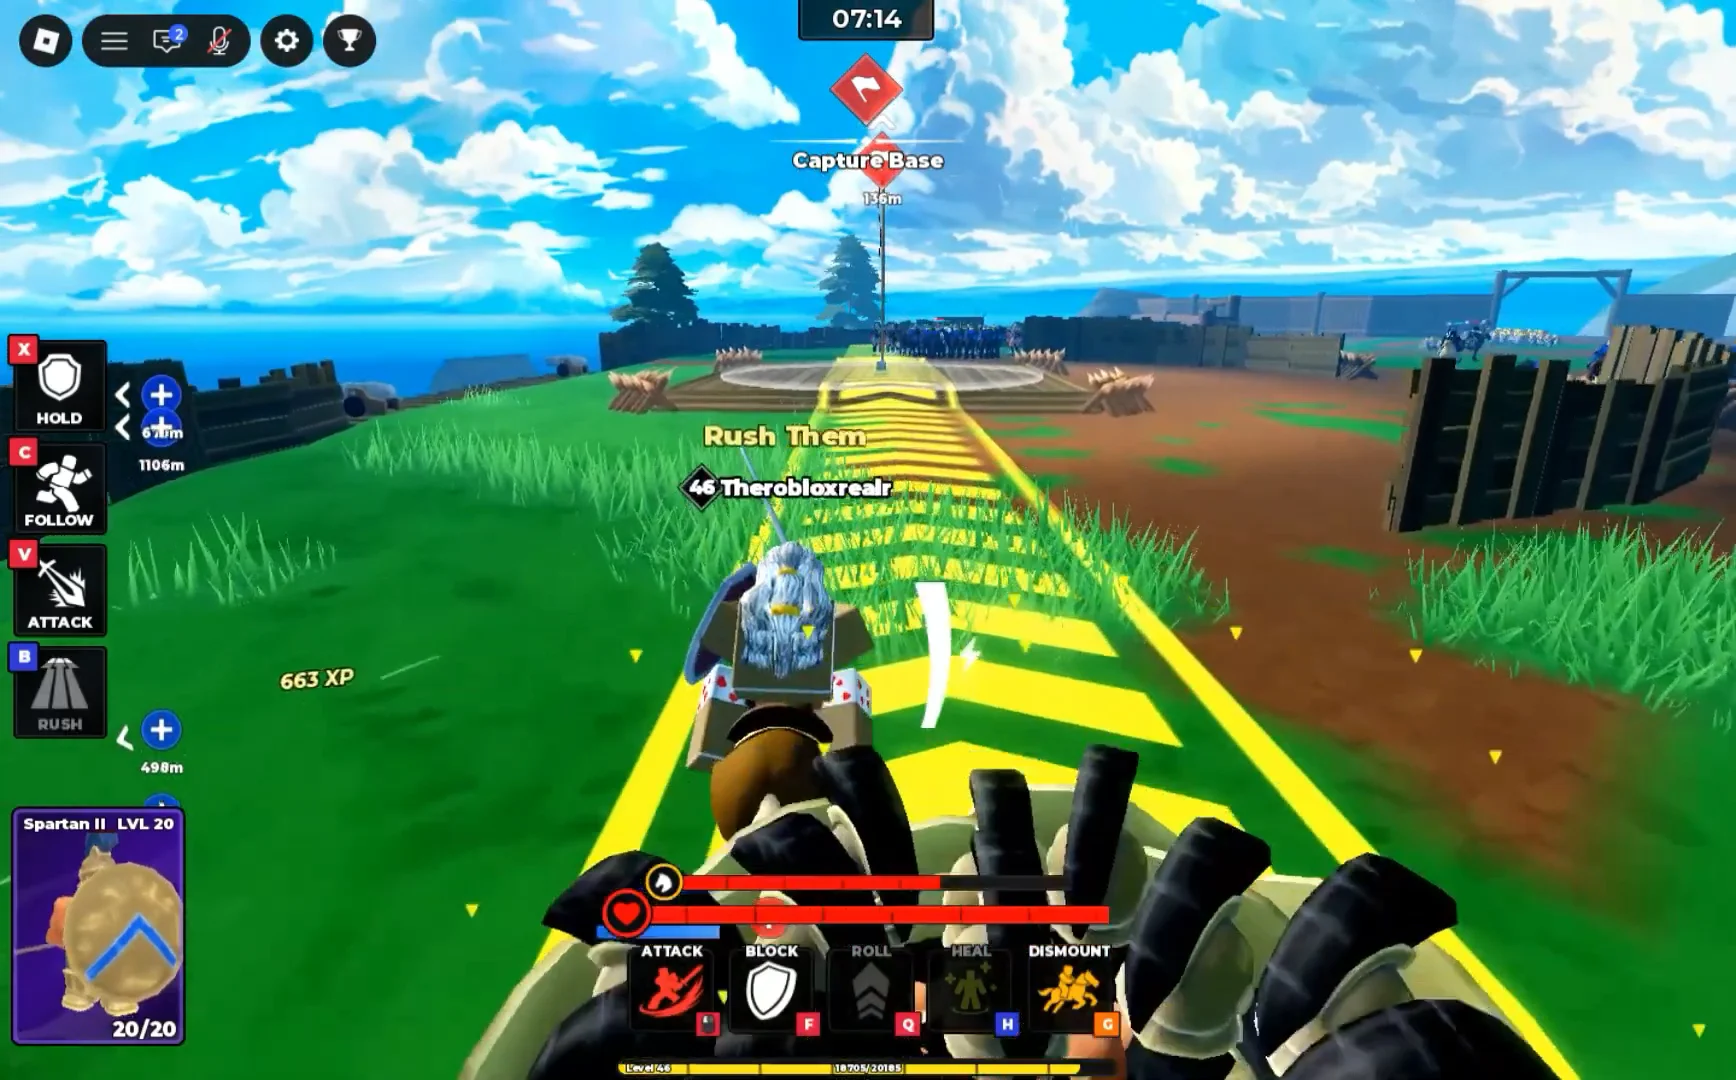
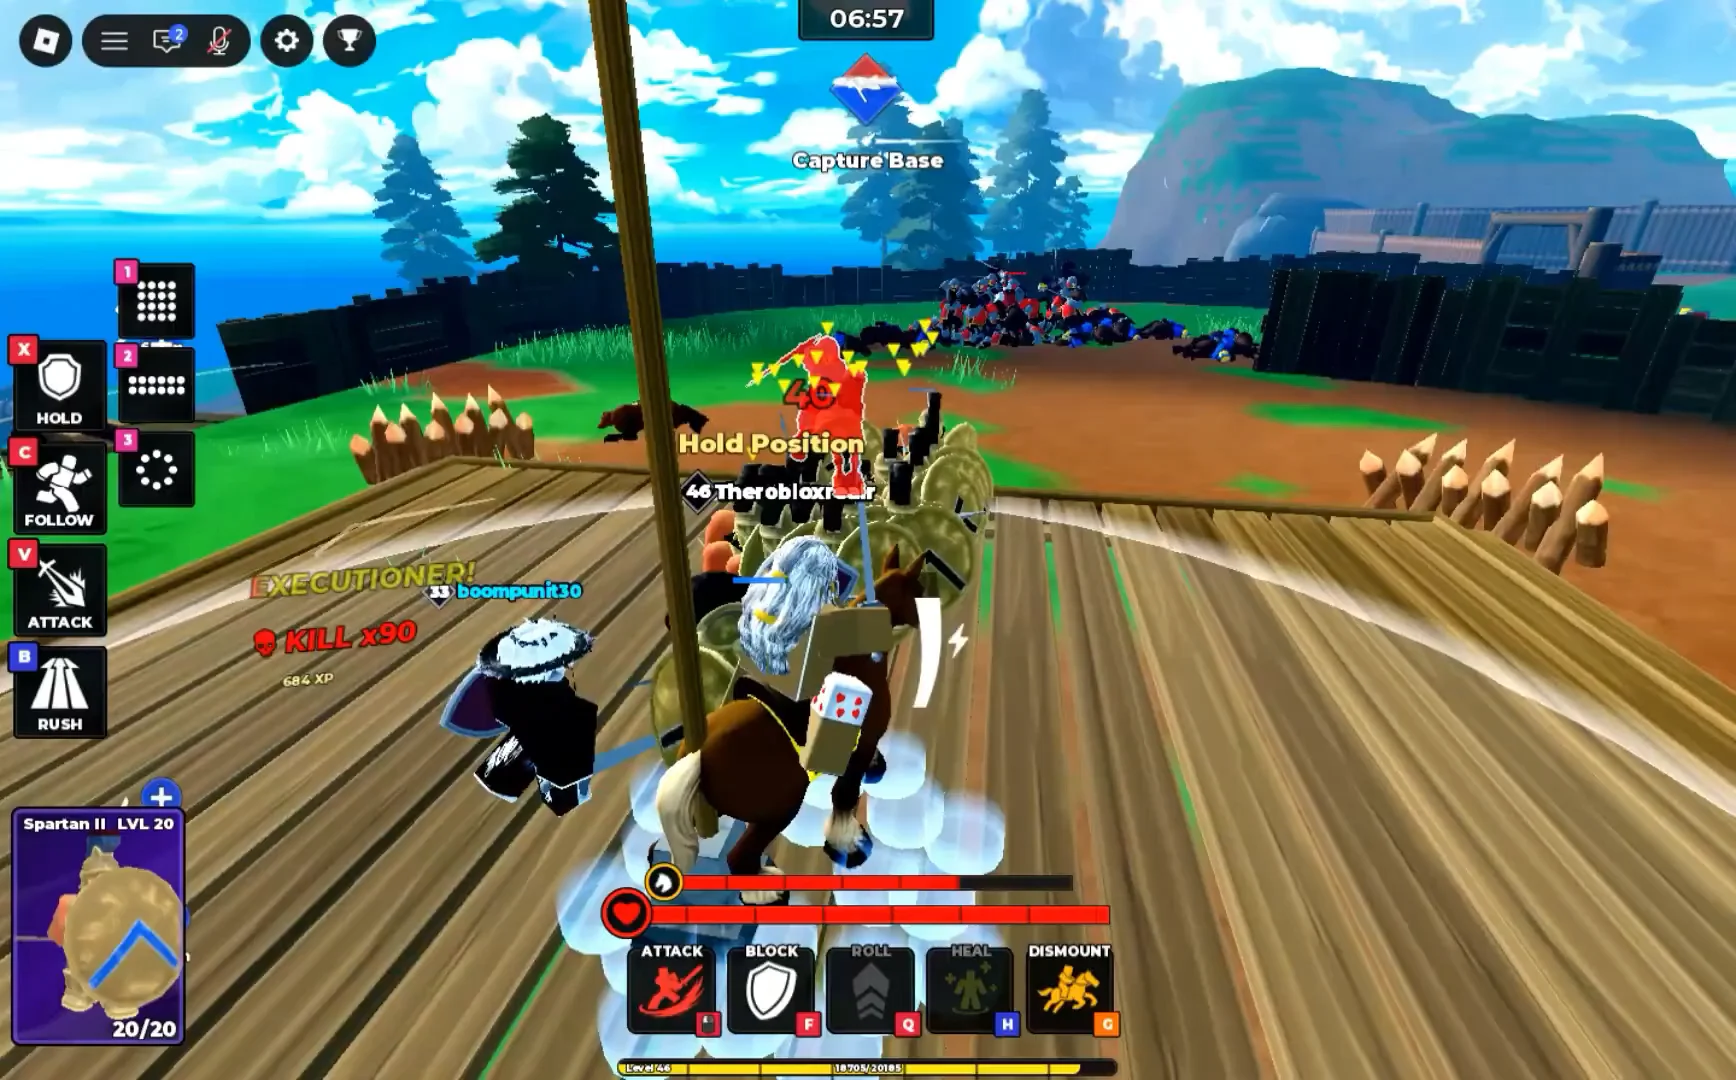
Every time you order the turtle to rush or fight, you drop the shield wall for the duration of the attack. That is when Spartans take real casualties.
Re-forming the shield wall when the turtle breaks
Under heavy pressure the dome will lose its shape as enemies press in from several sides at once. The fix is to re-issue the formation stance rather than letting the fight play out. Reforming pushes the surrounding mob back out and restores the shields to their outward-facing positions.
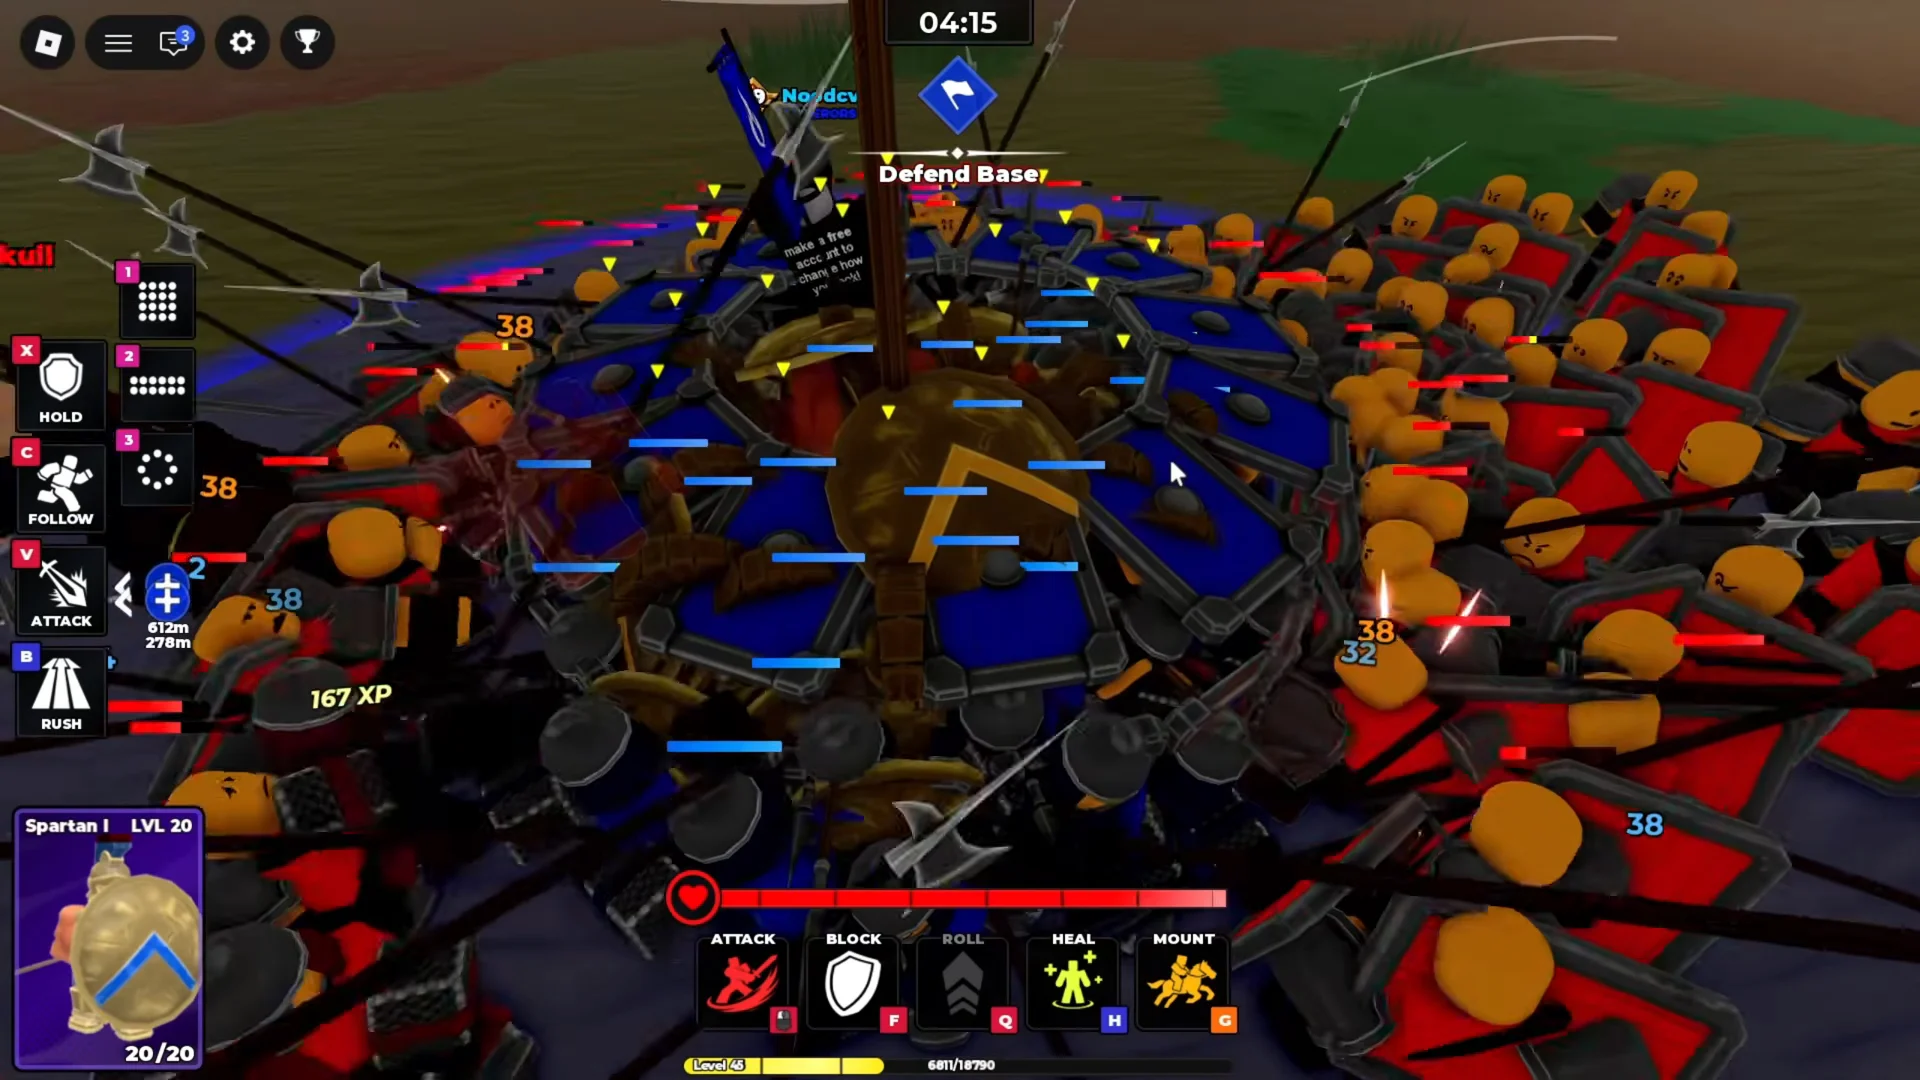
Get into the habit of checking the shape of the formation every few seconds during a contested hold. A turtle that has quietly turned back into a loose brawl is no longer protecting the point, and it will be worn down by crossbow fire long before the timer runs out.
Which units belong outside the Spartan turtle
The turtle is a core, not a whole defense. Your other units should ring it so that the things Spartans hate never reach the shields in the first place.
| Unit | Job around the turtle |
|---|---|
| Halberdier | Face outward to stop rushing Lancers |
| Shieldman | Absorb pressure, cover the approaches |
| Spear units | Anti-cavalry screen on charge lanes |
| Archers, Crossbowmen | Shoot from behind the protected line |
Halberdiers and shielders positioned on the outer edge take the cavalry impact so your Spartans never have to break stance for it. Ranged units sit behind that line and add damage while staying out of melee, since archers and crossbowmen fold quickly if anything reaches them.
When to let Spartans attack
There is a window for offense, and it comes after the enemy wave has already been thinned by your outer units. Once the pressure around the point drops off, order the Spartans to attack and clear the stragglers at close range, then put them straight back into formation 3. Treat it as a short cleanup sweep with a hard time limit, not a pursuit.
On offense the sequence flips around. Turtle up first, walk the formation into range of an enemy cluster, and only then trigger the charge. Hitting a group while already in shield stance breaks their ranks without exposing your Spartans to the return damage they would take from a loose, open approach.
Holding Point A in castle defense
Castle maps give you a job to do before the infantry arrives. Ride up to the ramparts and man the cannon, which starts with 10/10 ammo, and fire on the siege towers and battering ram crews while they are still crossing open ground. Every siege engine destroyed out there is a wave that never touches your wall.
Once the ammo is spent, return to the Point A capture zone and lock the circular formation there. Halberdiers and mace infantry will climb onto the battlements, and swarms typically converge from the left and right ramps at the same time. Staying inside the capture boundary is what blocks the capture; killing attackers is secondary.
Crossbow fire and advancing Squires are the main test of the hold. Keep the dome tight so arrows cannot find a gap, and only disengage when the remaining mercenary infantry are close enough to wipe out quickly. Reassemble on the point immediately afterwards, and stack with allied shield units for the final countdown.
What counters a Spartan turtle
Spartans are not immune, and knowing what removes them tells you where not to park them. High-damage Samurai holding stairs and wall choke points chew through Spartan formations, because a narrow corridor stops the circle from spreading its shields properly.
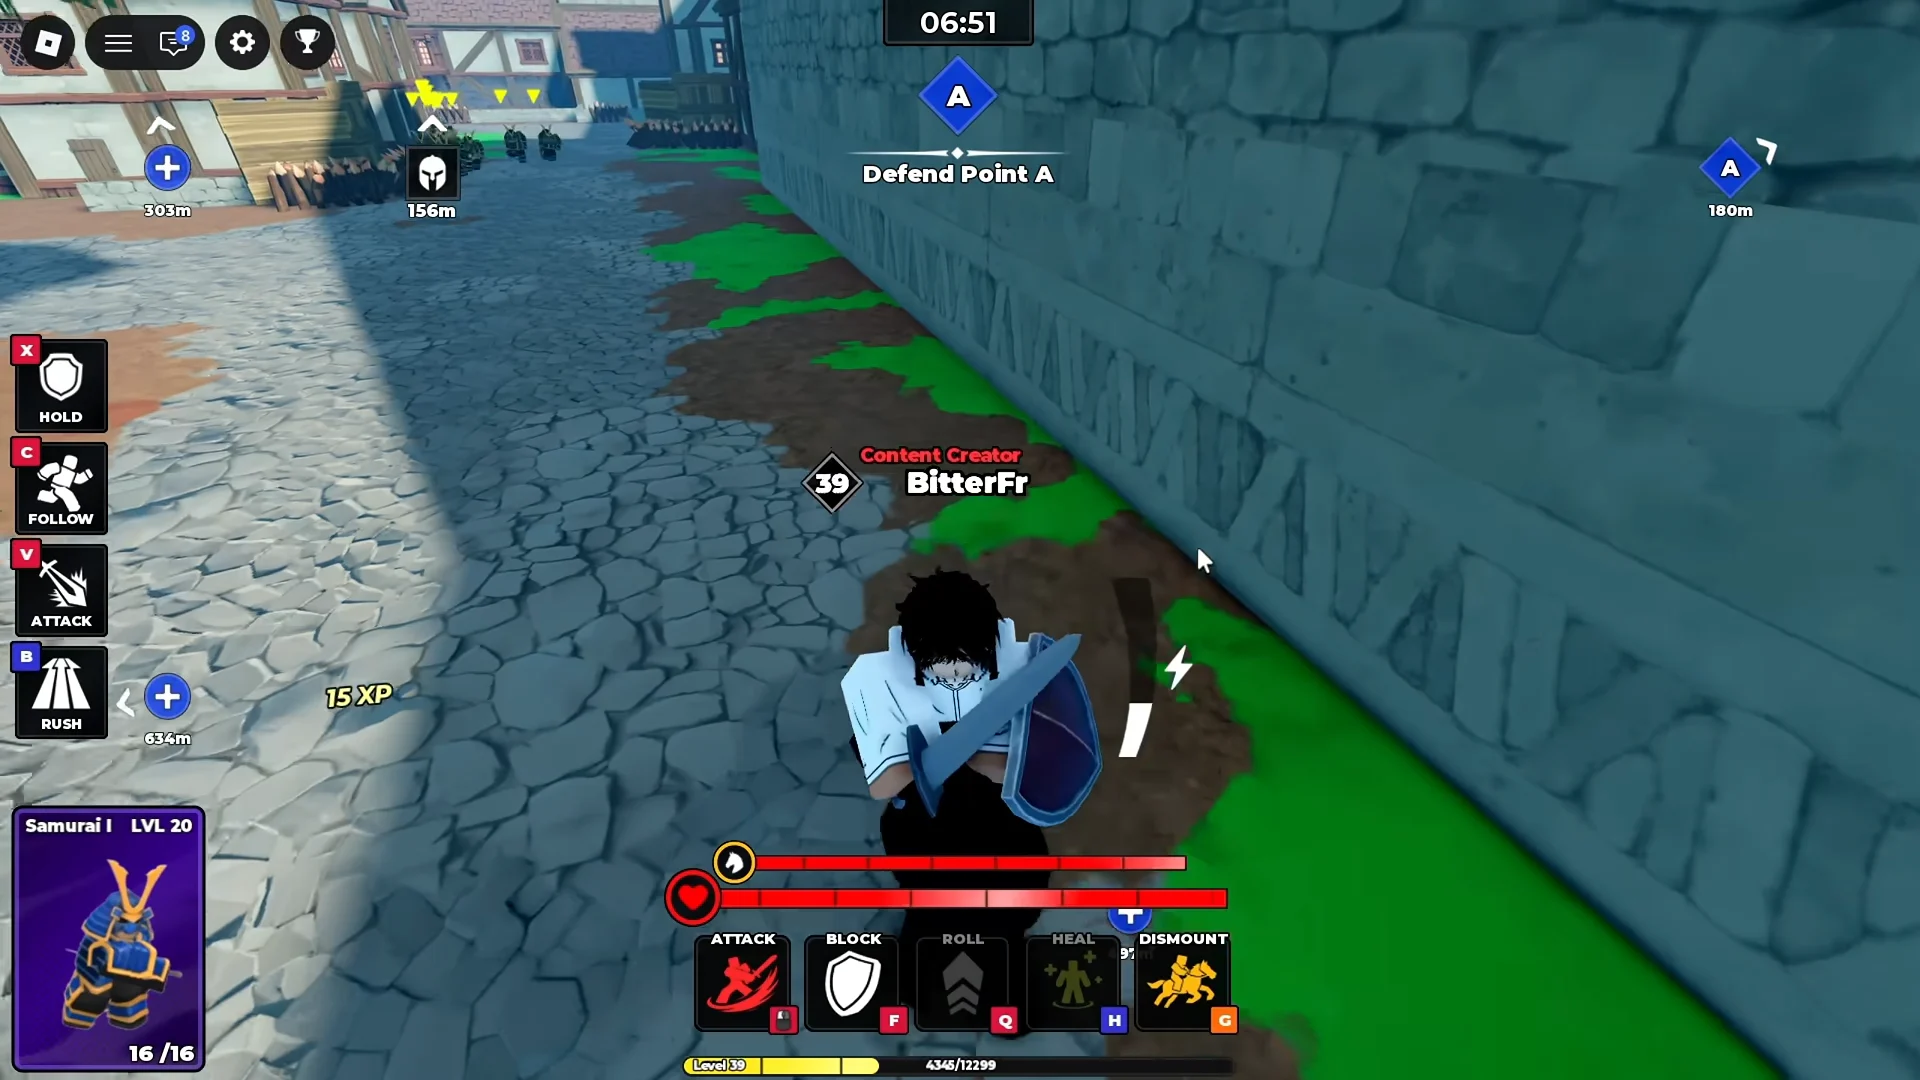
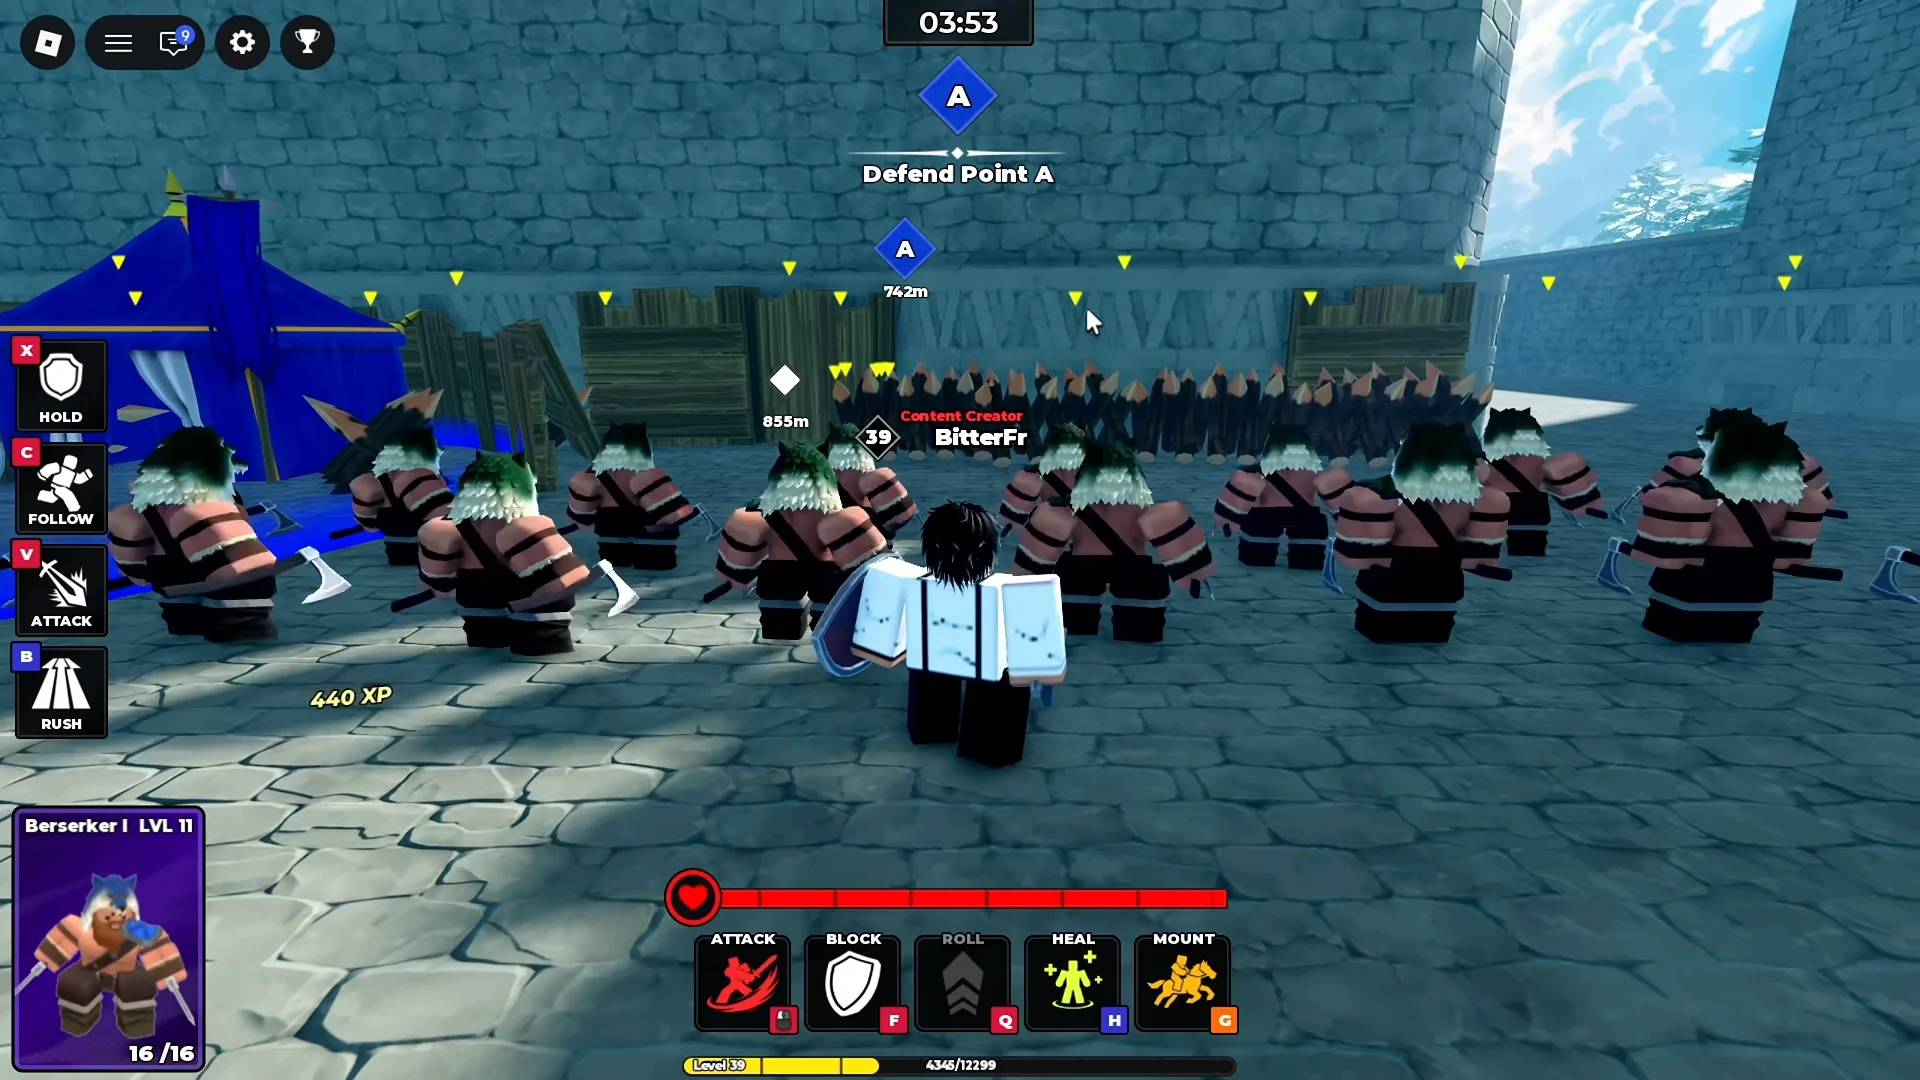
Berserkers are the other direct answer, thrown in mass against Spartan groups holding a point in town streets. If you are on the receiving end of either, reposition the turtle onto open objective ground where its full circle can form, rather than trying to win the choke.
How to tell the hold worked
The clearest confirmation is on-screen during the fight. Kill banners stack up while the formation is stationary, which means the shields are doing the work instead of your soldiers trading blows. If those banners appear while the squad is standing still on the flag, the setup is correct.
At the end of the round, a successful defense ends with the yellow VICTORY banner and a final score, and any Decisive Victory daily quest you have active can be claimed from the lobby afterwards. If the timer expires with your Spartans still standing inside the circle, the strategy did its job.
The mental shift is the whole thing. Spartans are a position you place, not a weapon you swing, and almost every loss with them traces back to an order that took them off the point.