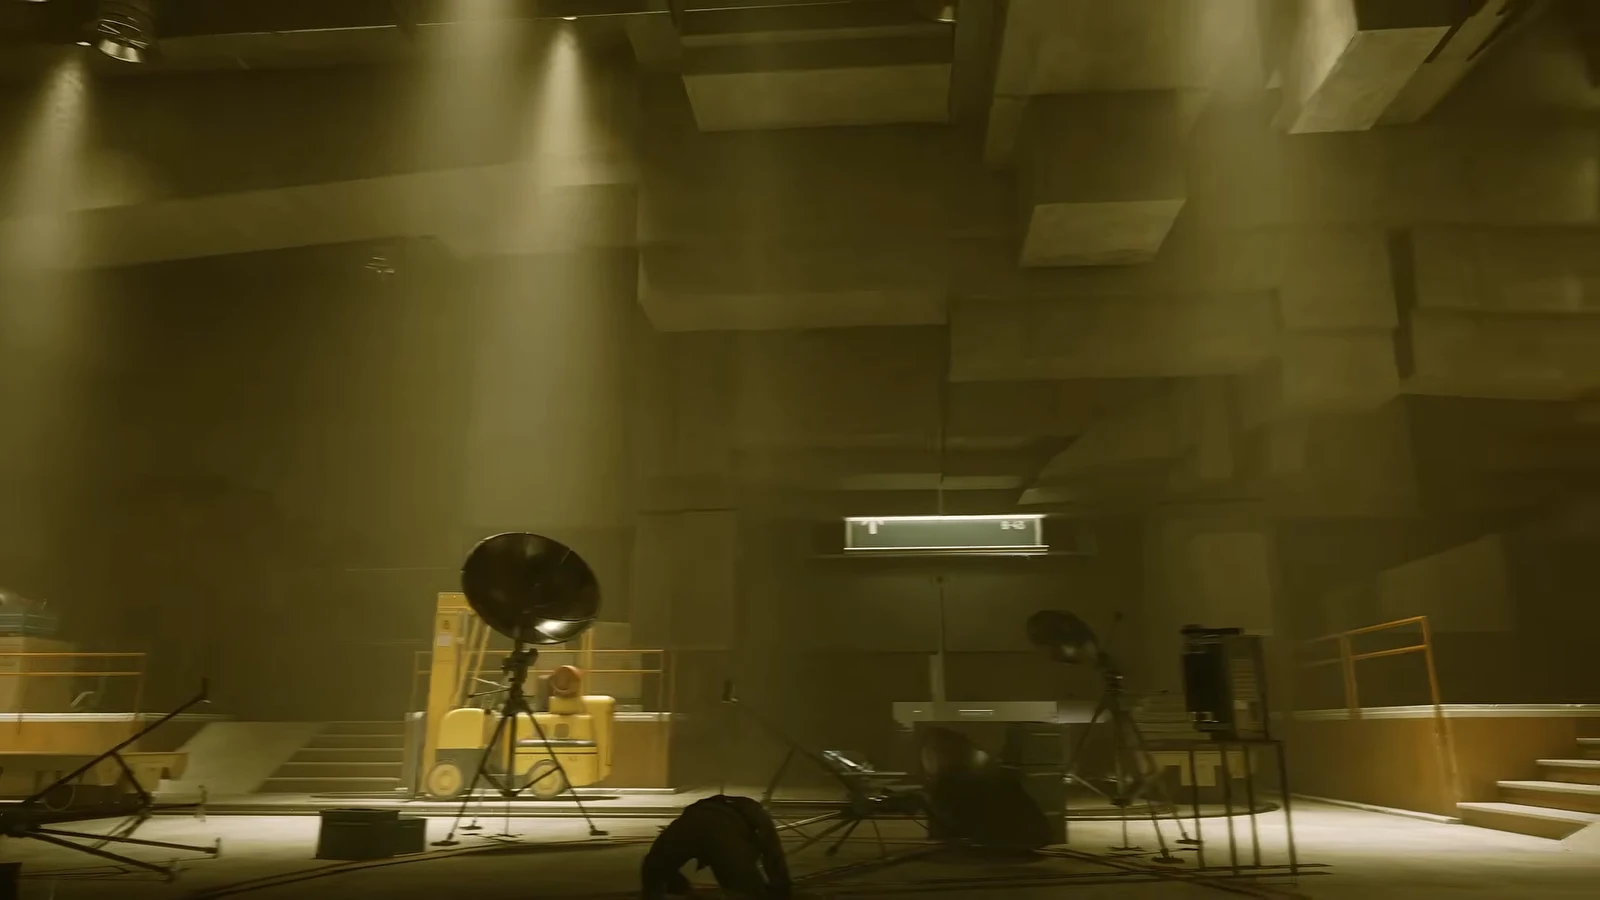
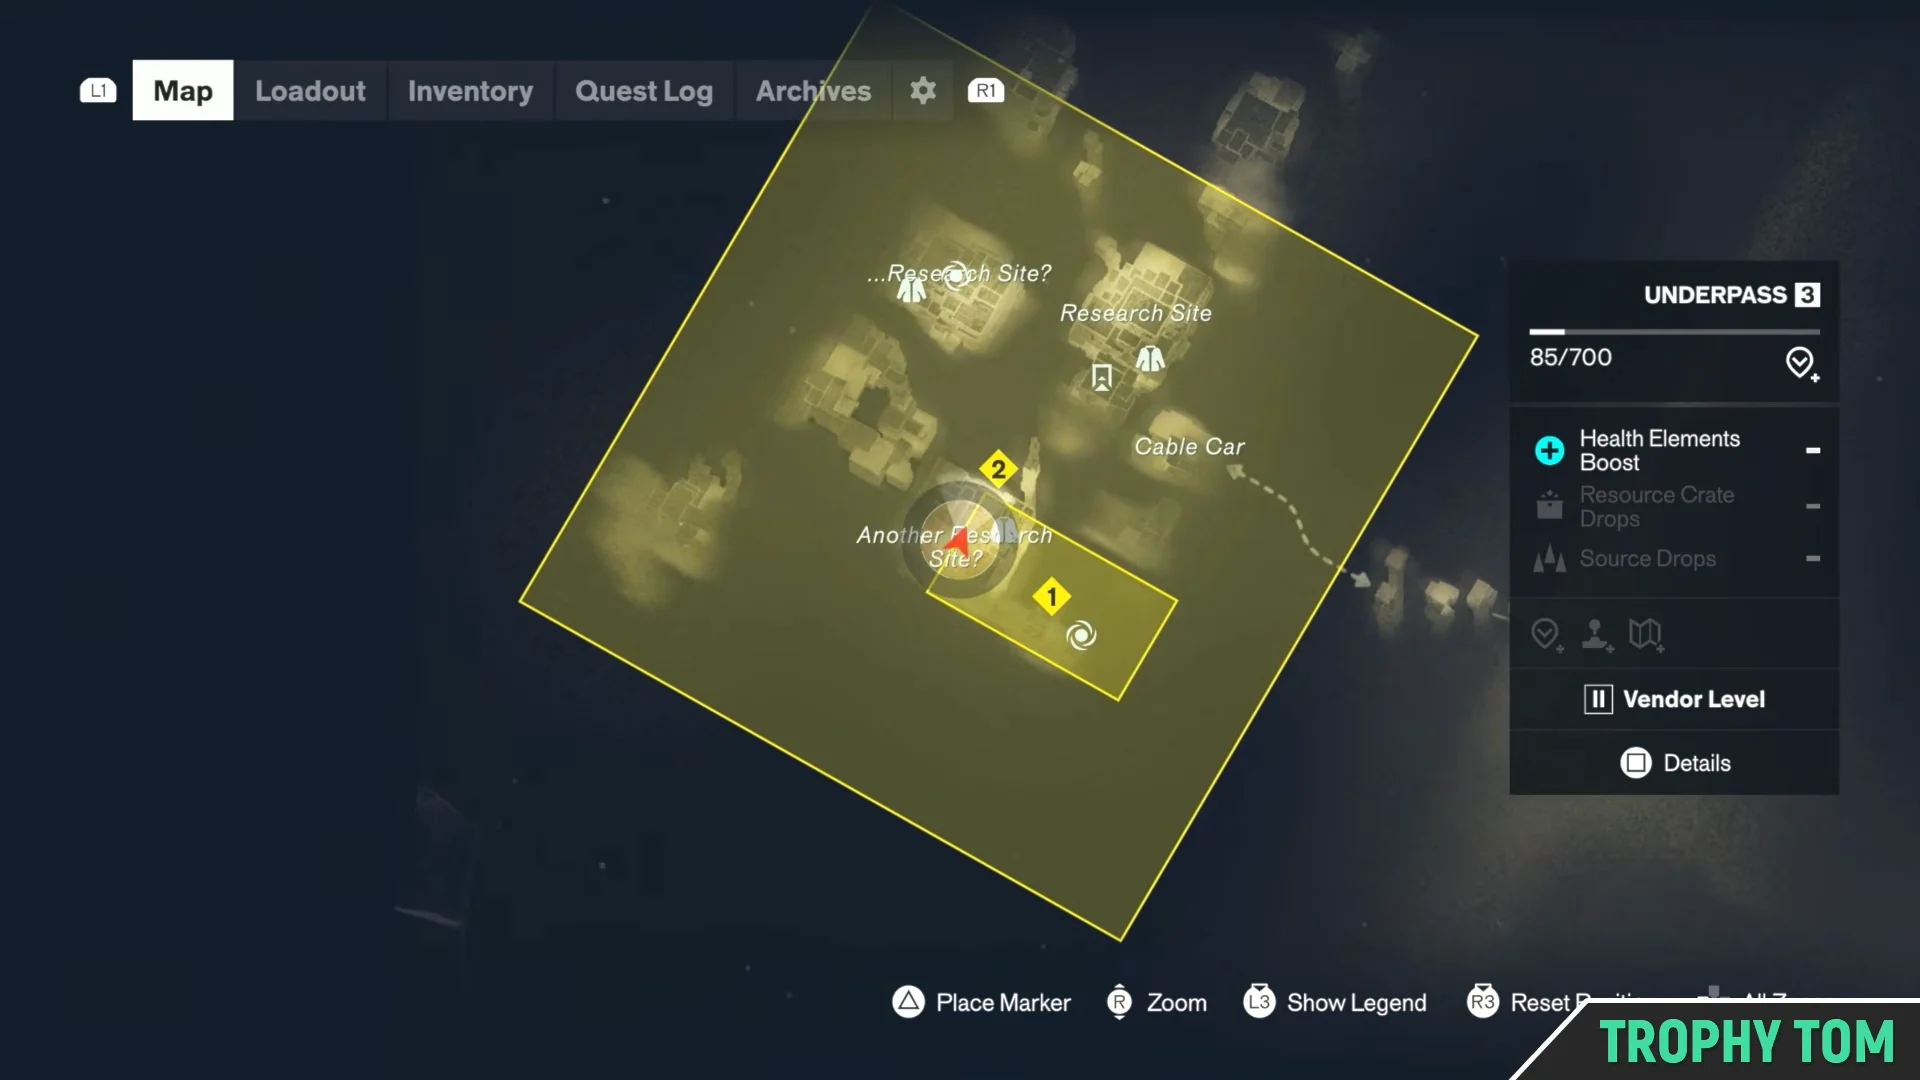
Locate Grist is a mid-mission objective in Recursions and Iterations, the Control Resonant story mission that sends Dylan Faden below the Sinkhole into the Underpass. It shows up right after you restore the power while tracking the time fluctuations, and the objective marker drops a wide yellow search zone on the map rather than a single pin, which is where most players stall.
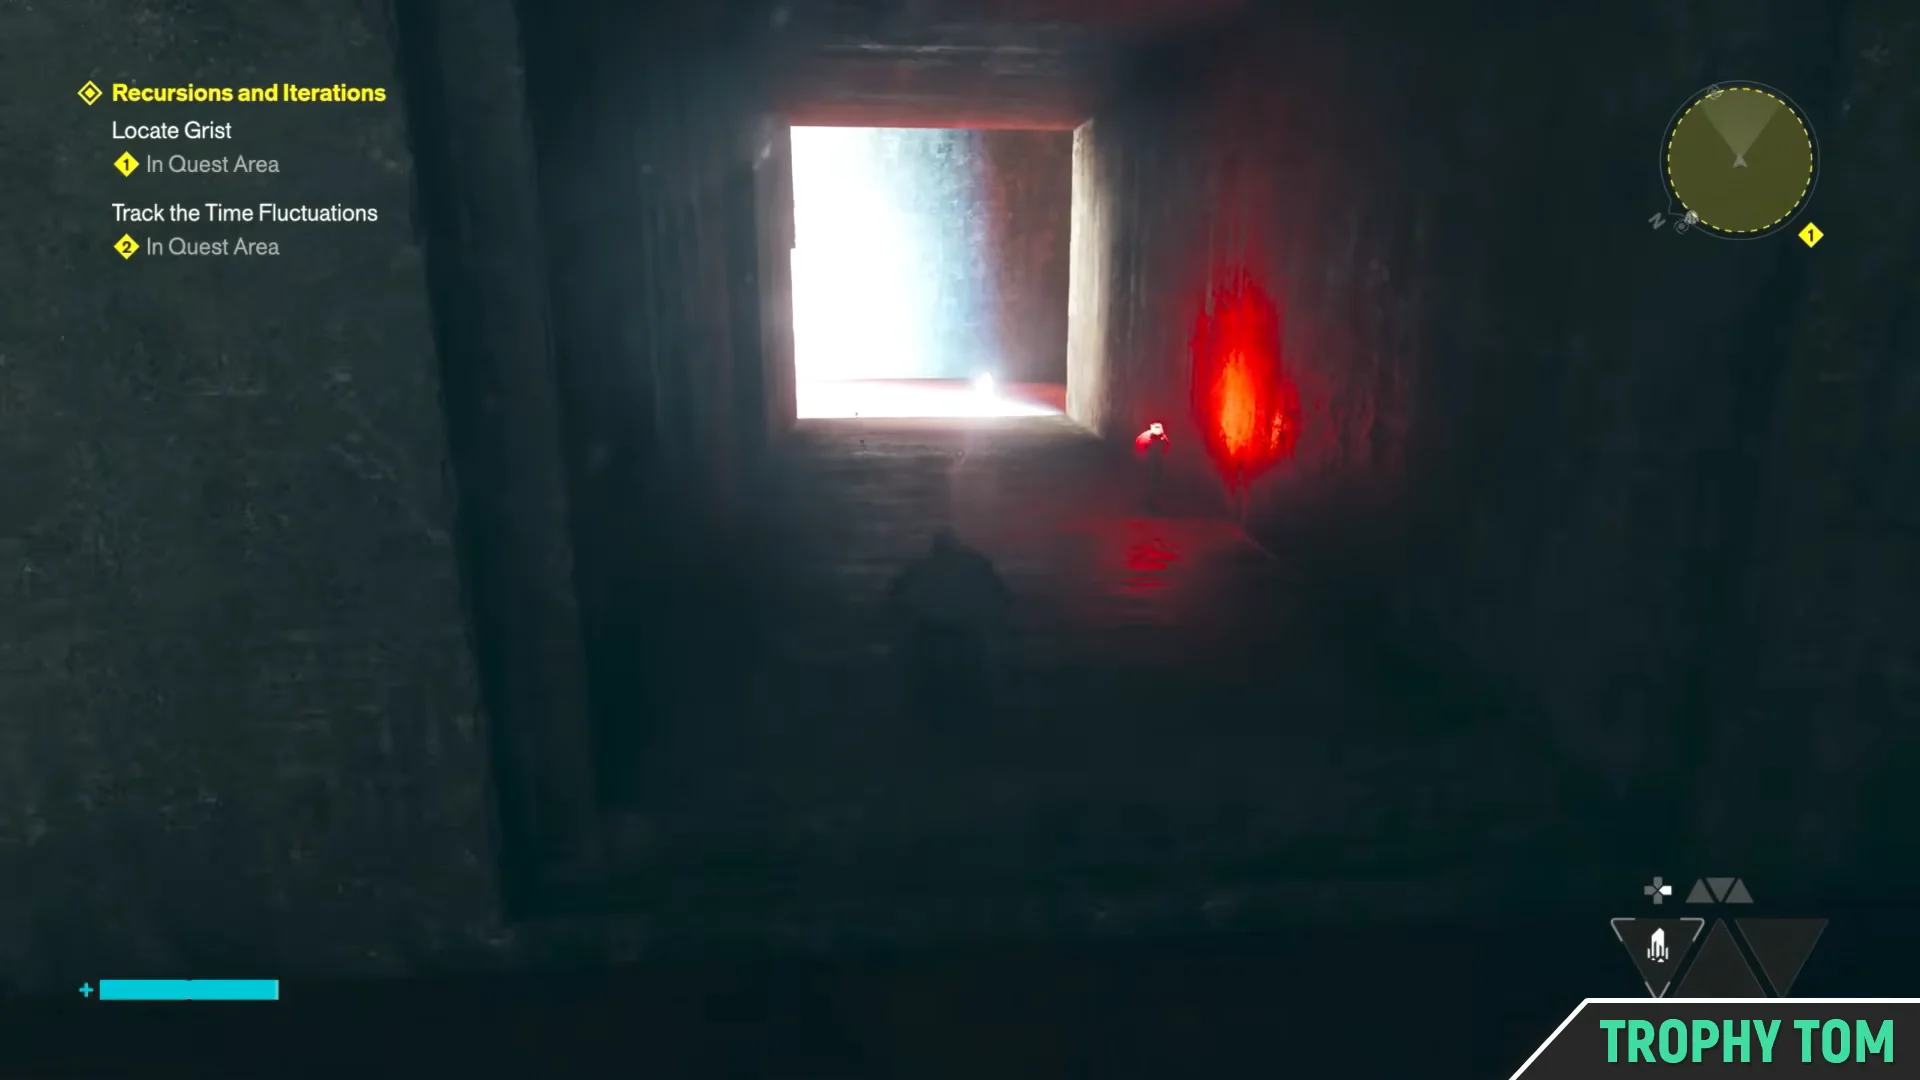
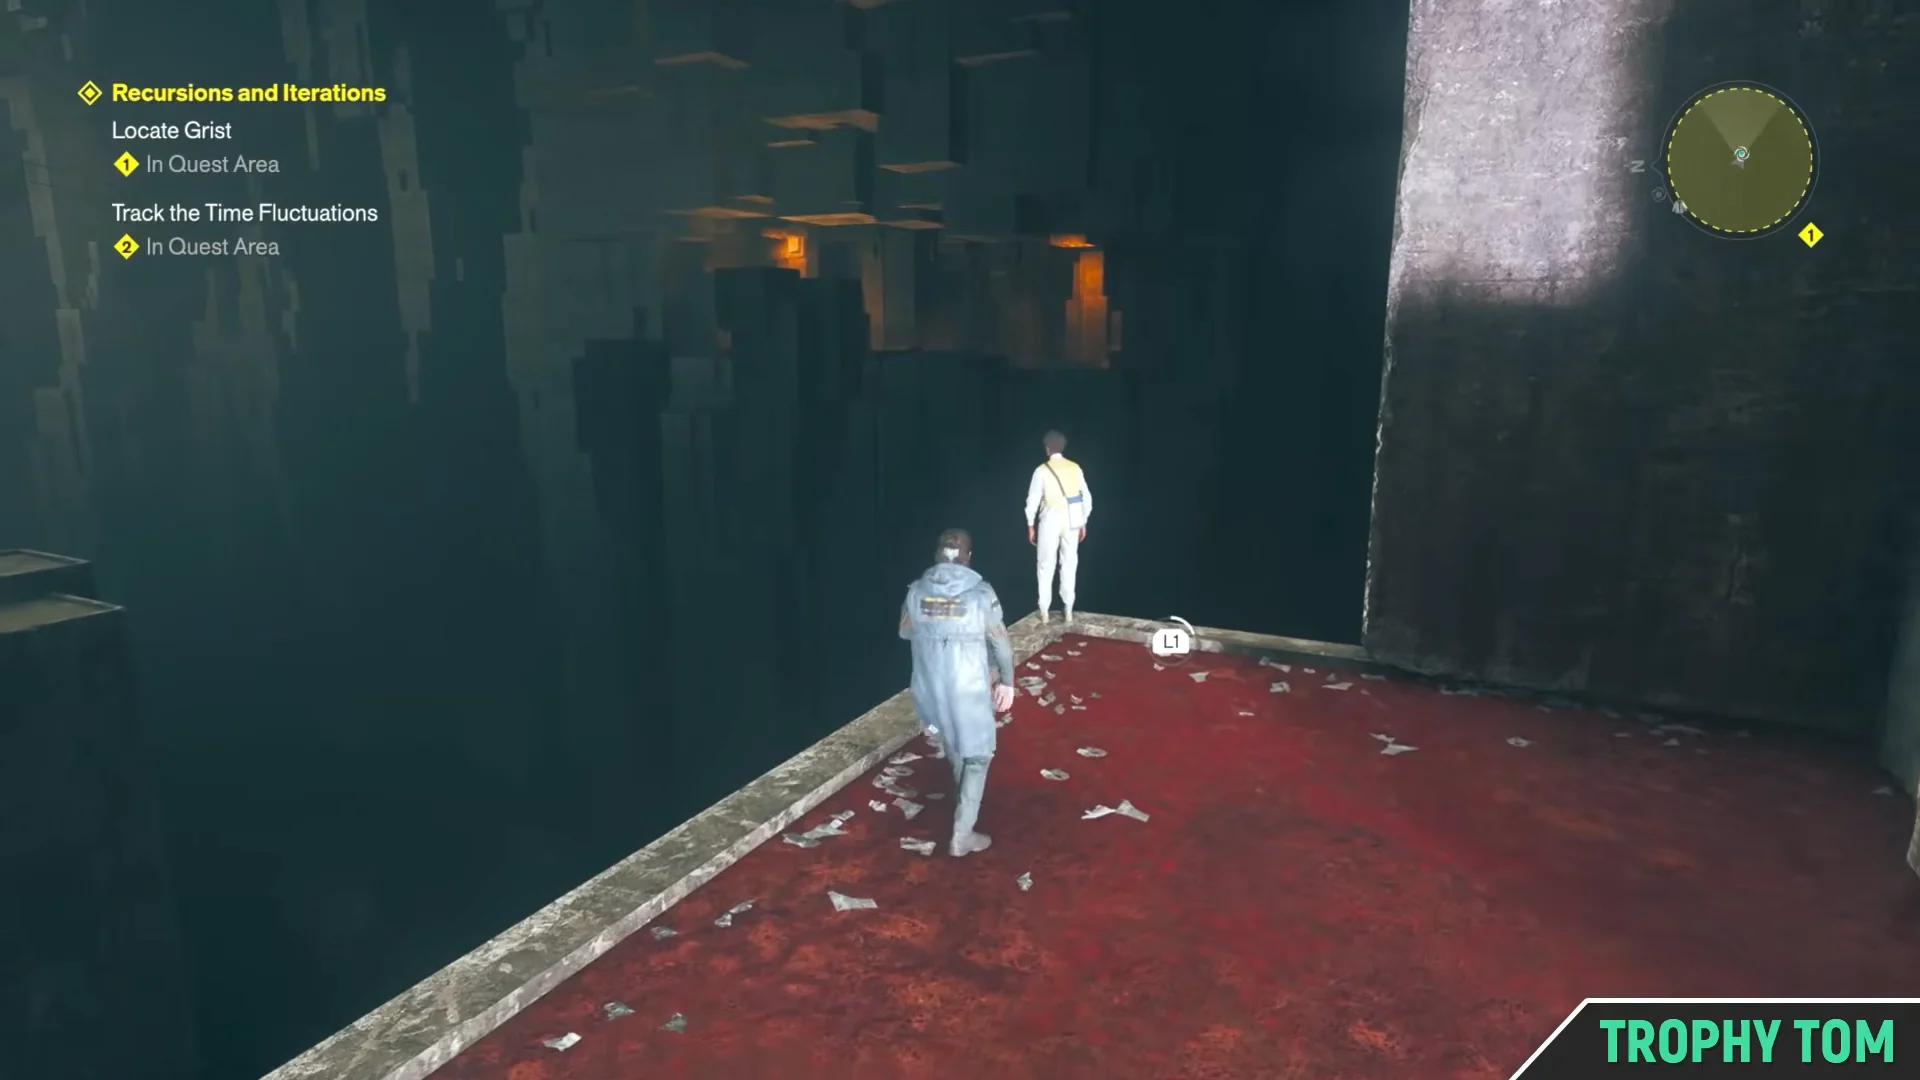
Quick answer: After restoring the power, leave the control room, climb the concrete stairs, and jump into the lit square tunnel opening in the high wall. Dr. Grist is standing on the open ledge at the end.
What you need before the Locate Grist objective appears
Recursions and Iterations does not run straight through. While you are following the “Locate the research team” objective, you reach an island where both the beacon and an island of orange pipes are visible, and the mission soft-blocks until you have cleared two Fault rituals.
- Shift, unlocked by completing The Incursion Fault in the West Incursion Zone.
- Reach, unlocked by completing The Subway Fault in the Evacuation Zone.
- The Underpass Fault, which you enter from the island of orange pipes after obtaining Reach.
- The “Track the time fluctuations” objective active, with the power restored in the Underpass control room.
Return to the Underpass through The Spire fast travel point when you come back from the Subway Fault. It drops you far closer to the orange pipes than walking back down through the Sinkhole.
Where Locate Grist sits in the Recursions and Iterations objective order
| Objective | Where it happens |
|---|---|
| Track the time fluctuations | Underpass, below the Sinkhole |
| Restore the power | Underpass control room |
| Locate Grist | Underpass 3, ledge above the search zone |
| Locate the transmission tower | Underpass |
| Defend the transmission tower | Transmission tower site |
| Cross the chasm | Cable car time fluctuation |
| Follow the relays to Grist | Chasm floor below the ledge relay |
| Place the final probe relay | End of the relay route |
Two separate objectives in this mission point you at the same man, and they are not the same task. Locate Grist is the short indoor detour described below. Follow the relays to Grist comes much later, after the transmission tower fight and the cable car crossing.
Route to Dr. Grist in Underpass 3
How to confirm the objective completed
When the conversation ends, Grist breaks apart in a burst of particles and disappears from the ledge. That is the completion cue. The Quest Log then rolls over to Locate the transmission tower, which is your next Recursions and Iterations objective.
If Grist is still standing there and the objective has not moved on, you have not exhausted the dialogue yet. Re-interact and pick the remaining lines until the particle effect plays.
The later Follow the Relays to Grist objective
Once you have defended the transmission tower, reached the time fluctuation at the cable car, and crossed the chasm, a power relay station activates and the objective updates to Follow the relays to Grist. From there the route is a long descent rather than a search.
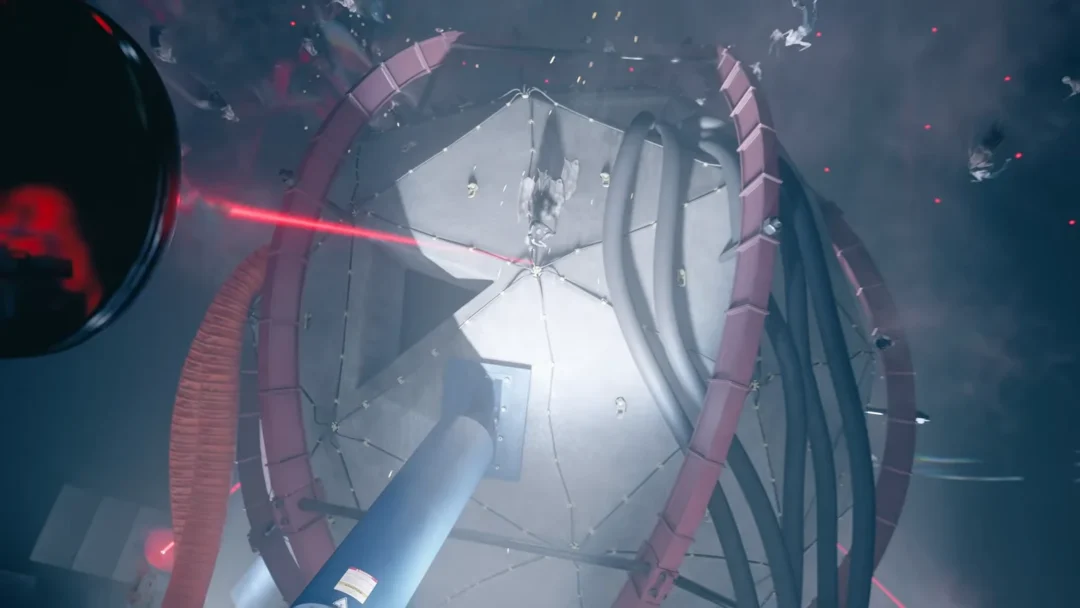
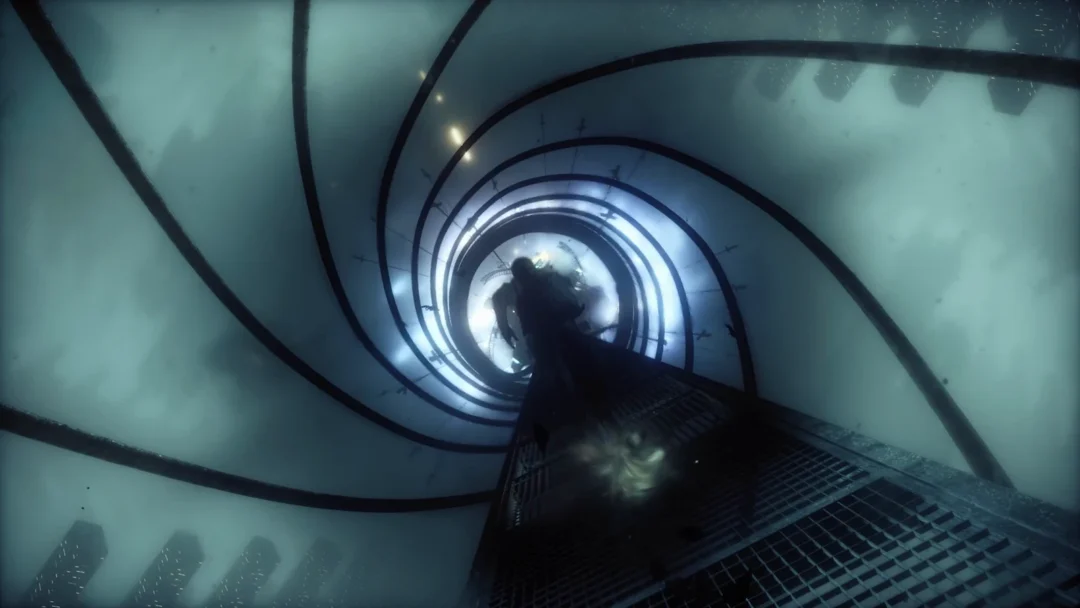
Platform across the high concrete pillars and pipes, then follow the red beacons down a corridor to a concrete overlook above the molten light below. Drop off that ledge and land on the rectangular columns, then traverse the moss-covered pipes, tracking the red marker lights through the narrow passage. You pass Dylan’s Corpse and a set of flooded chambers on the way.
Climb the wall ledges into the upper office room, then leap through the wall openings and drop down to the red floor with the lit relay workstation on it. Turning the corner past that relay brings you to Grist again, and this time an enemy emerges instead.
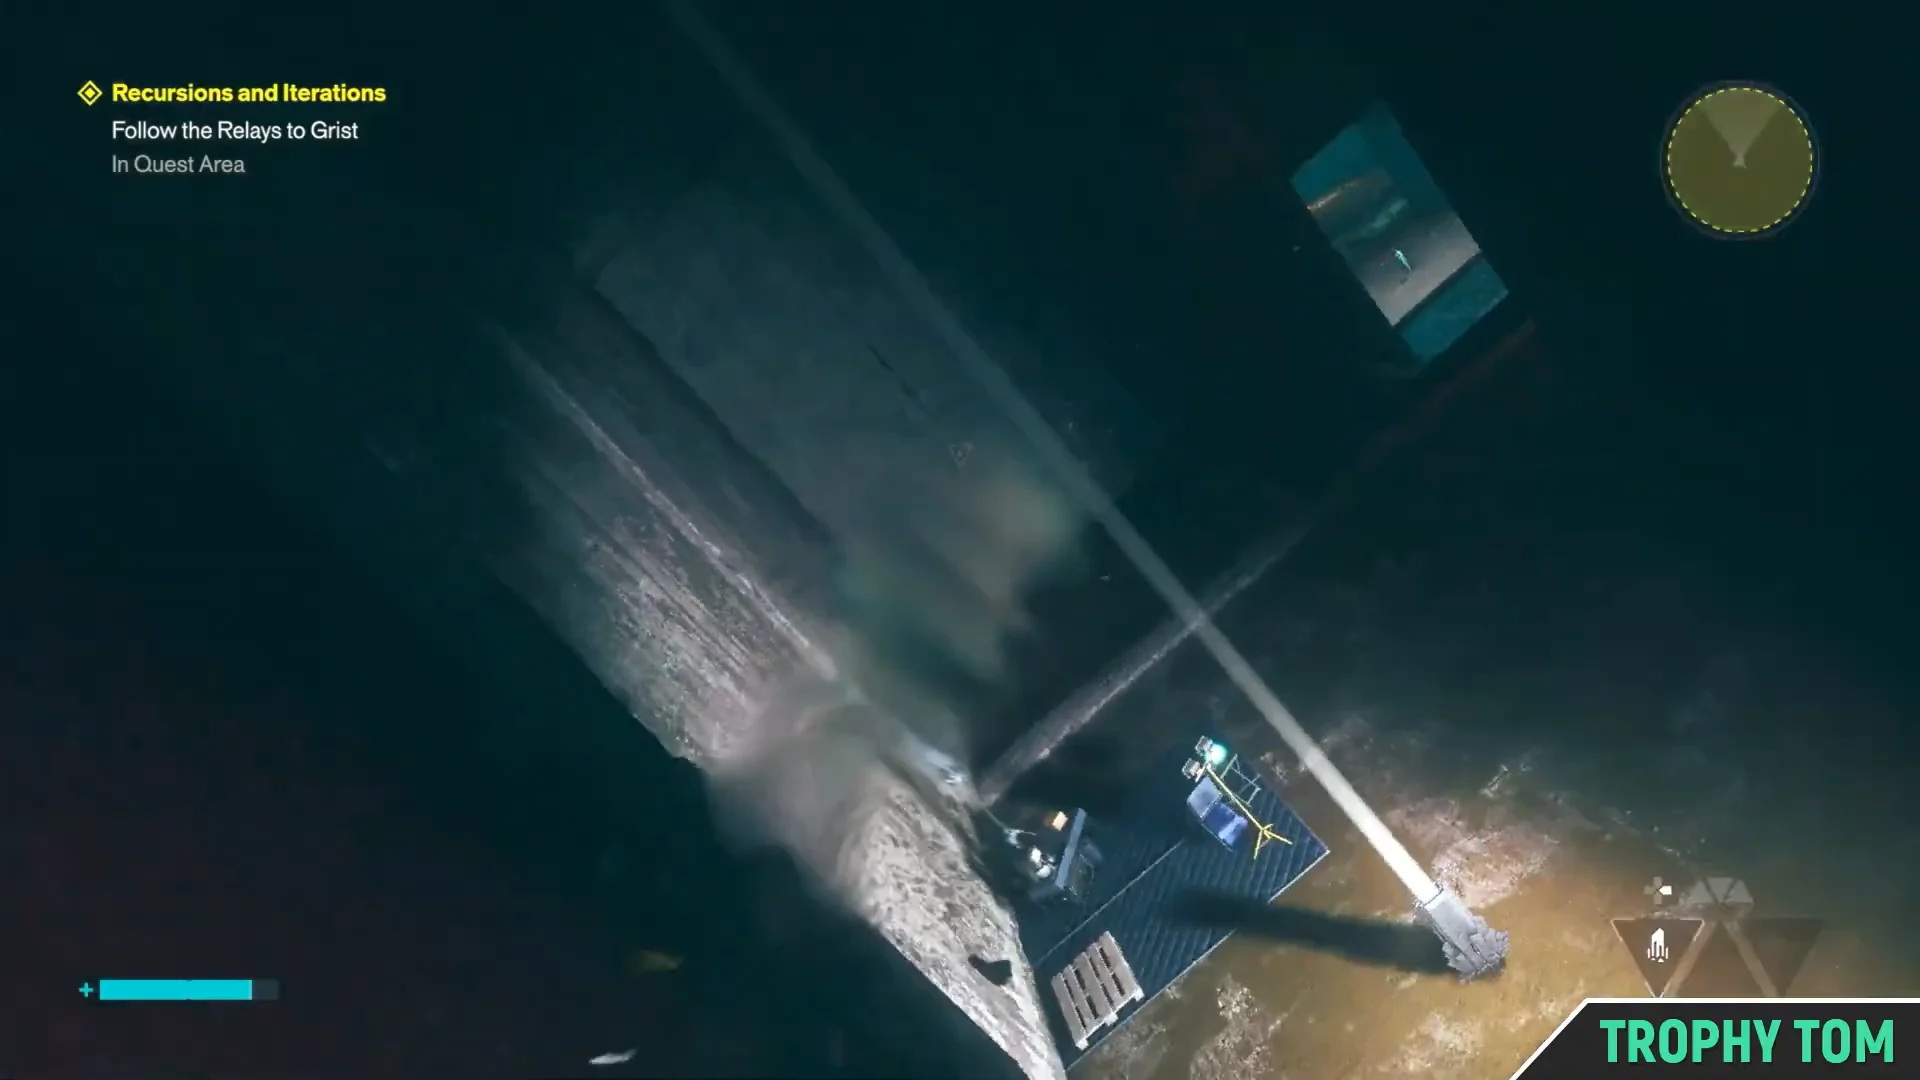
The same descent also holds the third of three Power Upgrade Points in this stretch, picked up while platforming across the pillars near the start. Worth grabbing on the way down, since Recursions and Iterations leads directly into tougher fights and the Resonant Cycle keeps pushing enemy strength upward.