Control Resonant: How to Find the Team Below the Sinkhole
The full route from the Downtown rooftops to the Underpass, including the two chasms and every shaft drop.
The full route from the Downtown rooftops to the Underpass, including the two chasms and every shaft drop.
by Kabir Anand
Image: Remedy Entertainment
“Find the Team Below the Sinkhole” is one of the easiest objectives in Control Resonant to get lost in, because the marker points straight down through several floors of shifting geometry. The path is fixed, though. You need a rooftop fast travel point in the Evacuation Zone, one very specific building at street level, and the confidence to keep dropping down shafts that look fatal.
Quick answer: Fast travel to Main Street in Evacuation Zone 5, drop into the Laundromat and take the basement stairs, then follow the shifting apartments down three shafts to the Underpass.
When the objective appears
The objective belongs to the Recursions and Iterations mission, which opens after Dylan has finished Enemy of My Enemy and defeated The Collective. Recursions and Iterations starts with a meeting with Pope in the Oldest House lobby, and “Find the Team Below the Sinkhole” is the objective that follows it. Around the same point you can also pick up the quest Into the Valley of Death at the Bureau of Altered, so the run below usually begins from inside that building.
You do not need a new traversal ability for this stretch, but you do need glide, because several of the drops are long enough to kill you otherwise.
If the Hiss patrols on the way keep stopping you, Assist Mode has immortality and one-hit-kill toggles. Nothing on this route requires you to win a fight.
Leave the Bureau of Altered and run out onto the Downtown streets. Head in the direction of the nearest low rooftops rather than looking for a subway or a door at ground level.
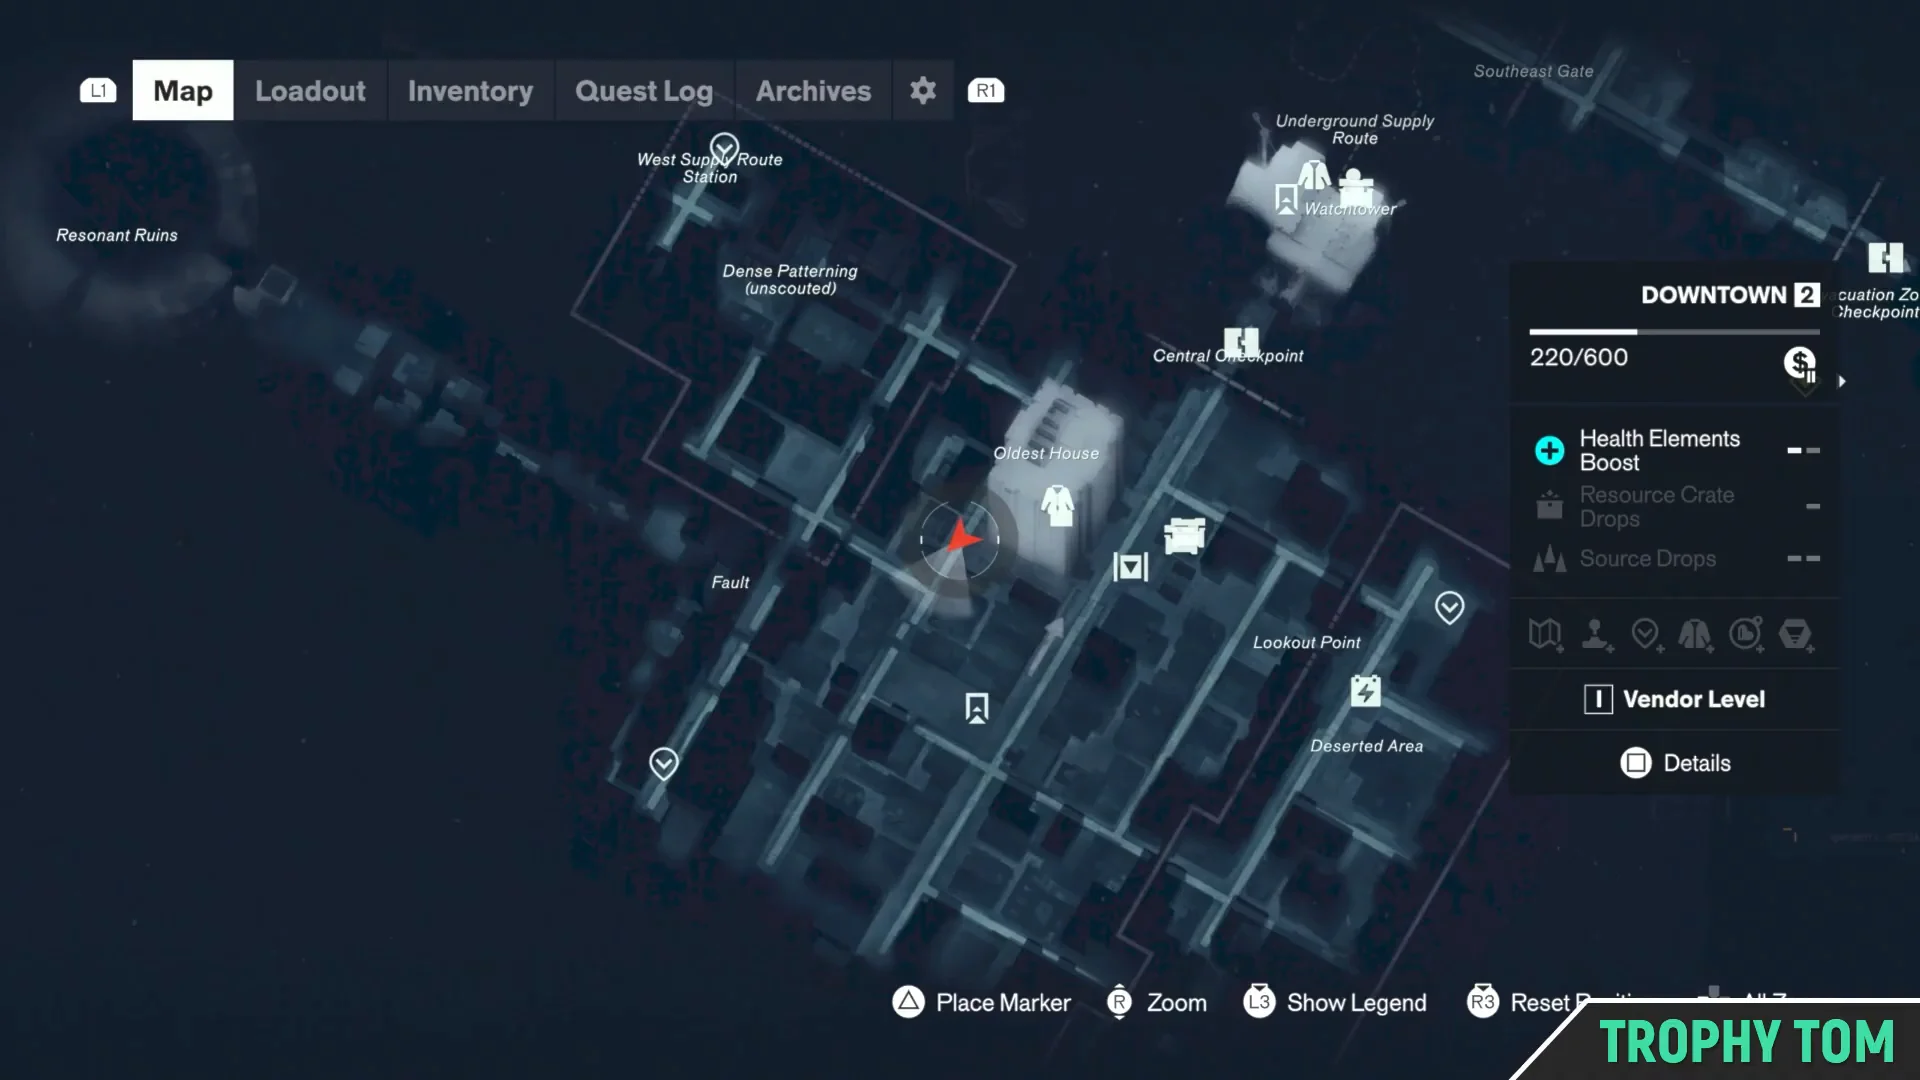
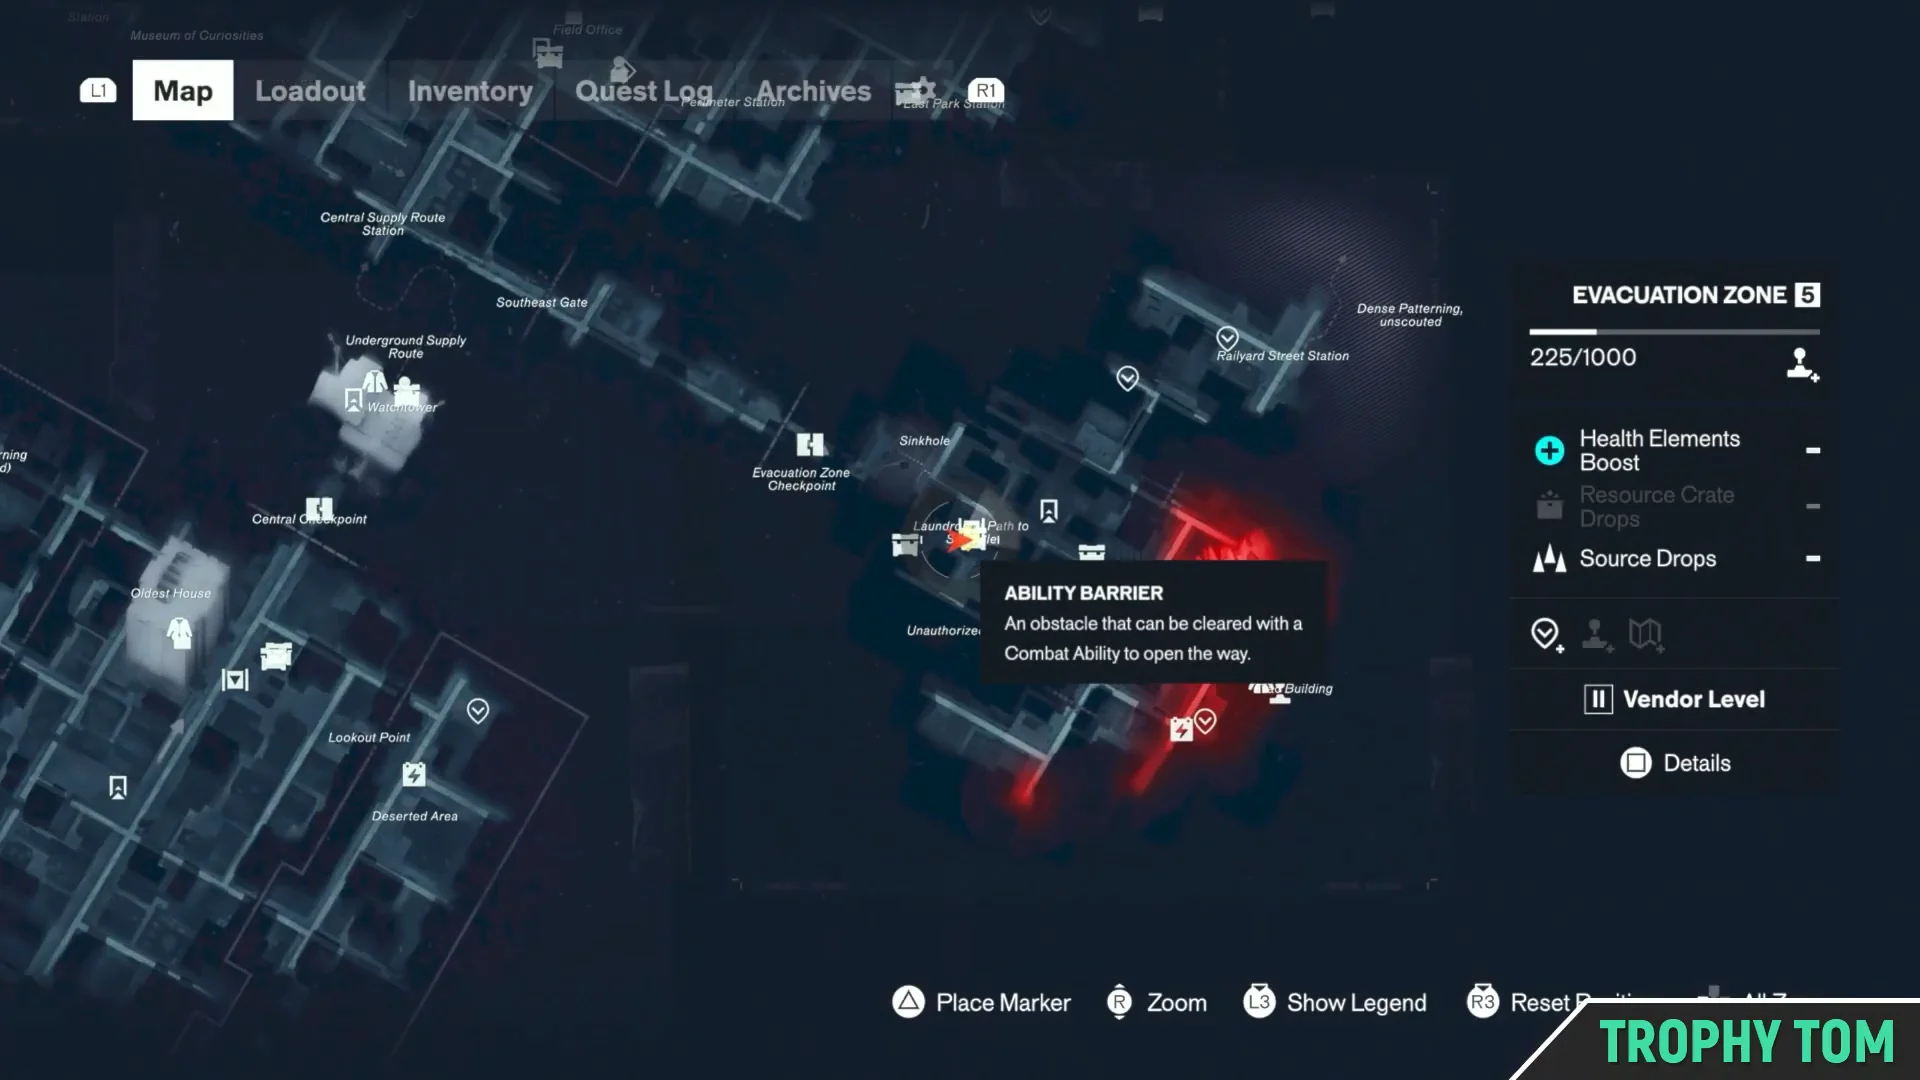
Open the map and check your position. You should be in Downtown 2, with your marker sitting near Central, which is the corner of the district the rooftop climb starts from.
00:20Map CheckThe Downtown 2 map, with Dylan's marker near Central. Shown at 00:20 in Trophy Tom’s video. Image: Remedy Entertainment
Jump onto a bus stop roof, then onto a shipping container, and pull yourself up to the first rooftop. From there, follow the green smoke flares. They mark the intended parkour line across the block and stop you from wandering onto dead-end roofs.
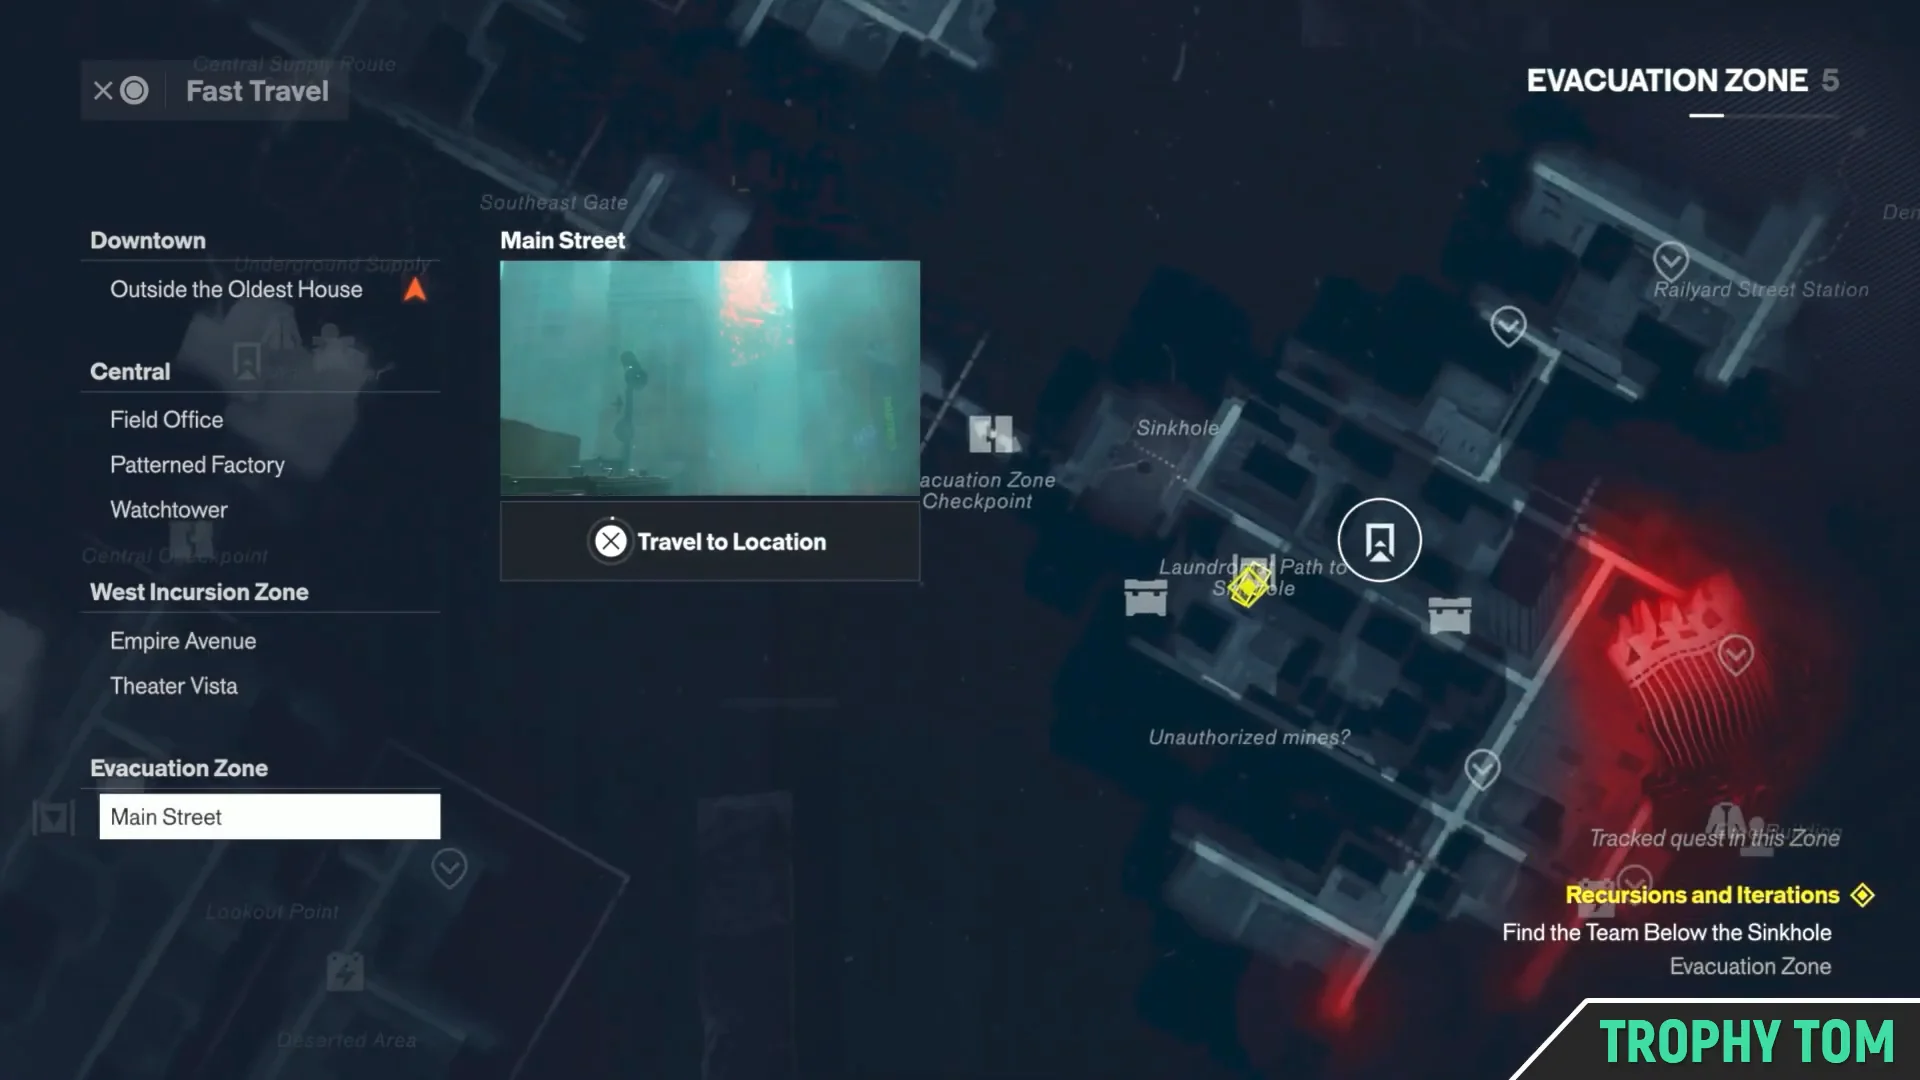
Scroll to the Evacuation Zone group and highlight Main Street. This is the only destination that puts you within gliding range of the Sinkhole.
00:48Fast Travel MenuMain Street sits under the Evacuation Zone heading in the Fast Travel list. Shown at 00:48 in Trophy Tom’s video. Image: Remedy Entertainment
Confirm with Travel to Location. The loading screen cycles gameplay tips while it works, including the reminder that Rush ends on its own after a while or the moment Dylan stops moving.
You arrive on a rooftop in Evacuation Zone 5. Stay high and glide between roofs in the direction of the Sinkhole rather than dropping to the street straight away.
Open the map again if you lose your bearings. The Sinkhole is labelled on the Evacuation Zone 5 map, and the Laundromat you want is on the street beside it.
Drop to street level and go inside the Laundromat. FBC agents are stationed among the machines and will talk at you, but nothing here blocks the route. Head for the stairs down at the back and take them into the basement.
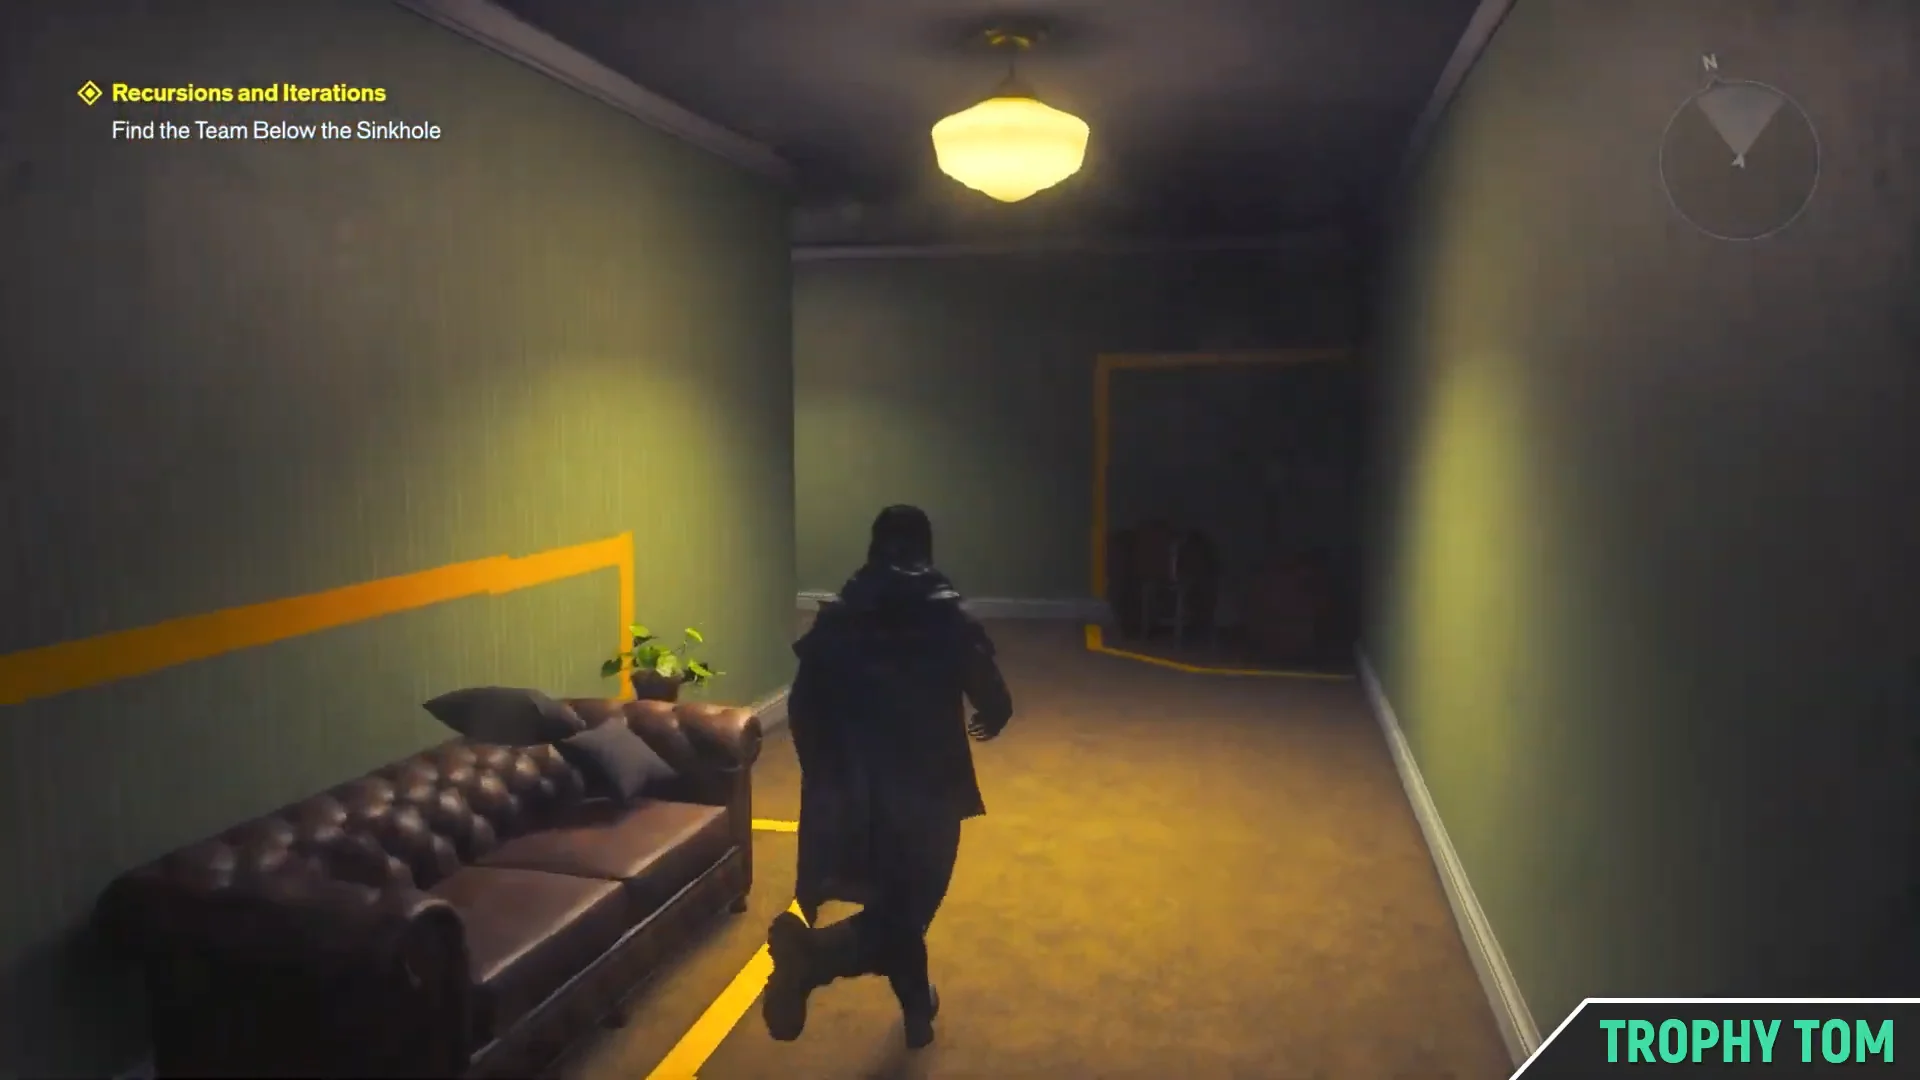
Past the doors, the corridors turn into yellow-striped hallways that feed into a surreal apartment block. The yellow markings on the floor and walls are the game’s own navigation aid, so keep following them.
Continue until you reach a room with CHASM AHEAD painted on the floor. Beyond it is a vertical shaft packed with floating apartment rooms. Jump and glide from platform to platform, working downward until you land on the ledge marked PERSONNEL ACCESS.
Keep moving through the shifting rooms on the other side. Red arrows painted on the walls show which surfaces you are meant to climb, and they are the fastest way to tell a real route from decoration.
A second CHASM AHEAD ledge appears. Jump across to the platform holding the control panel, clear the crate in the way, and drop through the square opening in the centre of the floor.
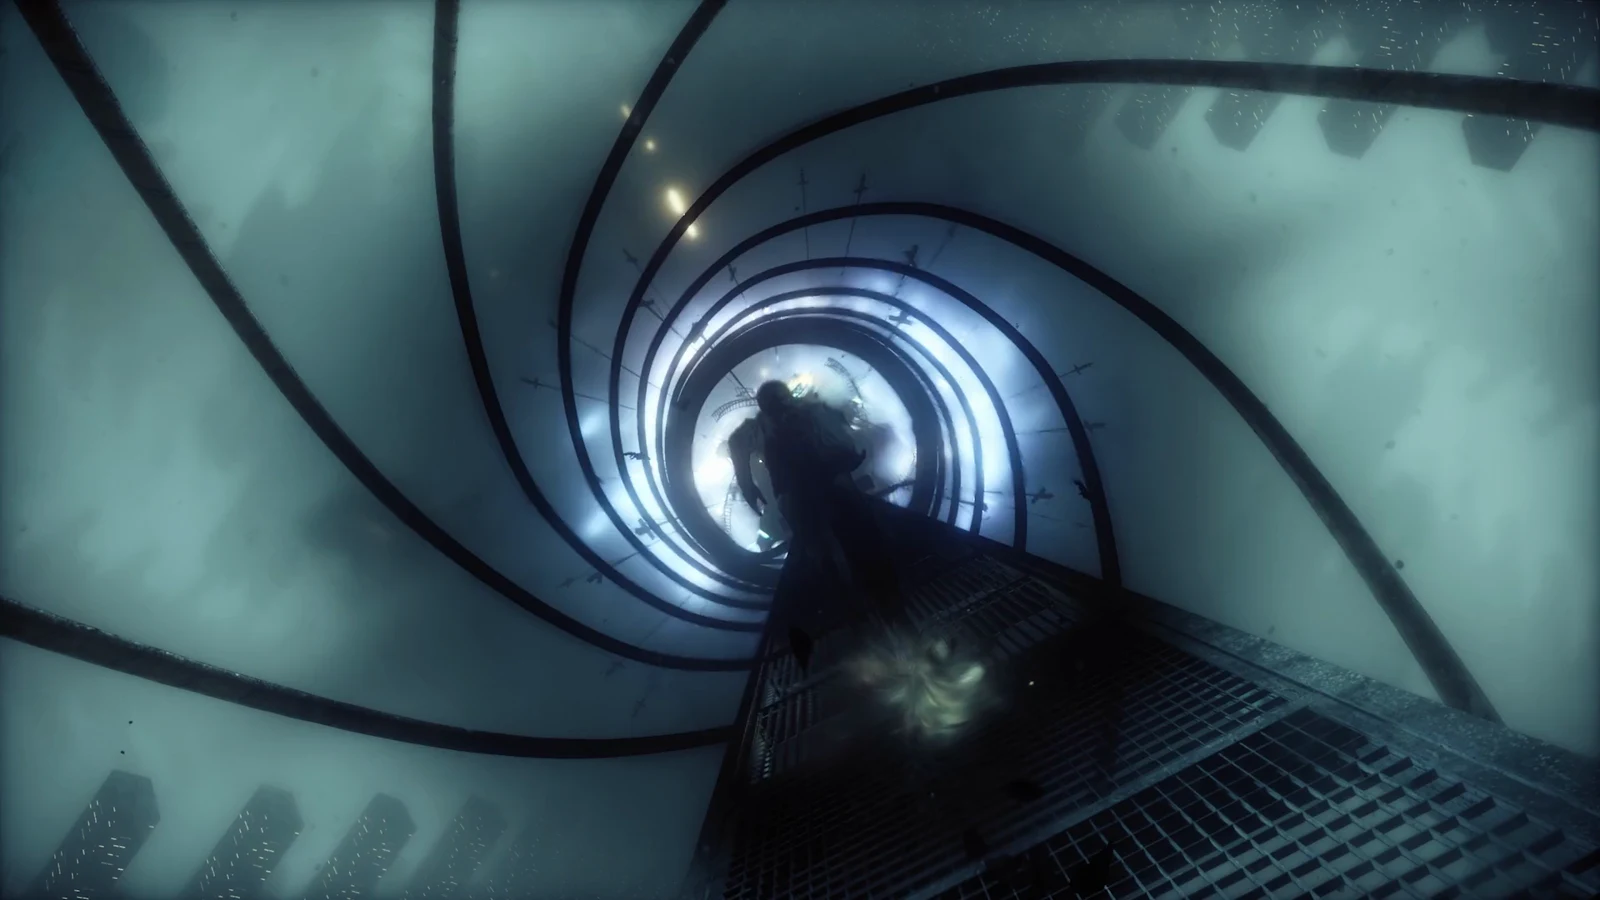
This is the long one. The shaft is lined with yellow shipping containers and falls a very long way. Hold glide on the way down to bleed off speed before you land.
You touch down on a wooden platform. Drop again, this time through a shaft ringed with floating blue windowed structures, and you land in a muddy underground cave.
Both shafts look like instant death and are not, but they are also one-way. There is no lift back up, so collect anything you want on the way down.
Before you carry on, smash the glowing orange object in the cave. It yields a Power Upgrade Point, and three of those are what it takes to raise Dylan’s Power. Given how much combat sits on the other side of this mission, it is worth the five seconds.
Enter the concrete maze at the far end of the cave. Work through the dark corridors and stairwells, always heading down, until the passages open into a long concrete hallway.
How to confirm you reached the team
Stepping into that long hallway is the trigger. Zoe comes in over the radio, a Quest Updated prompt appears, and the objective changes from “Find the Team Below the Sinkhole” to Locate the Research Team. You are now in the Underpass.
If the objective text has not changed, you have not gone deep enough. Nothing in the apartment maze or either shaft completes this step on its own, so keep descending until the radio call fires.
From here the mission keeps pushing you deeper into the Underpass on the trail of the research team, and the Underpass is a region that hosts several active objectives at once. Read the quest name in the corner before you commit to a marker, because the nearest one is often a different mission entirely.