In Slayers 2, the Firstlight Tanto ranks among the strongest slayer weapons. Its schematic lies beneath the snow in Iceveil Valley, but reaching it requires a brief night quest completed in the right order. Along the way, you also earn the Legendary Mushroom Lit Lantern—the game’s sole light source that exposes the path to the dig site. The mushrooms, footprints, and chest remain inactive if you do any part out of sequence.
Quick answer: Finish Shiro’s supply quest, purchase the Shovel, and visit Old Trapper Retsu at night with 2,500 Wen. Remove all lanterns, illuminate the eight cave mushrooms, and dig at the endpoint of the blue footprints.
What the Firstlight Tanto chain rewards
This route rewards you with two items. First comes the Mushroom Lit Lantern, whose movement speed and stamina regen make it useful well beyond the quest. The Firstlight Tanto is the final prize; its high additional damage and substantial stamina boost place it among the best weapons.
| Mushroom Lit Lantern (Legendary) | Value |
|---|---|
| Illumination | +0.45 |
| Max Health | +20 |
| Max Stamina | +15 |
| Movement Speed Factor | 1.05x |
| Stamina Regen Speed | 1.07x |
| Firstlight Tanto (Mythic) | Value |
|---|---|
| Additional Damage | +5.75 |
| Additional Damage Factor | 1.15x |
| Block Points | +8.3 |
| Block Regen | 2.36x |
| Max Stamina | +45 |
The block regen multiplier keeps the tanto usable in long fights where you spend a lot of time guarding, while the +45 Max Stamina supports extended skill chains.
Requirements before you start
Four conditions gate the entire sequence. If even one is missing, nothing in the cave triggers.
- A Shovel in your inventory, sold only after Shiro’s Iceveil supply quest.
- In-game night, since Old Trapper Retsu appears only after dark.
- At least 2,500 Wen to pay Retsu for the cave clue.
- Every lantern and light source unequipped for your first cave visit.
Iceveil Valley deals cold damage without protection. The Emberheart Lantern grants cold immunity and recharges at campfires, but you cannot have it equipped during the mushroom step, so campfires along the path are your main way to survive.

Get the Shovel from Shiro’s supply quest
Even if you already know the location, you cannot open the buried chest without equipping the Shovel. Get that sorted before proceeding.

Pay Old Trapper Retsu at night
Do the remaining parts at night. If you get there during the day, talking to Retsu won’t advance anything; wait for night at a campfire.
Light the mushrooms and grab the Mushroom Lit Lantern
The cave is the same one that holds Reaper Trainee Kuzan. With no lantern equipped, the darkness and cold drain health fast, so lean on the campfire along the route or carry regeneration items.

If the lantern won’t appear, leave and rejoin the server, then do the route again. This refreshes the cave and changes the time of day as well, so make sure night has returned before heading to the mushrooms.
Follow the footprints and dig up the schematic
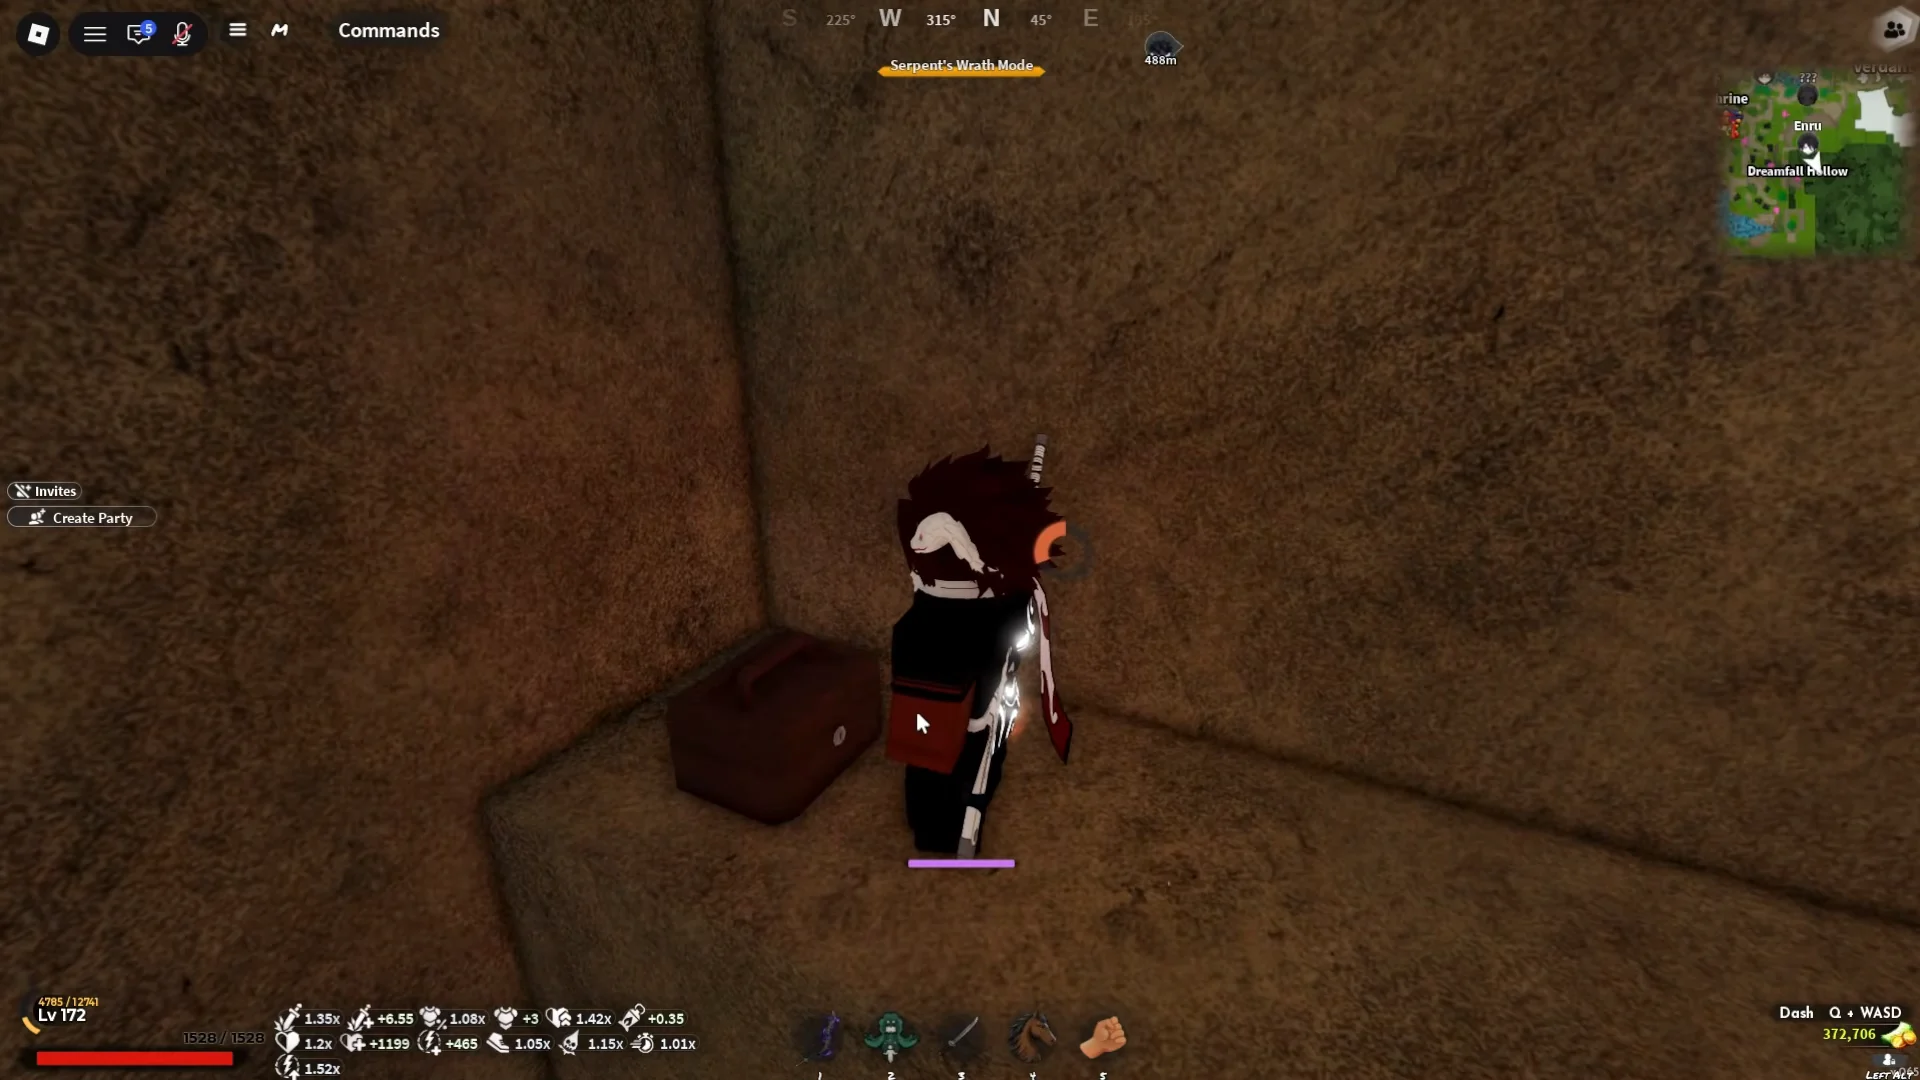
The Archives menu verifies the unlock once the Mythic-tier schematic is in your inventory: the Firstlight Tanto entry becomes readable, with its complete stat block and description.
Farm the Firstlight crafting materials
Getting the schematic unlocks the weapon but doesn’t give you the completed blade. Crafting requires Firstlight materials, among them Firstlight Weaver’s Silk, available through two repeatable sources. A patch lowered the material requirements, shortening the grind compared with launch.
| Source | Base material chance | Cost or notes |
|---|---|---|
| World bosses and World Chests | 3% | Rotate bosses across regions |
| Ouwigahara dungeon end chests | 5% | 30,000 points per run |
World boss rotation
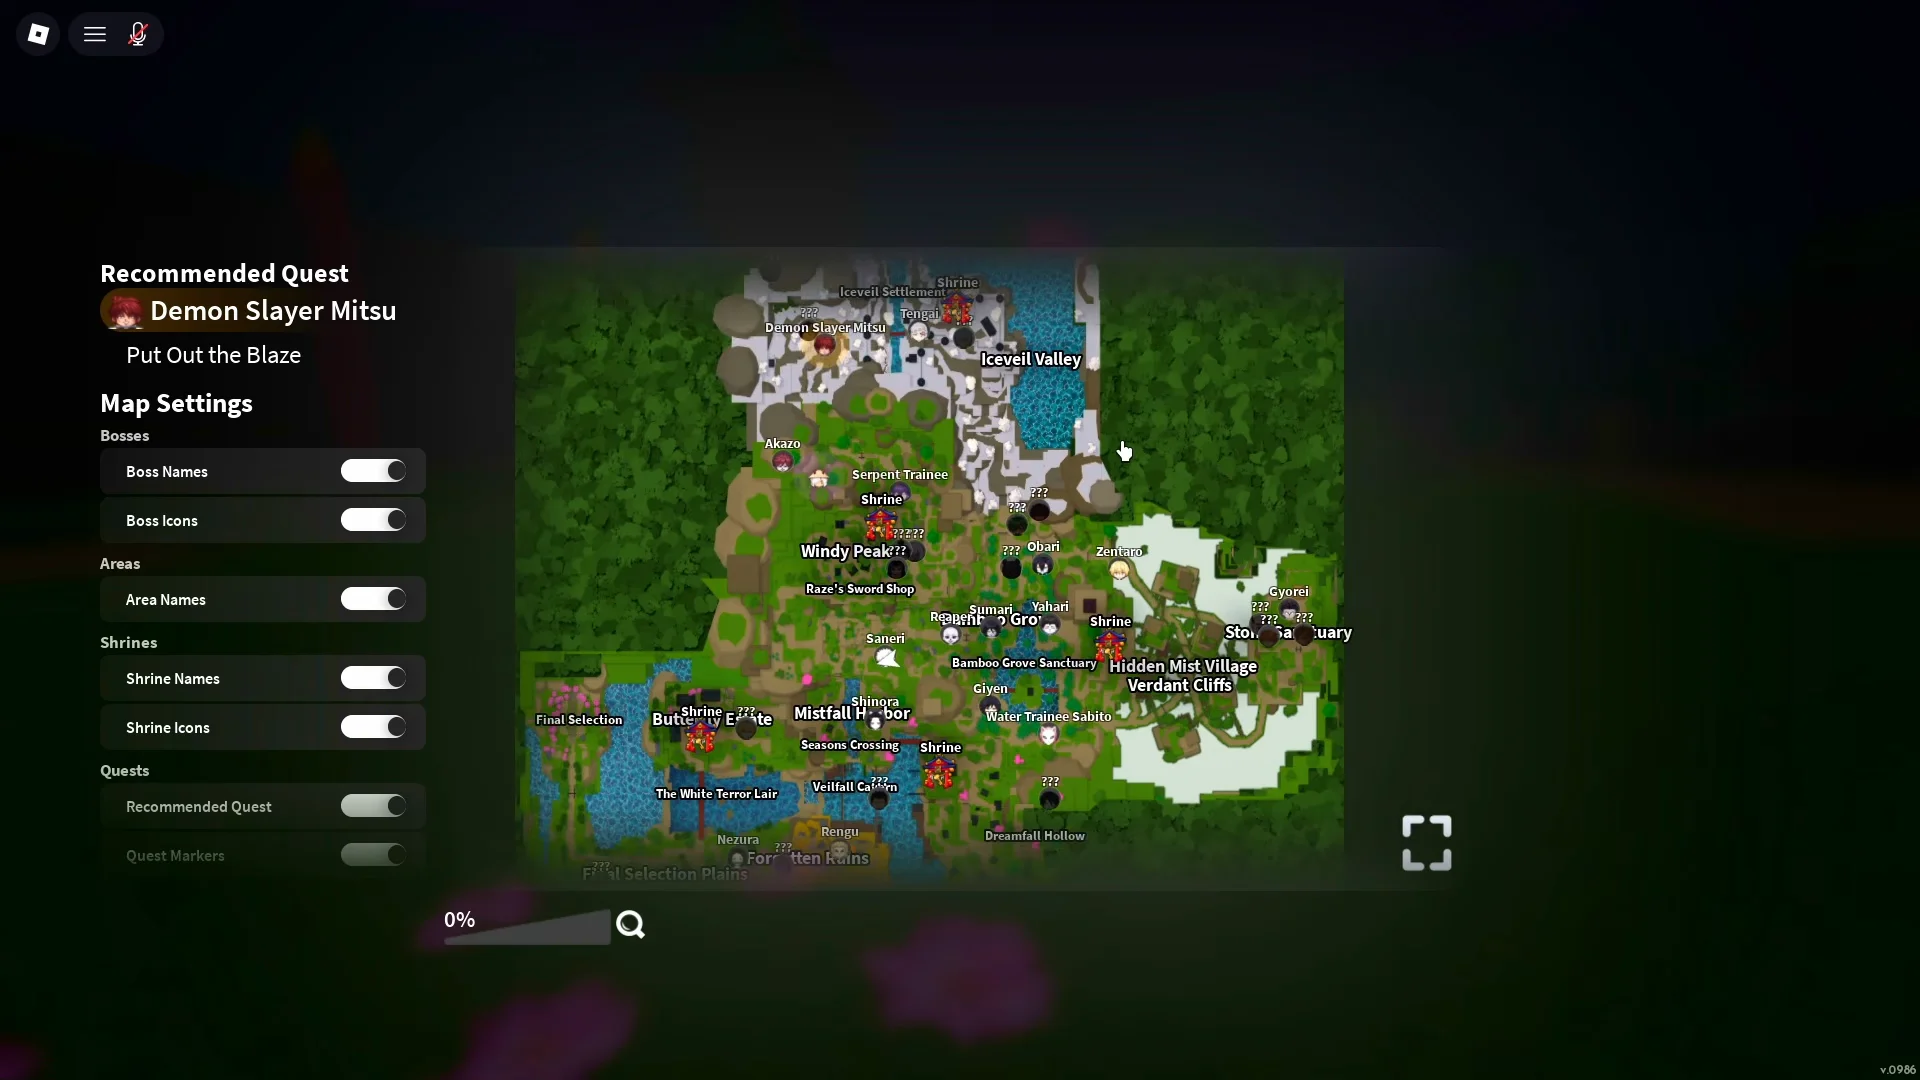
For a straightforward farming loop, defeat Yahari and Reaper at Bamboo Grove, go over the bridge to Sumari, and continue to the Wilderness for Water Breaker Hashira Giyen and Wind Slayer Saneri. Each boss drops a World Events Chest as well as its usual loot. By the time you finish the circuit, the first boss has respawned.

Look beside each chest before moving on, since standard drops appear on the ground. Coin Pouches and Metal Scraps are common filler drops from the Bamboo Grove bosses. Drop odds are identical at every location, so plan for the shortest travel time rather than the highest kill count.
Ouwigahara dungeon runs
For a higher drop percentage, run a dungeon. Enter at the gate beside the Queue Area in Ouwigahara, complete the run, then spend 30,000 points to open the end chest; its material drop chance is 5%.

Both 2x and 4x boosts increase boss loot and dungeon end-chest drop rates. Grab one from the shop before you begin farming, not partway through the session.
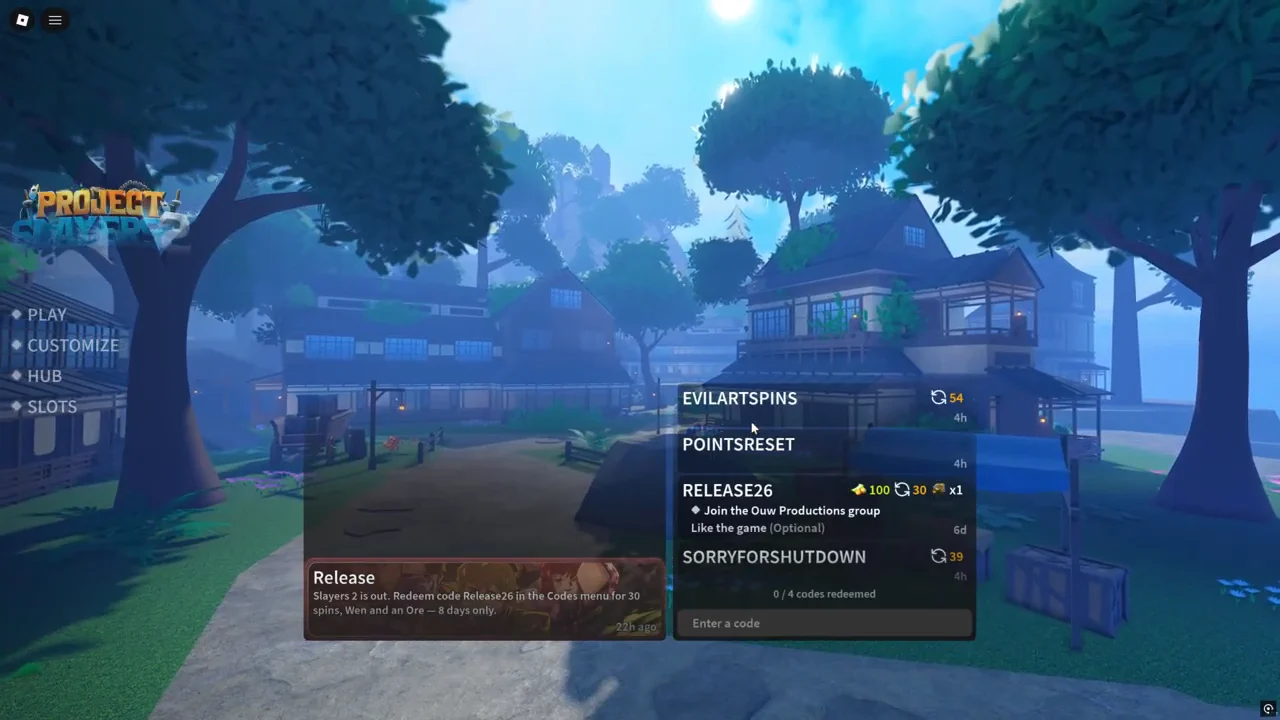
Redeemable codes such as RELEASE26, EVIL4RTSPINS, and POINTSRESET rotate in and out of the game, and active ones can supply spins or points that speed up the grind. Enter them in the in-game Codes menu while they are still valid.
After banking the schematic, progress depends on how quickly materials drop at your chosen pace. For now, equip the Mushroom Lit Lantern to benefit from its speed and stamina regeneration. While sweeping Iceveil Valley, find the Firstlight Spear Schematic in an icy cavern; dive near the submerged statue at Douma’s spawn point to reach it.