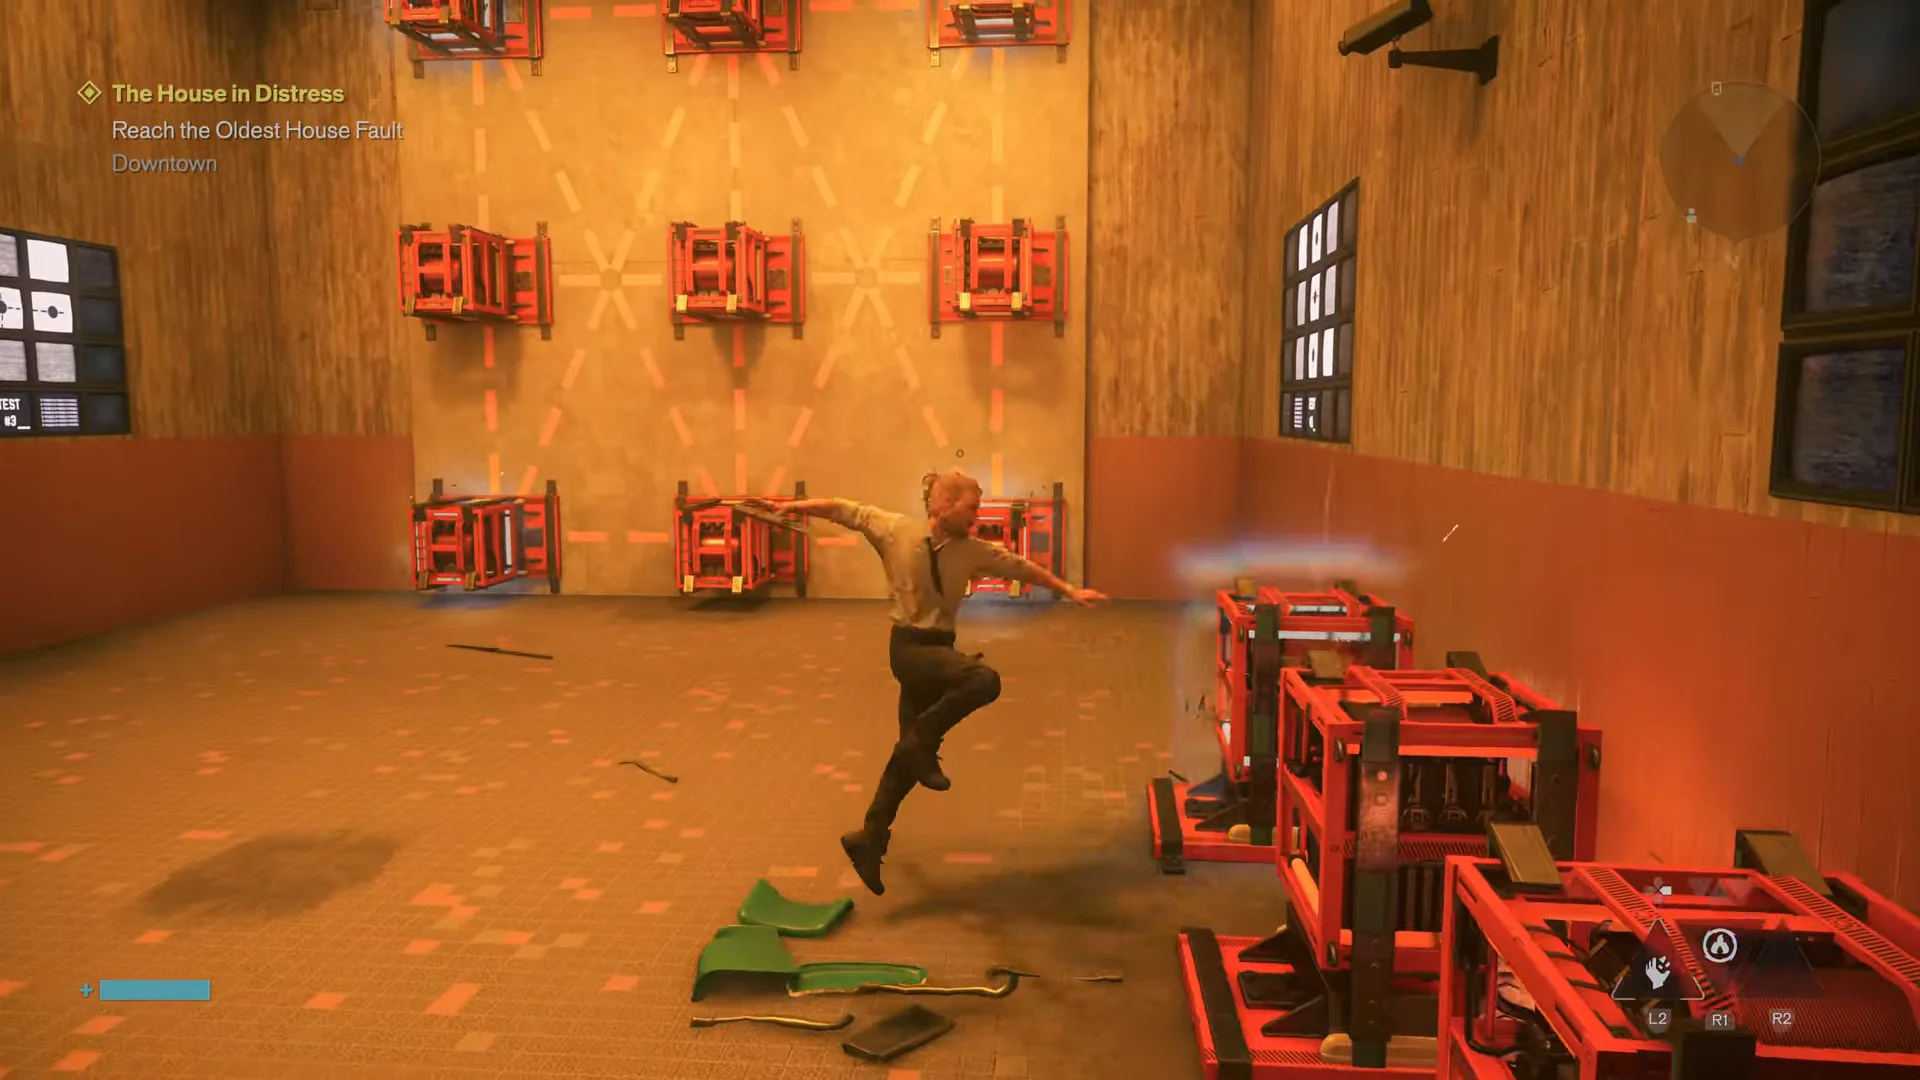
The Electrokinesis test chamber is the one puzzle in Control Resonant‘s House in Distress mission you cannot skip. The moment Dylan strikes a Power Core inside the room, the blast doors seal and an automated voice starts a three-part testing cycle. Nine cores sit on the wall in a three-by-three grid, the screens around the room show the shape you need to build, and nothing opens until all three patterns are correct.
Quick answer: Power a triangle first (top left, top right, bottom middle), then all four corners, then a cross using the entire middle row and middle column.
All three Power Core patterns
Treat the wall as a numbered grid and the whole thing takes under a minute. Each correct pattern changes the images on the screens, which is your cue to move to the next one.
| Test | Shape | Cores to power |
|---|---|---|
| Test 1 | Triangle | Top left, top right, bottom middle |
| Test 2 | Square | All four corners |
| Test 3 | Cross | Entire middle row and middle column |
Spelled out, the final cross needs five cores lit: top middle, middle left, centre, middle right, and bottom middle.
How the cores and screens work
Every core on the wall is a simple on-off switch. Hitting an unlit core with a melee strike energises it, and hitting a lit one drops the charge again, so you can correct a mistake without restarting anything. There is no timer and no penalty for a wrong input.
The televisions mounted around the chamber never show the full answer on one screen. Each displays a fragment of the target shape, and you piece those fragments together to work out which nodes belong to the pattern. The cores along the side walls feed the same grid, so you will be running between both sides as you set things up.
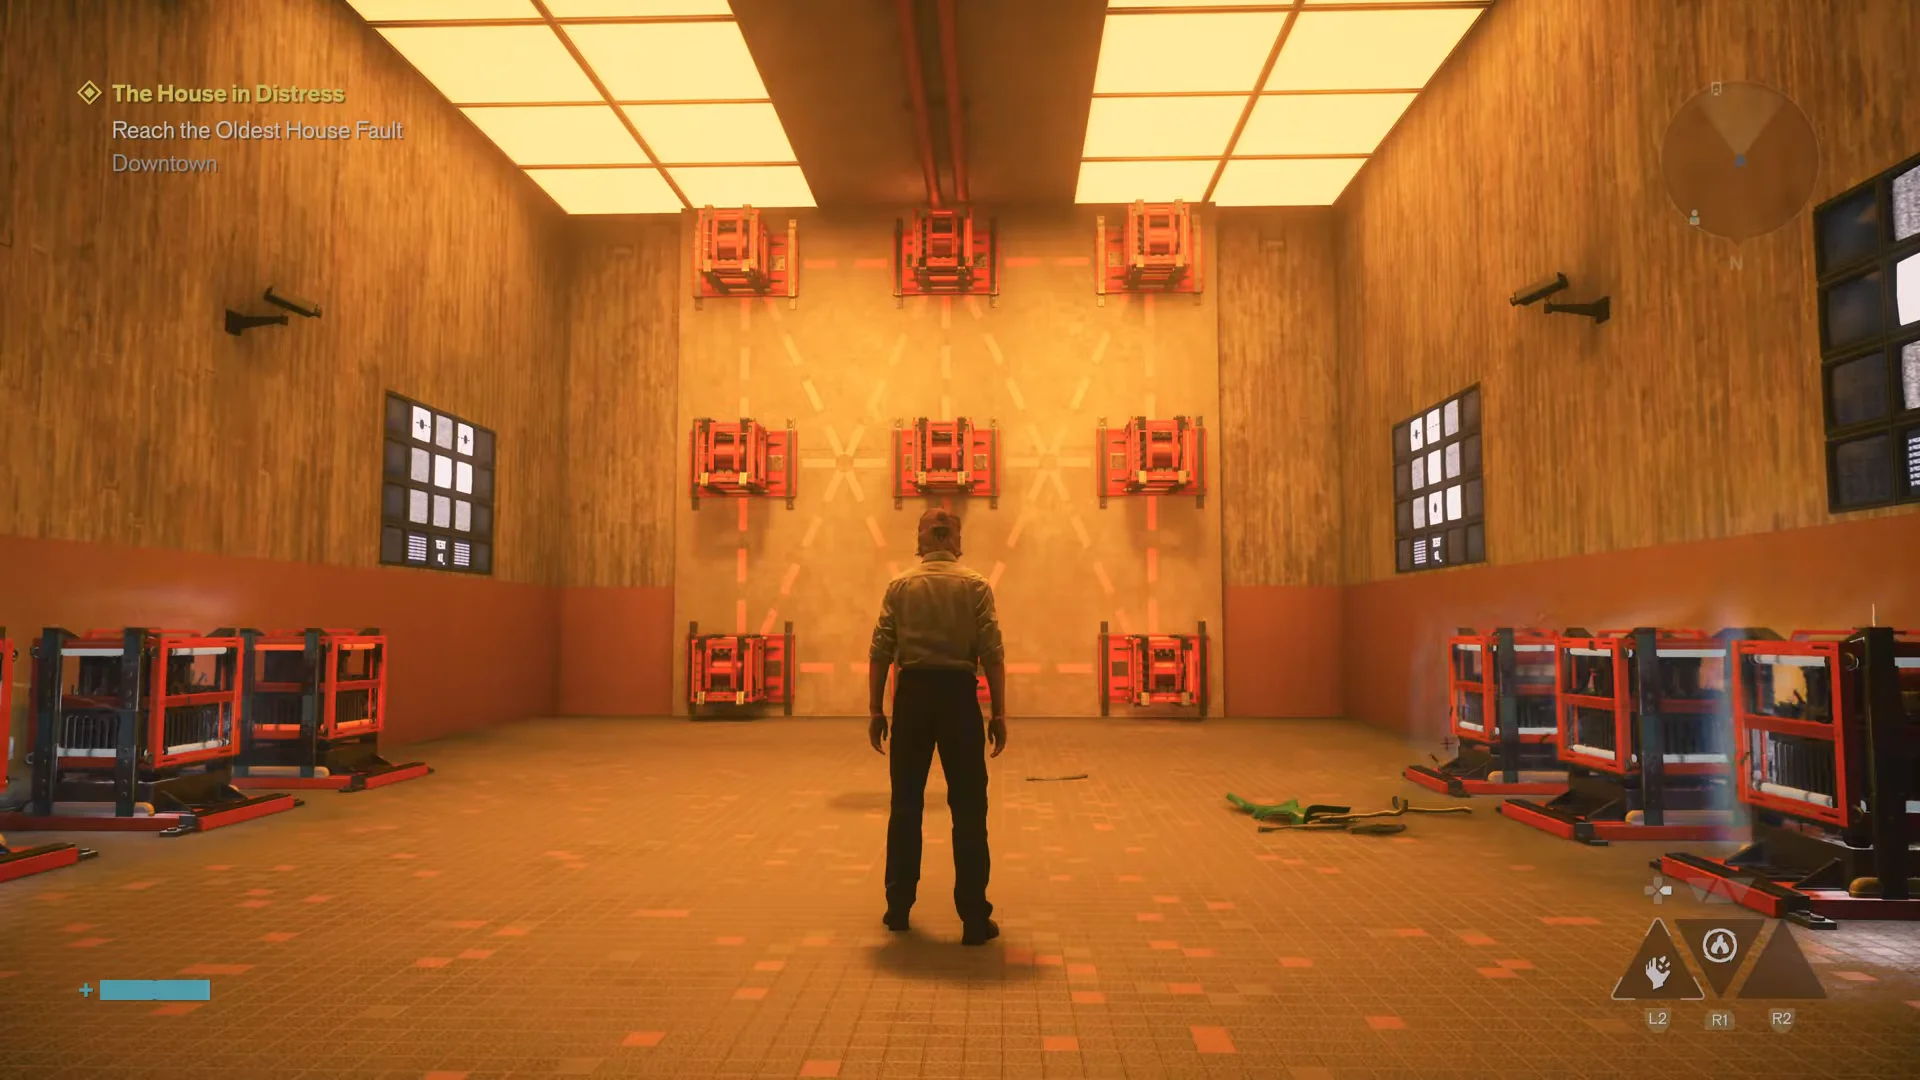
Opening the Electrokinesis testing room door
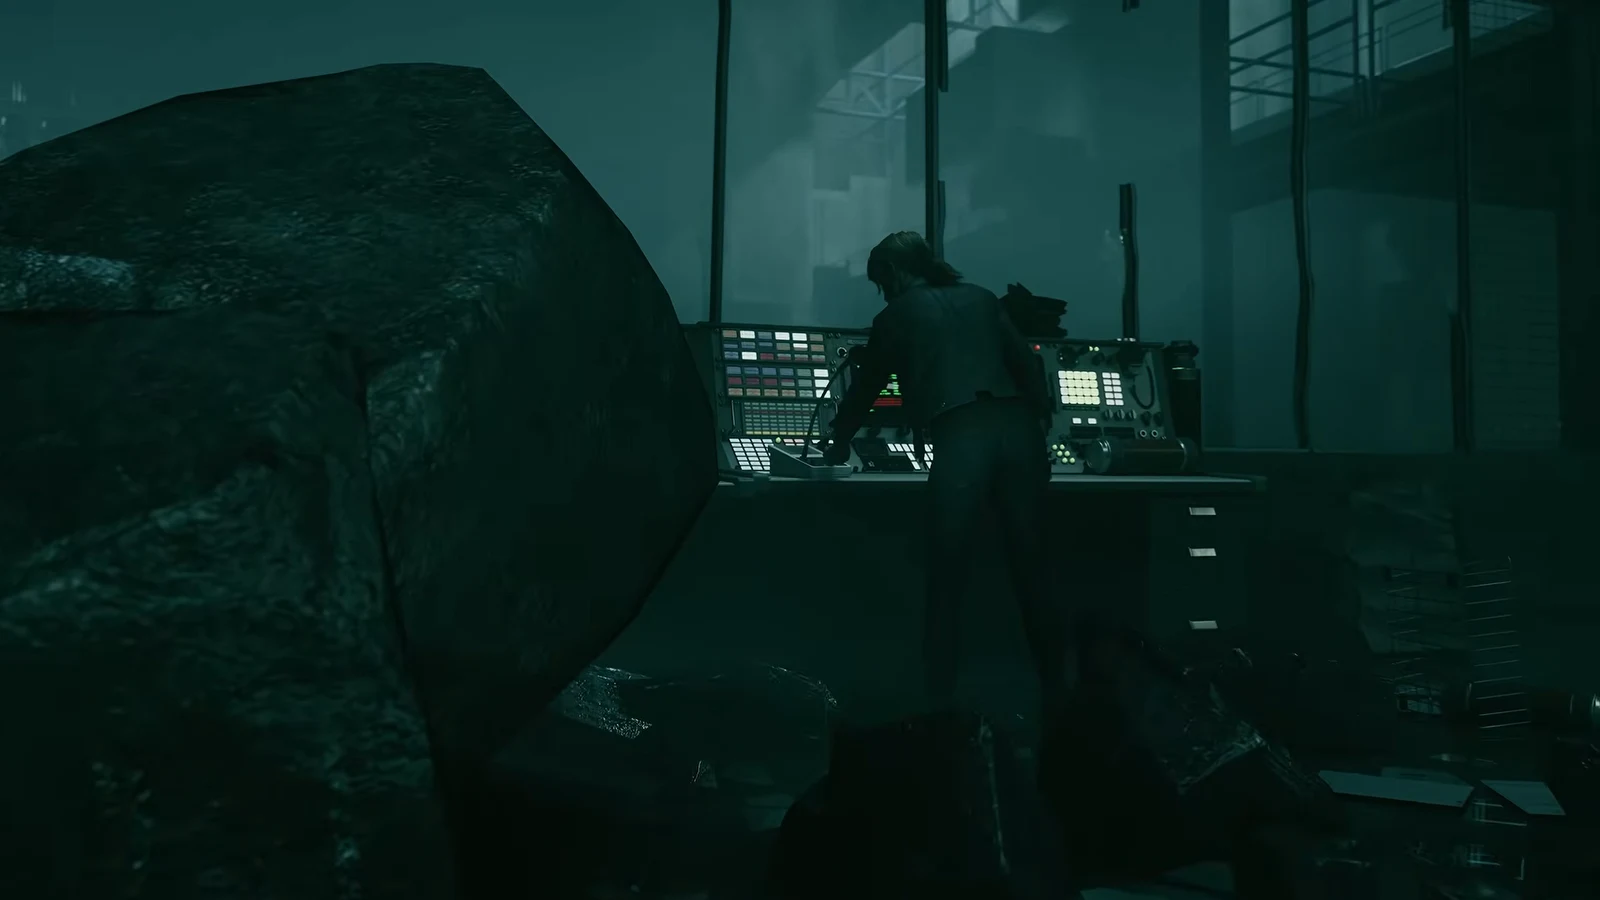
You reach this point after following Zoe through Main Observation and the Classrooms into the Interactions Lab, which is running on emergency power. The testing wing door is dead until you move a charge to it.
Entering the three patterns
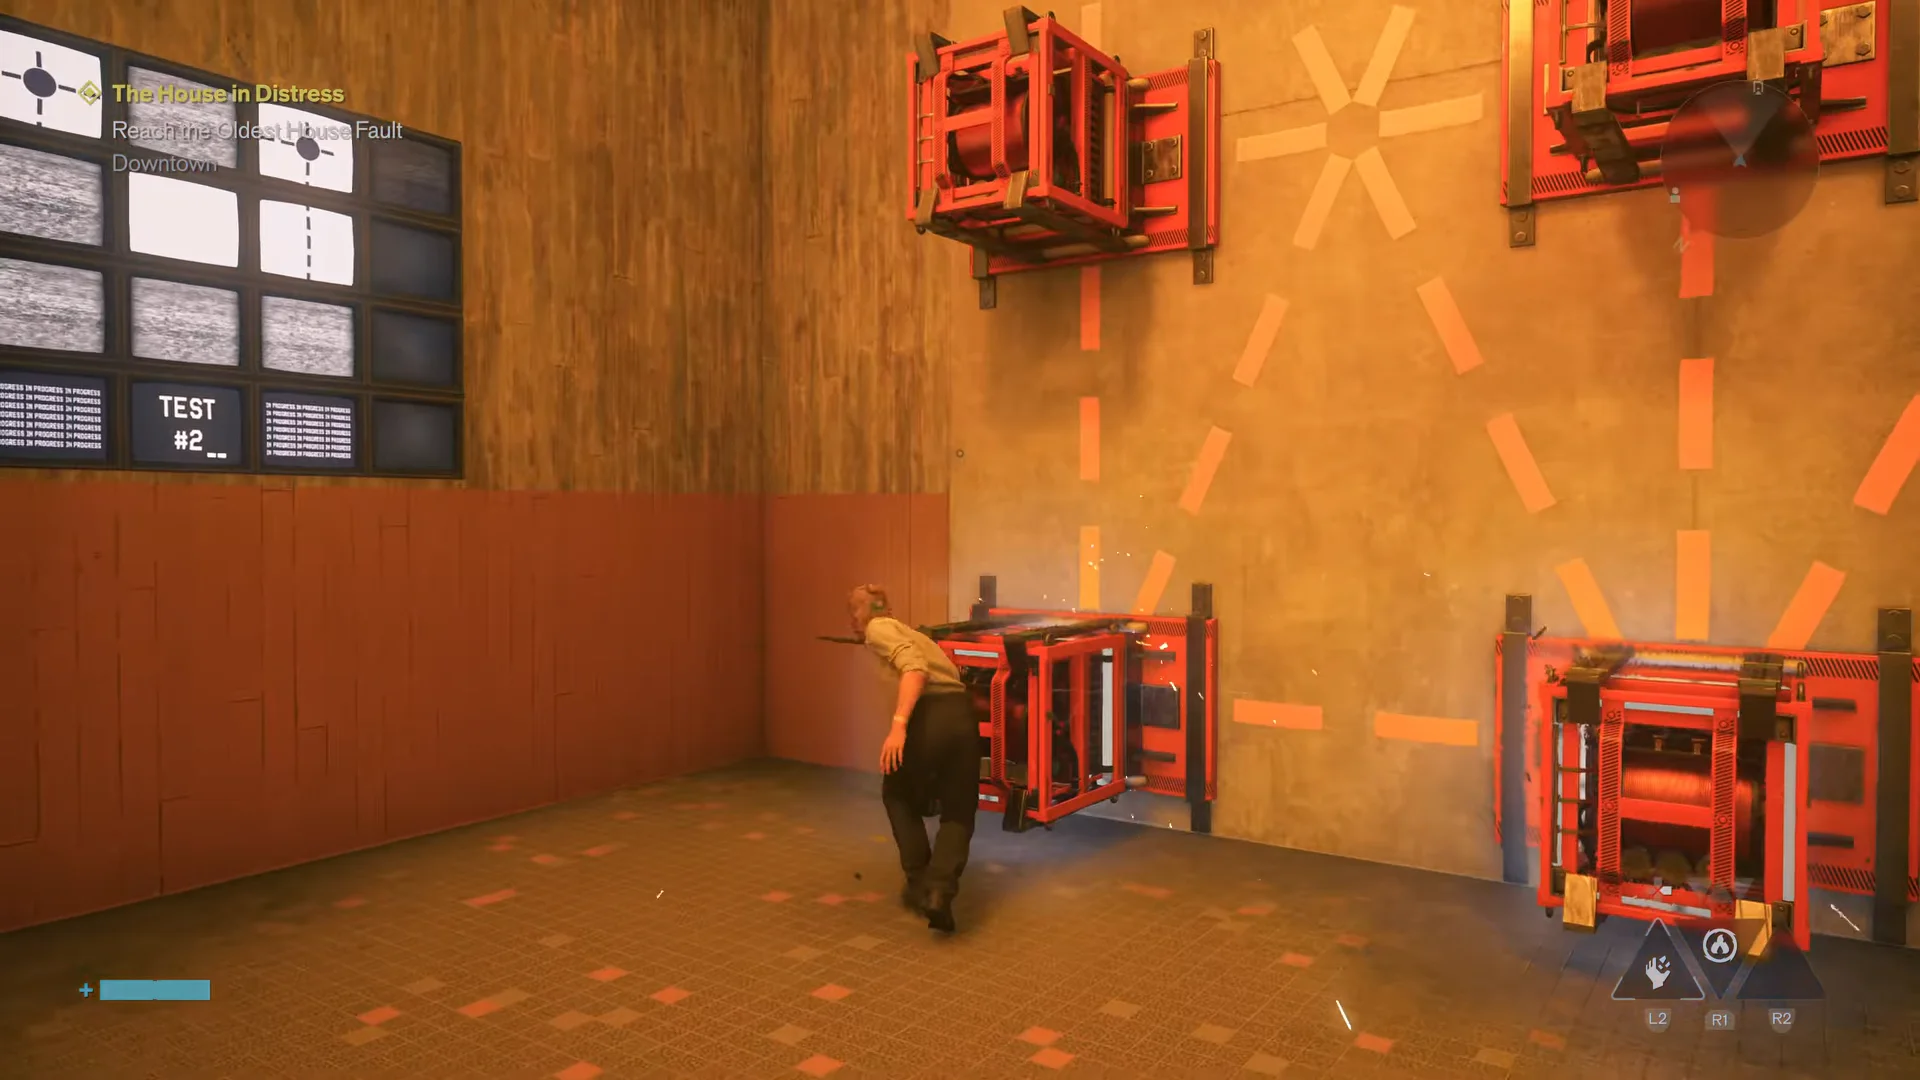
Clearing that bottom middle core is the step people miss. Leaving it lit turns the square into a five-node shape and the pattern will not register.
How to confirm the test passed
Success is obvious. Every screen in the chamber turns green with a check pattern, Zoe calls out “Test number 82: Success!”, and the blast doors slide open onto the hallway beyond. If the screens are still showing a shape rather than green, one core in the grid is wrong — count the lit nodes against the pattern above before touching anything else.
What to do after the doors open
After unlocking the room, you can draw charges from the cores as needed. Bring two charges to the breaker room and power up the cores there. The lab’s regular electricity returns, the “Perfect” Dr. Darling film becomes available, and the screen on your left plays a message from the doctor.
There are a few useful pickups on the second floor before you continue. Search the dark offices for a Power Upgrade chest; its steady red light makes it easier to locate. The side offices surrounding the main room also contain several files.
Once you finish, go upstairs through the door beside the “High Risk Chamber” sign. It takes you first to Director Training, where Hiss enemies stand in your way, and then to the Main Test Chamber. Interact with the TV there to complete the Ritual and finish the mission after Zoe speaks with you.