Private servers in Slayers 2 are gated behind a paid subscription, but the commands that run them are free to use once you are inside one. Hosting your own lets you train without interruption, set up PvP matches, or clear out anyone causing trouble. Joining a friend’s server costs nothing at all.
Quick answer: Click PLAY, then Unlock Private Servers and subscribe to VIP for 150 Robux per month. To join someone else’s, type their username in the “Private server owner” box and hit JOIN PRIVATE.
Private server cost in Slayers 2 (VIP subscription)
Hosting is tied to the VIP subscription for the experience, priced at 150 Robux per month. It is a recurring Roblox subscription rather than a one-time purchase, so hosting privileges stay active only while the subscription is. Roblox Plus holders see a 10% discount applied at the purchase prompt.
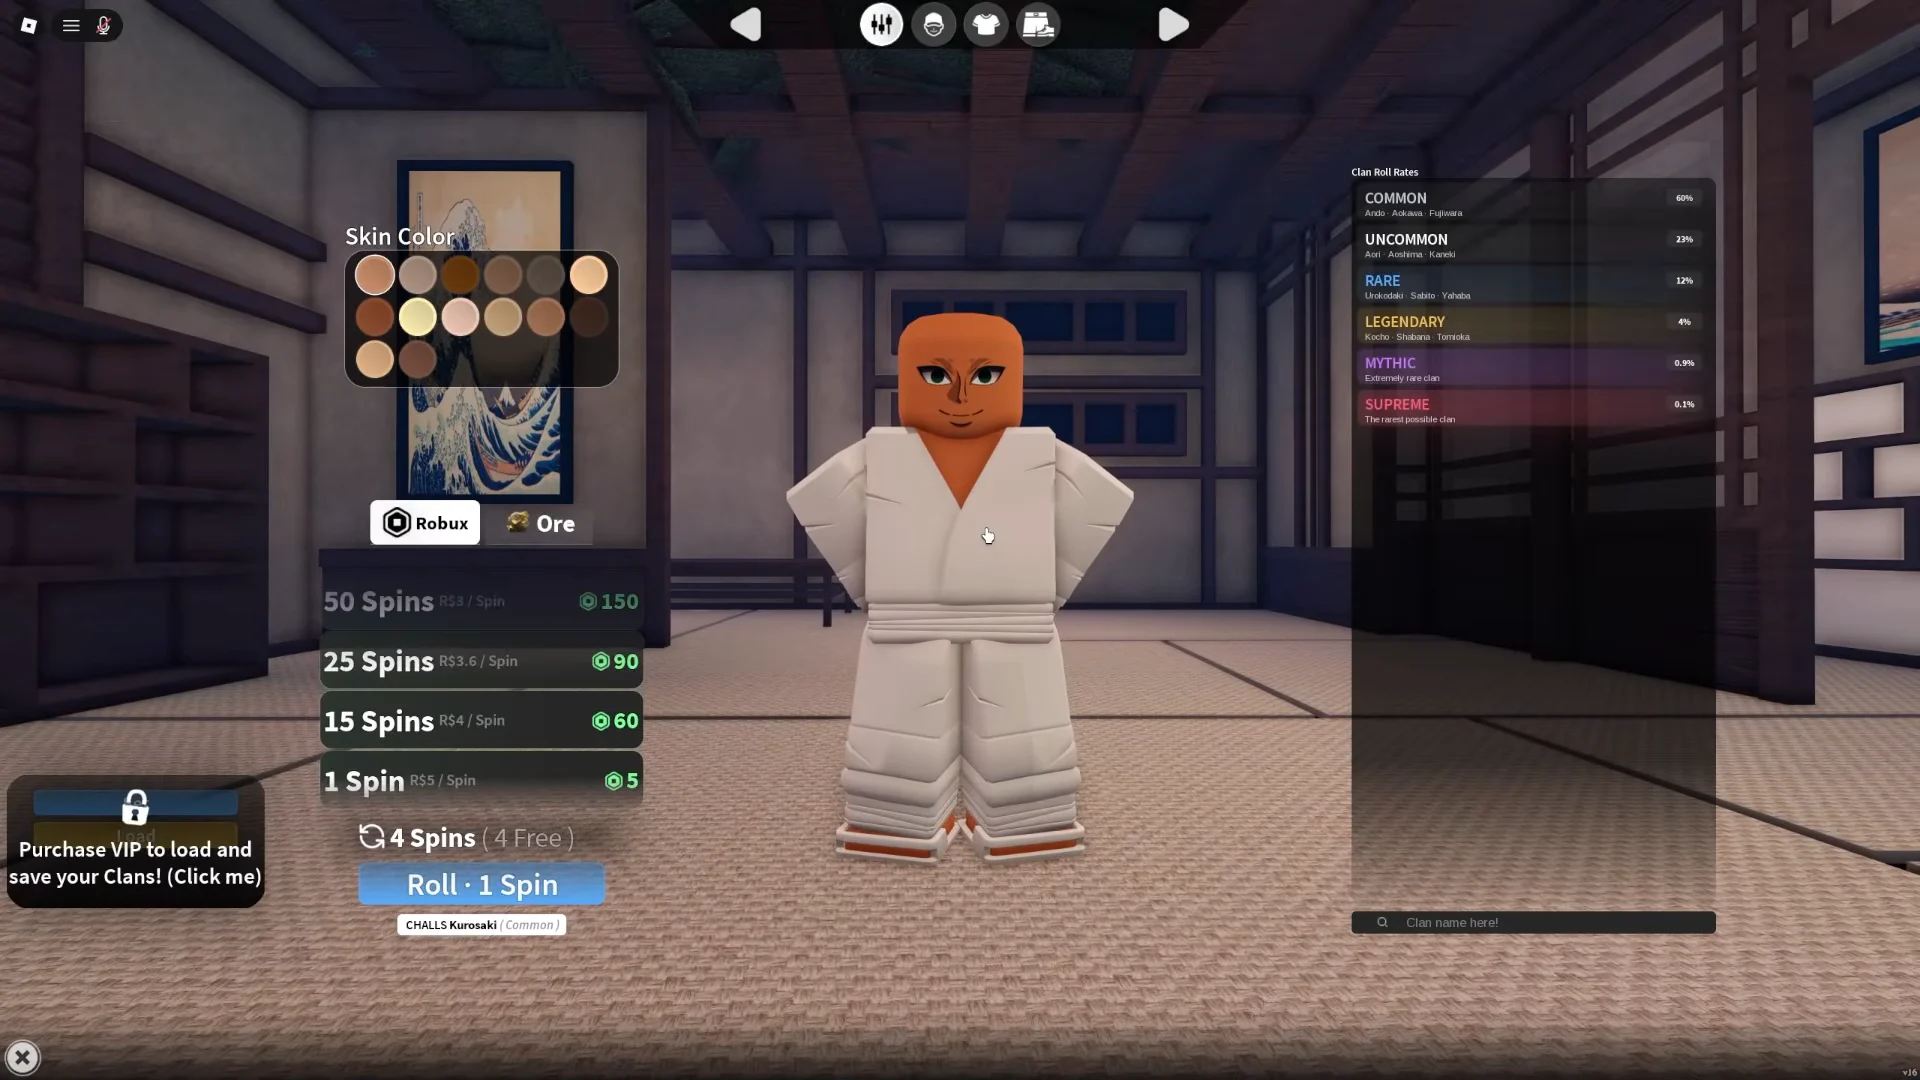
VIP also covers the clan system. The customization screen carries a “Purchase VIP to load and save your Clans!” notice, so the same subscription that unlocks hosting is what lets you store the clans you roll instead of losing them.
How to create a private server in Slayers 2
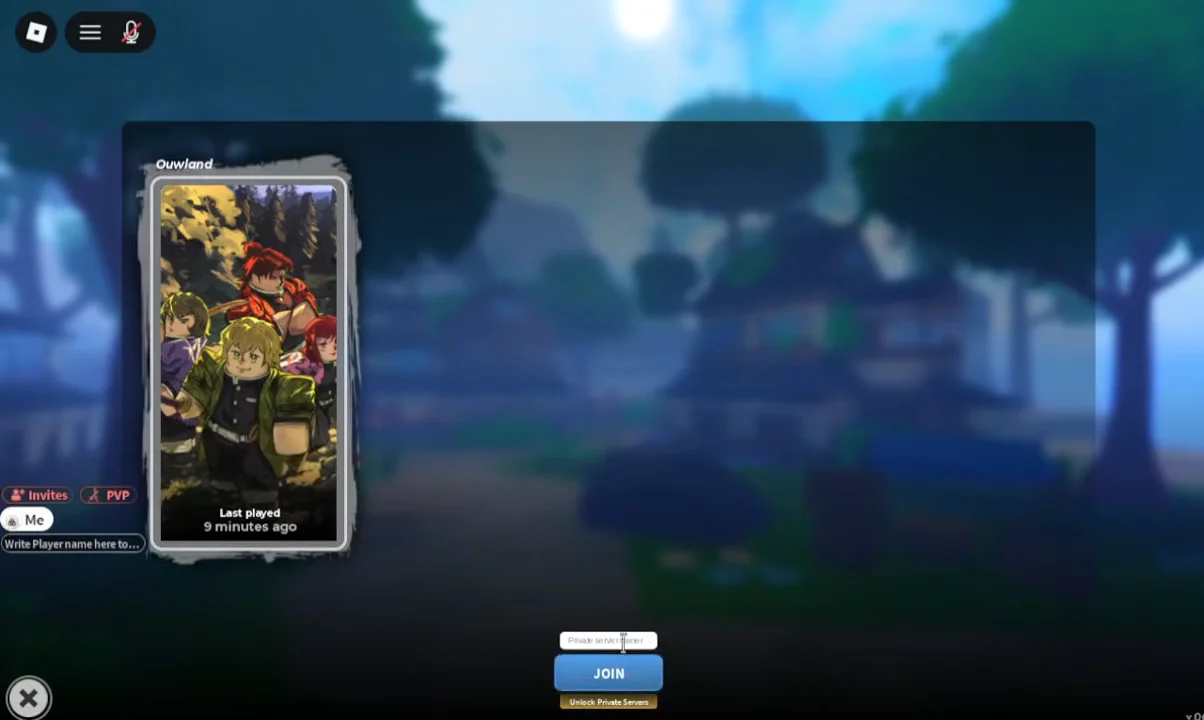
How to join someone else’s private server
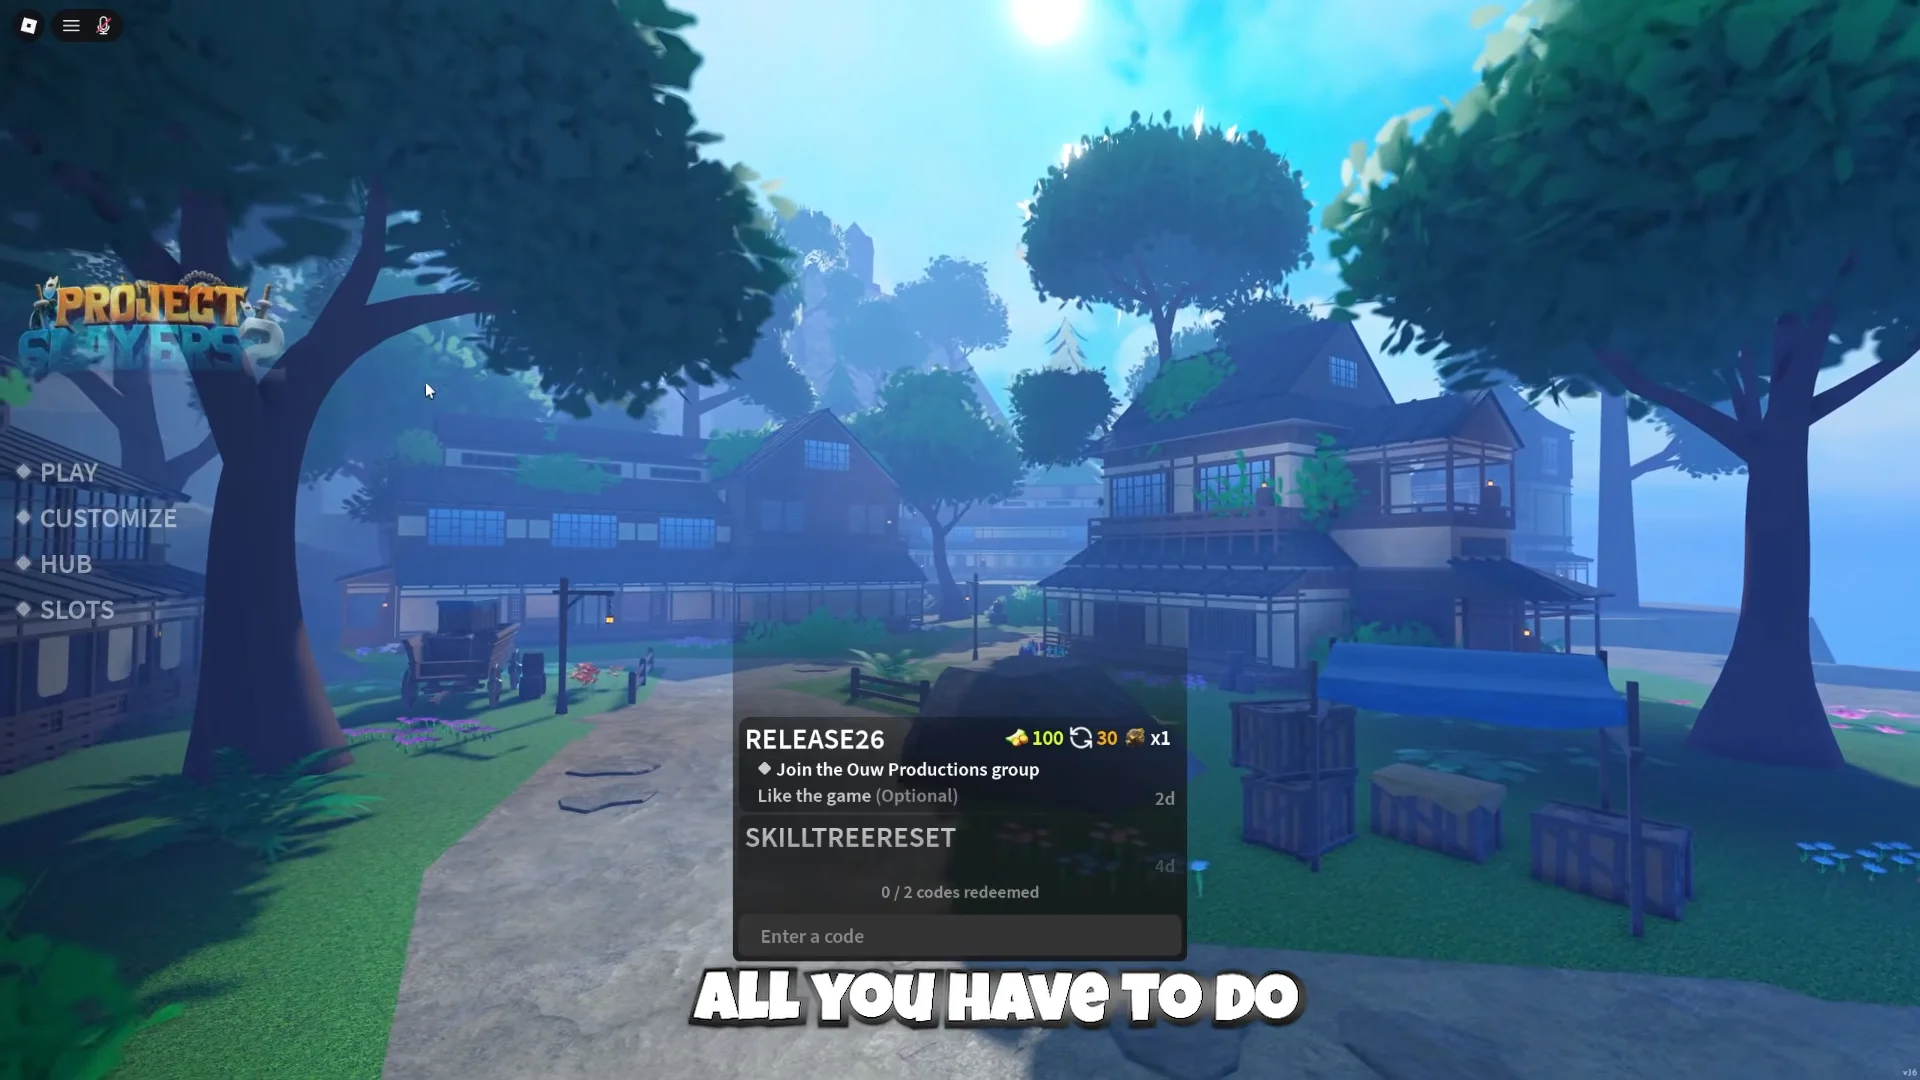
You do not need VIP to play on a private server you do not own. All you need is the host’s exact Roblox username.
If the message “This private server is suspended” appears instead, that server is not accepting players, and no amount of retrying will get you in. The host has to sort it out on their end.
All Slayers 2 private server commands
Every command is typed into the normal in-game chat. Where a command takes a target, swap <player> for the username and <message> for the text you want shown, and leave the angle brackets out.
| Command | Effect |
|---|---|
/kick <player> | Removes a player from the session |
/ban <player> | Blocks a player, works offline too |
/unban <player> | Lifts an existing ban |
/whitelist <player> | Lets a player in regardless of access |
/unwhitelist <player> | Removes whitelist permission |
/mod <player> | Grants moderator permissions |
/unmod <player> | Removes moderator permissions |
/access closed | Blocks regular players; whitelist still enters |
/access friends | Limits entry to eligible friends |
/access everyone | Opens the server to all players |
/pvp on | Enables player-versus-player damage |
/pvp off | Disables player-versus-player damage |
/pve on | Enables NPCs across the server |
/pve off | Removes every NPC |
/announce <message> | Broadcasts a message to everyone present |
/shutdown | Clears the server and starts a fresh session |
A kick only lasts for the current session, so anyone removed with /kick can walk back in. Use /ban when you want them gone for good.
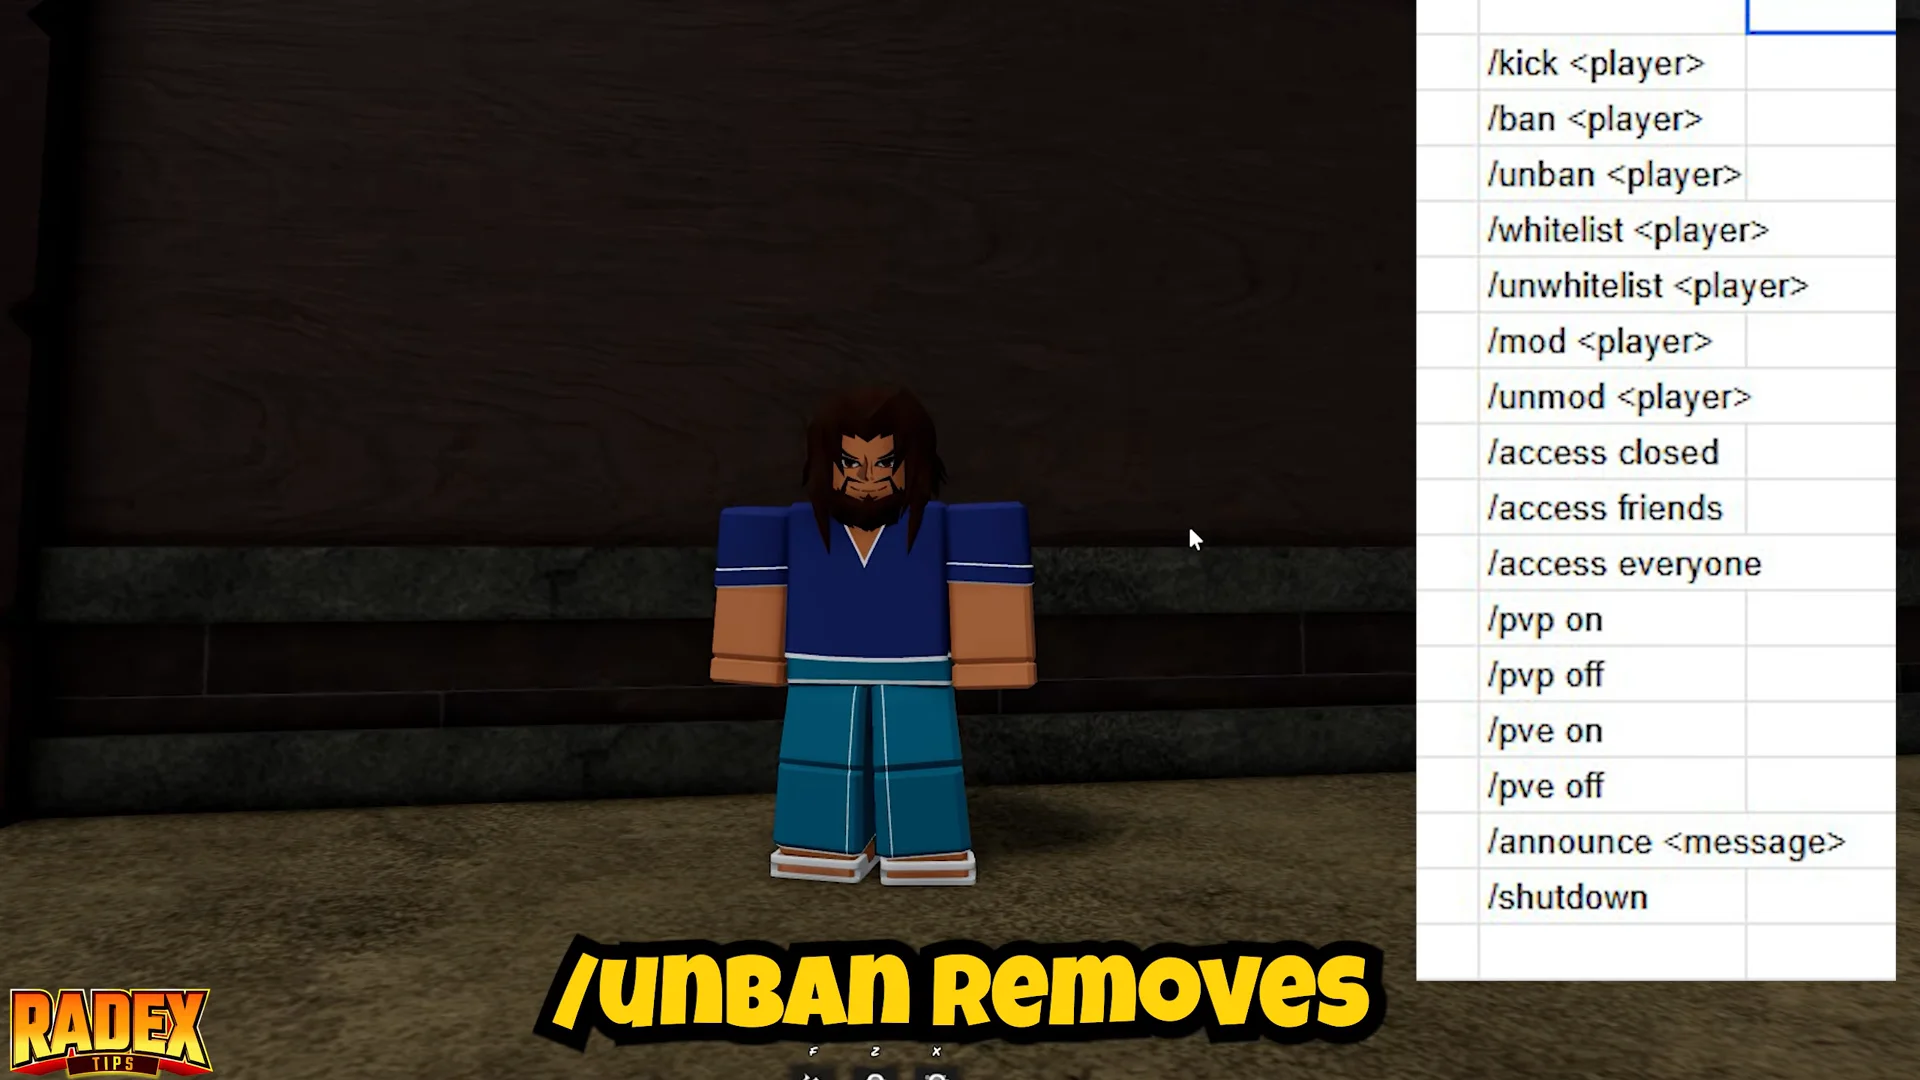
Owner-only commands versus moderator commands
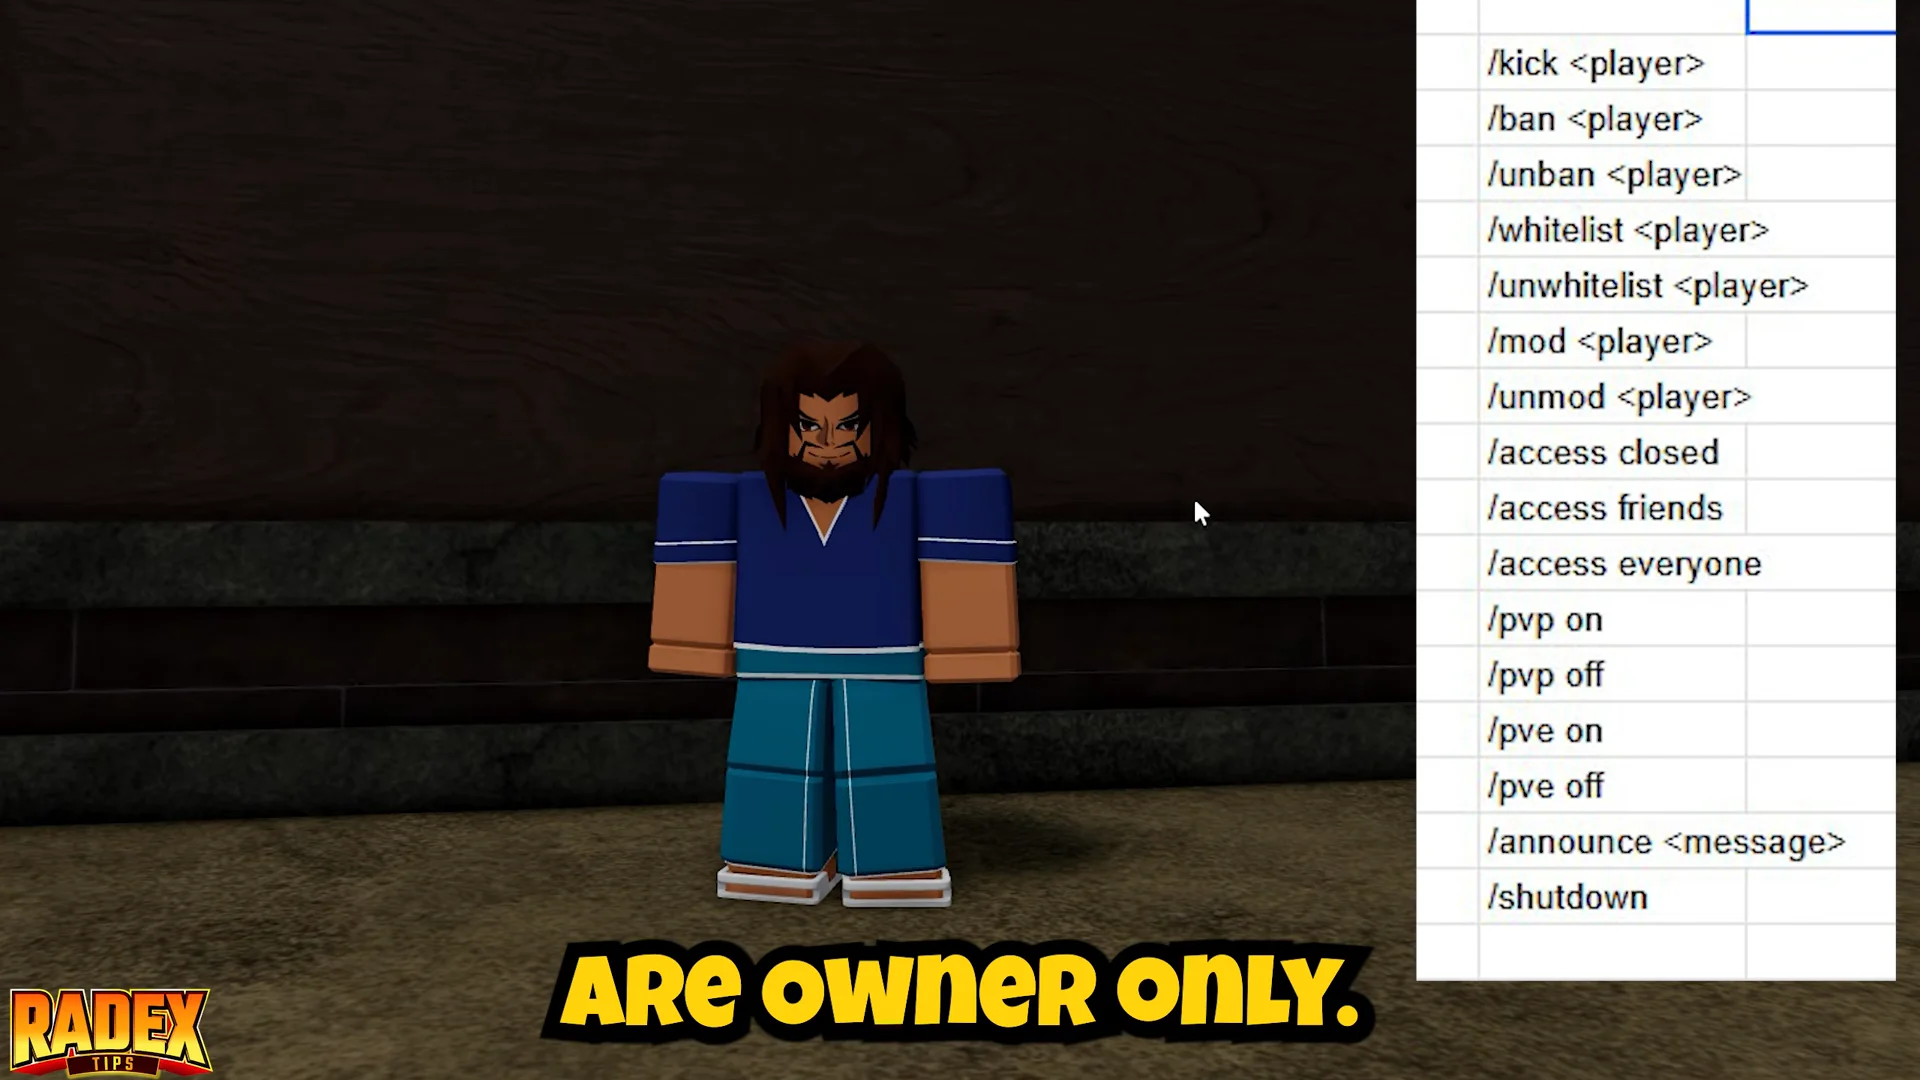
Three commands are locked to the server owner and cannot be handed off. Everything else sits with the server’s permission system, so moderators you appoint can help with day-to-day player management.
/mod— owner only/unmod— owner only/shutdown— owner only
Moderators get tools that regular players do not, so only promote people you trust. And save /shutdown for a genuine restart, since it disconnects everyone in the session the moment you send it.
Access, PvP and PvE settings for events
The three /access options control who gets through the door. Closed keeps regular players out while still letting whitelisted names in, friends narrows entry to eligible friends, and everyone opens the doors fully. Because the whitelist overrides the access setting, you can lock the server down and still pull in the exact people you need.
A tournament setup usually runs in the same order. Close the server with /access closed while you prepare, strip out NPCs with /pve off for a clean arena, promote your helpers, then use /announce to give instructions before flipping /pvp on and opening access. Turn /pve on again once you are done, or the world stays empty of enemies.
Solo training works the same way in reverse. Switching PvP off stops other players interfering while you drill combos, blocks, and Breathing Styles, and switching PvE off gives you a quiet space to practise against a single sparring partner.
How to confirm a command worked
Each command produces a visible result in the session itself. A kick or ban drops the target out of the server immediately. An /announce shows up as a broadcast to everyone currently inside. Turning PvE off empties the map of NPCs, and turning it back on repopulates it. After /shutdown, everyone is pushed out and the server reloads as a fresh session.
If nothing happens, check the spelling first. Commands have to be typed exactly as written, and a mistyped username means the command lands on nobody — or worse, the wrong person.