The Town was a locked tease in the original game. In Graveyard Keeper 2, it’s a real, mostly abandoned place overrun by townsfolk who turned into zombies, and reclaiming it is the spine of your mid-game economy. Every stall you put back into service is a new place to dump the goods your workshops already produce.
Quick answer: Reclaim the Town district by district, then spend Building Kits, Wooden Kits, and Iron Kits on individual stalls and buildings. Each restored shop opens a new market and increases the corpses your graveyard receives.
What rebuilding the Town changes in your graveyard
Restoration is neither charity nor decoration. You reclaim the Town district by district; after securing one, furnish it with livable homes, cafés and shops, plus the infrastructure serving residents. The resulting returns feed directly into your cemetery.
- Rebuilt structures give you places to sell goods while adding purchasable products and resources.
- The larger the Town grows, the more corpses get sent your way.
- The more prosperous and more sinful it becomes, the more skulls each corpse carries.
- Skulls fill two roles: they determine grave quality and provide zombie potential, making a larger town a larger workforce.
Your rebuilt areas still need protection. According to the developer, solid defences let residents coexist reasonably well with zombies; the bigger problems are hopelessness and too few consumer goods, not the undead. Since no districts or restoration costs have been published, choose the build order yourself instead of following a set route.
Restoring town merchant stalls and the kits they need
The first restoration work most keepers can afford is the broken merchant stalls near the port. Interact with a ruined stall and the menu lists exactly which kits it wants before construction can start. Three stalls show up early.
- Vegetable Stand — once rebuilt, it sells apple seedlings and farmer bags.
- Apothecary — alchemy-side goods and trade.
- Tailor — cloth and clothing trade, tied to lace and thread production.
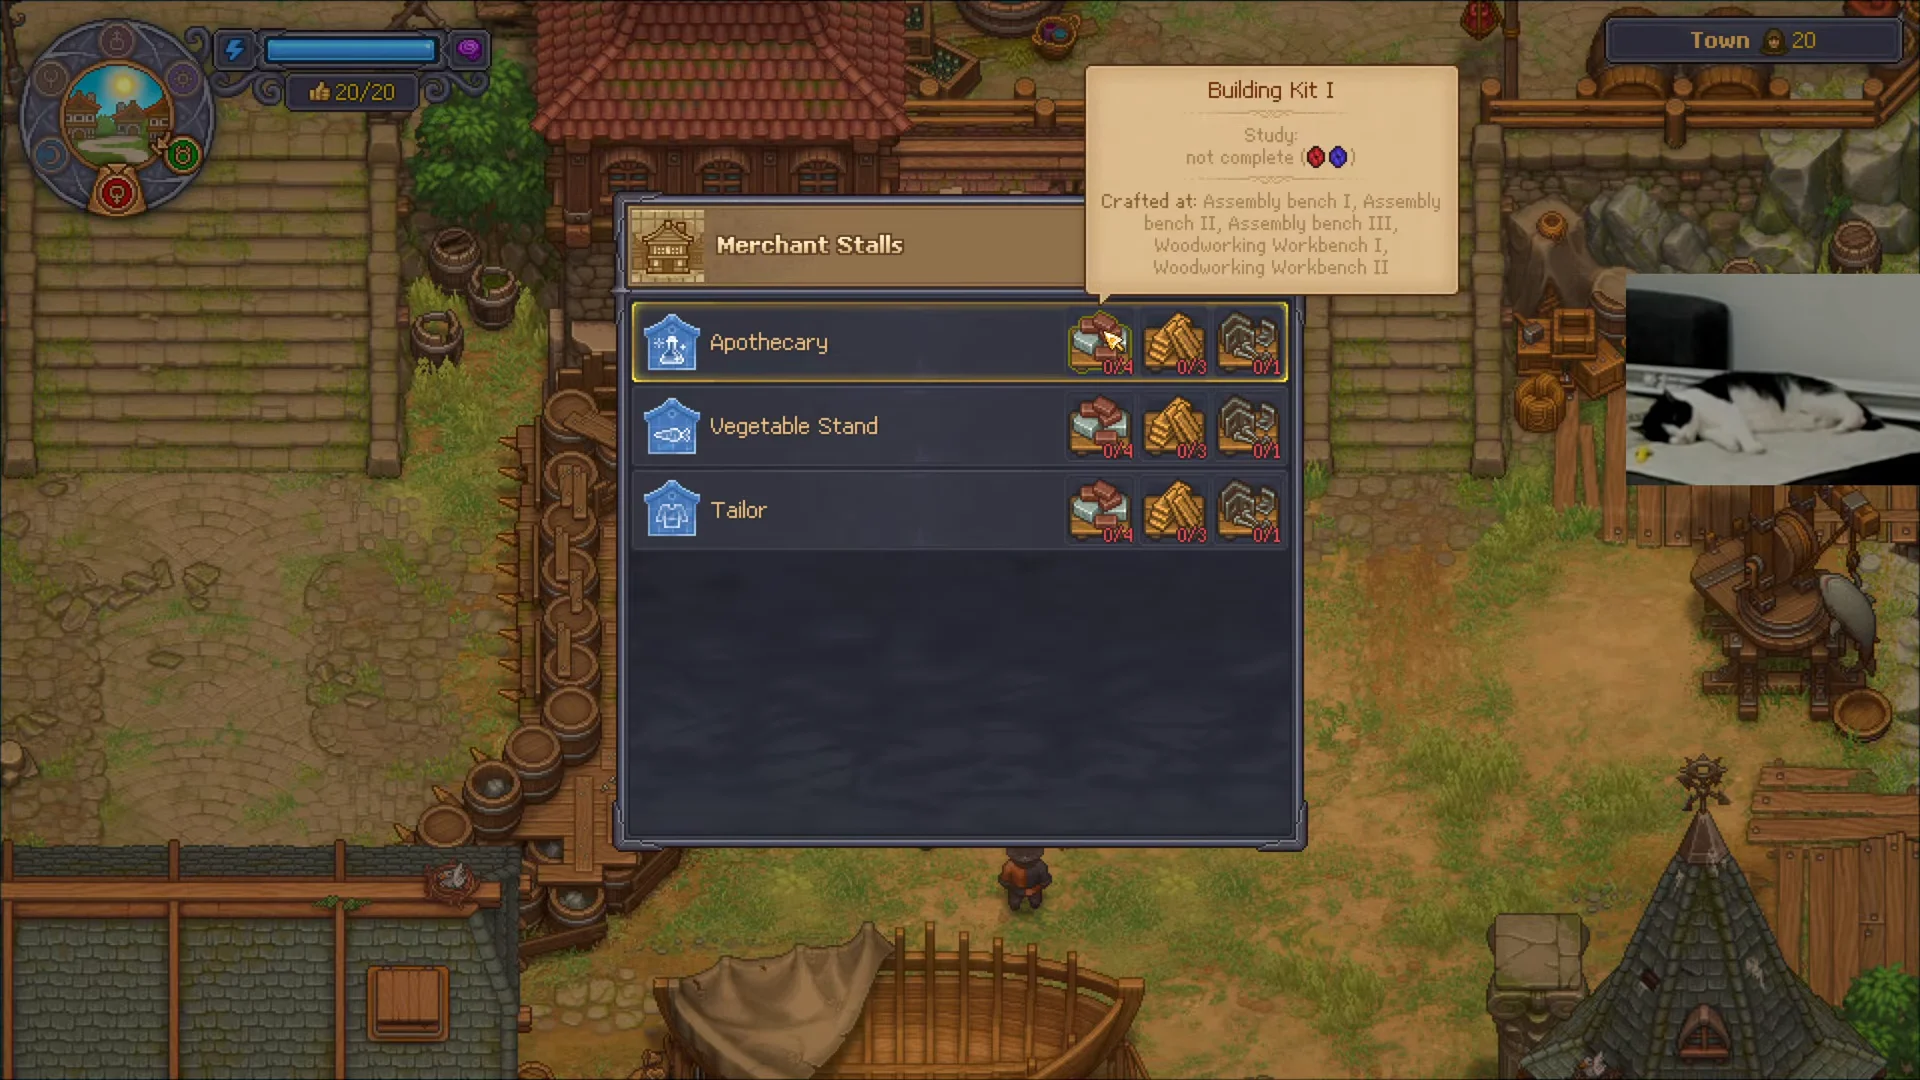
Each stall asks for some mix of Building Kits, Wooden Kits, and Iron Kits, so the bottleneck is almost never the stall itself. It’s your smelting and woodworking chain.
Rebuild the stall whose stock you’ll actually use. A restored shop is a market decision, so pick the one that buys your current surplus or sells the seeds and materials you’re short on.
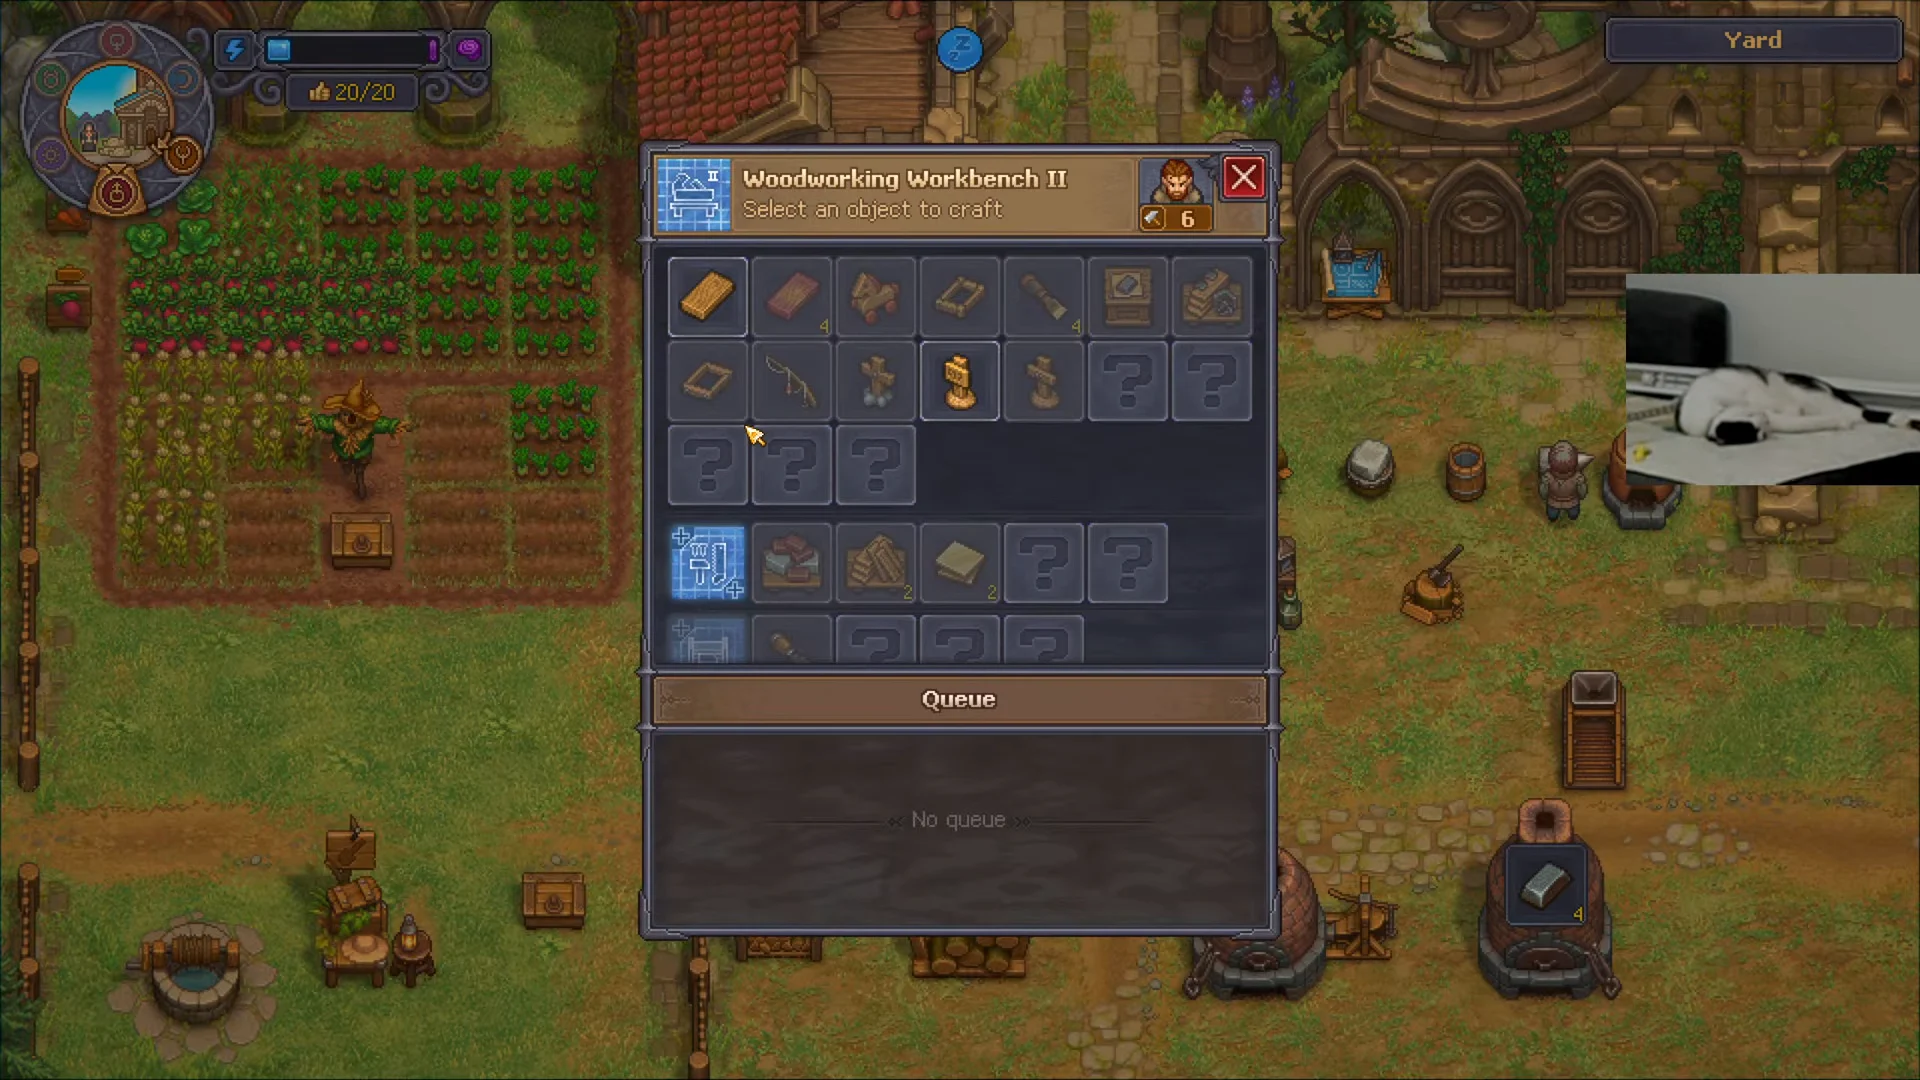
Crafting Building Kits, Wooden Kits, and Iron Kits
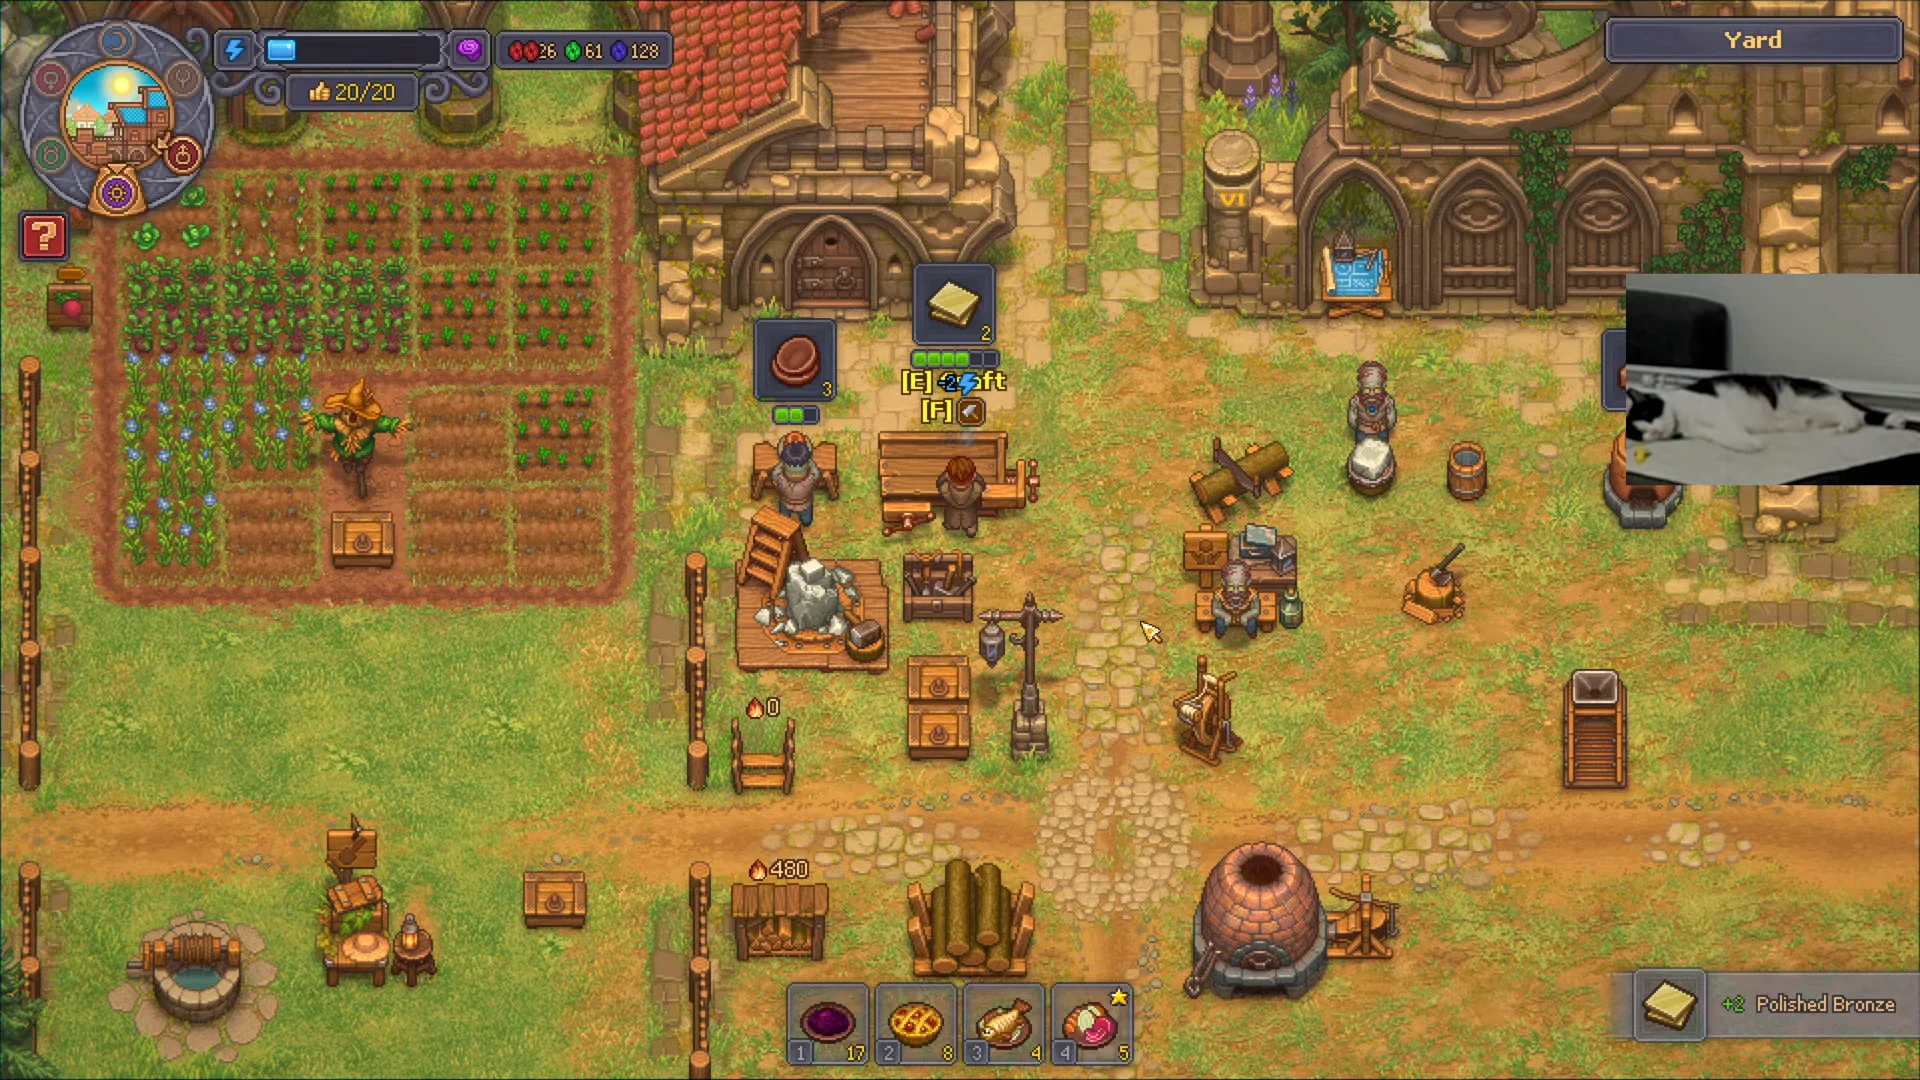
Kits sit at the end of a short production chain, and you need the tier II stations before the recipes are practical.
Unlocking the western forest and quarry for materials
Stone and timber run out fast once you start producing kits in bulk, and the quarry west of the village is locked behind paperwork rather than combat.
Inside, the forest holds a quarry with buildable zombie mining posts and Hans’ mine, which is still rigged with explosive traps. There’s also a broken cliffside ladder you can repair with planks, bronze details, and nails, creating a direct vertical shortcut between the quarry and your yard.
Town Gratitude: The weekly 10-point quota
Town Gratitude is the golden thumbs-up meter in the top-left of the screen, and you’re expected to fill 10 points every week. It feeds your sermon, which in turn feeds Faith and progression. Goods only generate Happiness when they’re sold, and each category has its own weekly ceiling.
| Source | Weekly ceiling | Notes |
|---|---|---|
| Each eligible vegetable | About 2 | ~15 items per point; grow several types |
| River fish fillets | About 2 | Roughly 0.4 each |
| Burial Certificate I | Up to 5 | Sold to Januarius |
| Town Gratitude Scrolls | +5 each | Use after a sermon, under the cap |
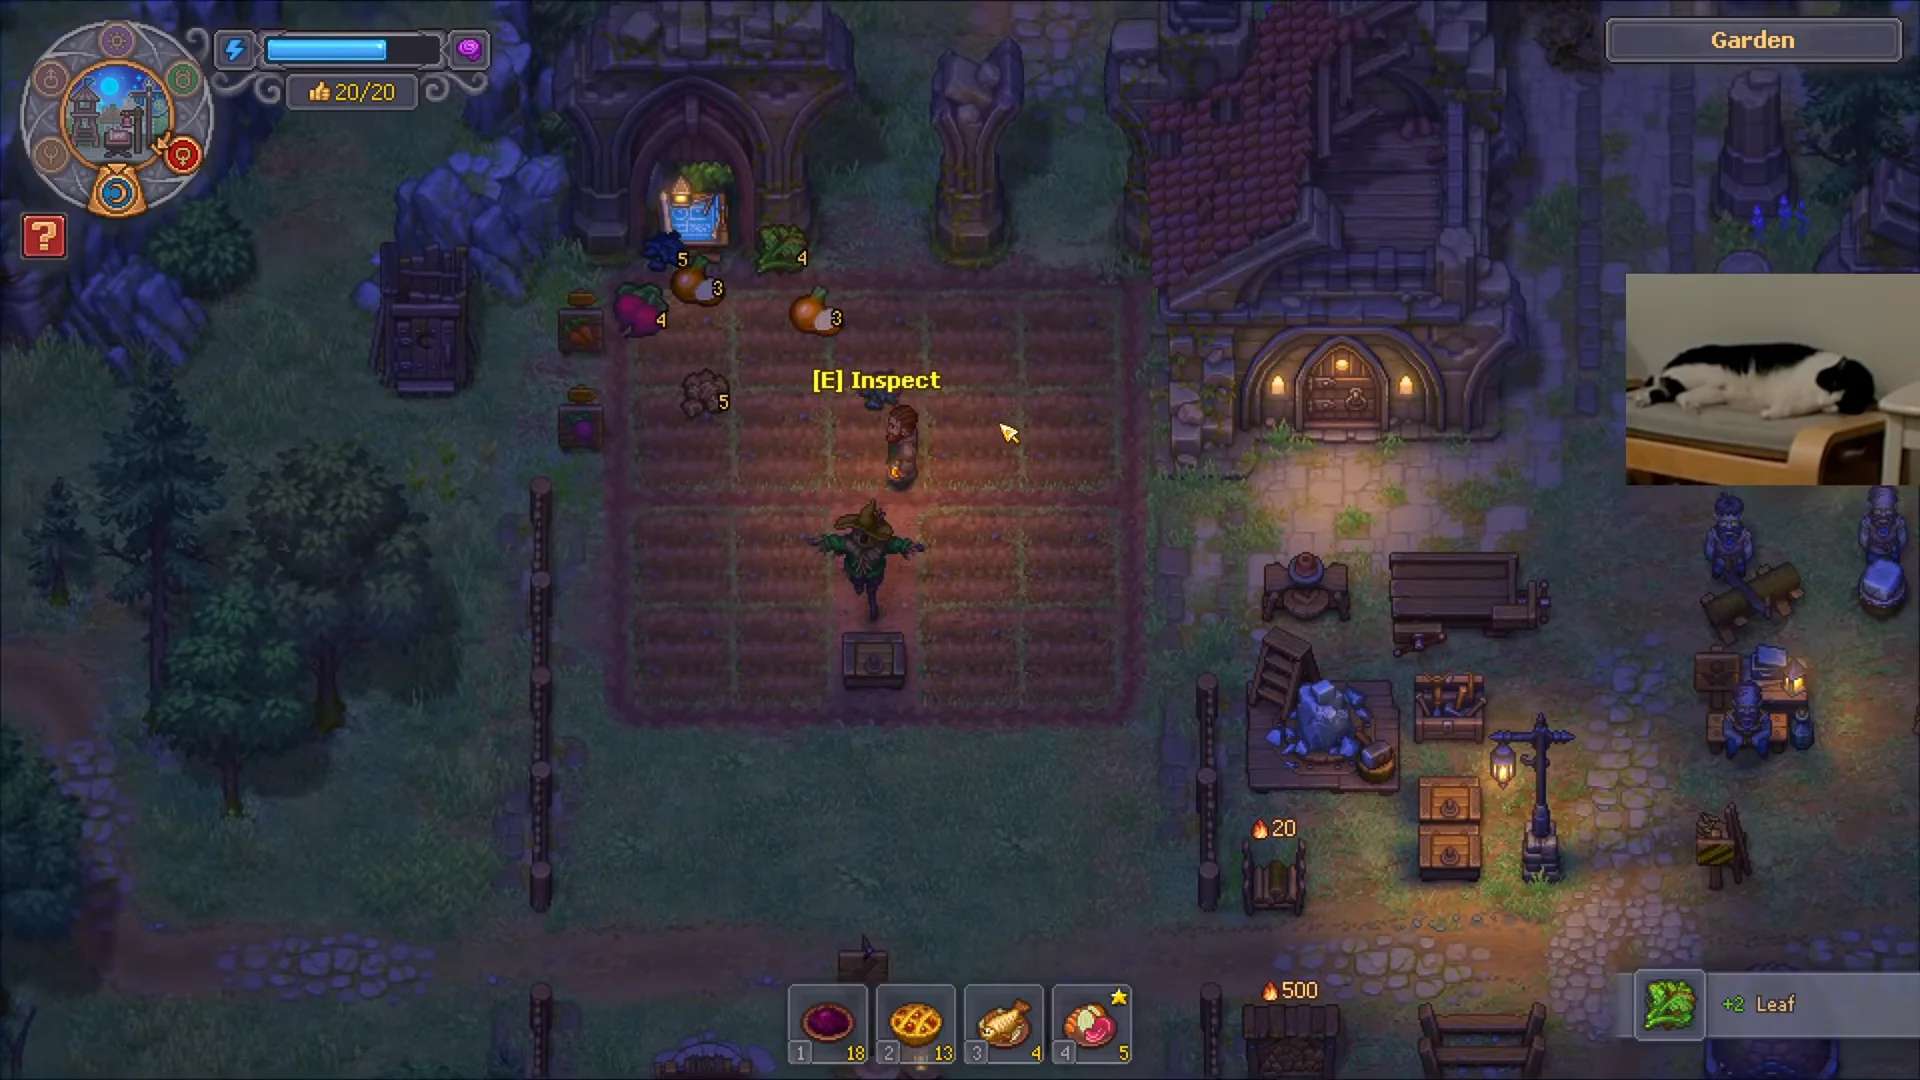
Wheat, carrots, beets, cabbages, and onions all qualify, which is why a diversified farm beats one huge carrot field. Thirty of a single vegetable hits that crop’s cap and stops paying, while the same thirty split across two crops keeps the meter moving.
If sermon day finds you short, use this shortcut. Complete Herm’s delivery task to expand his stock, then purchase 5 river fish fillets, 30 wheat, 30 carrots, 30 beets, and 30 cabbages before selling every item back to him. One documented run cost 7 silver 53 copper and returned 5 silver 27 copper, reaching the full 10 Gratitude in one trip. Reputation and discounts alter prices, so use that difference as an estimate rather than a guaranteed cost.
Partial progress is tracked during the week but wiped when the cycle resets at the start of Pride day. Finish a nearly complete point before the reset rather than banking it.
Beginning a sermon deducts Happiness matching the parishioner count, while Town Quality sets the highest possible Happiness. Improve the church interior and graveyard exterior to raise that limit.
Town orders and the Town warehouse
After the port area becomes available, commerce converts excess stock into Town Gratitude and coin. Pride day is the only time to accept orders, and an urgent order requires complete fulfillment during a single week. Send finished goods to the Town warehouse; it also accepts surplus stock in exchange for money.
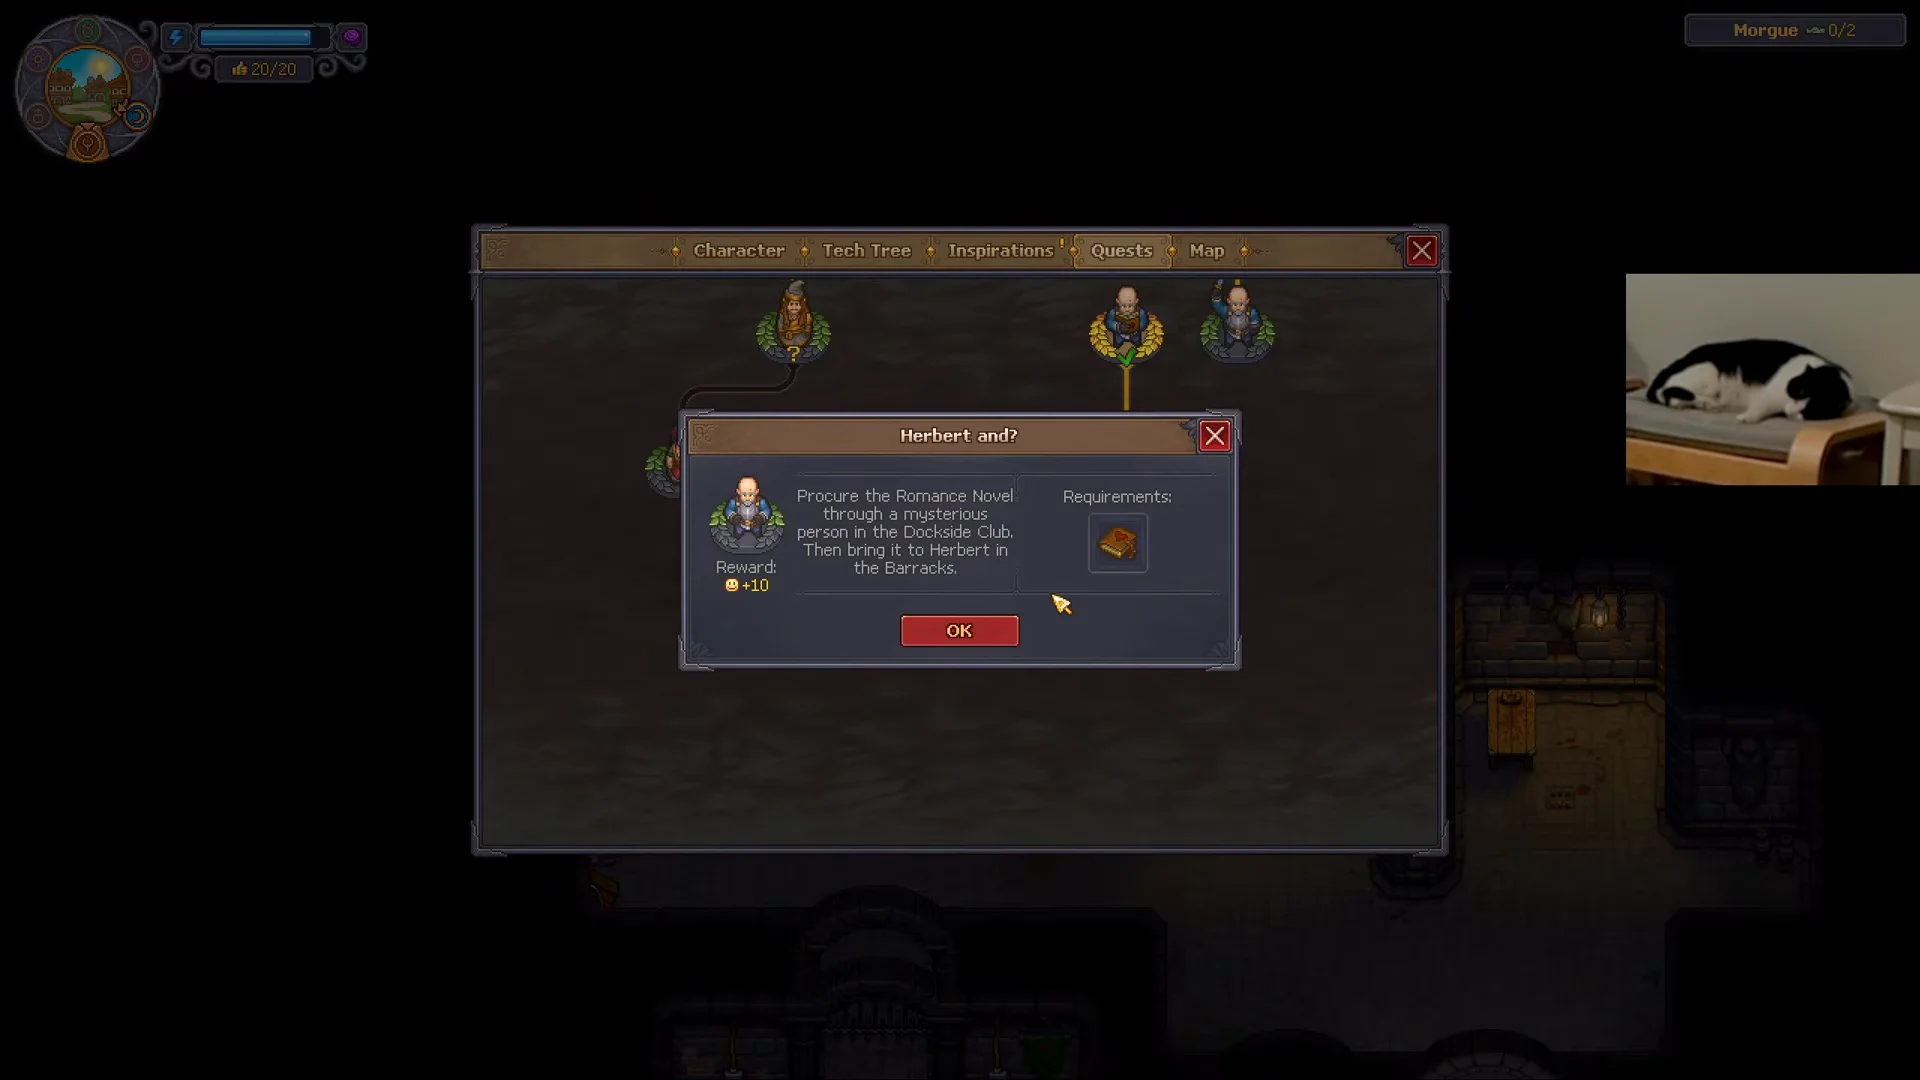
The warehouse cellar also connects to an underground tunnel blocked by rubble, which needs repair kits before it opens. Keep an eye on the quest log while you work the town, since several restoration jobs chain into each other.
Keeping corpses flowing while you rebuild
Town restoration stalls if your corpse supply dries up, and it will. The delivery donkey goes on strike early because Sister Agatha is intercepting bodies at the Crossroads and objecting to his hygiene on holy ground.
Zombie labor that keeps kit production running
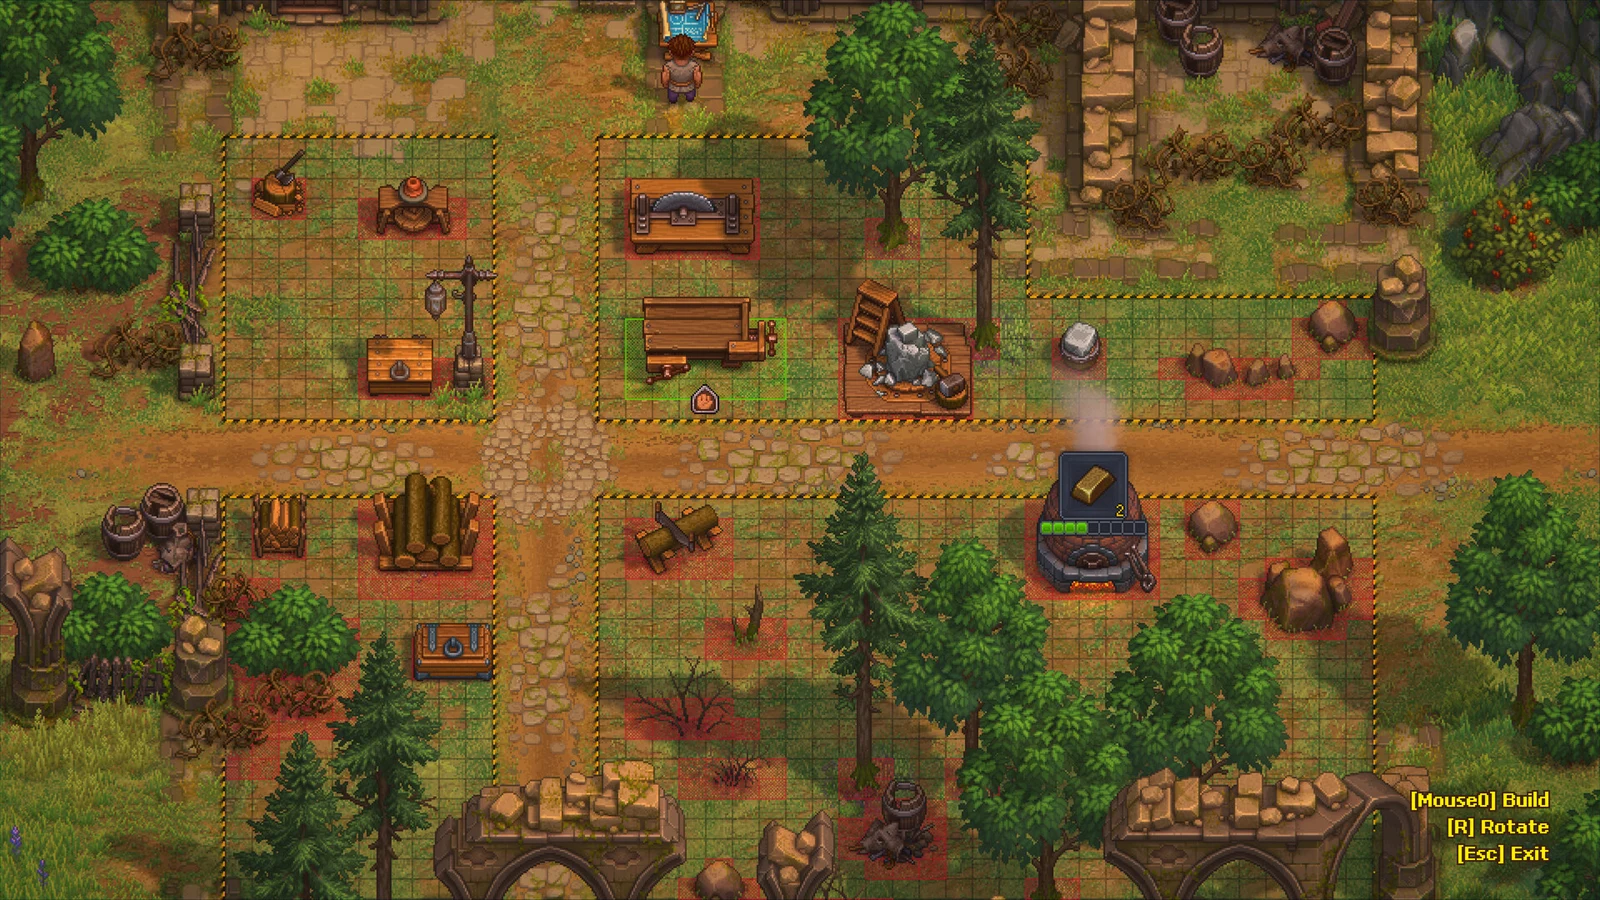
Hand-crafting every kit is how a town rebuild grinds to a halt. Zombies handle the repetitive stations, but only if you equip them correctly, because the tool has to match the station type.
- Axe — woodworking benches and logging spots.
- Hammer — anvils, masonry and stone benches.
- Shovel — farming beds.
- Bow — barracks guard duty.
Stations won’t move finished goods into storage or pull inputs from stockpiles unless a Zombie Porter station has a porter assigned to it. That single missing assignment is what usually makes an “automated” yard look frozen.
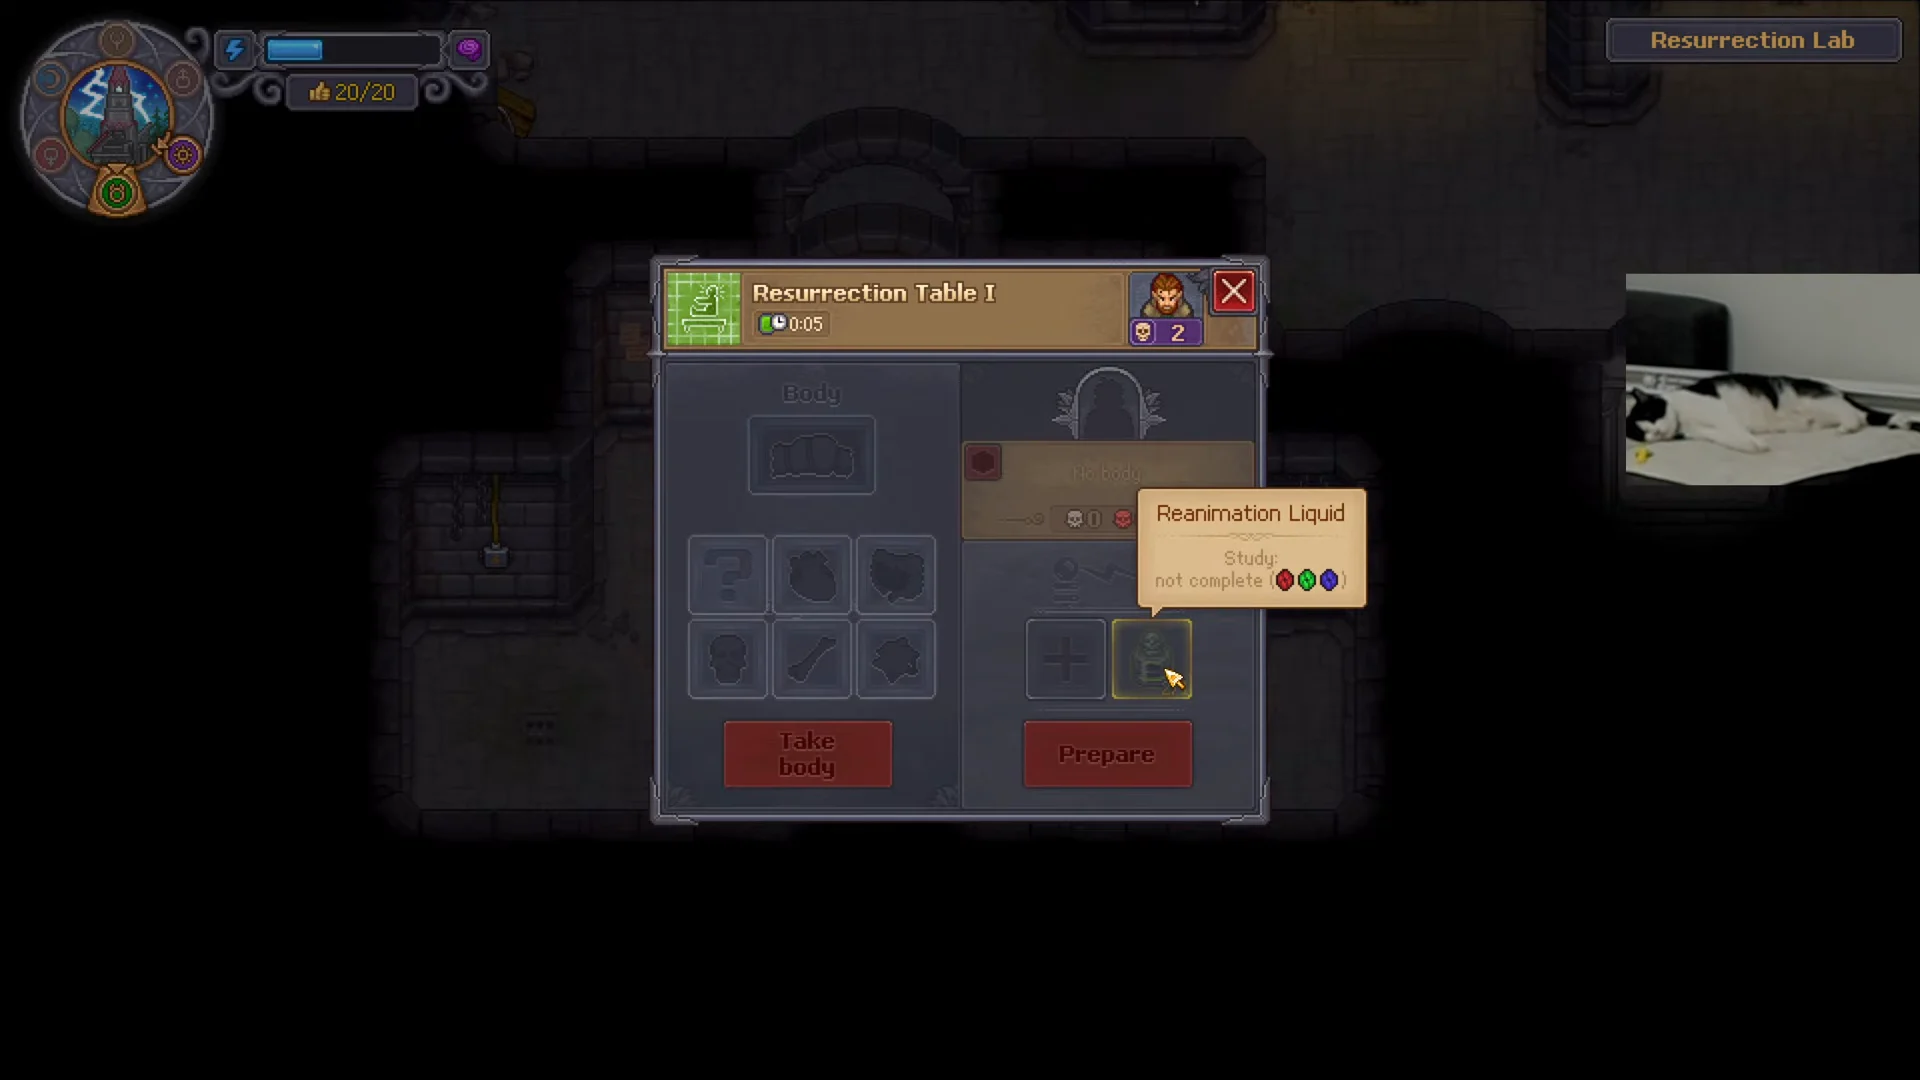
Worker quality traces back to the corpse. Reanimation at Resurrection Table I needs Reanimation Liquid and a collar, and the white and red skull counts on the body decide how well the zombie performs. Swapping better organs into a corpse at the autopsy table before resurrection is the cheapest way to raise output, while red skulls drag down both work speed and graveyard rating if you bury the body instead.
Any action performed while tired generates Insanity, and it stacks until visual distortions kick in. Sleeping is the best fix, and drinking beer clears accumulated points in a pinch.
How to confirm a restoration worked
A rebuilt stall replaces its ruined model with a staffed shop and its vendor menu opens with new stock, which is the clearest signal the kits registered. The sacred well clears Agatha’s holy water condition and unlocks the corpse quota dialogue, and the donkey resumes deliveries on the next cycle. The Forest Pass shows up in your inventory and the Forest Post guards open the gate instead of blocking it.
For the graveyard side, watch the quality number. Swapping wooden crosses for Wooden Fence II sets pushed one cemetery past 32, a stone Monument I and an exterior bench took it to 37, and a Columbarium I built from stone and ash-filled clay urns added another 12. Higher graveyard quality means more coin from the congregation, which funds the next round of kits.
Treat the whole thing as a loop rather than a checklist. A restored district sends you more and better bodies, better bodies make stronger zombies and higher-value certificates, and those fund the next building. When the Town stops progressing, the problem is almost always upstream in the graveyard, not in the Town itself.