Control Resonant: Maintenance Protocol Walkthrough (Full Quest)
Fix the three light bulbs, escape the slide, and claim the Standard Issue Coverall in this Underpass side quest.
Fix the three light bulbs, escape the slide, and claim the Standard Issue Coverall in this Underpass side quest.
by AllThingsHow Staff
Image: Remedy Entertainment
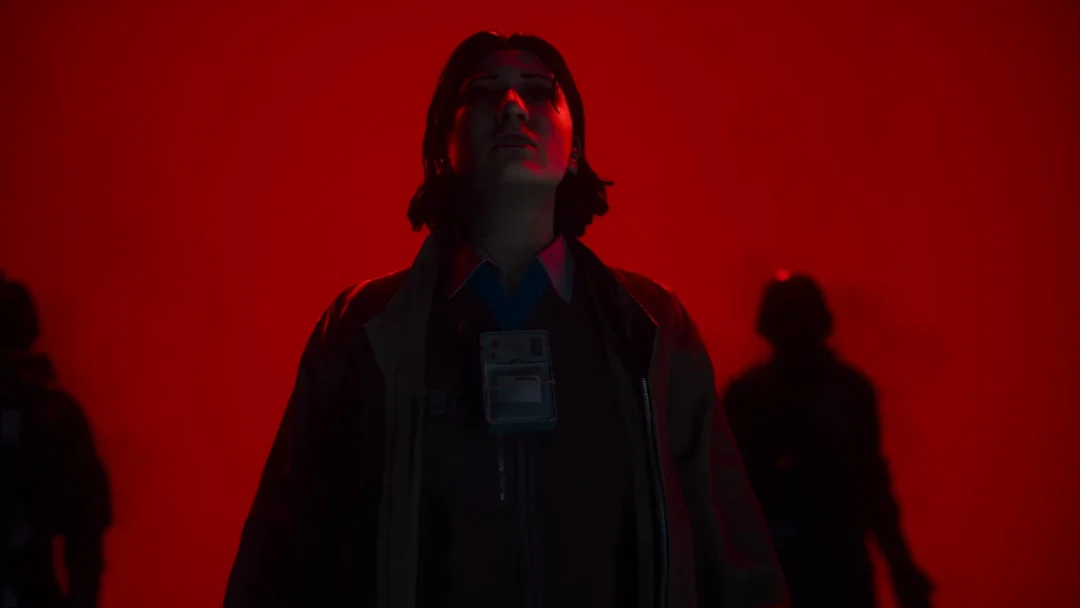
Maintenance Protocol sends Dylan Faden into the deepest part of Underpass 5 to answer an Oldest House alarm. The quest turns into a repair job for three misbehaving light bulbs, each “appeased” by twisting it three times clockwise, before a final bulb pulls you inside a black-and-white slide. Finishing it rewards the Standard Issue Coverall outfit.
Quick answer: Enter the Morse code for “in” to reach the old sector, fix the Volatile, Botanophobic, and Electrosensitive bulbs, then return to the projector room and select Break the bulb to complete the quest.
How to start Maintenance Protocol
Maintenance Protocol becomes available after The Hedron Link, when you meet Zoe at the Watchtower for Zoe’s Briefing. That conversation opens both New Growth and this quest in the Quest Log.
Track the entry and the objective updates to Investigate the Oldest House Alarm. The marker points to Underpass 5, so use a fast-travel booth and select Deepest Underpass to get close.
Reach the old Oldest House door and enter the Morse code
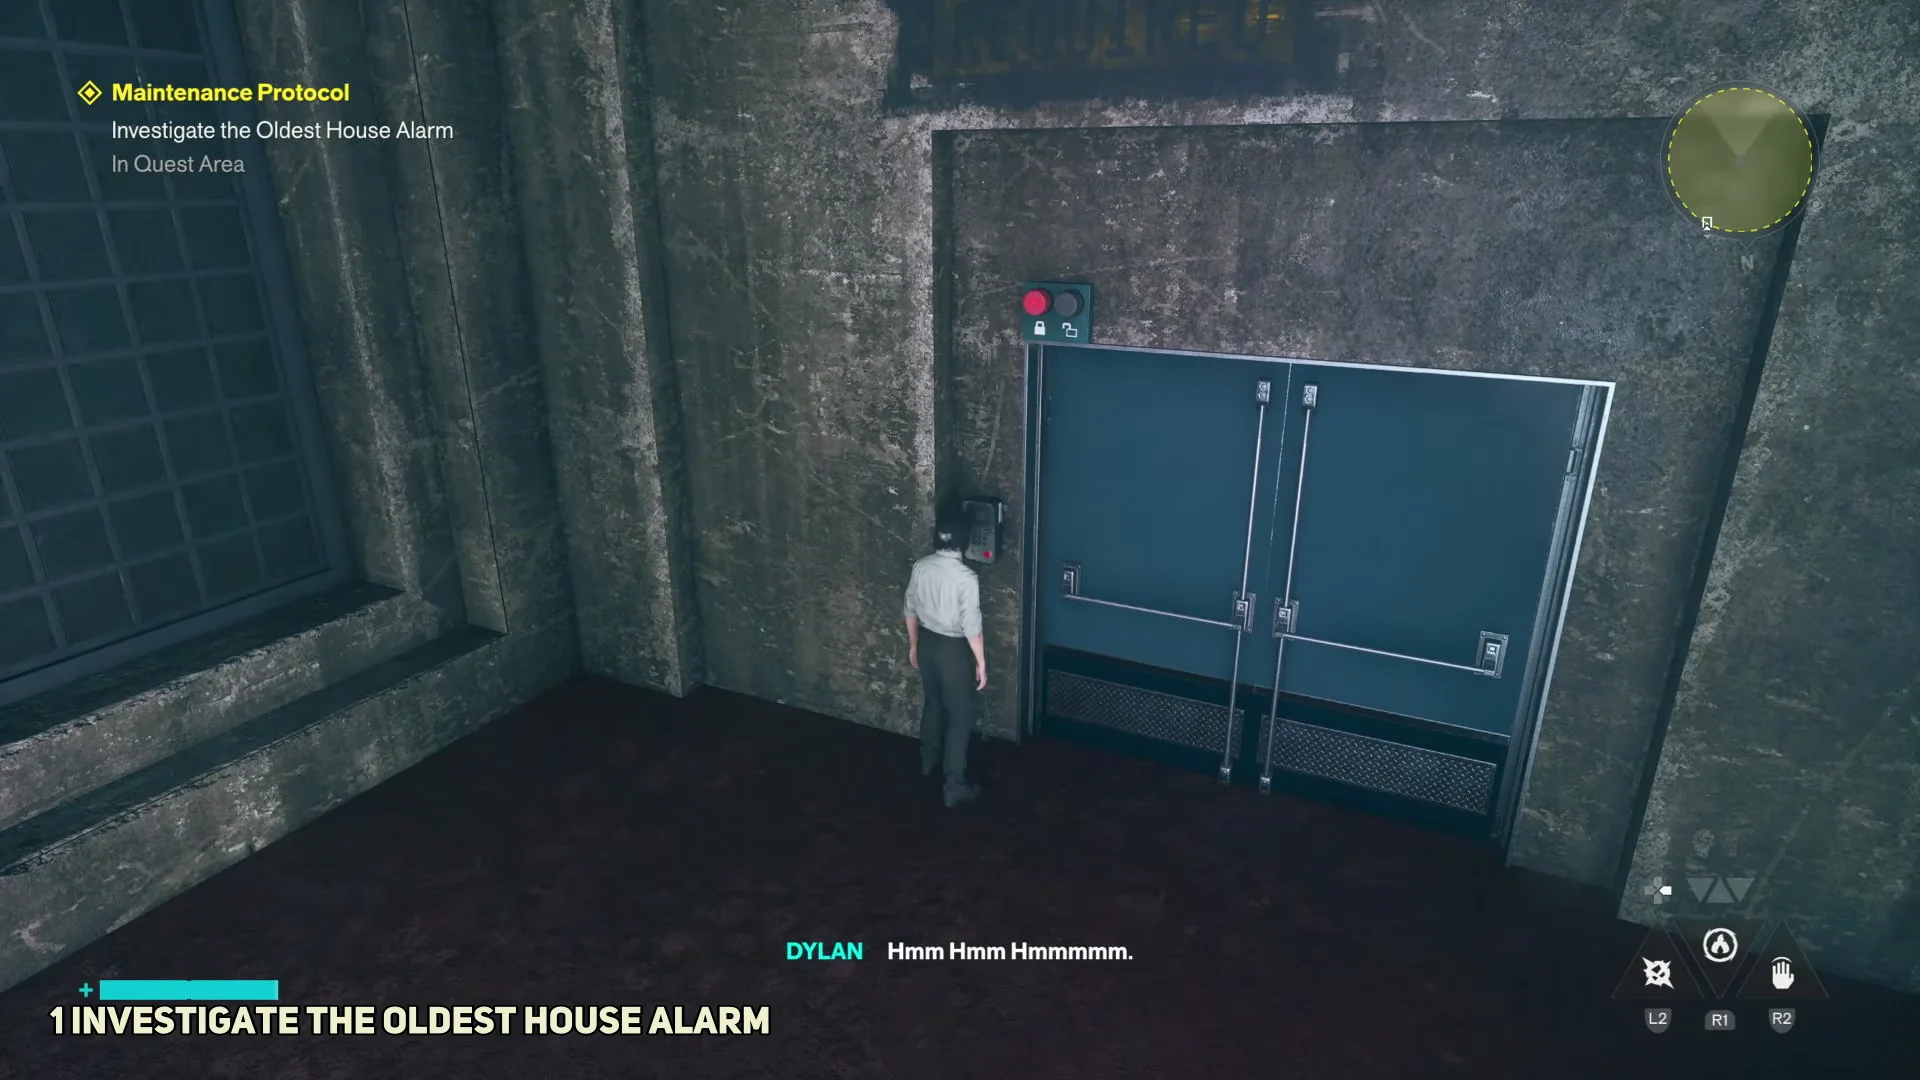
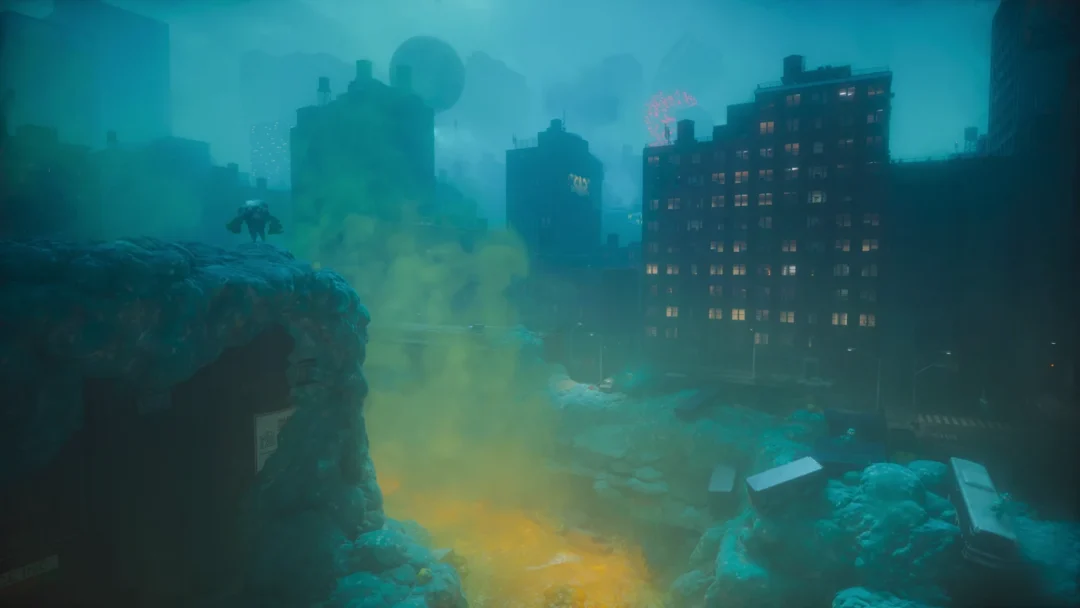
Starting at the fast-travel point, descend through Underpass 5. Make your way across the platforms, pipes, and ledges to the sealed security doors labeled “Door to ‘old’ Oldest House.”
Use the intercom next to the door. Zoe reads an old manual over the radio and tells you to input the Morse code for the word “in.” That is dot-dot-dash, which plays as two short hums followed by one long hum. Enter it to unlock the door.
Push through the mold-infested corridors on the other side and climb up into the projector briefing room.
Watch the briefing and find the bulb coordinates
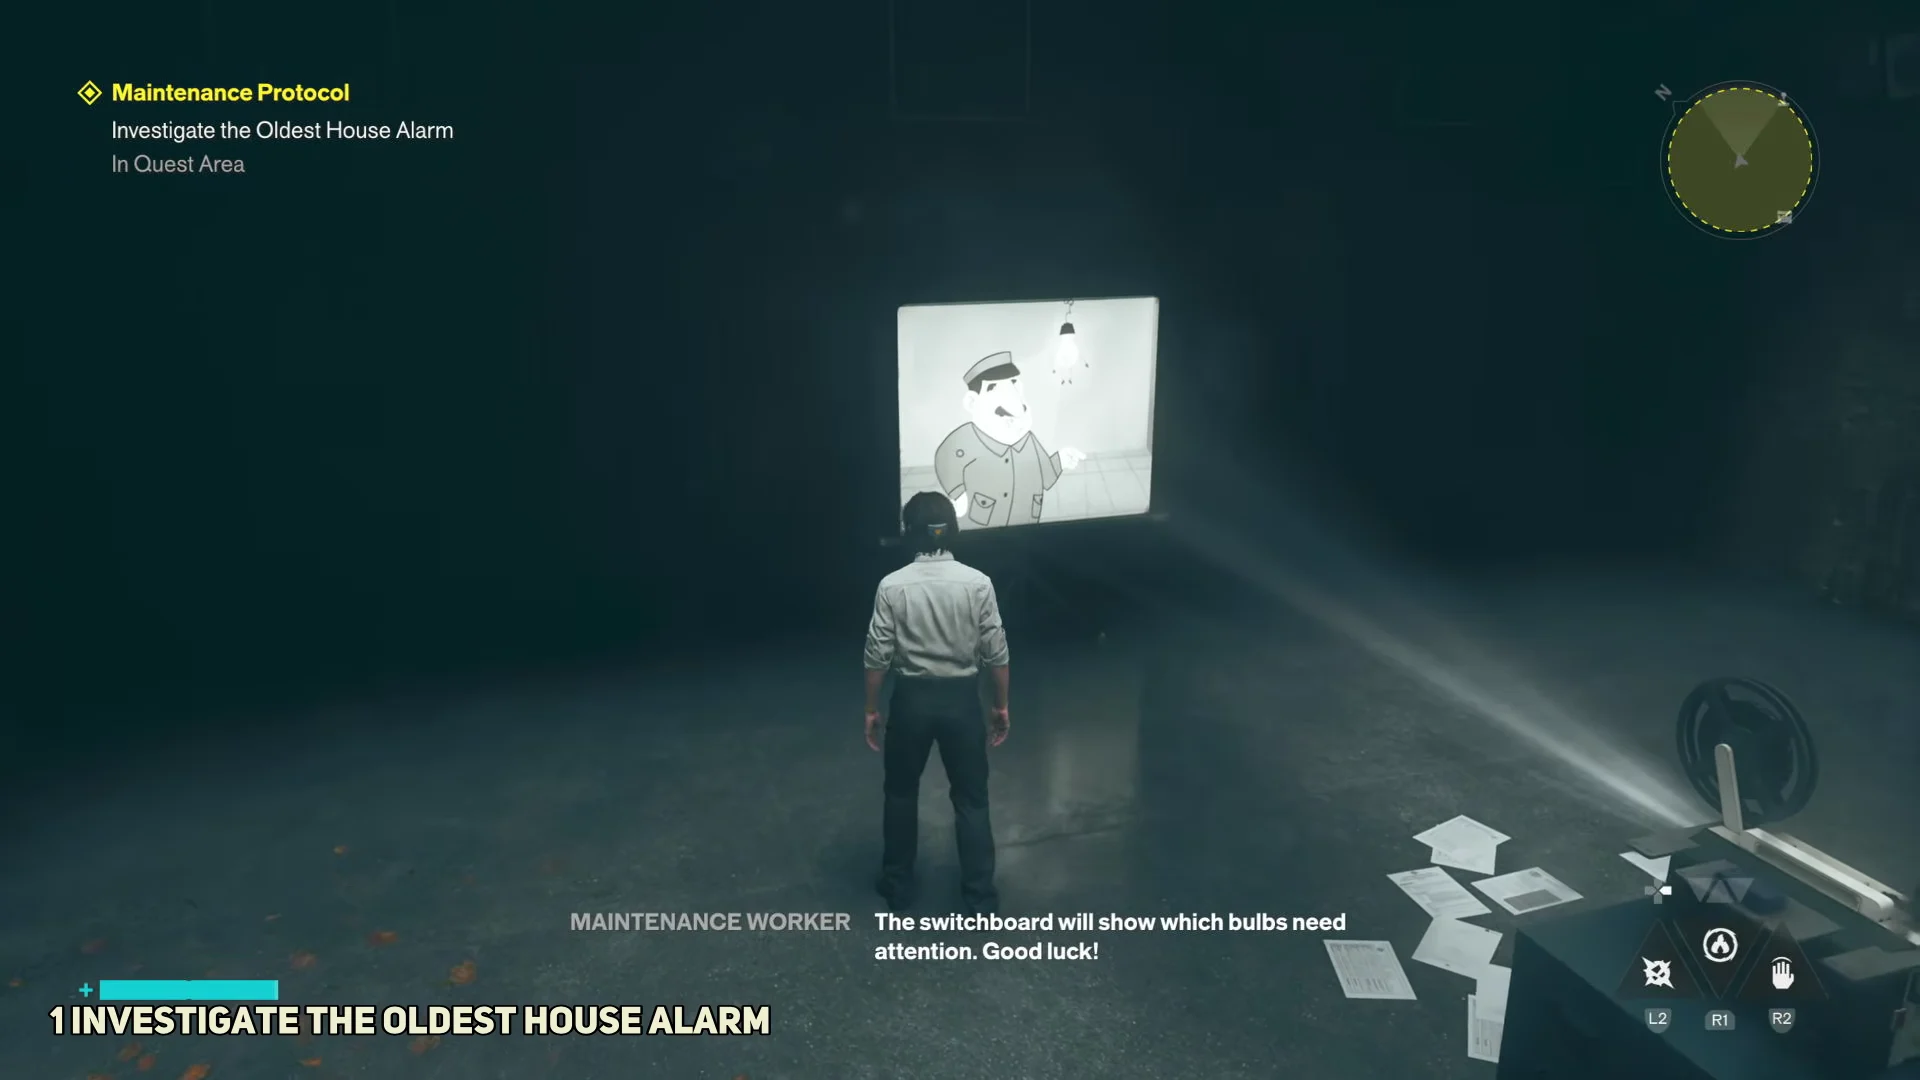
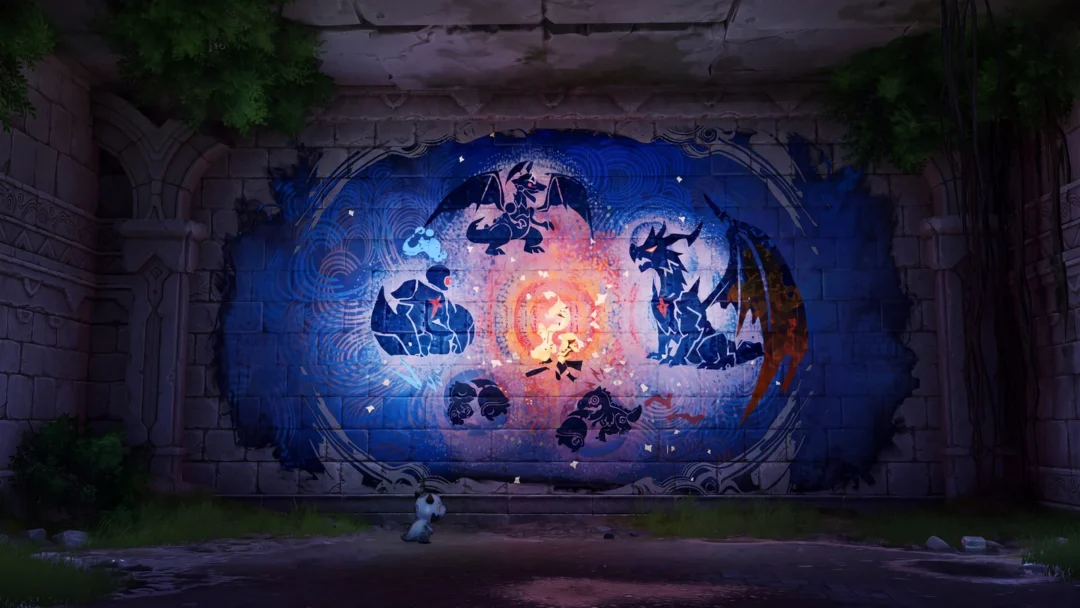
The projector plays a film reel with an animated FBC maintenance worker. It explains that loose light bulbs are destabilizing the facility and must be settled by twisting them three times in their sockets, summed up as “righty-tighty.”
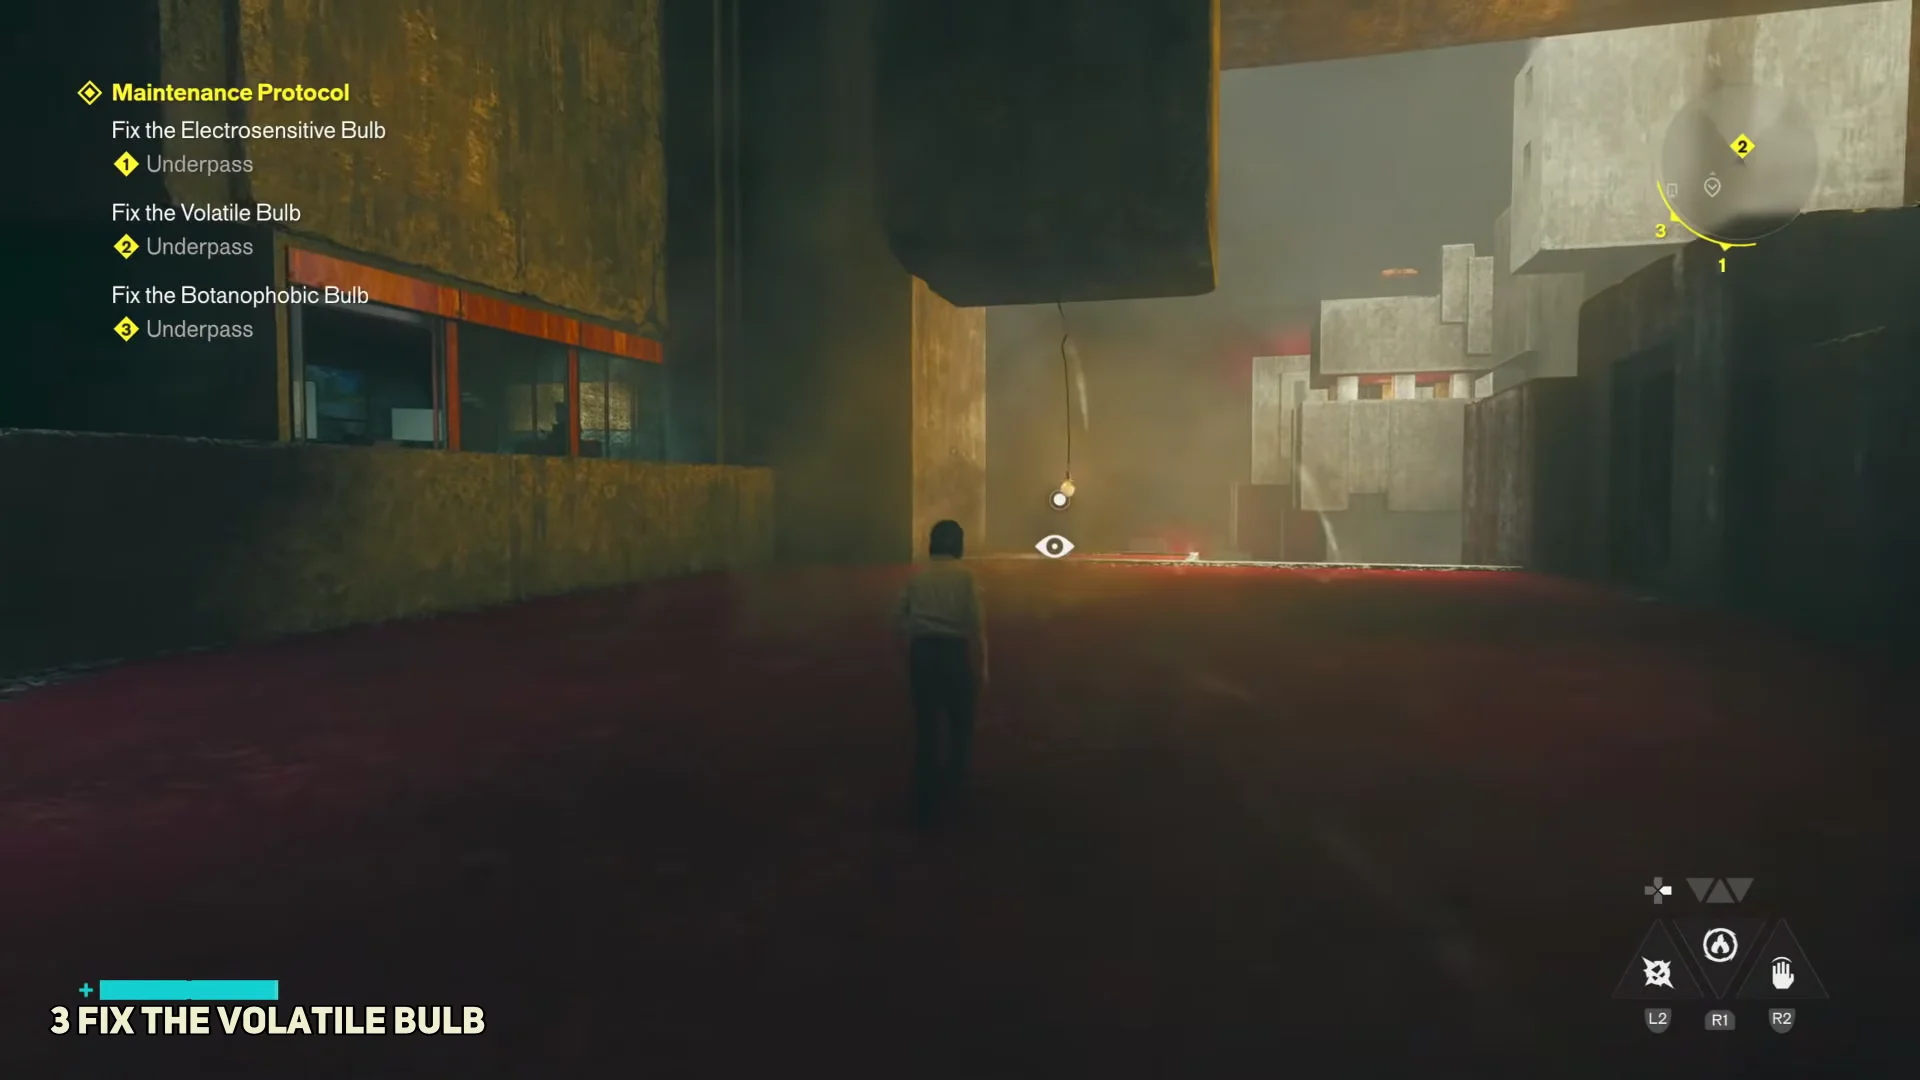
Step into the adjacent switchboard room to reveal the active locations of the three bulbs. This updates the log with the Volatile, Botanophobic, and Electrosensitive objectives, which you can complete in any order.
Fix the three light bulbs
Each bulb has its own problem to solve before the tighten prompt works. The table lays out what triggers the fix, and the walkthrough below covers each one in detail.
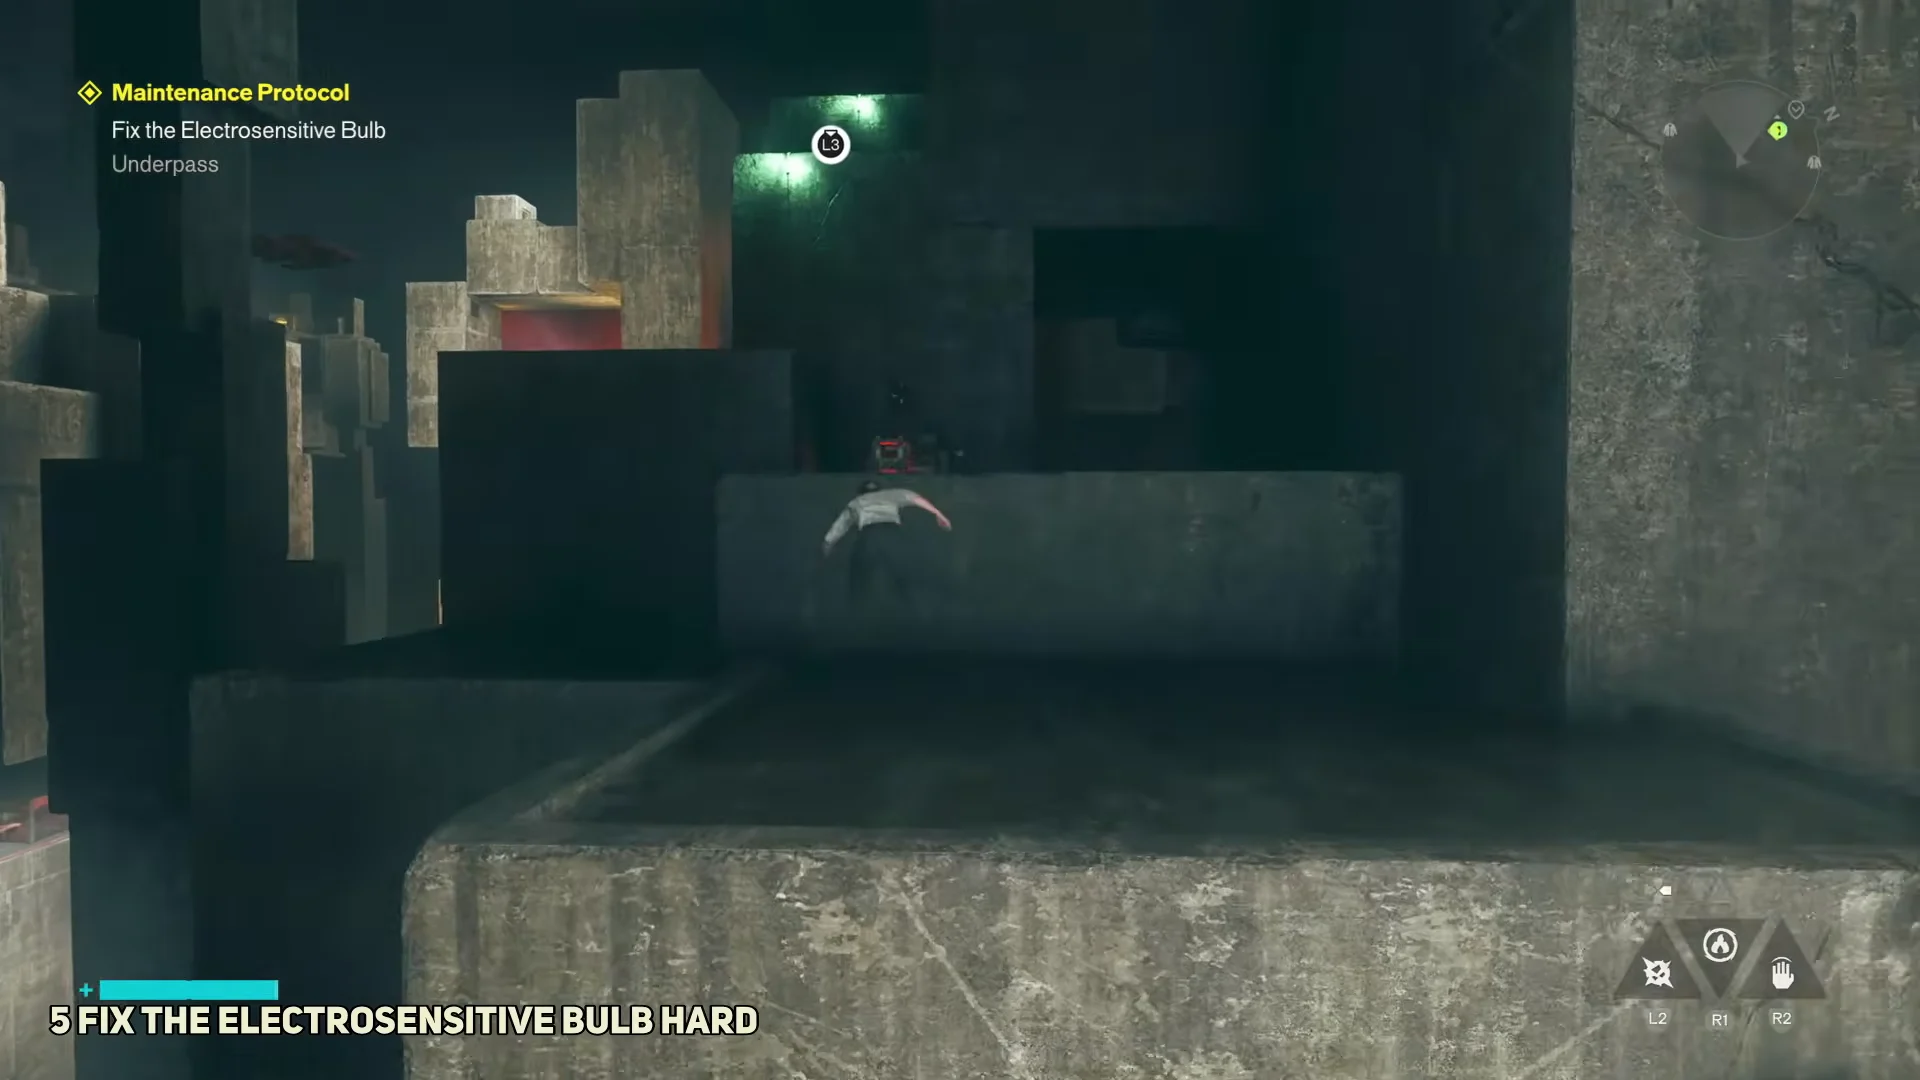
Talk to the bulb and pick the reassuring lines, “Time to be tightened,” “You seem stressed,” and “It’s okay, you’re okay.” A wave of corrupted enemies spawns during this.
Clear the wave, then speak to the bulb again with “Stop worrying,” “Stay still,” and “You deserve to be fixed.” Press interact to twist it three times.
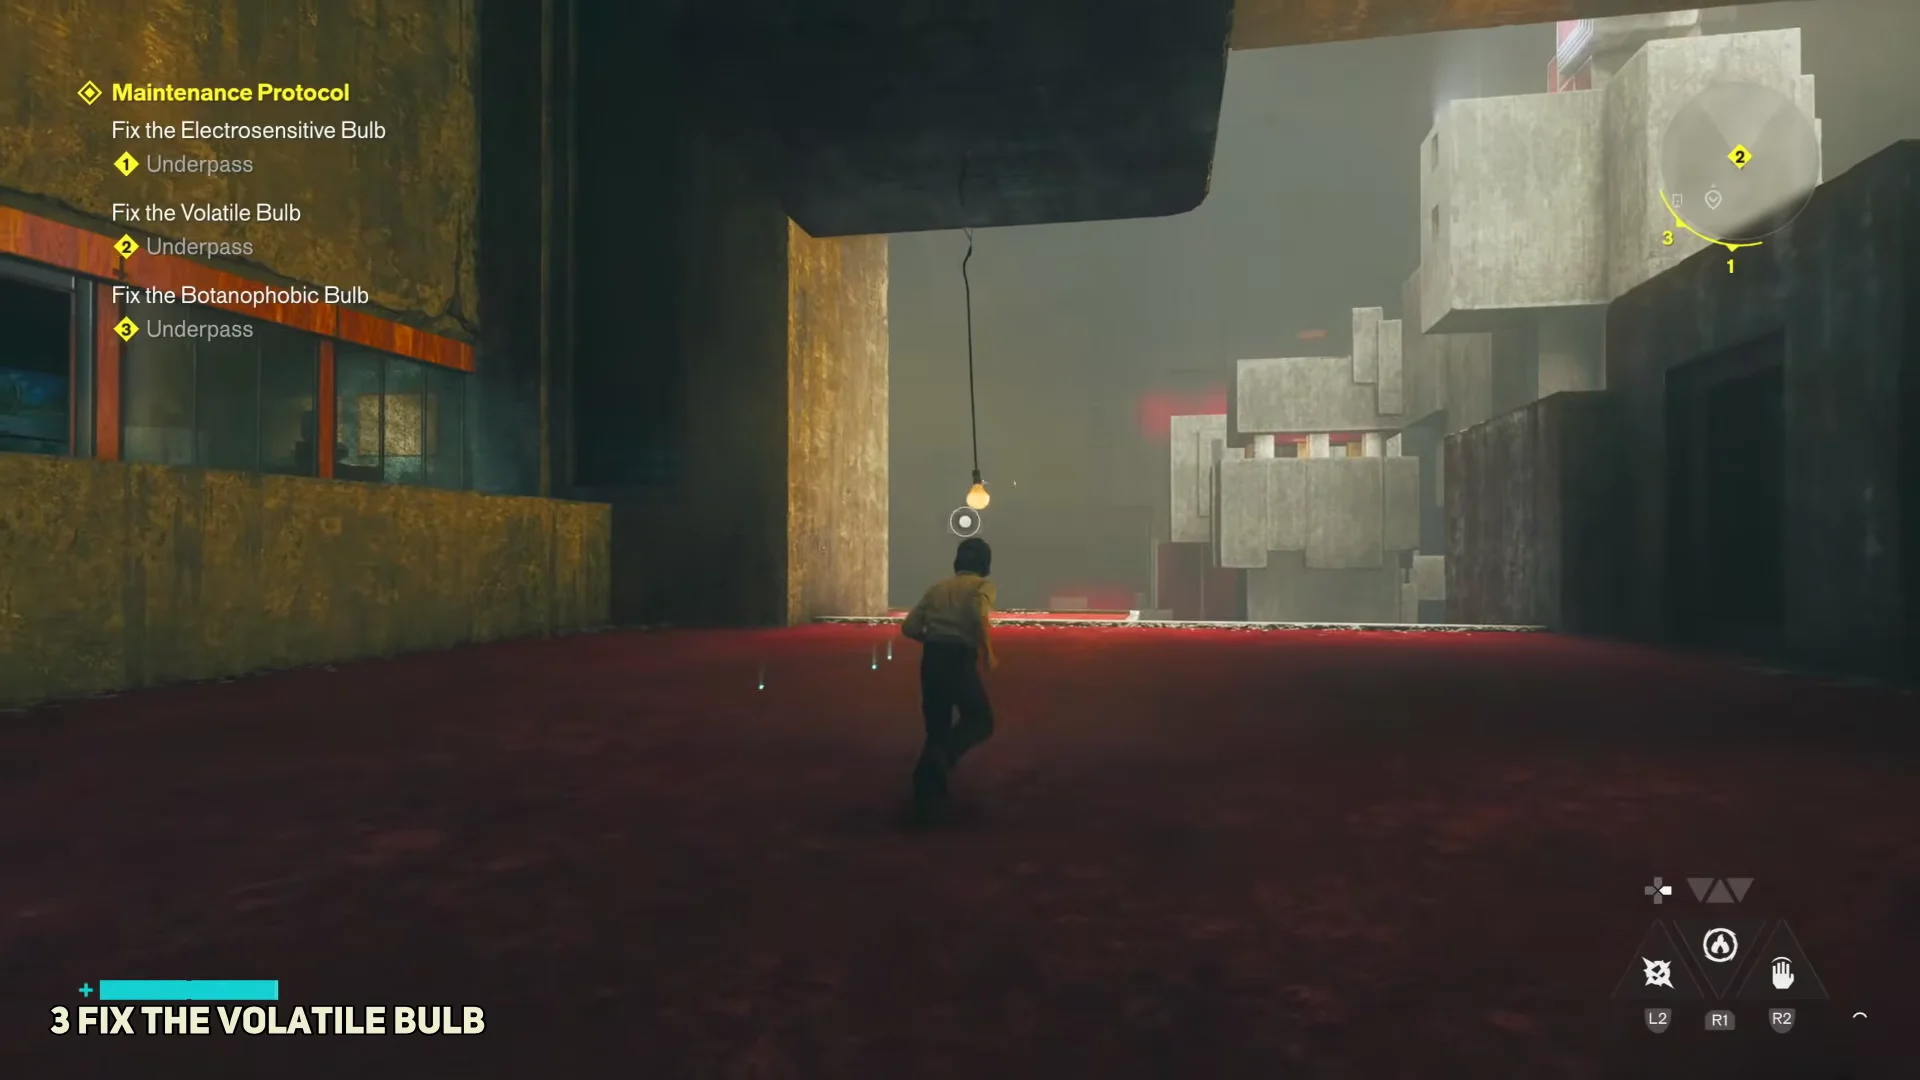
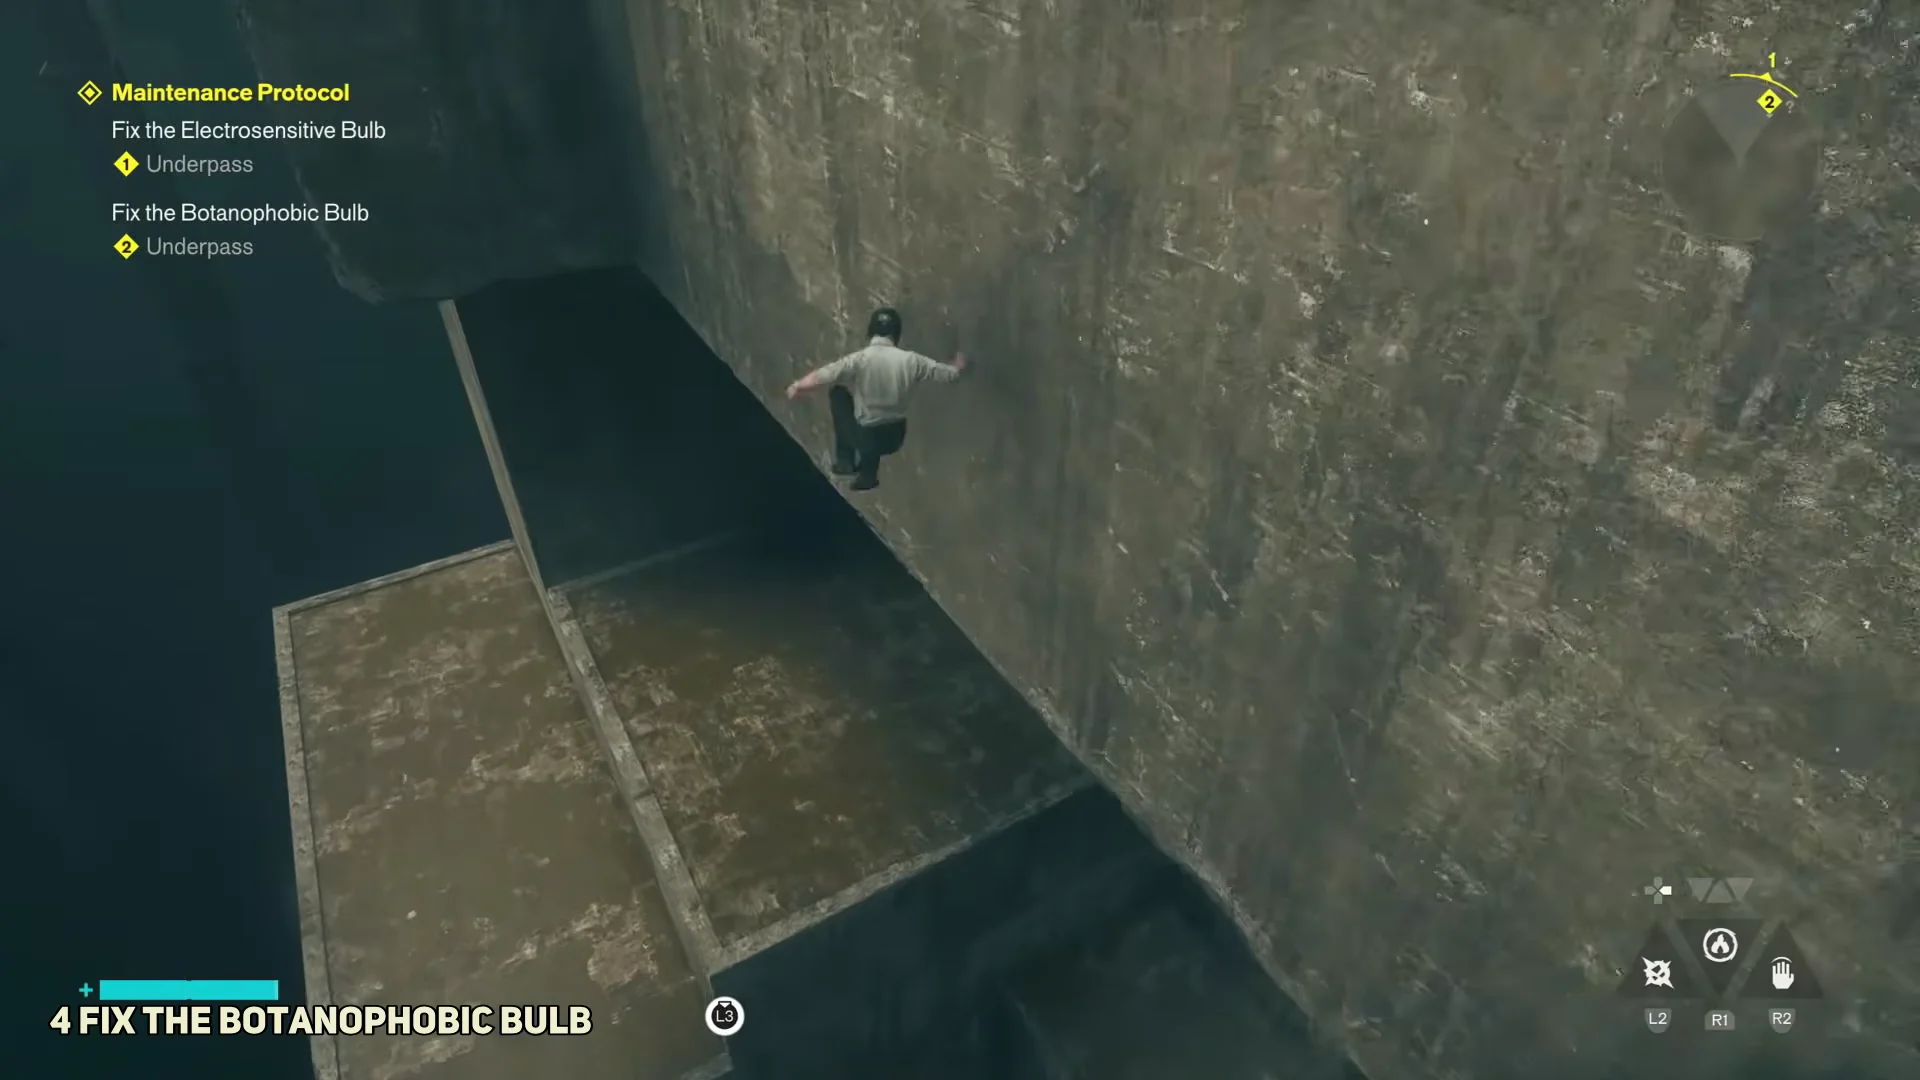
Destroy the explosive spores and every fungal growth around the bulb using weapons or throw attacks. With the area cleared, twist the bulb three times.
The maintenance worker appears on the screen and says the last bulb is caught inside the projected slide, then directs you to touch it. Approach the projection and interact with it.
Dylan is drawn into the animated slide, becoming a 2D black-and-white cartoon. Work through the dialogue prompts, including The Board’s cryptic inverted-triangle messages, until Break the bulb becomes available.
Choose Break the bulb. Using a crowbar, Dylan crushes the unstable cartoon light bulb; the projection breaks apart, bringing him back to the 3D room.
Quest completion and reward
You will know it worked when the “Quest Completed: MAINTENANCE PROTOCOL” notification appears and the Standard Issue Coverall outfit is added to your inventory. Check the Quest Log to confirm the entry now sits in your completed list.