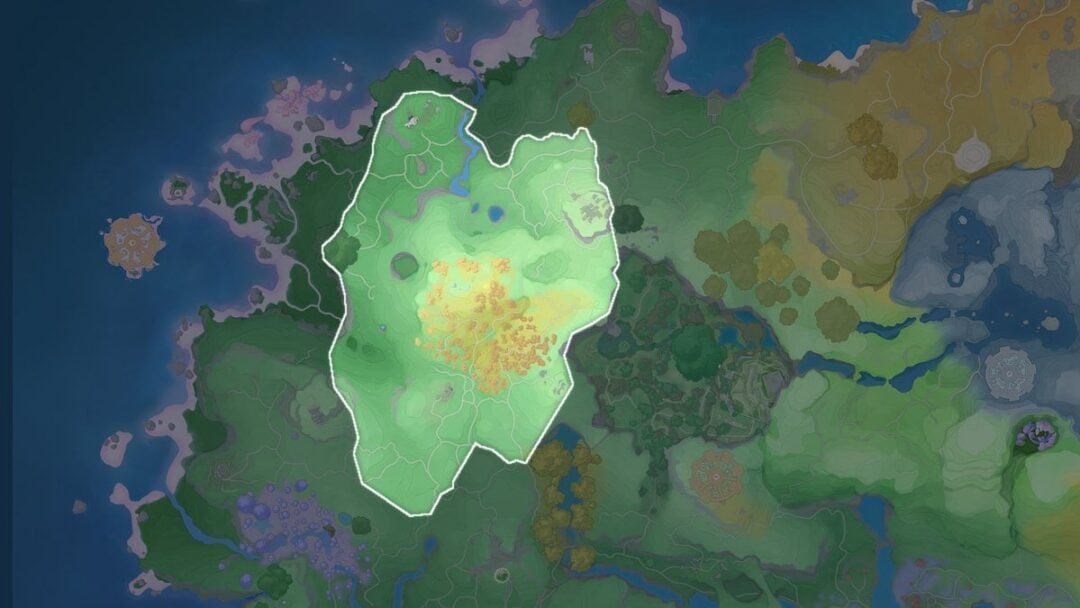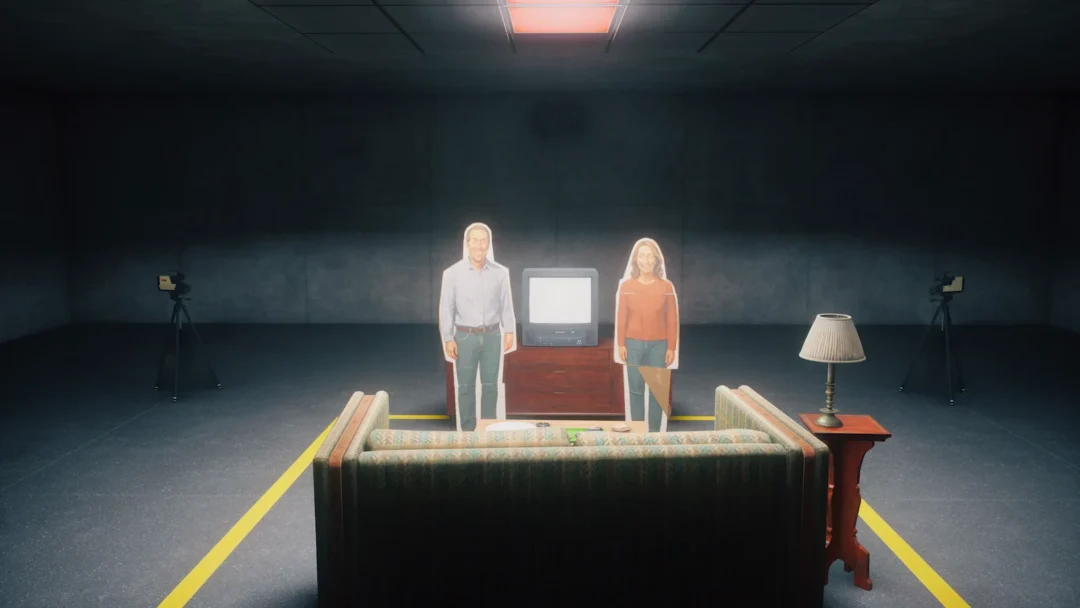
Part 1: Arrival takes Simon from the pier into the fog-covered Shorefront District of St. Amelia, spanning Chapters 1 through 4. It introduces the CRTV, the Otherworld, and the game’s core lock puzzles while scattering Documents, Clues, Strange Postcards, Phone Numbers, and Key Items across Town Square, the Haldane Hotel, Zoe’s house, and the clinic area.
Quick answer: Pick up every Document, Clue, Strange Postcard, Phone Number, and CRTV Signal in an area before leaving it. Since you can’t revisit areas or select chapters, any Part 1 pickup can be missed in a single run.
Documents and Clues both count toward the game’s 85 Discoveries, and Discoveries influence which ending you reach. Grab both categories on every playthrough.
Chapter 1: Cold Open — Shorefront and Town Square
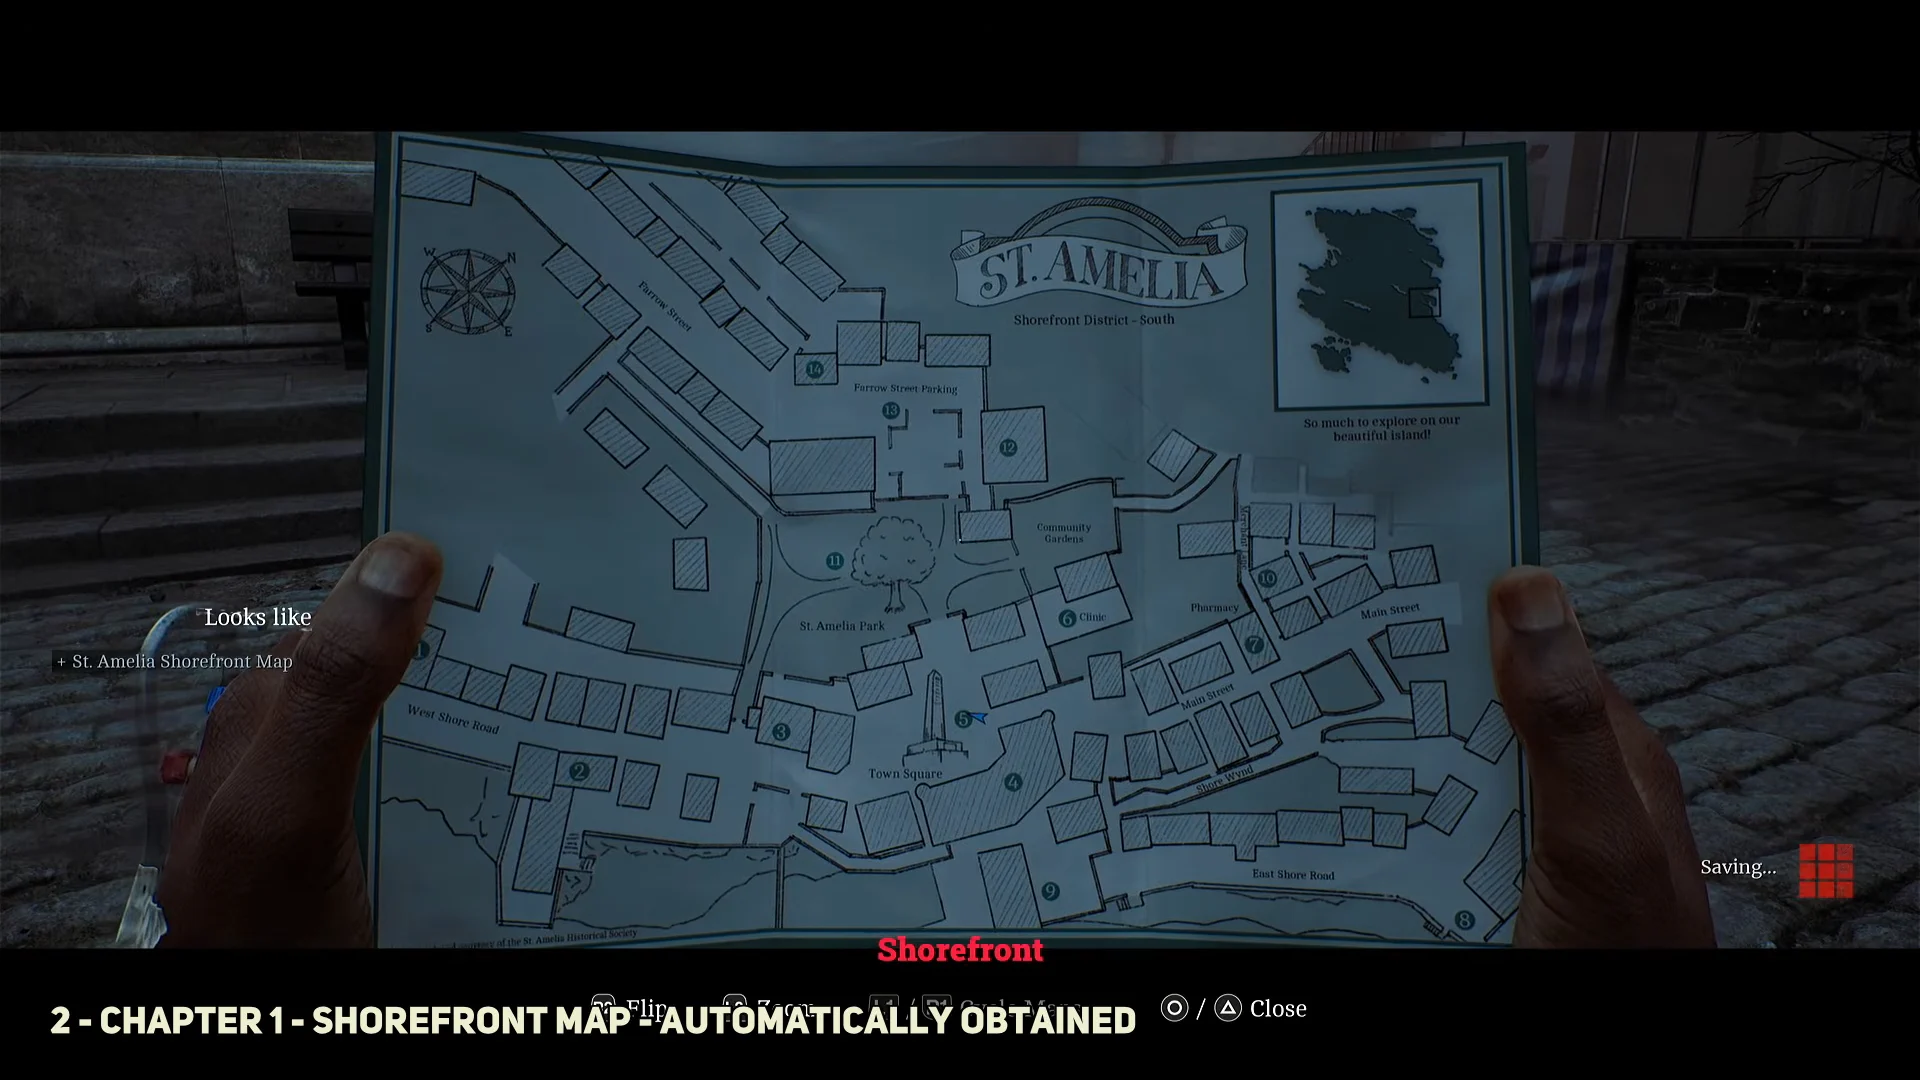
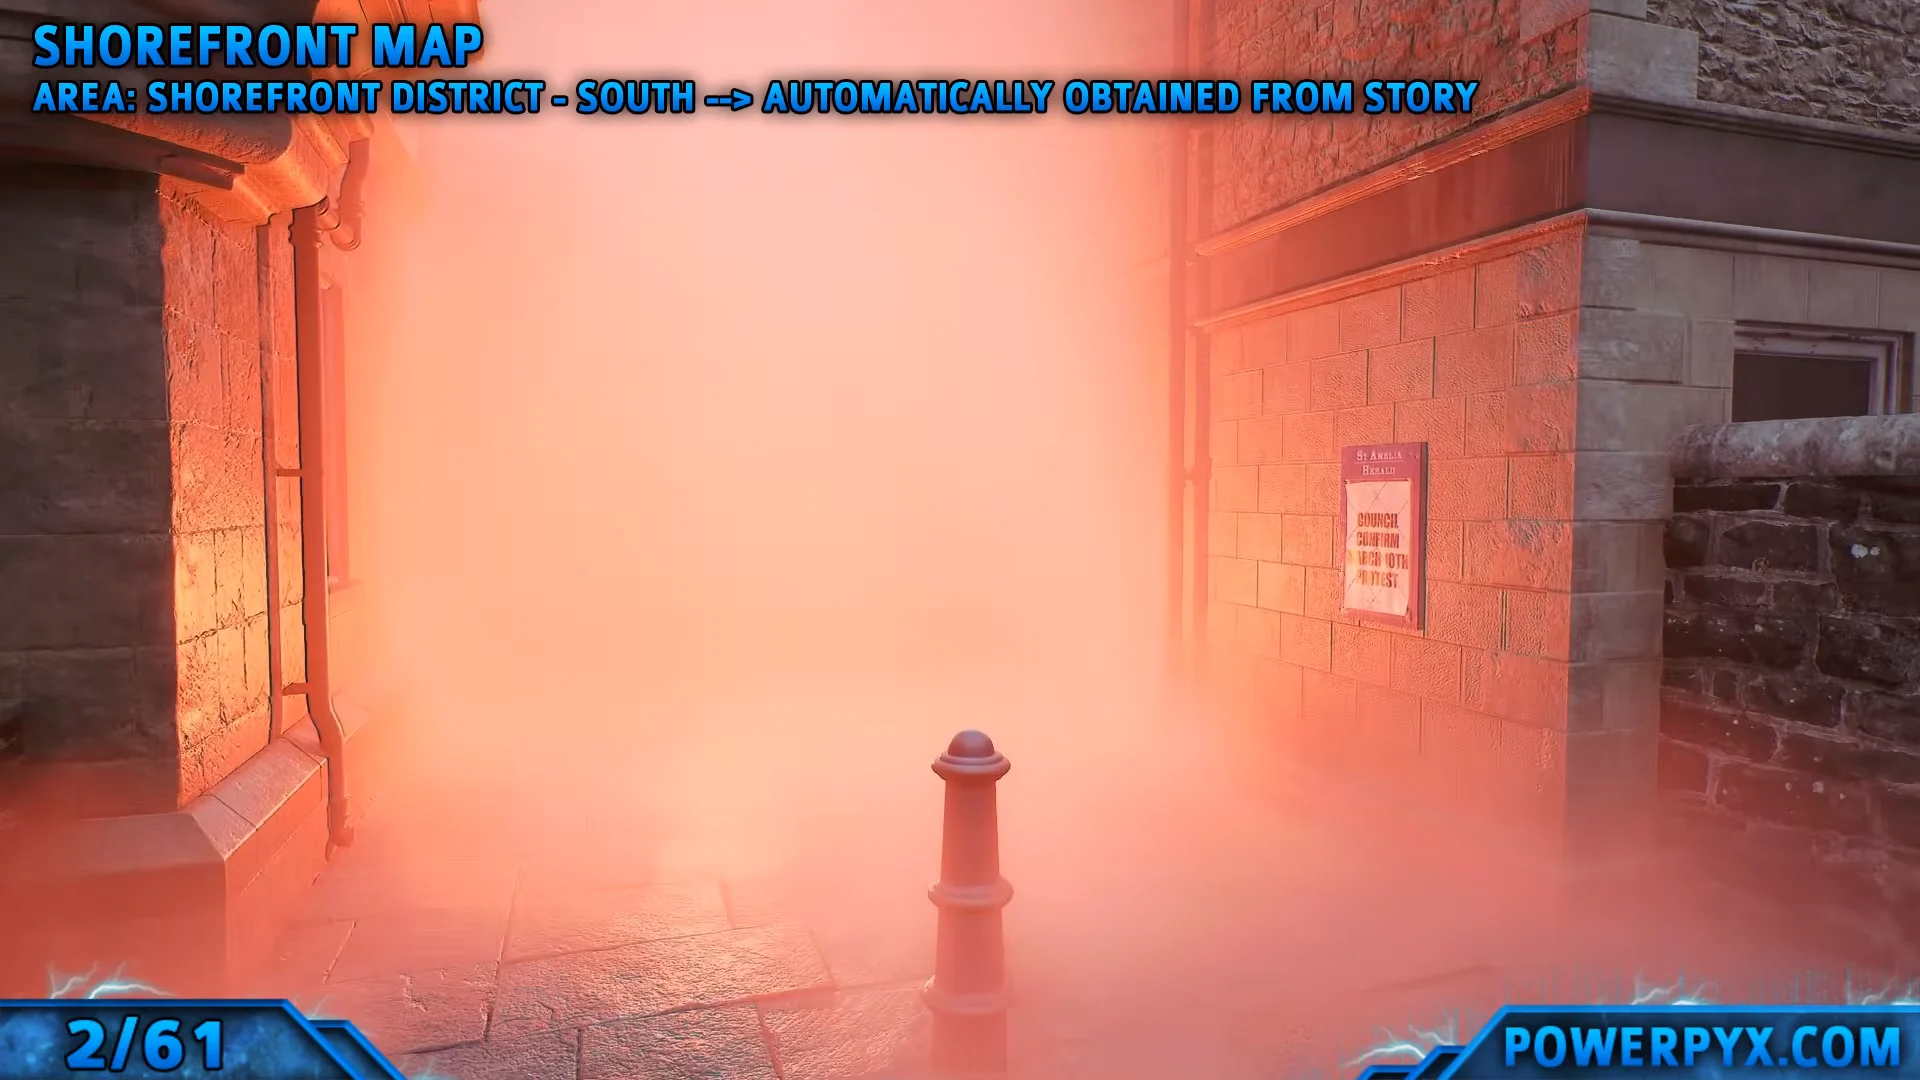
Head up the pier, use the ladders to get around the locked iron gate, and pass the white Fishmonger van to trigger a cutscene. From here you can sweep the district’s opening collectibles. Simon picks up the Shorefront Map automatically as red fog rolls in, and the numbered map markers make later locations easy to identify.
| Collectible | Type | Where to find |
|---|---|---|
| Boat Tour Cancelled Notice | Document | Door of the small building just past the Fishmonger van |
| Road Closure Sign | Document | End of the pathway by the roadworks, past the For Sale signs |
| Shorefront Map | Key Item | Picked up automatically in Town Square |
| Shorefront Family Clinic Notice | Document | Wall beside the clinic door (marker 6), past the stalls |
| Tourist Centre — 496 0496 | Phone Number | Printed at the bottom of the Shorefront Map |
| Local Services — 900, 010, 100 | Phone Number | Your Local Services flyer in the Town Square phone booth |
A phone number only registers once you dial it on an actual in-game phone. Inside the booth, enter 900, 010, 100, and 496 0496 so they each count.
Chapter 2: Escape — Haldane Hotel and Room 204
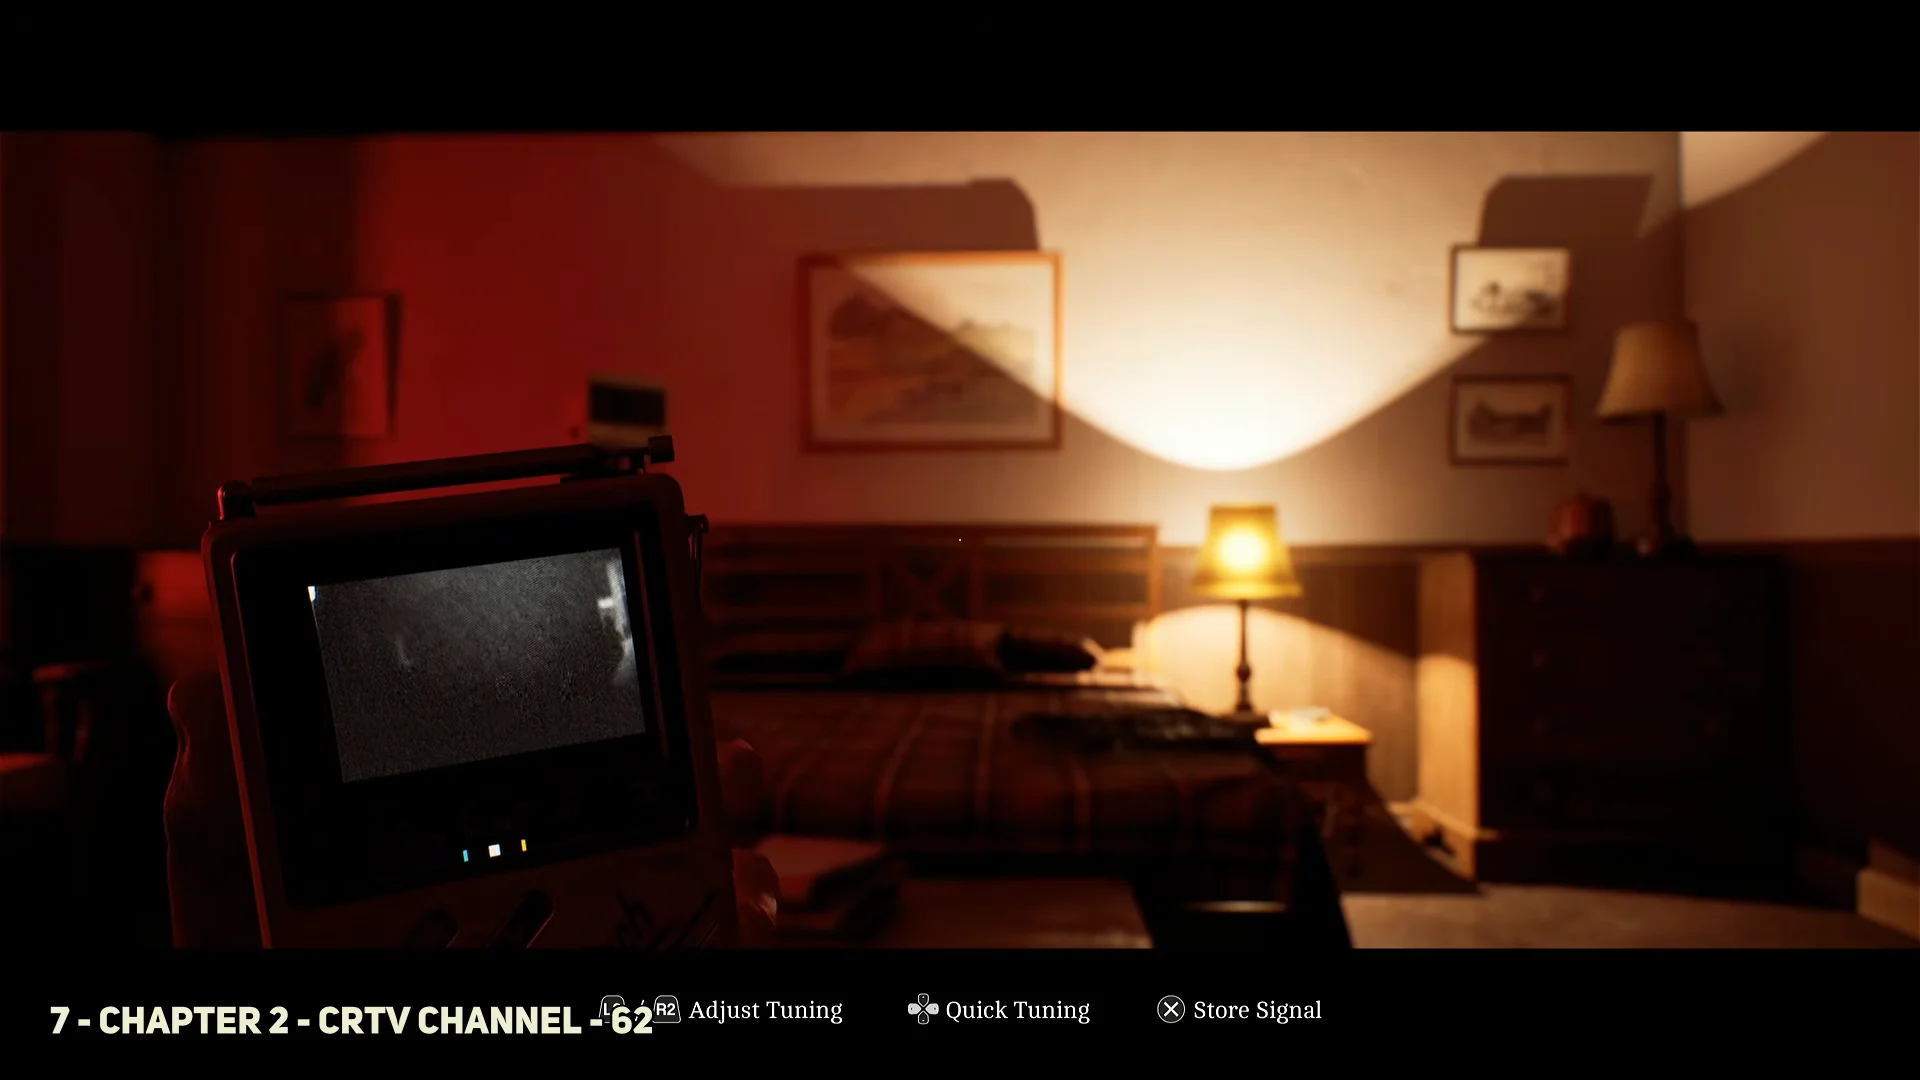
After the Otherworld corridor section, you receive the CRTV. Hold L1 and use the shoulder triggers to scan frequencies, then press X to store a signal when it locks in. Room 204 holds the first two channels and the room’s date-lock puzzle.
| Collectible | Type | Where to find |
|---|---|---|
| Room Service Card | Clue | Desk under the lamp in Room 204 |
| Channel 50 | CRTV Signal | Tune the CRTV in Room 204 |
| Channel 62 | CRTV Signal | Tune the CRTV in Room 204 |
| Hotel Room Note | Document | Bathroom sink after the door puzzle opens |
| Room 204 Key | Key Item | Bathroom, with the note |
| Hotel Reception Notice | Document | Behind the lobby reception desk |
| Reception — 496 0244 | Phone Number | Bottom of the Hotel Reception Notice |
Room 204 date-lock puzzle
Collect the Hotel Reception Notice behind the front desk before leaving, then return to the phone booth and dial 496 0244 (and 496 0496 if you skipped it). Calling the reception number unlocks the Welcome to St. Amelia achievement, confirming both hotel numbers registered.
Chapter 3: A Connection — Zoe’s House and Peter’s Newsagent
When you regain control, tune the CRTV to Channel 45 straight away. Enemies now roam the streets, so move between cover and close doors behind you. This chapter chains three tasks: gather the flashlight parts, find the power card, and open the organ box.
| Collectible | Type | Where to find |
|---|---|---|
| Channel 45 | CRTV Signal | Tune at the start of the chapter |
| Vigil and Protest Flyer | Document | Bench around the Town Square pillar |
| Strange Postcard 1 | Strange Postcard | Counter inside VIDEO STAR (marker 1) |
| Flashlight (No Batteries) | Key Item | Drawer left of the washing machine, Zoe’s house |
| Hand Delivered Letter | Document | Living room table, Zoe’s house |
| AA Batteries | Key Item | Upstairs cabinet; combine to build the Flashlight |
| Organ Transplant Card | Clue | En-suite bathroom floor upstairs |
| Power Card Credit Guide | Clue | Counter in the under-stairs crawlspace |
| Newsagent Note | Document | Counter inside Peter’s Newsagent (marker 2) |
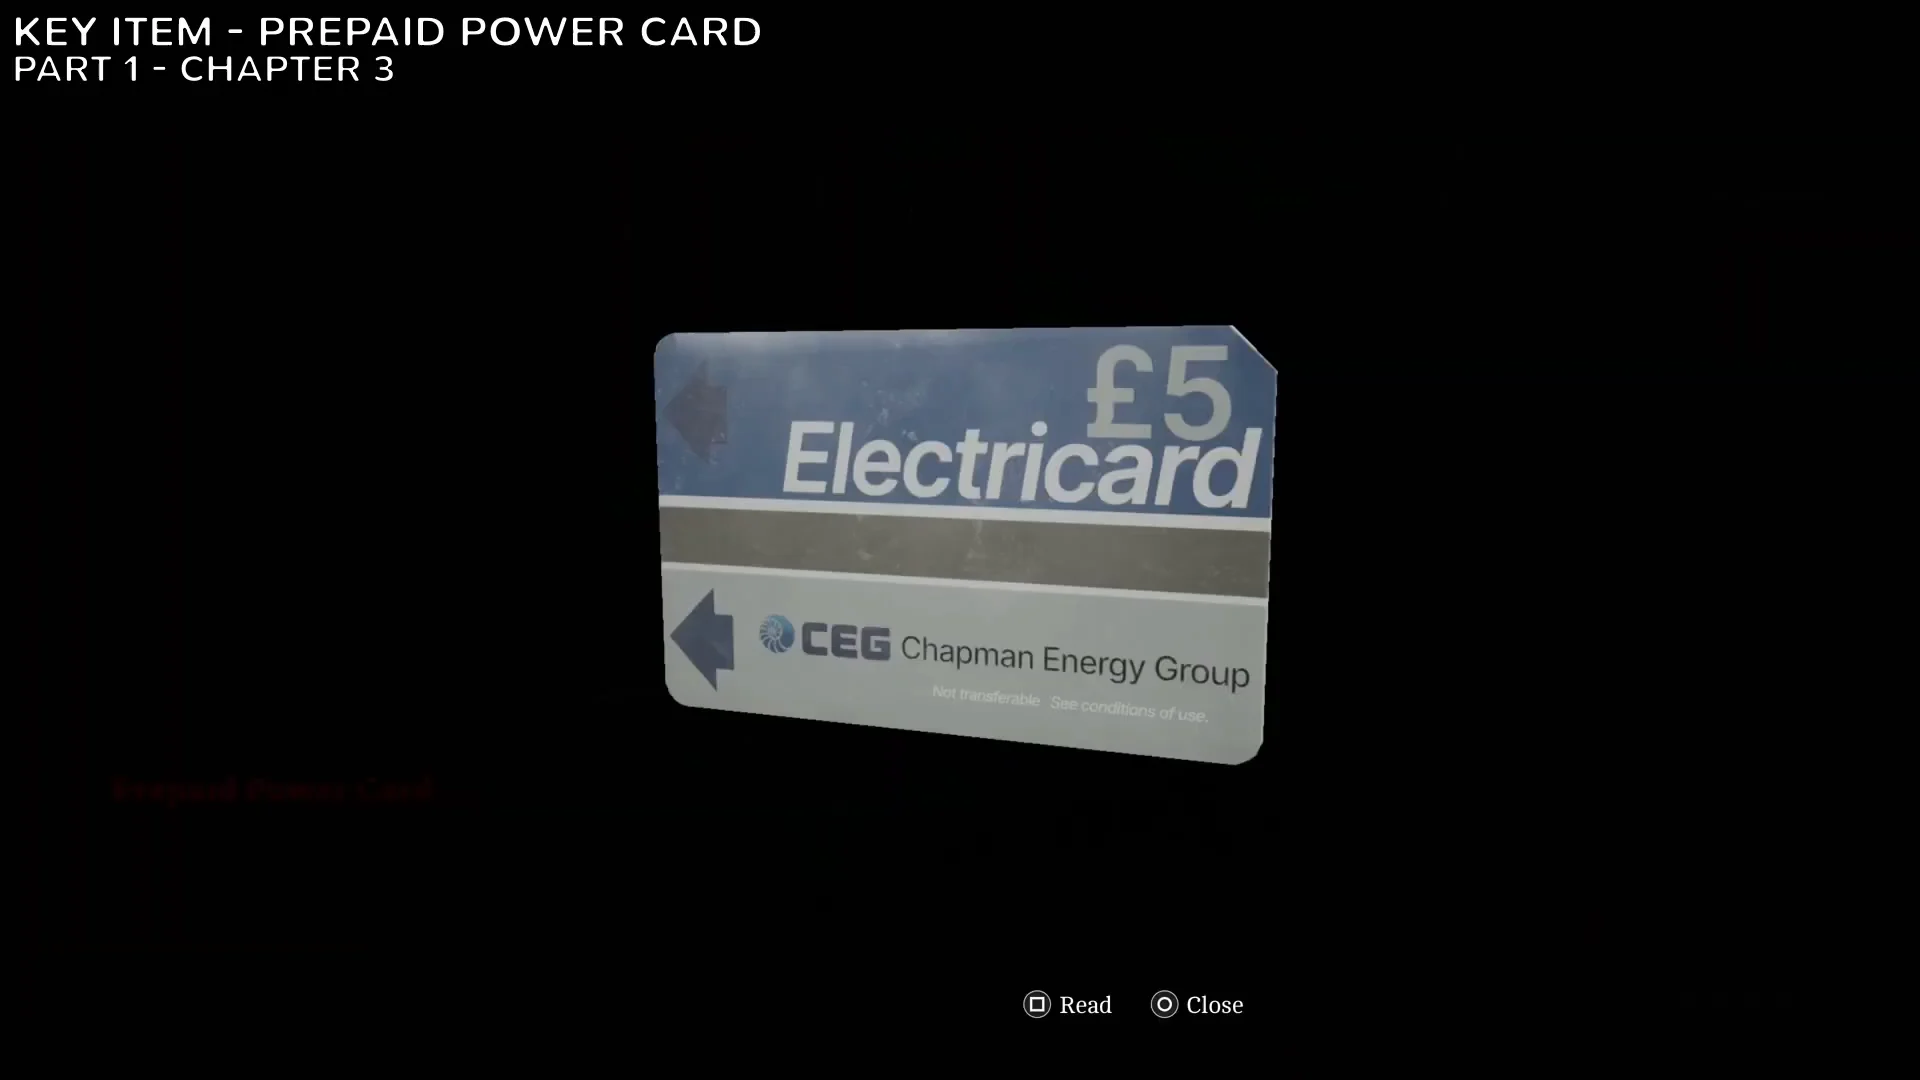
| Prepaid Power Card | Key Item | Cash register in the newsagent |
| Zoe’s emails (3) | Documents / Clue | Zoe’s PC once power is restored |
| Zoe’s Lanyard | Key Item | Inside the organ box |
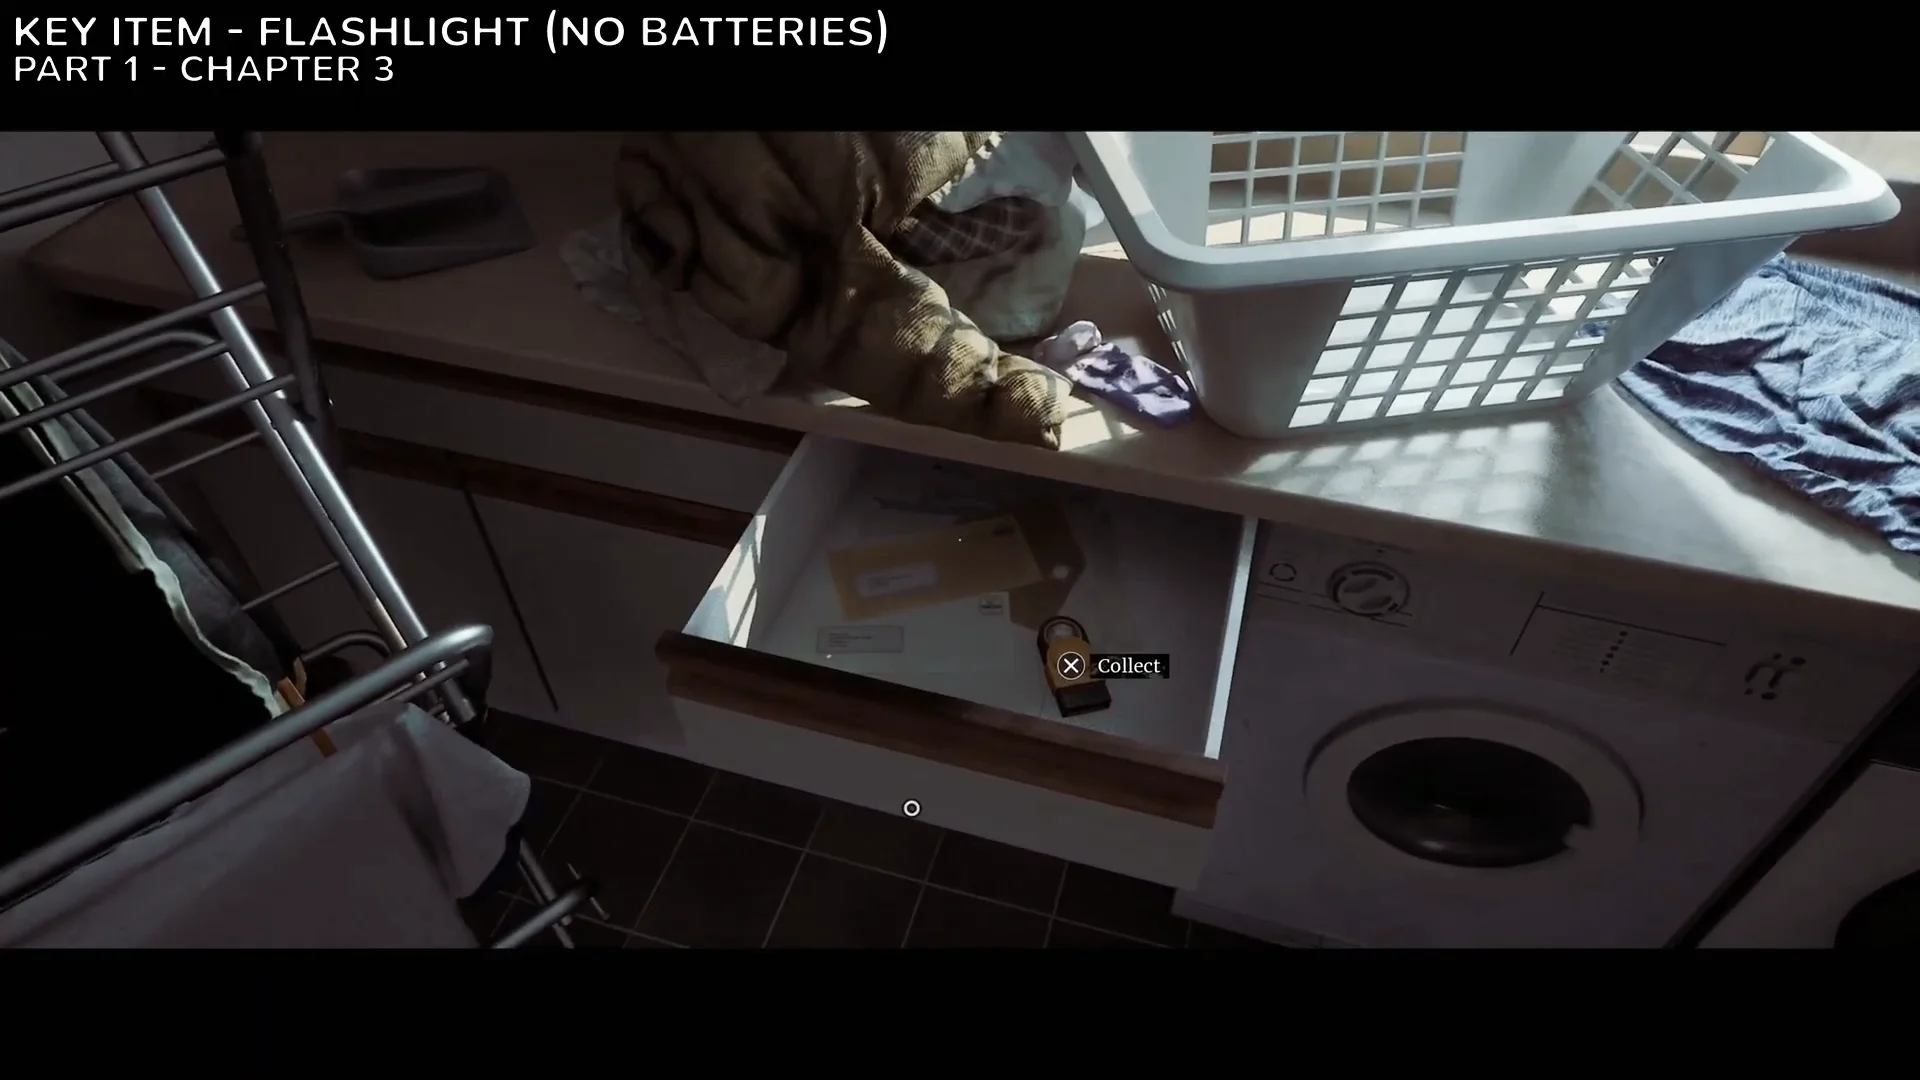
Combine the AA Batteries with the Flashlight (No Batteries) in your inventory to make the working Flashlight, which you need to enter the dark crawlspace beside the stairs.
Restore power with the Prepaid Power Card
Open the organ box for Zoe’s Lanyard
On the kitchen table, the organ transport cooler has a pair of three-digit dials. The combination comes from the Organ Transplant Card and Zoe’s emails, so use the digits printed on your own card. Set the left dial before the right one to open the cooler and get Zoe’s Lanyard, adding the Shorefront Family Clinic to your map.
The tumbler values can differ between playthroughs. If the numbers on your card do not match a fixed code, read the ET number and location entries on the Organ Transplant Card and use those digits.
Chapter 4: Searching for Zoe — Clinic, Pharmacy, and Farrow Street
Leaving Zoe’s house, tune the CRTV to Channel 16, which shows the clinic front. Use Zoe’s Lanyard to raise the clinic shutters, then hide by the bins immediately, as the noise draws a patrolling enemy. This chapter closes Part 1 with the scale puzzle and the Resignation trophy.
| Collectible | Type | Where to find |
|---|---|---|
| Channel 16 | CRTV Signal | Tune outside; shows the clinic front |
| CRTV Channel (pharmacy) | CRTV Signal | Radio desk in the pharmacy back office (RGB calibration) |
| Note on Patient Records | Document | Dr Stevenson’s office desk drawer |
| Resignation Letter | Clue | Boxes in the Z Ellis storage room |
| Scalpel | Equipment | Open green toolbox in the storage room |
| Where Are You? / Answer Phone Message | Clues | Consultation room computer |
| Nurse’s Rounds Form | Document | Reception counter, behind the keypad door |
| Restock Issues | Document | Pharmacy front counter |
| Prescription Dosage Error Note | Key Item | Pharmacy wall safe |
| Strange Postcard 2 | Strange Postcard | Alley behind the pharmacy, by the dumpsters |
| Strange Postcard 3 | Strange Postcard | On the retaining wall down the foggy road |
| Feeling Sick Note | Document | Bedroom dresser, Apartment 16 |
| Back Door Key | Key Item | Dining table, Apartment 16 |
| Strange Postcard 4 | Strange Postcard | Upstairs bedroom floor, Apartment 16 |
| Jess’s Door Note | Clue | Taped to the door of 21 Farrow Street |
| Task Assignment | Document | Kitchen table, 21 Farrow Street |
| Lock Box Key | Key Item | Kitchen drawer, 21 Farrow Street |
| Jess Legal Advice | Document | Living room table, 21 Farrow Street |
| Broken Stethoscope | Key Item | Medical bag on the upstairs bed, 21 Farrow Street |
| IV Fluid | Resource | Living room lockbox (uses the Lock Box Key) |
Clinic reception keypad and pharmacy safe
The reception door keypad opens the room holding the Nurse’s Rounds Form. The four-digit code is written on the Post-it note beside the consultation computer, so read that note first and enter what it shows. The exact digits can vary between runs.
In the pharmacy, use the Scalpel to cut open the gate through St. Amelia Park, then complete the RGB calibration on the back-office radio desk to store the pharmacy CRTV signal. The wall safe combination 7640 releases the Prescription Dosage Error Note, which you need for the final puzzle.
Chain the last houses together: take the Back Door Key from Apartment 16, read Jess’s Door Note on 21 Farrow Street, and enter with the key. Inside, collect the Lock Box Key and Task Assignment in the kitchen, the Jess Legal Advice on the living room table, and the Broken Stethoscope from the upstairs medical bag. Use the Lock Box Key on the living room metal box for the IV Fluid.
Clinic scale puzzle and the Resignation trophy
Return to the clinic storage room, where three balance scales complete Part 1. Place each item on the matching scale:
- Scale 1 (left): Broken Stethoscope
- Scale 2 (middle): Prescription Dosage Error Note
- Scale 3 (right): Zoe’s Lanyard
With all three placed correctly, the puzzle resolves and the Resignation trophy pops on-screen, confirming Part 1 is complete. If nothing happens, double-check that each item sits on its assigned scale, since a mismatched slot leaves the balance unsolved.