Gaming Guide

Control Resonant: Evacuation Zone Freeze Frame Camera Locations

Where to collect the Instant Photos and how to shut the lid on both Evacuation Zone cameras.

Where to collect the Instant Photos and how to shut the lid on both Evacuation Zone cameras.

Image: Remedy Entertainment

The Evacuation Zone holds two of the altered cameras tied to the “Freeze Frame” side story in Control Resonant. Each one freezes you the moment it sees you and then vanishes, so the puzzle is always about reaching the back of the camera without stepping into its view. Before you chase either one, you collect the Instant Photos that hint at where they are hiding.

Quick answer: Grab the Instant Photos from a printer in a raised office by the Evac Building, then reach each of the two cameras from behind and press L1 to “Shut Camera Lid.”


Collect the Instant Photos at the Evac Building

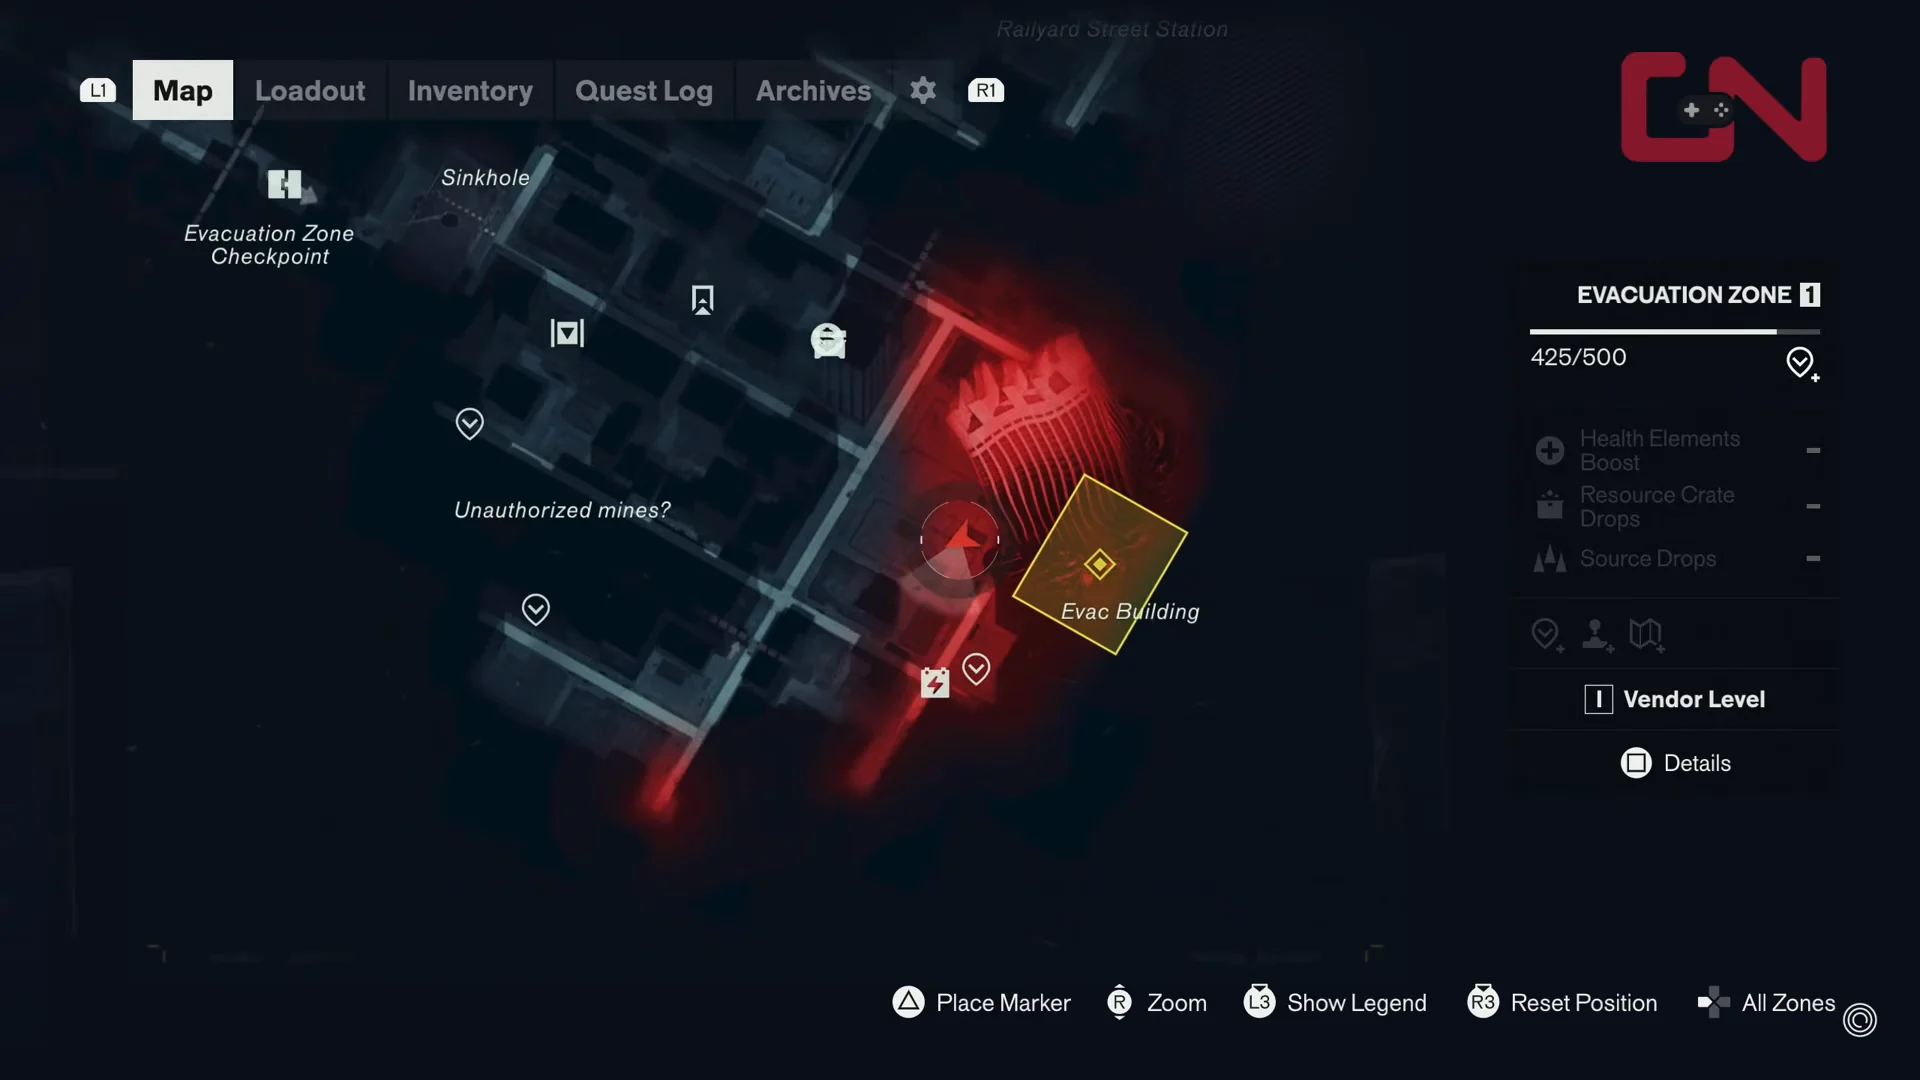
The starting point sits in Evacuation Zone 1, at the Evac Building where the loudspeaker keeps repeating the evacuation instructions. In front of the building you will find raised modular offices on stilts.
Evac Building Map00:28Evac Building Map
The map marks the Evac Building in Evacuation Zone 1, your reference point for the raised offices. Shown at 00:28 in GosuNoob’s video. Image: Remedy Entertainment
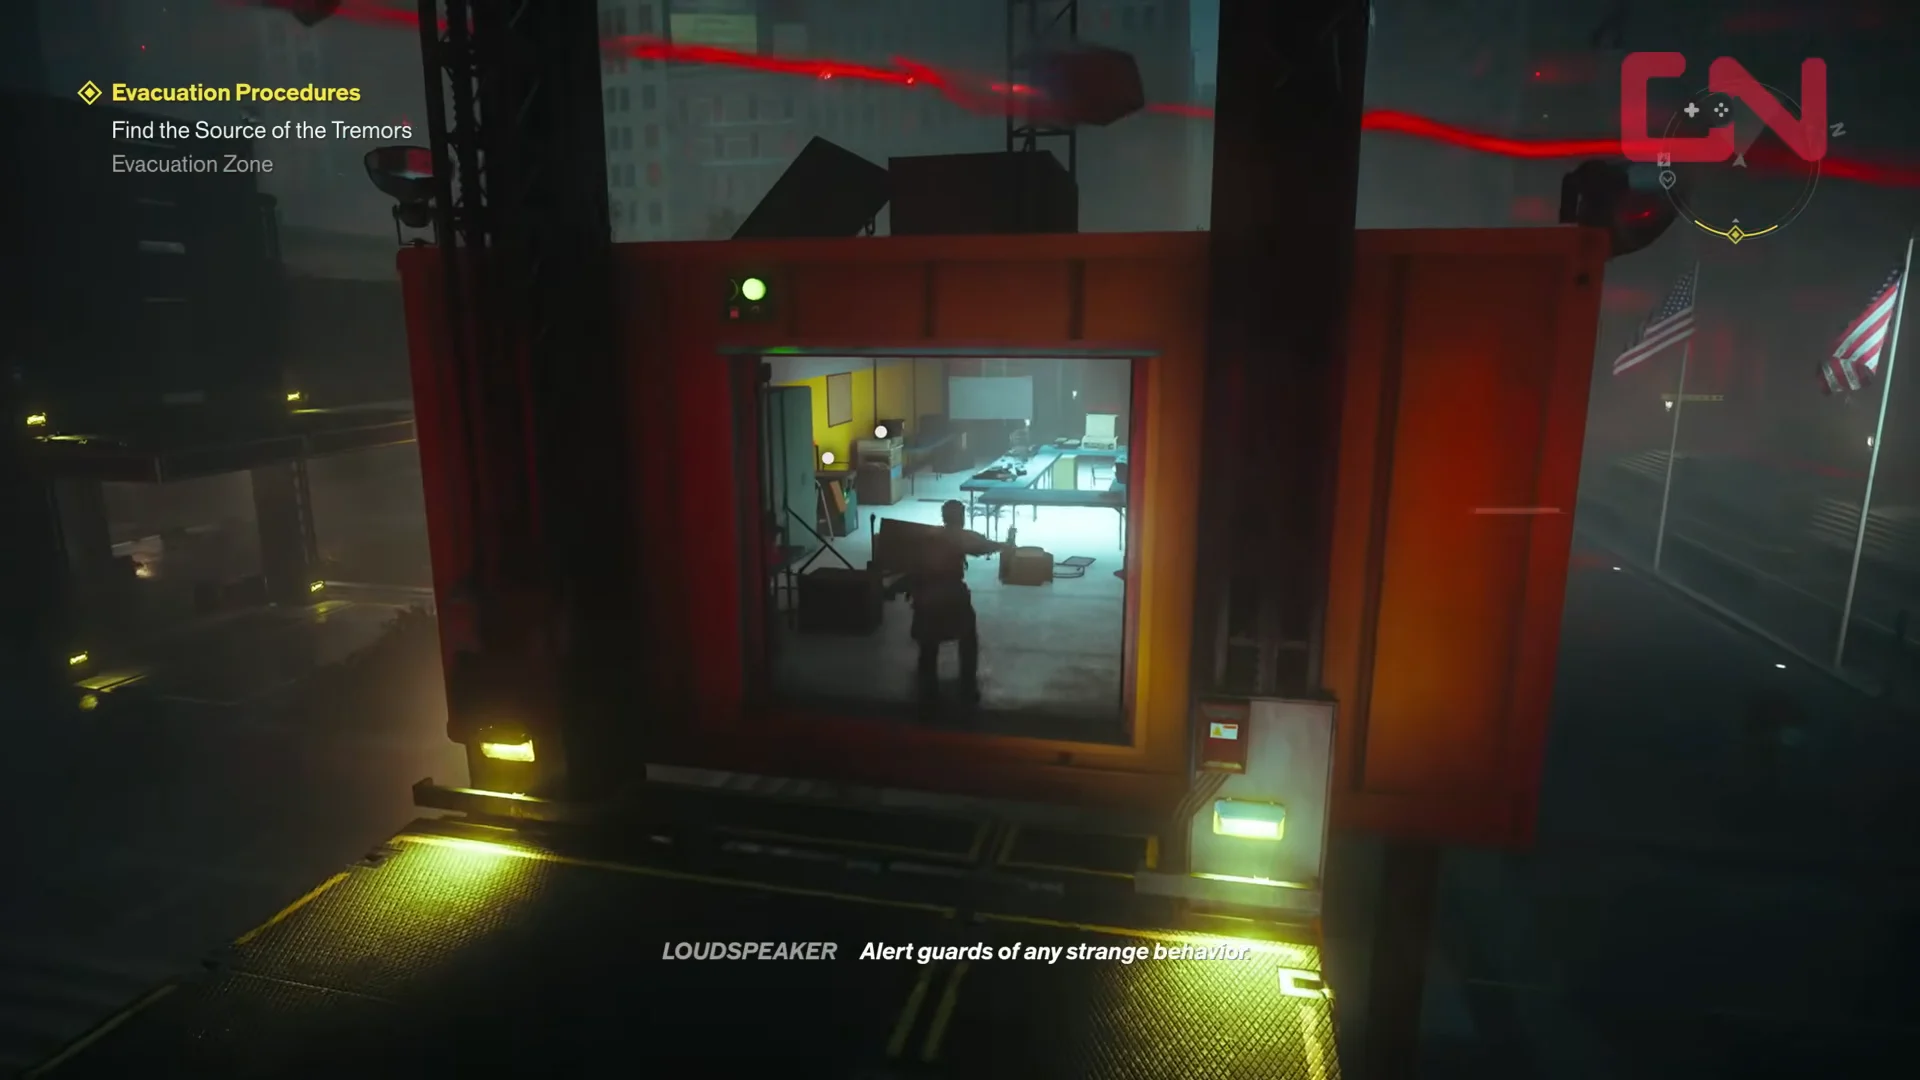
Enter the elevated modular office next to the Evac Building. It is a small portable structure raised off the ground with tables and equipment inside.
Evac Office00:23Evac Office
Inside the raised portable office where the Instant Photo printer sits. Shown at 00:23 in GosuNoob’s video. Image: Remedy Entertainment
Interact with the office printer to pull the Instant Photo, listed as a Quest Item described as “A picture taken somewhere in the Evacuation Zone.”
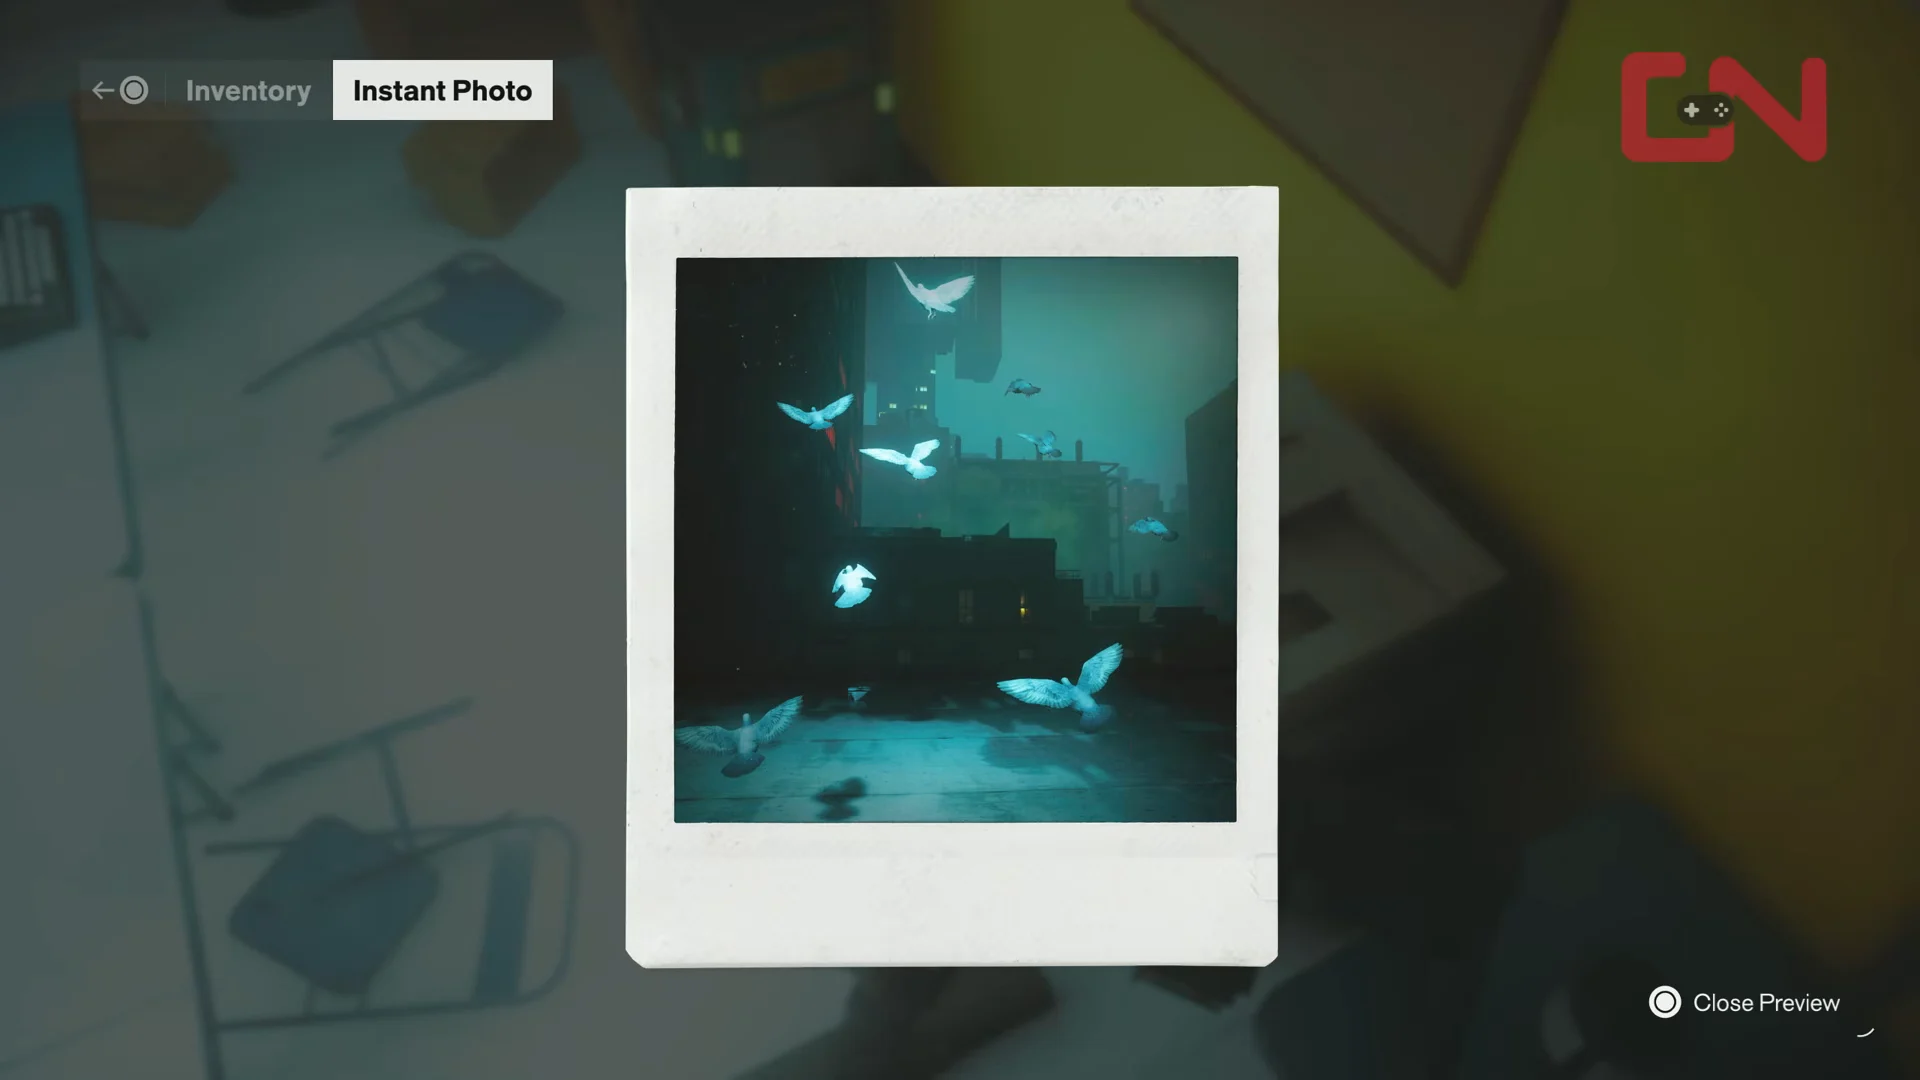
Open your inventory and inspect the photo. It shows glowing airborne entities and the prompt “Where exactly was this picture taken?” Use the scene in the image to work out which rooftop or interior it matches.
Inventory Inspection00:48Inventory Inspection
The Instant Photo preview shows glowing airborne entities, the visual clue for locating a camera. Shown at 00:48 in GosuNoob’s video. Image: Remedy Entertainment

Camera 1: Rooftop shed south of the Sinkhole (Evacuation Zone 4)

The first camera sits inside a small rooftop building on a roof directly south of the Sinkhole, near the Survivalist’s Apartment area in Evacuation Zone 4. It looks out through the doorway, so walking in from the front freezes you.

Work your way toward the roof using the exterior wall platforms and lifts. Activate the platform lifts along the building and climb up to the rooftop.
Let the camera catch you once so it resets and disappears, then plan a route that keeps you out of its line of sight.
To open the route behind the building, carry a Charge to the Power Core Station at its rear. Another Power Core Station is located at the Evac Building farther down the road. You’ll find an empty core at the checkpoint barricade midway there, and a second one beyond the parking lot, next to the exterior elevators; transfer the charge at either point before time expires.
With the rear door open, step in behind the tripod camera and press L1 to “Shut Camera Lid.” Pick up the Instant Photo it drops, which hints at the next camera.

Once inside the roof shed, descend the stairs to the elevator and ride it to the lowest floor. Open the double doors, step outside to reset the camera, then follow your path back up to the rooftop to end up safely behind it.


Camera 2: Apartment stairwell near Railyard Street Station

The second camera is perched atop an apartment building south of the Railyard Street Station. Look for it by a billboard, beside a massive Mold wall that cuts off the street. From there, it watches a group of glowing birds gathered at the top of the interior stairs.

Travel to the apartment building near the Railyard Street Station and let the camera freeze you so it vanishes and resets.
Enter the building and ride the cage elevator down to ground level.
Open the building doors from the inside, then retrace your path up through the upper floors and interior stairs to come out behind the camera.
Once you are behind the tripod overlooking the glowing birds, press L1 to “Shut Camera Lid” and complete the second photo.

How to confirm each camera is captured

Shutting a camera’s lid instantly updates the matching Instant Photo in your inventory. The item turns into a Completed Instant Photo marked with a green checkmark, described as “A photo taken with a paranormal camera, prone to freezing people and running.” That checkmark is your confirmation that the location is done.

You always interact from directly behind the camera while looking at the anomalous glowing entities. Once both Evacuation Zone photos show the checkmark, the zone’s pair is finished and the “Freeze Frame” objectives advance.


The Freeze Frame side story across Manhattan

A total of 14 altered cameras appear across the zones, with two assigned to each one. Getting caught by any camera begins the side story; completing every one contributes to the Panopticon Intern trophy, awarded for finishing all Altered Item side stories. Finishing the collection also grants the Shiny Pebble artifact. While you use a Gravity Anomaly, it gradually restores your health to a maximum of 50%.

The pattern repeats in the other regions. In the West Incursion Zone, for example, you collect the Instant Photos from a counter inside the House of Mirrors base.
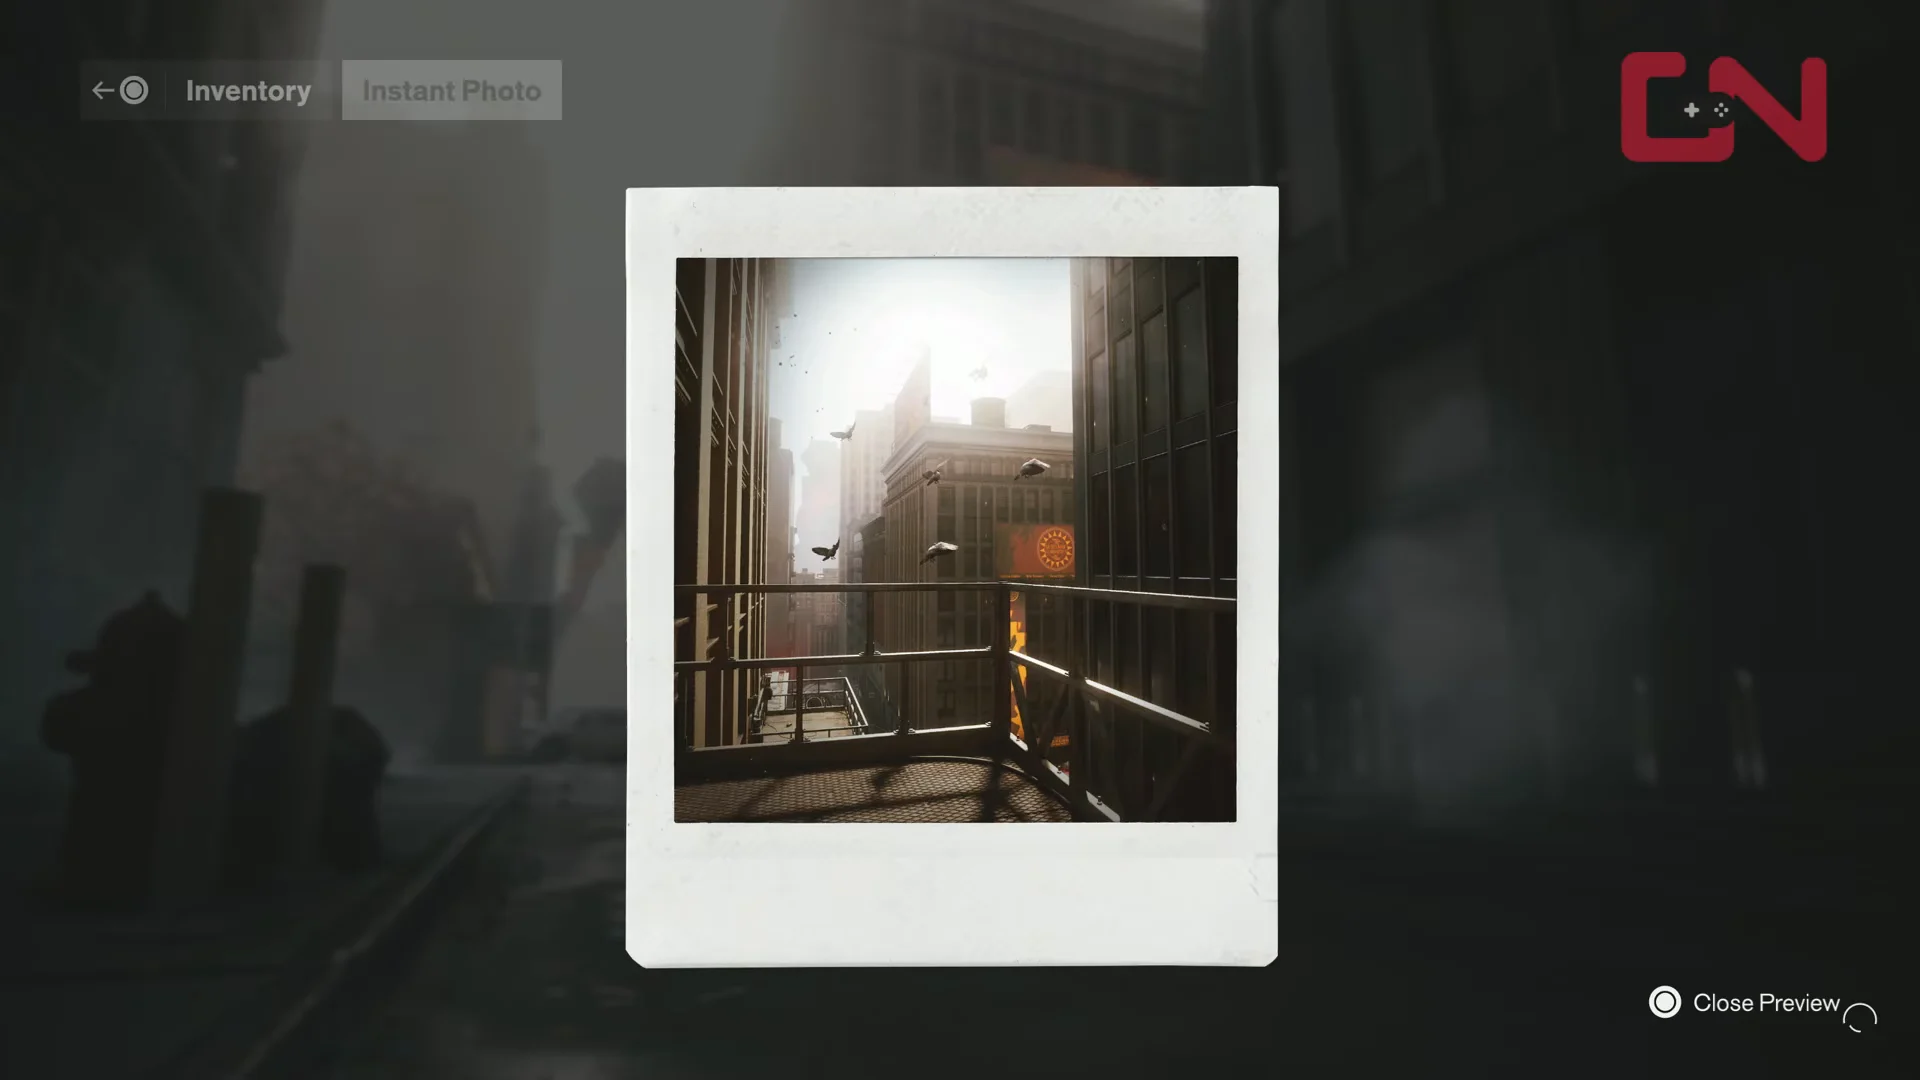
Second Camera Map Location and Photo Check03:18Second Camera Map Location and Photo Check
A West Incursion Zone Instant Photo preview showing the street scene you must match to a camera. Shown at 03:18 in GosuNoob’s video. Image: Remedy Entertainment

One West Incursion camera sits high on a gravity-anomaly wall at the north corner of the region, reached by aligning your gravity and dropping behind it from the roof it backs against.
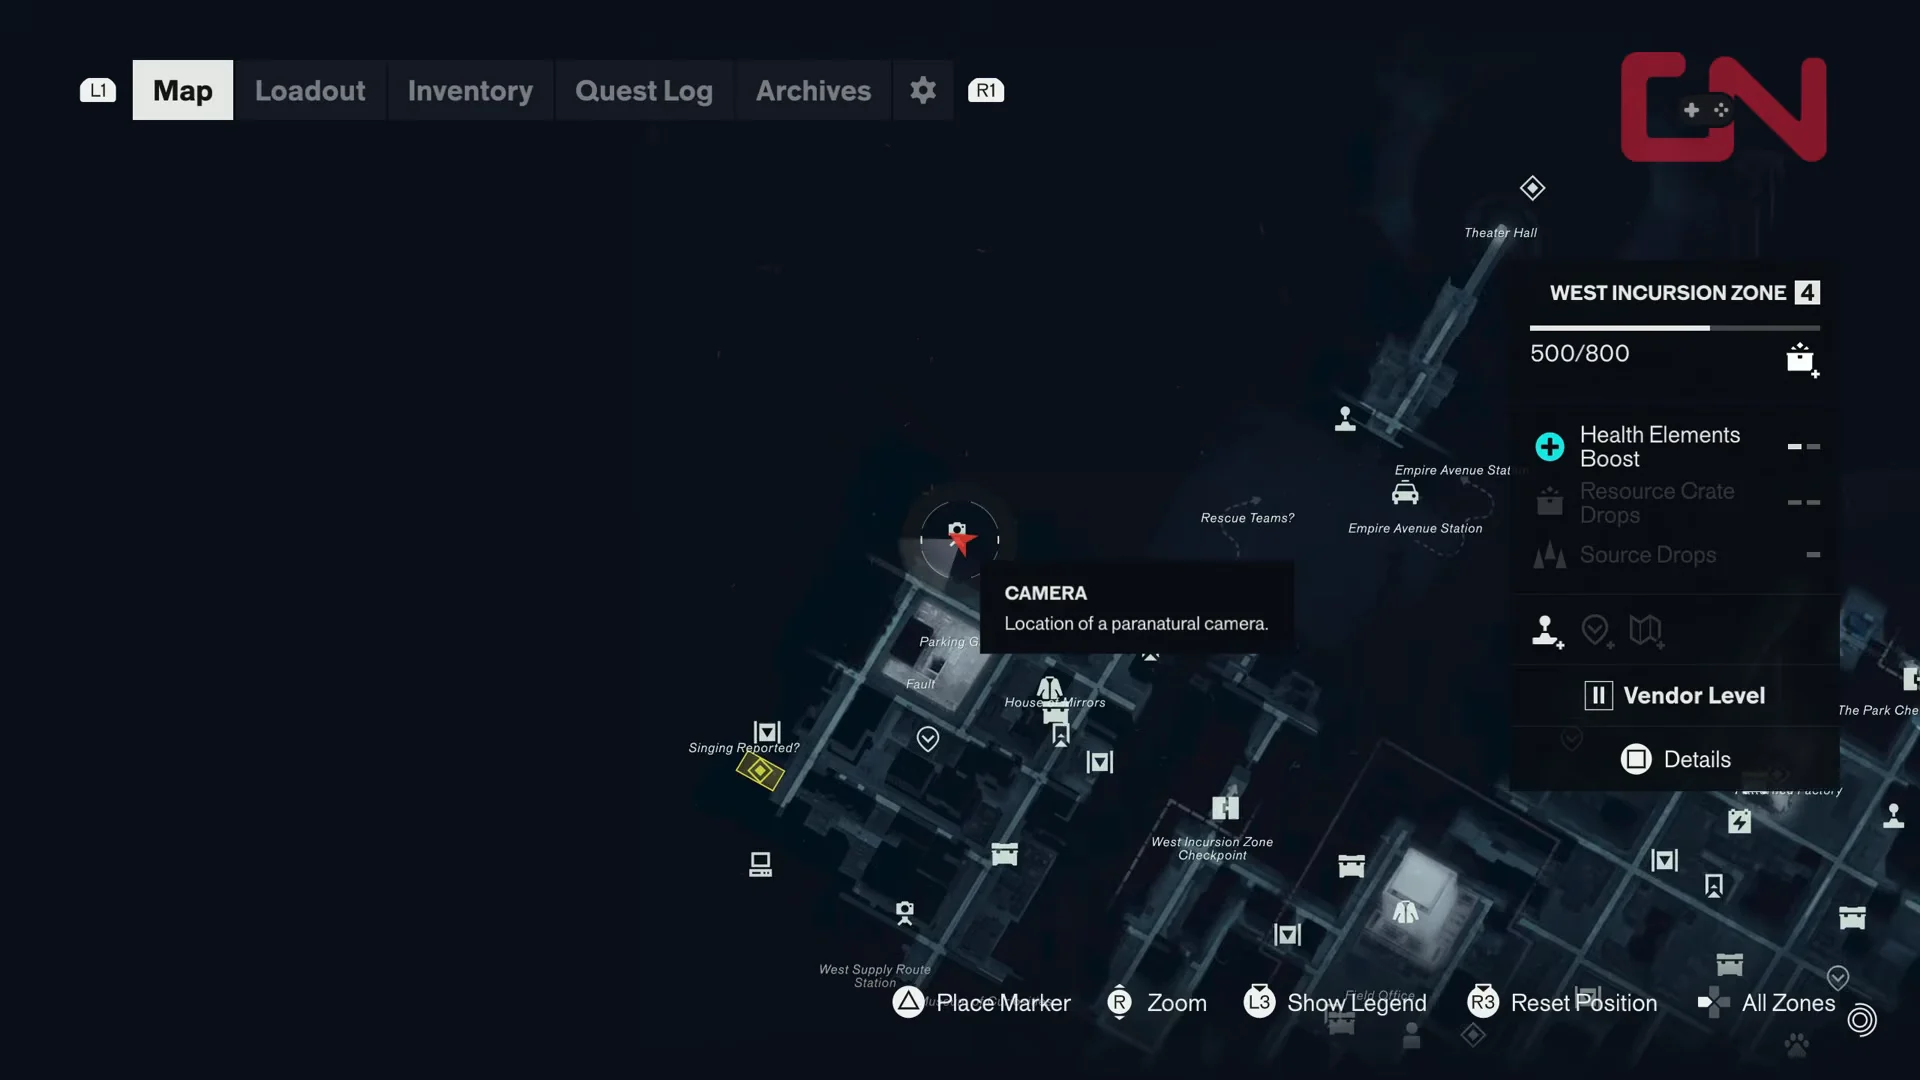
First Camera Map Location01:48First Camera Map Location
The map pins a West Incursion Zone 4 camera, one of the region's pair. Shown at 01:48 in GosuNoob’s video. Image: Remedy Entertainment

The other one is suspended from a window-washing platform past the Museum of Curiosities. Farther down the street, jump from the floating bollard-and-barrier platforms to get behind it, then close the lid as you did in the Evacuation Zone.
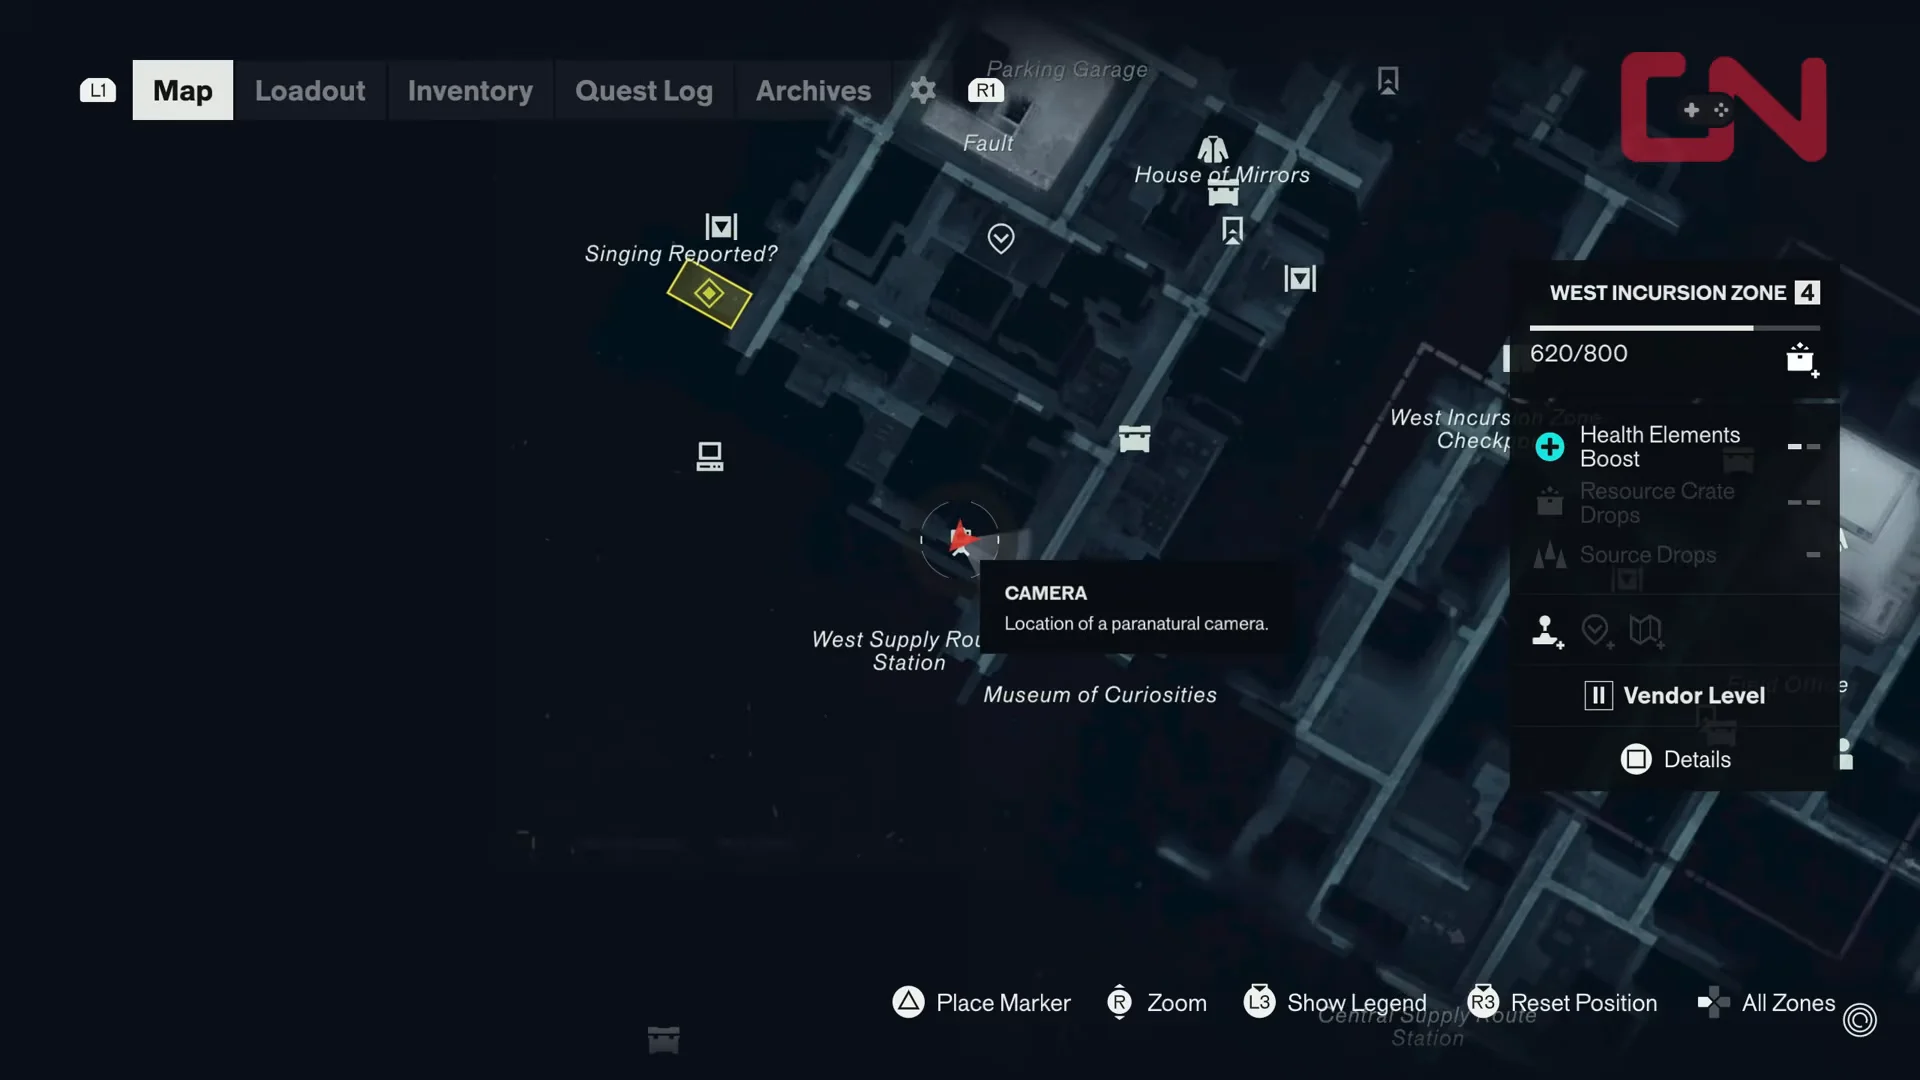
Second Camera Map Position03:54Second Camera Map Position
The player icon sits at the window-cleaning platform camera near the Museum of Curiosities. Shown at 03:54 in GosuNoob’s video. Image: Remedy Entertainment