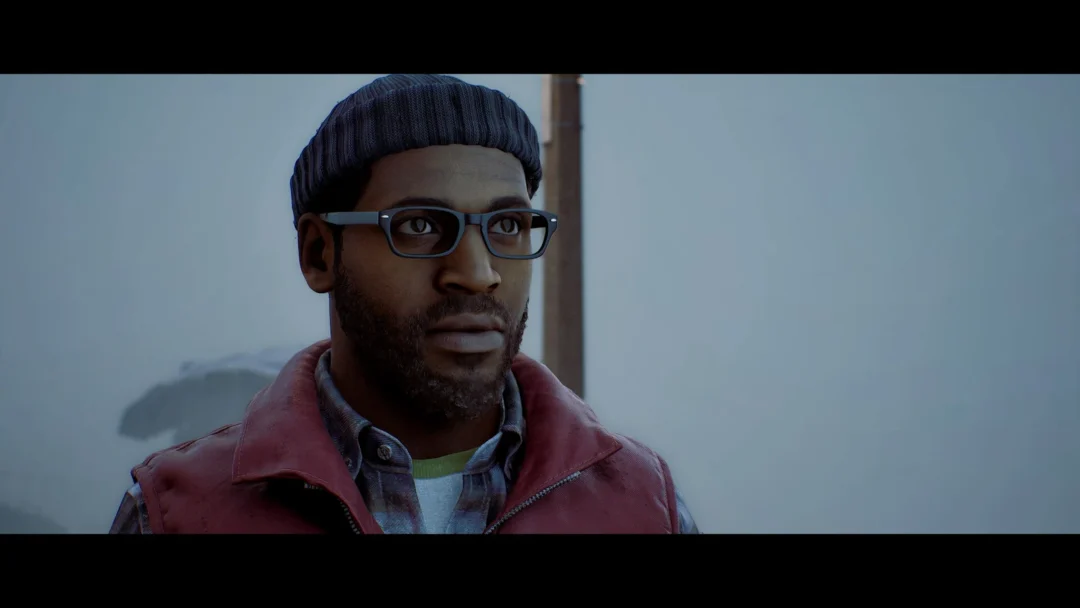
Richard’s entire route takes place inside CEG Headquarters during Chapters 12 and 13, with locked doors linking each stage. First get the exterior generator running, then reach the Floor 5 Boardroom and obtain a clearance card. Next find the projector bulb and lens, unlock the maintenance passage, and place six slides in order to receive the CEO Access Card. All 12 documents and clues are along this route, so you can collect them without making a second sweep of the floors.
Quick answer: Part 5 hides 12 documents and clues inside CEG HQ. Restore the generator, reach the Floor 5 Boardroom, collect the projector bulb and lens, then load the slides in the order D–F–B–C–E–A to receive the CEO Access Card.
Restore power to CEG HQ (exterior collectibles)
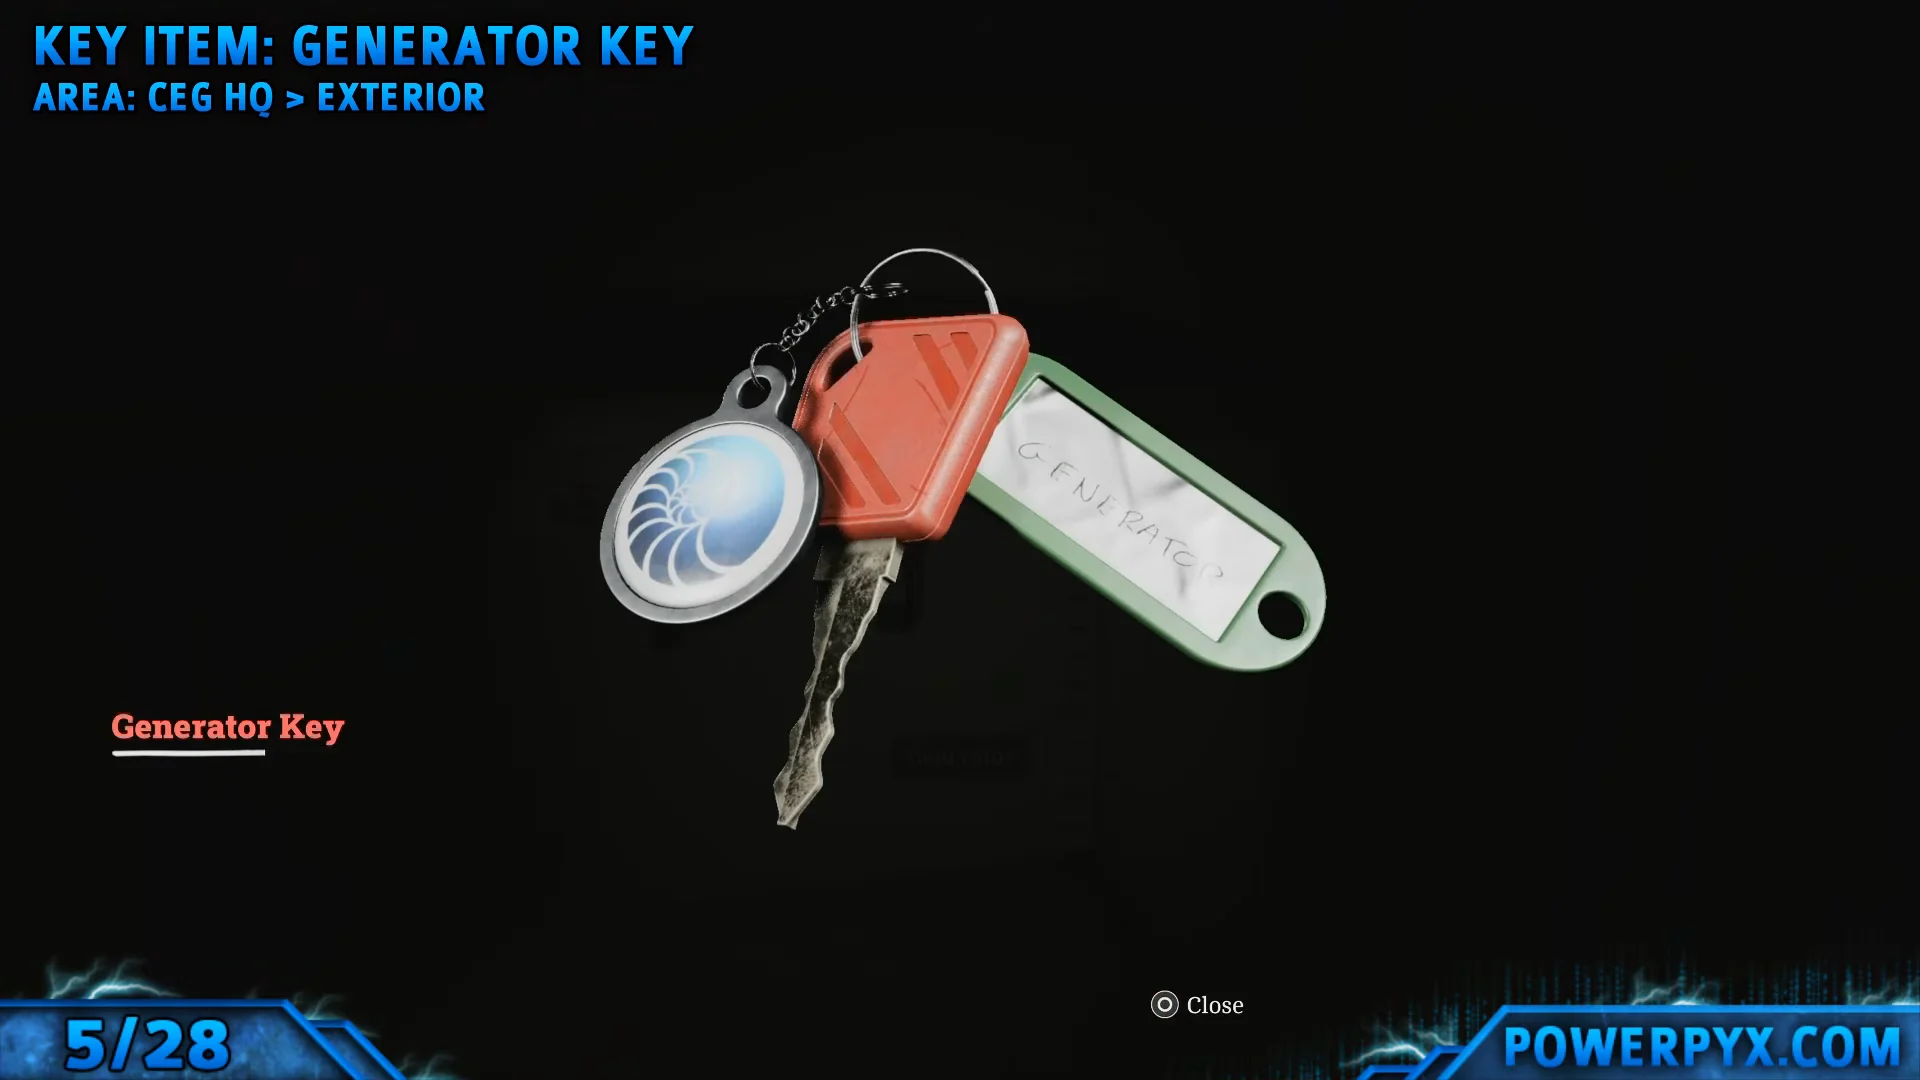
The tower is wrapped in scaffolding, so the main entrance is sealed. You reach the interior through a construction elevator on the side of the building, but it has no power until you start the generator. Clear the two exterior buildings first, since three collectibles and the Generator Key are here.
Generator puzzle (Puzzle #27)
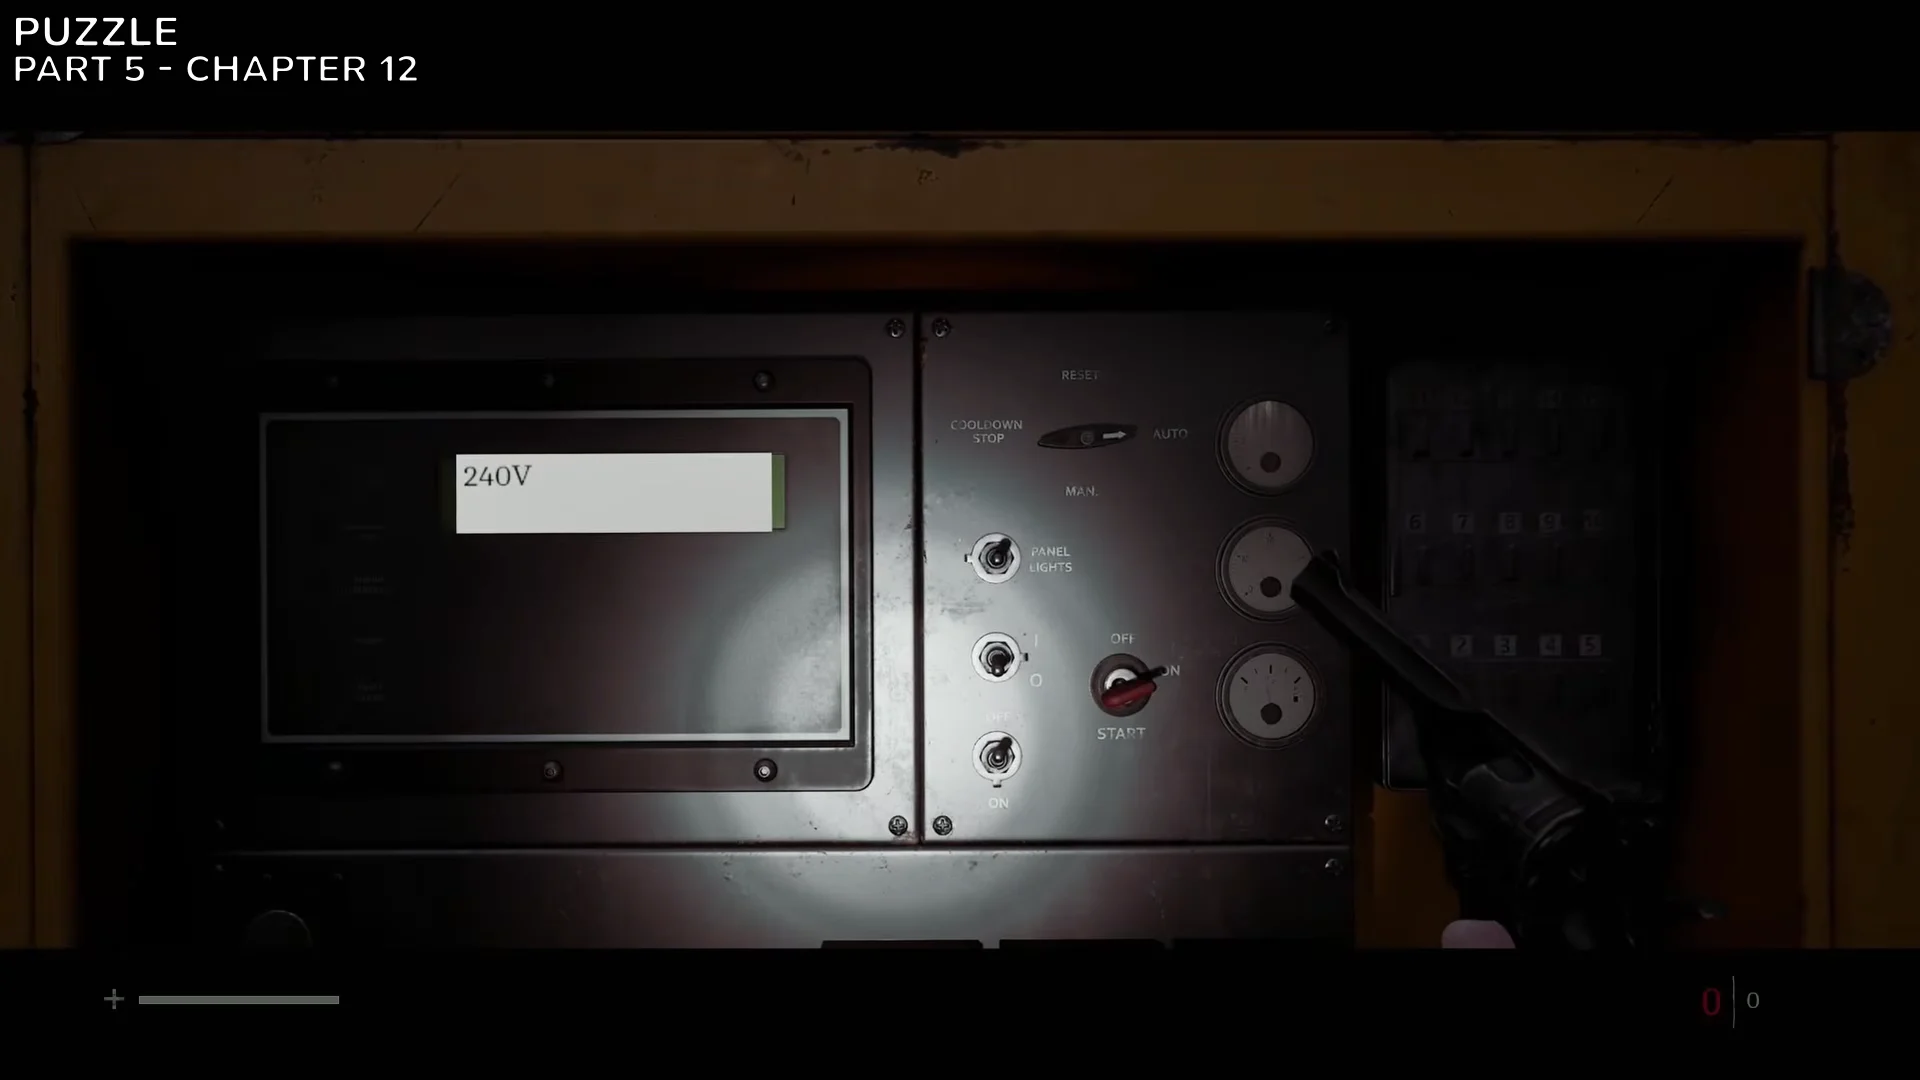
The Arclight generator sits in the north of the car park. Inserting the key alone triggers a PUMP ERROR, so you need to set the rear valves before it will run.
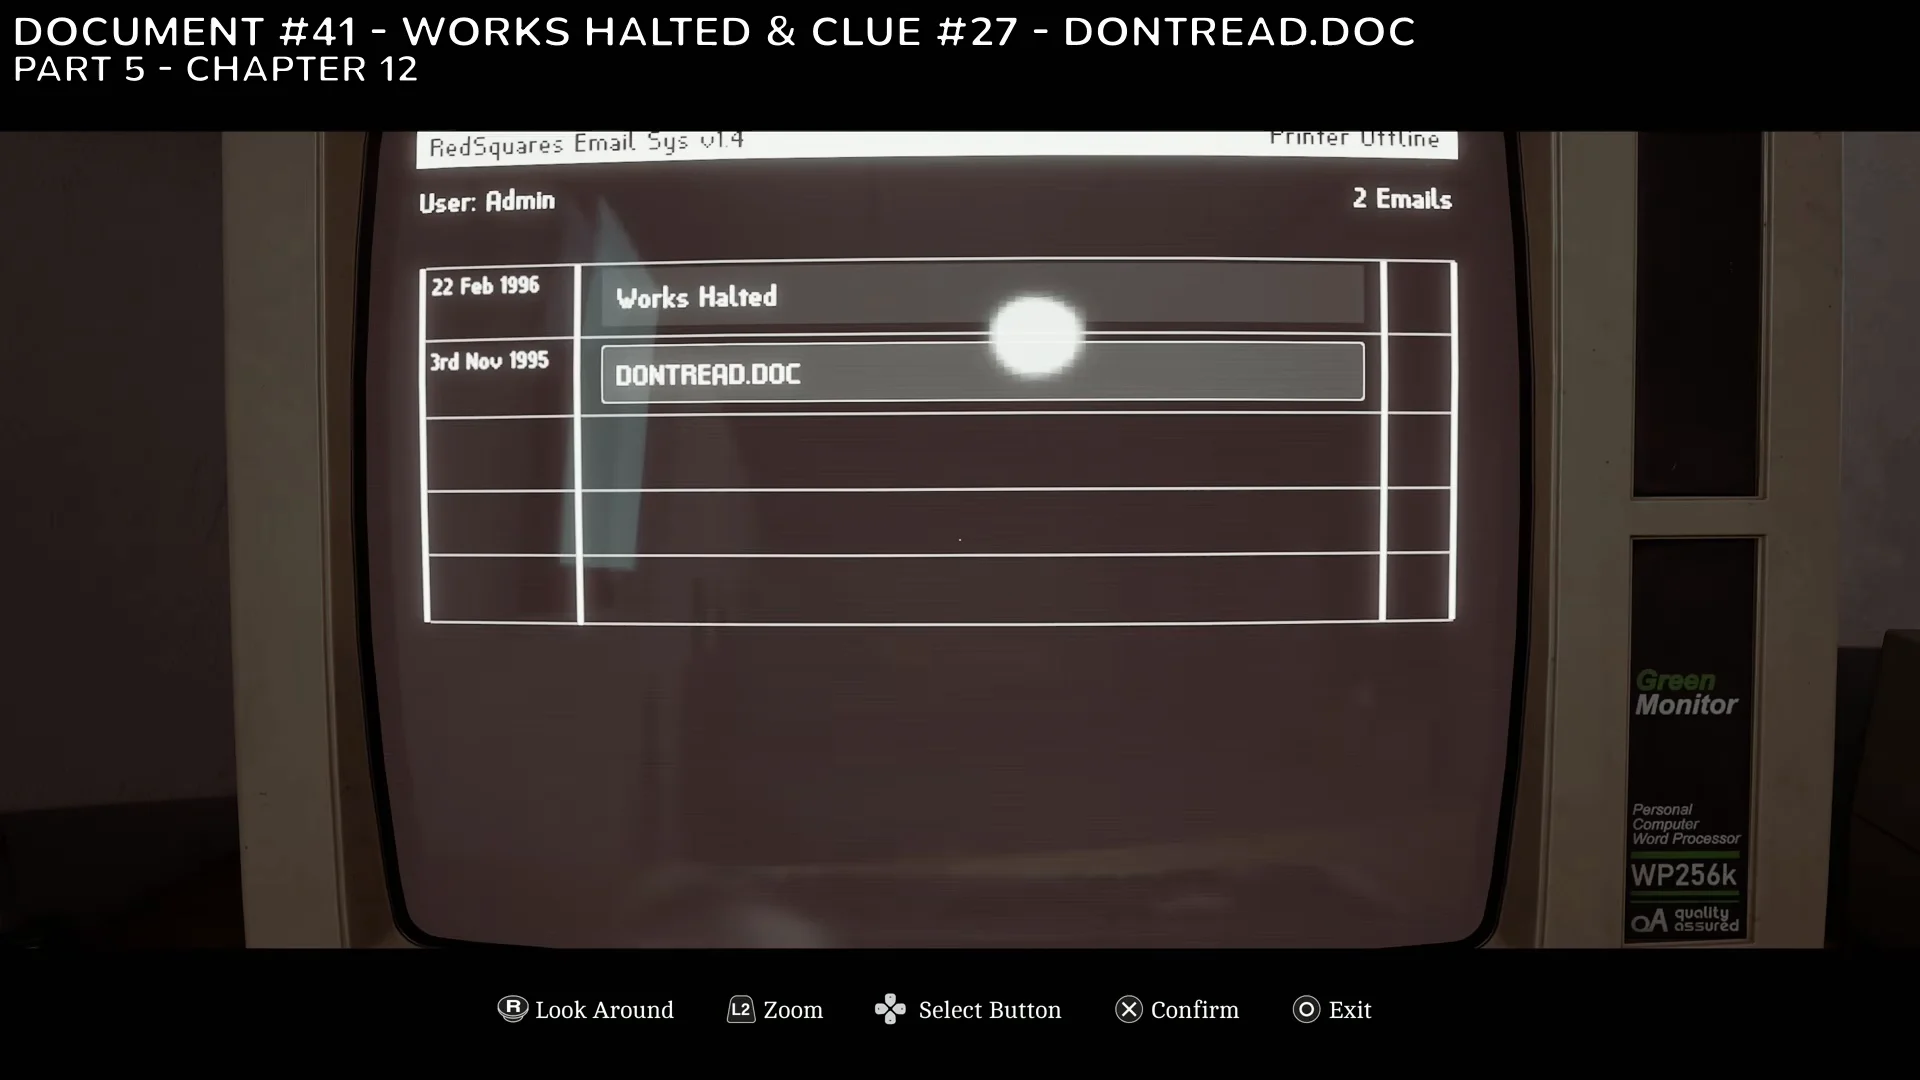
Before riding the elevator, return to the powered office in the first exterior building. The computer now works, giving you two more readable collectibles.
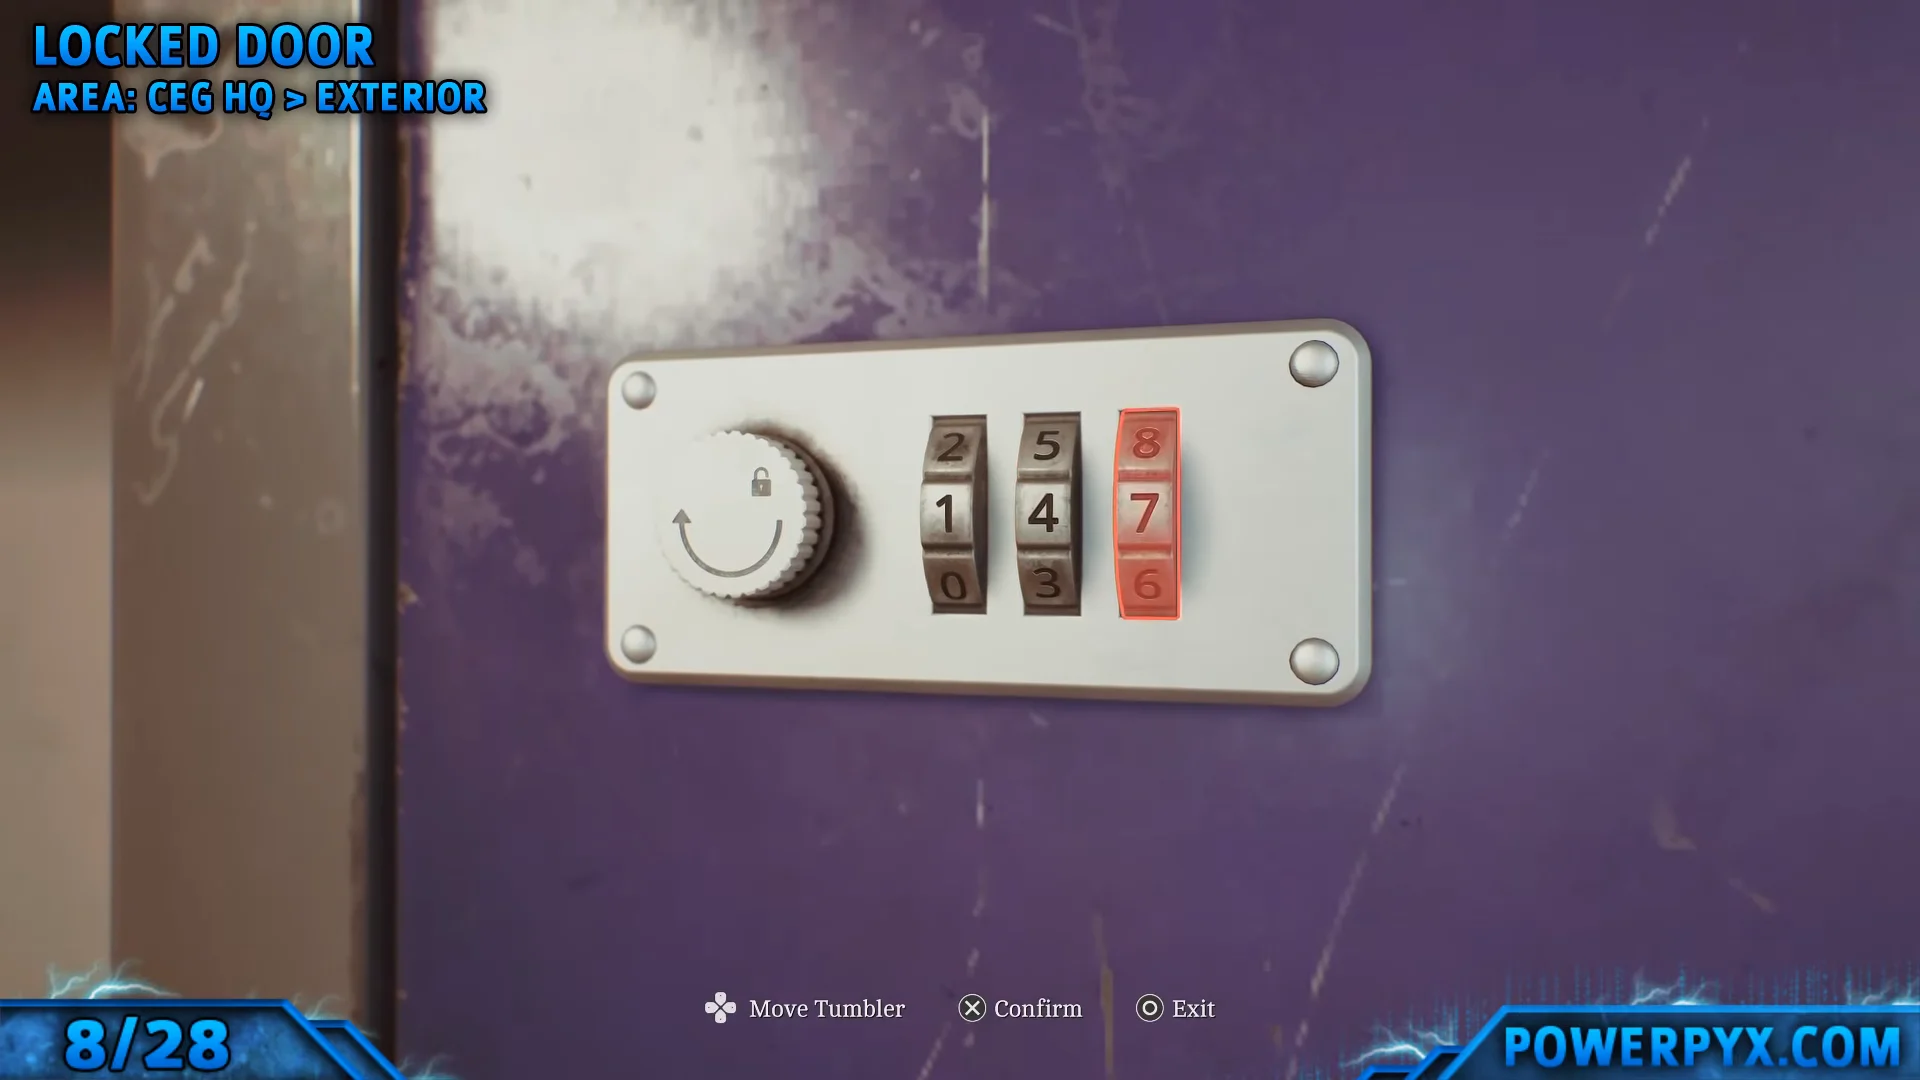
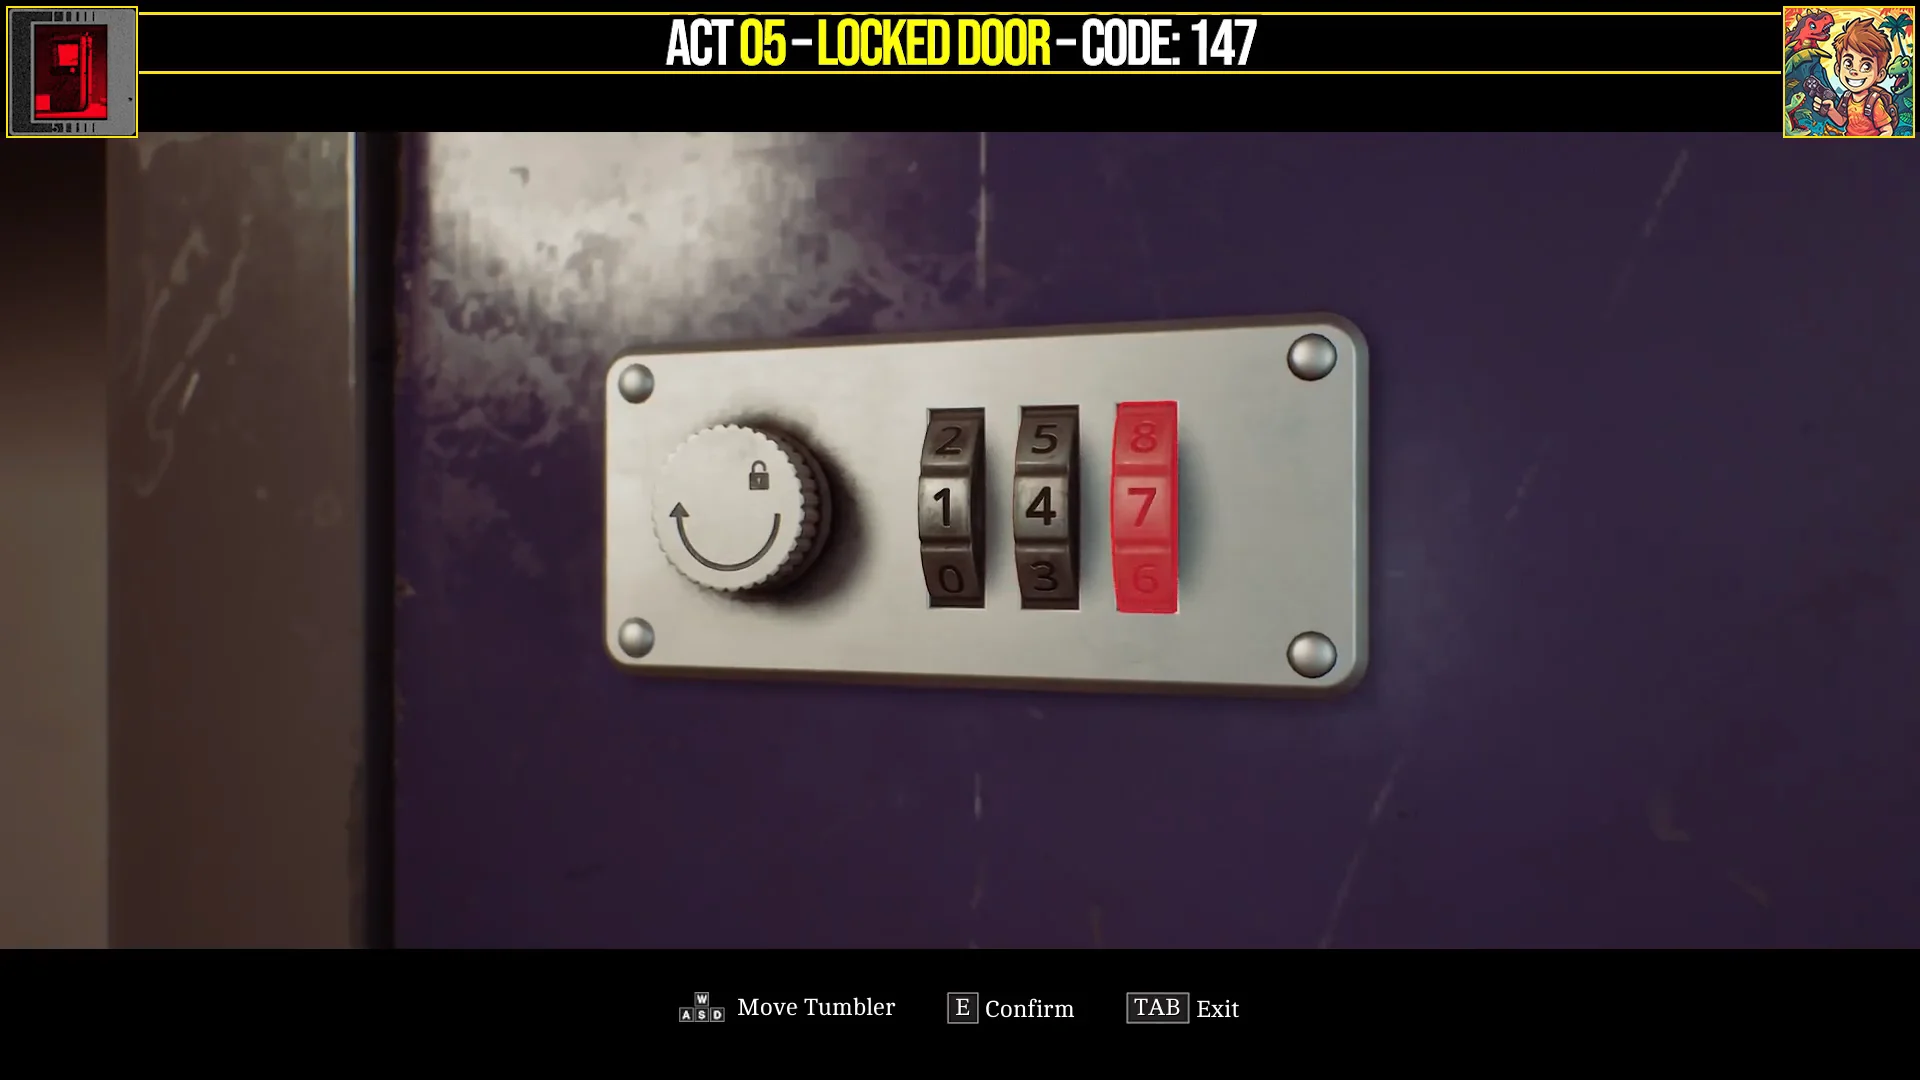
Open the top email, Works Halted, and the bottom note, DONTREAD.DOC. The locker in this room opens with the code 147 and holds a First Aid Kit rather than a collectible.
Reach the Floor 5 Boardroom and collect the Access Card
Ride the construction elevator up, climb the scaffolding, and crouch through the open window into the tower. A cutscene near the entrance hands Richard the Shotgun automatically on Floor 2, which is the reliable weapon against the Widows that block the ascent.
The projector in the centre of the Boardroom cannot be used yet. Its label points you to the Media Department Storeroom on Floor 4 for the missing bulb and lens.
Gather the Projector Bulb and Lens
Floor 3 Public Relations
At Floor 3, use the Level 3/4 card on the west side to enter Public Relations by the southern door near the stairwell. Read the two emails on the office computer: Evening News and Engineer Public Statement. In the small room to the south, open the filing cabinet and take the PR Meeting Note.
Check the floor in the southeast office, next to a body, for Richard’s Note. The note gives the codes for the building’s three optional supply rooms.
Floor 4 Media Department
Within Public Relations, take the stairs to reach the Media Department. In its west-side office, retrieve the CEG Storeroom Key from beside a body. Unlock the Storeroom door with it, then search the General Storage cabinet for the Projector Bulb and CEG Checkout Sheet.
Check the Checkout Sheet for your next two clues: Finance on Floor 3 borrowed the Projector Lens, and its keypad code is 2709.
Floor 3 Finance
At the Finance entrance on Floor 3, swipe the Level 3/4 card and key in 2709. Enter the room marked CFO, then take the Projector Lens from the desk drawer.
Repair the projector and open the maintenance route
Collect the slides and solve Puzzle #29
Use the maintenance ladders to reach Floor 2, then move through Operations. Continue down to Floor 1, cross the IT room, and take the stairs up to the Mezzanine. In the Gallery Meeting Room, take the box of Projector Slides from the table. Collecting it triggers a wave of Widows, but they will not follow you to Floor 5.
Return to the Boardroom projector. Match each slide’s picture to the agenda topic on the screen and load them into the carousel in this exact order.
| Slot | Slide | Agenda topic |
|---|---|---|
| 1 | D | Recent Headlines |
| 2 | F | External Demonstrations |
| 3 | B | Company Hierarchy |
| 4 | C | Financial Projections |
| 5 | E | Public Inquiry |
| 6 | A | Counter Arguments |
Press the red Play button after loading D–F–B–C–E–A. A correct order starts a cutscene; a wrong order simply ejects the slides so you can try again. Once the cutscene ends, Richard receives the CEO Access Card.
Read the final document on Floor 10
At the elevator, use the CEO Access Card and choose Floor 10. Before entering the office, read CEG Tower: He’s Done on the reception computer outside. This is collectible 12 and the final one in Richard’s section. Entering the office ends Part 5 and advances the story to the next chapter, so read the email beforehand.
Optional supply-room codes
None of these rooms hold a collectible, but the codes from Richard’s Note and the exterior computer open lockers with healing items and ammunition. The Finance code is the only required one.
| Location | Code | Contents |
|---|---|---|
| Exterior office locker | 147 | First Aid Kit |
| Finance entrance, Floor 3 | 2709 | Projector Lens (required) |
| Records, Floor 3 | 1607 | Supplies |
| Storage, Floor 2 | 1306 | Supplies |
| Storeroom, Floor 1 | 4512 | Supplies |
All 12 documents and clues
| Collectible | Location |
|---|---|
| Construction Halted Notice | Exterior first building, rear table |
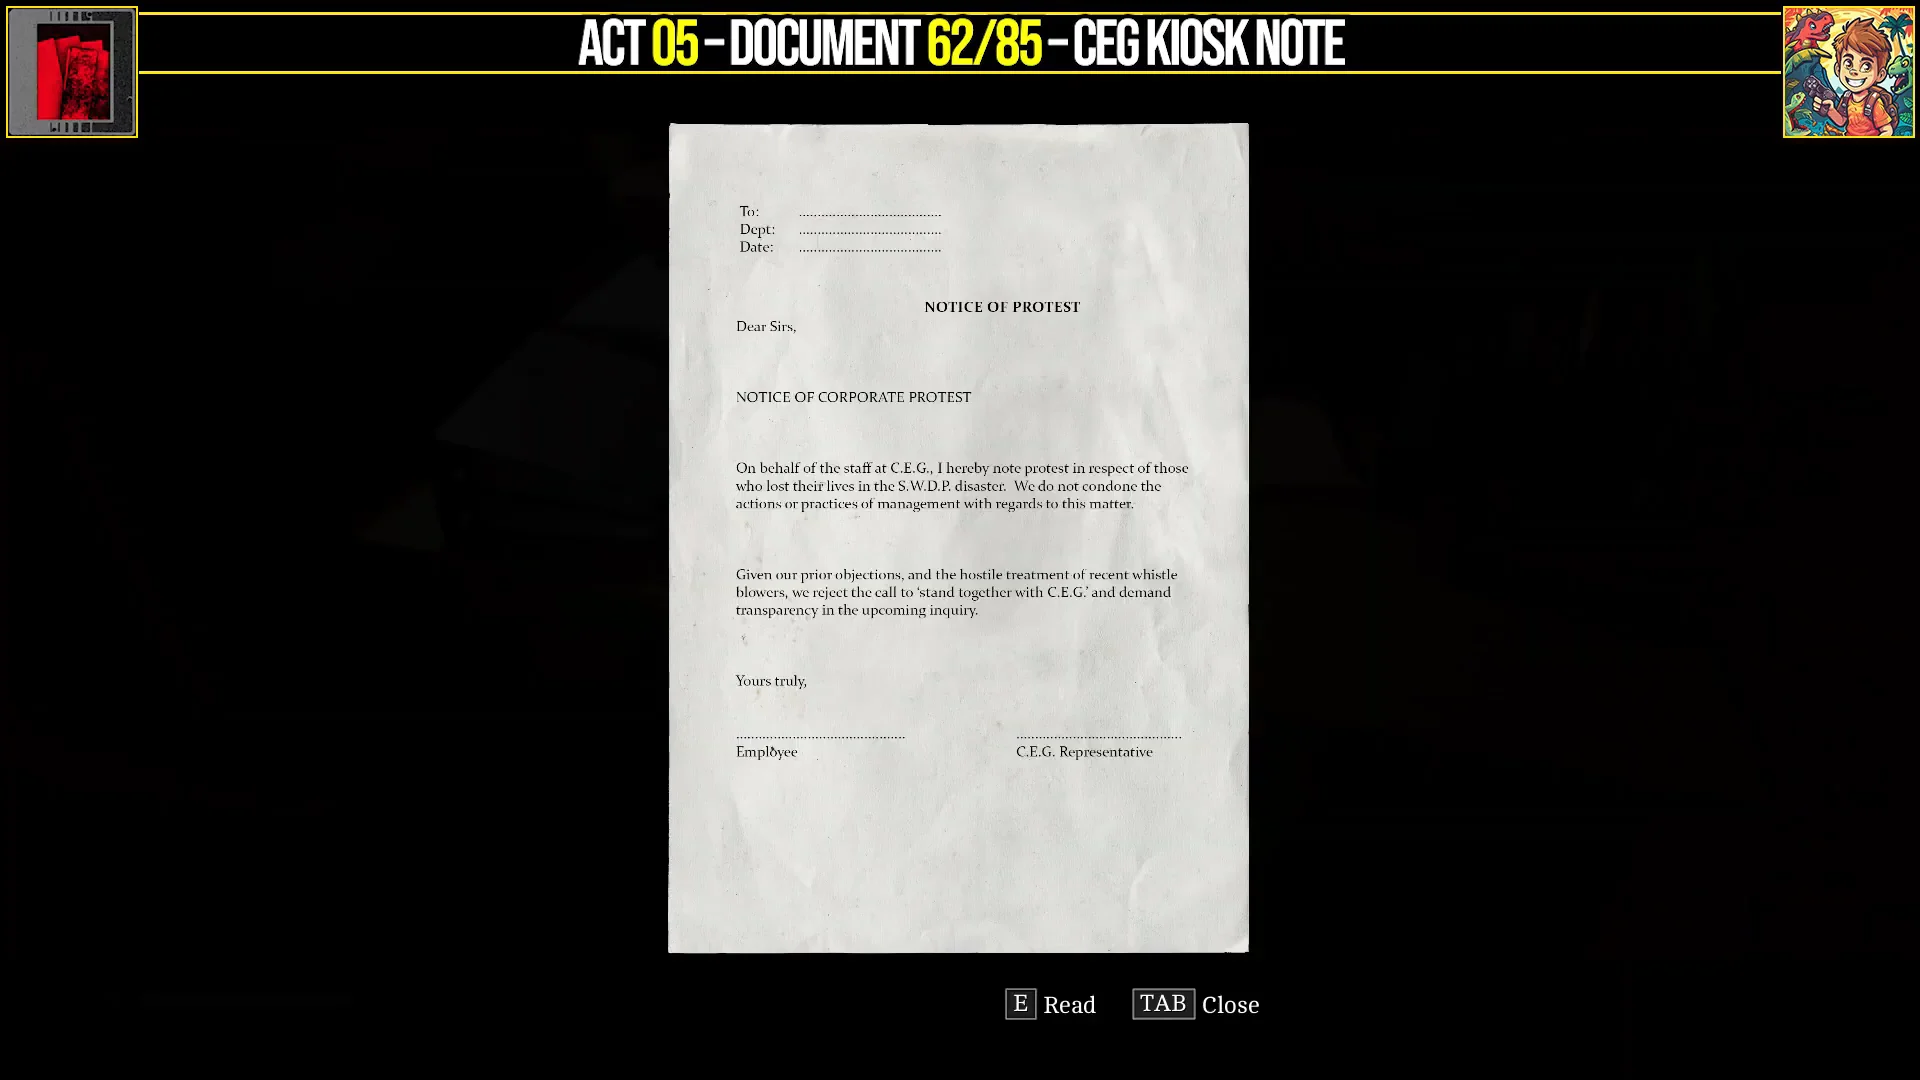
| CEG Kiosk Note | Exterior second building, desk by the garage door |
| CEG Memo | Manager’s Office desk, upstairs |
| Works Halted | Powered exterior office computer, top email |
| DONTREAD.DOC | Same computer, bottom note |
| CEG Tower Meeting Minutes | Floor 3 east meeting room table |
| Evening News | Floor 3 Public Relations computer |
| Engineer Public Statement | Same Public Relations computer |
| PR Meeting Note | Floor 3 Public Relations, southern room filing cabinet |
| Richard’s Note | Floor 3 Public Relations, southeast room floor |
| CEG Checkout Sheet | Floor 4 Media Storeroom, General Storage cabinet |
| CEG Tower: He’s Done | Floor 10 reception computer outside the office |
Two of these become readable only after the generator is running, and the last one waits on Floor 10 behind the CEO Access Card, so following the route in order clears all 12 in a single pass. Once the checklist is complete and you have read the Floor 10 email, entering the office wraps up Richard’s chapters with nothing left behind.