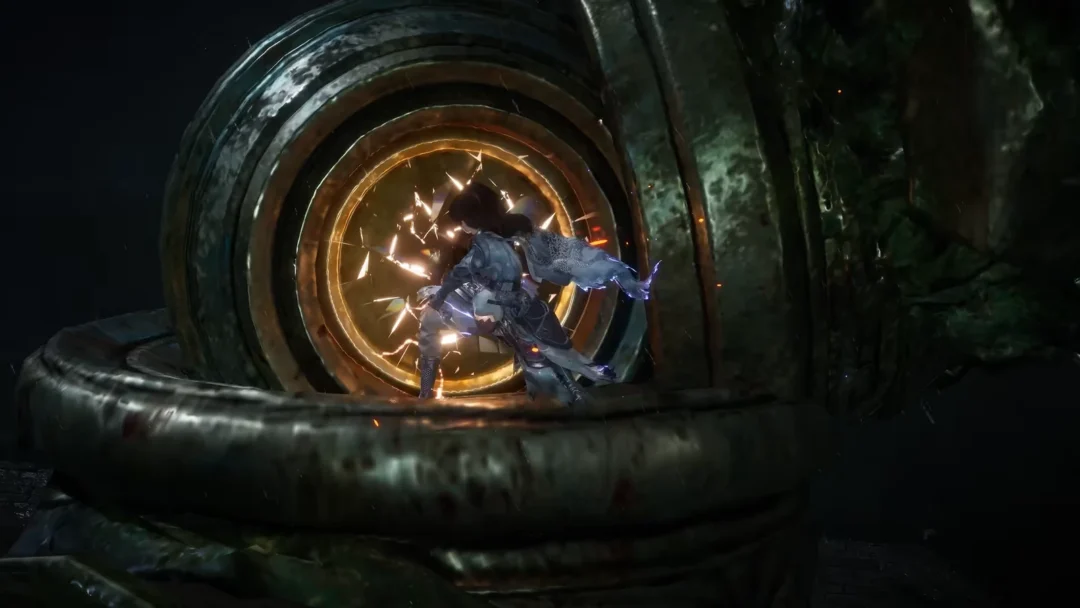
Part 6 of Silent Hill: Townfall runs Simon Ordell through the CEG Tower flare stack, the SWDP underground facility, and finally out onto the St. Amelia shoreline. Across Chapters 14, 15, and 17 you can grab seven documents, three CRTV signals, several key items, two lock box keys, two resource containers, a postcard, and three clues, most of them tied to four puzzles you must solve to move forward.
Quick answer: Sweep Documents #47–#53, CRTV Channels #17–#19, Postcard #15, Clues #30–#32, Lock Box Keys #6–#7, and Resource Containers #6–#7 in room order below. Collecting Postcard #15, tuning Channel #19, looting Container #7, and inspecting the crew patch each pop a trophy.
You cannot choose chapters or revisit earlier areas later, making every Document and Clue missable and relevant to your ending. Collect each item during your current run instead of expecting another chance.
Part 6 trophies and their triggers
Four trophies unlock during Part 6. Each one pops the moment you pick up or interact with a single item, so the on-screen “Trophy earned!” banner is your confirmation that the collectible registered.
| Trophy | Chapter | Trigger |
|---|---|---|
| I Blur Your Eyes | 14 | Collect Postcard #15 |
| Sweeping Signals | 15 | Tune CRTV Channel #19 |
| Resourceful | 15 | Loot Resource Container #7 |
| Thorough Inspection | 17 | Inspect the McKenzie crew patch |
Chapter 14: CEG Tower documents, signals, and the flare stack
Chapter 14 is built around the flare stack. You pick up most of the readable items and the first two CRTV signals before the puzzle, then reach Postcard #15 only after the stack ignites.
Documents, clue, and CRTV Channel #17
- Document #47 – Ordell File: In the red-lit office, take the typed letter from Simon Ordell to Richard off the desk.
- Document #48 – CEG Tower: What Did You Do?: Use the office computer, refresh RedSquares Email, and open the message titled “whatdidyoudo?” from user ORDELL.
- Clue #30 – Reference Sheet: Collect the handwritten alarm-code and clamp-release coordinate sheet from the metal workbench inside the flare stack chamber.
- CRTV Channel #17: Aim the portable CRTV receiver at the signal box on that same workbench and calibrate the RGB frequencies to store the broadcast showing a C.E.O. plaque.
- Controller Key: Use the elevator control panel to raise the platform, cross to the open fuse box, and take the Controller Key.
Flare stack rotation and ignition puzzle
A5D7, which matches alarm code 77289 on the reference sheet. The panel will read “Alarm Silenced”.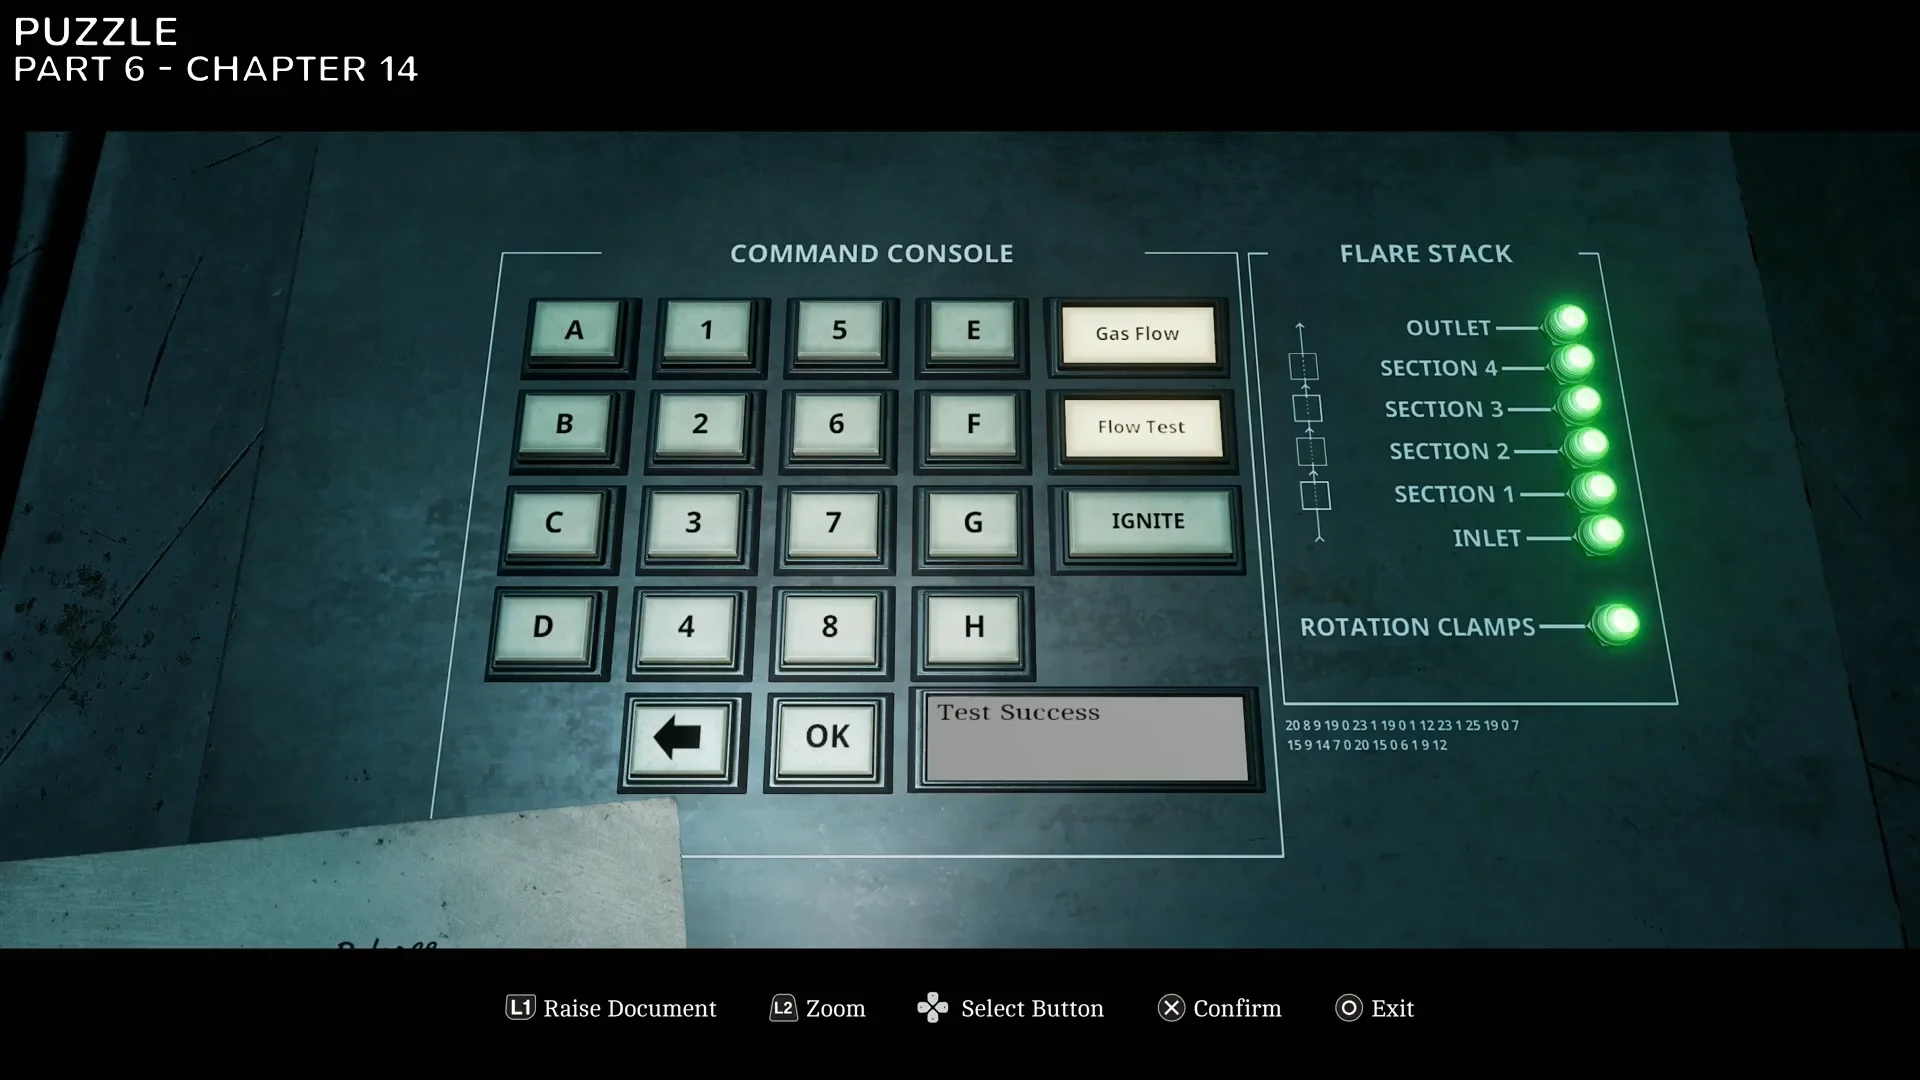
CRTV Channel #18 and Postcard #15
With the stack burning, head behind it into the large drainage pipe. Find the signal box there and tune the RGB signals to unlock CRTV Channel #18, which stores a broadcast of an eye close-up.
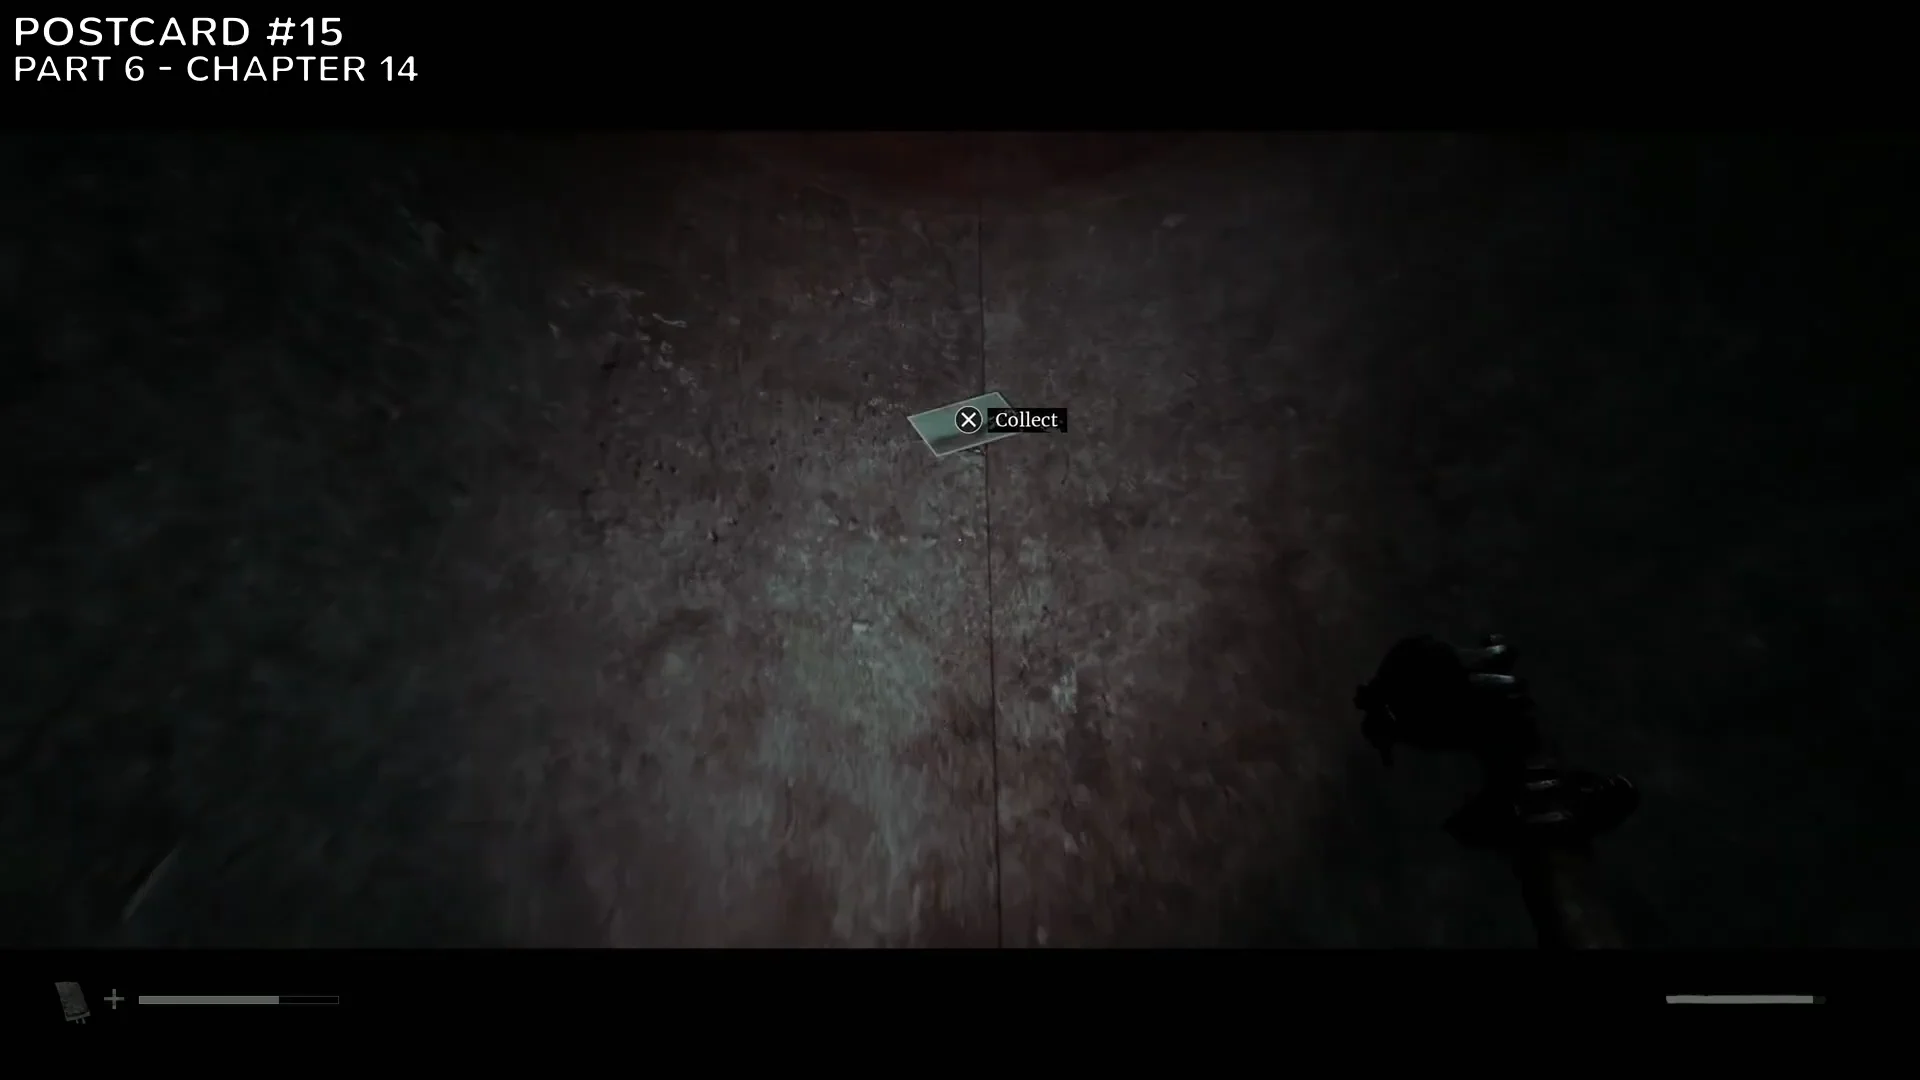
Next, pry open the ventilation shaft with a pipe lever, crawl through the ductwork, and pick up Postcard #15 off the floor. This pops the I Blur Your Eyes trophy.
Chapter 15: SWDP underground facility items and puzzles
Chapter 15 is the densest stretch of Part 6. You collect keys and documents around the bunk room, then work through the auxiliary line system, the command console printer, and the clamp release console.
Keys, documents, and CRTV Channel #19
Start in the dark storage hallway and take Lock Box Key #6 from the open utility drawer. In the nearby office, log into the computer terminal and read the email “RE: Ordell Site Visit” dated 16 January 1996 to register Document #49 – SWDP: Ordell Site Visit.
Pick up the JOE Key lying beside a computer terminal on the office table.
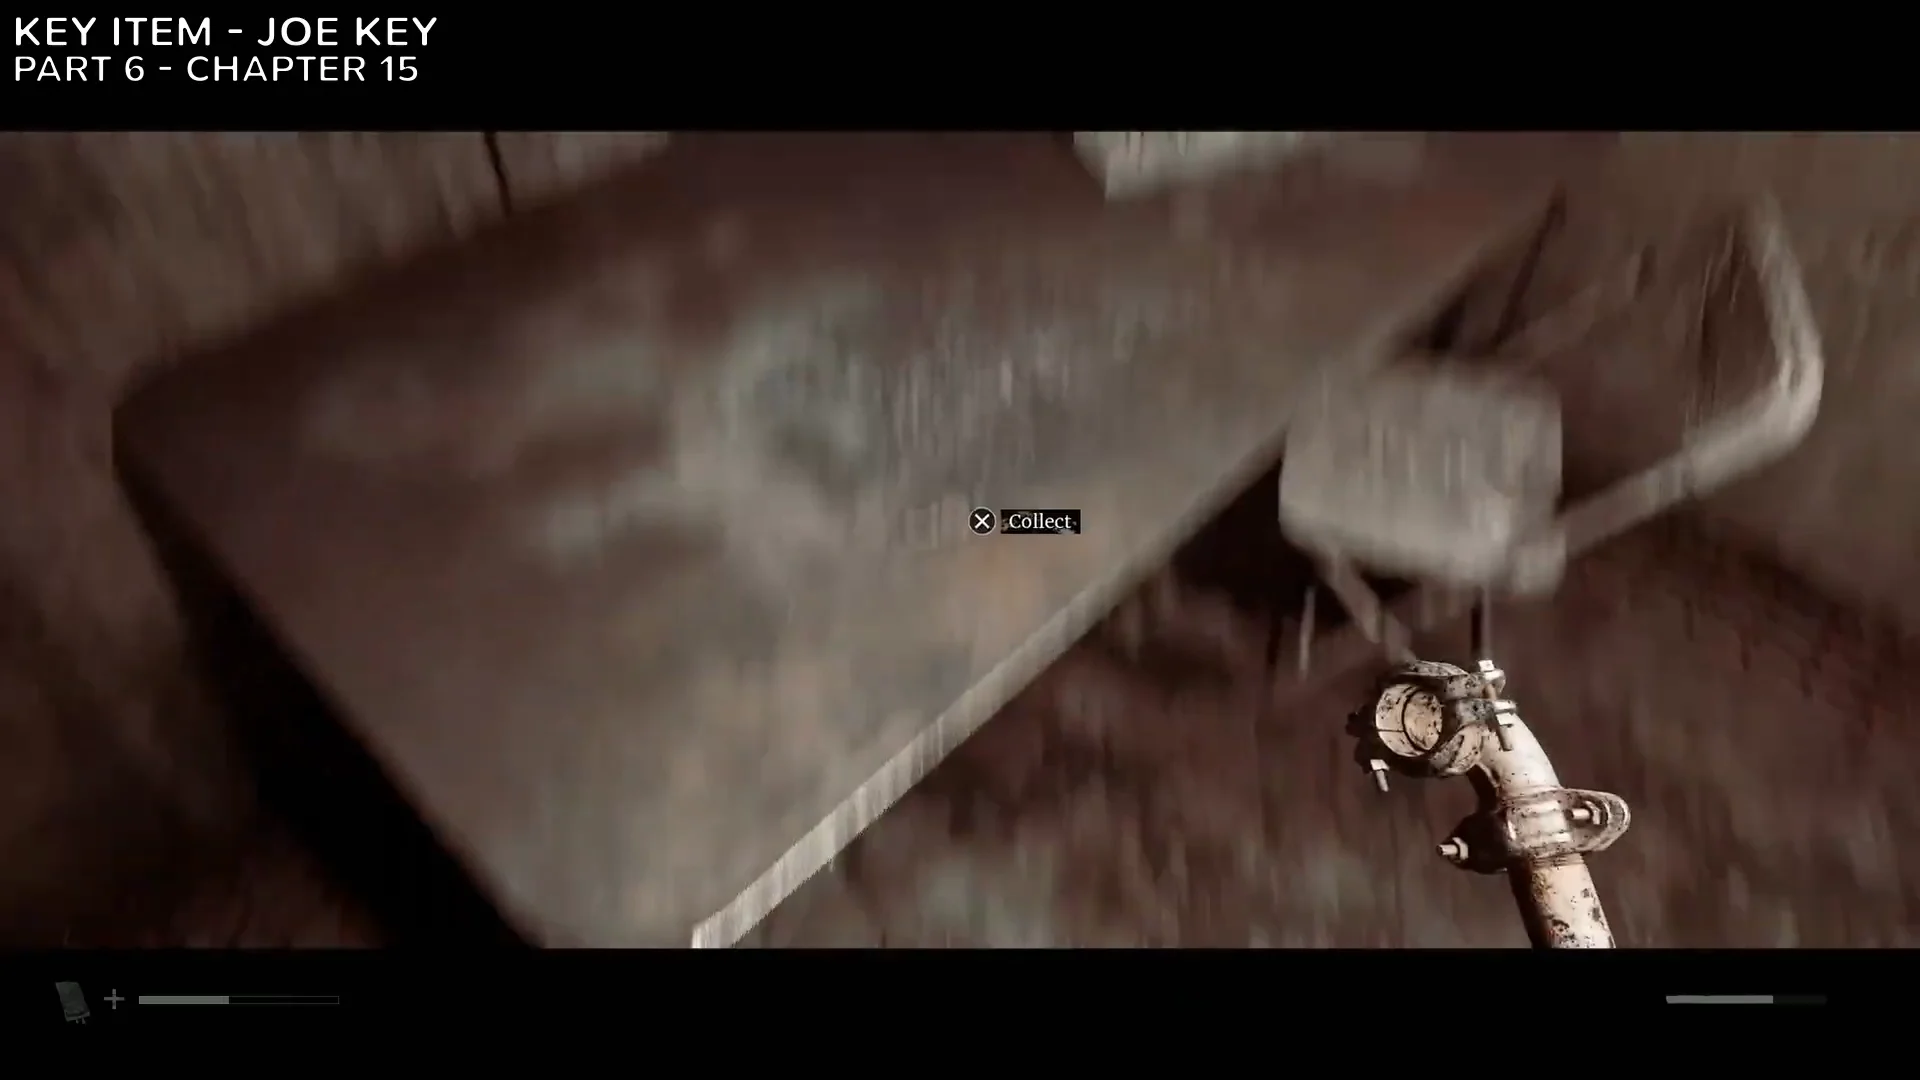
Use the JOE Key on the JOE room door, squeeze through the gap between the cage and the wall, and take the handwritten Document #50 – RCU Refit Note from the bunk bed. Beside the bunk, calibrate the CRTV receiver on the emitter box to store CRTV Channel #19 (forest pylons), which unlocks the Sweeping Signals trophy.
While you’re in that room, collect Joe McKenzie’s electronic Access Card from the work counter. Then remove Document #51 – Photo of Joe McKenzie from the door: it’s a black-and-white photo bearing the label “THE FIRST TO GO”.
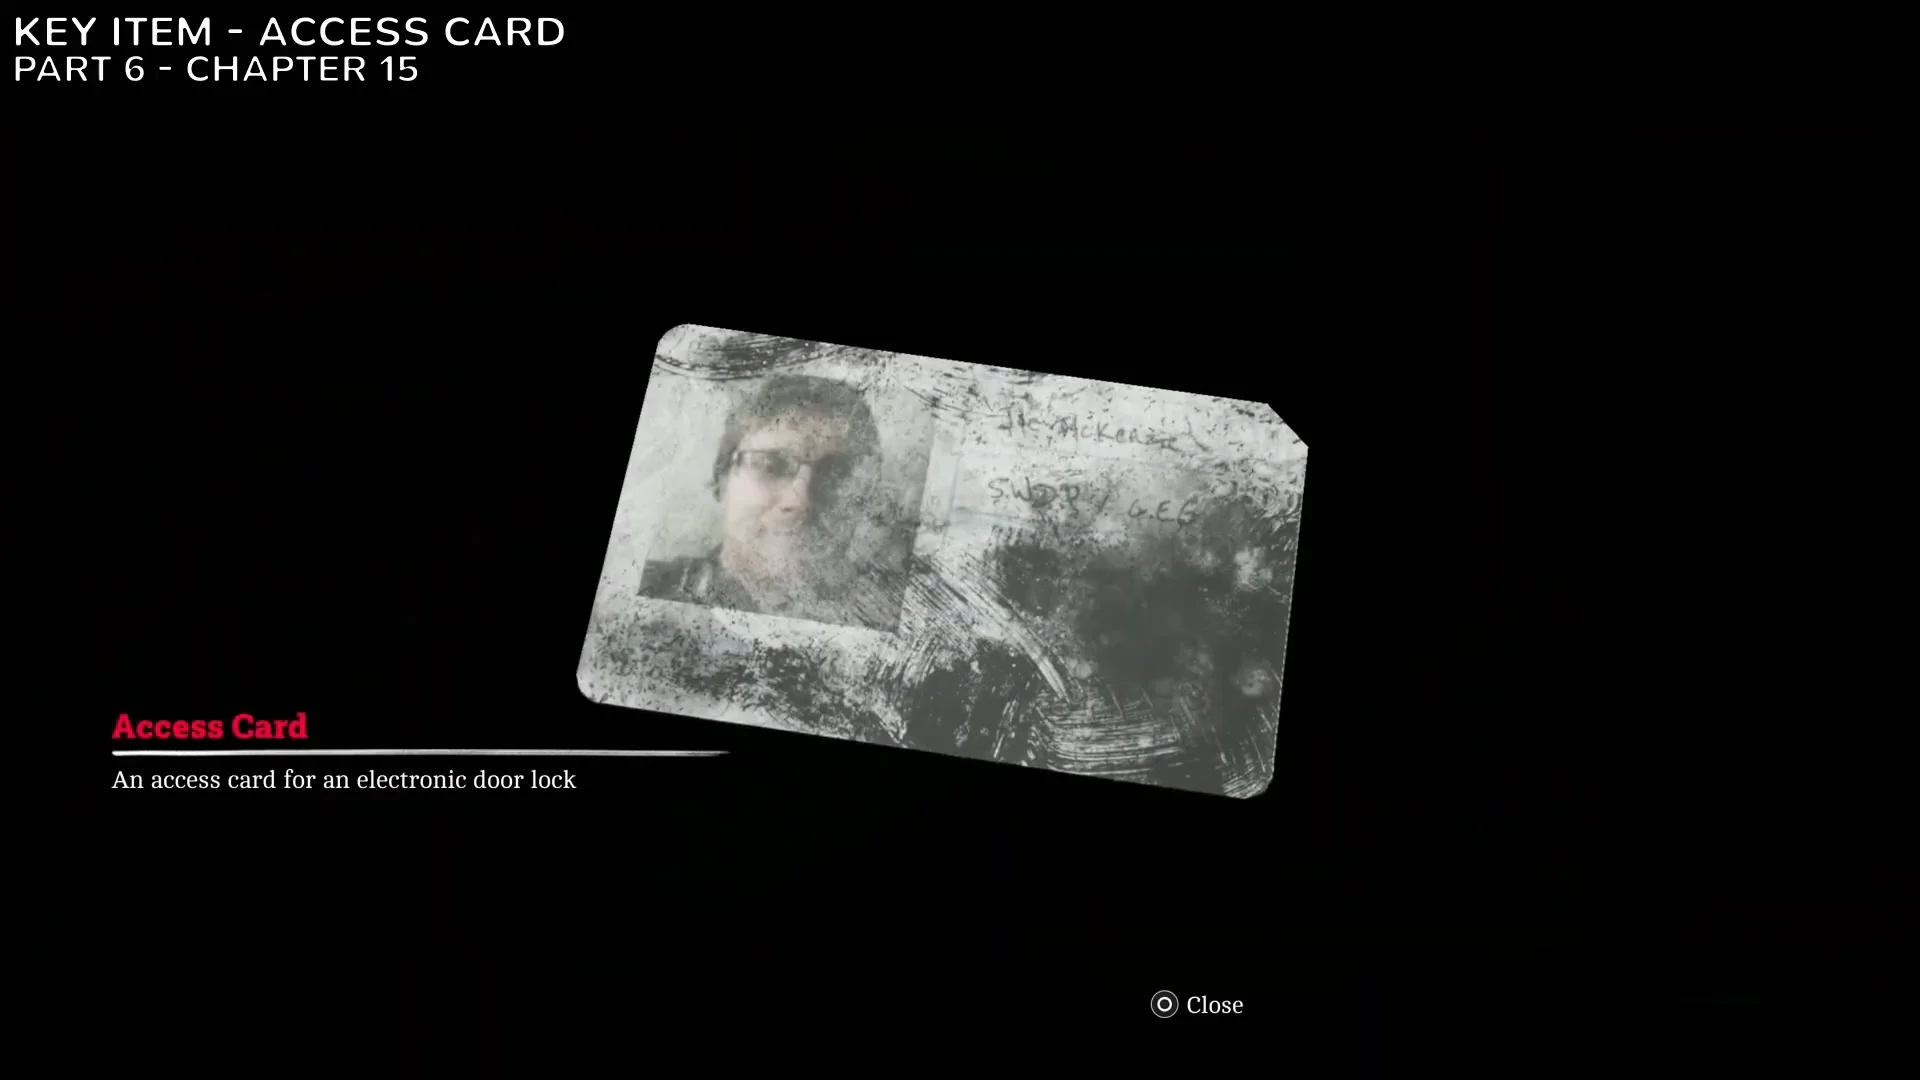
Swipe the Access Card to open the shutter door, unlock the cash box with Lock Box Key #6 for Resource Container #6, and examine the auxiliary line diagram on the counter to log Document #52 – Remote Systems Control.
Auxiliary system and command console
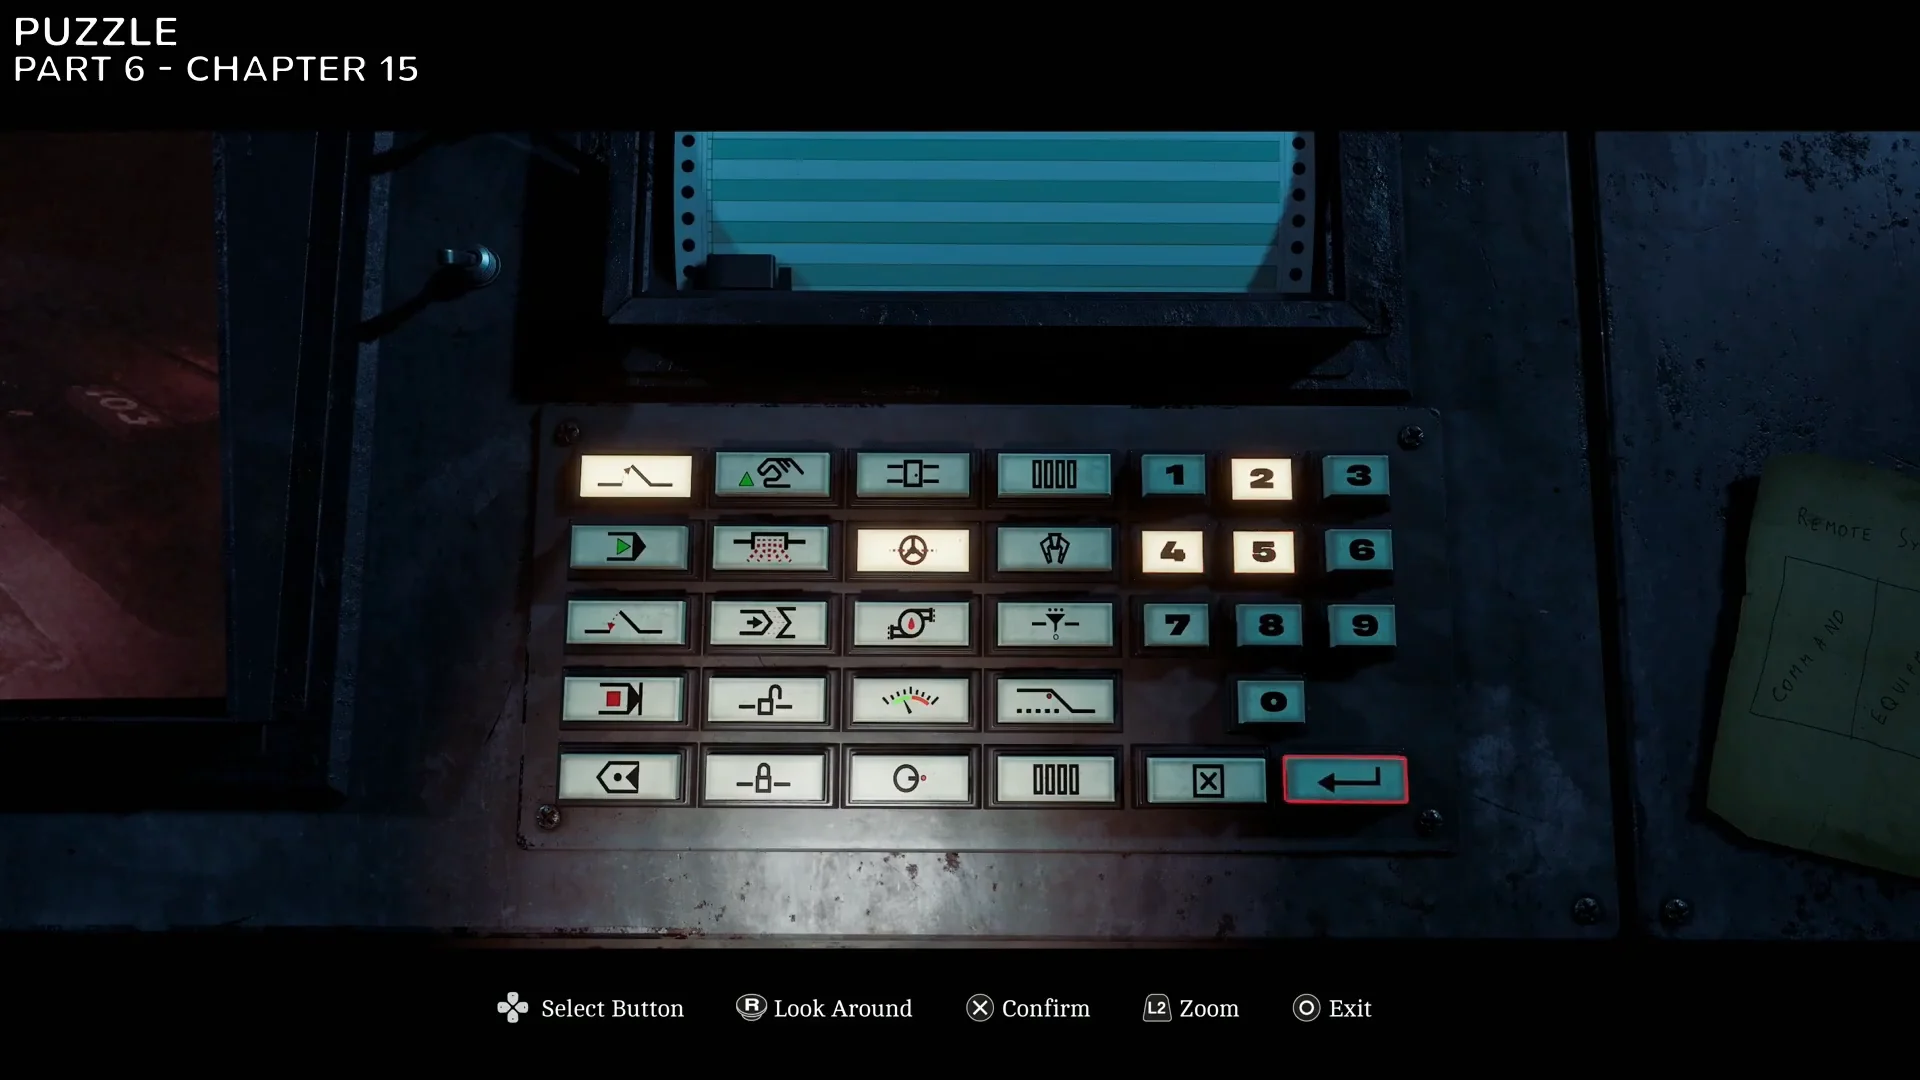
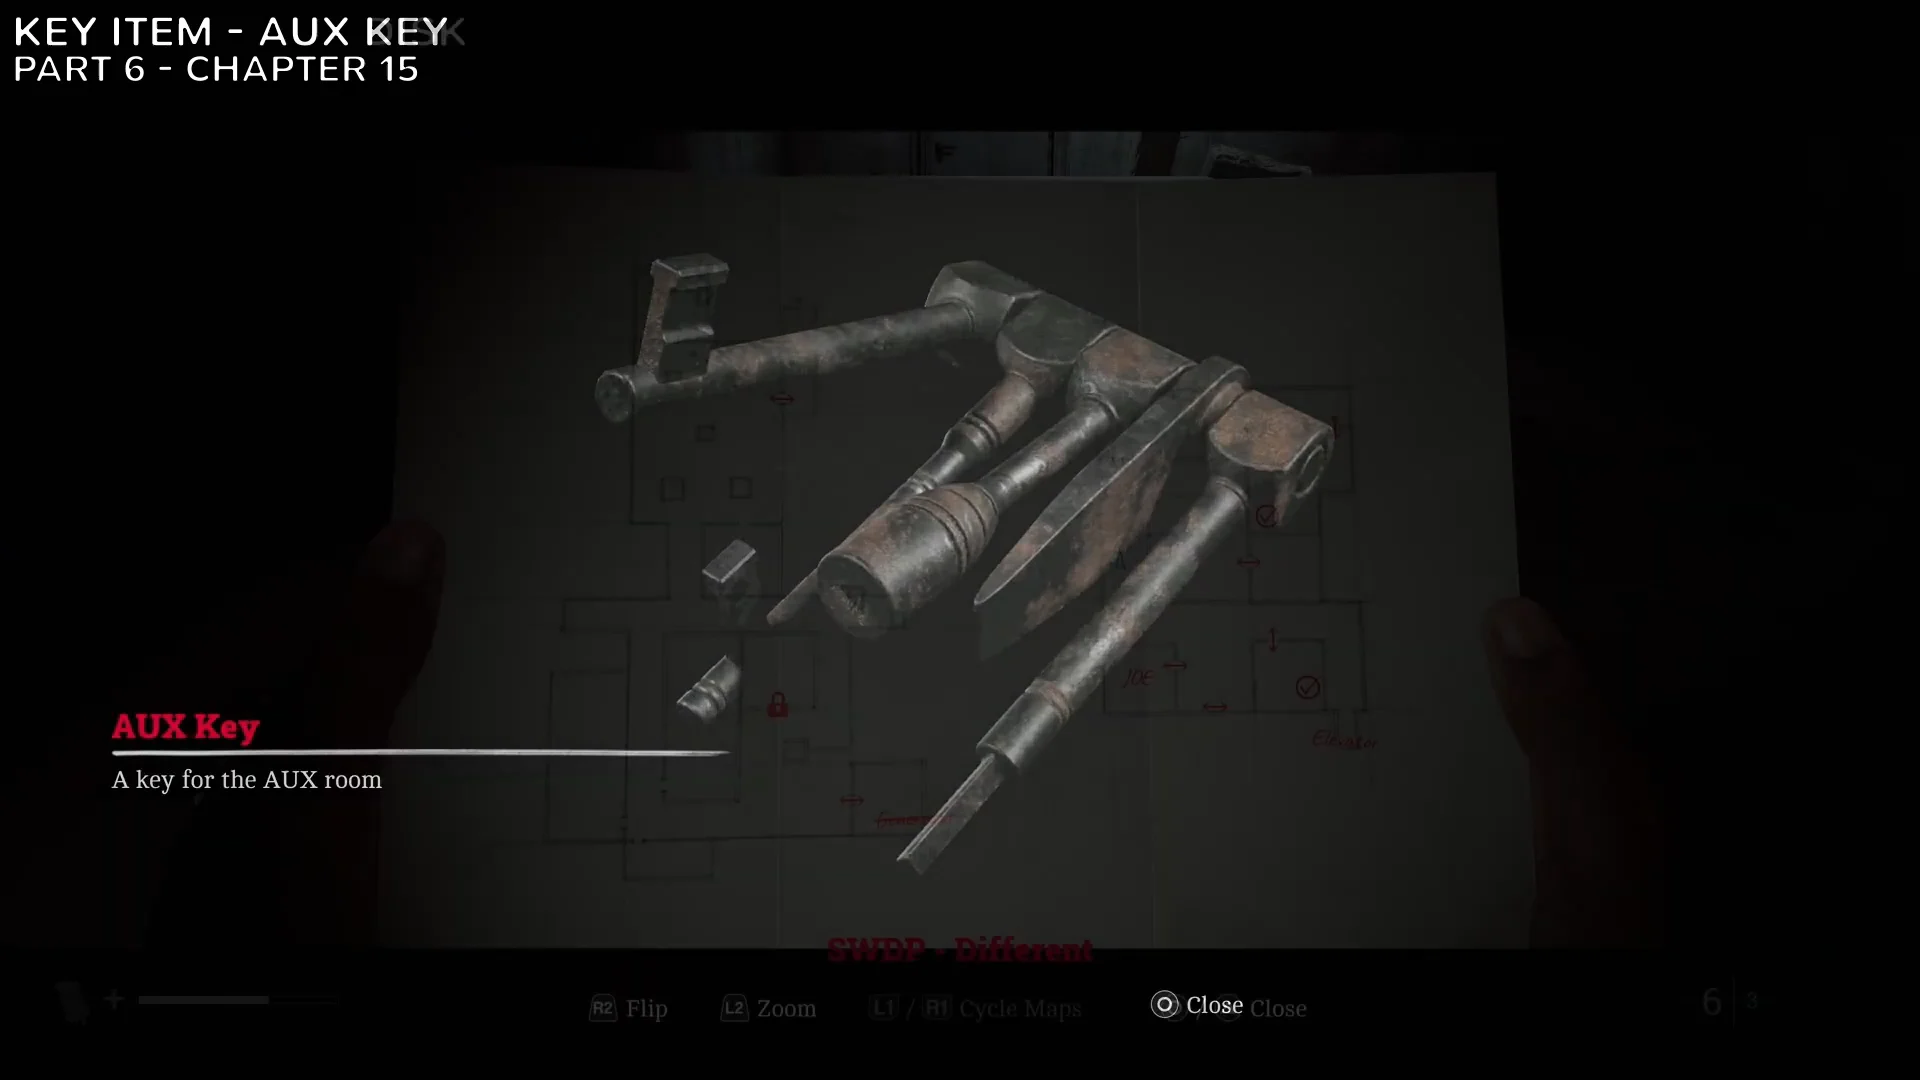
357 and 579, to restore auxiliary system integrity.Lock Box Key #7, Resource Container #7, and Clue #32
Collect Lock Box Key #7 from desk counter 103. Use it on the metal lock box in the neighboring maintenance corridor to get Resource Container #7 and earn the Resourceful trophy. For Clue #32 – Clamp Release Procedure, take the printed flow chart from the printer tray.
Clamp release console puzzle
RELEASE to free the mechanical clamps.Chapter 17: The St. Amelia crew patch
On St. Amelia beach, Part 6’s last pickup is waiting by the shore. Go up the concrete stairs, then inspect the abandoned coat on the shingle to check its “S.W.D.P. McKenzie” crew patch. This records Document #53 – Crew Patch, earns the Thorough Inspection trophy, and wraps up the section.
Once all seven documents, three CRTV channels, both lock box keys, both resource containers, Postcard #15, and Clues #30–#32 are logged, and the four trophy banners have appeared, Part 6 is fully cleared with nothing left to backtrack for.