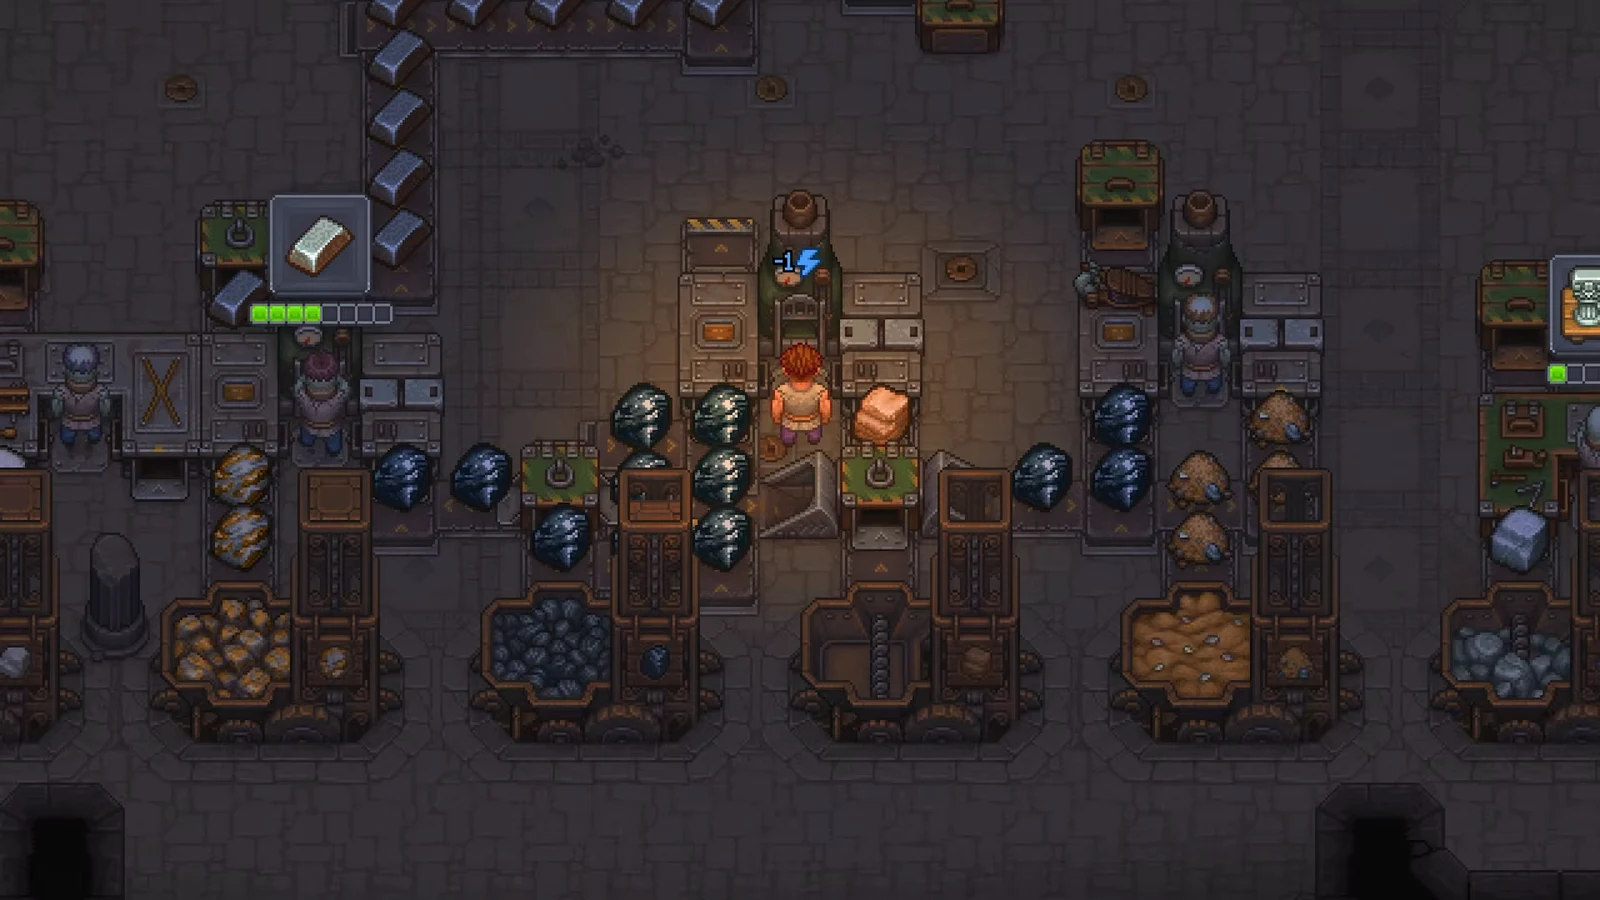
The Factory in Graveyard Keeper 2 turns manual crafting into a network of machines, conveyors, and zombie workers, but placing machines is only part of the job. A working line needs power, a connected conveyor route, a trained worker, and a recipe that worker can perform. The fastest way to prove your setup is to build one short line and confirm it runs before expanding.
Quick answer: Clear a cellar blockage to reach the Factory, repair and staff a Zombie Carousel for power, unlock Conveyors and the Assembly bench, then connect one short belt line to a worker running a simple recipe like Wooden Kit I.
Reach the Factory and clear a blockage
Access the underground Factory through the cellar below the Inquisition Base. After Albert’s initial conversation there, take the cellar passage toward the deserted Factory and clear an entrance blockage. Opening just one entrance is enough to advance; this triggers Larry’s discovery scene.
Each home-side blockage task requires the same materials.
| Requirement | Amount |
|---|---|
| Iron Detail | 4 |
| Reinforced Beam | 1 |
| Building mastery | 8 |
Opening the area does not make it operational. Seven raw-material stockpiles for wood, stone, sand, clay, coal, ore, and marble are already provided on the Factory floor, so you can focus on power and production rather than building storage from scratch.
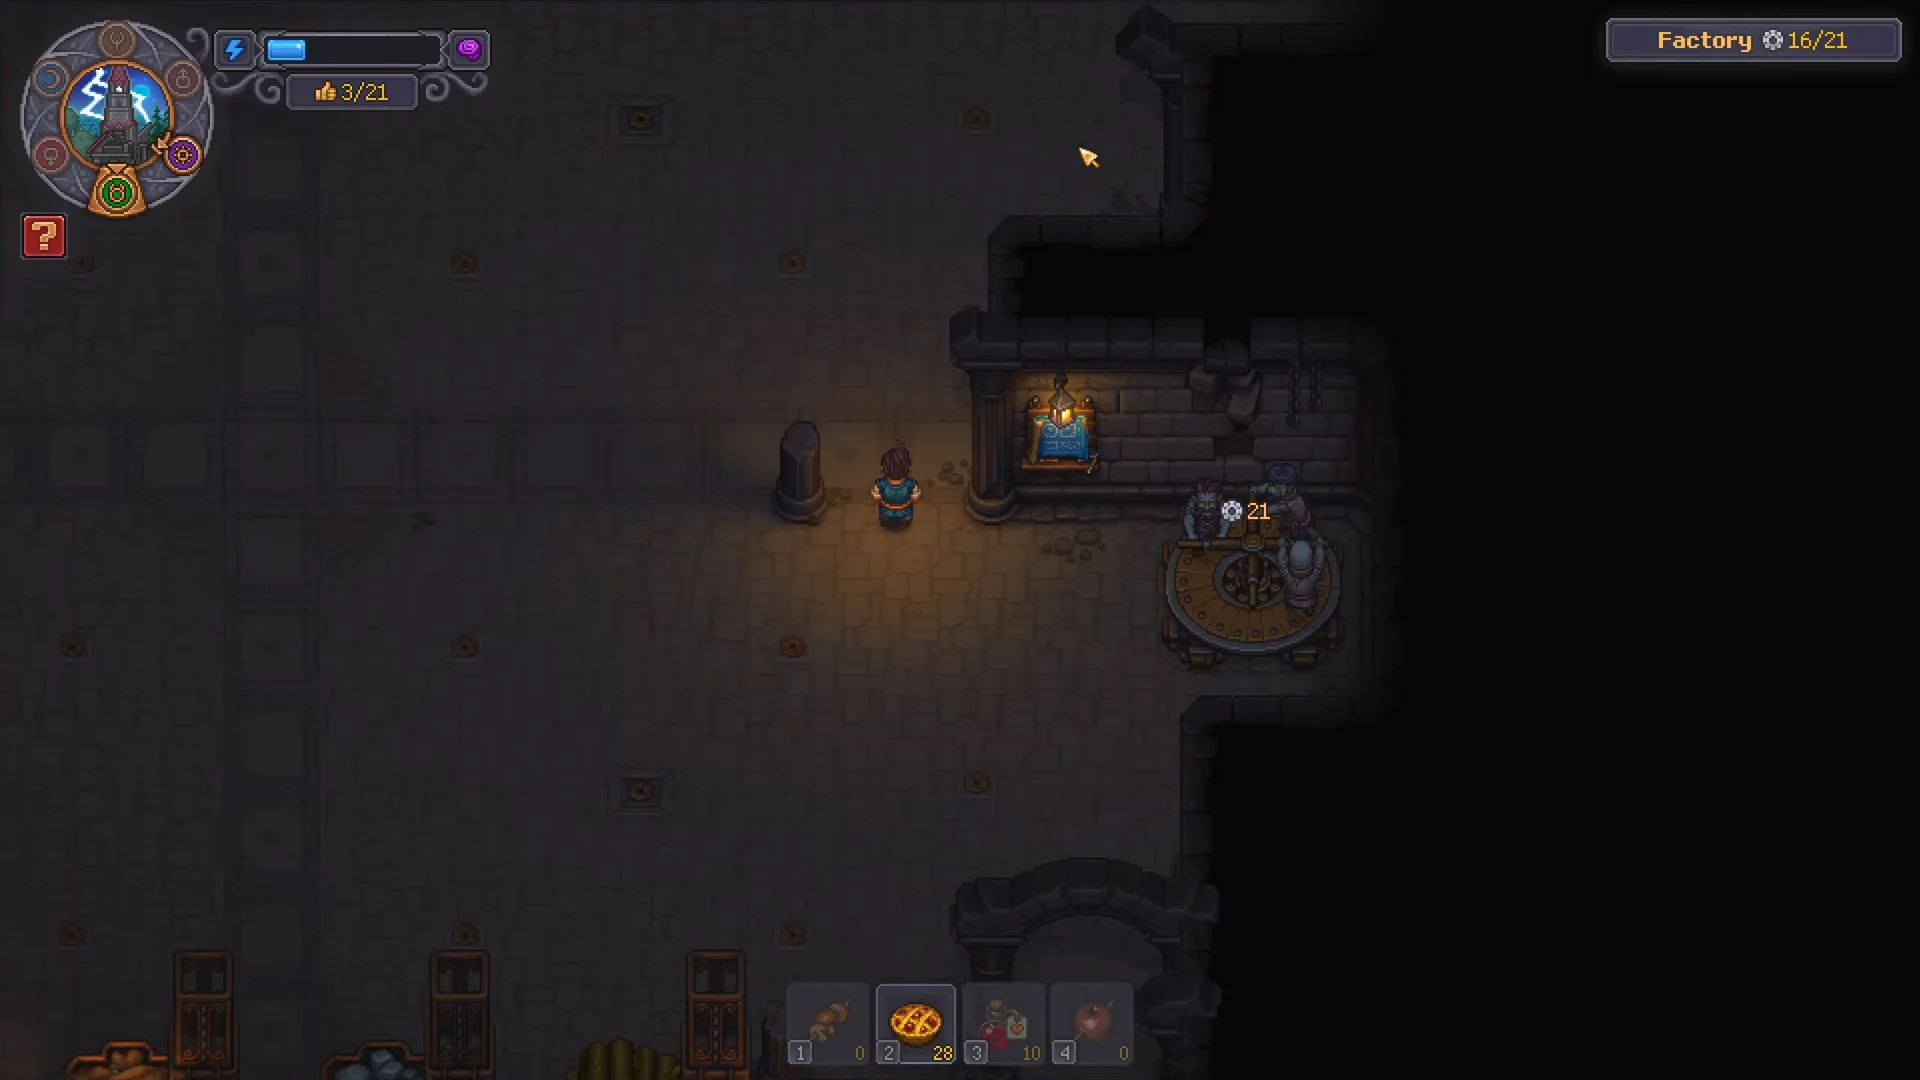
Power the Factory with a staffed Zombie Carousel
The Factory does not draw from a passive grid. Conveyor power comes from the Zombie Carousel. Repair the first Broken Zombie Carousel with 6 Bronze Gear, 4 Bronze Detail, and 4 Wooden Plank, which needs Building mastery 5 to complete.
Repairing the Carousel alone does nothing. You have to assign a zombie inside it, and each zombie in a Carousel supplies 7 Factory Power (10 with the Belt Master perk). The zombie generating power is separate from the zombie that operates your crafting station, so one worker cannot do both jobs.
Wheat is used by the Bioreactor to make Zombie Power, a crafting resource with its own purpose. Zombie Power cannot run belts, splitters, supply stations, or underground conveyors.
Feed raw ore from the Old Mine
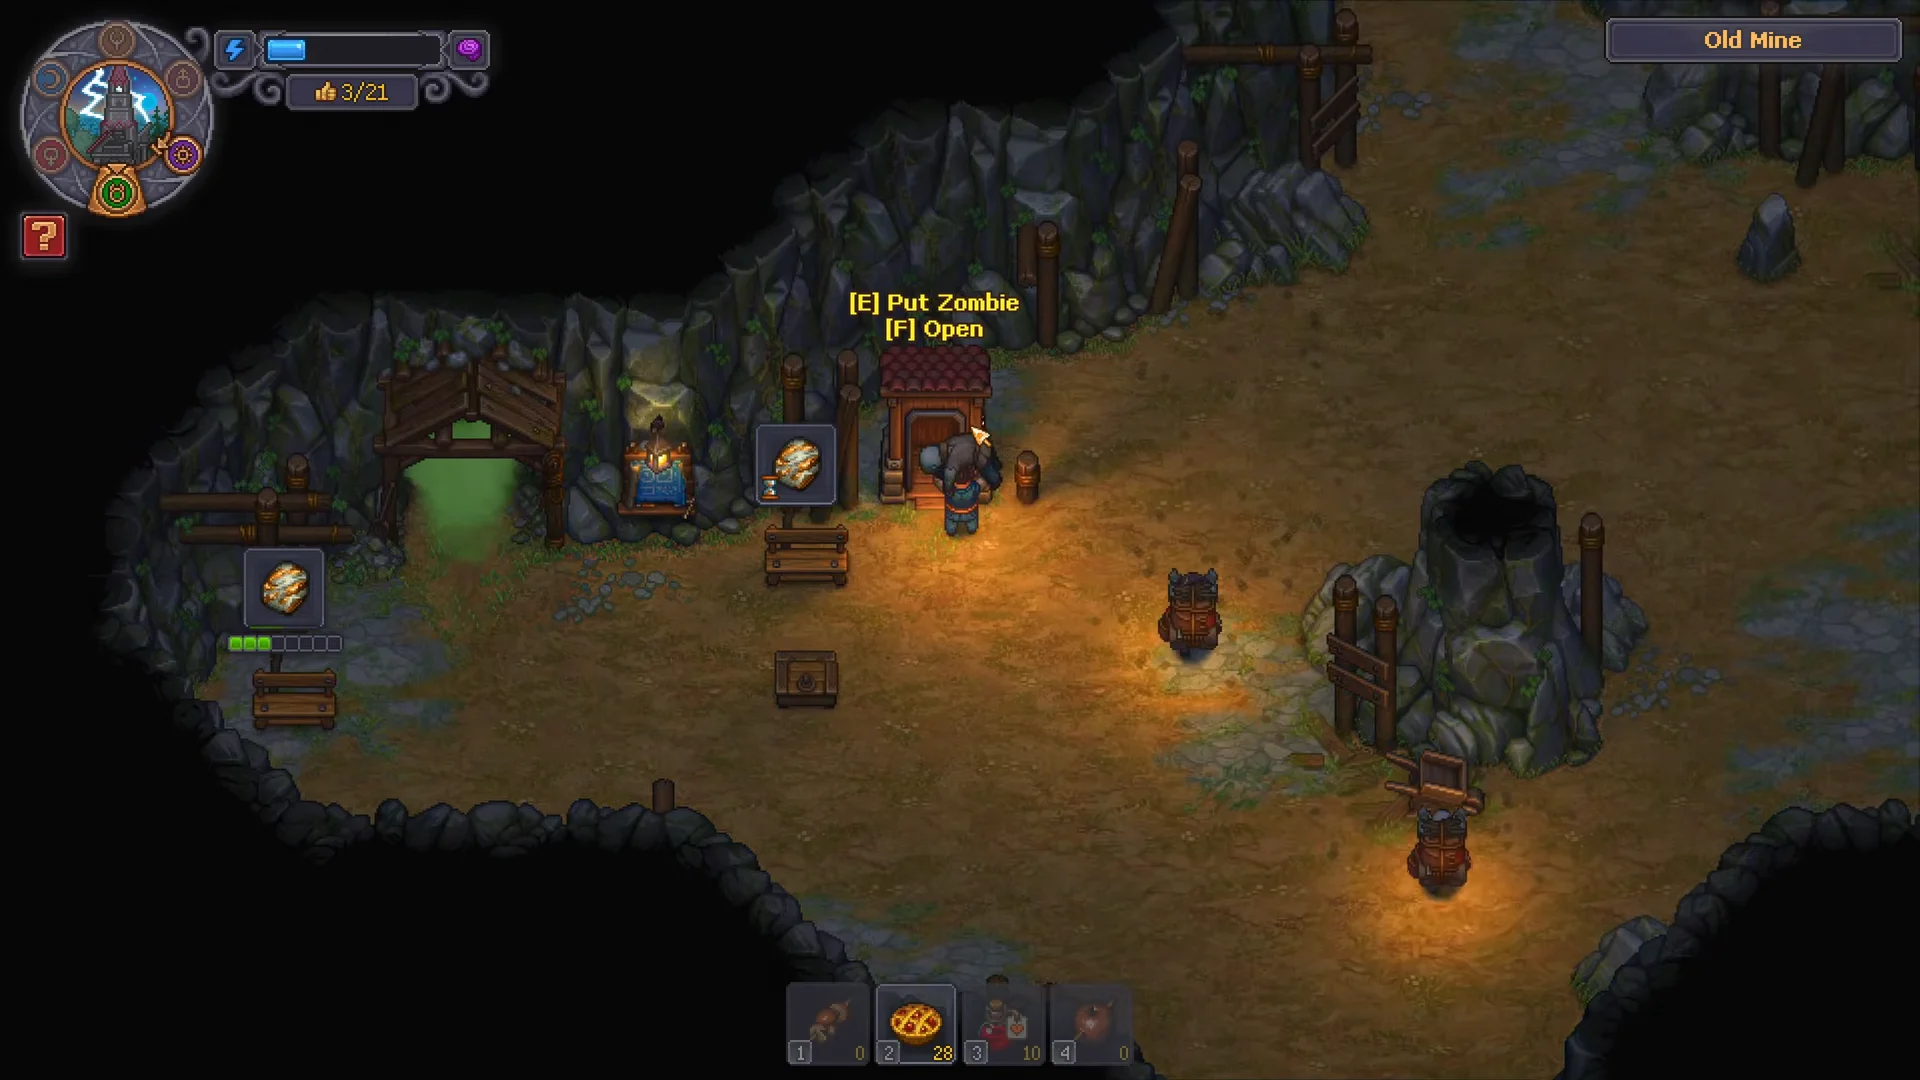
To automate iron and coal, first clear the rubble in the southern tunnel that leads to the Old Mine. This opens the mine and unlocks the technologies tied to it. Inside, place Zombie Miners to extract iron and coal into storage automatically, then assign a Zombie Porter to carry those ores back to the Factory floor stockpiles.
Unlock Conveyors and the Assembly bench
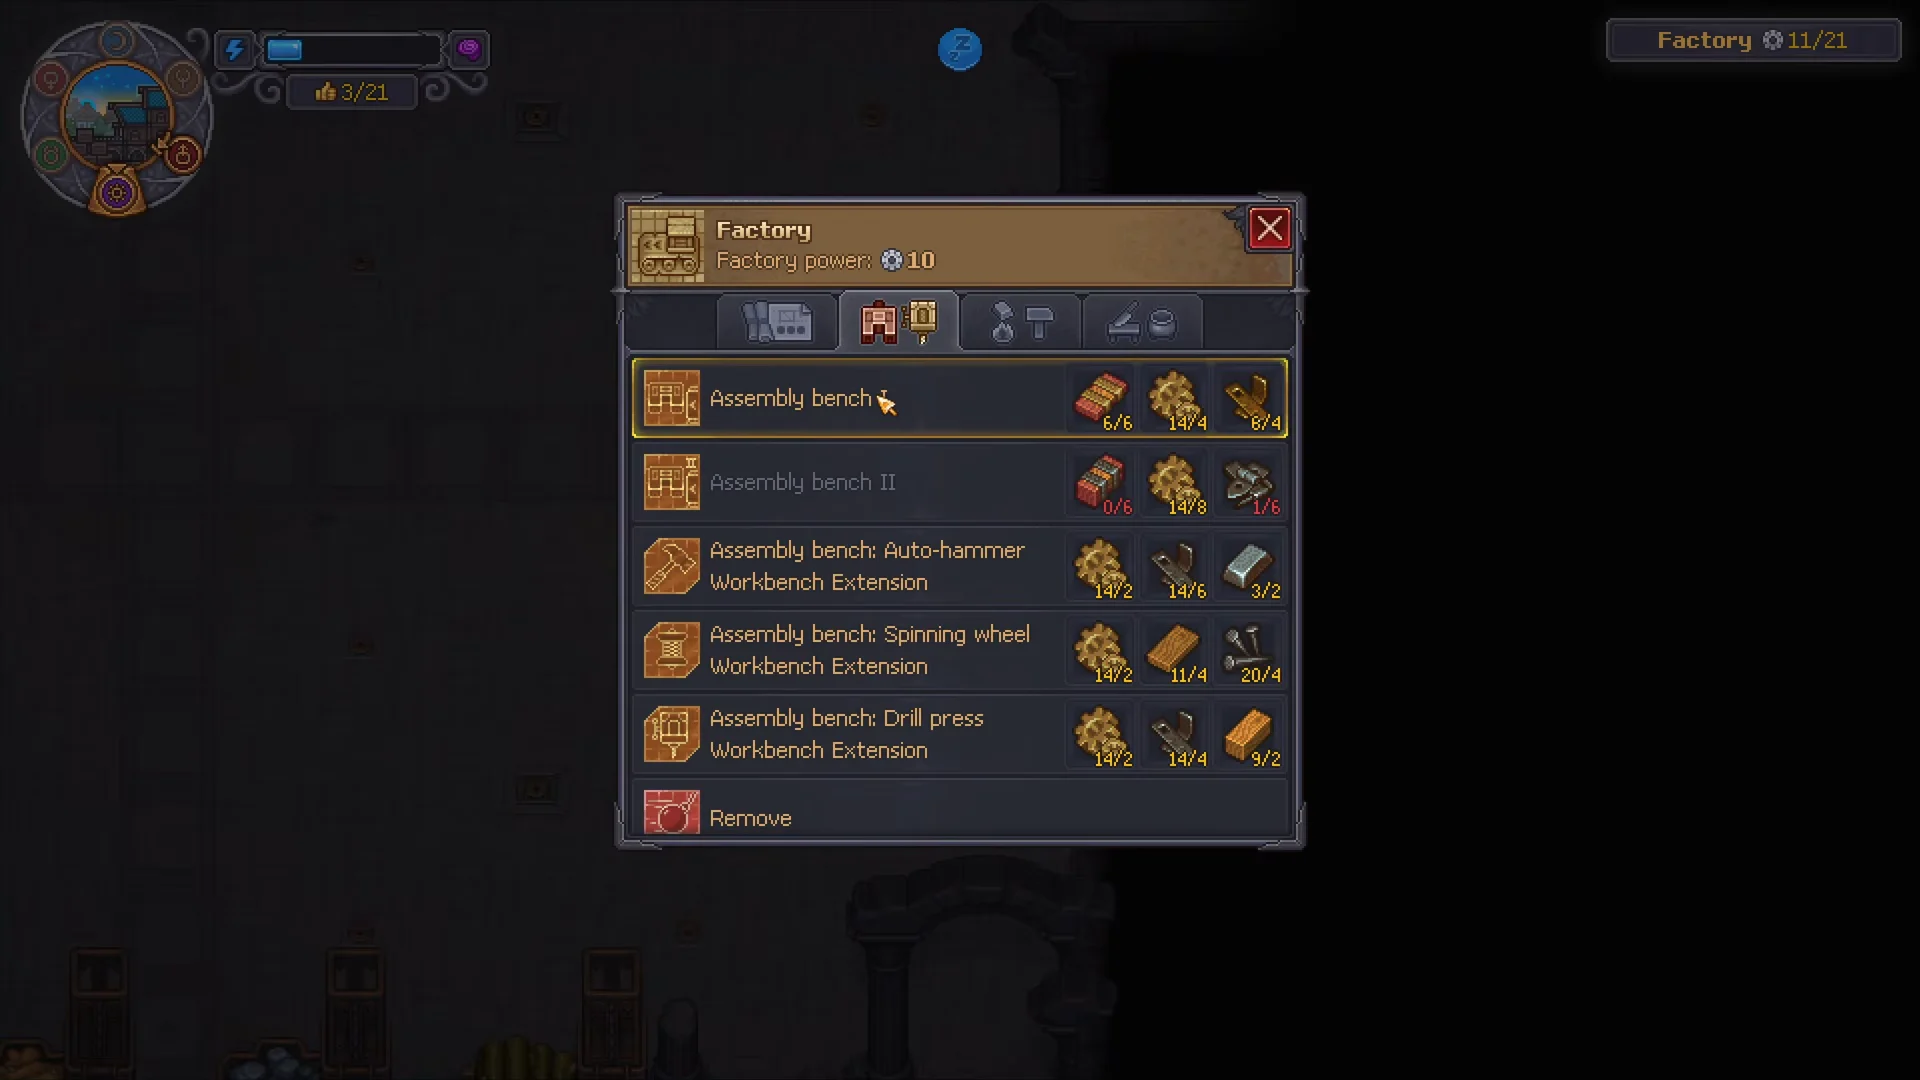
Unlock Conveyors after Tool Rack II, once you reach 50 reputation with Jack. The next technology is Assembly bench, which also provides the basic Wooden Kit I recipe. Getting both unlocks the components for testing a working line.
| Technology | Cost |
|---|---|
| Conveyors | 70 red + 20 blue |
| Assembly bench | 75 red + 20 blue |
Research only unlocks the build option. You still supply the materials and finish each structure with a Hammer, and the Building mastery needed to complete a machine is separate from the mastery a recipe requires.
Build and connect your first production line
Keep the first line short so you can debug it. If you are reworking an existing setup, remember that dismantling belts or stations returns 100% of the invested resources, so rebuilding costs you nothing but time.
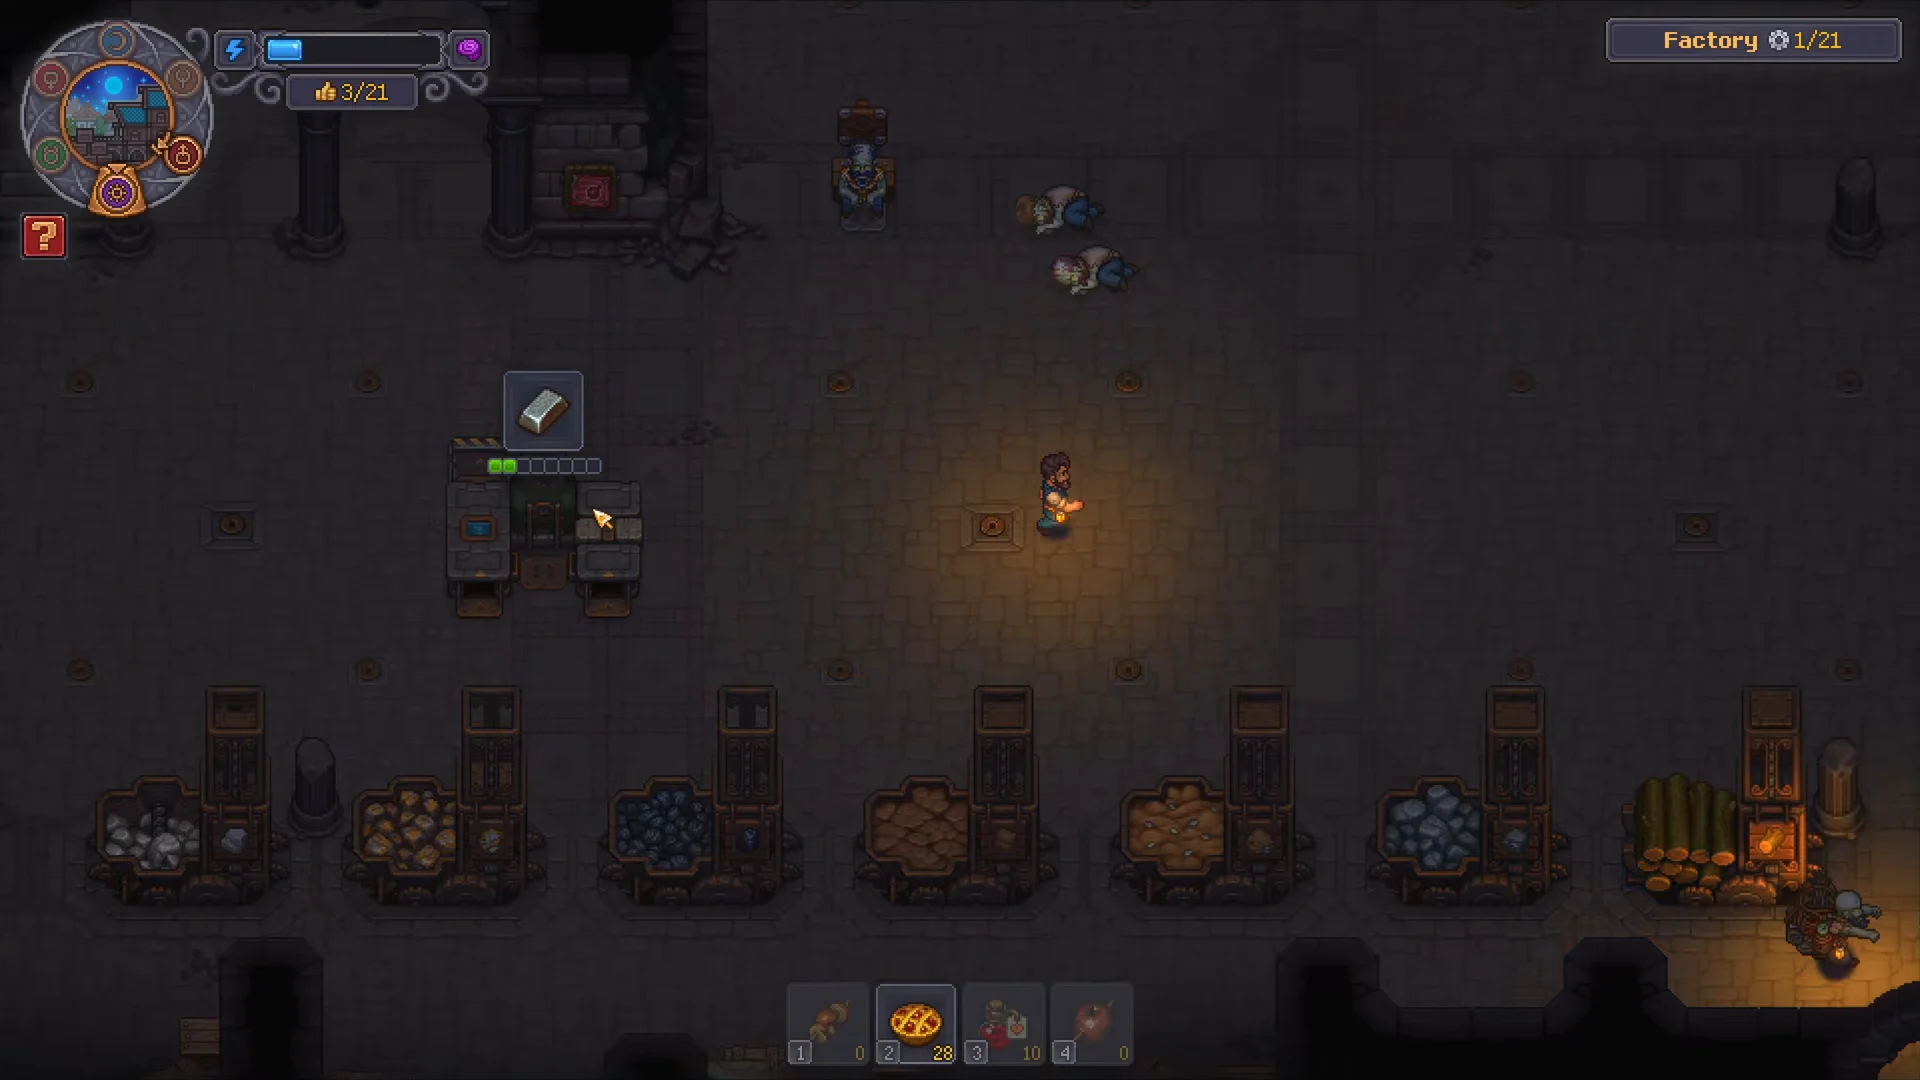
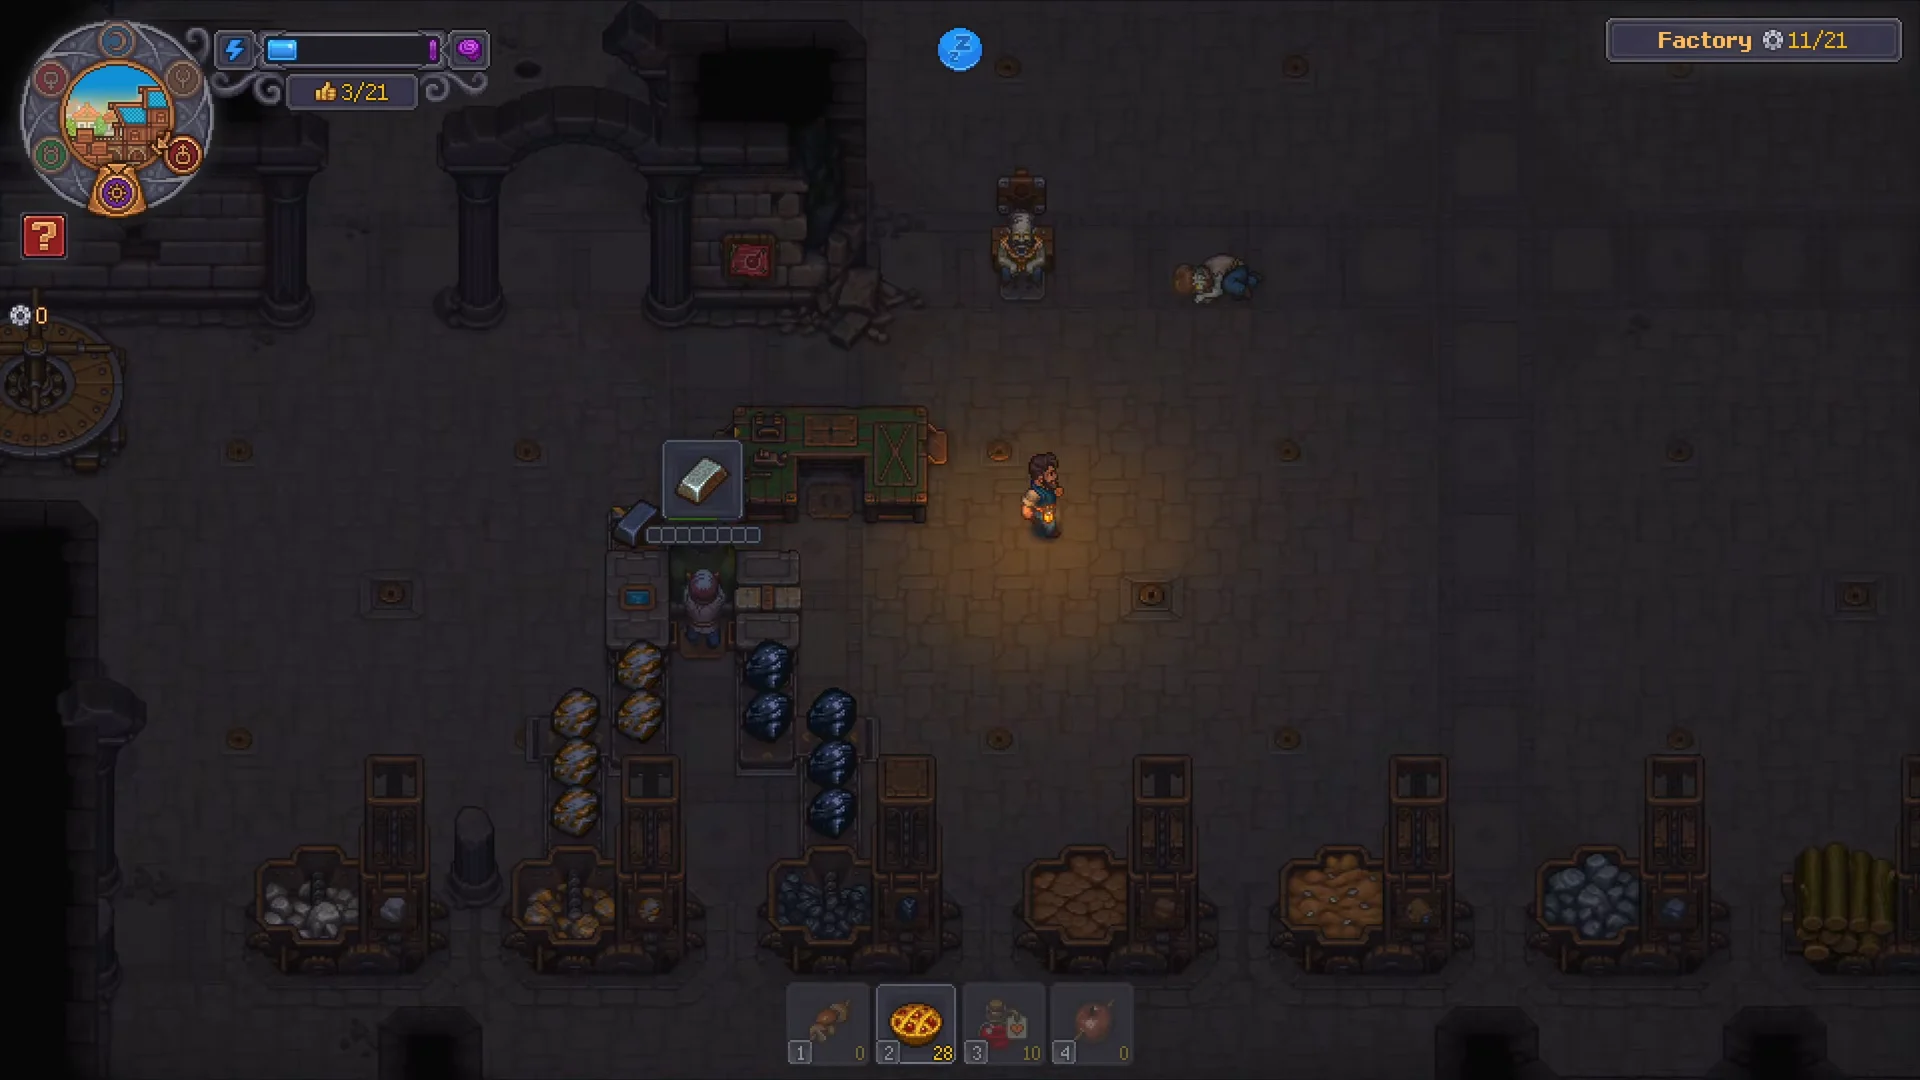
You know the line is working when the belts move, the station shows a progress bar, and finished items appear at the output. If the belts do not move, confirm a zombie is staffing the Carousel and that its power meets demand. If power is available but the bench does nothing, check that a separate worker is assigned, the line is connected, and the worker meets the recipe’s mastery.
Turn iron into Supply Iron crates for the Town Warehouse
After ore starts coming from the mine, arrange a production chain for town supplies. Feed raw iron into Smithy I and assign a zombie with a suitable tool, such as an Iron Hammer, to make iron. Use a belt to carry the smithy’s output to an Assembly bench, where a worker can pack the metal into crates like Supply iron or Building Kit I.
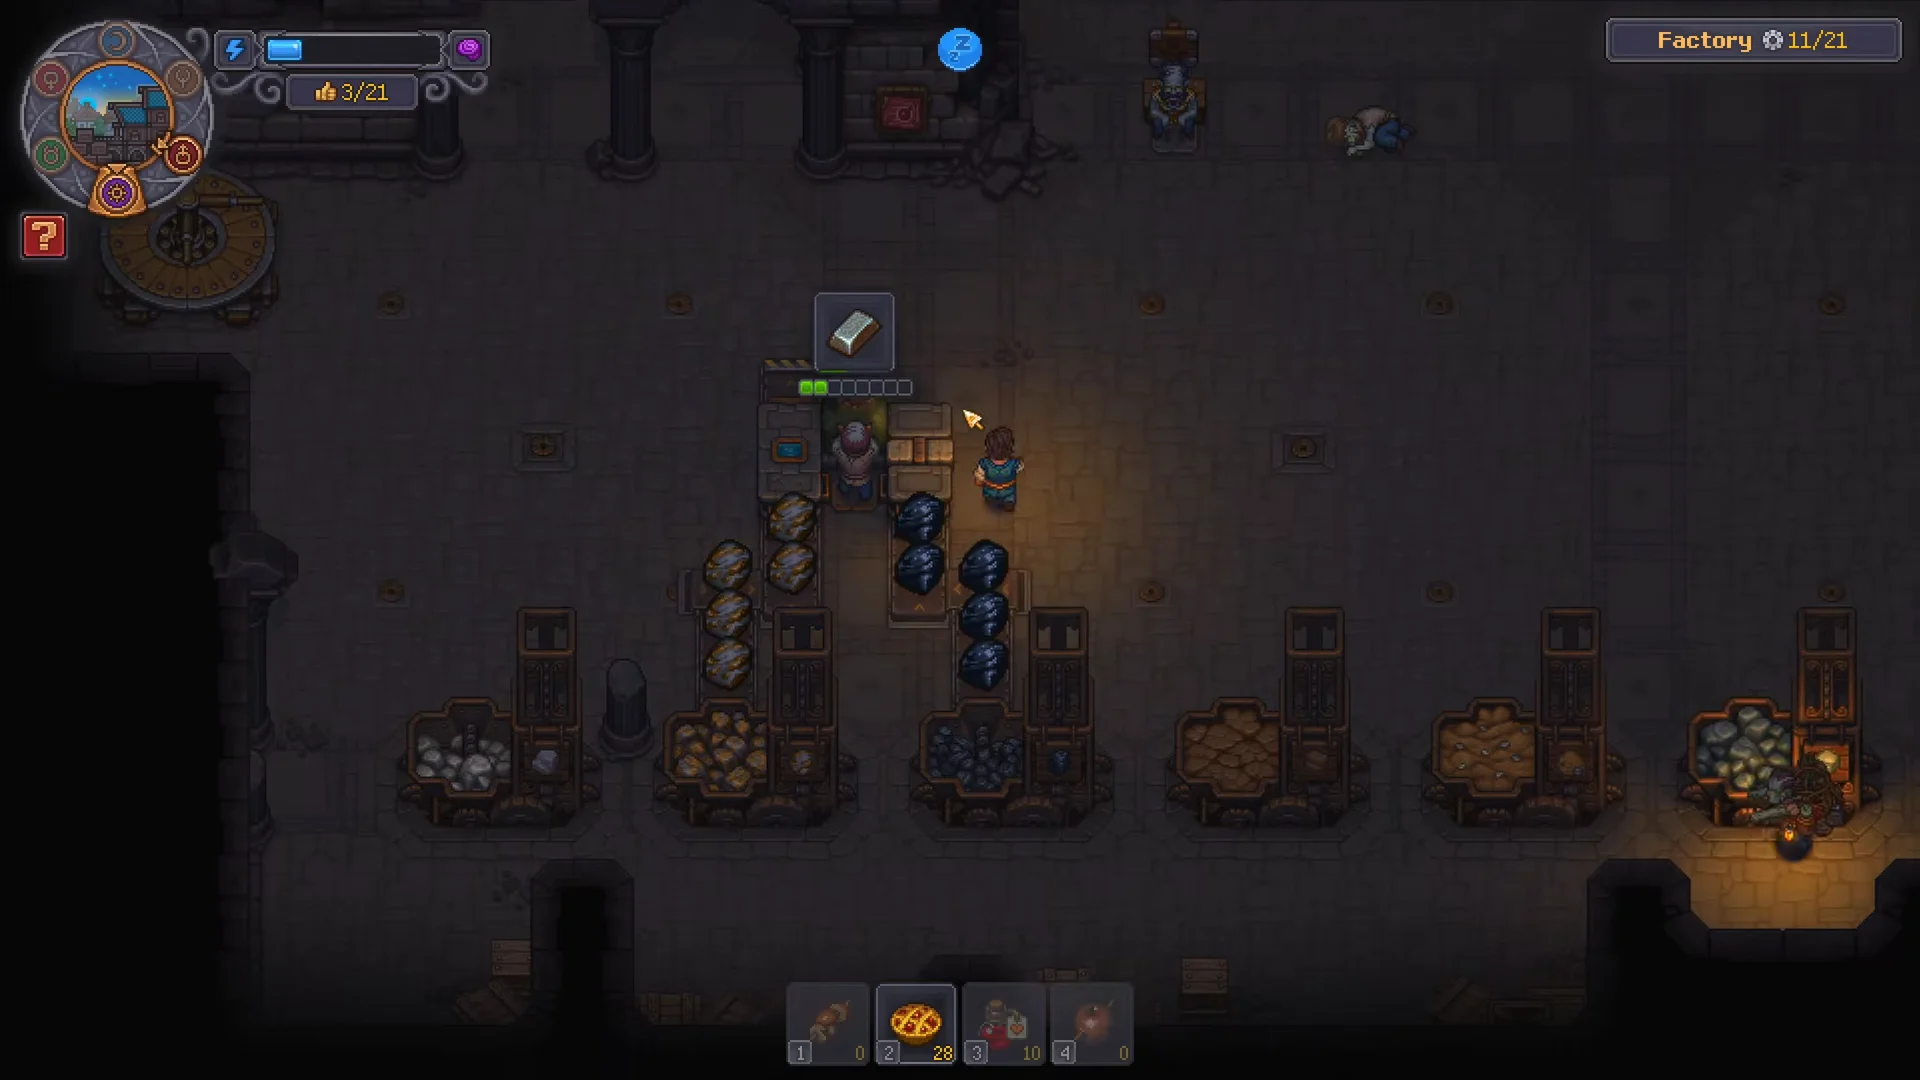
Set a Supply Station at the crate output’s end. A Zombie Supply Porter will then pick up the completed crates and place them on Supply Pallets in the Supply Storage room. Another porter takes them through the Warehouse Cellar and up to the Town Warehouse.
Delivered crates fulfill Town Orders, which reward Town Gratitude. Orders can only be accepted on the Merchant Day, so the crates need to be waiting in the Town Warehouse when that day comes around.
Match conveyor power to demand
The Factory checks conveyor demand against Carousel capacity. When demand is higher than supply, the entire network shuts down. Add up all powered components and compare that figure with the combined output of your staffed Carousels.
| Component | Power demand |
|---|---|
| Conveyor Belt | 1 |
| Underground Conveyor | 1 |
| Conveyor Splitter | 1 |
| Supply Station | 1 |
One Carousel worker supplies 7 power, so two ordinary workers can support 14 powered components. Adding a fifteenth pushes demand past supply. If a line stops right after you extend it, staff another Carousel position, add the Belt Master perk, or shorten the route. Underground conveyors still obey input and output rules and still count toward demand.
Upgrade to the Auto-hammer recipe
Once the basic bench line runs, the Wooden Kit I technology (100 red and 10 blue) unlocks the Auto-hammer extension and an improved recipe. The Auto-hammer converts 1 Log directly into 4 Wooden Kit I with no Bronze Nails, though the worker now needs Building mastery 3. Build the extension with 2 Bronze Gear, 6 Iron Detail, and 2 Iron Ingot, and slot it into a free attachment point on any Assembly bench. Both the extension and its recipe unlock are required.
With power, one connected line, and a worker that qualifies for its recipe, the Factory is stable enough to grow. Add each new station only when you know the recipe it will run and how its ingredients arrive, and keep Carousel power ahead of every belt you place.