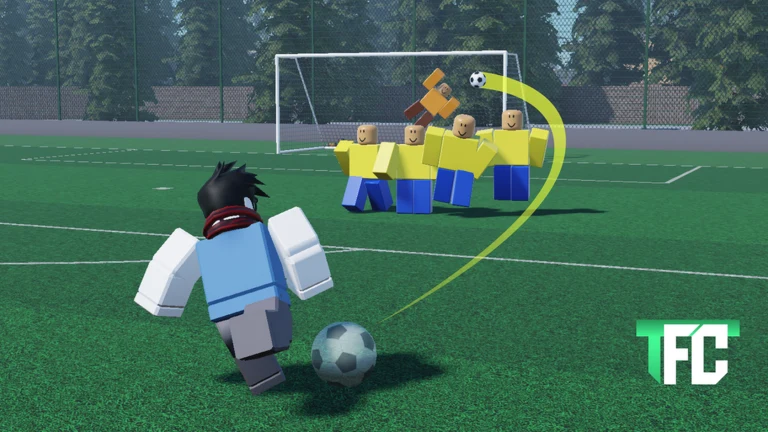
Scoring in That Freekick Challenge comes down to three things you control on every attempt: where the ball starts, how much it curls, and how hard you hit it. Get those three settings working together and the ball bends around the wall and drops inside the far post before the keeper can reach it.
Quick answer: Aim just inside the post, add inside-foot curl with Q/E, lift the shot to clear the wall, then charge the meter to 60–65% power and release.
Free-kick controls in That Freekick Challenge
Every shot is built from the same set of inputs. The most important ones are curve, lift, and power, since those decide whether the ball beats the wall and stays under the crossbar. Practice mode shows the full control HUD so you can test each input before a real match.
| Action | Input |
|---|---|
| Charge and kick | Hold Space or Left Mouse Button |
| Curve left / right | Q / E |
| Lower / raise trajectory | W / S |
| Step and approach angle | A / D |
| Toggle shot type | Left Ctrl |
| Reset ball setup | R |
| Camera / zoom | C / V |
| Toggle wall / light | B / G |
| Open menu | M |
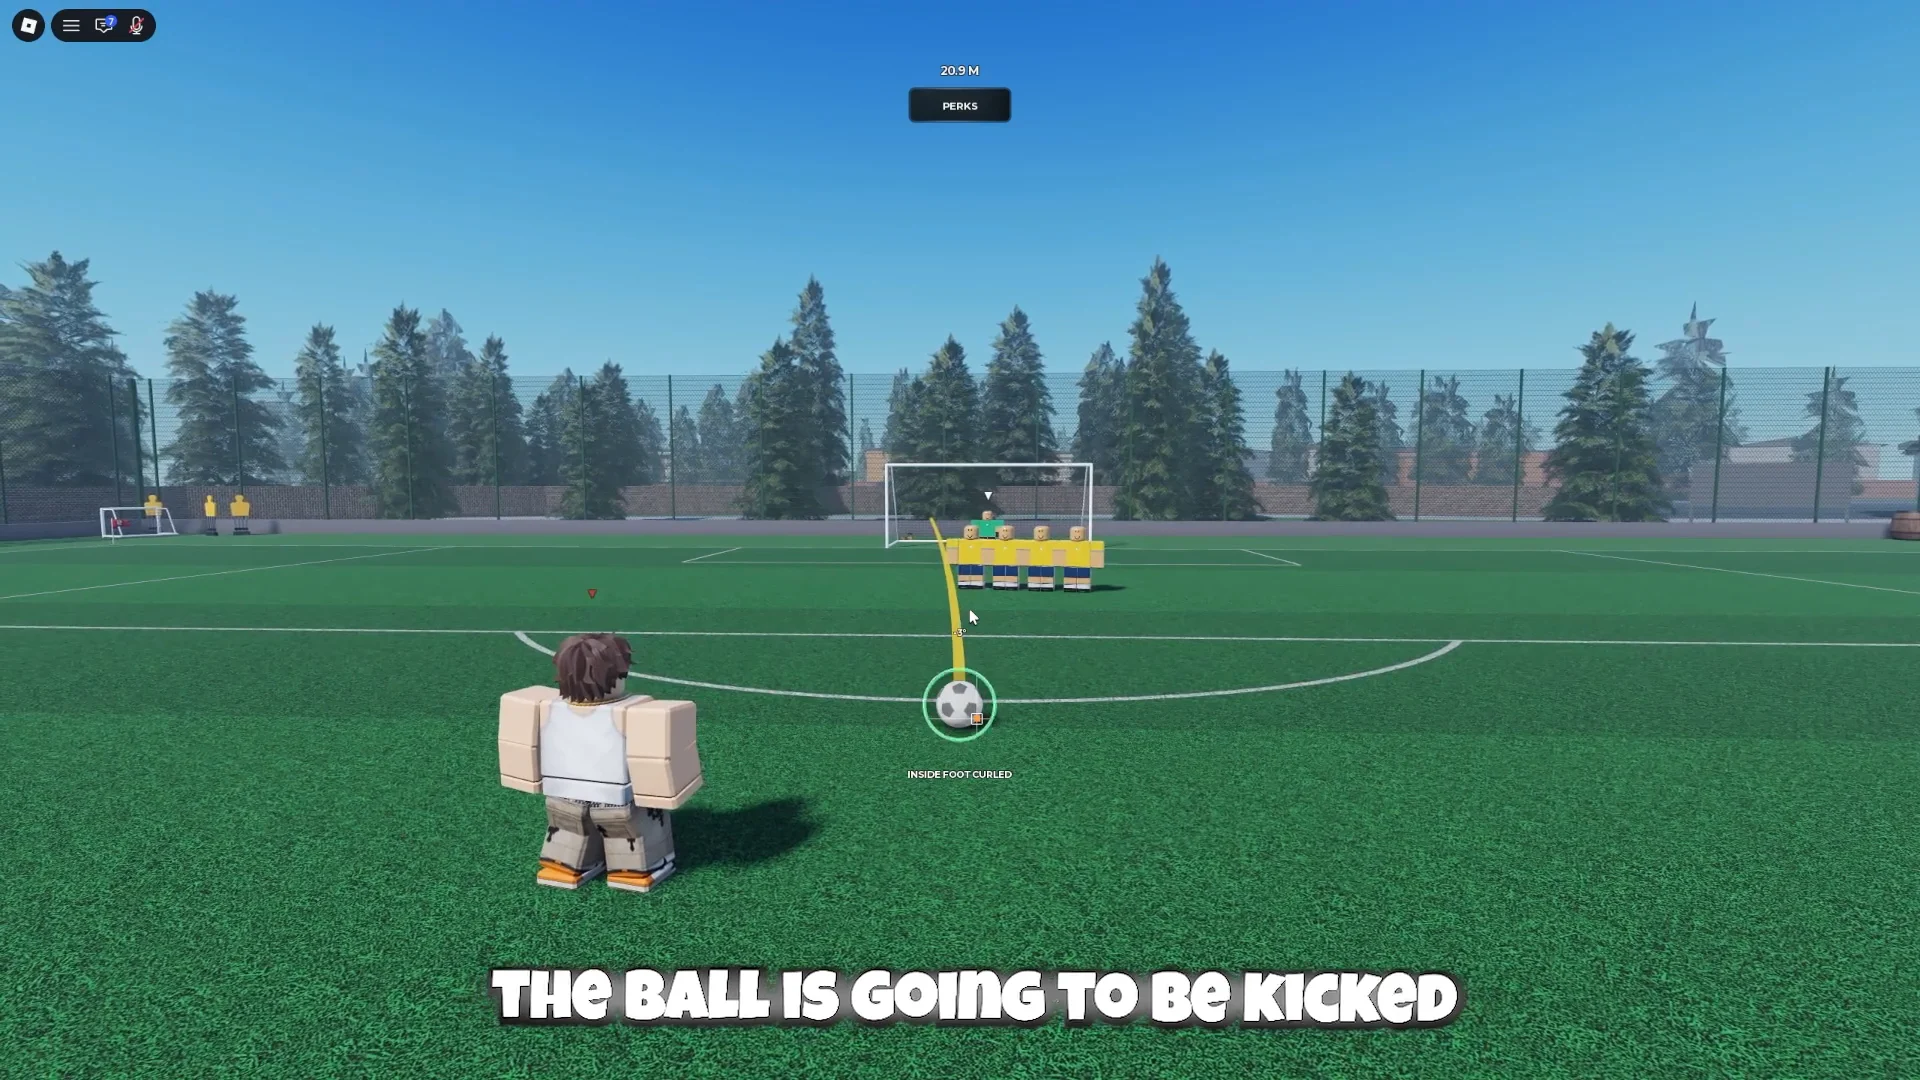
Change one setting at a time. Adjust power first, take a few kicks, then tweak the curve or height so you can see which input actually moved the ball.
How to score a curling free kick
The reliable scoring shot is an inside-foot curl that starts on the edge of the goal frame and bends back in. Follow these four steps in order and repeat them until the setup feels consistent.
Q or E. This is what bends the ball around the wall instead of straight into it.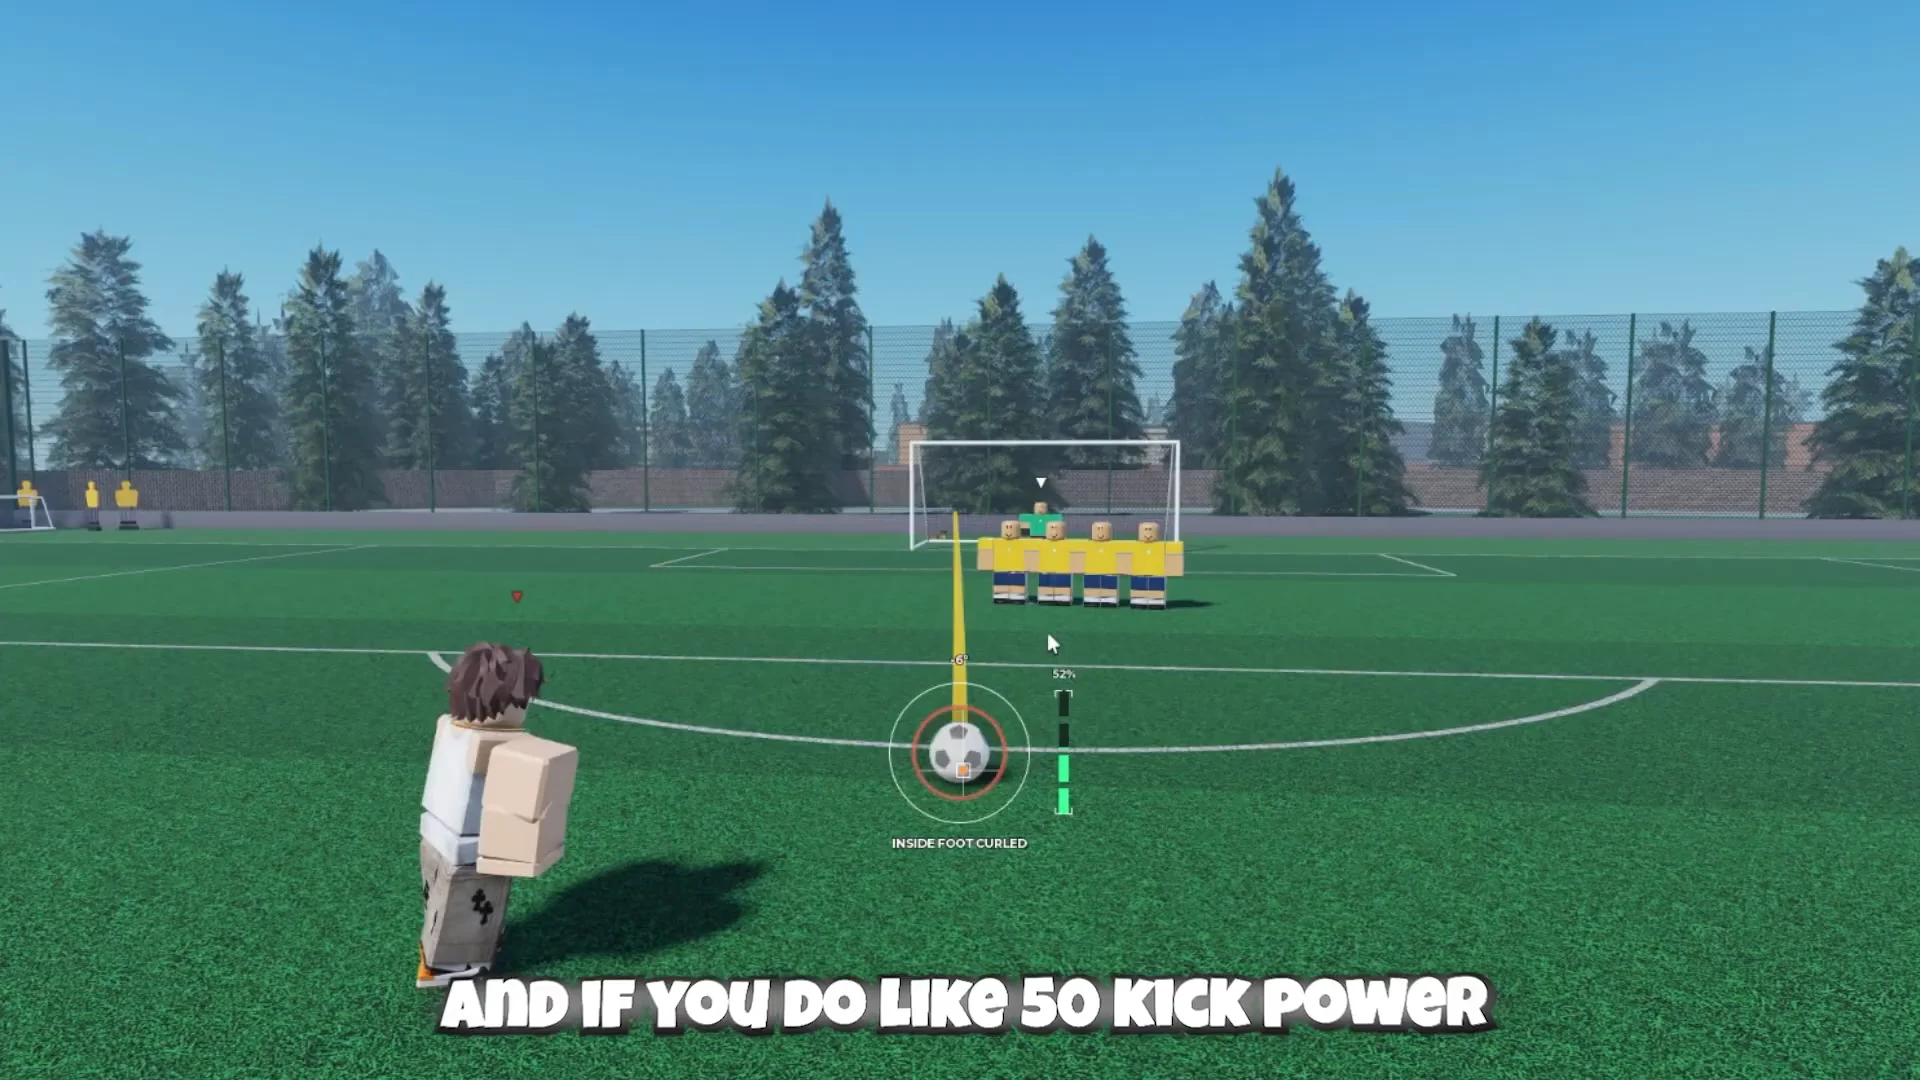
S to raise the trajectory or W to lower it. You want just enough loft to clear the wall without sailing over the crossbar.Perks and which ones to pick
Before a shot you can apply one of four perks. Each carries a cooldown cost of +2 power. Zone and Rocket are the strongest picks for scoring.
| Perk | Effect |
|---|---|
| Rocket | Launch speed: +1.3x; your starting power and precision continue to govern accuracy. |
| Zone | Sets all four attributes to 84 for the shot, on either foot |
| Focus | Adds a second grey guide that follows your power; wind and random error are not predicted |
| Fire | Grants perfect timing at any power; accuracy error still applies |
Zone is the safest choice because it lifts every stat to 84, giving you strong accuracy, precision, power, and curl on a single kick regardless of your card. Rocket suits a driven attempt where you want extra pace on the ball, though your aim still depends on your base power and precision.
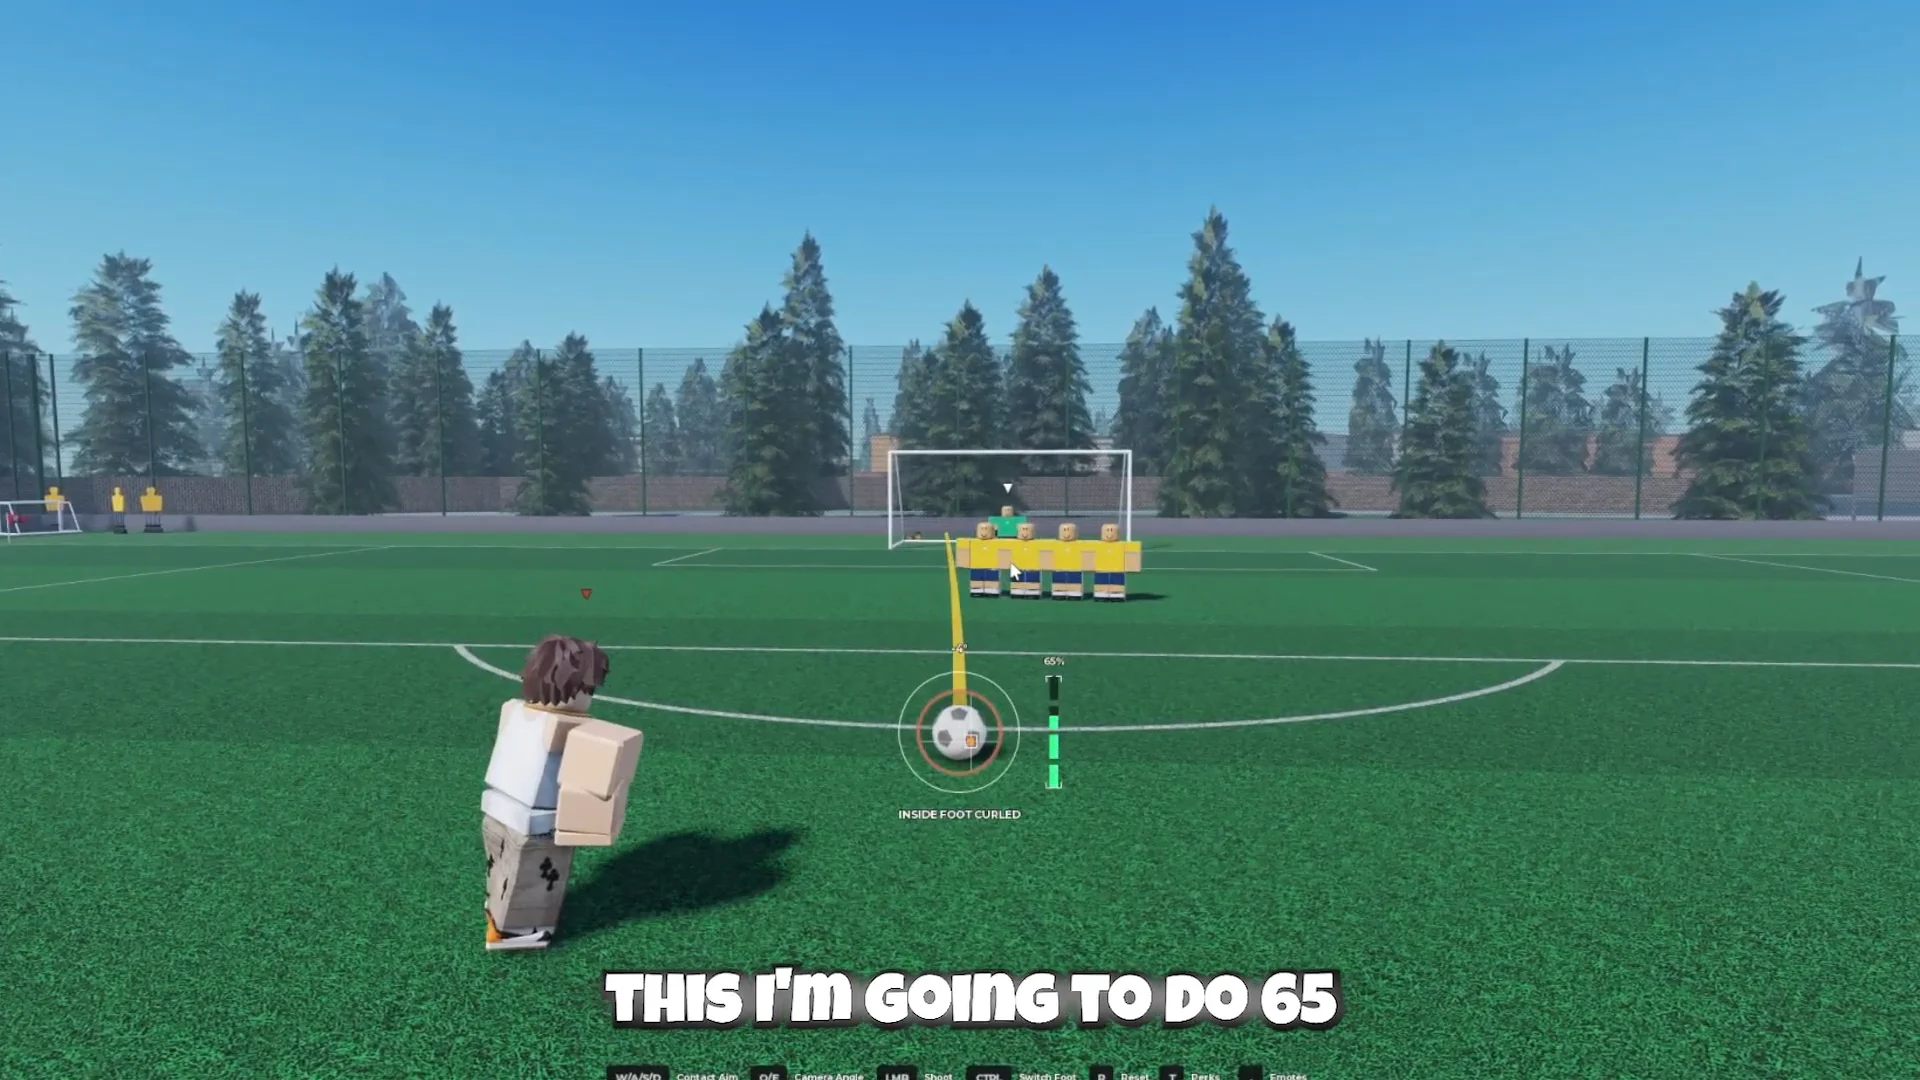
Build better stats with Coins and Perk Points
Your card stats decide how much margin for error each kick has. Spend earned Coins on Cards that raise the four free-kick attributes, and use Perk Points on skills that support how you actually shoot.
- Buy Cards that boost Accuracy, Precision, Power, and Curl.
- Prioritise the stats you lean on most when taking free kicks.
- If shots keep missing the target, put Perk Points into accuracy skills first.
How you know the goal counted
When the ball crosses the line, the game plays a GOAL banner with your username and shows a low-angle replay of the ball in the net. In a 1v1 Quick Match, scoring more than your opponent before time expires brings up the WINNER screen.
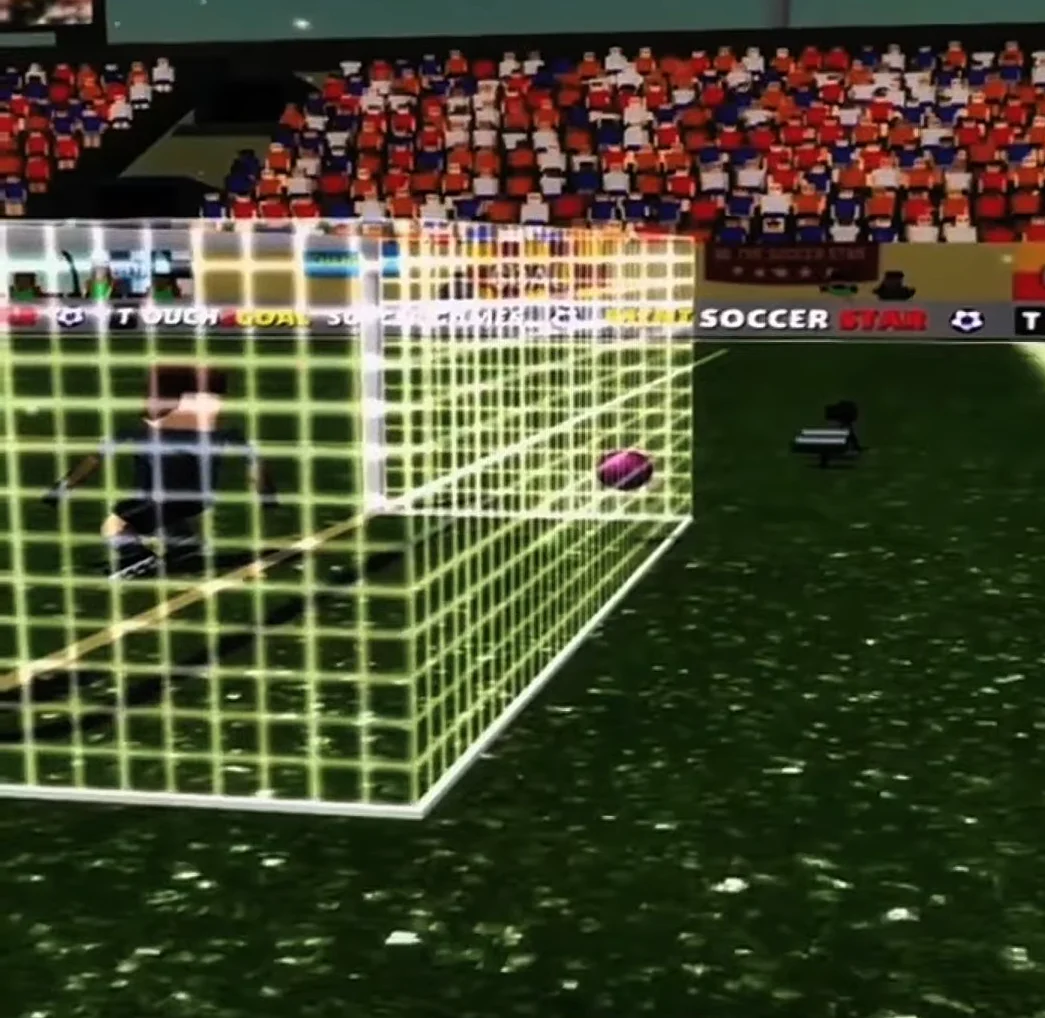
After the match, the rewards screen breaks down your Experience and Coins by category, so you can confirm exactly what each goal and result earned you.
| Reward source | EXP | Coins |
|---|---|---|
| Match completion | +2,000 | +1,500 |
| Valid attempts | +1,200 | +600 |
| Goals | +350 | +350 |
| Result | +750 | +750 |
| Total (2-goal win) | +4,300 | +3,200 |
Once you have a curl-and-power setup you trust, the rest is repetition. Lock in an inside-foot bend over the wall around the low-60s power range, apply Zone or Rocket when the cooldown allows, and every free kick becomes a scoring chance rather than a guess.