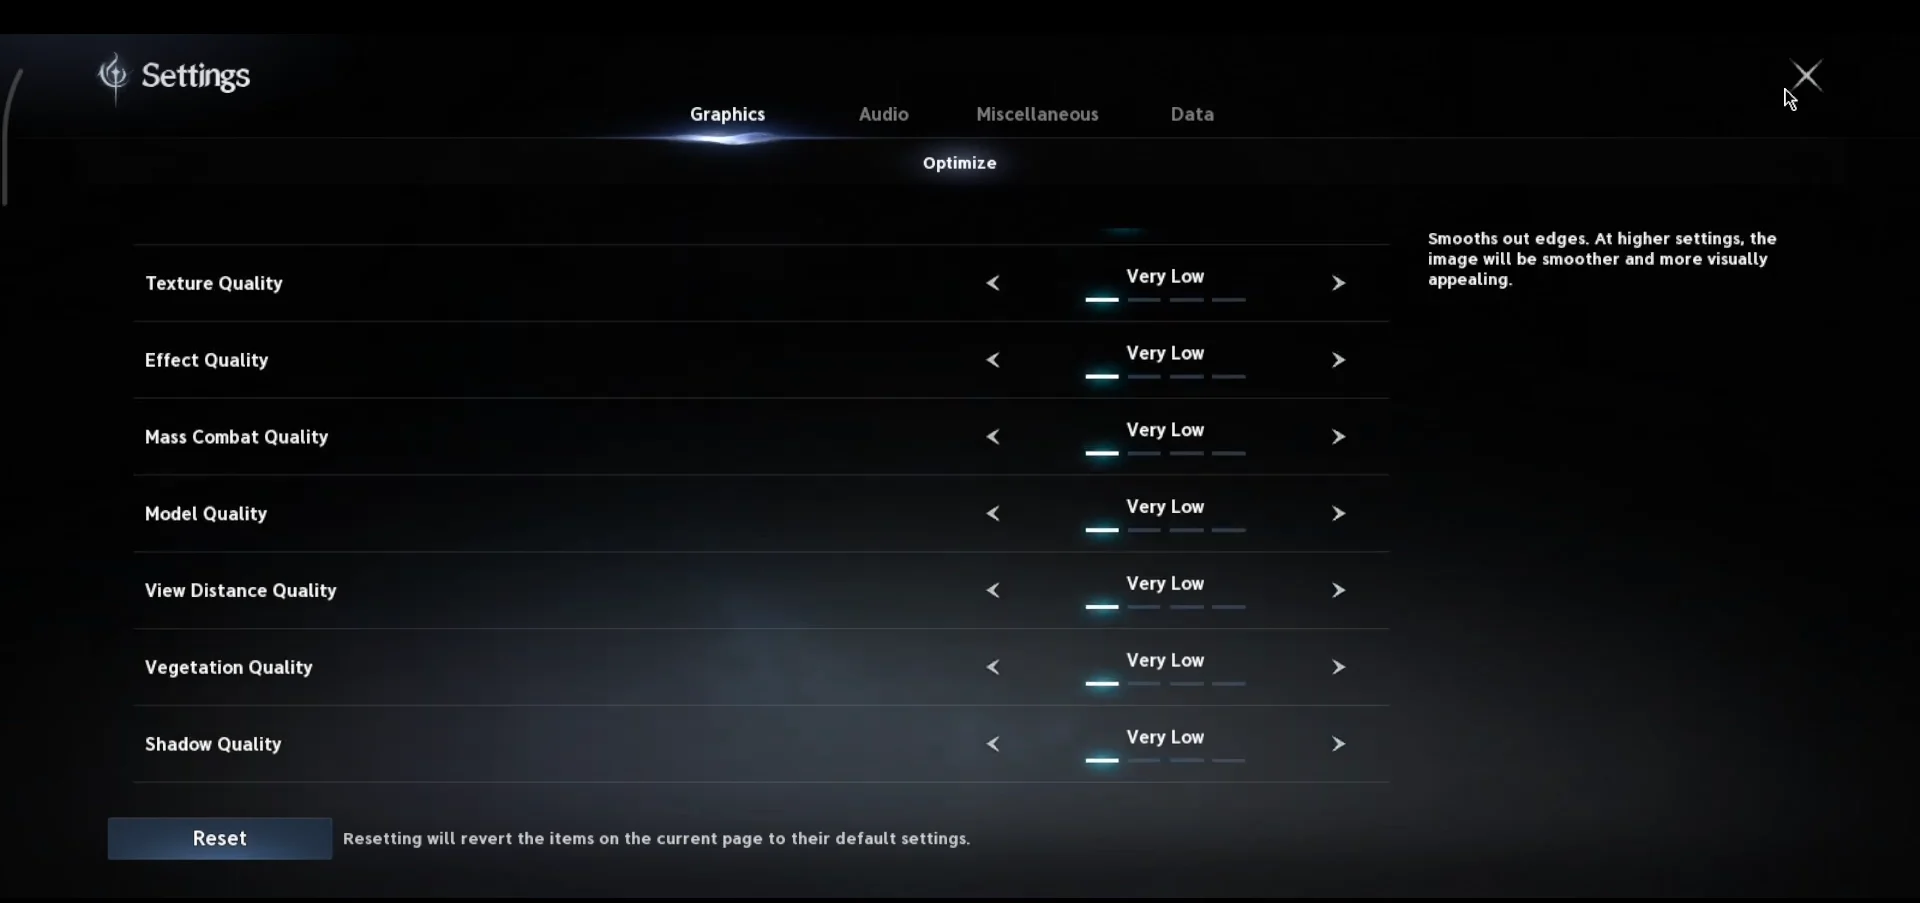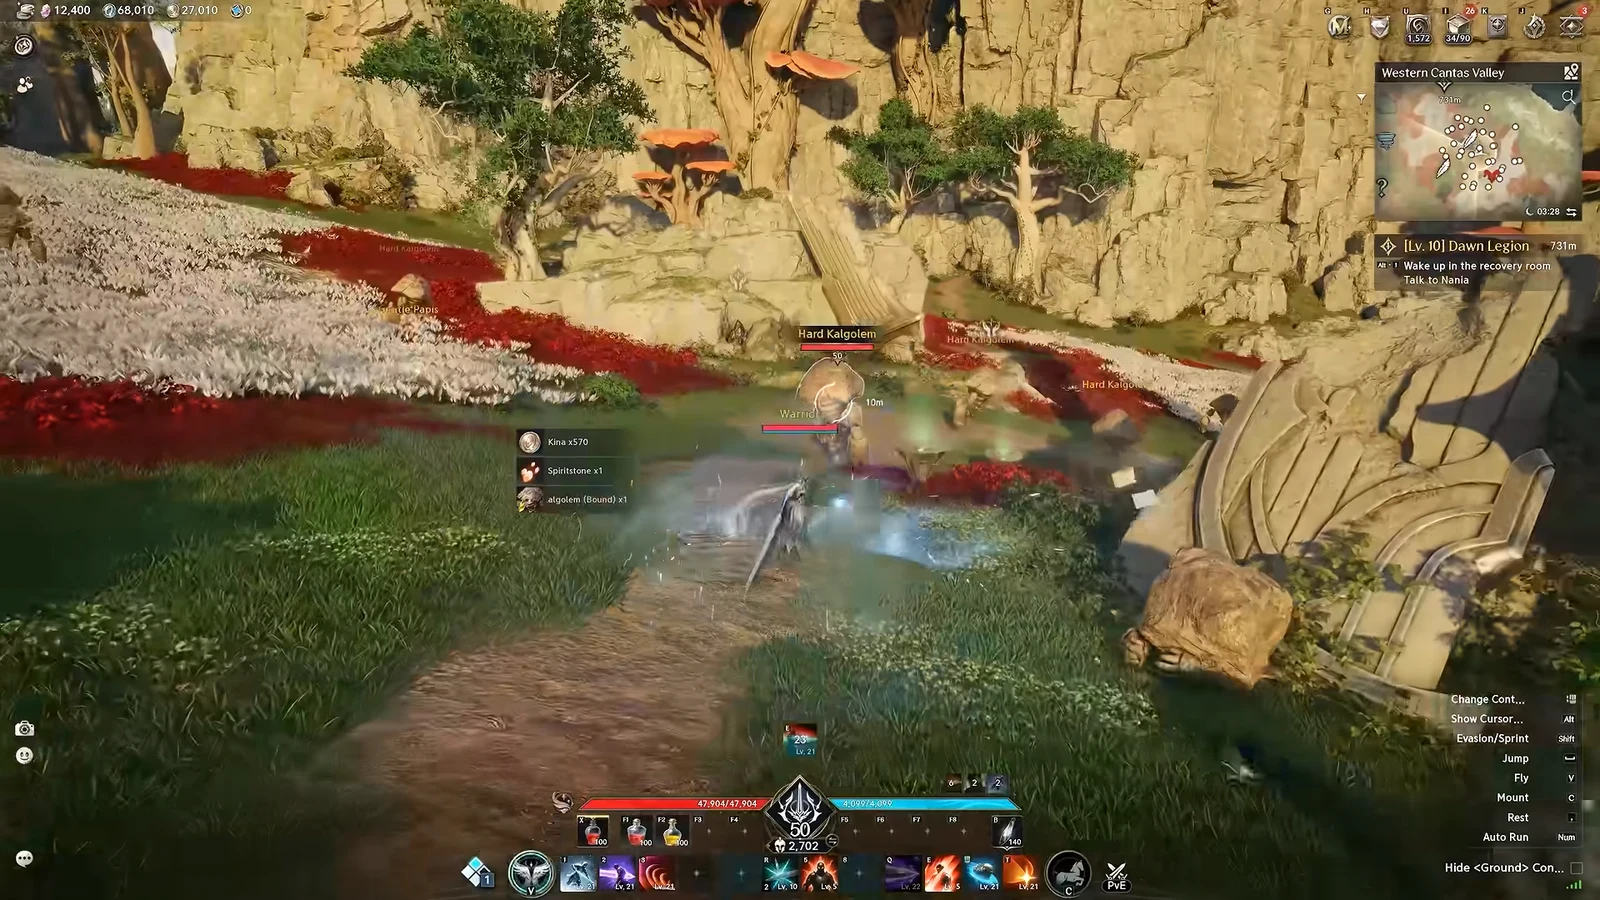
Graphics options in AION 2 sit inside the in-game Settings menu, under a dedicated Graphics category with an Optimize sub-tab. From there you can change resolution and display mode, pick a quick preset, or fine-tune each quality slider by hand. The game runs on Unreal Engine 5, so the settings you touch first have a large effect on frame rate in crowded cities, dungeons, and Abyss battles.
Quick answer: Open the side menu (or press Esc), click the Settings gear, choose Graphics, stay on the Optimize tab, then adjust Display and Graphics Quality options or select a preset under Quick Settings.
Open the Graphics menu in AION 2
The graphics options are reachable from inside the game world and from the title screen. Both routes land on the same Graphics category.
Esc or select the menu control on the screen’s right edge. A side panel appears with your profile header and a row of icons along the bottom.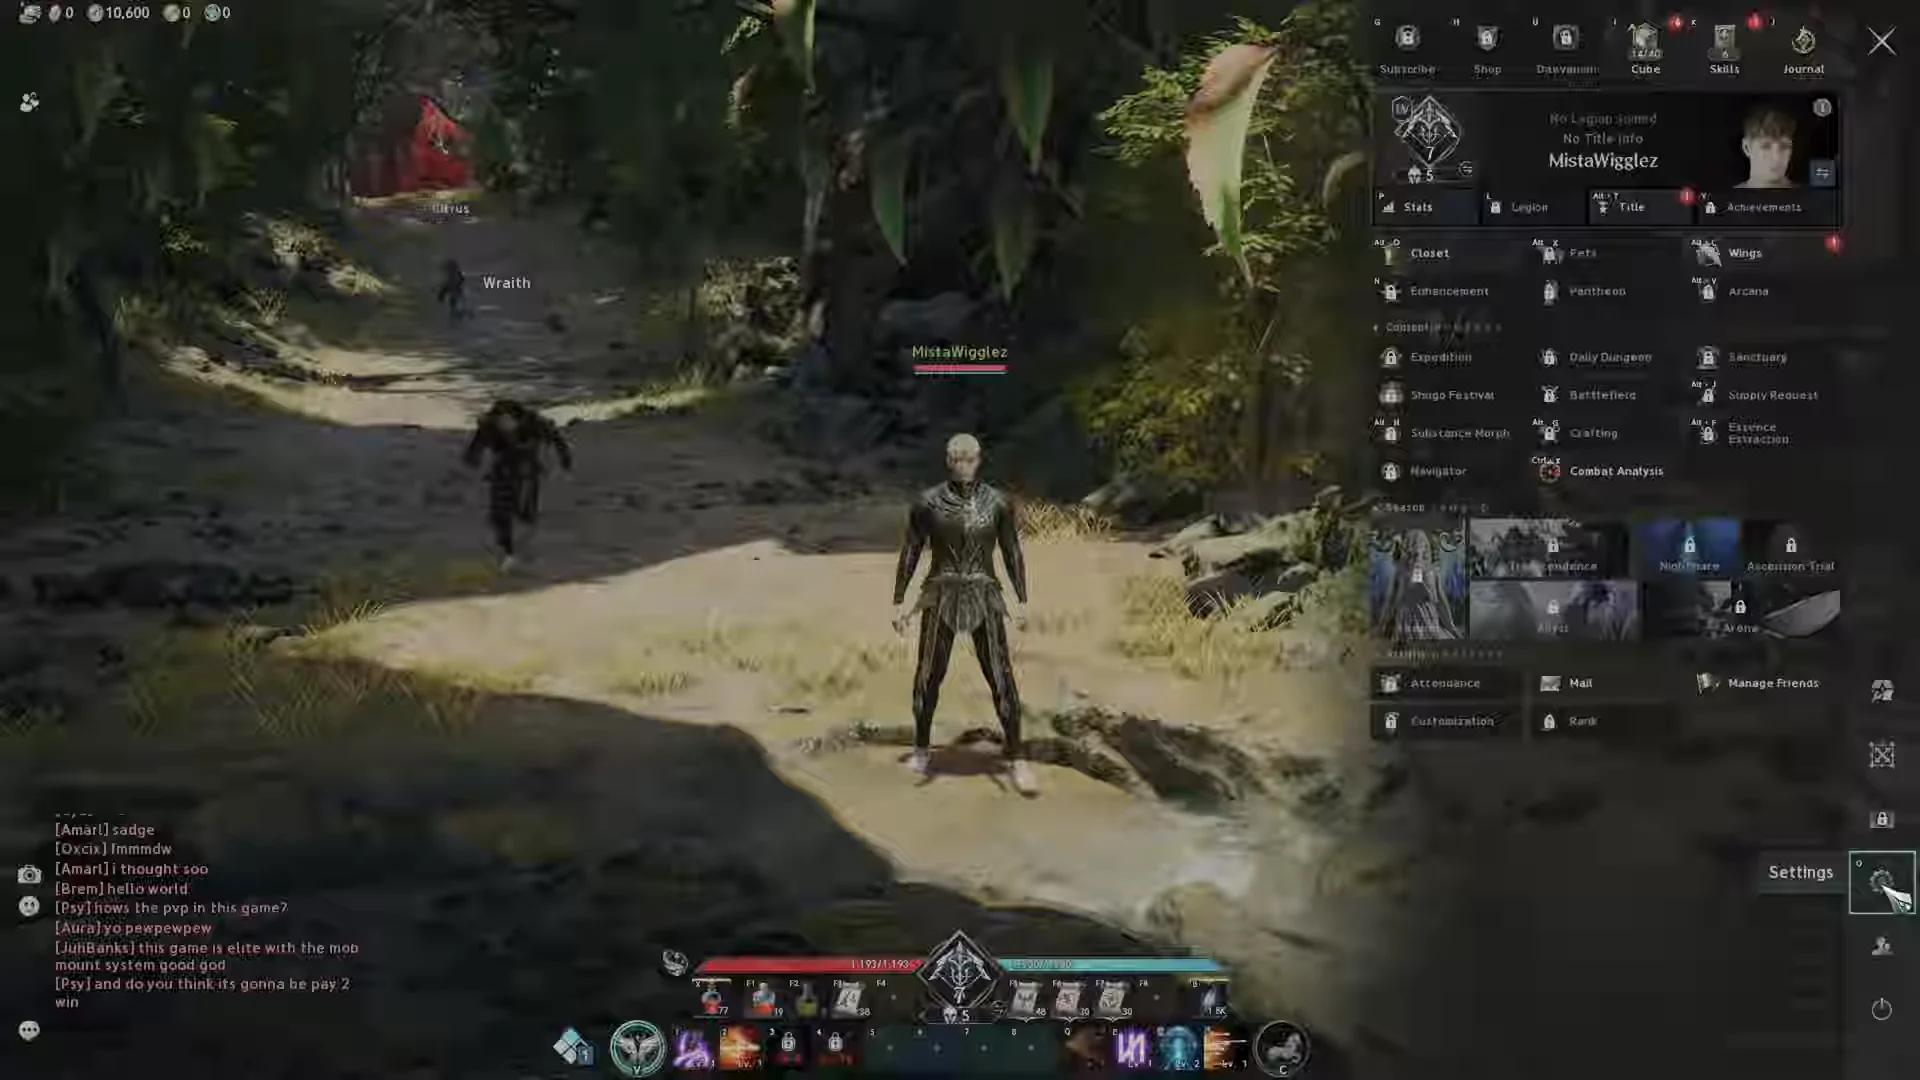
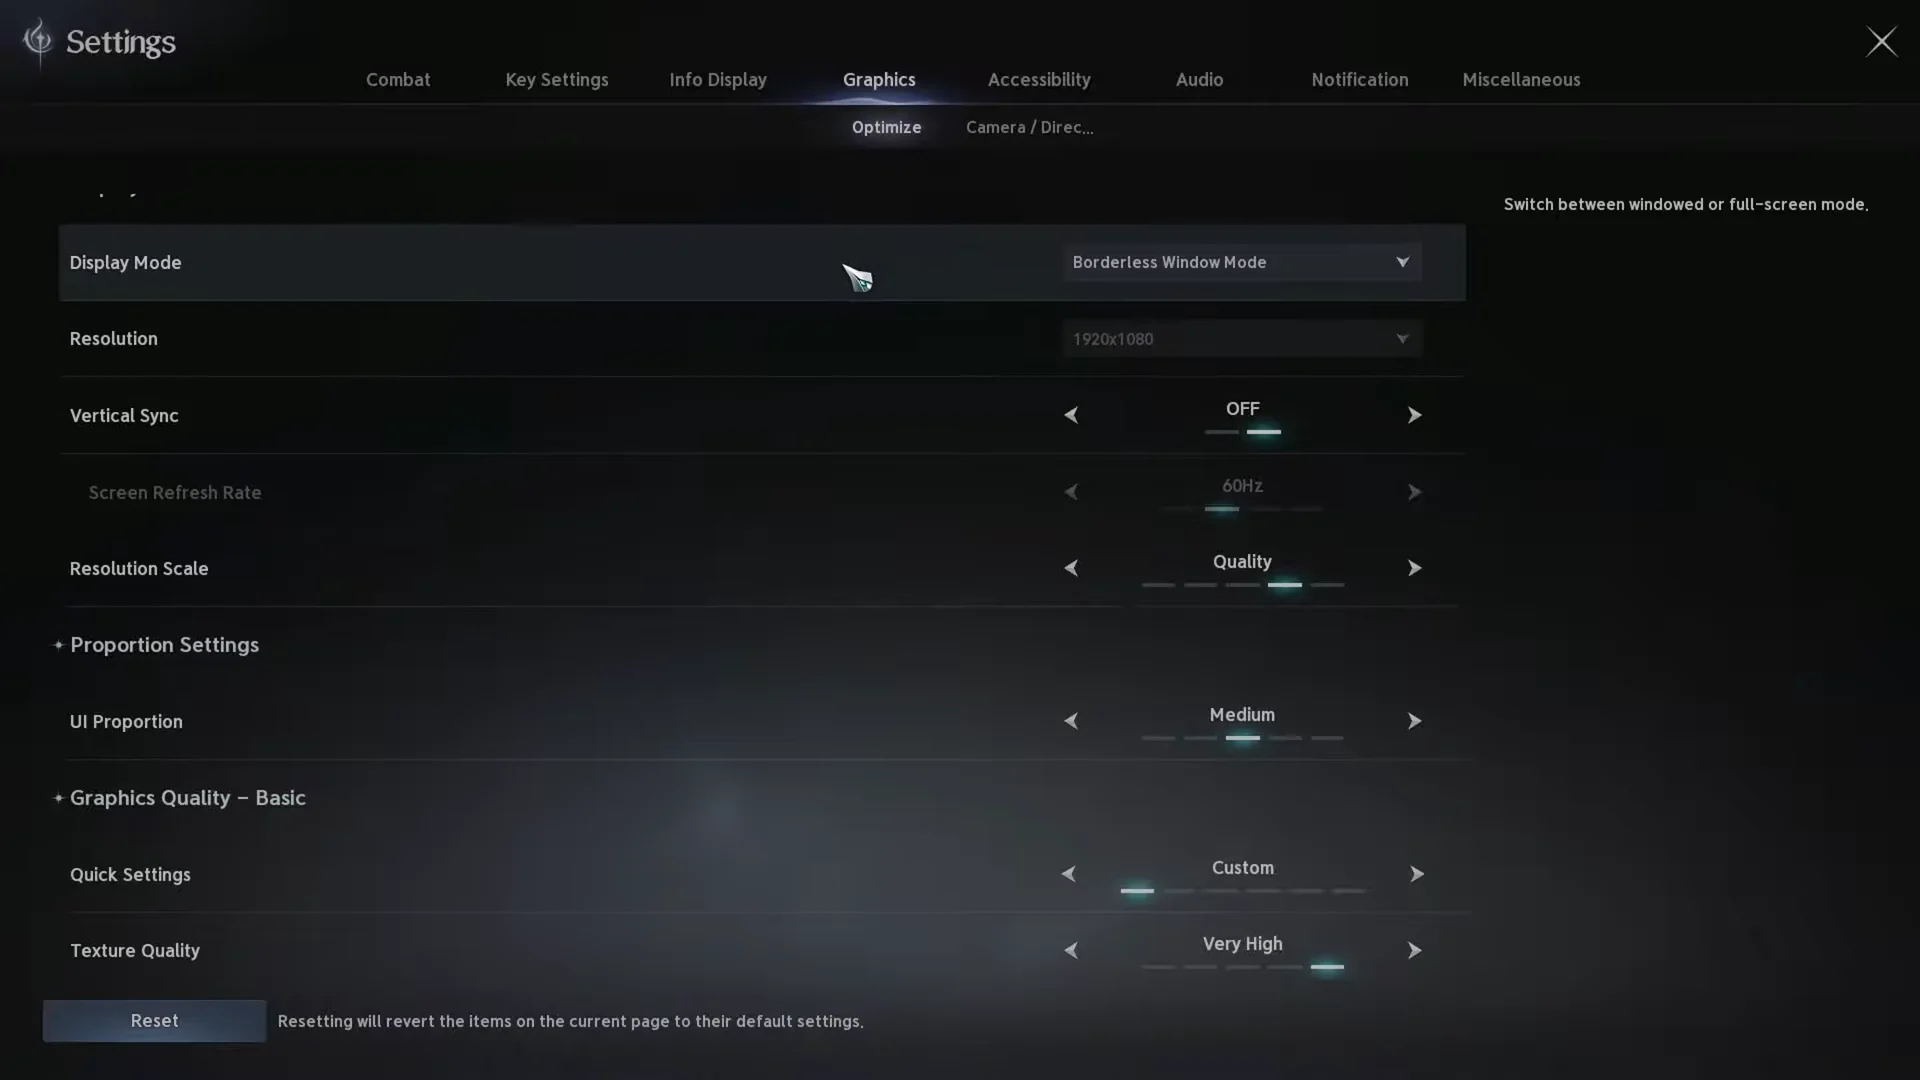
These controls are available before you load a character, too. From the AION 2 title screen, select the gear in the upper-right corner to go directly to the Graphics tab.

Display settings you set first
The Display section controls the window, resolution, and sync behavior. Set these before touching the quality sliders, because resolution has a large impact on frame rate on its own.
| Option | Recommended | Notes |
|---|---|---|
| Display Mode | Fullscreen | Borderless Window works well if you regularly switch to other apps with alt-tab. |
| Resolution | Native | 1920×1080, 2560×1440, or 3840×2160 to match your monitor. |
| Resolution Scale | 100% (Quality) | Lower to 85–90% only after reducing other settings. |
| Vertical Sync | Off | Turn on only if screen tearing remains and you lack G-SYNC or FreeSync. |
Set a stable frame rate limit your PC can hold during group content rather than chasing the highest number. A steady 60 FPS in a crowded fight feels better than a figure that swings between 180 and 50 in the open world.
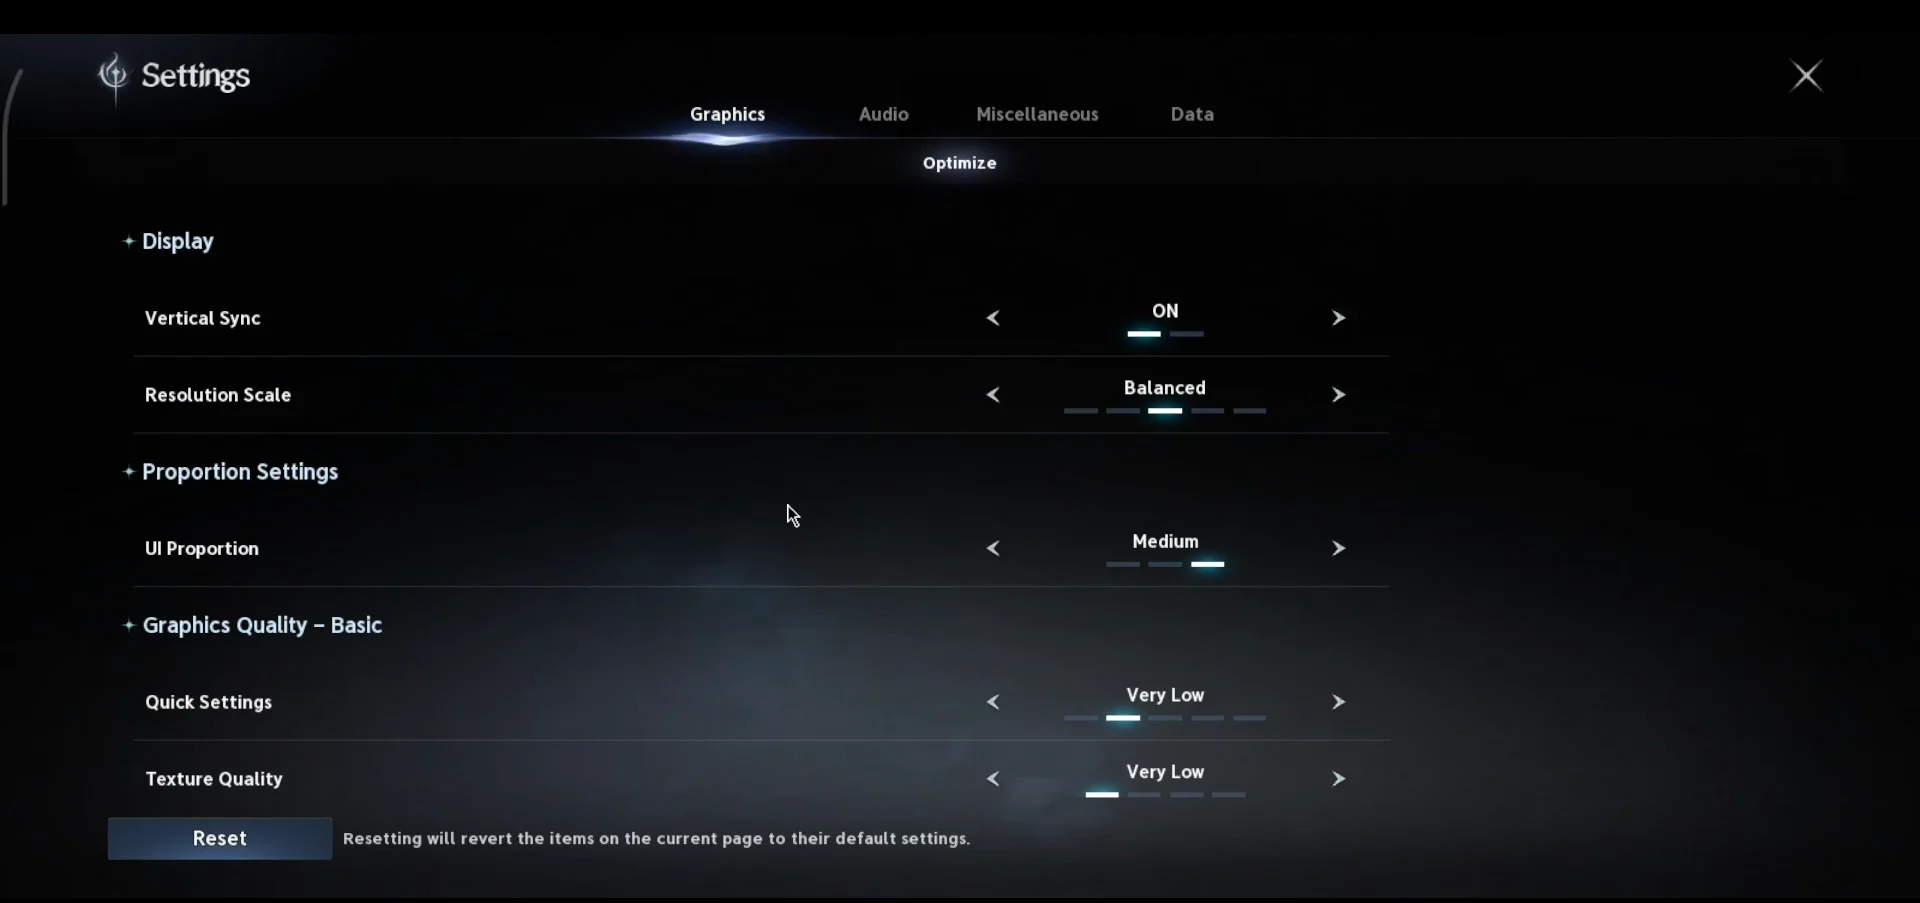
GPU-heavy versus CPU-heavy quality settings
The Graphics Quality – Basic list holds the sliders that decide how the world is rendered. Knowing which load your graphics card and which load your processor lets you cut frame drops without dropping everything to Low.
| Load type | Settings | What it controls |
|---|---|---|
| GPU-heavy | Texture, Effect, Vegetation, Shadow, Shading, Global Illumination, Reflection, Model Quality | Surface detail, lighting, and world rendering. |
| CPU-heavy | View Distance Quality, Mass Combat Quality | How far the world draws and how many characters appear on screen at once. |
Mass Combat Quality sets how many characters render simultaneously, and View Distance Quality raises the range at which terrain, objects, and other players appear. Both push work onto the CPU, so lowering them helps most in packed cities and large-scale battles rather than empty zones.
For more GPU frames, lower Shadow Quality, Global Illumination, and Reflection Quality first. Leave Texture Quality high while VRAM is available; reducing it offers little benefit until memory is full.
Advanced settings and upscalers
Scroll down to Graphics Quality – Advanced for upscaling, lighting effects, and latency options. The Upscaler setting is the single most useful control here, because it raises frame rate while keeping a clean image.
- DLSS — NVIDIA’s AI upscaler, available on GeForce RTX GPUs.
- FSR — AMD’s upscaler for Radeon cards.
- TSR — the default Unreal Engine upscaler that runs across hardware.
- TAA — temporal anti-aliasing without upscaling.
On RTX cards, DLSS Quality suits 1080p and 1440p, with Balanced or Performance available at 4K. Do not combine a reduced Resolution Scale with an upscaler at the same time, or the image becomes blurry from double-scaling.
Other advanced options include Frame Generator, Player Particle Effect Display, Volumetric Light Scattering, Volumetric Fog, Ambient Occlusion, Water Reflection Method, and NVIDIA Reflex. Keeping NVIDIA Reflex On lowers input latency, and Frame Generator is better left Off for competitive PvP where responsiveness matters.
On lower-end configurations, turning off Volumetric Light Scattering and Volumetric Fog, and reducing Reflection or Vegetation Quality, gives a noticeable frame-rate gain with little loss to combat clarity.
Check that your changes actually help
Setting values take effect as you change them, so you can watch the result immediately. To see whether your GPU or CPU is the limit, open Windows Task Manager with Ctrl + Shift + Esc and view the Performance tab while you tune settings.
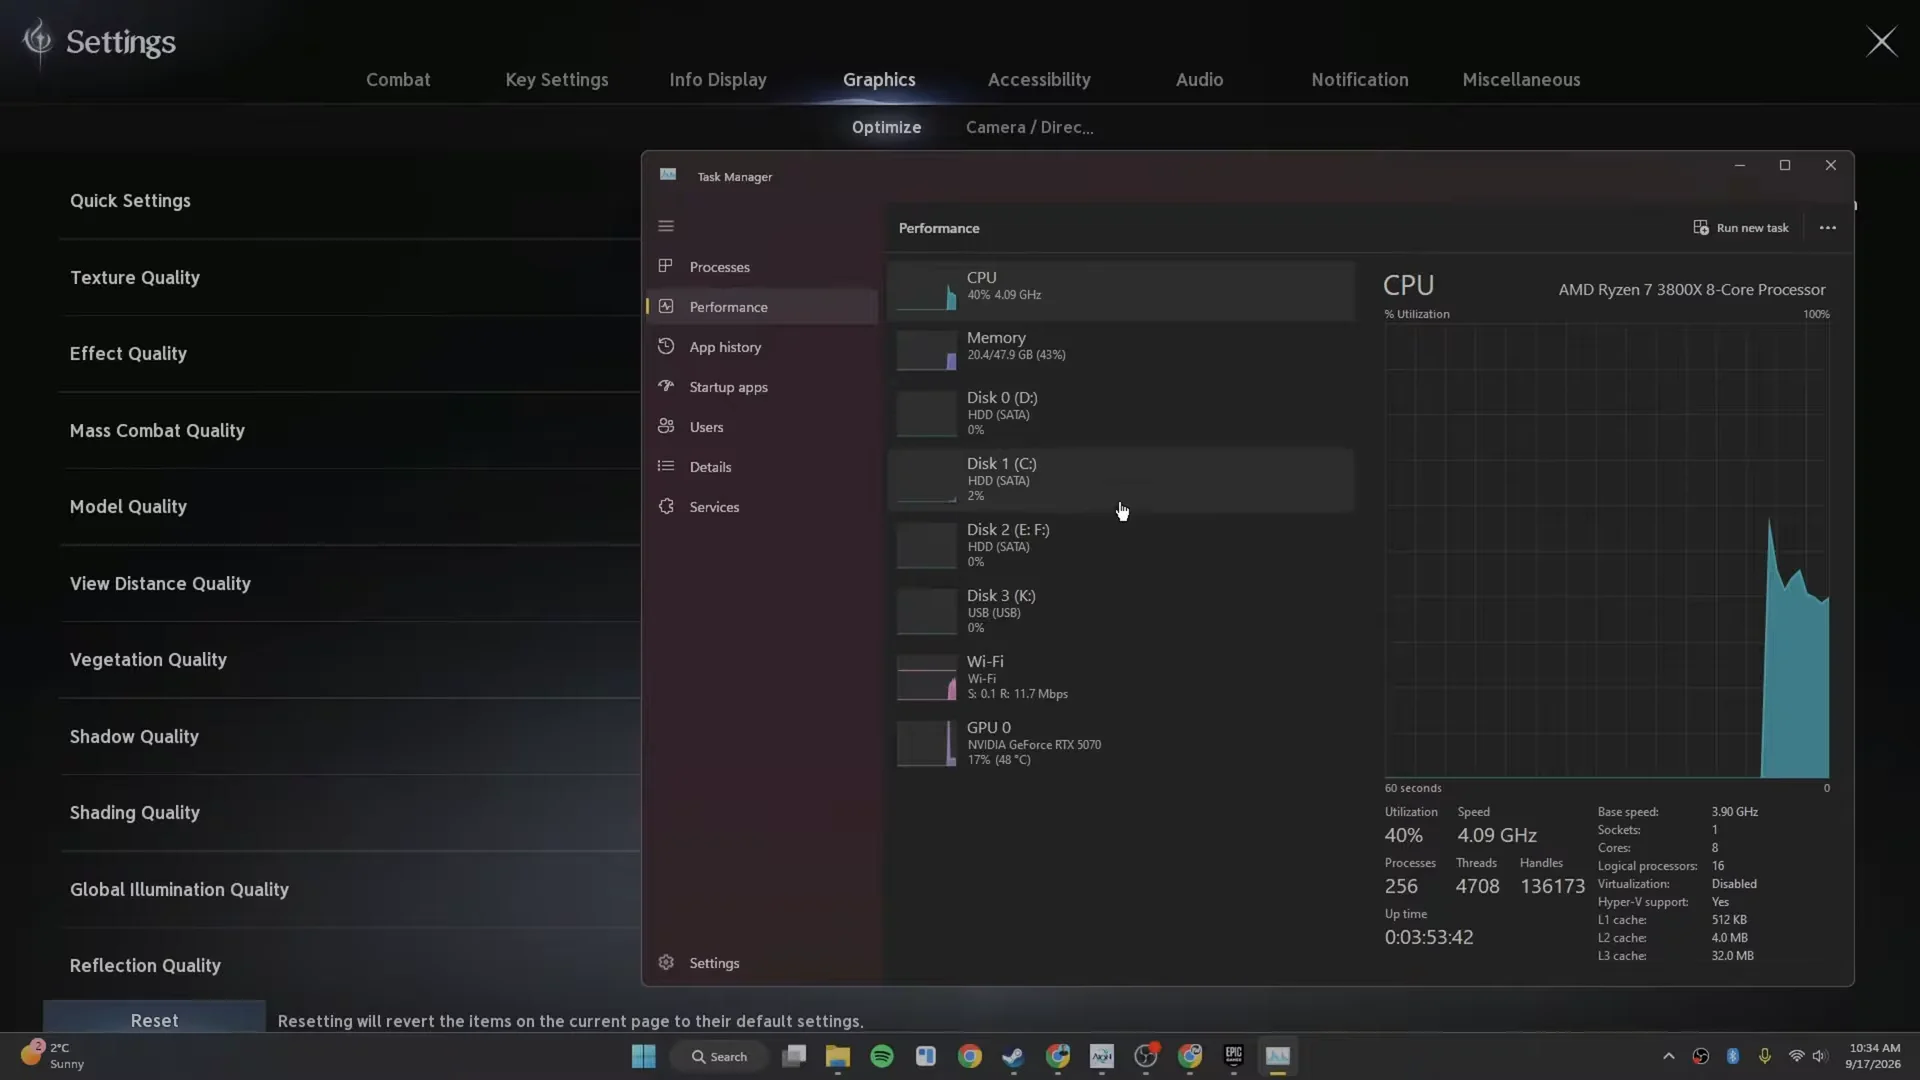
If GPU usage sits near 100%, lower the GPU-heavy sliders such as Shadow, Reflection, and Global Illumination. If a CPU core is maxed while GPU usage is low, reduce Mass Combat Quality and View Distance Quality instead. Test in a busy city, a dungeon, or an Abyss fight rather than an empty field, since solo frame rates do not reflect how the game behaves under real load.
When you are done, close the window with the X in the top-right corner. Your selections are retained, and Quick Settings will read Custom to confirm you set values manually.