The Wear’Em & Wash’Em laundromat in Control Resonant hides a binary code puzzle spelled out across its washing machines. Reading a note on the wall correctly, then powering the right machines on and off, slides open a back wall in the break room and drops you into an underground shelter with a permanent health reward.
Quick answer: Only six machines should be running when you finish — one in Row 1, two in Row 2, two in Row 3, and one in Row 7, with every other row switched off. The break room wall then opens on its own.
Find the Wear’Em & Wash’Em laundromat in Central
The laundromat is in the Central district, on the block by East Park Station and near the Field Office. Ignore compass bearings and spot the blue Wear’Em & Wash’Em sign on a city square. A keyhole symbol on one wall marks the secret behind it.
The doorway is barred by floating debris held up by red Hiss corruption. Three red tendrils lead away from the entrance to bulbous Hiss growths. Destroy all three growths and the barrier drops, letting you walk inside.
Hiss enemies guard two of the three growths, so being around Aberrant Strength 30–35 makes clearing them far smoother before you can reach the puzzle.
How to read the “While You Wait” note
On the bulletin board near the staff door you will find two notes. One is a customer complaint about broken machines; the other is the Laundry Puzzle headed “While You Wait,” which holds the actual solution as a grid of ones and zeros.
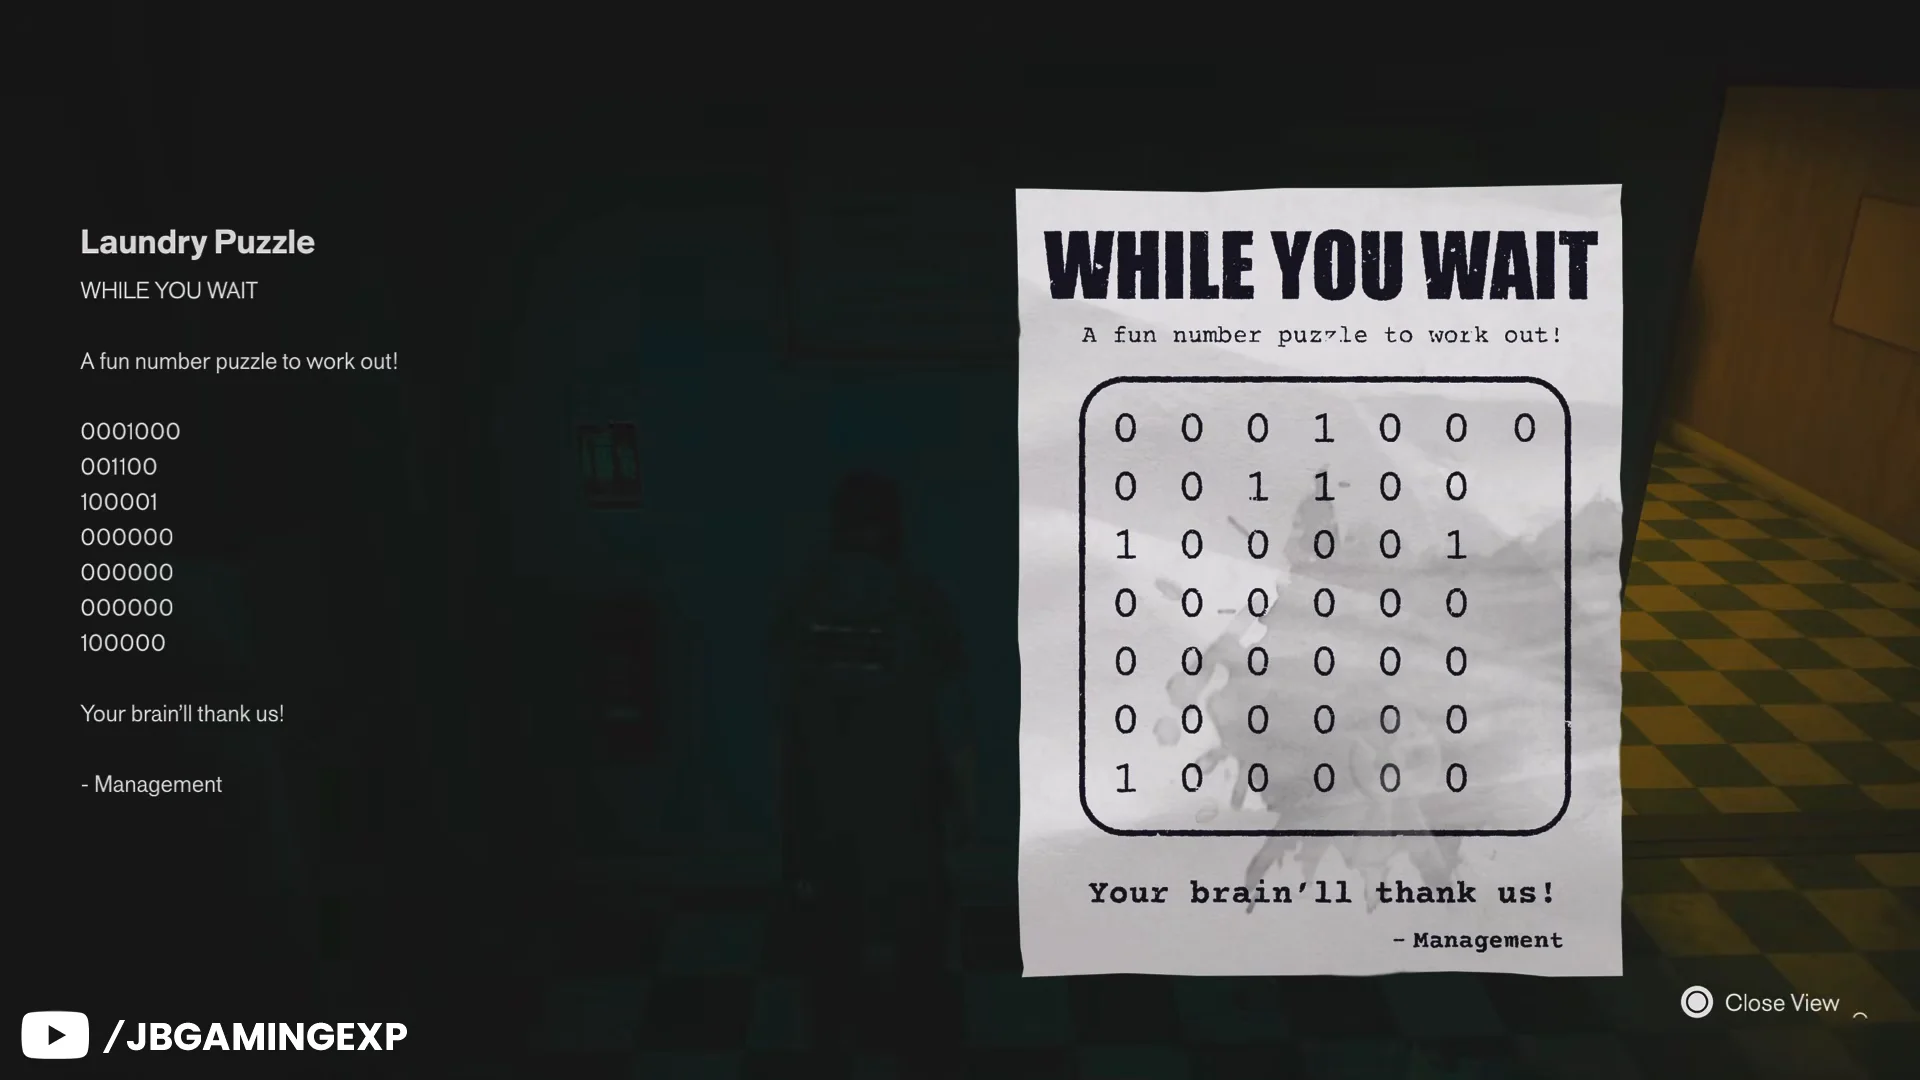
Each line on the note is one row of machines, counted left to right as you face them. A 1 means that machine must be running; a 0 means it stays off. The grid reads like this:
0001000
001100
100001
000000
000000
000000
100000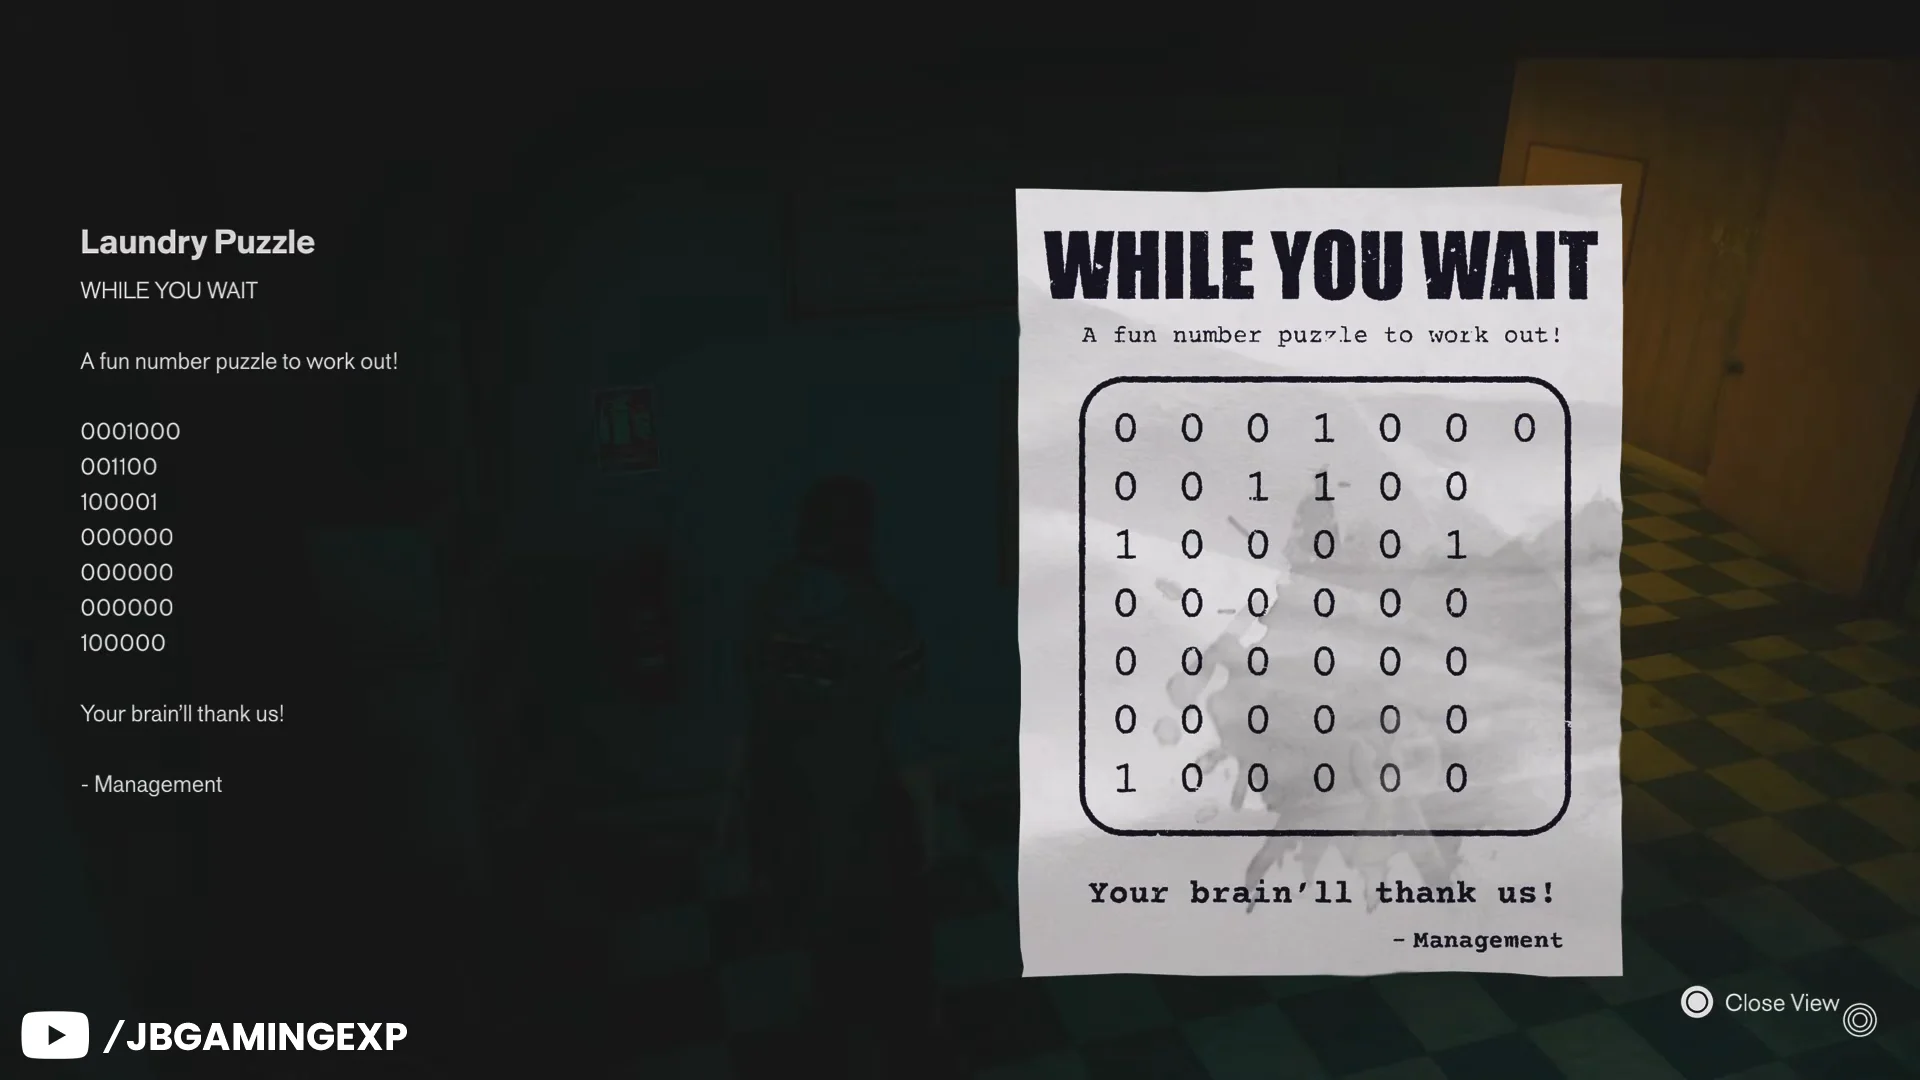
Some machines wear “Out of Order” tags and cannot be switched on. They still count as a position in their row, so include them when you count across, and rely on each washer’s own power light rather than the room lighting.
Washing machine solution for all seven rows
Six machines total should be humming once you are done. Use the grid below as your reference, then follow the room walkthrough underneath it.
| Row | Code | Turn on | Where it is |
|---|---|---|---|
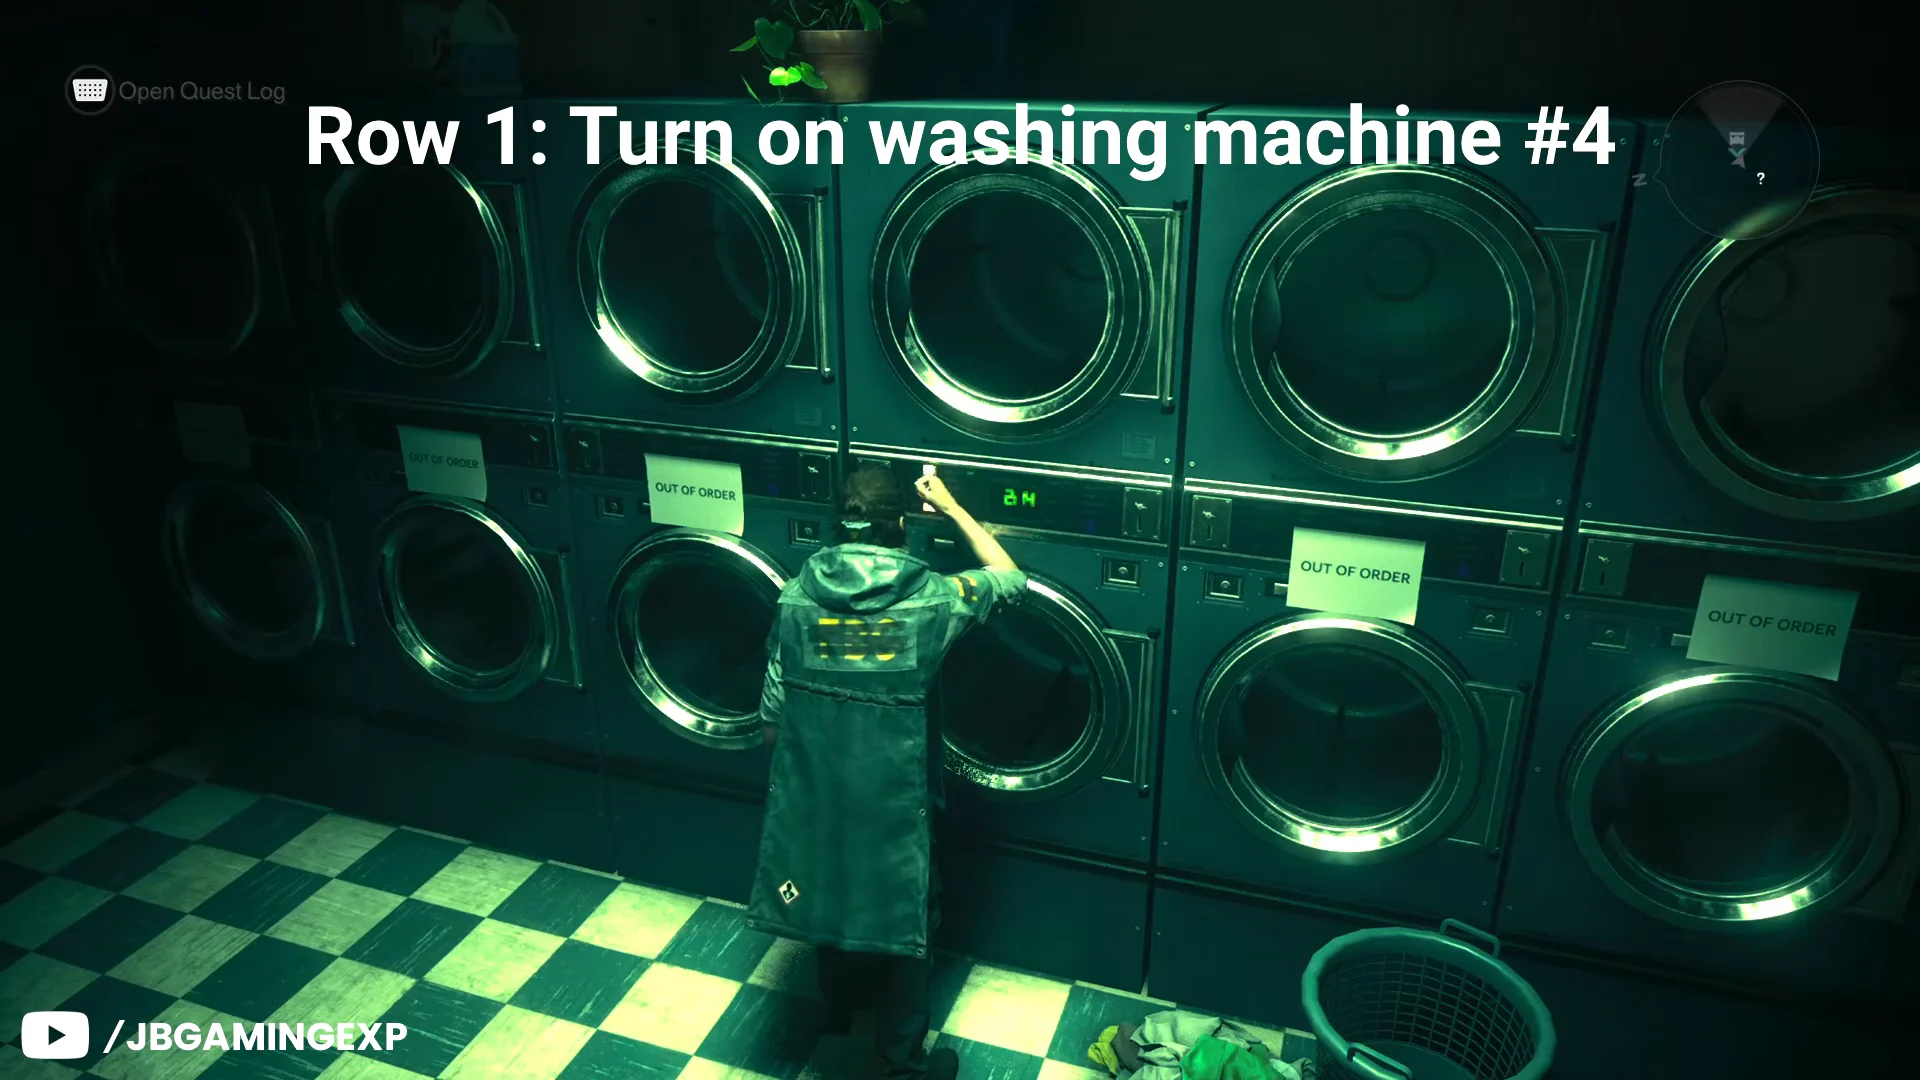
| 1 | 0001000 | Machine 4 (middle) | Long left wall row |
| 2 | 001100 | Machines 3 and 4 | Left island, facing the left wall |
| 3 | 100001 | Machines 1 and 6 | Left island, facing the aisle |
| 4 | 000000 | None | Right island, facing the aisle |
| 5 | 000000 | None | Right island, facing the right wall |
| 6 | 000000 | None | Right wall, rear by the break room |
| 7 | 100000 | Machine 1 | Right wall, front by the entrance |
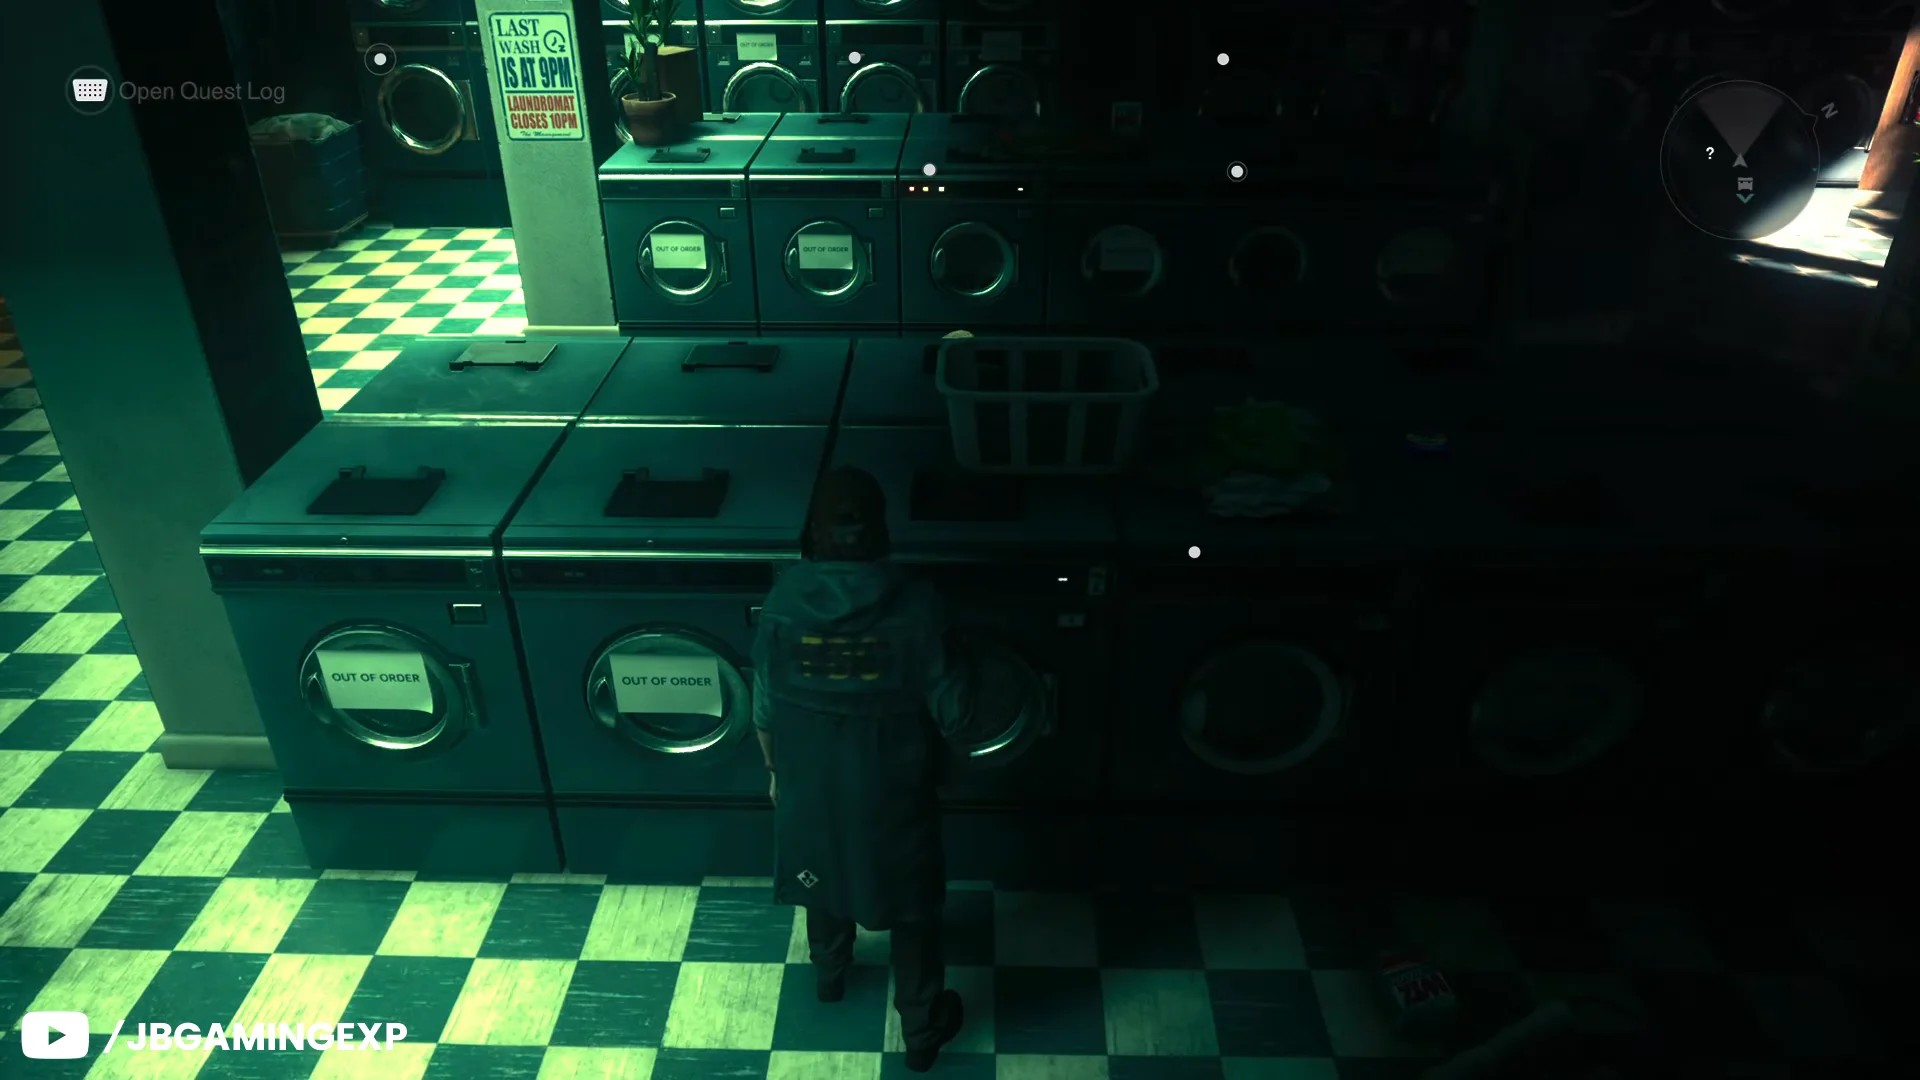
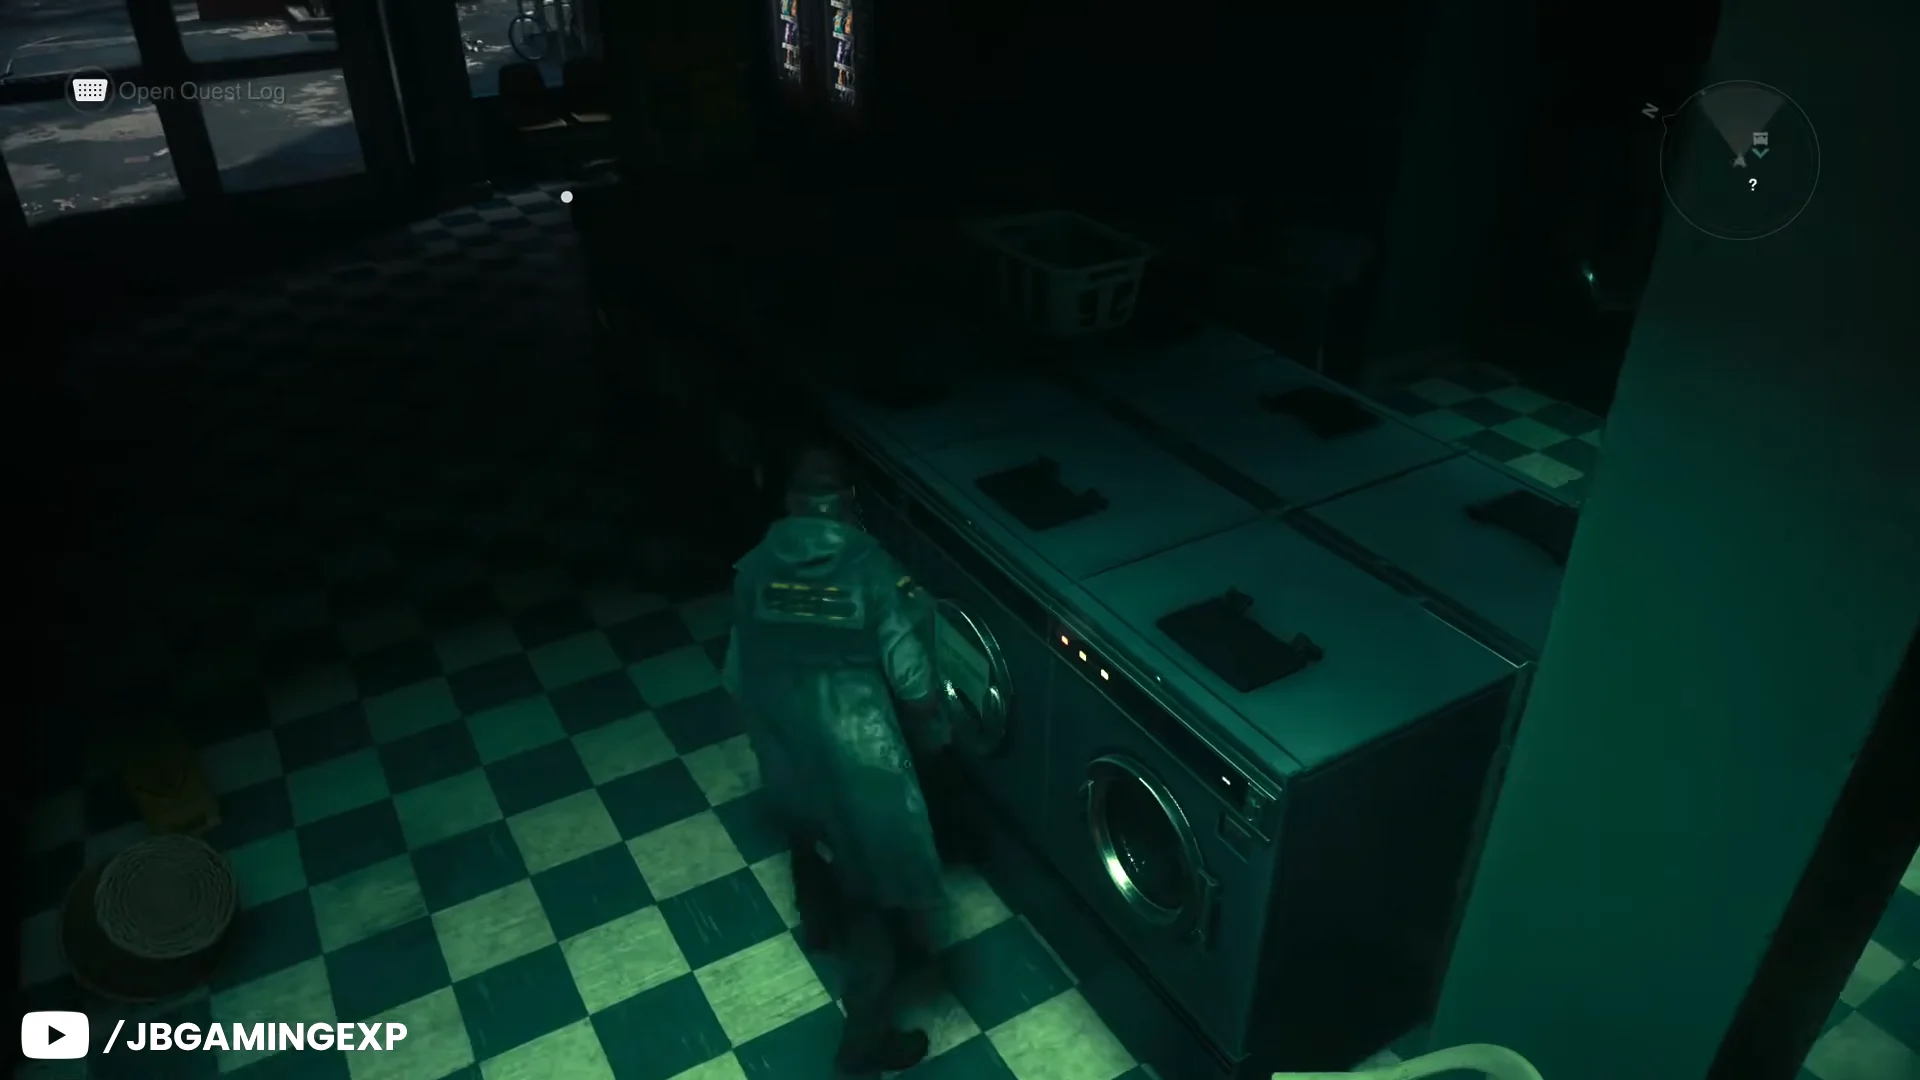
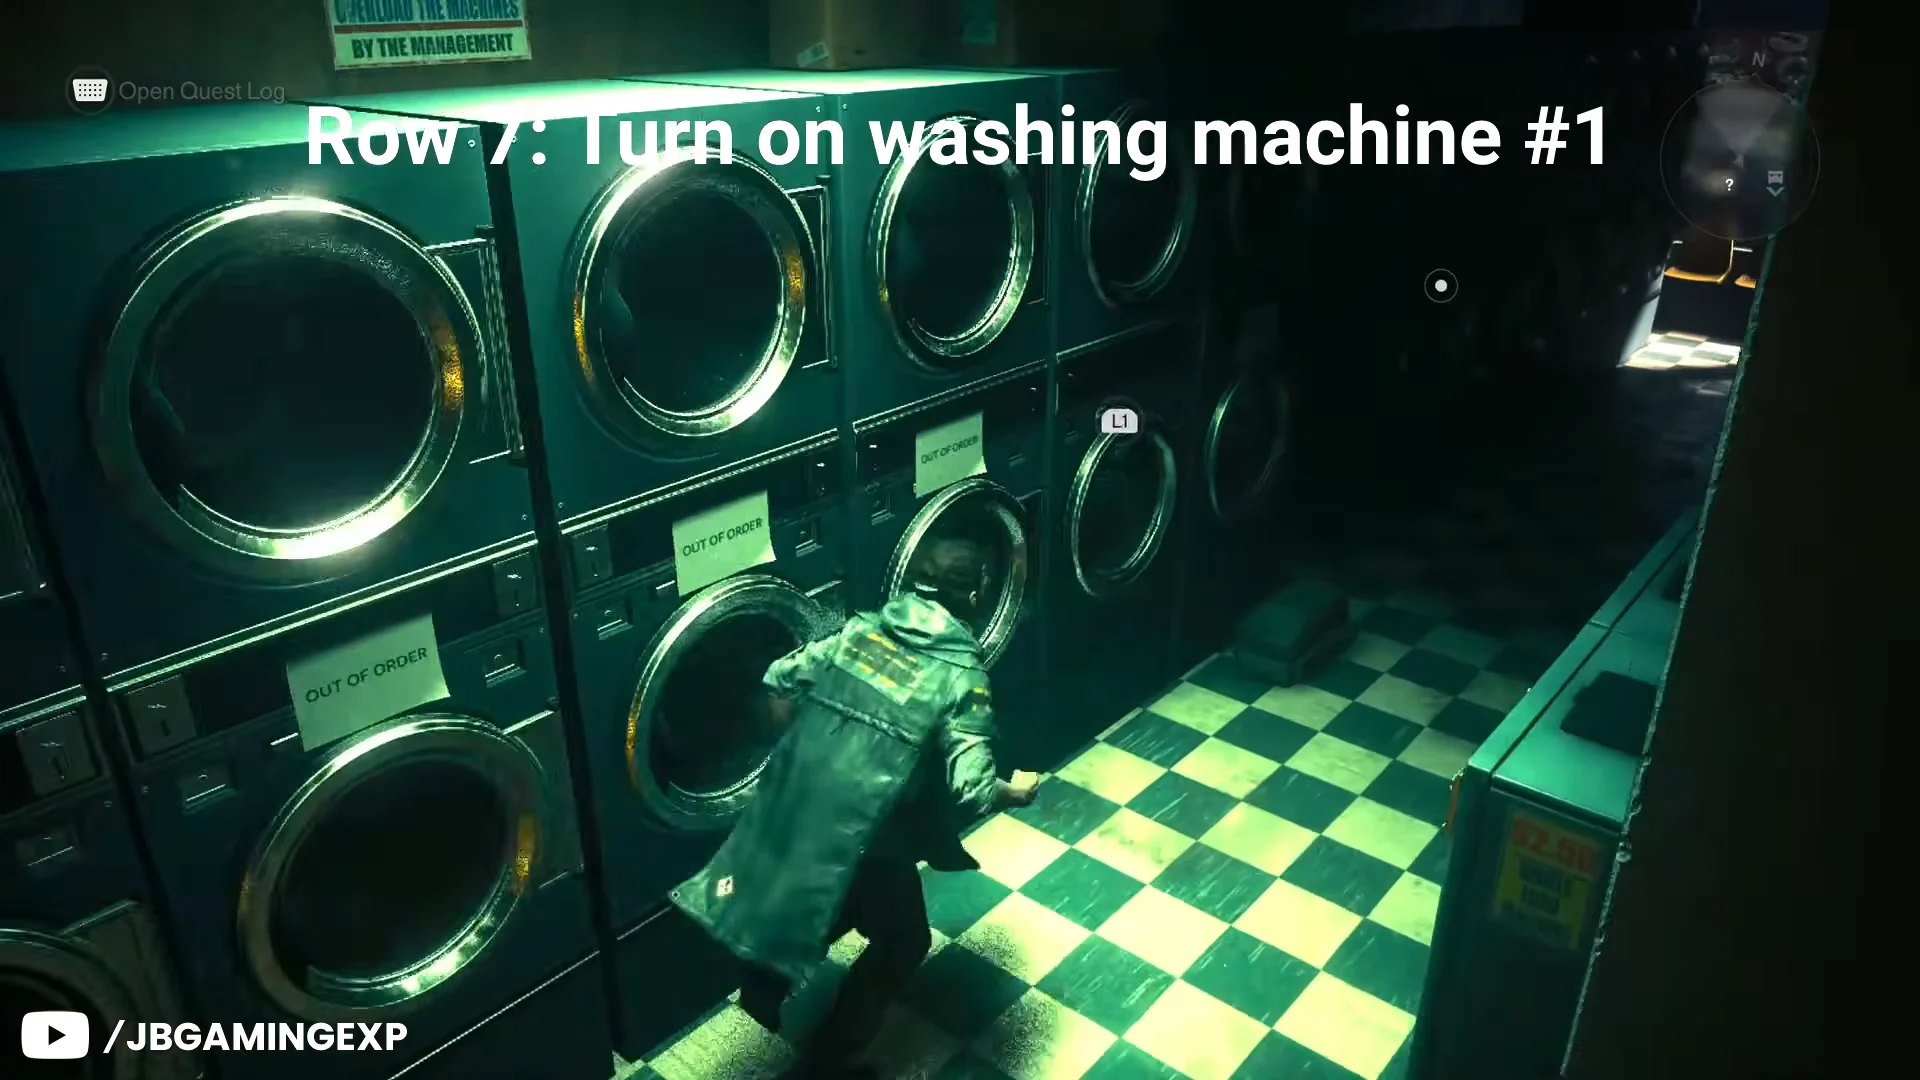
Confirm the door opened and claim the Health Upgrade
When the sequence is correct you will hear an unlock chime, and the back wall of the rear break room slides open automatically. There is no master switch or lever to pull. Walk straight into the break room and take the staircase down into the shelter.
In the sleeping quarters with the bunk beds, open the Third Ice cooler chest to get a Health Upgrade Point. Health upgrades accumulate in groups of three; collecting three points permanently increases Dylan’s maximum health. The adjoining rooms contain two lore files: “Visitation And Stay Protocol” and “Do Not Leave The Shelter.”
If the wall does not open, work through this short checklist:
- Keep every unit in rows 4, 5, and 6 quiet; a humming unit on the right island or rear wall will prevent the trigger from activating.
- Count “Out of Order” units as positions when reading a row, even though they cannot be switched on.
- On Row 7, switch on the machine next to the pillar, and leave the one near the front door off.
- Check each washer’s own power indicator rather than trusting the room’s ambient lighting.
This shelter is one of six Secret Hideouts across the city, and visiting all six after solving their puzzles unlocks the Backroom Espionage trophy. Once you have grabbed the upgrade and the files, you can head back up the stairs — there is nothing else hidden below.