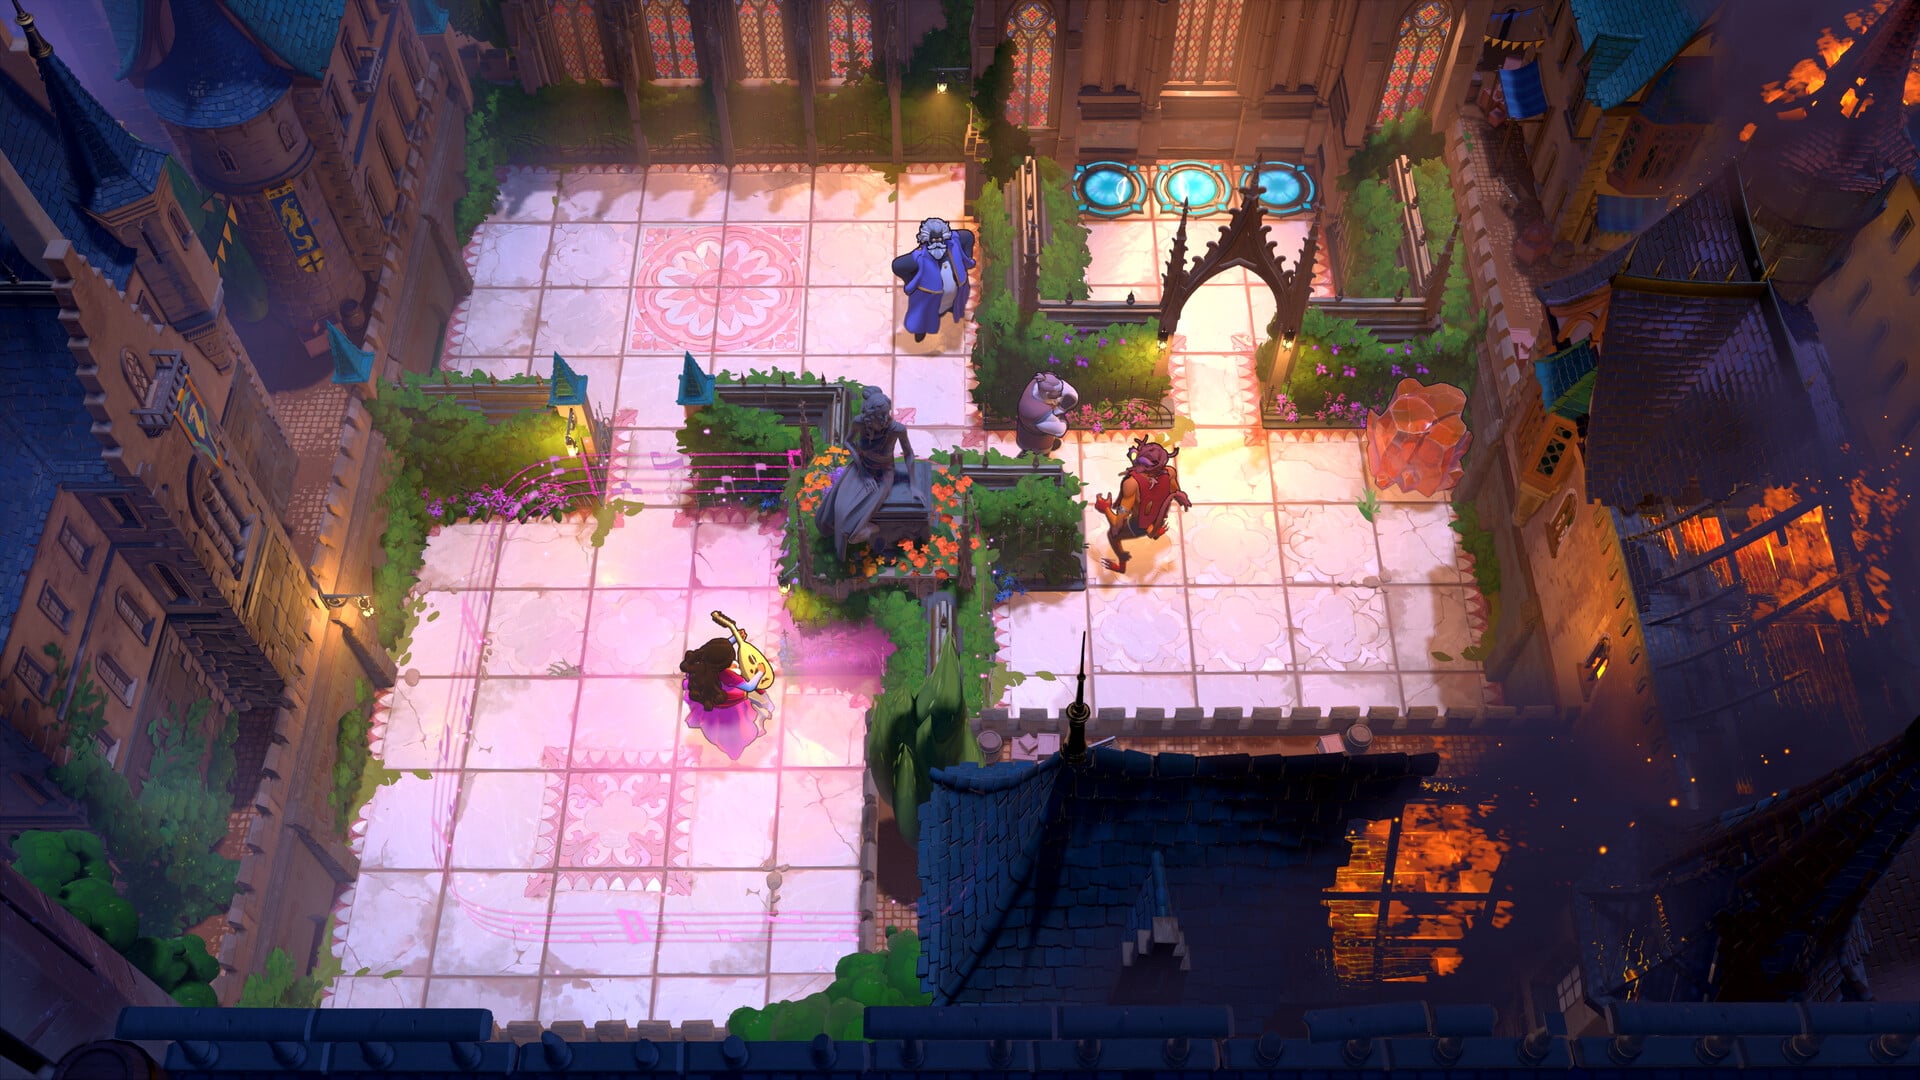
Order of the Sinking Star drops you into a hub called The Crossroads, with four distinct worlds branching off in each compass direction. Each world teaches its own puzzle mechanic, each one runs its own campaign, and the whole thing eventually folds in on itself once the mechanics start combining. Knowing which way to go first saves a lot of early frustration.
Quick answer: Grab the map above you at The Crossroads, then tackle the four worlds in rising difficulty: North, then East, then South, then West. Any order works, but this one eases you in.
Finish the tutorial first
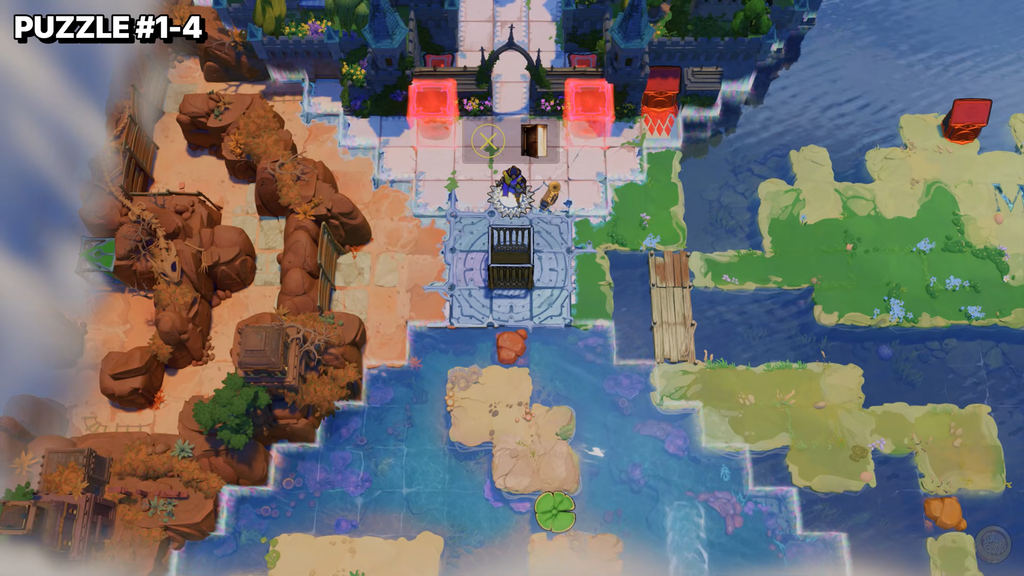
Before you reach The Crossroads, the game runs a short tutorial that hands you every core control you will lean on for the next few hundred hours. It is brief, and it slips in some early story beats, but do not skip past the mechanics it introduces.
By the end of the tutorial you will know how to:
- Push rocks into position
- Run, and slow down time while moving
- Undo individual moves
- Restart a level from scratch
- Unlock cages
Undo and restart are your most-used tools. Sokoban-style puzzles punish a single wrong push, and here you will often be one tile away from a dead end, so lean on them freely.
The Crossroads and the four routes
When you arrive at The Crossroads, the first thing to do is grab the map sitting directly above you. From there, each cardinal direction opens into its own world with its own initial campaign, and clearing a campaign rewards an achievement. There is no locked progression gate, so you can wander off in any direction you like.
That said, the four worlds climb in difficulty, and the smoothest run follows them clockwise from the top.
| Order | Direction | World |
|---|---|---|
| 1 | North | The Hearty Heroes of Hauling |
| 2 | East | The Mirror Isles |
| 3 | South | Skipping Stones to Lonely Homes |
| 4 | West | Vault of the Beamcasters |
What each world asks of you
Each direction is built around one mechanic that stays simple at first and then spirals into unexpected territory. Understanding the core idea before you walk in makes the opening screens far quicker to read.
North — The Hearty Heroes of Hauling
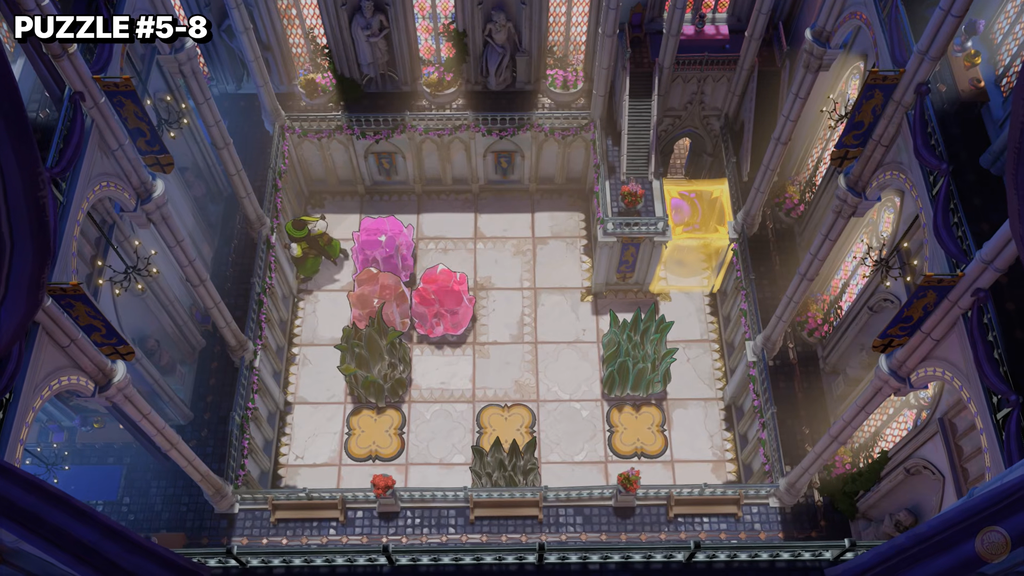
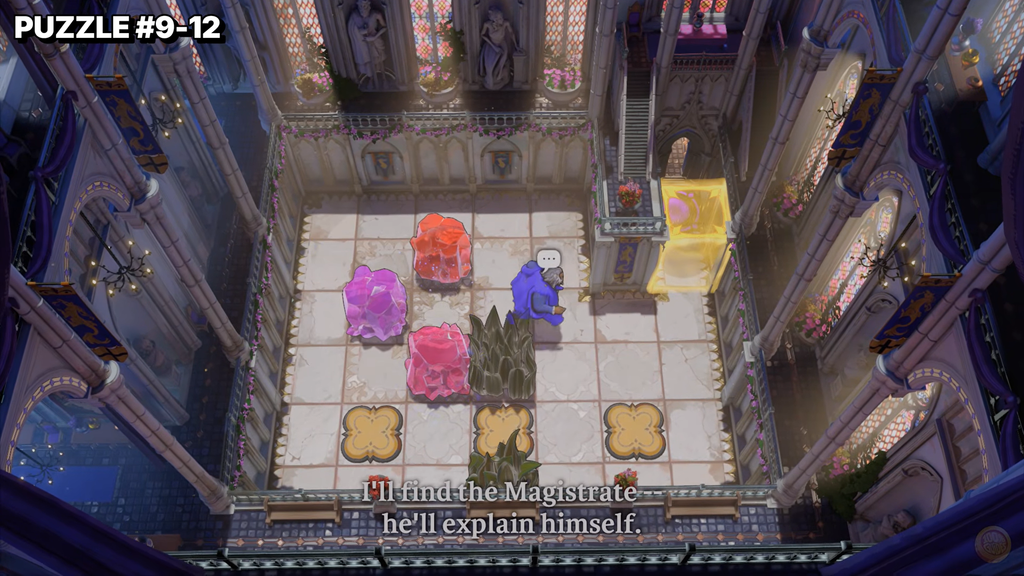
You command a six-hero moving crew, each with distinct movement and pushing rules, and juggle them to clear blockades and reach exits. Characters like Valens, Tif, and Isidore push crystal blocks, channel sliding beams, and work in pairs or as a full trio across linked rooms. Later rooms force two or three heroes to stand on floor circles at the same time.
East — The Mirror Isles
Here you step into laser beam paths to swap places with your own reflection and teleport across fragmented islands. Set up more than one mirror and you create multiple clones that all move at once, which is where this world turns genuinely tricky. The campaign runs through 27 numbered puzzles, shifting from green isles into snowy terrain and sandy ground, with crystal colors and ice blocks layered on top.
South — Skipping Stones to Lonely Homes
This world is about water. You route skipping stones and rideable lily pads across open stretches to build the stepping paths you need to cross. The campaign splits into Level 1 and Level 2 puzzle sets.
West — Vault of the Beamcasters
Saved for last by difficulty, this world has you channeling gem light beams to phase through walls, smash boulders, and teleport. It is also split into Level 1 and Level 2. The hub narration early on nudges you away from the west first, which lines up with the recommended order.
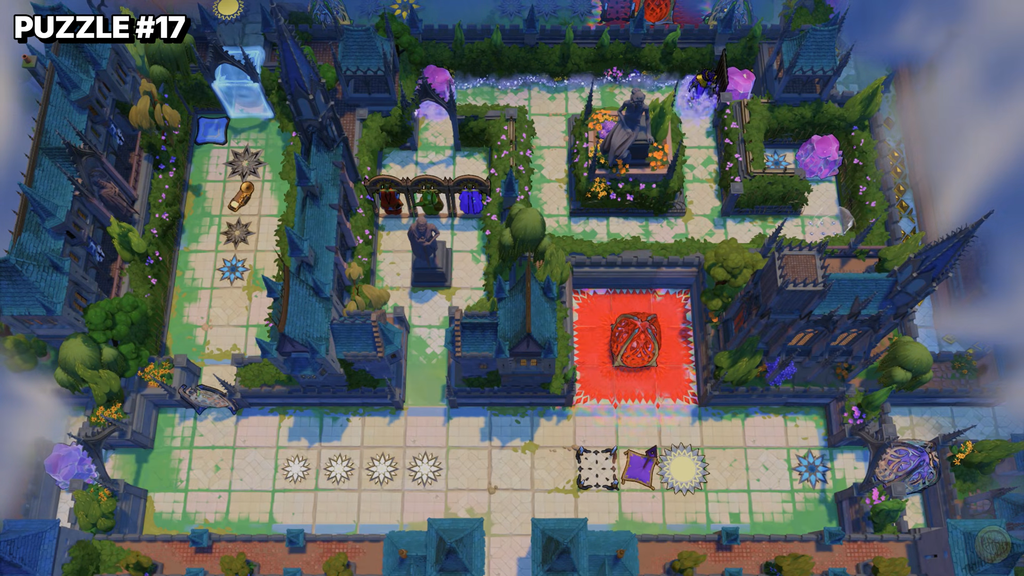
Gold Rooms: the game’s second layer
Once you have spent time in the four worlds, Gold Rooms open up a second layer that bridges two realms at a time and unlocks combined puzzle areas. Clearing one of these rooms is where the separate mechanics start colliding, so they expect a working grasp of both worlds involved.
The one confirmed so far sits to the northeast and merges the hauling heroes with the mirror mechanic.
| Direction | Gold Room | Connected areas |
|---|---|---|
| Northeast | HxM Gold Room | Heroes and Water, Heroes and Mirrors |
Opening the HxM Gold Room grants access to the Heroes and Water puzzles and the Heroes and Mirror puzzles that sit beyond it. The remaining Gold Room pairings follow the same idea of combining two worlds into one area.
How to know a campaign is done
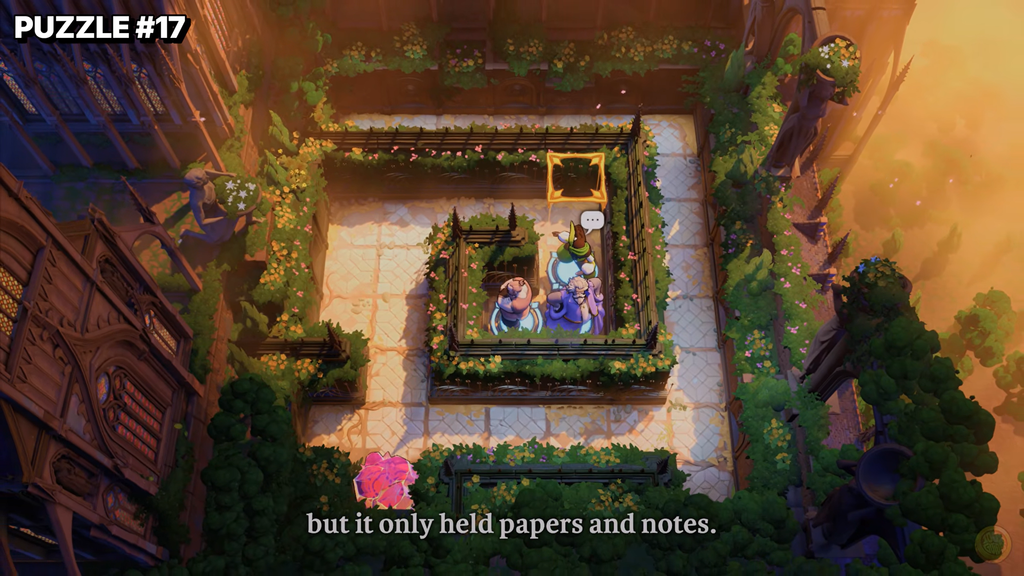
Each of the four initial campaigns pays out an achievement when you finish it, so a direction is cleared the moment that achievement pops. You do not have to solve every puzzle in the game to reach the ending, which matters given the full count runs past 1,400. Treat the four achievements as your checklist for the main path, and come back for the Gold Rooms and their combined areas once you are comfortable with the base mechanics.