Order of the Sinking Star: How to Open the HxM Gold Room (Northeast)
Unlock a golden mirror in The Mirror Isles, clear the Heroes of Hauling path, and drop three barriers to reach the room.
Unlock a golden mirror in The Mirror Isles, clear the Heroes of Hauling path, and drop three barriers to reach the room.
by AllThingsHow Staff · Edited by Pallav Pathak
Image: Thekla, Inc.
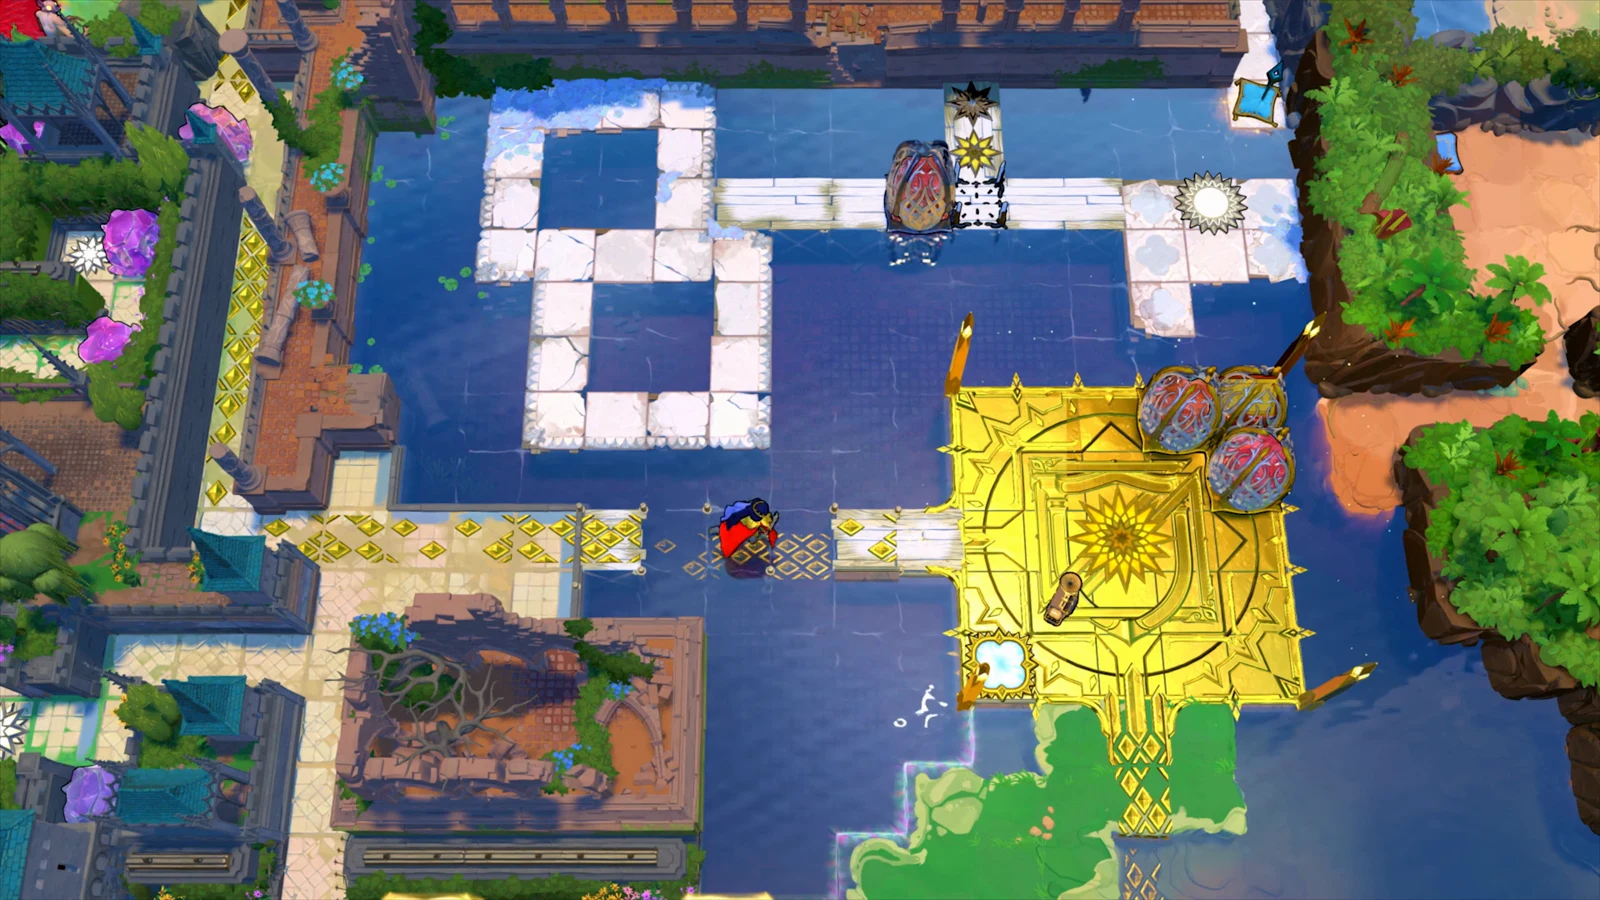
The HxM gold room sits in the northeast corner of the overworld in Order of the Sinking Star, and clearing it opens the door to the Heroes and Water and Heroes and Mirrors areas. Reaching it means tying two worlds together: you unlock a golden mirror in The Mirror Isles to the east, then clear a route to it from The Hearty Heroes of Hauling to the north.
Quick answer: Unlock a golden mirror in The Mirror Isles, clear the path below the ranged monster in Heroes 3, then use the yellow crystal and mirror to drop the three yellow barriers leading into the room.
A plain direction such as “move left” means one square. A direction with a number (“right x4”) means that many squares. “All the way” means keep going until a barrier stops you.
Image credit: Arc Games, Gamirror Games via YouTube/@100% Guides
What you need before opening the HxM Gold Room
Two separate jobs have to be done, and they can be tackled in either order. Both have to be finished before the room will actually open.
A golden mirror unlocked on the east side, inside The Mirror Isles.
A cleared path down to that mirror from the north, inside The Hearty Heroes of Hauling.
Image credit: Arc Games, Gamirror Games via YouTube/@100% Guides
The bottom landmass reveals a pink crystal. Shift it left, down, right x2, down, right x4, positioning it beneath the mirror on the lower landmass’s central prong; next, send it through the mirror.
On the screen ahead, finish Puzzle #1; this opens an overworld mirror. Travel by way of the two-mirror chain to the landmass on your left, then continue left onto the next screen.
On the upper platform, shift the mirror up, left, all the way down, then all the way left. Go right x2, then take the mirror chain back to the bottom platform.
From the bottom landmass, line up in the middle mirror’s column and chain through the mirrors to reach the top landmass. Move the stone down to link the top and middle landmasses.
Go up and pass through the mirror onto the middle landmass. From there, travel left x5, down x3, left x2, then use the mirror to reach the left landmass.
Get into the first mirror’s column and travel all the way up. Take the mirror chain to the crystal’s landmass, then move the crystal up, left x2, up x2 to the landmass’s top-left square.
Lower the mirror on the left. Raise the other mirror, shift it left, and send the crystal through; it will end up submerged in the water just above the teleporter’s landmass.
Push the top mirror left. Move all the way up and use the other mirror to teleport to the submerged crystal and reach the teleporter. The golden mirror is now unlocked.
Image credit: Arc Games, Gamirror Games via YouTube/@100% Guides
Clear the path in The Hearty Heroes of Hauling
With the mirror unlocked, head north and open the route that leads down to it.
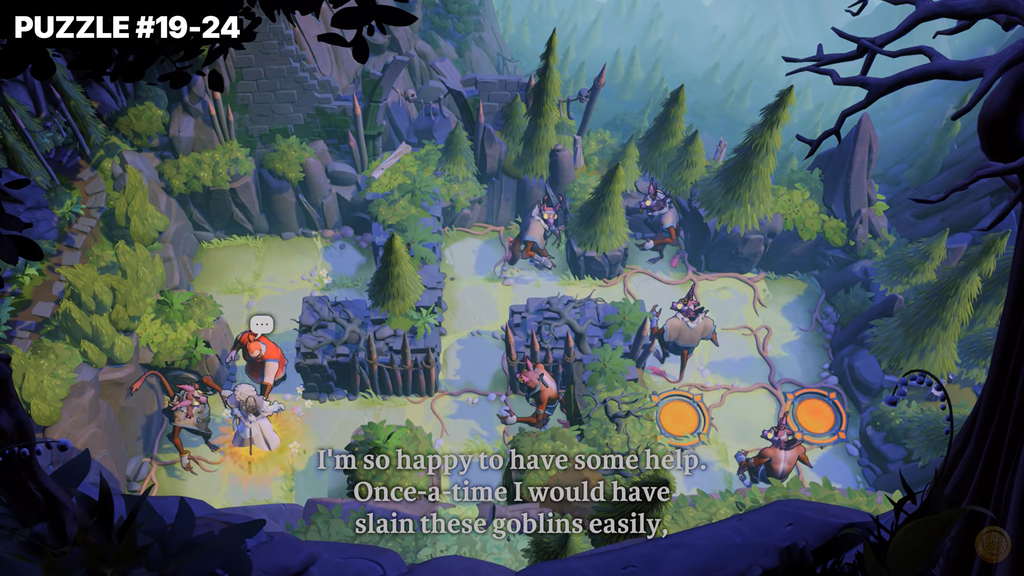
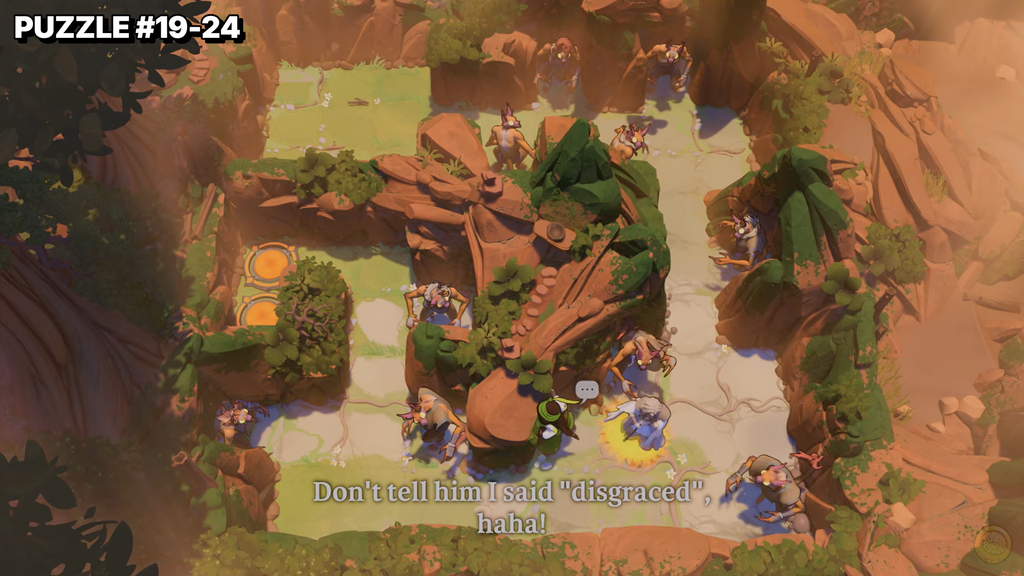
Go to Heroes 3: Bard, Druid and complete the puzzle beneath the ranged monster on the right. The route below that monster will open.
Take the route down to its end. You’ll arrive on the landmass opposite the golden mirror unlocked in The Mirror Isles.
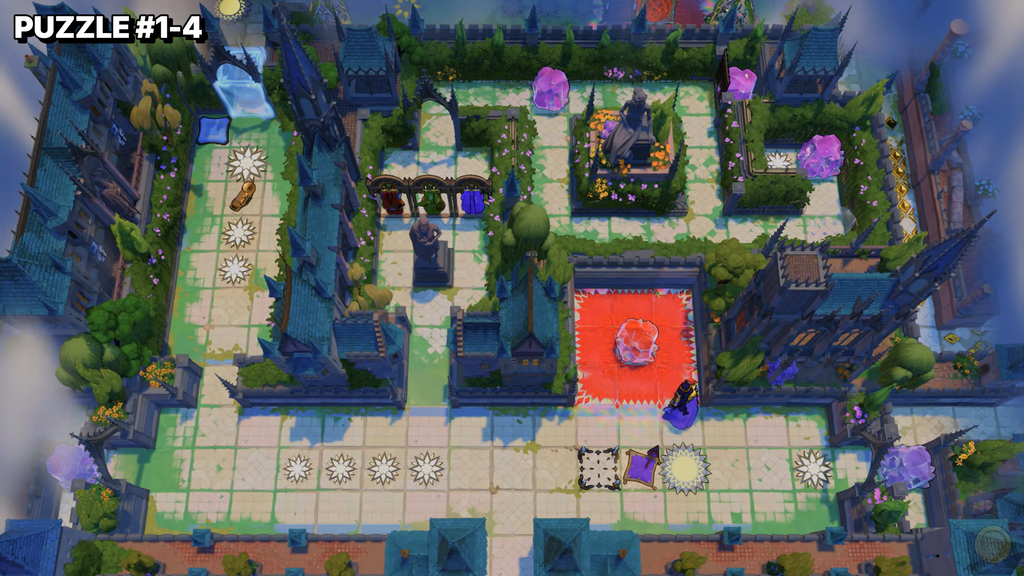
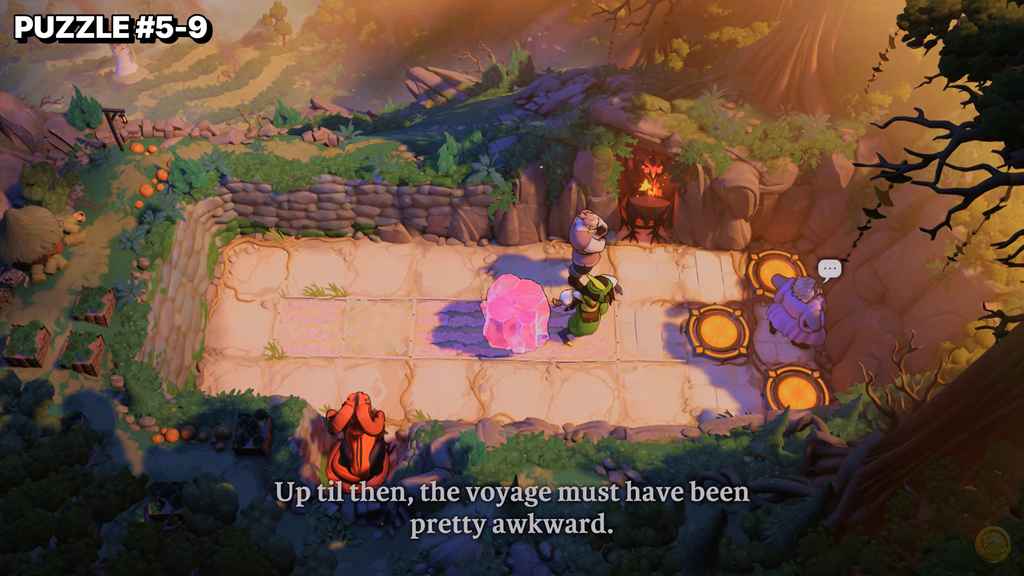
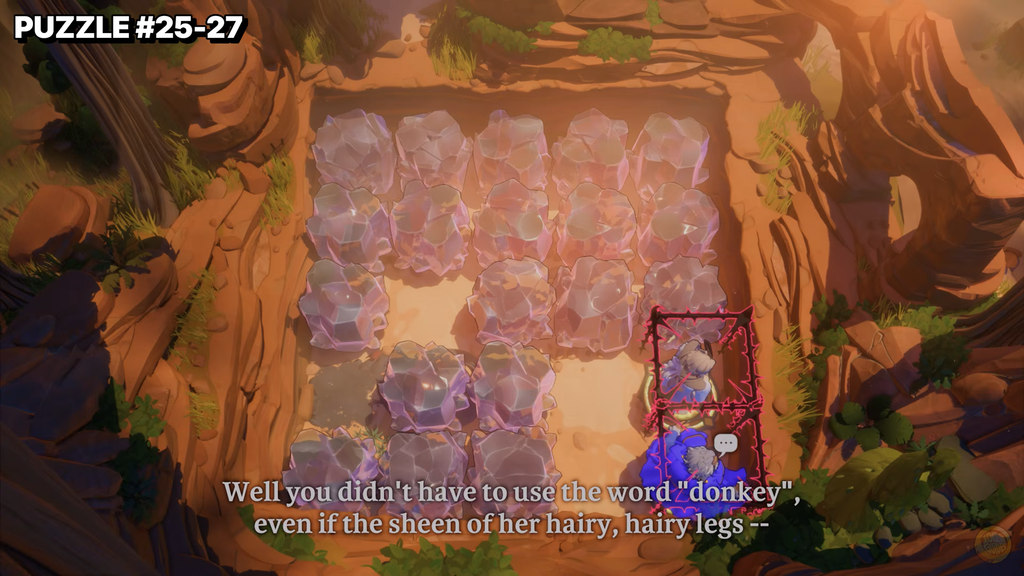
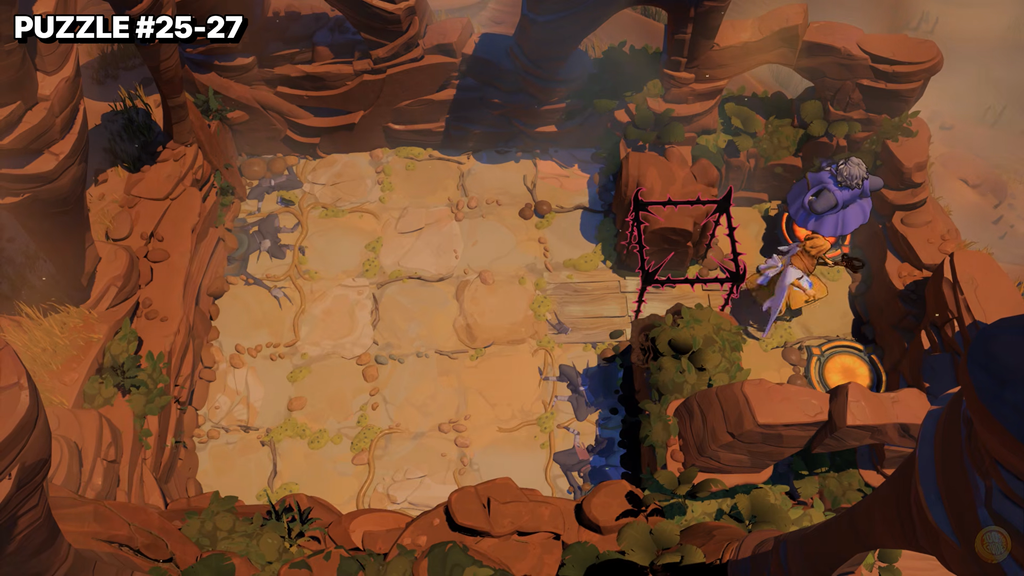
Move the yellow crystal down x3, left, down, then right onto the bottom yellow button. This disables the first barrier in the three-barrier line above the robe entrance.
Cross the disabled barrier. Send the yellow crystal through the mirror to deactivate barrier two. Go through that barrier, then send the crystal back through the mirror to shut off barrier three.
Image credit: Arc Games, Gamirror Games via YouTube/@100% Guides
Solve the HxM Gold Room puzzle
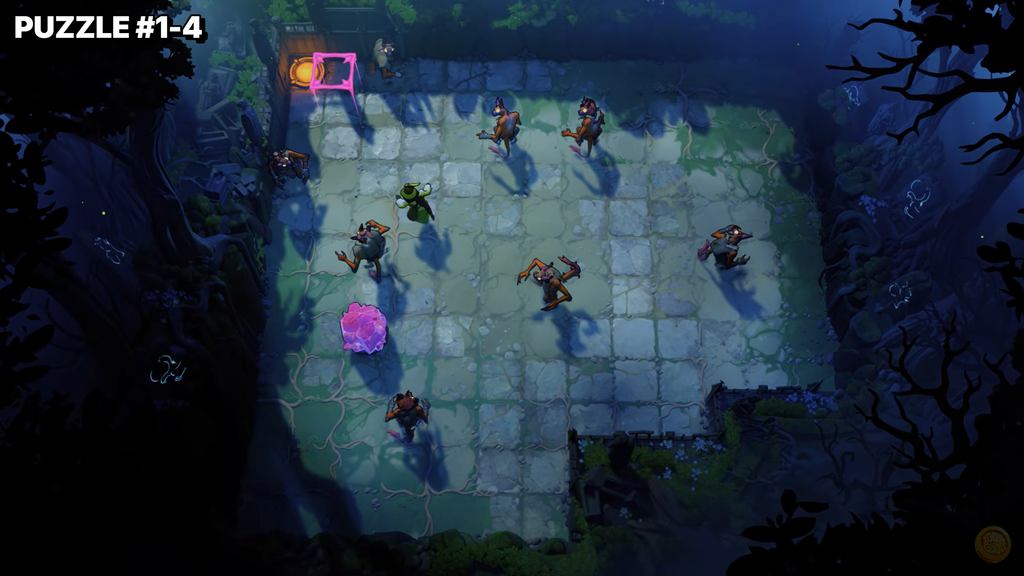
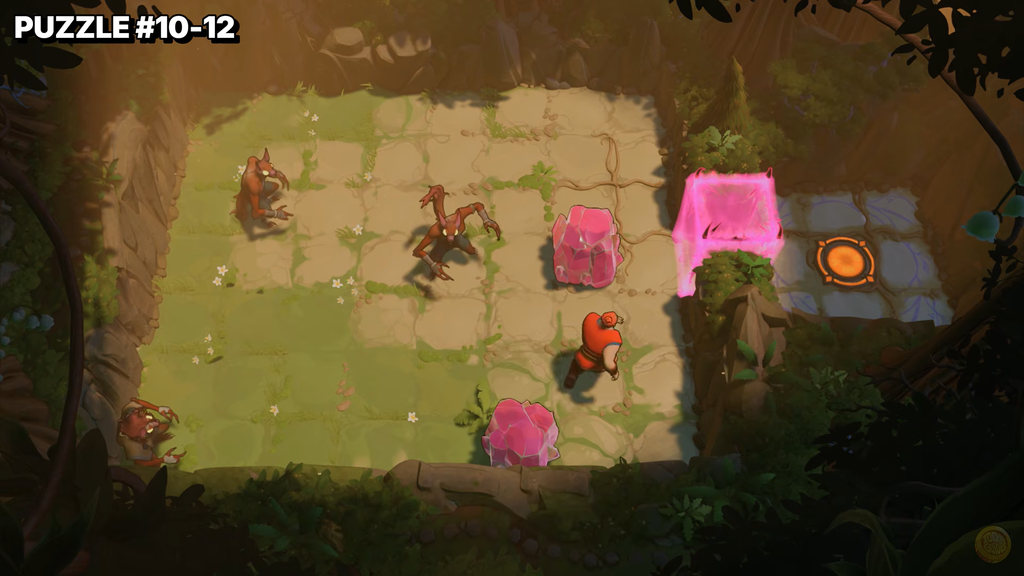
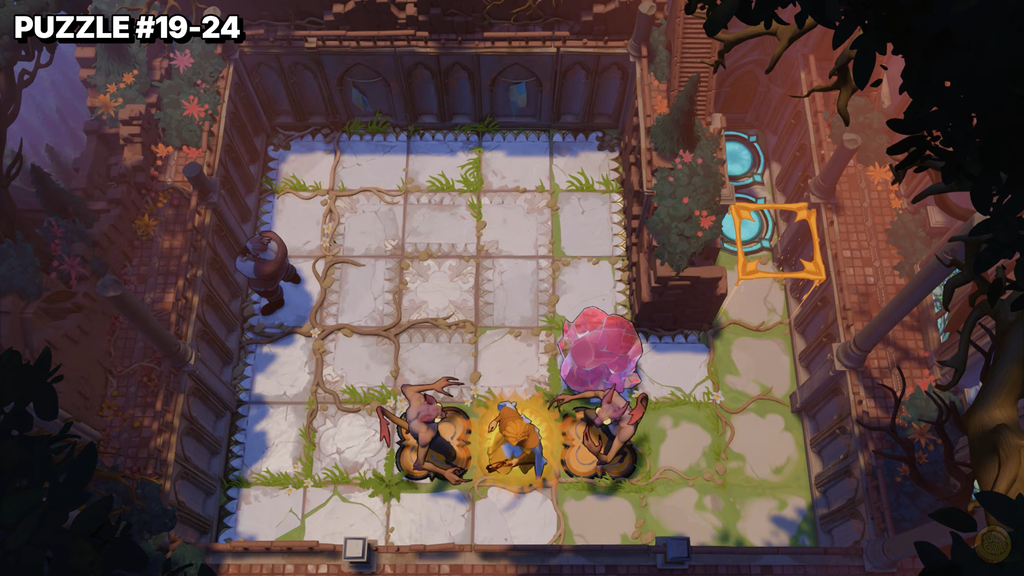
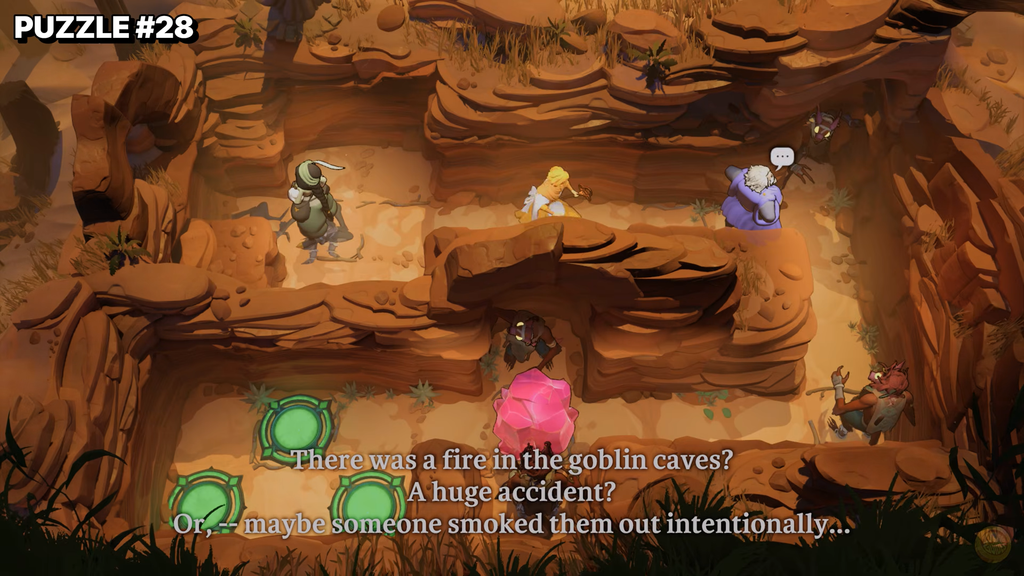
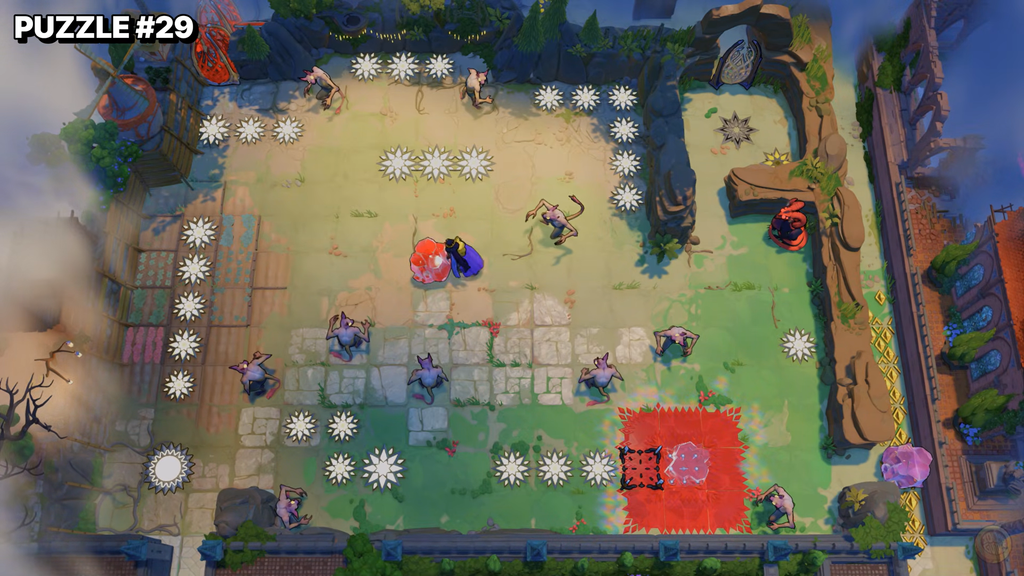
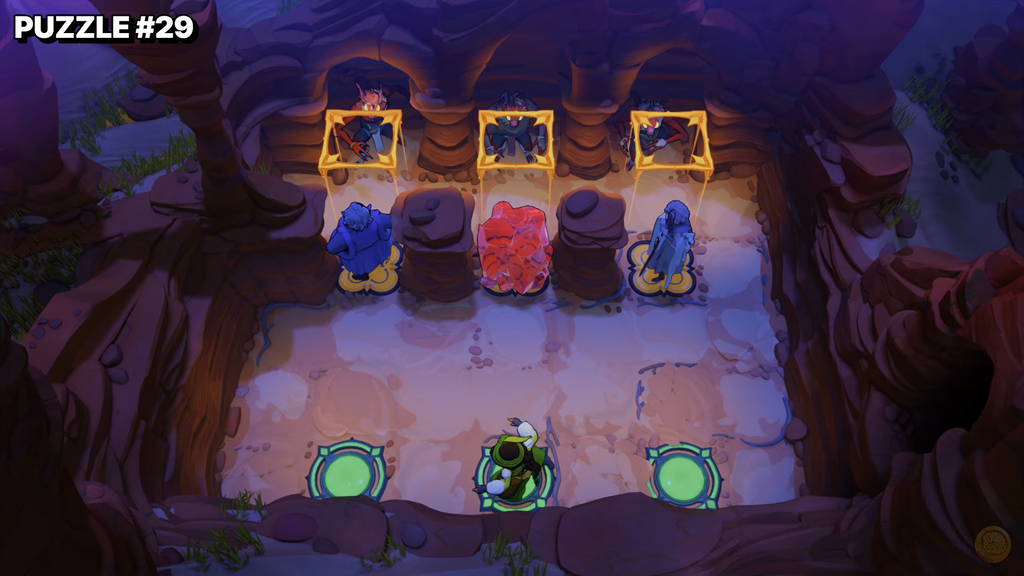
This room combines the moving-crew mechanics with the mirrors. You control orange and purple, and the goal is to funnel three monsters into one another through a mirror.
Shift the mirror to the crystal’s right by moving left x2, then send the crystal through. Move the mirror right, then push the crystal down to make a route to the three land tiles below.
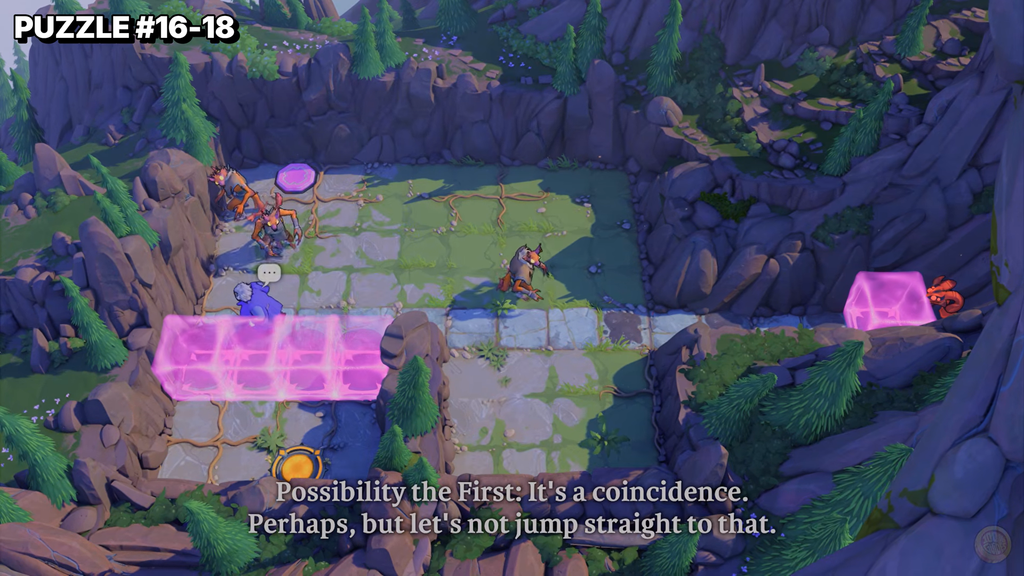
Without swapping, travel left, up x2, right x4, and up x2 to reach the post’s right side, opposite the mirror. Press down to trade places with the monster, then send it through the mirror.
Image credit: Arc Games, Gamirror Games via YouTube/@100% Guides
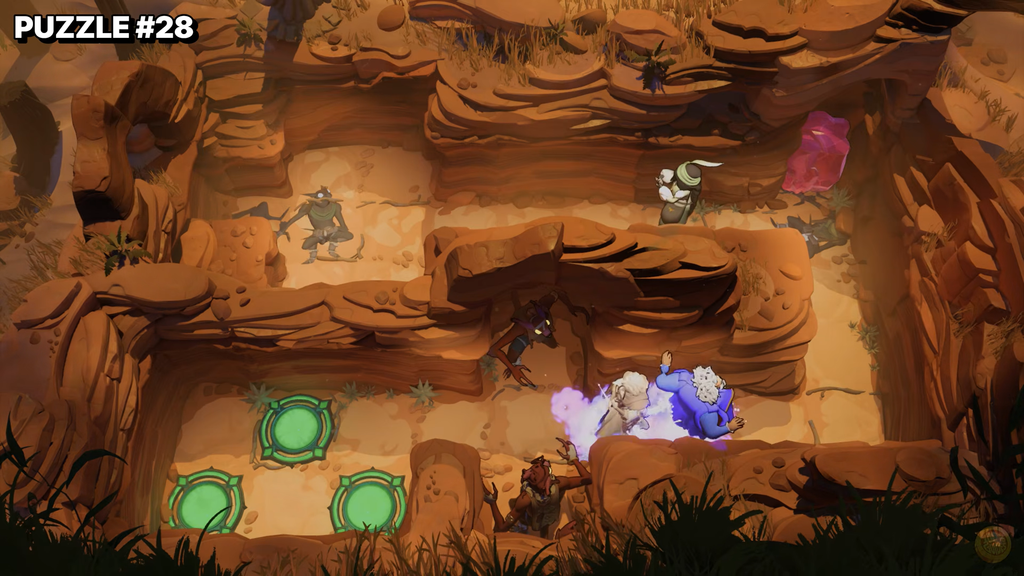
Move left x3 to stand below the middle monster, then press up to swap. Continue right, down, right x2, down x3 to the bottom-right corner, and press left to swap again.
Travel all the way right, down x3, then right. Press left to swap with the top monster again. The monsters are now aligned in one column with a space separating them.
Image credit: Arc Games, Gamirror Games via YouTube/@100% Guides
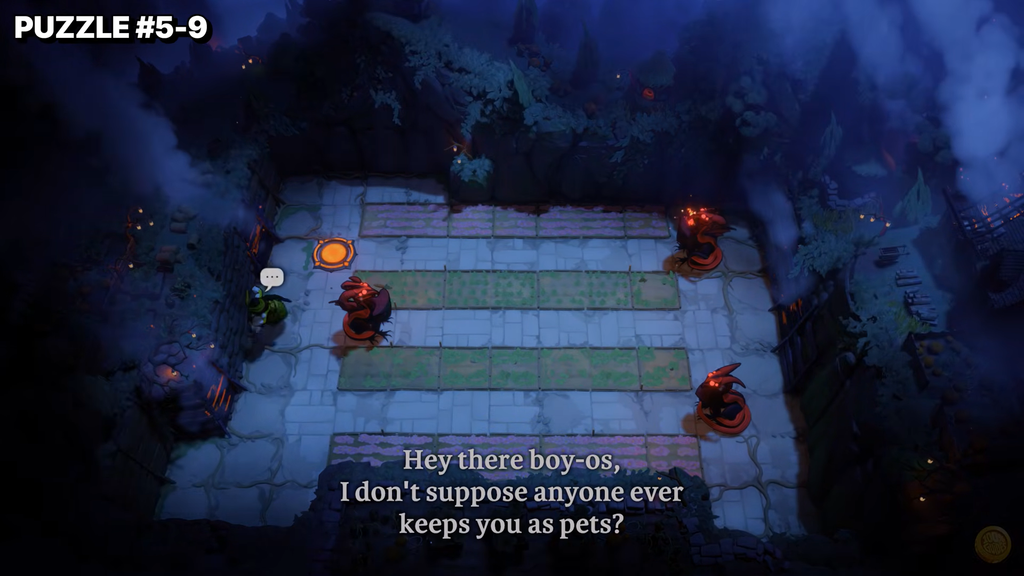
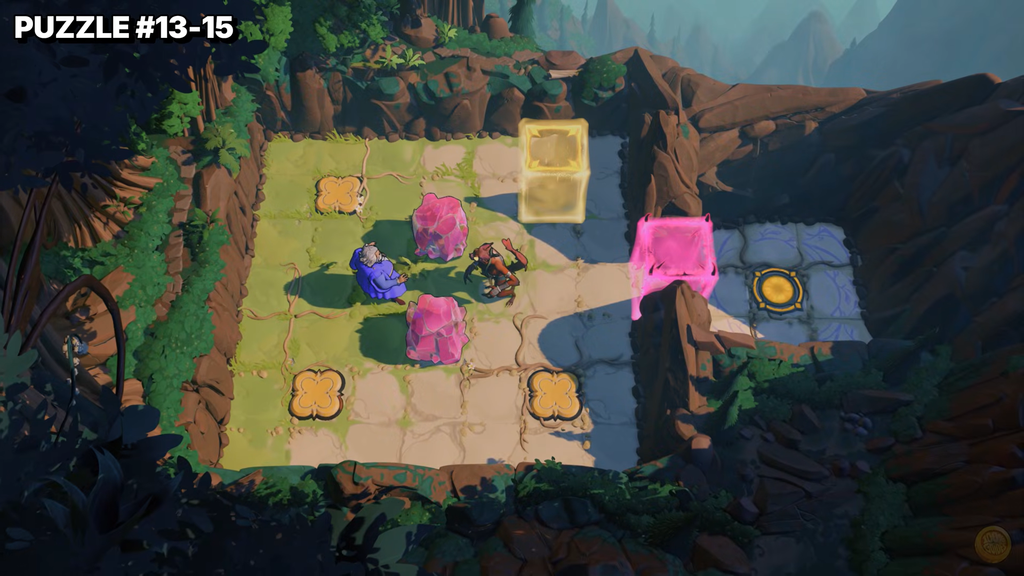
With orange selected, move the mirror down. Switch to purple and position him beside the pillar on the platform’s right side, then press right to swap with orange. Orange can now reach the teleporter on the left.
Move purple to the bottom-right corner of the top landmass and press down to swap with the crystal by the bottom-right teleporter, giving him access to it.
Image credit: Arc Games, Gamirror Games via YouTube/@100% Guides
Completing this puzzle opens the HxM gold room for good and unlocks a crystal in the overworld.
Finish the two-puzzle series to reach Heroes and Water and Heroes and Mirrors
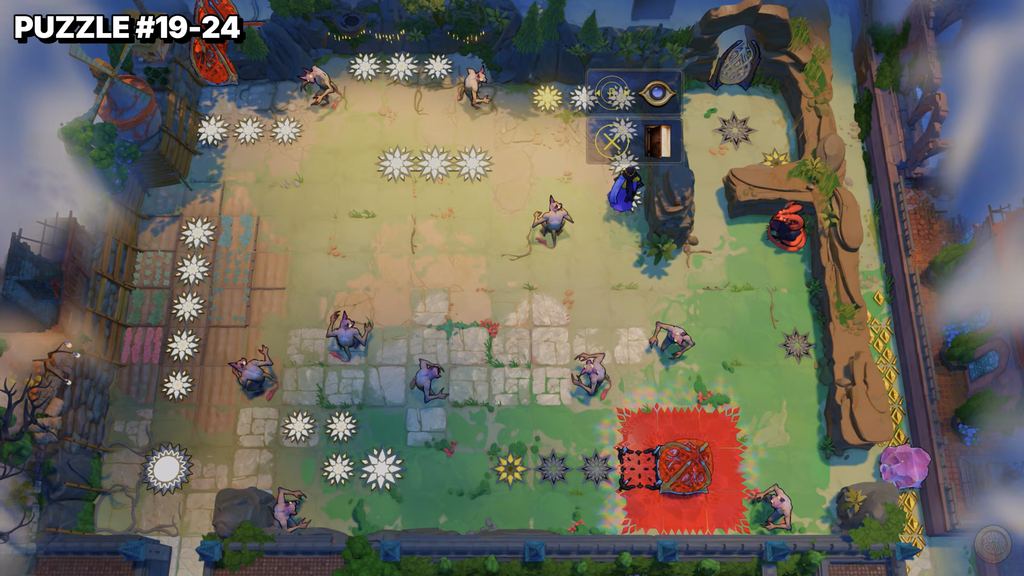
The crystal that unlocks in the overworld is your way onward. These two puzzles are not part of opening the room itself, but you need them done before the connected areas become reachable. Push the newly unlocked crystal up to build a path to the upper platform, then work through the series.
Push the two-crystal row left across the path to the bottom-middle landmass, then push each one up to the top-middle landmass and use them to build the path to the teleporter.
Image credit: Arc Games, Gamirror Games via YouTube/@100% Guides
With both puzzles cleared, the northeast corner opens up, and you can head into Heroes and Water and Heroes and Mirrors from the overworld.