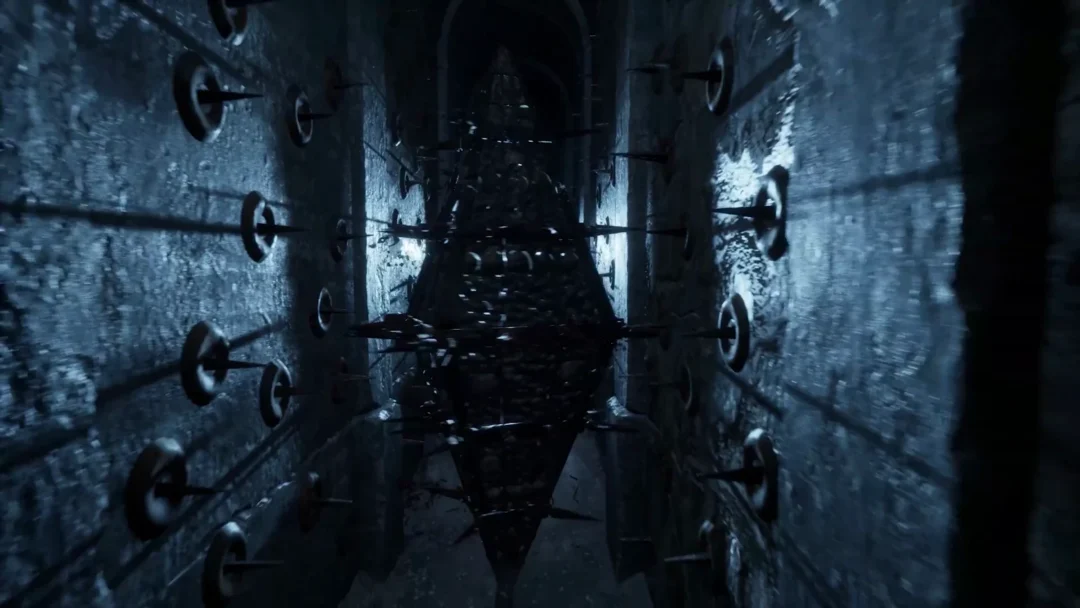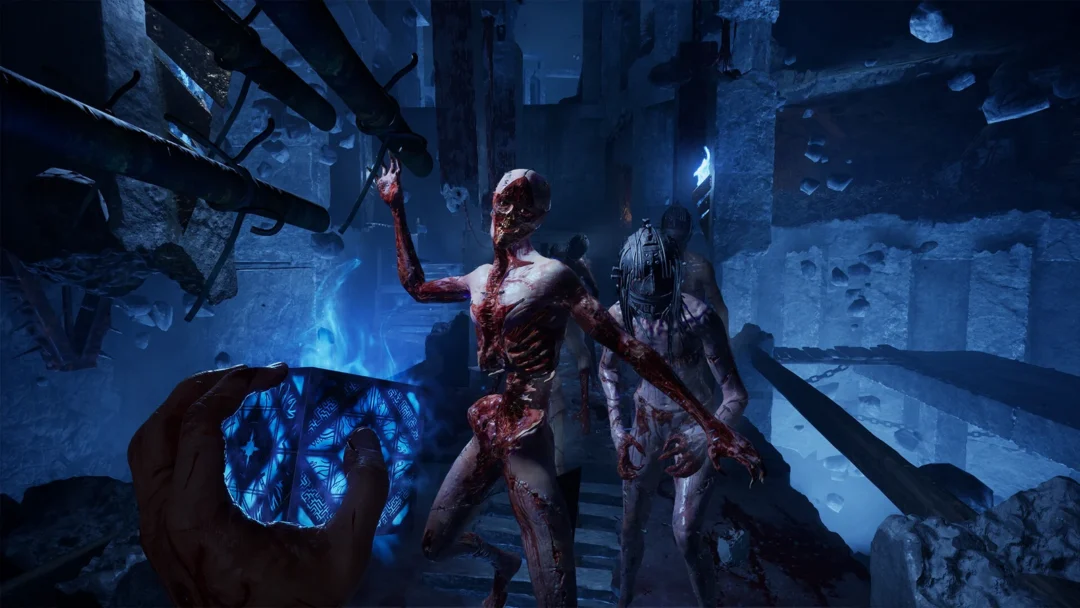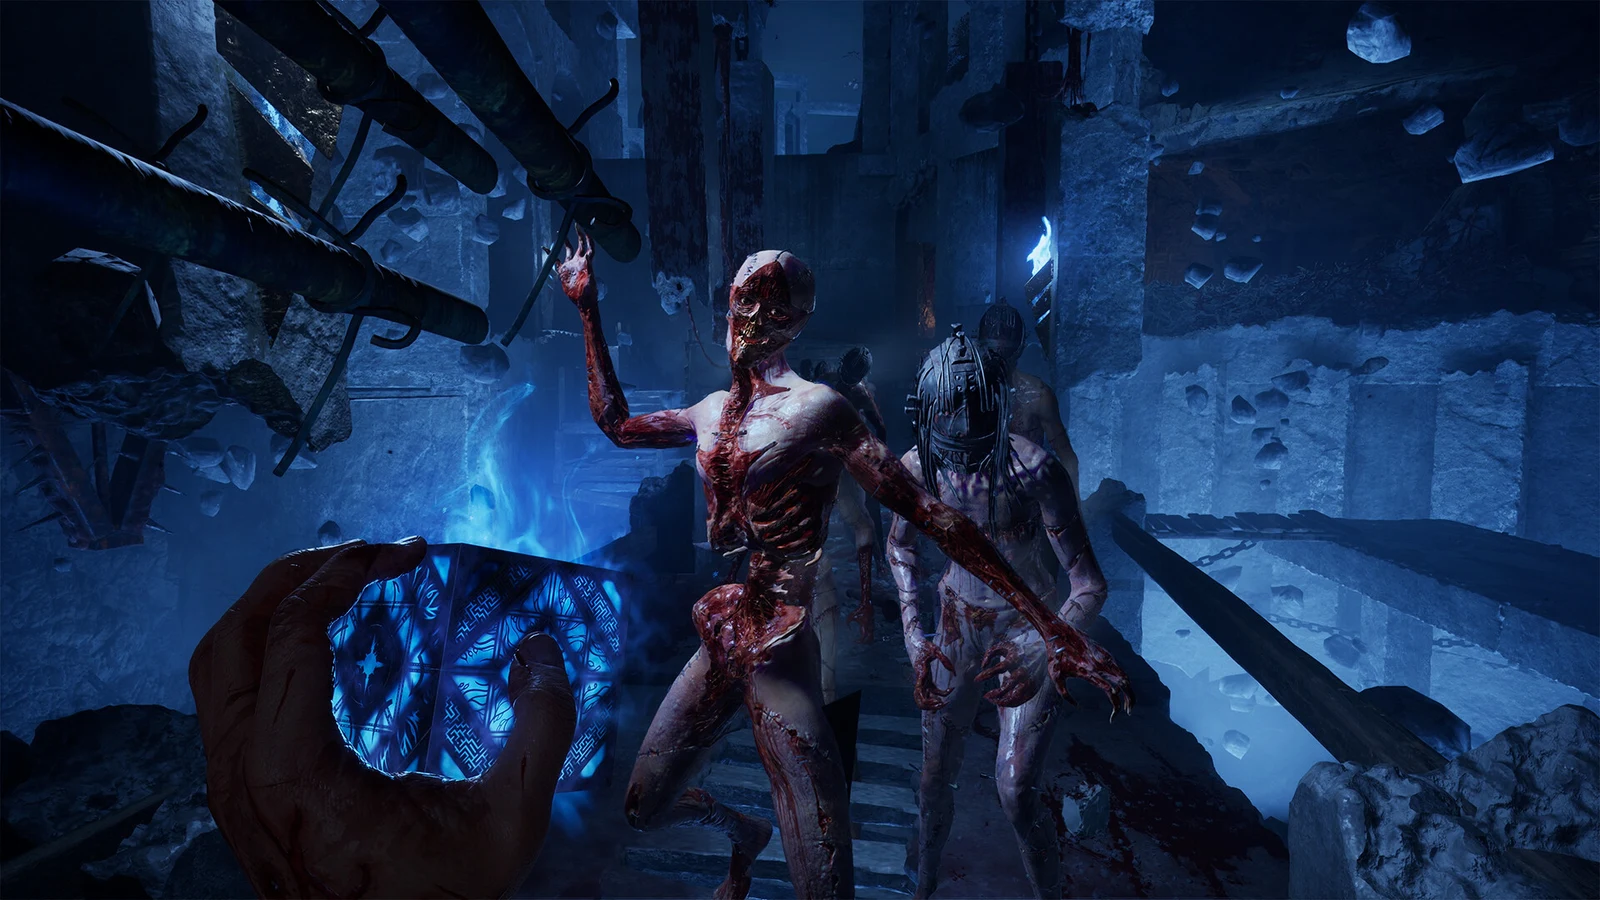
Escaping the Scarlet Church is a test of patience more than reflexes. Aidan Lynch wakes already free of the interrogation chair in the cult’s lower holding area, and from the moment the objective reads “Escape the cult,” you are badly outnumbered by armed, armoured fanatics who talk constantly and come in pairs. On the hardest difficulty, where resources are scarce and saving costs a token, the margin for error is tiny. The compound rewards you for avoiding fights, taking enemies one at a time, and switching your approach to match who is in front of you.
Quick answer: Stay crouched in dark cover, take only enemies whose backs are turned with a F Takedown, and fight one at a time using a blunt weapon on armour and a blade on everyone else. Break line of sight to reset any fight that goes loud.
Controls for stealth and combat
These are the keyboard and mouse inputs the game teaches during the compound. Knowing them before the first fight matters, because every control gets introduced in the middle of a dangerous room.
| Action | Input |
|---|---|
| Crouch and sneak (toggle) | C |
| Stealth takedown behind an enemy | F |
| Attack | LMB |
| Evade (sidestep / back-step) | A, S, D |
| Heal yourself (uses a Bandage) | Q |
| Switch weapons | 1, 2, 3, 4 |
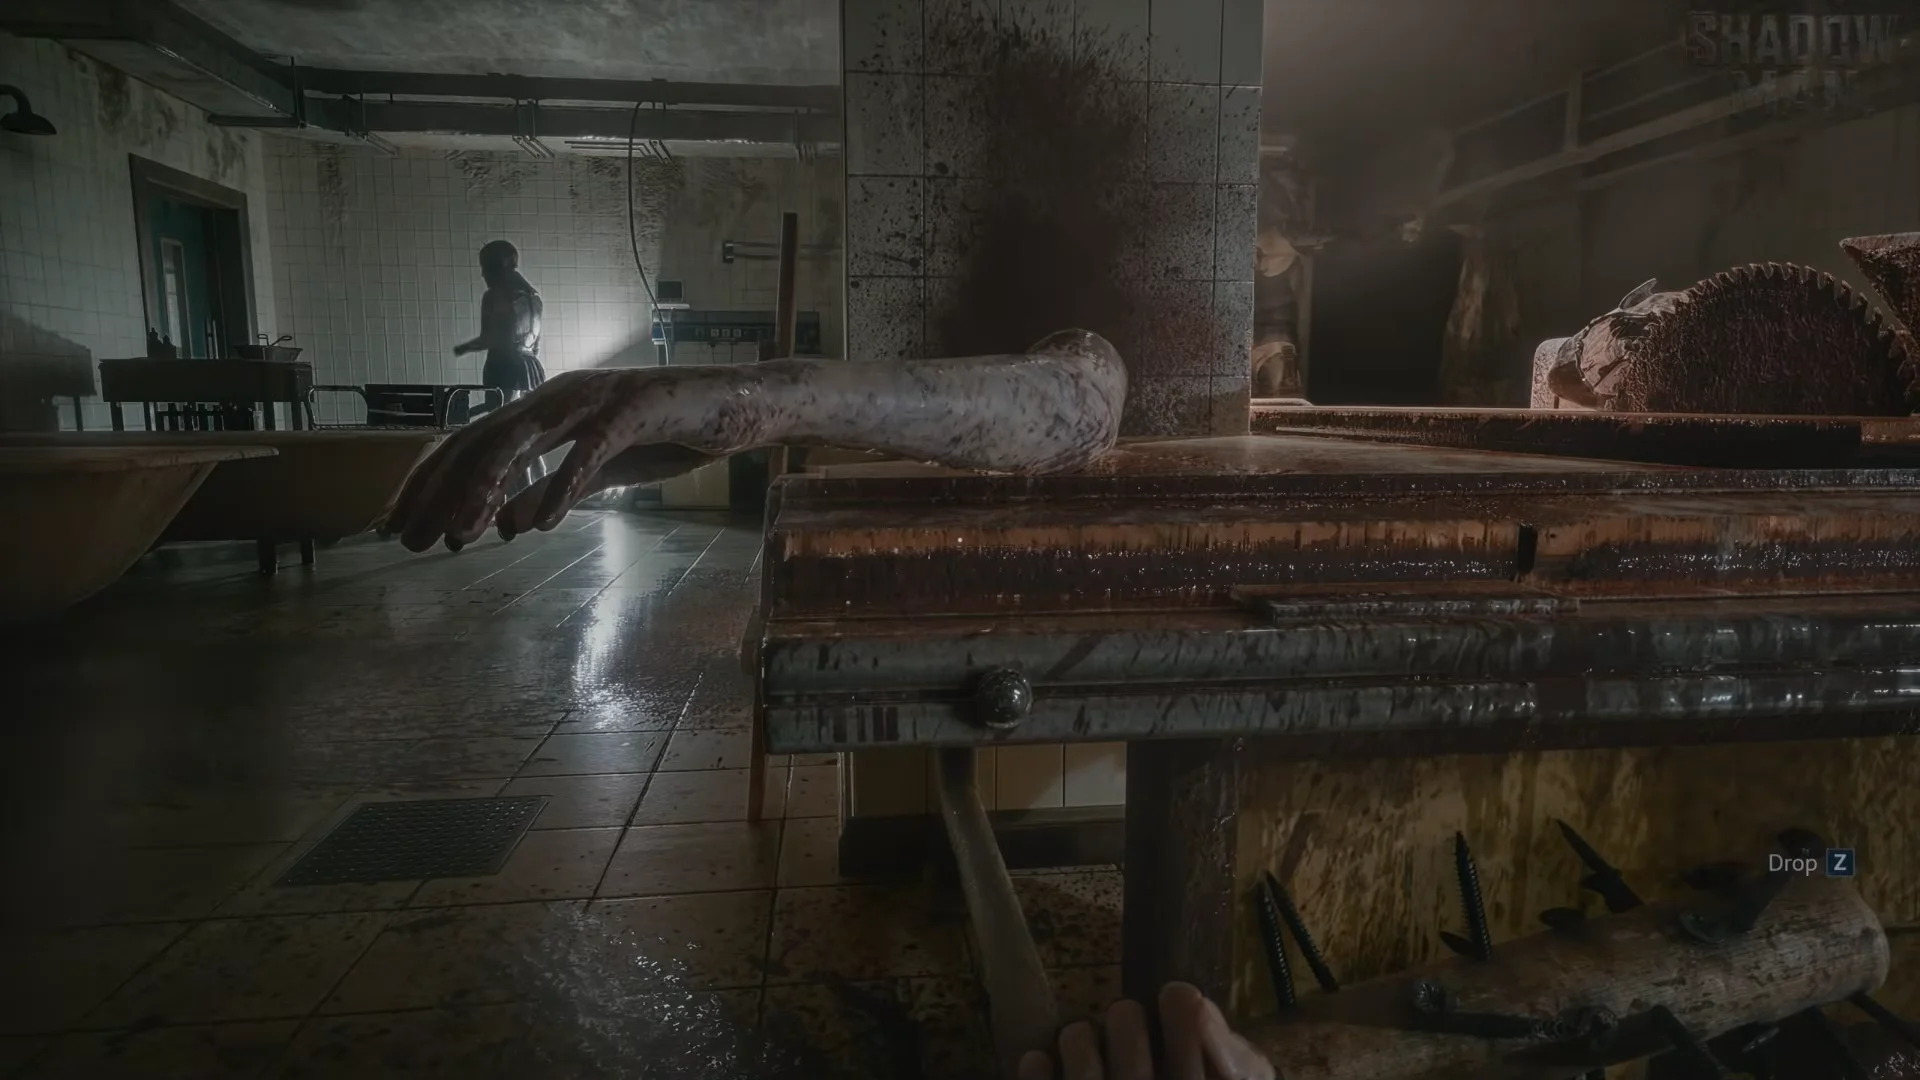
| Drop weapon | Z |
| Aim / shoot / reload the Pistol | RMB / LMB / R |
| Escape a grab (mash) | F |
There is no block or parry in this part of the game. Evading is the only defensive move, so learn to step away from a swing and strike while the enemy recovers.
Stealth basics: crouch, darkness, and takedowns
Press C to switch crouching on or off, and leave it active whenever foes are close. It shrinks your silhouette, muffles your steps, and—most importantly—helps you blend into darkness. The opening guard demonstrates this: he patrols a bright corridor, while you can slip into the unlit room behind the folding screens and let him walk by unaware.
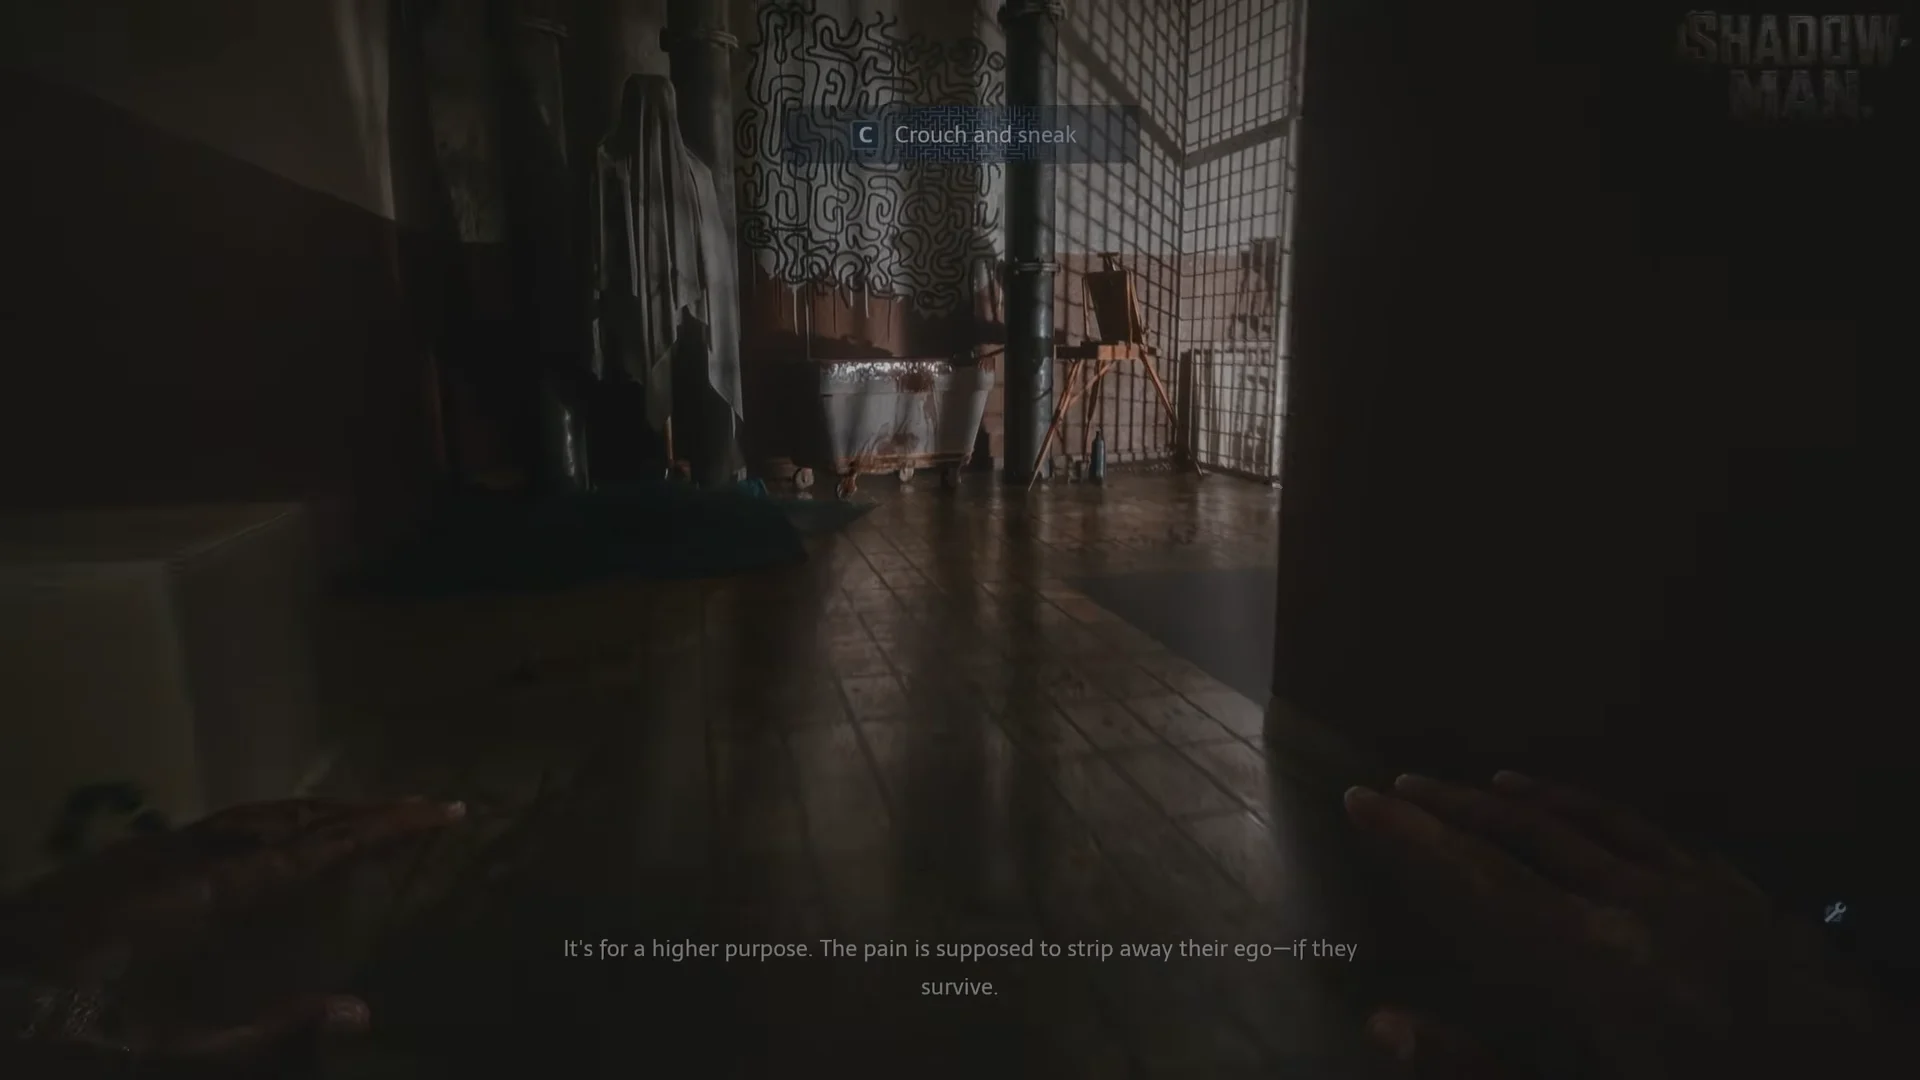
Use the abundant low obstacles for concealment: crawl beneath counters, shelving, box-laden tables, or gurneys. Screens and furniture create blind spots in dim corners, so a longer detour through shadow is safer than crossing a brightly lit hall.
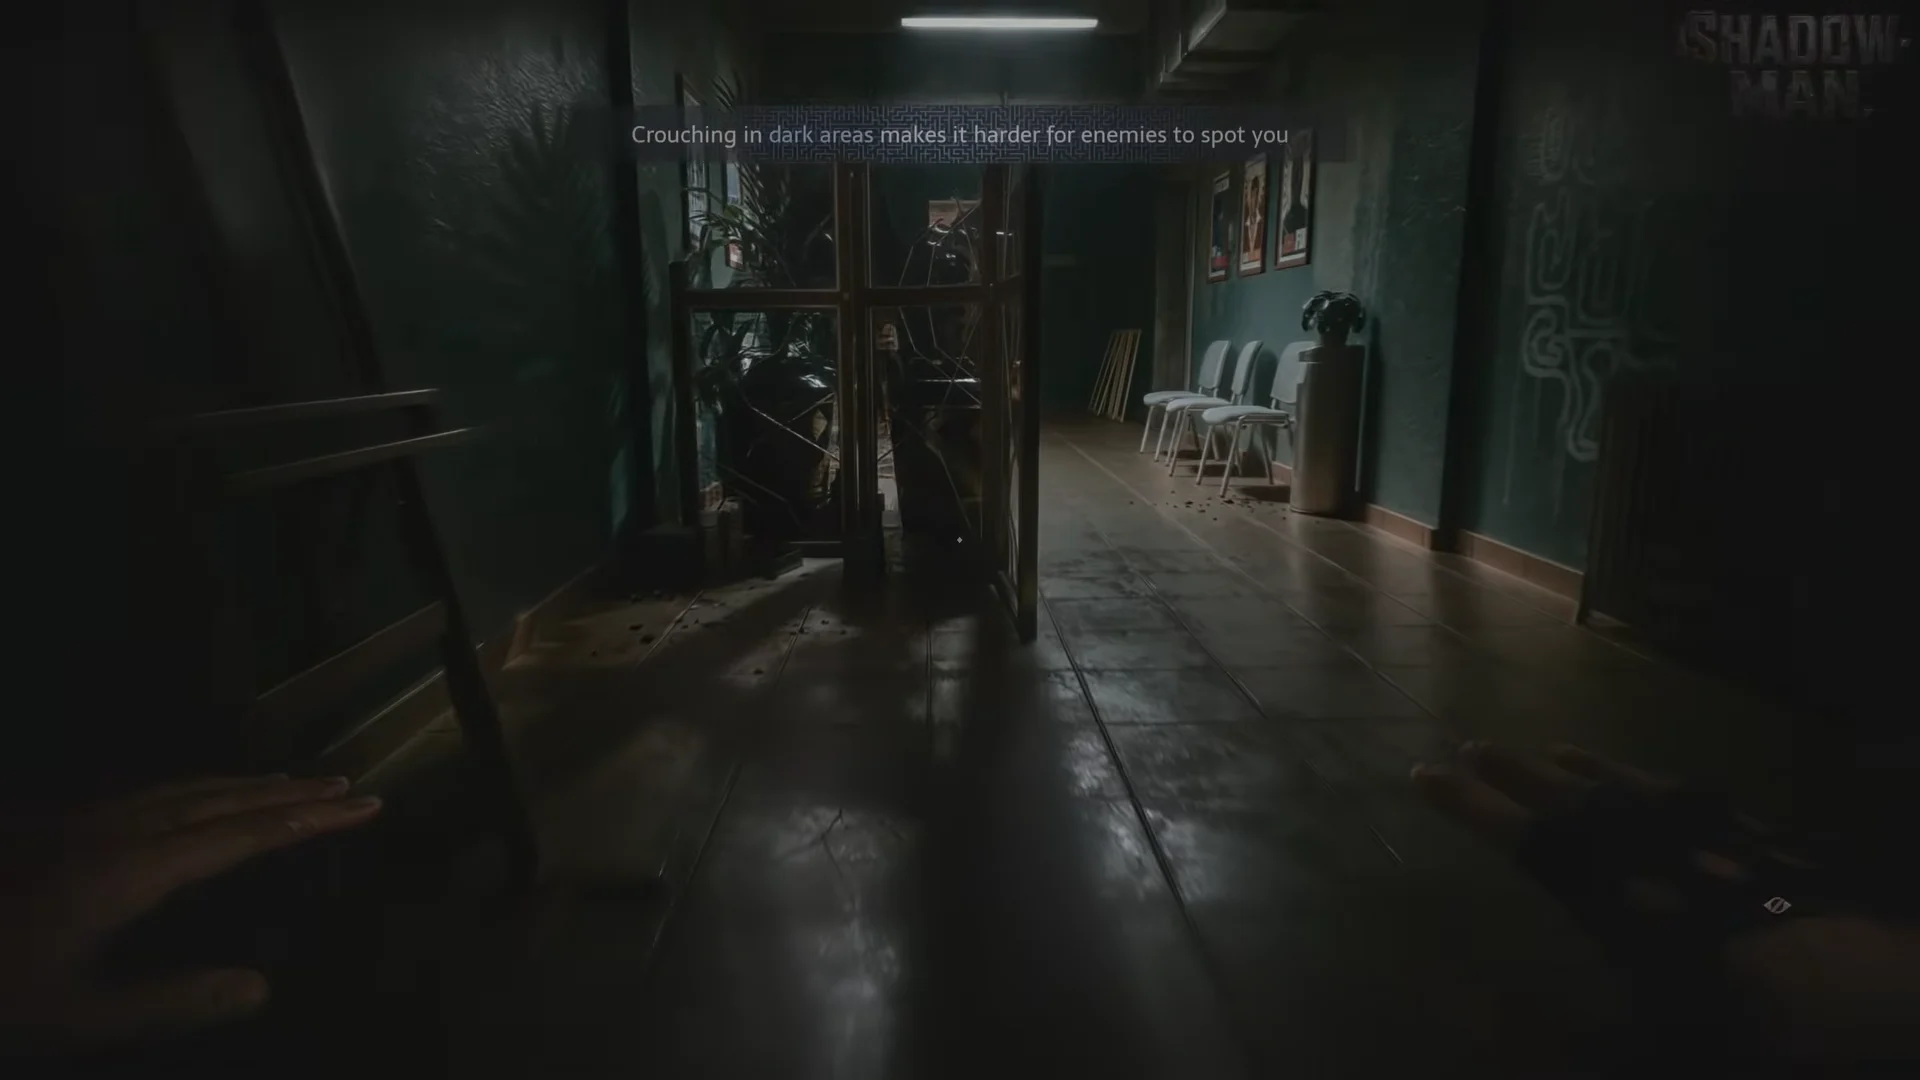
Pay attention to enemy voices; their comments reveal both their location and whether they are relaxed or searching. If you hear “Fresh corpse! Perp must be nearby!” or “Where is the fucker?”, someone has discovered a body and the room is now looking for you.
When a takedown is safe
Move in crouched behind a foe to bring up the F Takedown prompt. It kills instantly with your current weapon, and the animation varies with that weapon. Use it only when the target faces away and nobody else can see you.
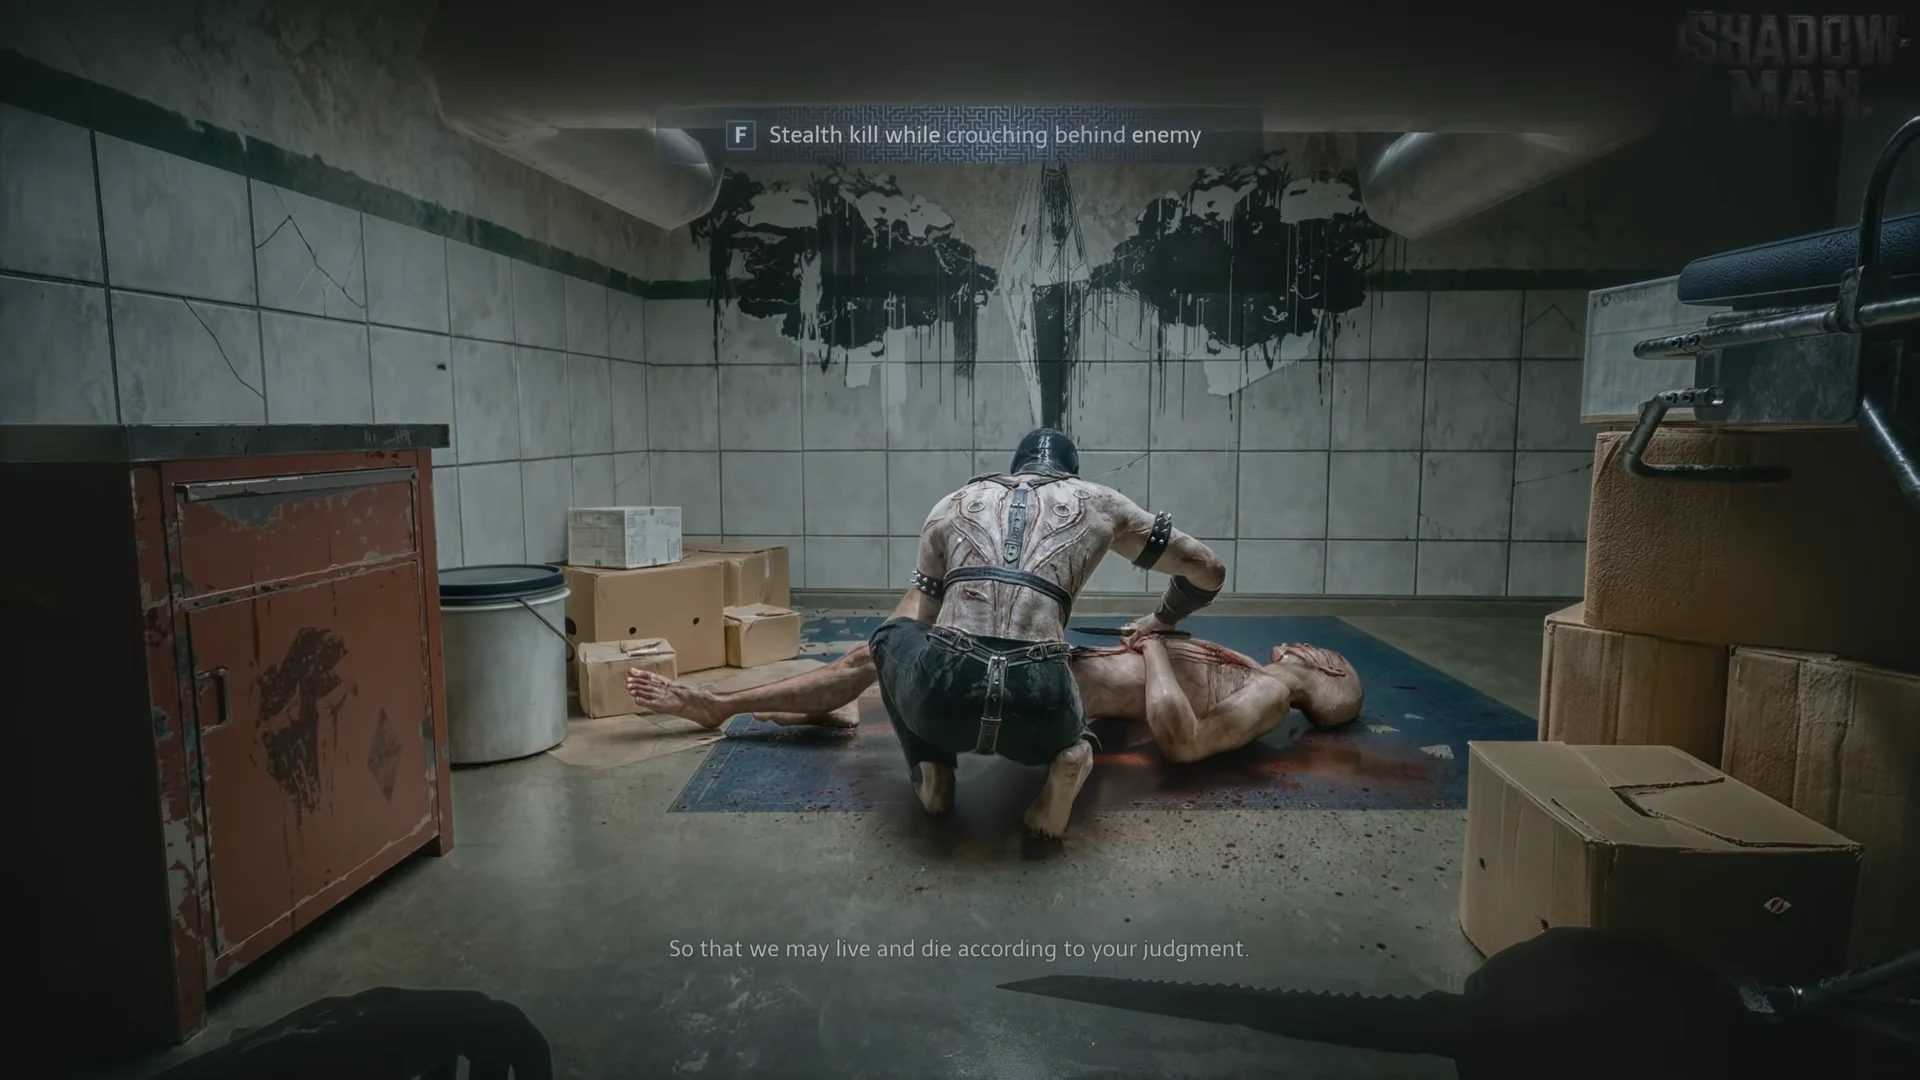
Prioritize motionless cultists working at kitchen counters, bathtubs, gurneys, or bookshelves; they face their tasks. After each kill, retreat into cover and scan the room again before approaching another target. If another cultist witnesses the takedown, combat breaks out immediately—a common way for an initial library run to go wrong.
A blade rebounds off armour. Trying to stealth-kill an armoured cultist triggers a fight instead, so don’t count plated enemies as safe stealth targets. Once cultists are searching, crawling beneath a gurney won’t protect you: two of them will find Aidan and kill him.
Rooms to sneak past instead of fighting
Some sections are meant to be crossed without clearing them. Bruno Keller’s operating theatre allows stealth only, and no weapon is available there. Wait beneath the shelf unit until he leaves the chair, take his keycard from the stand beside the operating table, then exit the room.
Avoid fighting in the table-saw workshop: its armoured patrol includes a tall cultist with spikes, and a fight there is doubly fatal. The Skullcrusher rests on the saw table. Crouch up to it and wait for the patrol to look away; then follow the left wall, pass the bathtubs, and exit through the far door.
Combat: weapon types and the Pistol
When combat can’t be avoided, attack with LMB and dodge using A, S, or D. Stay back to reduce your chance of being hit; dodge first, then strike during the enemy’s recovery. If they grab you, press F repeatedly to escape.
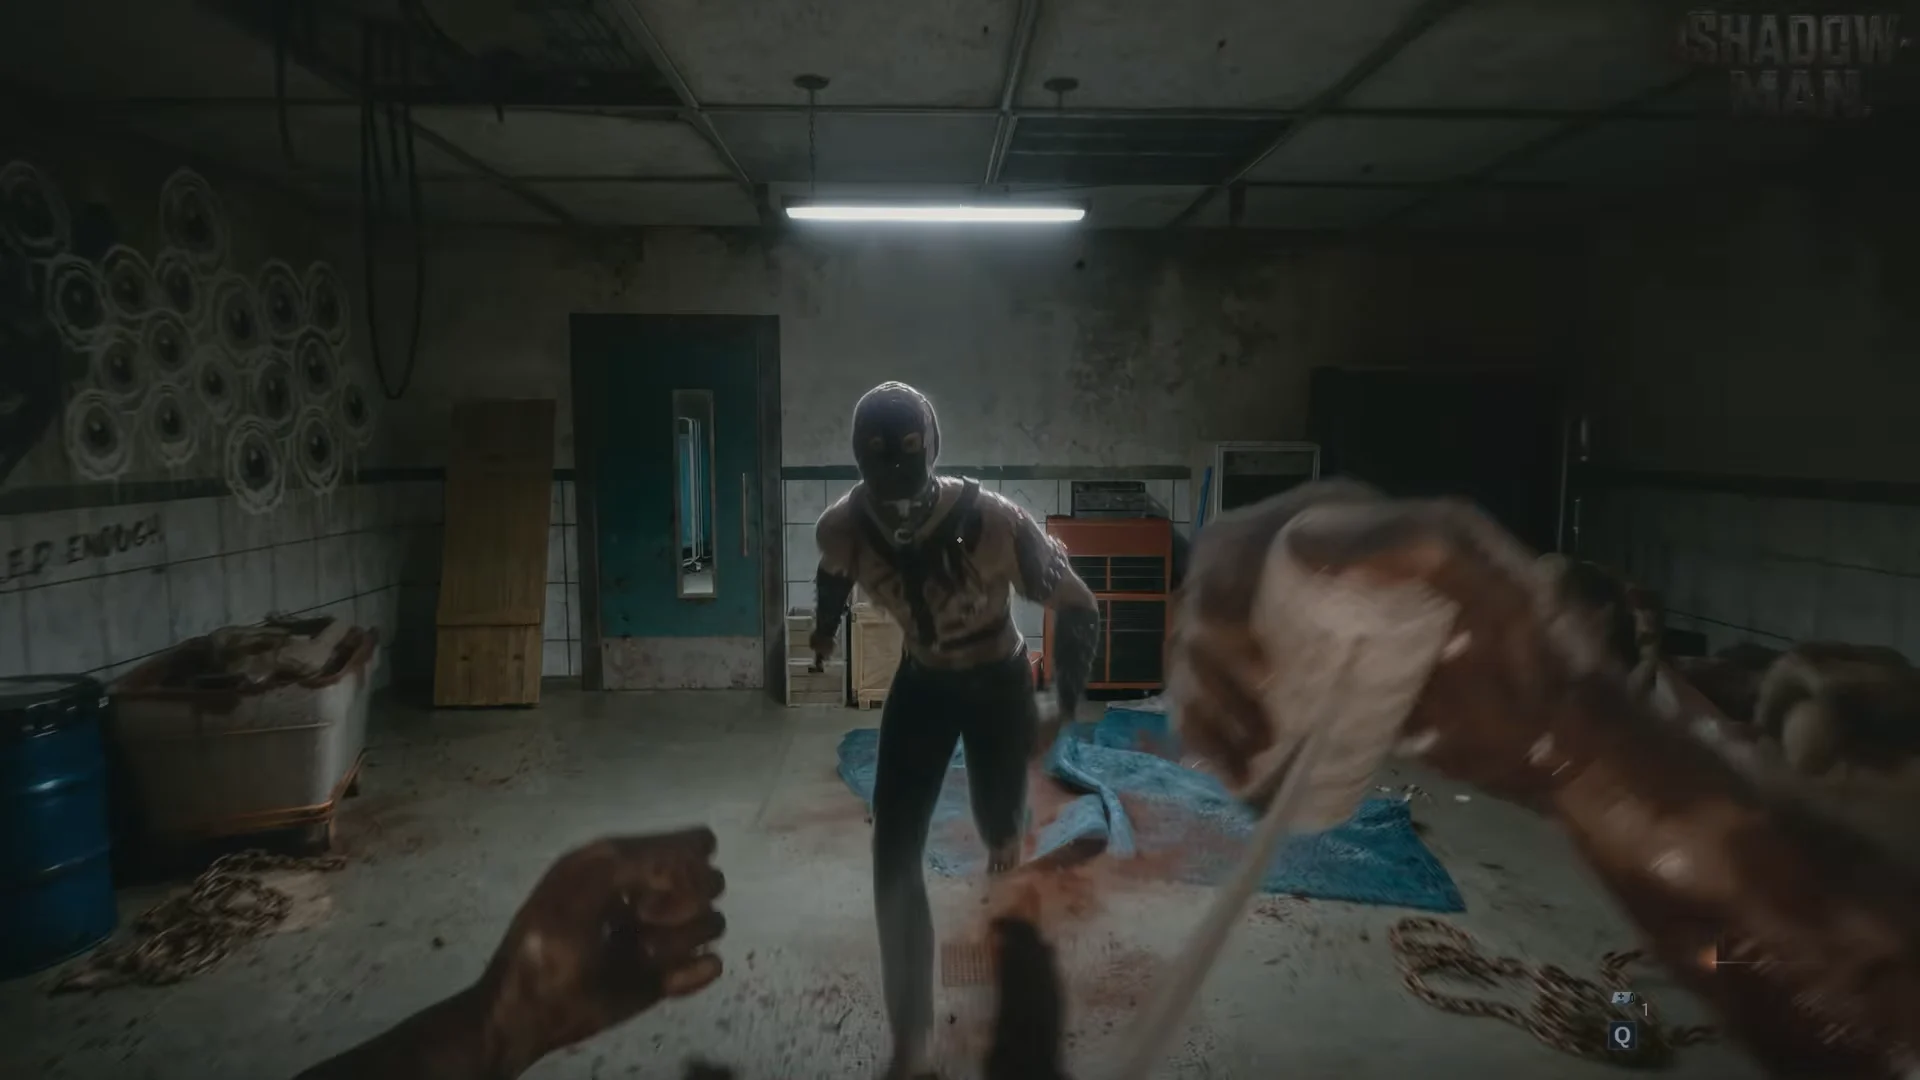
Choose your weapon based on the enemy. Blades are effective for dismembering and causing bleeding, but they struggle against armour. Blunt weapons deliver staggering blows and break armour, though they cannot dismember. Against a plated cultist, switch to a blunt weapon or target an unarmoured part of the body.
- Blades: the knife, the Machete, and the Cleaver — use on unarmoured enemies.
- Blunt: the Skullcrusher, found on the saw table — use to stagger and break armour.
- Carry one of each and switch with 1–4 based on the enemy in front of you.
The Pistol is found with almost no ammunition, taken from an undercover detective who has been fatally wounded. Craft rounds with 1 Scraps plus 1 Gunpowder making 7, so keep Scraps once firearms become part of your route. Armour has vulnerabilities, and a well-aimed headshot can still damage a plated target. Don’t shoot unless you’re prepared to fight the whole area, because the noise draws everyone in.
Use environmental fire
Red gas cylinders and barrels detonate when hit by gunfire. In the corridor beyond the living quarters, shoot the cylinder once as cultists stream through the doorway; several will catch fire, making the group fight a cleanup.
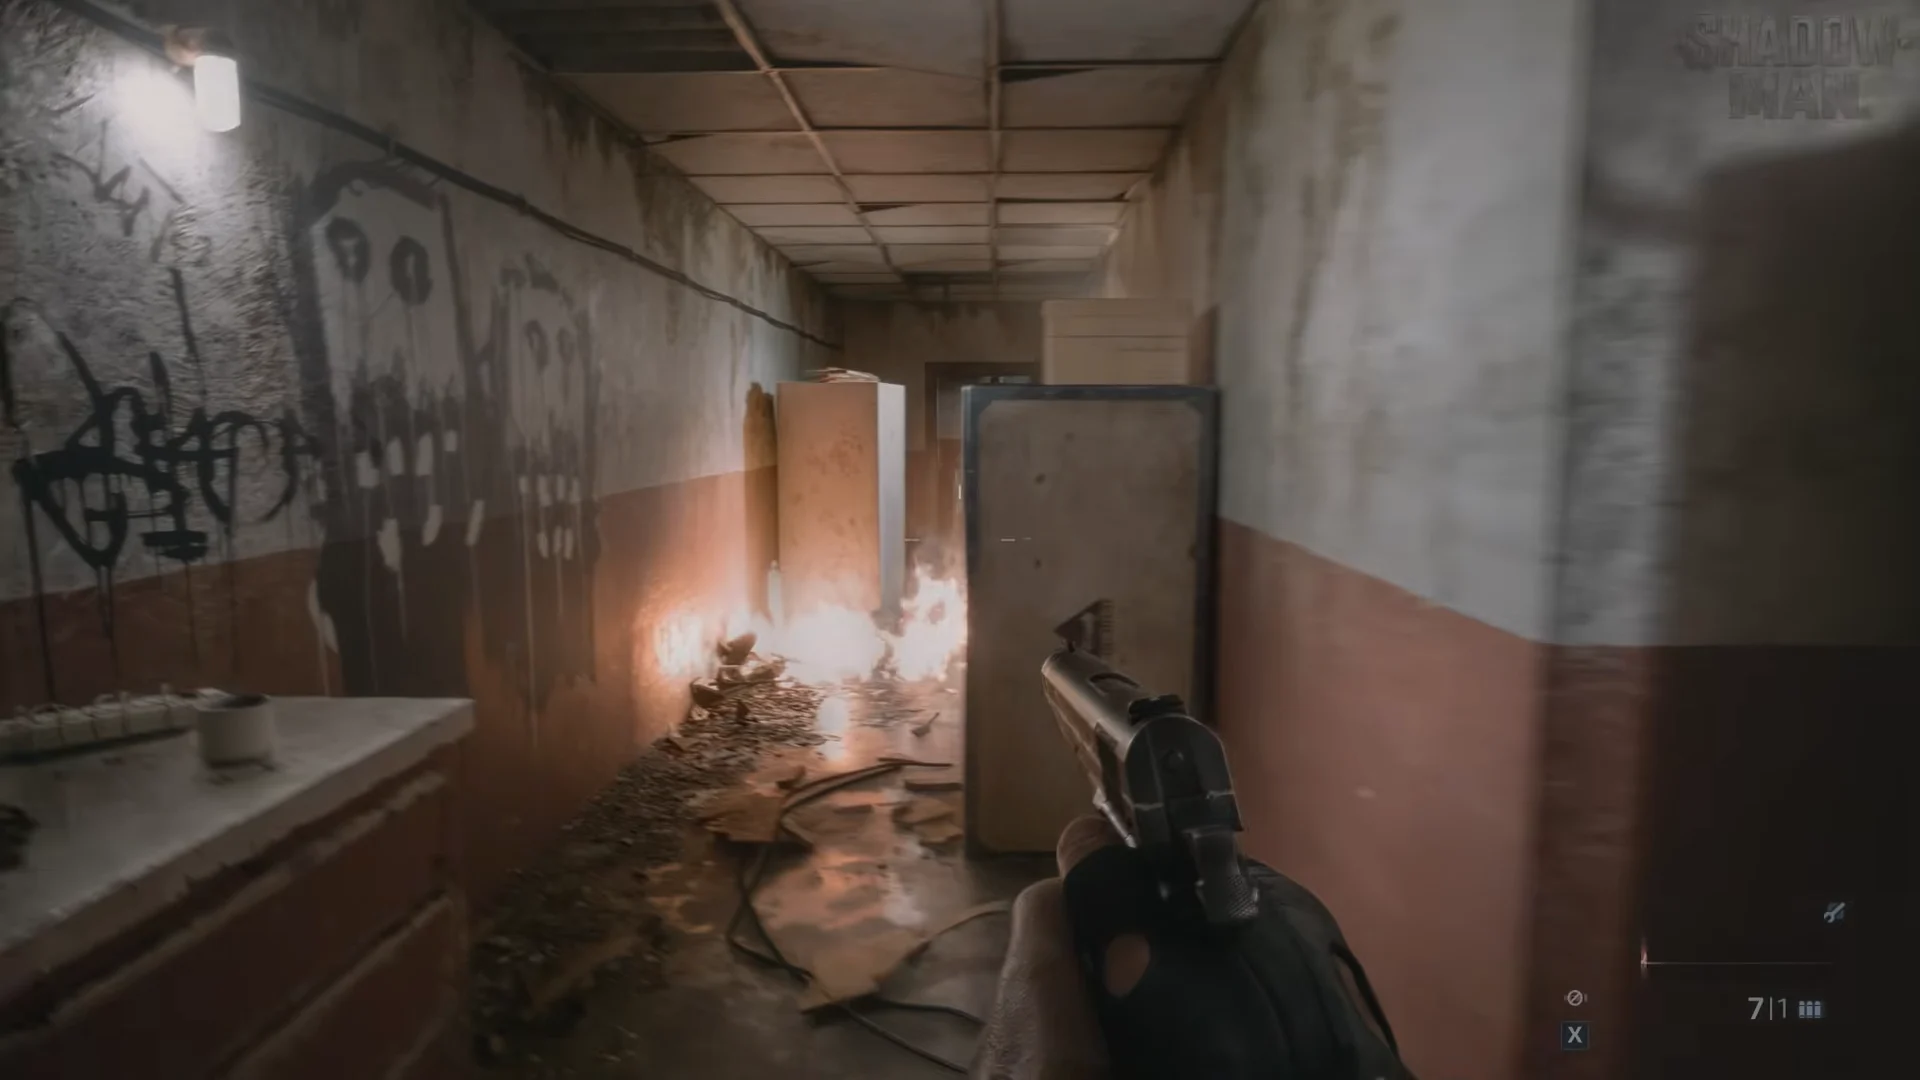
This hazard can catch Aidan too: a barrel in the candle-lit storeroom may explode right beside him. Expect return fire from some cultists starting in the living quarters. In the chapel, one cultist throws fire bottles from the plinth, leaving a patch of flames on the floor that burns for a while.
Survival rules that hold up across the compound
Every death in the compound comes from fighting two or more enemies at once, so the whole plan is to isolate targets and keep encounters small.
- Fight one enemy at a time; never let a second join before the first is down.
- To make enemies lose track of you, get out of sight: retreat through a doorway and crouch somewhere dark until they give up (“I’ve lost him… go check over there!”).
- Use Q to heal while tucked behind cover; the action takes a moment. Food and drink restore health gradually, and only by a little.
- Keep searching as you move. Bandages can be found in wall cabinets marked with green crosses and on medical trays; crates contain materials (F Search), and bodies leave coins after takedowns.
- On the hardest difficulty, spend a Save Token at a save point before any long hostile stretch, because death sends you back to the last save and loses everything since.
The chapel fight
At the chapel altar, quietly take down the kneeling cultist before engaging the others. Use the Skullcrusher for the remaining fight, and keep clear of the burning patch left by the fire bottles.
Common questions about compound stealth
There is no way to hide a body here. No prompt for it appears, and a corpse that another cultist finds will put the room on alert. Enemies you clear within a single run stay cleared, but reloading from a save puts them back, which is another reason to spend save tokens deliberately rather than early.