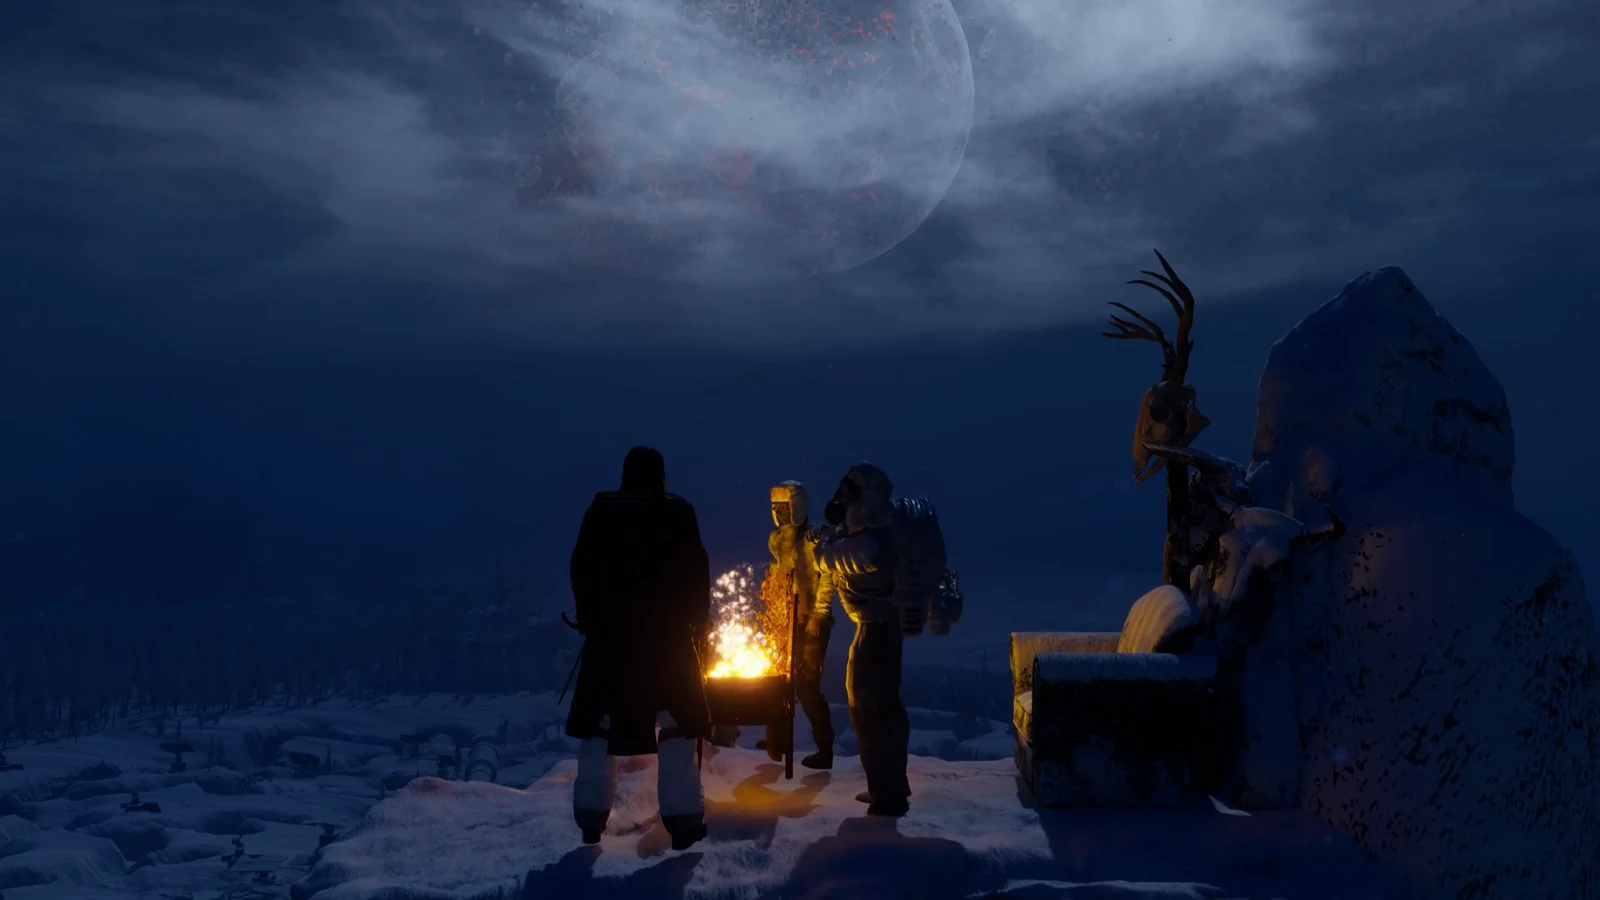
In Permafrost, the cold is a meter you manage, not just weather in the background. The first of the five diamond gauges at the bottom left of the screen (the one with a snowflake shield) is Body Warmth, and it drains any time the air around you is colder than your clothing can handle. Let it empty and you take damage. Keeping it topped up comes down to a few simple things: what you are wearing, what heat you can reach, and whether you read the warnings before they bite.
Quick answer: Keep the Body Warmth meter from draining by staying in air warmer than your clothing’s °C rating. Use clothes, a lit campfire or Wall Torch, a closed shelter, or a drink with a COLD RES. value.
How the Body Warmth meter works
Body Warmth loses heat whenever the surrounding air is colder than the number on your clothing. Step indoors, stand by a fire, or cover up, and it climbs back. The game’s own tutorial, “TEMPERATURE & STATUS”, puts it plainly: “Stay warm with clothes, heat sources, or shelter, without them, you’ll take damage. Heaters give cold resistance but don’t last long, so bring extras.”
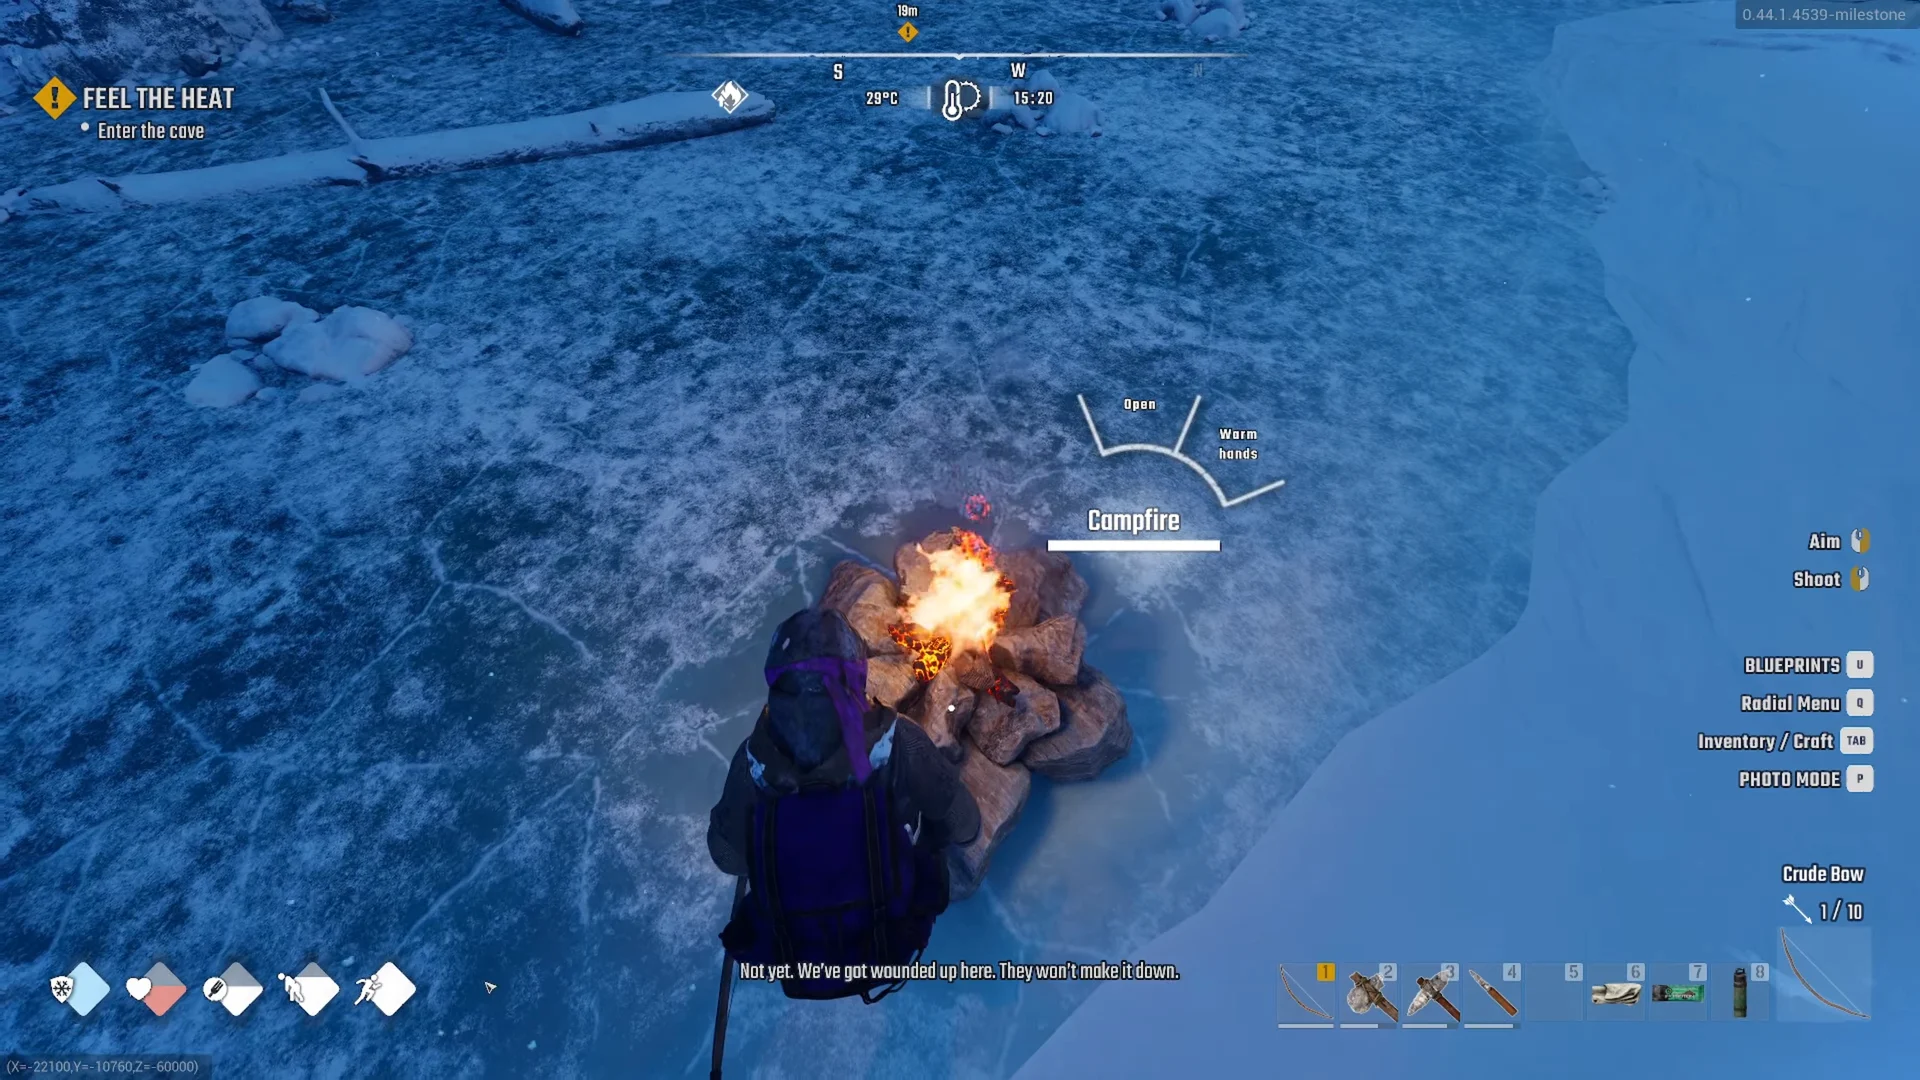
You can read your state at a glance from two spots on screen. Top centre, beside the compass, shows the current air temperature where you stand and a 24-hour clock. Frost creeping in from the edges of the screen means you are actively losing warmth. Reach a fire and it clears.
Temperature banners and cold warnings
Each location shows a “Feels like” figure on its banner as you arrive. These are the readings you can expect across the early map:
| Location | Feels like |
|---|---|
| Horizon | -5°C |
| Bone Cave | -13°C |
| Woods | -20°C |
| Nomad Camp | -23°C day, -30°C night |
| Solar Fields | -25°C |
| Hunter’s Glade | -20°C |
A few on-screen messages tell you when the cold is about to turn dangerous. “SUN IS SETTING – Temperature will drop soon!” and “SUN IS RISING – Temperature will rise soon!” mark dusk and dawn. “STORM START – Visibility will decrease. Temperature will fall.” and “STORM END – Temperature will rise. Visibility will increase.” mark blizzards. “FOG START” and “FOG END” only change what you can see, not how cold you get. A loading-screen tip sums up the habit to build: “Beware of Cold Waves! Always have an open temperature gauge!”
The warning that matters most for your health is “BONE-CHILLING COLD – Feels like: -27°C”. It appears when you step into air colder than your clothing covers. With the starting outfit rated -26°C it can show at -27°C and below, and readings between -27 and -32°C appear in the open. In practice it triggers almost every time you leave a warm room at night or during a storm, while daytime air of around -20°C does not set it off.
Cold Zones
A “COLD ZONE” banner with a skull-and-snowflake icon marks a pocket that is far colder than the ground around it. Nomad Camp’s zone can read -23°C by day and -30°C at night, while the ones on the cliffs above Bunker Checkpoint and near Hunter’s Glade can read -32 to -33°C. In clothing rated -26°C, those areas drain Body Warmth quickly. Keep visits short, or turn back until you have better gear.
Clothing ratings and where better gear comes from
Open the inventory with TAB and look under STATISTICS. Five small icons (boots, trousers, headwear, jacket and gloves) each carry a number such as [-26°C], and a shield below them shows your overall figure. Air colder than that overall number drains your warmth. The starting Survivor outfit rates -26°C on every slot and -26°C overall.
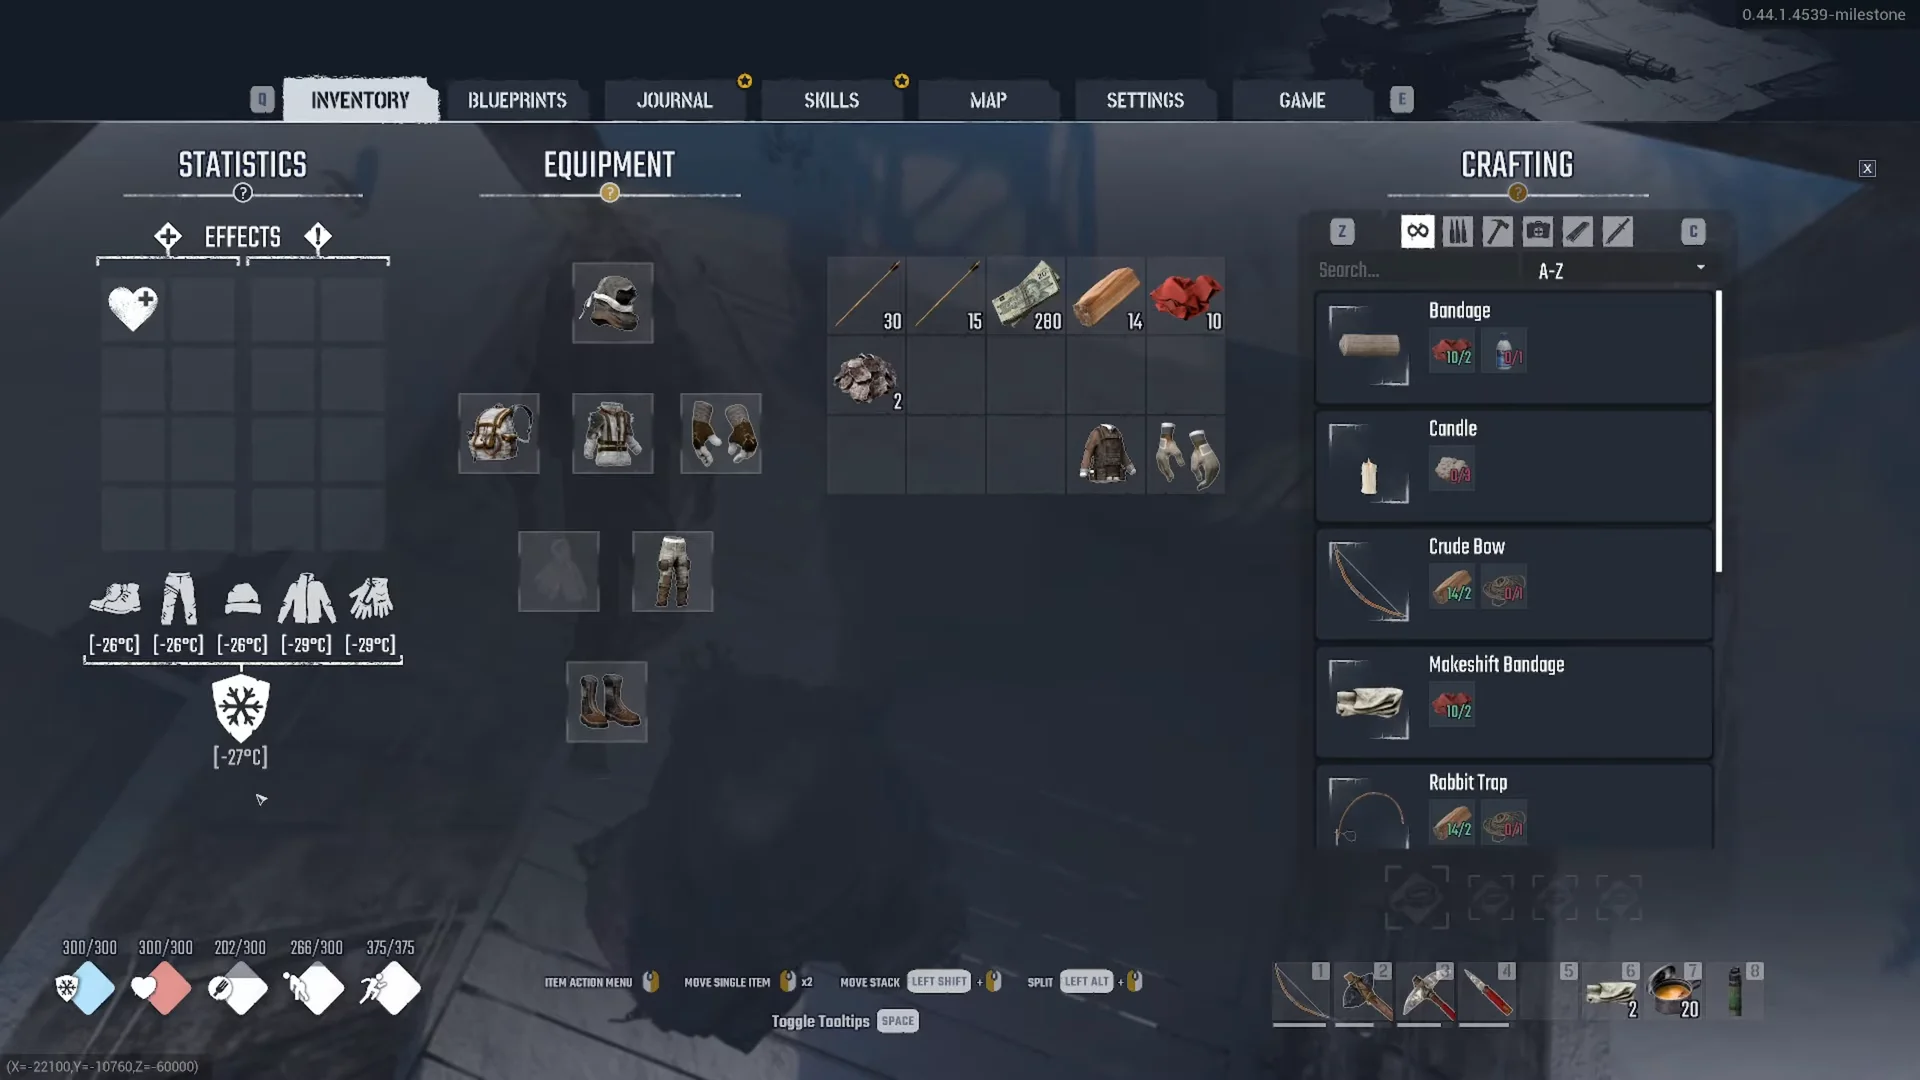
Every garment also shows ARMOR and COLD RES. on its tooltip. Two Moon Cult pieces give a sense of how upgrades move the numbers:
| Item | Armor | Cold Res. |
|---|---|---|
| Moon Cult Jacket | 4 | 29 |
| Moon Cult Gloves | 2 | 29 |
Wearing those two over three starting pieces showed -29°C on the jacket and glove slots, and shifted the overall figure from -26°C to only -27°C. The overall rating appears to be the average of the five slots, so one upgraded piece barely helps. You need the whole set to feel a difference.
Early on, Moon Cult pieces sit in crates on the wooden watchtowers along the road to Hunter’s Glade. Recipe notes for the Survivor’s set (Boots, Hood, Trousers, Gloves and Uniform) are scattered around Horizon and in Robyn’s reward chest, and Horizon’s first trader will tell you to grab all the cold protection you can. Clothing is crafted at a Tailoring Bench, whose recipe is a quest reward at Hunter’s Glade.
Fires, torches and shelter
A lit Campfire is the heat you can take anywhere. Drop one when the frost closes in and it pushes the reading up fast.
Indoors, a Wall Torch both lights and heats a closed room. It costs 2 Cloth and 1 Wood (Lights tab; the recipe note is on the floor behind the stairs in Horizon’s bunkhouse) and burns Wood from its own fuel slot like a campfire. It will not make a hut as warm as a Horizon building, but it lifts the room far enough above the outside air to stop the drain. A small closed wooden hut with a lit Wall Torch held about -10°C inside on a storm night of -27°C, which is well within what -26°C clothing covers.
Other heat sources: a Standing Torch (2 Cloth + 1 Wood, 1 blueprint point) and a Barrel Brazier (2 Scrap, 1 blueprint point). Braziers already stand around Horizon and at camps and take Wood as fuel. Any building inside Horizon keeps you warm on its own, with interiors running roughly 19 to 28°C.
A shelter only holds heat when it is sealed. You need a foundation, walls, a door in the doorway and a roof before the inside stays warm.
Drinks and carried warmers
Several consumables add a temporary COLD RES. value, which is handy for stretches with no shelter. Keep one on the hotbar for long crossings.
| Item | Cold Res. | Also gives |
|---|---|---|
| Improvised Tea | 45 | Some Health and Hunger |
| Improvised Coffee | 45 | Energy 45 |
| Moonshine | 20 | — |
| Vodka | 20 | — |
| Alcohol | 10 | Energy 10 |
Drinking alcohol also adds the LIGHTHEADED effect (“Alcohol causes dizziness. Will pass with time… just slow down with the booze.”), which reads “Body Warmth Loss Rate -20 %” with the remedy “Wait to wear off”. Moonshine bottles sit on tables in Horizon’s kitchen building and the trader’s room, and both Horizon traders sell spirits.
There is also the Makeshift Heater, described in-game as “A crude version for those who can’t afford more reliable warmers.” It is a carried item with a durability bar, and the first one is in the Medical Supply Box in Horizon’s kitchen building. The tutorial’s line about heaters giving cold resistance but not lasting long, so you should bring extras, refers to these.
A routine that keeps you alive
Open country runs around -20°C by day and -27 to -30°C at night or in a storm, so timing and preparation matter more than any single item. A few habits cover most situations:
- Don’t leave a warm place at dusk for a long trip. Wait for “SUN IS RISING”, or sleep in a claimed bed to skip the night.
- Carry Wood and 2 Stone so a campfire can go down anywhere when the frost closes in.
- Use caves and buildings as stepping stones. Caves run milder than the open ground (Bone Cave -13°C against -20°C outside).
- Keep a Moonshine or tea on the hotbar for stretches with no shelter.
- When a storm banner appears, head for the hut and light the torches.
Cold mistakes that cost you health
Trying to sleep in an unheated hut is the common one. Pressing E on the bed in a cold room returns “REST INTERRUPTED: DAMAGE TAKEN”, so light the Wall Torch before you lie down.
Eating raw Meat gives PARASITES. That is a food problem rather than a cold one, but drinking alcohol cures it. The WEARY effect (“Light fatigue slows recovery. Some rest is needed.”) cuts your Stamina Gain Rate by 15% and makes running between shelters slower; its remedy is simply rest.
Permafrost is in early access, and these temperatures, clothing values and fuel times come from a pre-launch build. Expect the numbers, recipes and costs to shift as updates land, so treat the figures here as current rather than fixed.