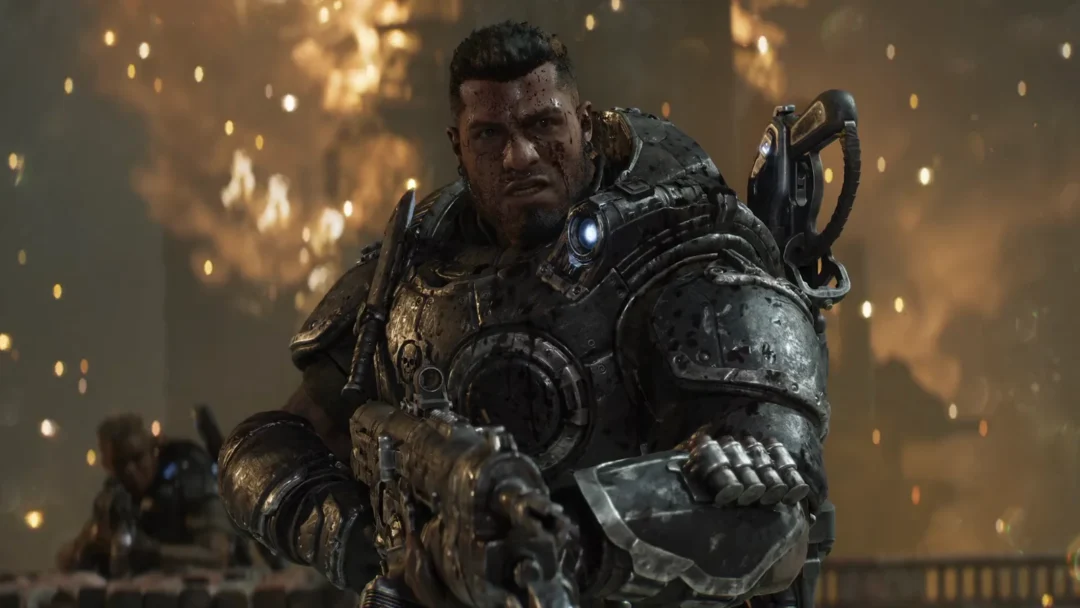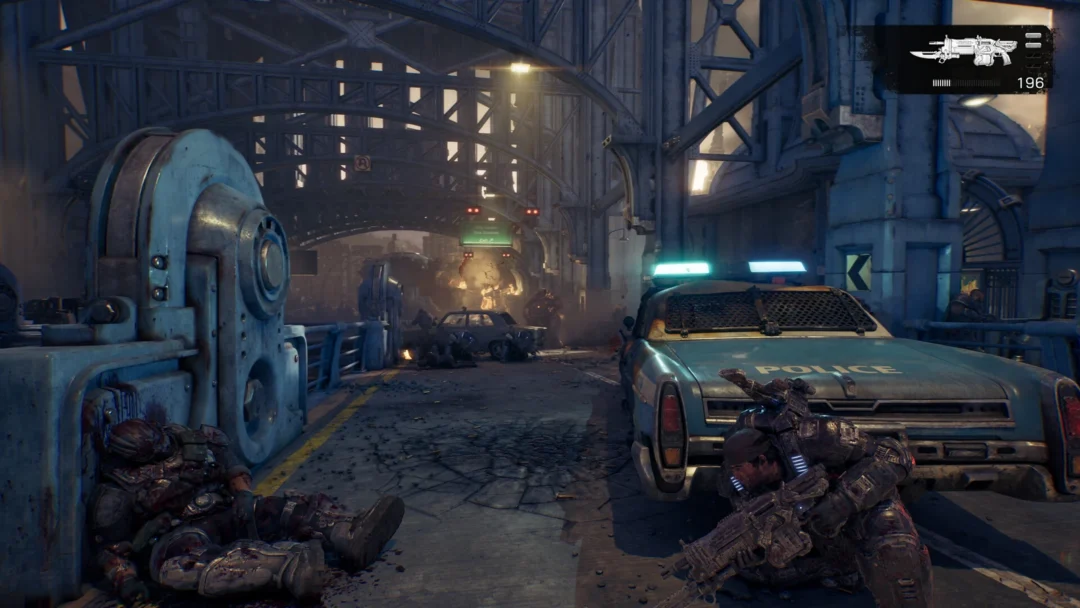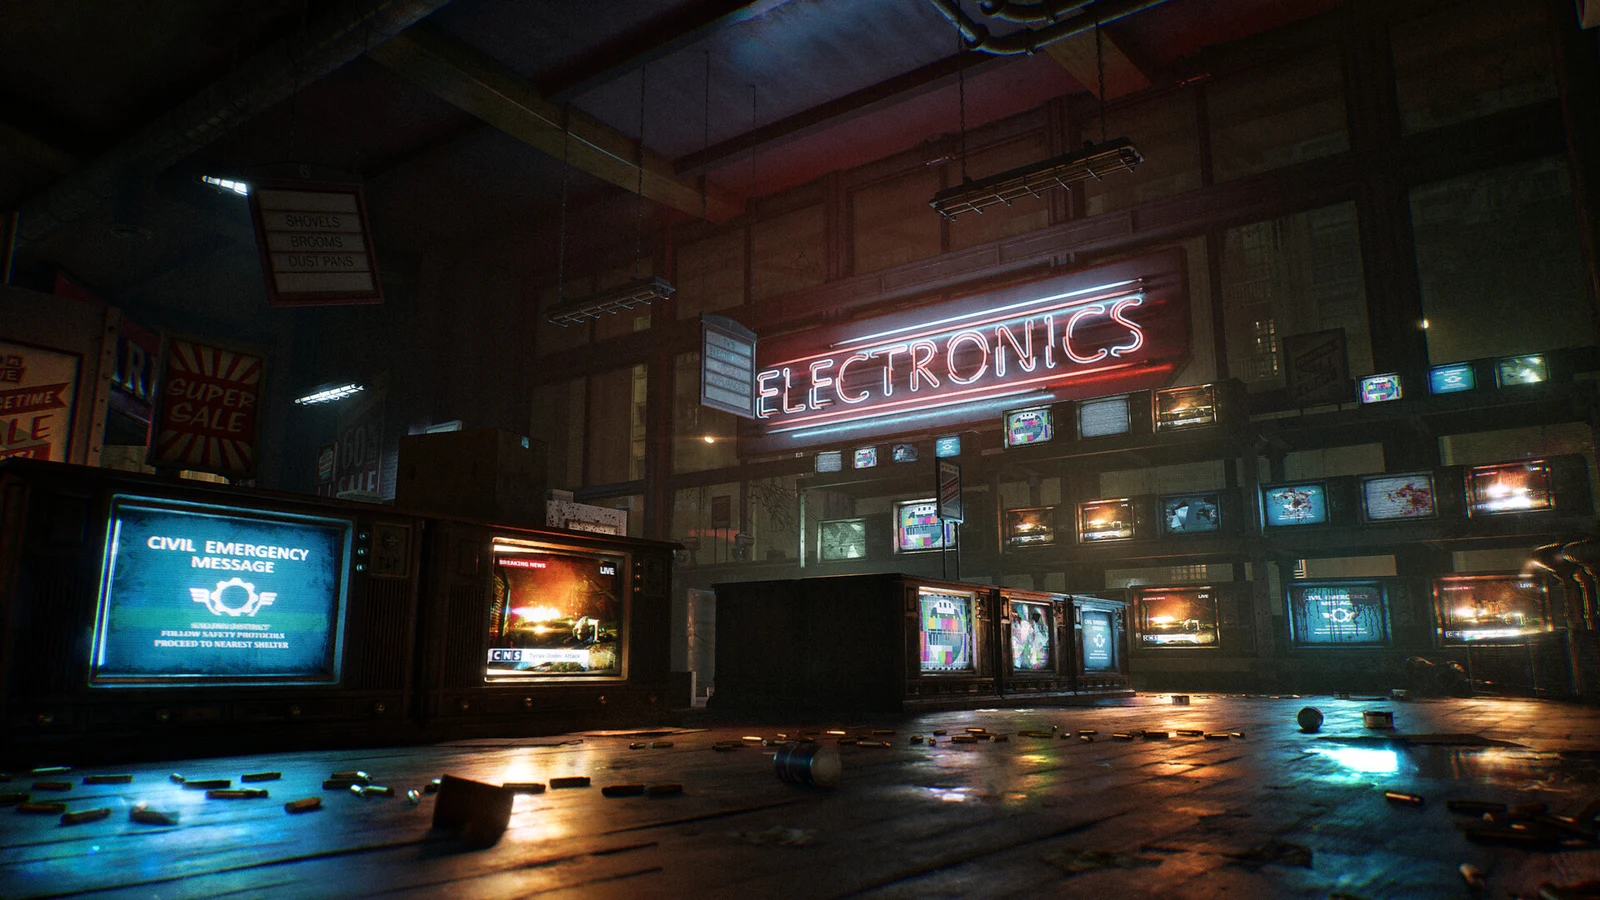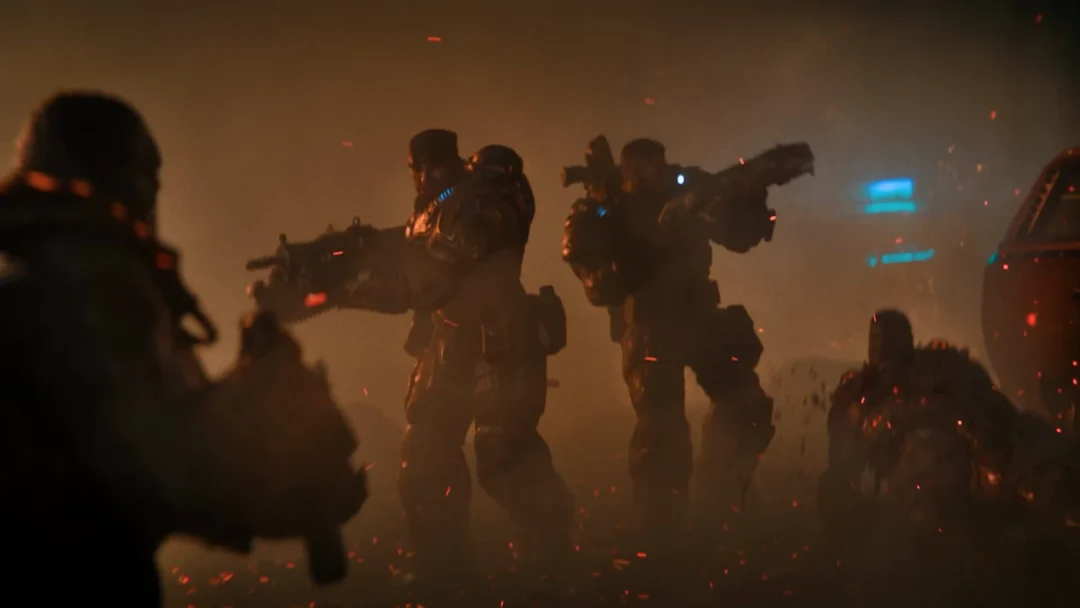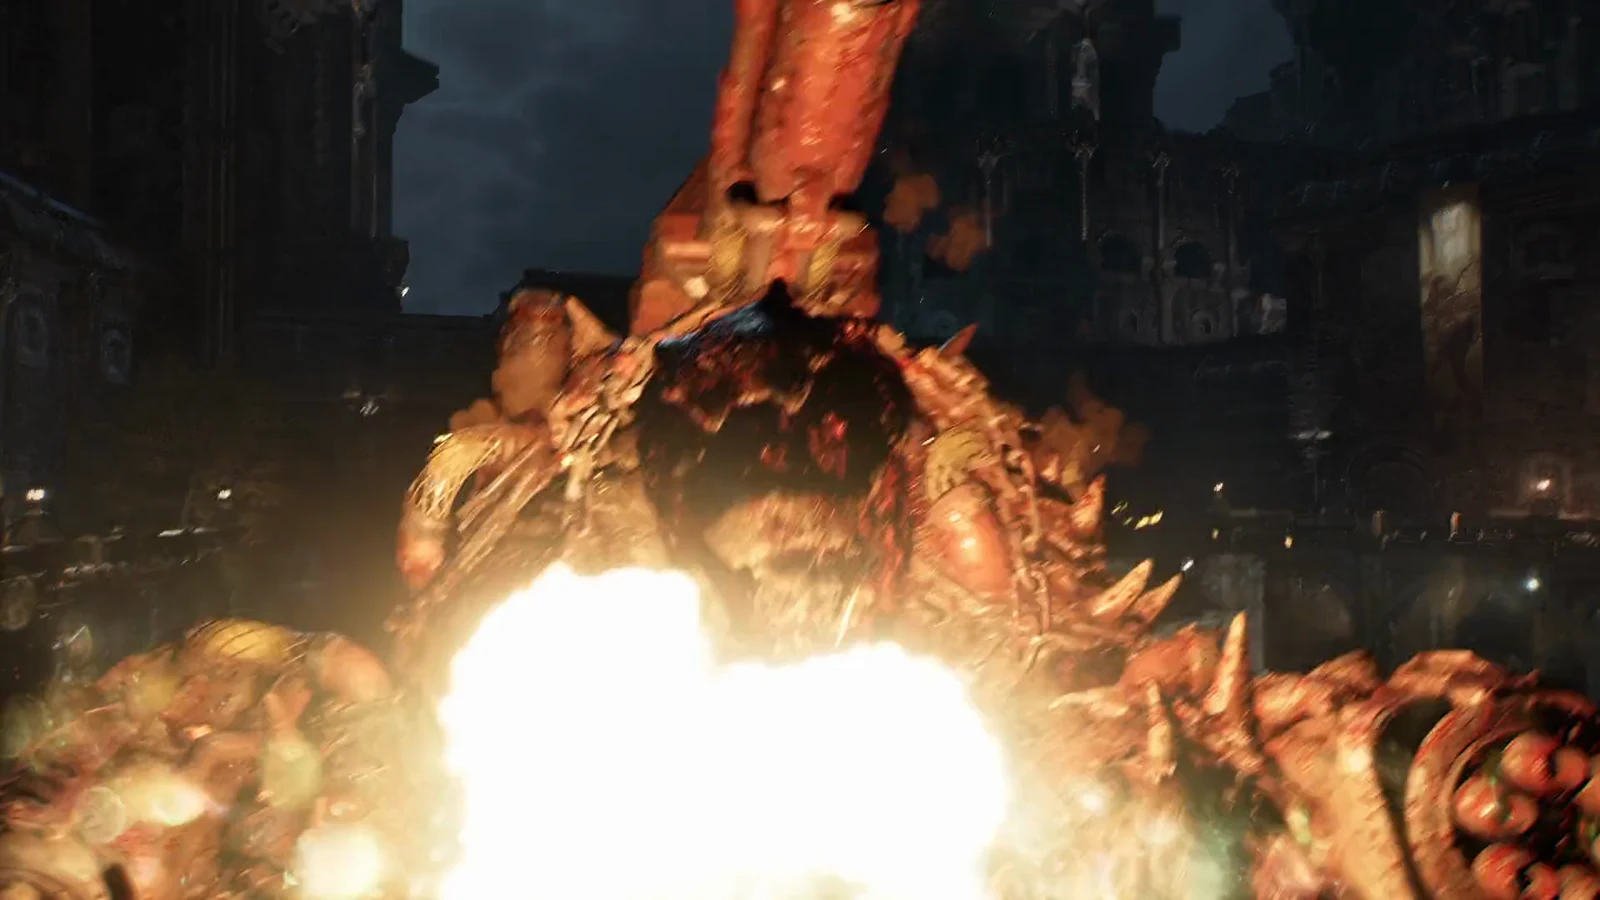
The armored Brumak that crashes into Fort Vigil during Act 3, Chapter 6: Desperate Measures is one boss fought across two stages with a short chase between them. Its plating shrugs off ordinary rifle fire into the body, so the fight is about destroying the weapons bolted to it, then exposing and hammering its head. You cannot kill it on the wall; that first stage always ends with the Brumak smashing through the gate.
What you carry in and where to resupply
You enter the fight after the wall defense carrying the Prototype Lancer, the Gut-Puncher, the Snub, and two Incendiary Grenades. No heavy weapon is handed to you for either stage, so these are the tools you finish the Brumak with.
There are only two resupply points, and both matter. An ammo box sits at the wrought-iron gate during the chase, and a Supply Cache waits in the gift shop back room right before the courtyard. The Gut-Puncher hits the mounted weapons hard but holds just 14 rounds, so topping it off at both points is the difference between breaking the launcher cleanly and scraping through on the Lancer alone.
Stage 1: Fighting the Brumak from the wall
After meeting the Quartermaster, a cutscene shows the Brumak tearing through the outer line, and control returns to you on the rampart with a checkpoint and the objective “Kill the Brumak.” The Brumak walks up outside, below the wall, with a thin white health bar floating above it.
It attacks with streams of machine-gun fire from its arm guns and rockets from the back launcher that land on the rampart. Use the stone parapet with the lamp posts along the wall edge, then fall back to the stacked supply crates and metal lockers behind you. Step out to fire, step back the moment red tracers or rockets come in.
Lancer fire does little against the plates, and the squad says as much. Aim for the joints and the pipes on its body to strip the armor, and work on its guns. In practice, land Lancer bursts on the glowing spots and gun mounts, then throw Gut-Puncher grenades at the upper body and head whenever it faces the wall.
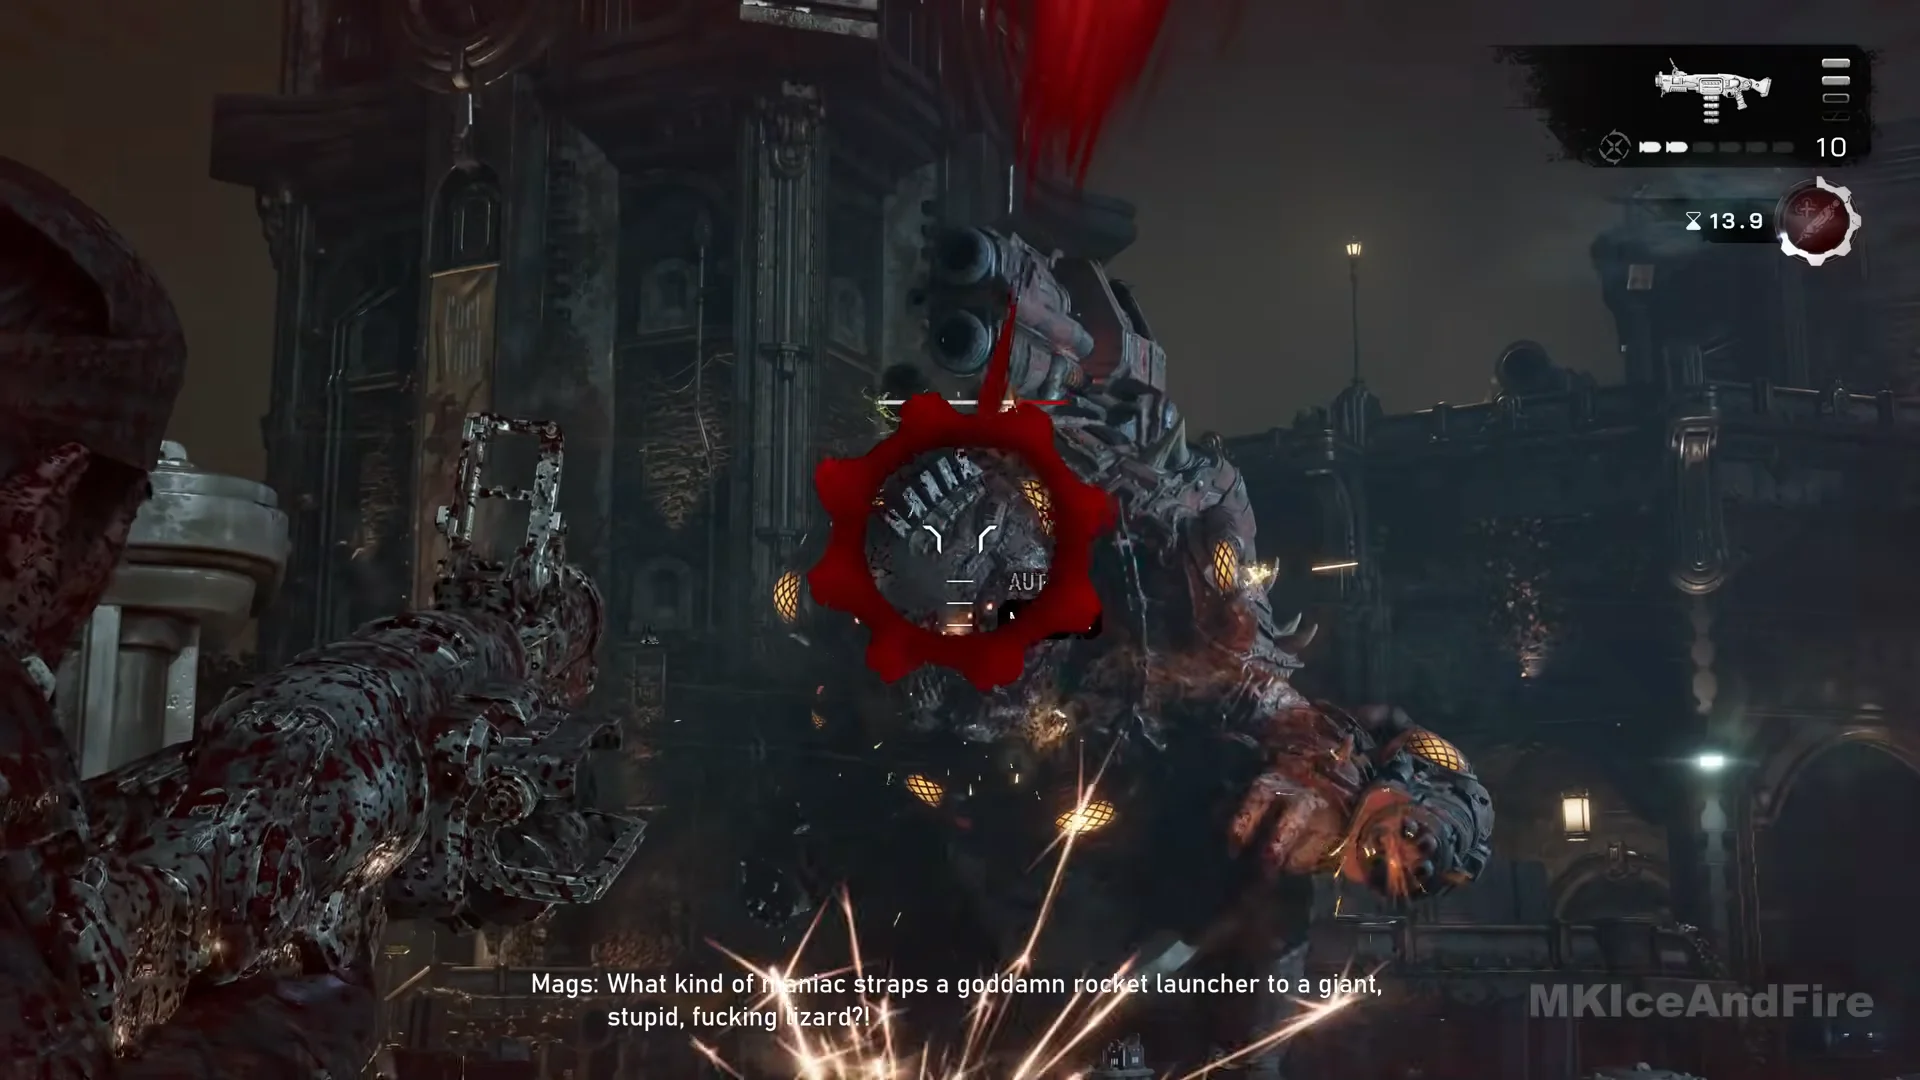
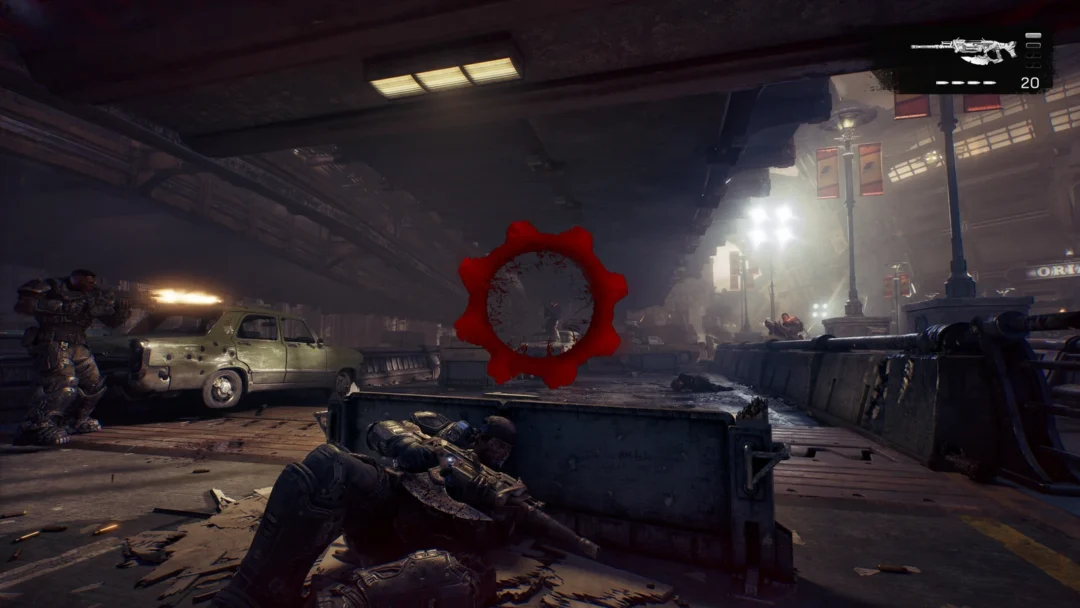
When a large red cog-and-skull emblem fills the center of the screen, your health is nearly gone. Get behind cover immediately. It shows up several times during this stage.
The Adrenaline Injector is worth using here; after each use its icon turns dark red and counts down about 44 seconds before it is ready again. You will also see “HARD CASE NEARBY” appear on the rampart, but you do not need to open it to progress. This stage ends on its own when the Brumak charges and breaks through the gate in a short cutscene, no matter how much damage you have done.
The chase and the pickups along the way
A checkpoint lands as the objective updates to “Kill the Brumak / Chase the Brumak.” Before you move up, grab the pickups that keep you supplied for the courtyard.
Go out through the broken wall and drop into the courtyard. The gift-shop objective is struck out as you do.
Stage 2: Killing the Brumak in the inner courtyard
The courtyard is ringed by a vaulted stone colonnade, with the Brumak standing in the open middle while Tai and other Gears support from above. The thick square stone pillars are your cover. Its machine guns chew sparks off them but do not punch through, so keep a pillar between you and it, and move to the next one when it walks around to find you.
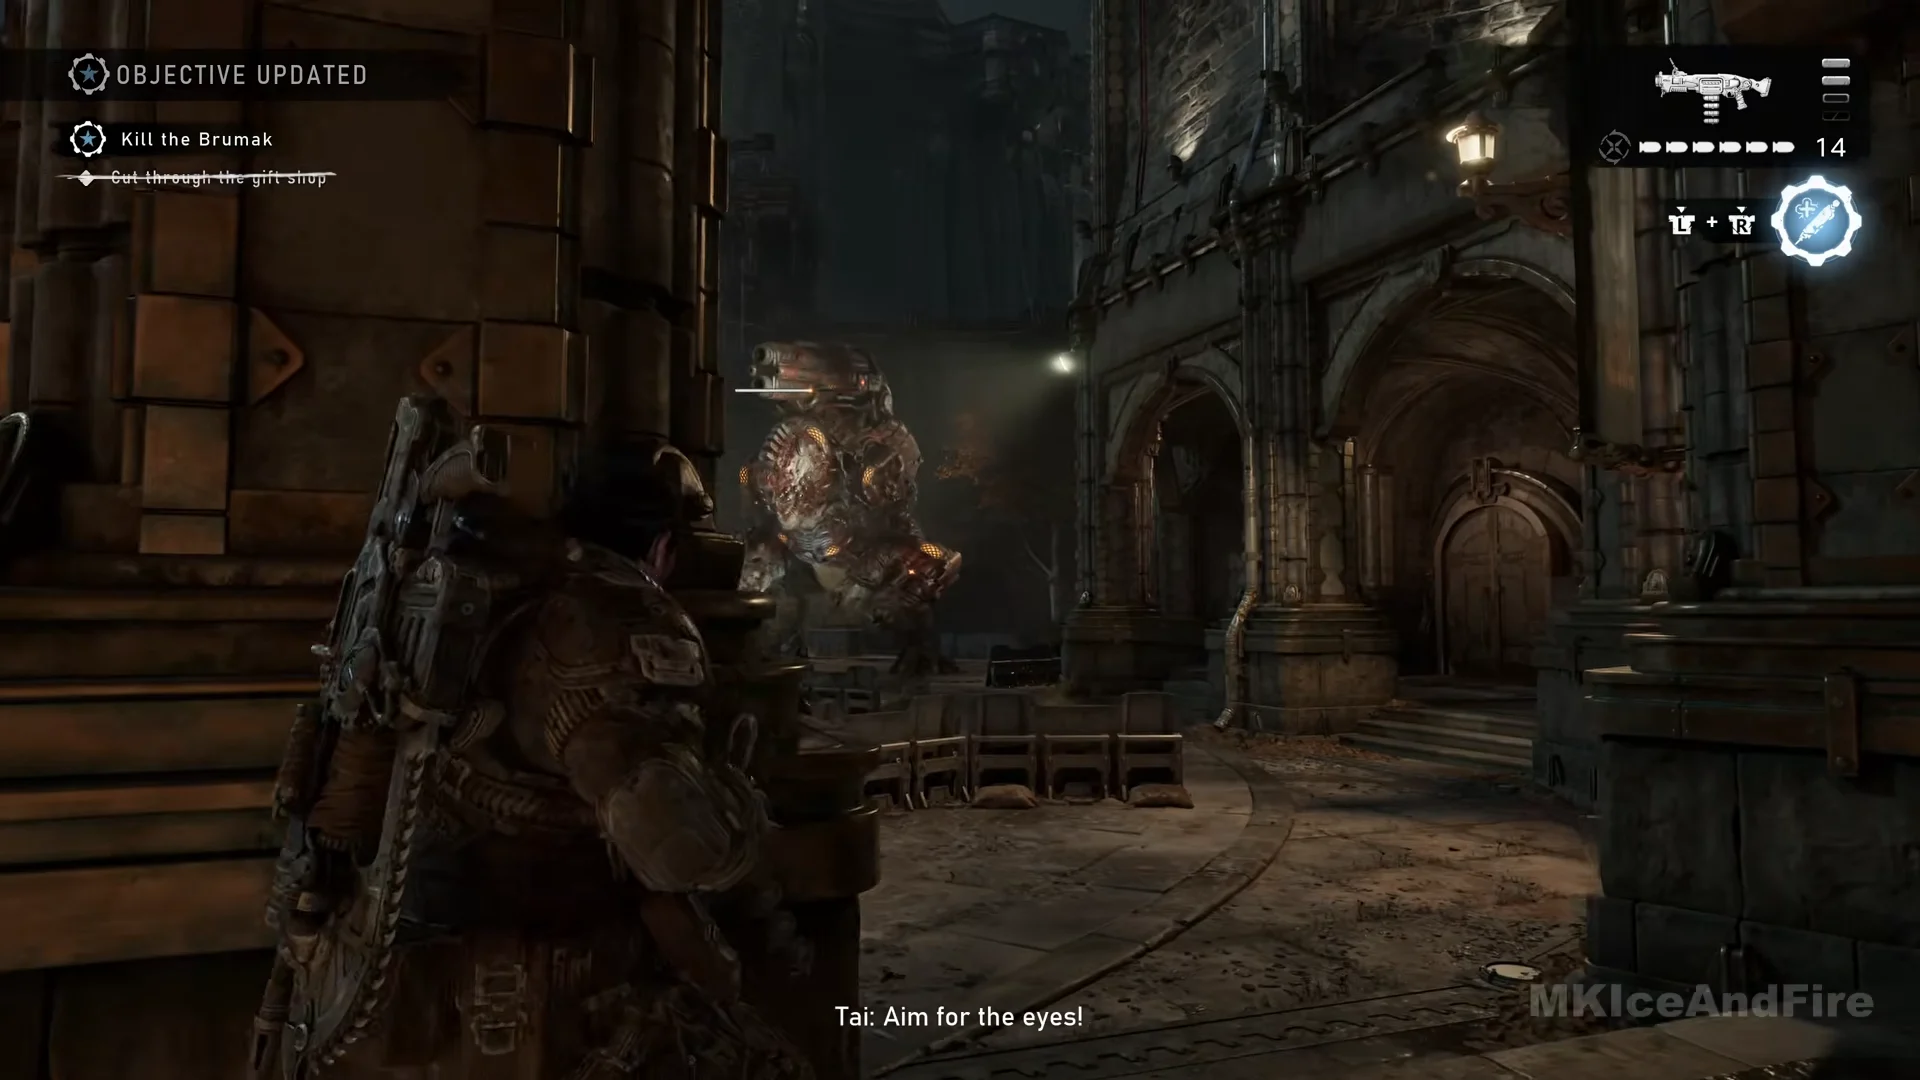
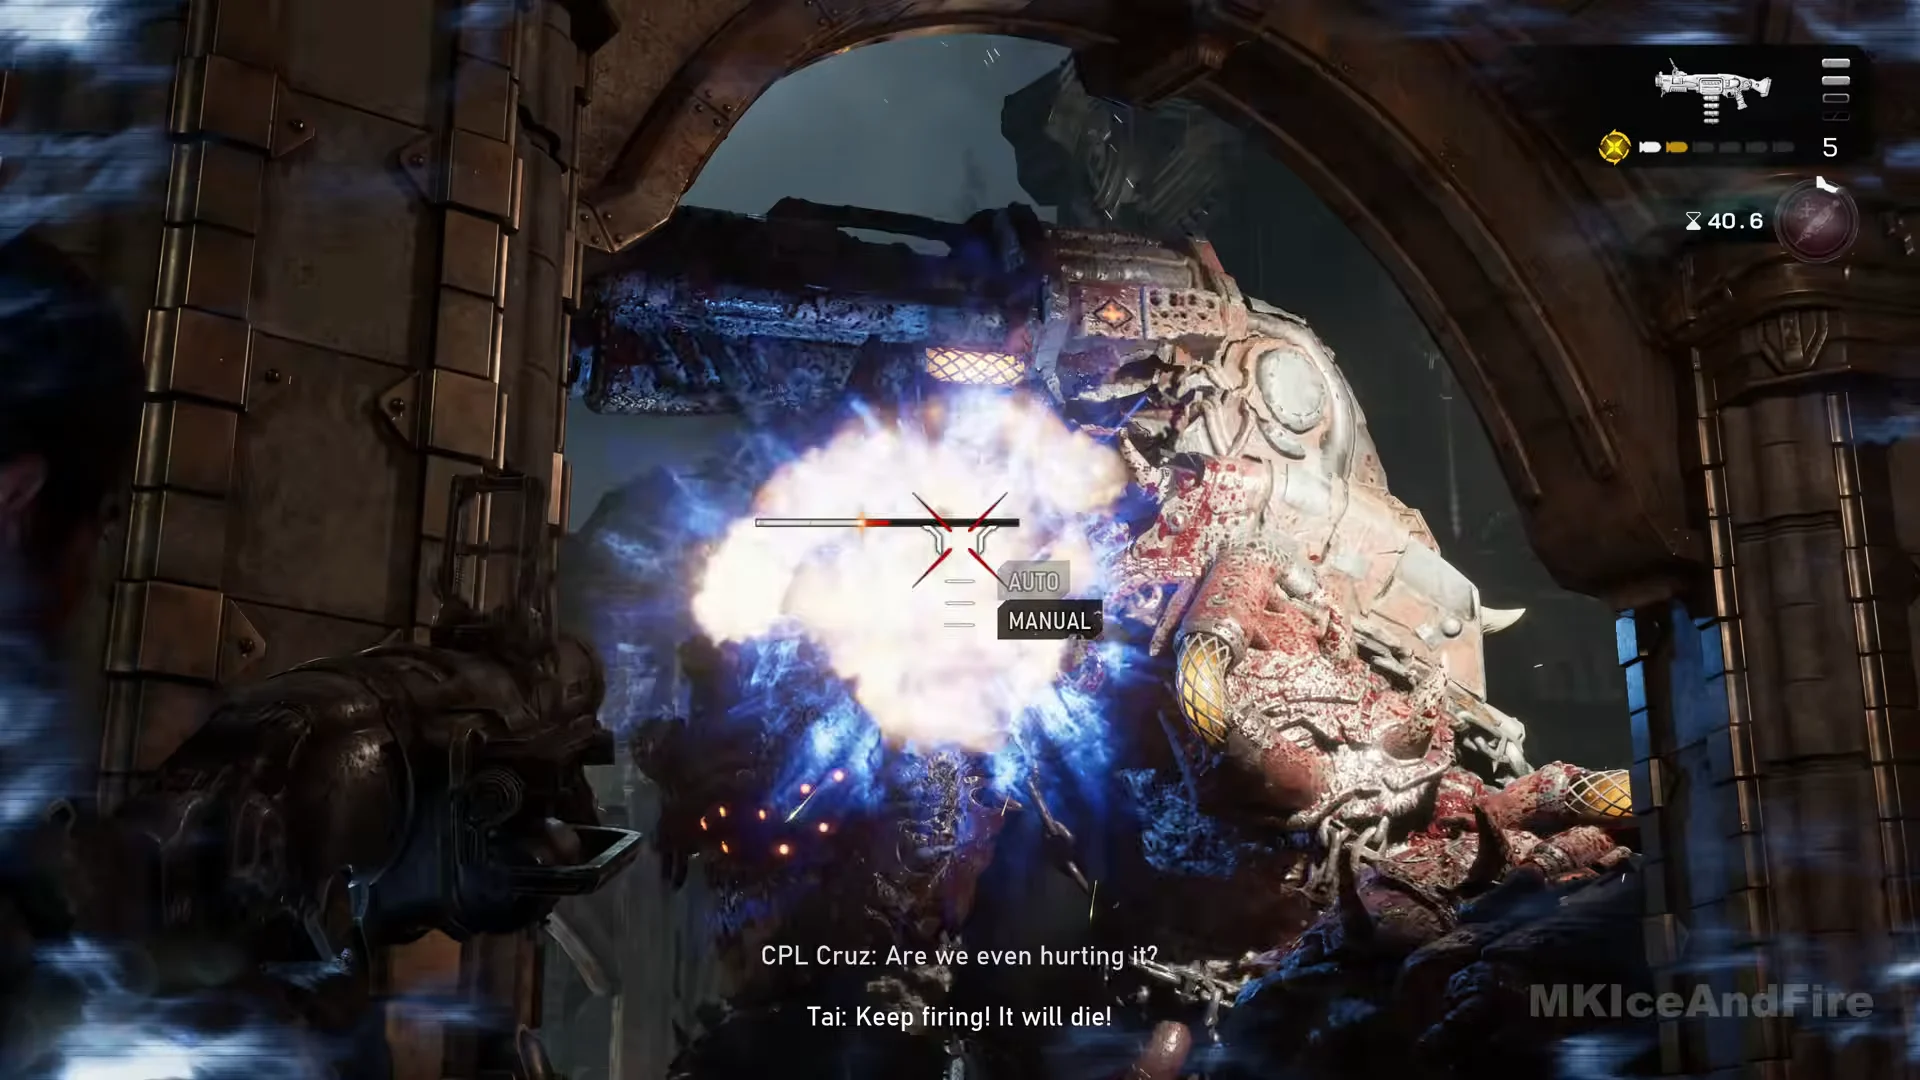
It fires long machine-gun bursts from both arms, launches rockets from its back, and will walk right up to the arches. Watch for a red-outlined patch that appears on the floor beside a pillar and step out of it. Work through its weapons in this order as the squad calls them out.
How you know the fight is over
When the health bar above the Brumak empties, the “Kill the Brumak” objective is struck out and a cutscene takes over. On the wall above, Tai shoves a wheeled fort cannon around to face the stunned Brumak and fires a round straight into its head. That ends the Fort Vigil defense and moves the campaign toward the evacuation plan, so there is nothing left to do once the cutscene plays.
Common questions about the Fort Vigil Brumak
Can you kill it from the wall? No. The first stage ends on its own when the Brumak smashes through the gate, and the fight is finished in the courtyard.
Are there checkpoints between the stages? Yes. One is saved when the objective changes to chasing the Brumak after the gate cutscene, and another in the gift shop’s back room beside the Supply Cache.
Is the gift shop Hard Case easy to miss? Grab it before you walk into the shop, because the route does not loop back to it.