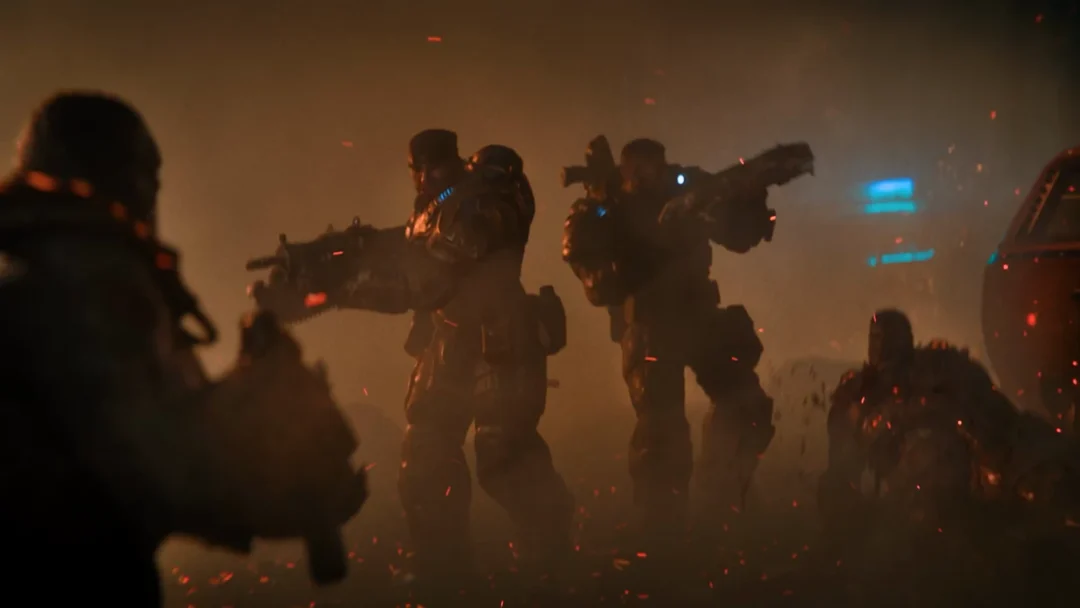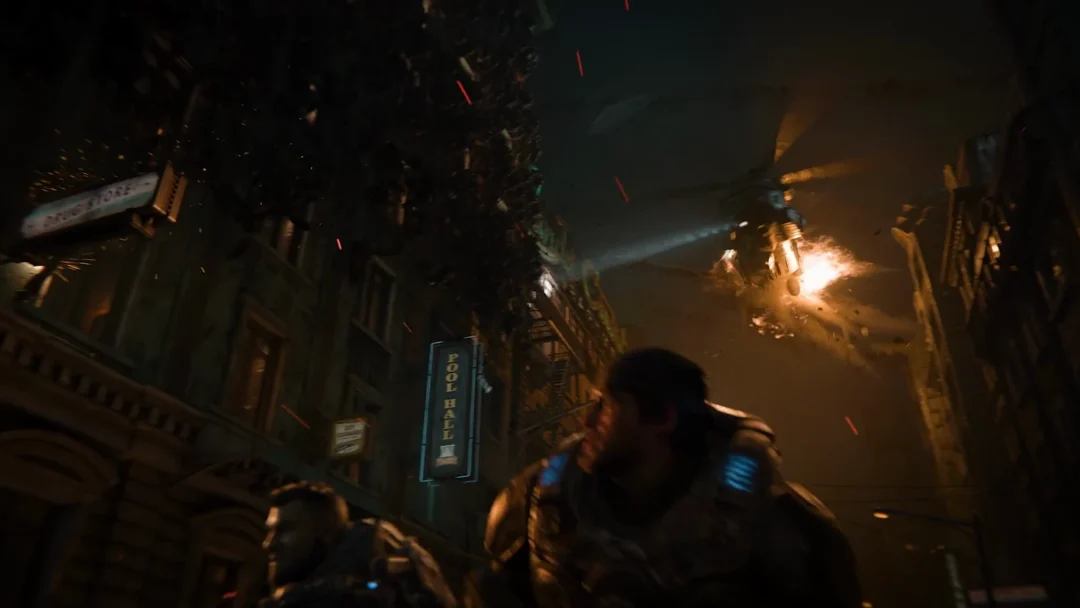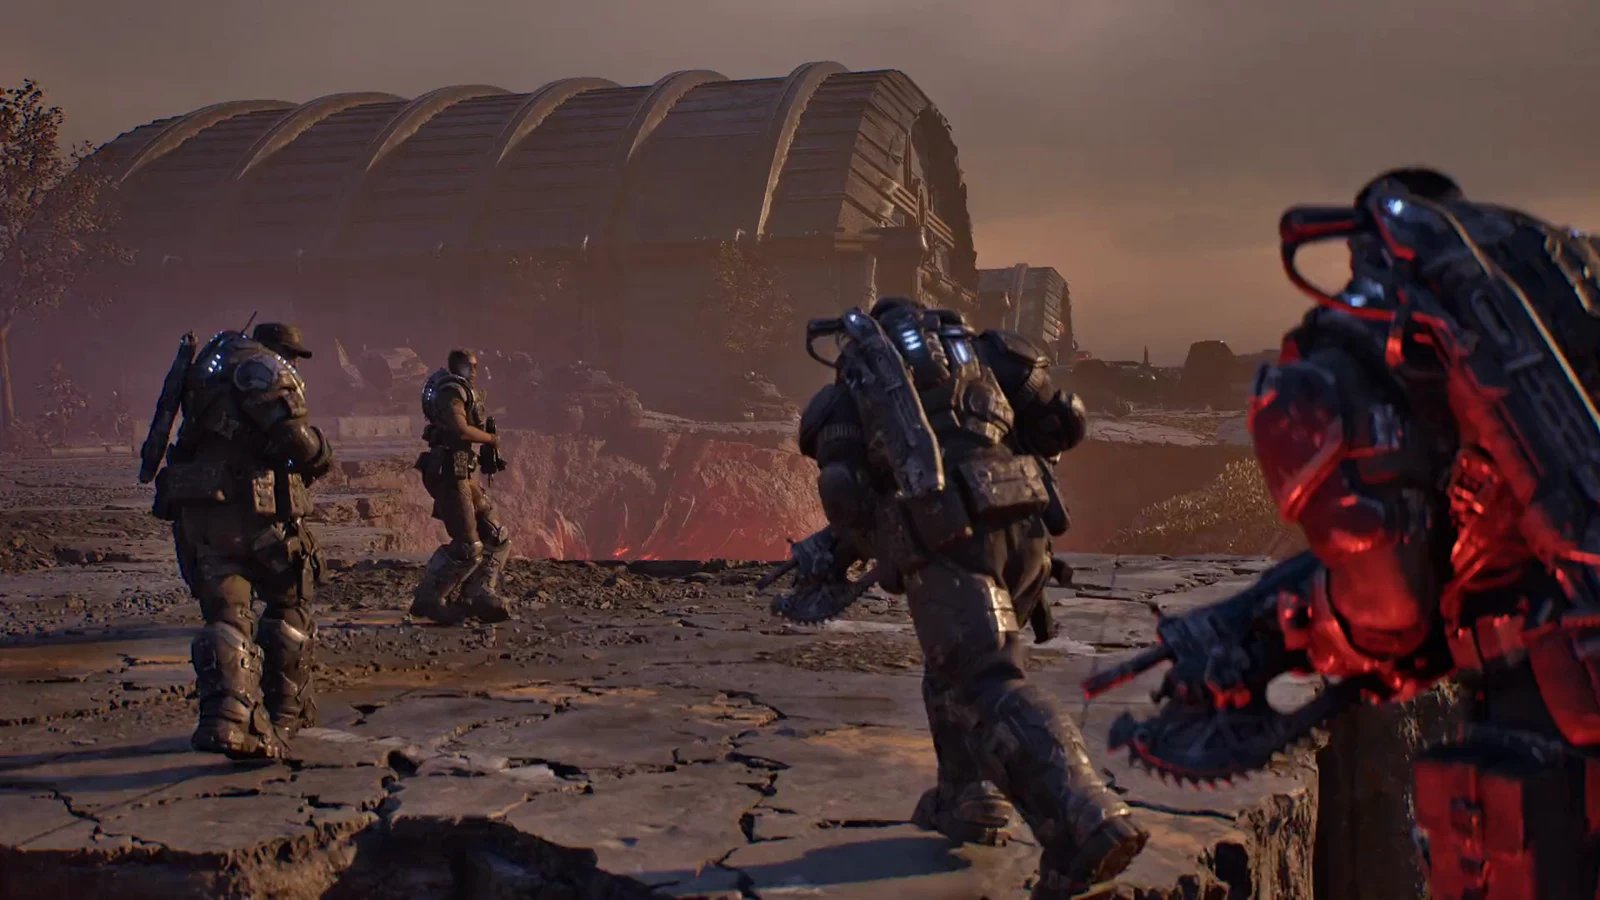
Act 3 of Gears of War: E-Day holds 36 collectibles spread across its six chapters, from the forest trail outside Fairlight Outpost to the memorial streets below the fort. Most sit just off the main path, and the open Last Foothold district alone accounts for almost half of them. Here is where each one is, chapter by chapter.
Quick answer: The 36 collectibles split 5, 6, 14, 3, 5, 3 across the six chapters. The last one, Commander’s Letter Home, is not in Act 3 at all — you grab it in the opening area of Act 4.
How to track Act 3 collectibles
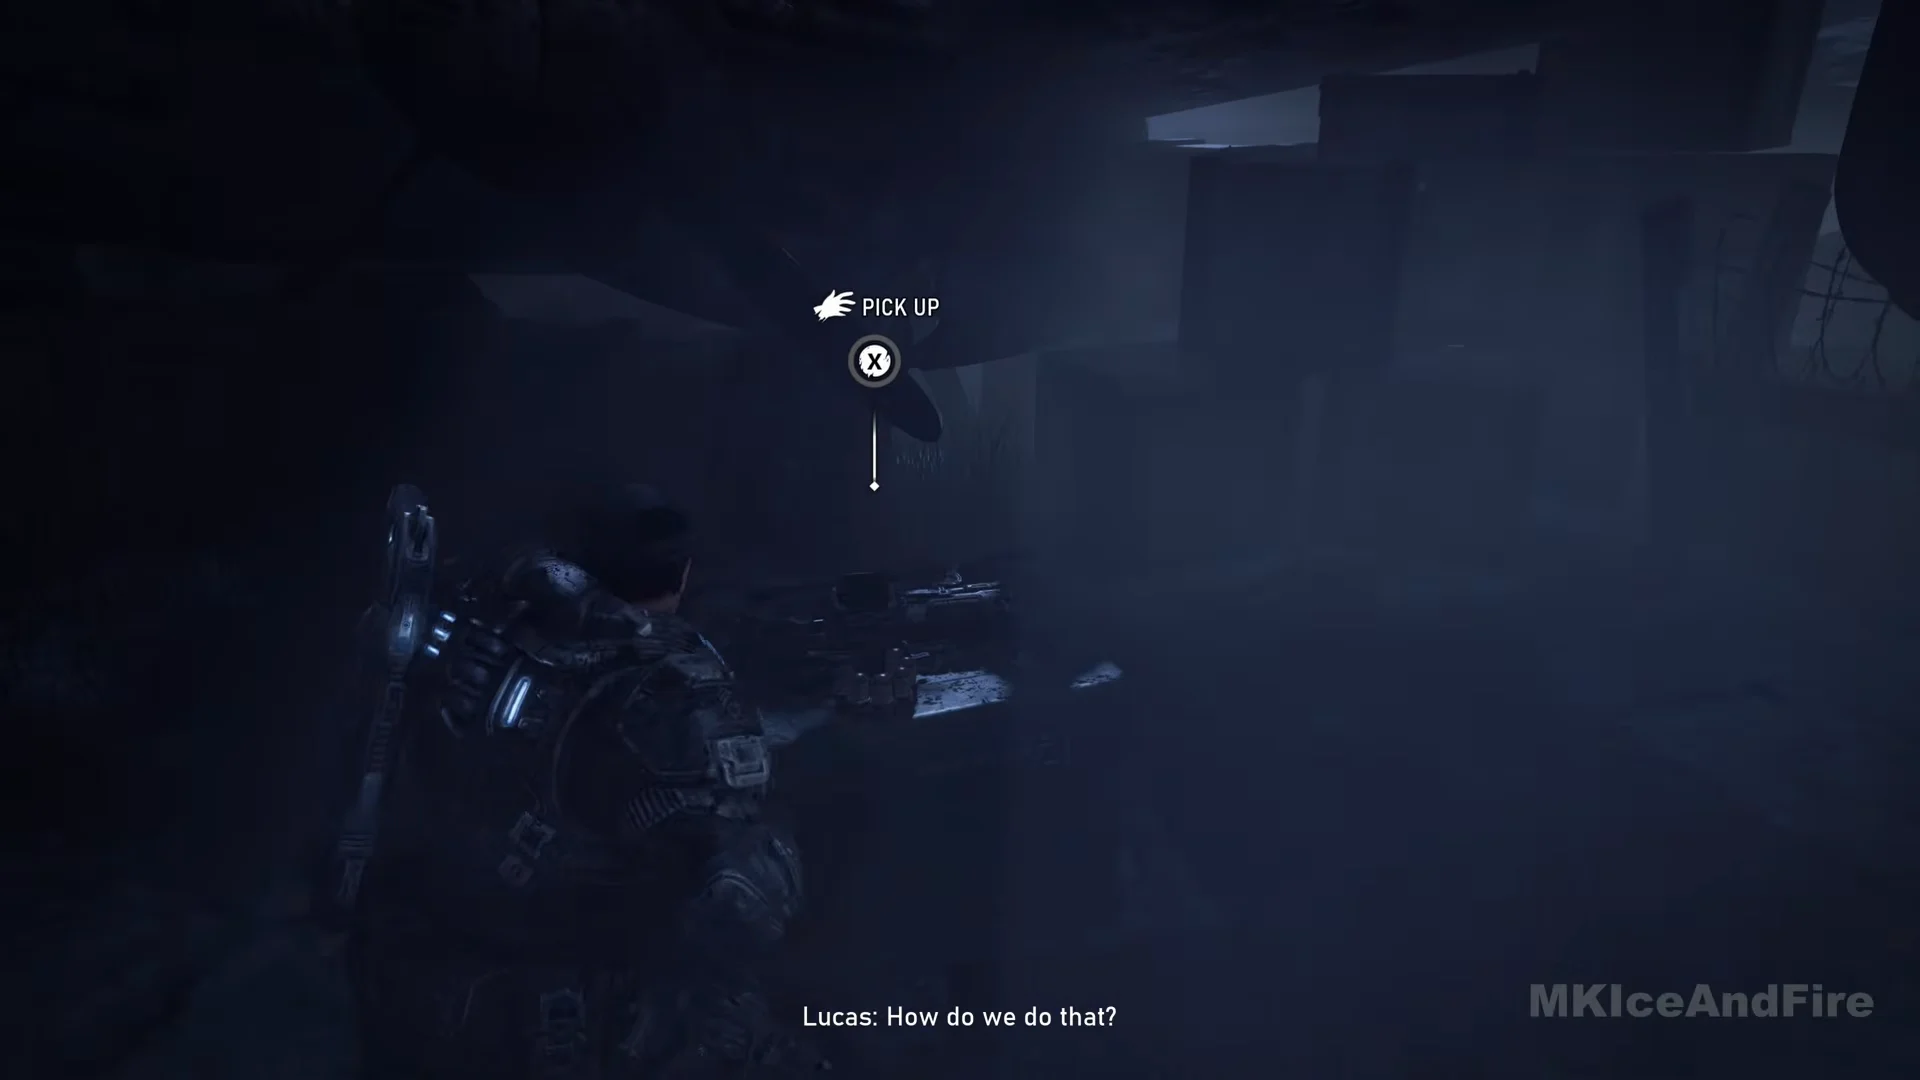
Every pickup works the same way. Stand over the item, hold the X button on the “PICK UP” prompt, and a “<name> Found!” toast appears in the bottom right with a “View Collectibles” option. That toast is your confirmation the item counted.
To see how far you have progressed, open the War Journal, select Collectibles, and choose the ACT 3 tab; use LB and RB to move between acts. The count for each chapter appears at the right end of its row—for example, “LAST FOOTHOLD 8 / 14”. Collected items have an image and title; missed ones appear as black, padlocked tiles. The pause menu also gives the active act and chapter, plus a “Collectibles x/y” total for your current chapter.
Last Foothold is the only open district here, and it has its own map with a DISTRICT MAP / CITY MAP toggle, a counter in the top right, and a legend that includes collectibles. Hold LB to use the Tac-Com, which points toward nearby collectibles, Supply Caches, and Hard Cases.
Stranded collectibles (5)
- COG Army Knife — Follow the forest path beyond the campsite cliff rope descent. After passing the mauled camper’s body, look at the foot of the tree on the right.
- Fairlight Rifle Range Sign — At Fairlight Outpost, search the scrapyard filled with wrecked armoured vehicles. At the perimeter’s far back-right corner, the sign rests against an angled buttress bearing a red “DANGER” plate, beside a blue “MILITARY ZONE” barrier.
- Gut-Puncher Grenade Rounds — Find these on a crate next to the blue Supply Cache inside the hangar bay’s covered area.
- Prepper’s Scavenging Map — During “Enter the sub-station”, search the sub-station yard. The map is on the ground in the tight space between transformer units, at the steps’ front-right side.
- UIR Soldier Shooting Target — Under the carport to the right of the sub-station, in the back corner beside the parked machine, among the range targets.
Enemy Lines collectibles (6)
The shotgun, second parchment, and flashlight are all away from the main route.
- Damaged Gnasher Shotgun — Early in the Locust tunnels. After the red-lit cavern the tunnel turns dark, so hop the low barrier and turn right into a small rock nook. It lies on a metal crate with an ammo box beside it.
- Parchment and Powder Pouch — In the supply cavern, look on the crate immediately beside the giant horned Locust helmet.
- Parchment with Indecipherable Writing — During “Explore the station”, head to the train station. Starting on the upper level beside the green balustrade, descend the stairs. The parchment is on crates stacked against the wall below the red “AUTO RENTALS” poster.
- COG Tags of Private Beth Avila — Leave the platform, follow the hallway, and descend into the cave-in room containing the buried red train car. The tags lie on the ground amid the remains.
- Maintenance Worker’s Bloodied Flashlight — After the derailed car becomes a way across, walk back along the tracks into the dark subway tunnel instead. It lies beside a dead worker next to a wall-mounted equipment box where the tunnel glows red.
- COG Tags of Private First Class Erick Davis — Find the room with a curved wall in the storm sewer. The tags sit atop a crate streaked with blood, beside a fallen Gear and immediately adjacent to a Hard Case.
Last Foothold collectibles (14)
This is the open district, so lean on the district map and the Tac-Com. Two of the 14 are tied to secondary objectives — the Damaged Heavy Locust Helmet needs “Lost in the Park”, and the Blade-like Projectiles need “Rooftop Mayday”.
- COG Tags of Sergeant First Class Robin Hamill — On the first street, on the pavement at the edge of the red crater beside a dead Gear and the wrecked Centaur, across from the Kalona Theater marquee.
- COG Tags of Corporal Tracy Moore — In the apartment burned out above the crater, find the tags on a dead Gear lying on the floor near an interior doorway.
- Colonel Trench’s VIP List — Go through the “AUTHORIZED PERSONNEL ONLY” gates to the outpost. Beneath the tent, the list is on the folding table beside the lantern.
- COG Tags of Private Luis Garcia — Before reaching the library, leave the road for the tarp shelter. The tags are on metal crates stacked beside a cot.
- Captain Grey’s Field Journal — In the library, look in the rear alcove behind Mayor Shaw. The journal is on a desk beneath a framed painting, between two CRT monitors.
- Locust Pistol Ammunition — On the riverside promenade in the south-central part of the district. On the paving between the tree planters and benches, in a pool of blood beside a body, with a yellow taxi on the road behind.
- COG Tags of Specialist Bernard Havelock — Climb onto Jackson’s truck roof to enter the “K DOWNTOWN LINE” train car. The tags are on the dead medic inside.
- COG Tags of Private First Class John Carnahan — At a shelter entrance in the district’s far south, find a dead Gear at the corner pillar, against the blue wall beneath a torn recruitment poster. The tags are on the ground by the body; a keypad beside it displays “LOCKED”.
- Damaged Heavy Locust Helmet — Part of “Lost in the Park”, started by talking to the civilian by a taxi. With “IN SEARCH ZONE” on screen, leave the park gate and turn right along the red chasm. It lies behind the pale blue and white police car numbered 5914, beside a dead Locust.
- COG Tags of Private Oded Bay — In the district’s western area, find the fountain filled with blood in front of the building bearing the green “Landa … Apartments” sign. Wade into the fountain and collect the tags at the central monument’s base.
- Blade-like Projectiles — Part of “Rooftop Mayday”, on the grated first landing of the fire escape by a dead Gear.
- COG Tags of Private Terrance Sander — Inside the Kalona police station lobby, locate the large “POLICE DEPARTMENT / CITY OF KALONA” badge. Head to its right and check the corner waiting nook with teal chairs: the tags rest on the bloodied floor beside a Gear.
- COG Tags of Specialist Rachel Carnahan — In Landa Memorial Hospital. Pass the curved RECEPTION desk, climb the steps, and enter the dark waiting room. A dead Gear slumps against the lit “Snacks” vending machine; the tags are on the floor in front of it.
- Landa Memorial Hospital Evacuation Order — On the hospital’s ground level, go behind the curved reception counter. The clipboard rests atop a low cabinet beneath the whiteboard, alongside the red first-aid kits.
Several of these tags sit right next to a Hard Case, so the “HARD CASE NEARBY” hint doubles as a pointer toward the collectible.
The Convoy collectibles (3)
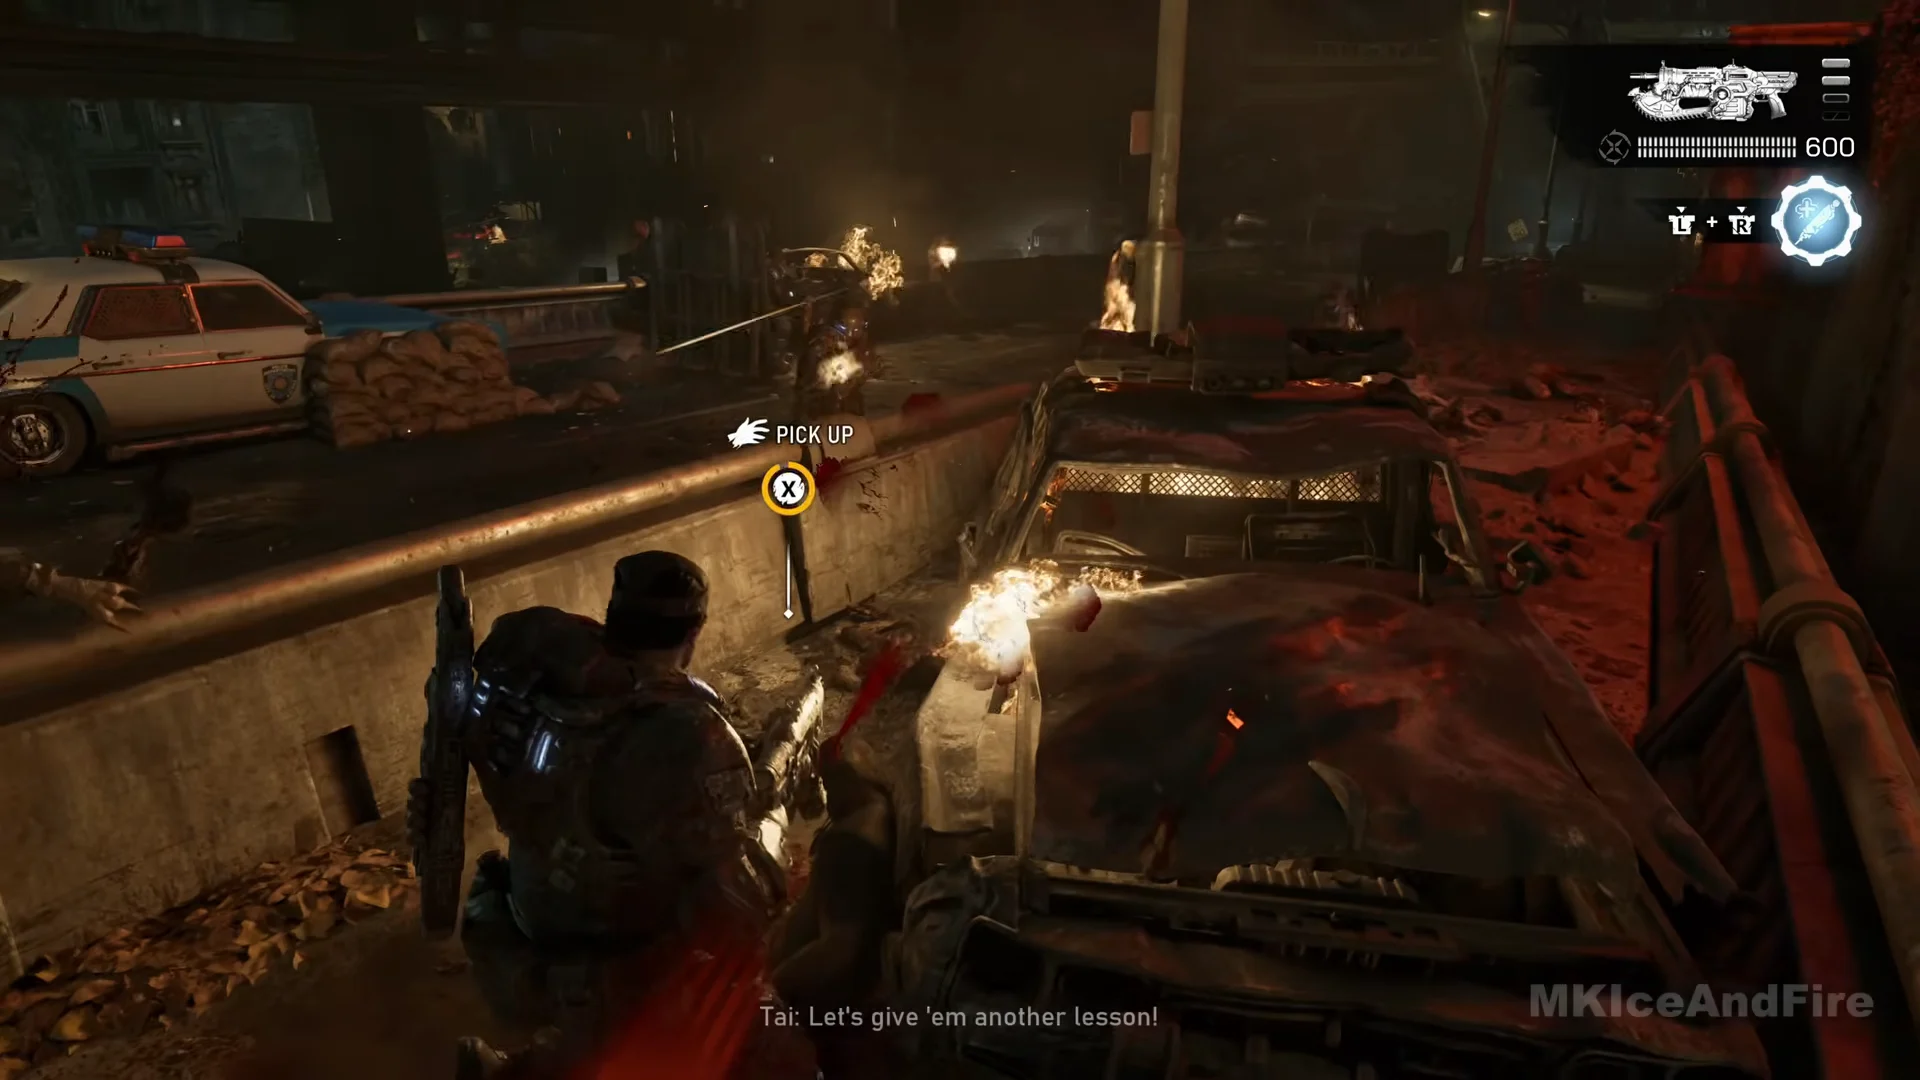
- COG Tags of Private Rudy Bartholomew — On the bridge’s lower deck, continue beyond the ambulance. At the concrete divider, the tags are on the ground beside a car wreck engulfed in flames.
- Locust Crest — During “Protect the convoy” on the lower deck, wait until the trucks are lined up, then proceed along their right-hand side. At the front of a blue police car wedged nose-first against a truck, the crest is on the road.
- COG Tags of Corporal Kevin Gabor — In the bridge control room where the barriers are lowered. Away from the console bank, on the checkered floor beside the cot with a dead Gear and an IV stand, in the corner by the steps.
Desperate Times collectibles (5)
- A bottle of Iron Coast Beer — After crossing the first rooftop, enter the unlit apartment. In its living room, find the bottle on the floor at the couch’s side.
- Portrait of Chairman Jacob Monroe — In the hotel hallway where Wretches pour in, enter the damaged side room through the hole in the wall. A Hard Case is on a cabinet, and a Locust reaches out from the dark. The portrait is on rubble near the room’s collapsed outer edge.
- Sanctum of the Fallen Memorial Ceremony Program — After the Reaver encounter, check Garner’s patio. The program is beside the round table that has fallen over, at the railing.
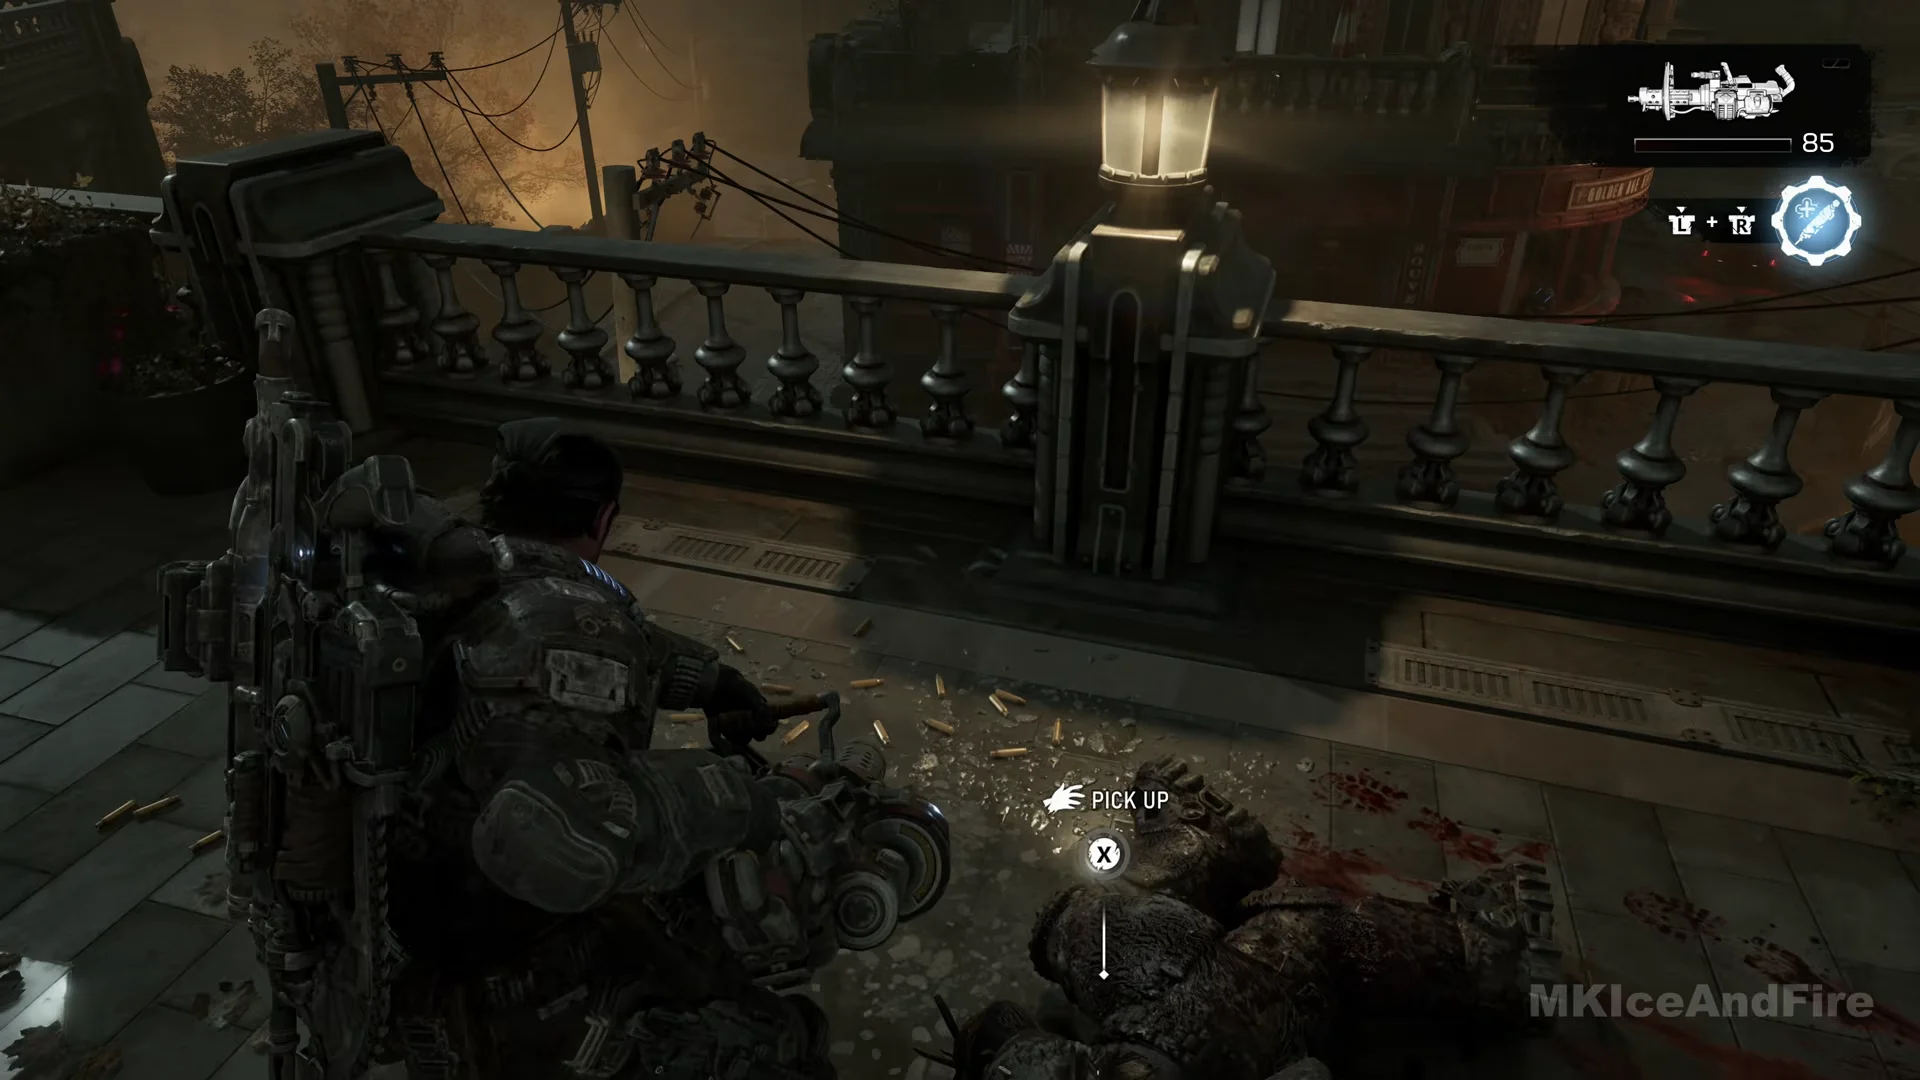
- Locust Spiked Shoulder Pad — Before reaching the gate that gets kicked open, search the rooftop promenade. At the balustrade near a lamppost, the shoulder pad lies on the ground beside a body.
- Explosive Bolt — In the tower after the snipers, during “Find a way down to the street”. Climb the stairs to the top instead of heading down. The bolt is stuck in the floor among spent shells next to a stone pedestal, beside the Torque Bow pickup.
Desperate Measures and the final pickup (3)
Two of this chapter’s three collectibles are on the route. The third, Commander’s Letter Home, is what brings Act 3’s total to 36, and you will not find it during Desperate Measures itself.
- Torn Flag of Tyrus — After the fight outside the gift shop, during “Cut through the gift shop”, stay outside and follow the cobbled lane to its end. The white flag rests against the wall covered in ivy.
- Morith Harbor Snow Globe — Inside the gift shop, ascend the wide stairs beyond the model harbour display. The globe is on a wooden desk alongside open books and a green banker’s lamp.
- Commander’s Letter Home — This is found on the memorial street in daylight beneath the fort, at the start of Act 4 (Hope and Ruin). Starting at the memorial where civilians left flowers, turn right, descend the cobbled street, and pass the bodies under coverings and a planter bearing red flowers. Beneath the stone arch, find an armoured COG truck marked “TYRUS”; look among the cobbles just beyond its rear bumper for the letter.
Picking up the letter at the start of Act 4 brings Act 3’s count to 36. If you are still short, the chapter rows in the War Journal show where a tile is still padlocked.