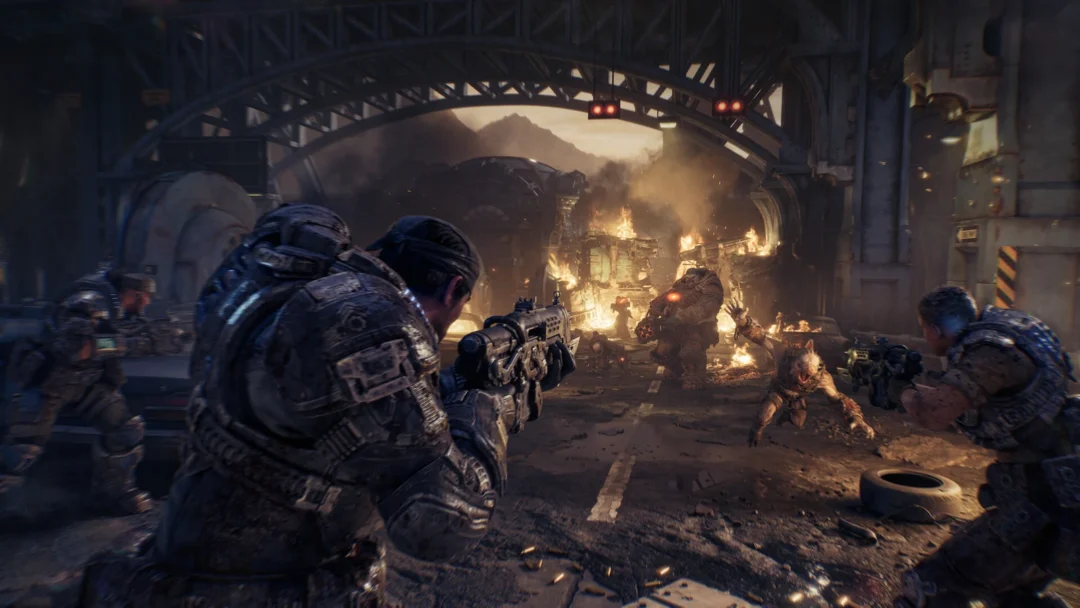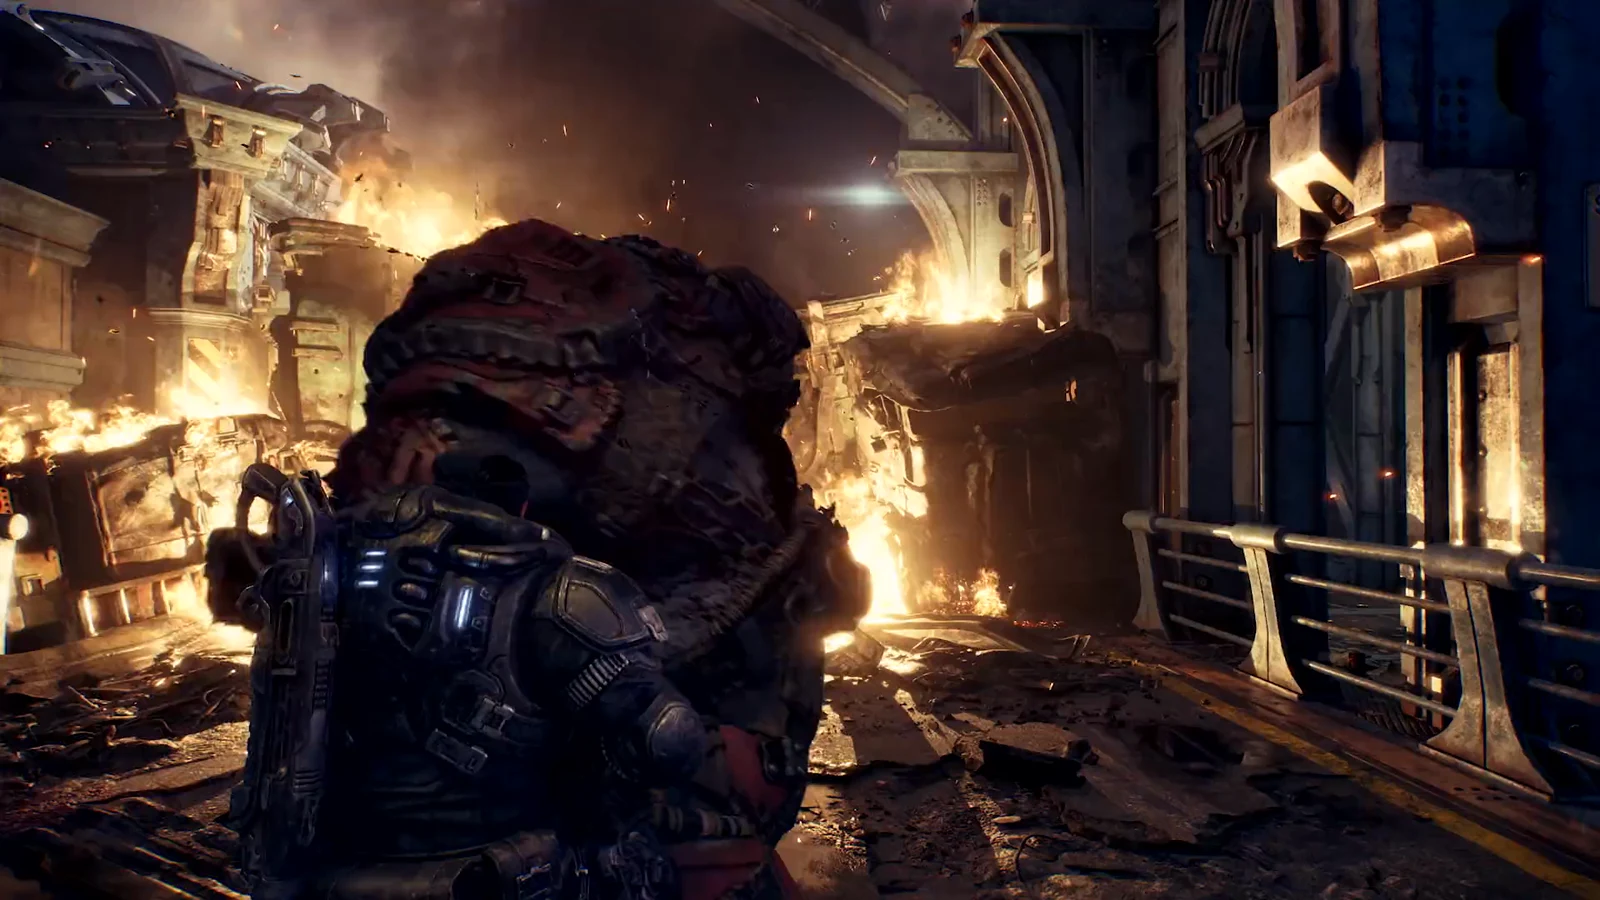
Critical Failure is the Act 4 finale, sending the squad down through the Timgad Prime Refinery as it burns to the Lightmass Converter deep inside. The chapter takes roughly 25 minutes and concludes with a battle against two creatures. Marcus, Dom, Mags and Lucas enter together; worker Cara stays on the radio, while a loudspeaker announces the converter’s steadily climbing pressure throughout the descent.
Quick answer: Drop through the round coolant hatch into the Wretch-filled pipe, cross the outdoor platforms, clear the processing chamber, then hold the prompt at the security monitors (there is no key card). Reach the core and kill both Scoria.
What you carry in and the route
You start the chapter holding a Prototype Lancer 600, a Gut-Puncher 14, a Snub 136, two Smoke Grenades and an Adrenaline Injector. The Gut-Puncher does most of the heavy lifting here, since its grenades leave fires that block the enemies that charge you in the dark pipe and along the walkways.
The route begins in the lobby, continues by lift to a gantry, then drops through a coolant pipe crawling with Wretches. Fight across the outdoor platforms to the collapsed pipeline, where the squad separates. Marcus and Lucas pass through the processing chamber and inspect the security room as Dom and Mags move on. Rejoin the group in the converter hall, proceed to Amber Labs, take the lift to the core, and defeat both Scoria.
There are five collectibles in this chapter; four are found along the route described here. In the Amber Labs corridor, collect the loose heavy gun, which has 147 rounds, and bring it to the boss fight.
Lobby and the security lift (Enter the refinery)
The gantry and the coolant pipe (Cross the pipeline)
You come out on a high gantry in yellow haze with an ammo box by the crates. A few steps past the round hatch, the Damaged Gas Mask lies on the floor beside a dead worker slumped against a large coolant unit. The way on is the big circular hatch in the gantry floor with a ladder inside it.
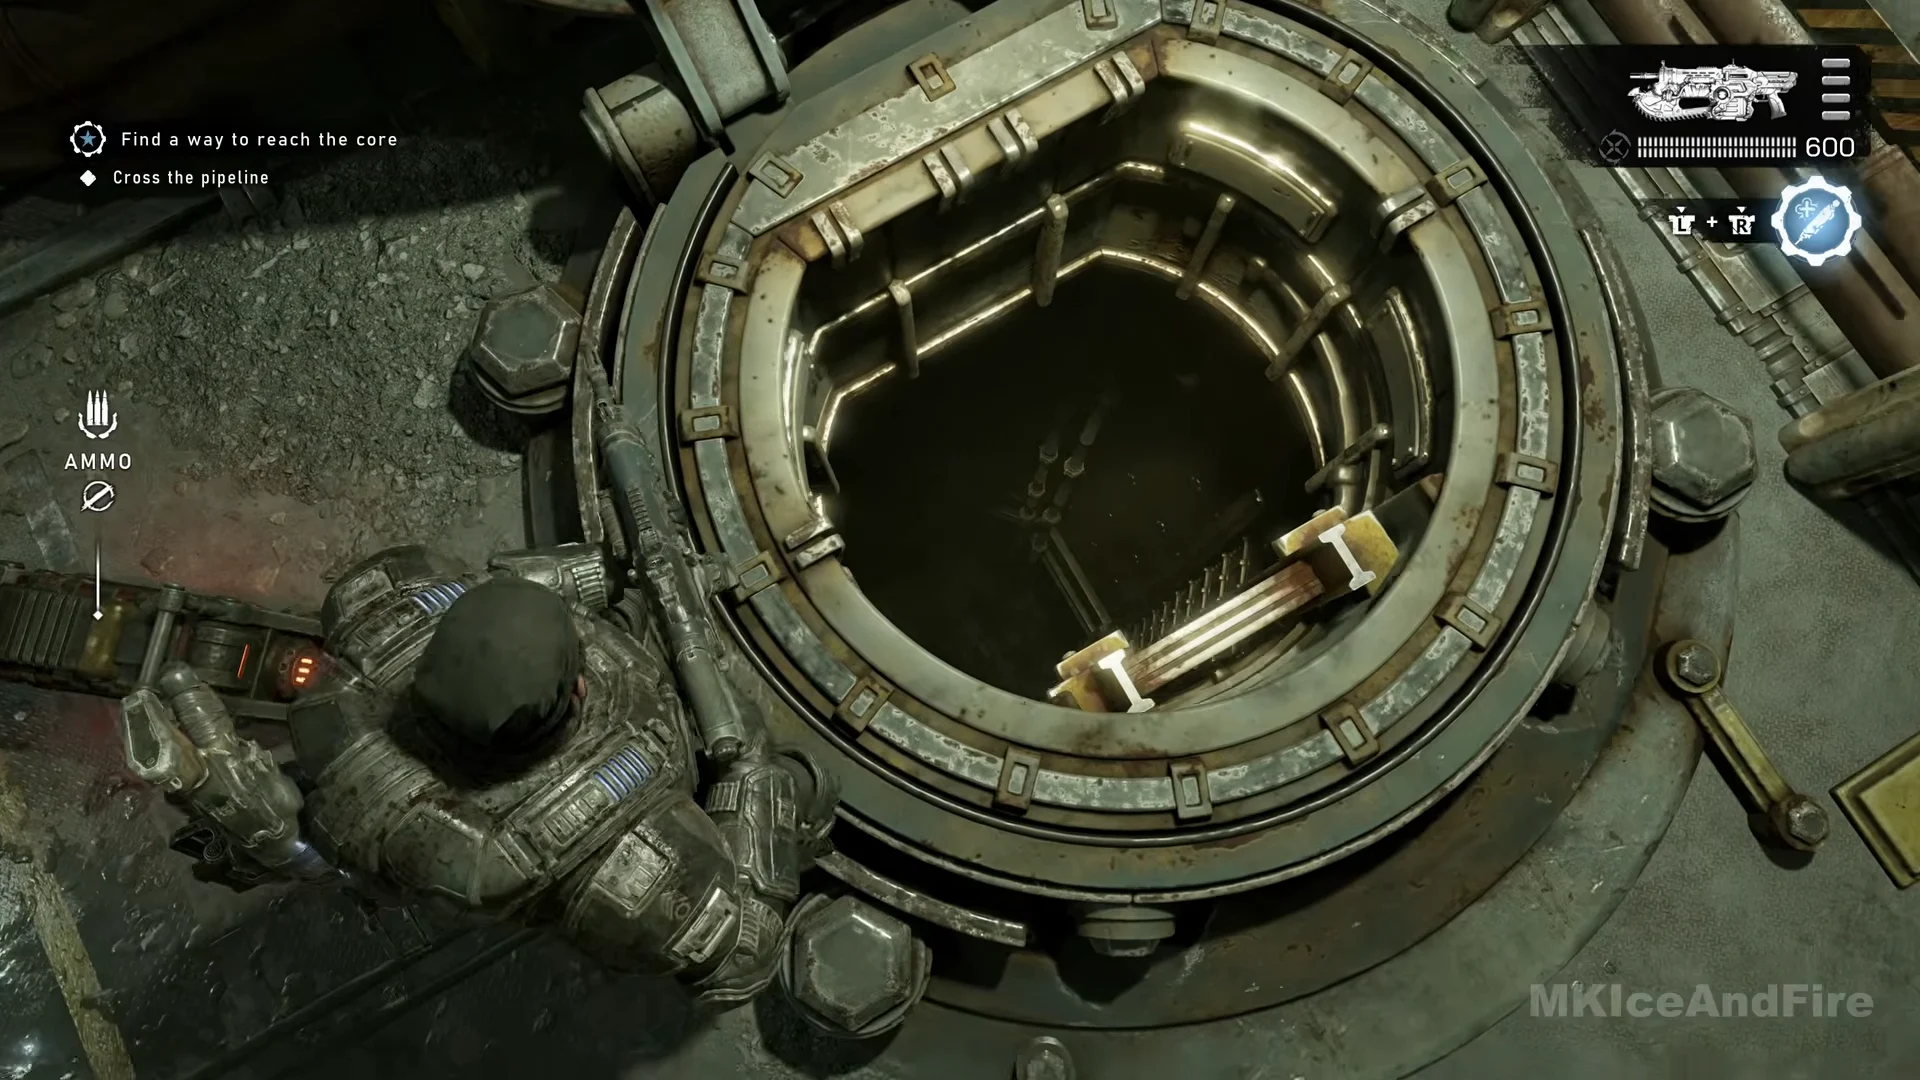
Drop through the opening into a broad pipe that slopes down into darkness. Wretches charge along its floor and walls, and additional ones drop in farther along. Throw a Gut-Puncher grenade down the pipe to break up a group; the resulting flames keep the others back. Shoot any lone survivors with the Lancer, and avoid being surrounded in the dark. At the far bulkhead, collect the ammo box, then climb the ladder in the side alcove and exit through the round hatch.
Outdoor platforms and the collapsed pipeline
At the top of the ladder, a large industrial platform stretches through dense yellow haze. An Elite Sniper is ahead, while Drones, Scorched Drones and Elite Drones advance along the deck. Roadie-run to the short metal barrier on the left and use it for cover. Throw Gut-Puncher grenades down the walkway to stop charging enemies; the flames also keep the rest at bay. Use the Adrenaline Injector if its red emblem appears.
Push to the foot of the metal stairs, where grenade pickups lie around, then climb to the catwalk. More Locust fire from platforms across a wide gap, out of grenade range, so crouch behind the machinery on the right and pick them off with Prototype Lancer bursts. Along the gangway, a huge pipe has fallen across the deck with ammo beside it; climb over the lip at the prompt.
Before the stairs to the blast door, turn right into the side alcove overlooking the plant. A Ripper and an ammo box are there, and the yellow Hard Case in the corner holds three mods, including a Stim mod slot and a Precision Capacitor. Then head up to the sealed blast door. In a short cutscene, Mags opens it and takes Dom toward the research labs, leaving Marcus and Lucas to go through the processing building.
Processing chamber and the security room
With only Lucas alongside, take the corridor lit in red and pass through the locker room. A Breechshot is tucked into a side alcove beside a body; pick it up if you want a weapon for the long-range shots in the next room. At the corridor’s end, use the green-lit panel to open the door labelled PROCESSING CHAMBER.
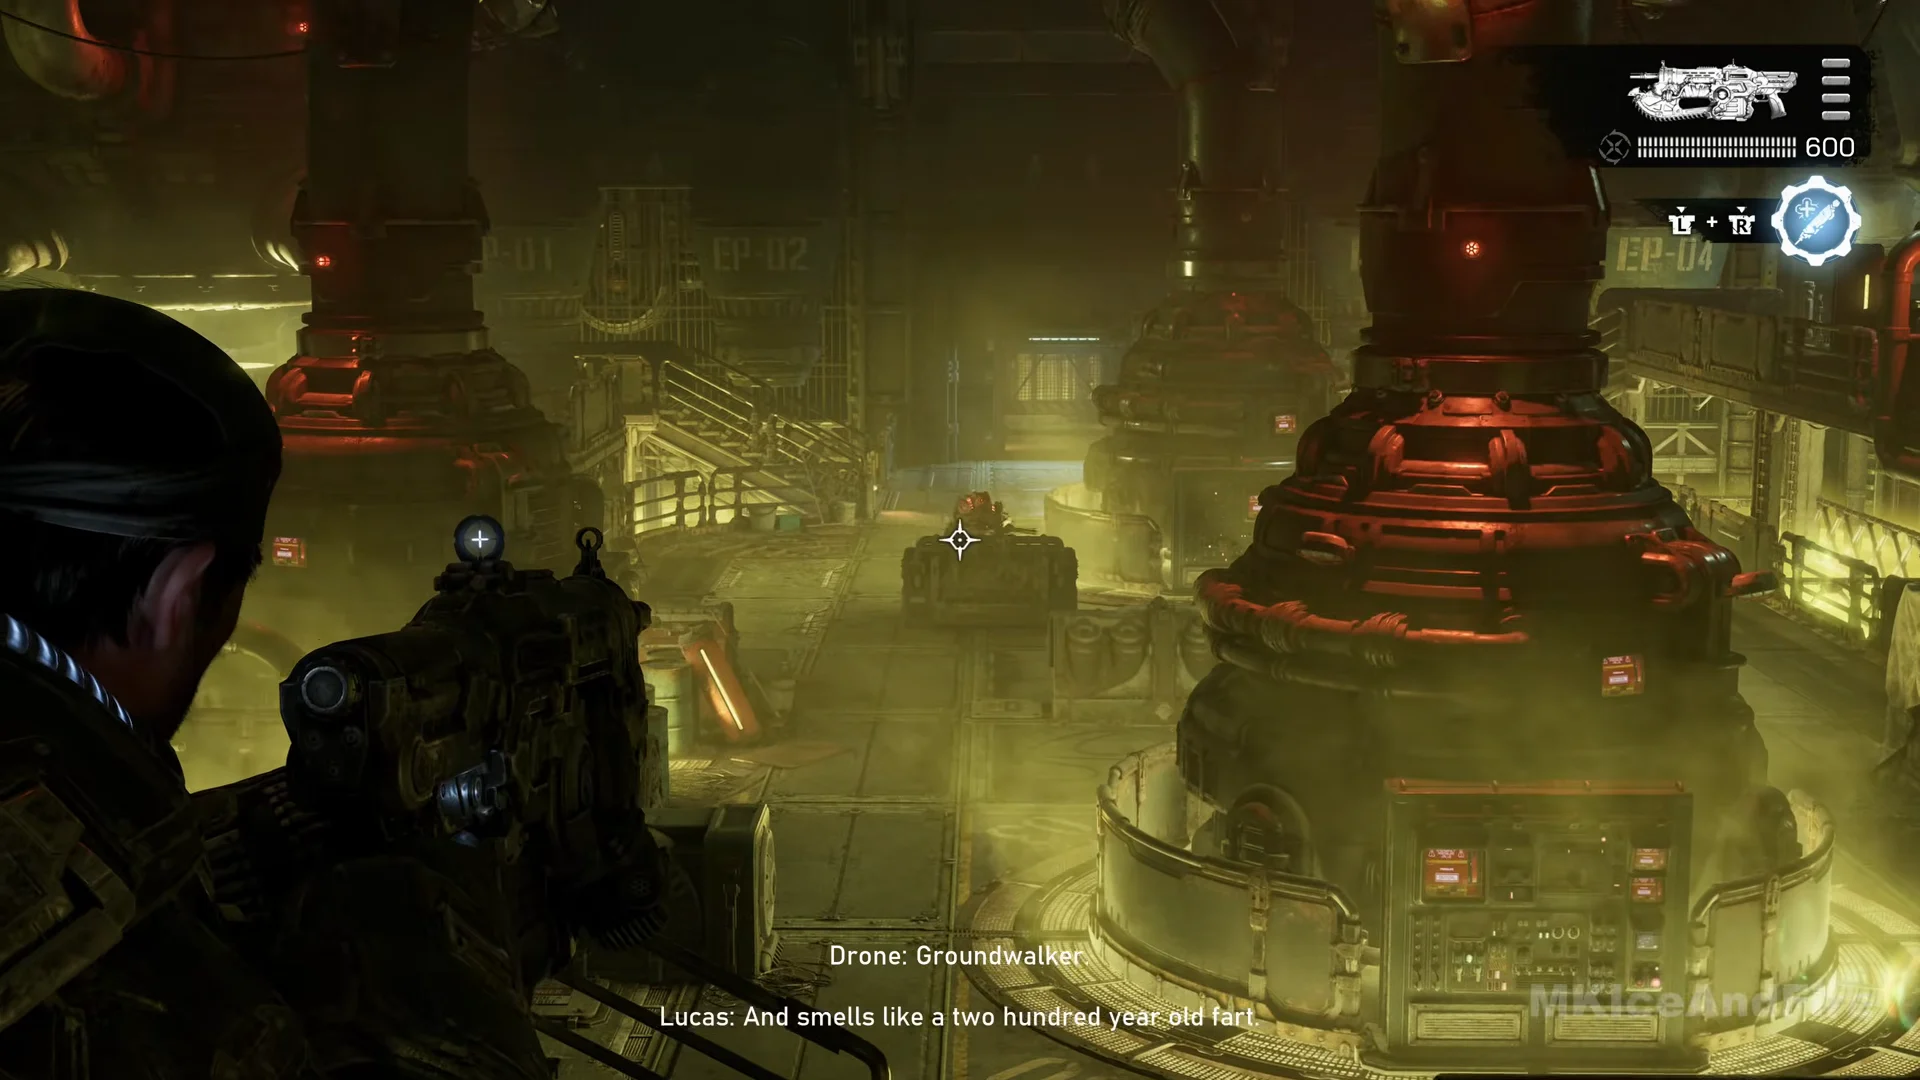
Catwalks span this huge room of vats and reactors. The sub-objective requires eliminating all enemies: Drones and Scorched Drones occupy the floor and catwalks, Elite Drones hold the far platforms, and a Grenadier and a larger armored Locust are also present. The Locust charges along the catwalk. Begin by the doorway railing with the Lancer, then work to the right; an ammo box is behind the low barrier.
- As the heavily armored Locust rushes you, equip the Gut-Puncher and fire grenades into it immediately; after a few hits, it catches fire and falls.
- Shoot the orange fuel cylinders along the catwalks when a Locust is beside one and the blast does the work.
- Near the tanks labelled EP-03 and EP-04, the Grenadier closes in. Take it down, then finish it while it is on the floor.
- Deal with the remaining Drones and Elite Drones as they appear: they descend the stairs opposite and emerge from the doorway beneath EP-02.
Near the exit on the far side, a Gnasher and a Lancer Mk1 rest on the deck. Press the green button on the wall to open the blast door; an ammo pickup is just past it. Beyond the door, the security room is dark, with dead staff and small monitors covering one wall.
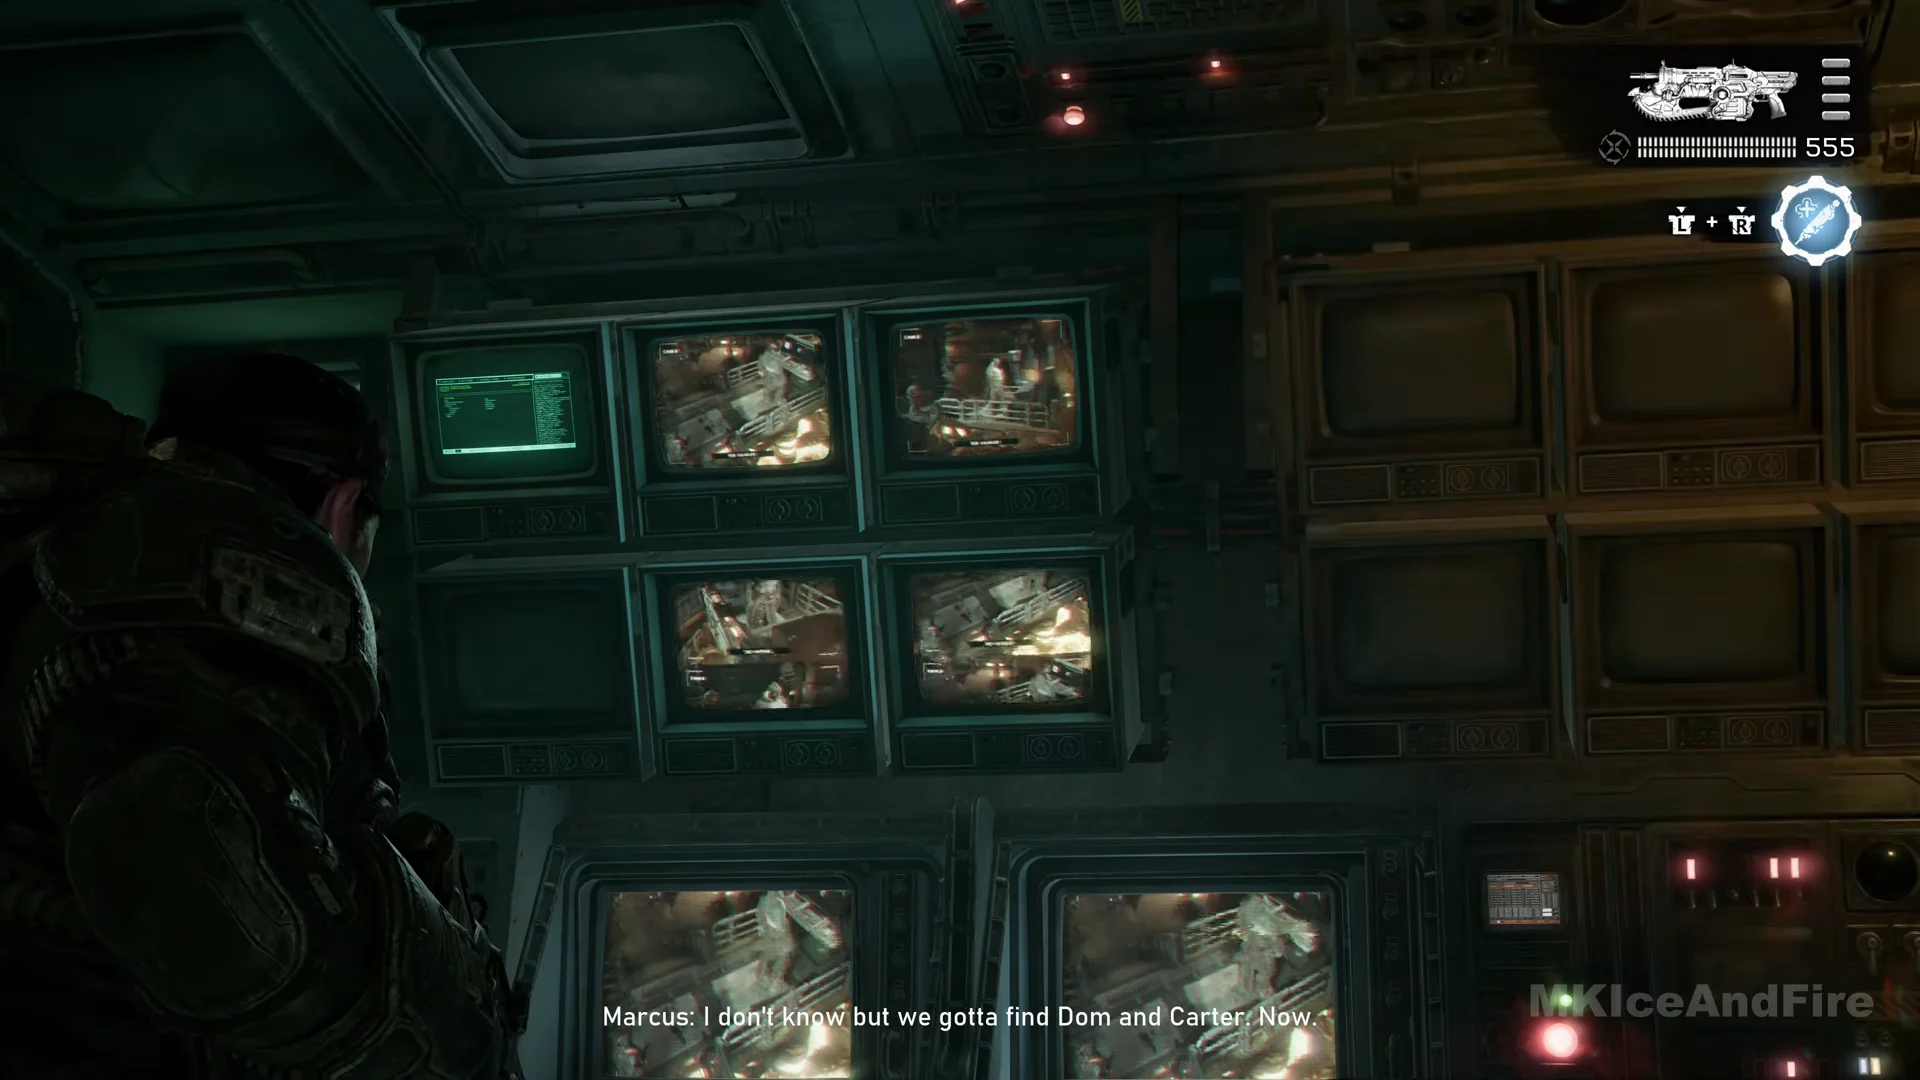
There is no key card to pick up. Go to the bank of monitors and hold X to finish the objective. The screens show a large Locust already lying in the restricted zone, and “Get the key card from the security room” is crossed out despite no item being collected.
Converter hall and the walk to Amber Labs
Leave by the corridor to a blast door with a security-pass notice and press its control. It opens on the upper gantry of the converter hall, where “Secure the Area” appears. Scorched Drones and Elite Drones are on the gantry itself, so take the metal barrier by the door and clear them with the Gut-Puncher.
Collect both Hard Cases before dropping down. The one on the gantry’s crate stack contains a Precision Rifling mod and a Hemostatic Valve. A “HARD CASE NEARBY” prompt leads to a second case in a dark side room filled with crates; it contains an Executioner armor mod. Dom and Mags are battling Locust below. From the balcony, launch Gut-Puncher grenades at the enemies around them, and hit the fuel containers to set them off.
Vault the railing to the hall floor and finish the Drone by the pillar and one Elite Drone hiding behind crates among the fires. With the area secure, the squad is four again. Follow them along the grated walkway that curves around an open vat of glowing yellow Imulsion.
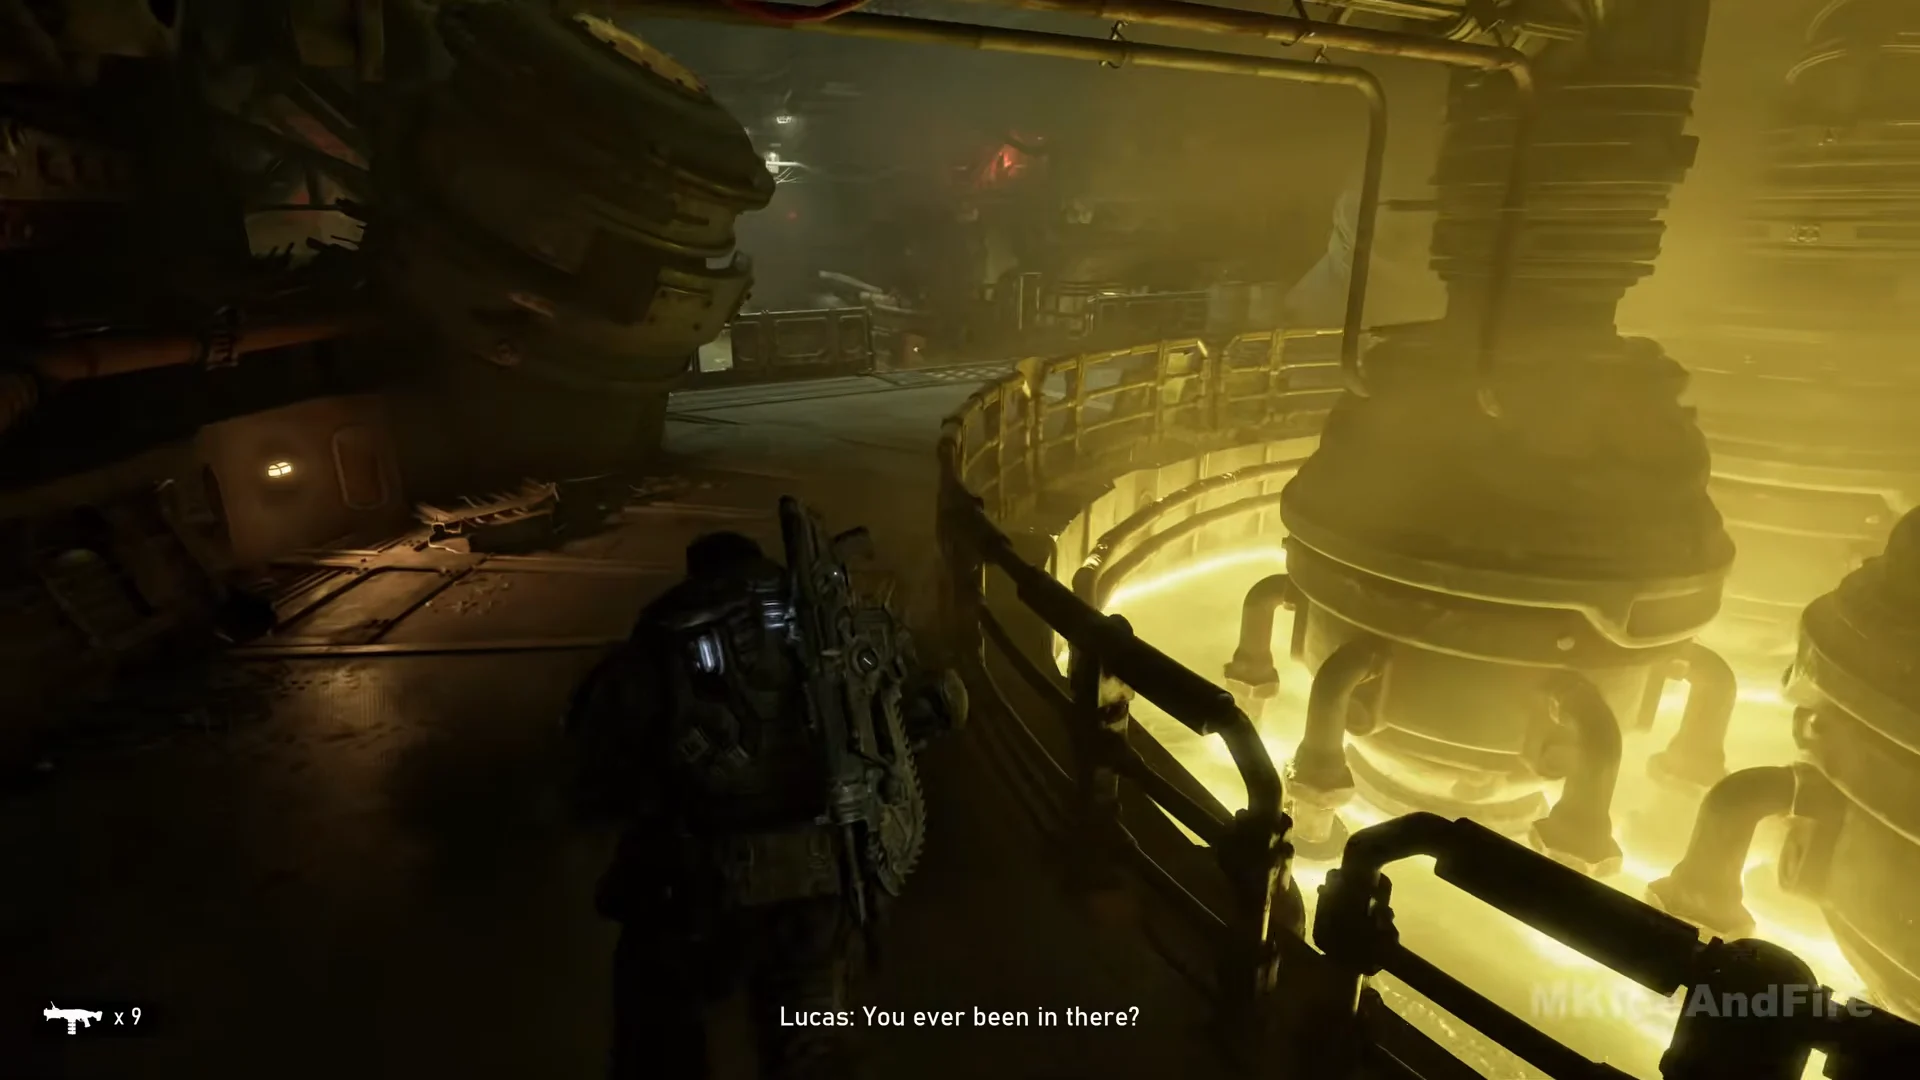
Pass through the blast door and descend the stairs. A “SUPPLY CACHE NEARBY” prompt appears, but the cache is not part of this route. Continue to AMBER LABS and activate the control next to its door.
Inside Amber Labs and the lift to the core
No enemies occupy the labs. In the lobby, a research agency seal is set into the floor, and a dead Gear lies at the desk. Behind reception, the Memorandum to Dr. Elliott rests on the low shelf beside the water cooler.
Pass through the office and blast door to reach the corridor, where a large red-and-white warning about enriched Imulsion is displayed. At the bottom of the steps, find a body beside a heavy multi-barrel gun holding 147 rounds. Take the weapon and keep it equipped from now on; it is intended for the boss.
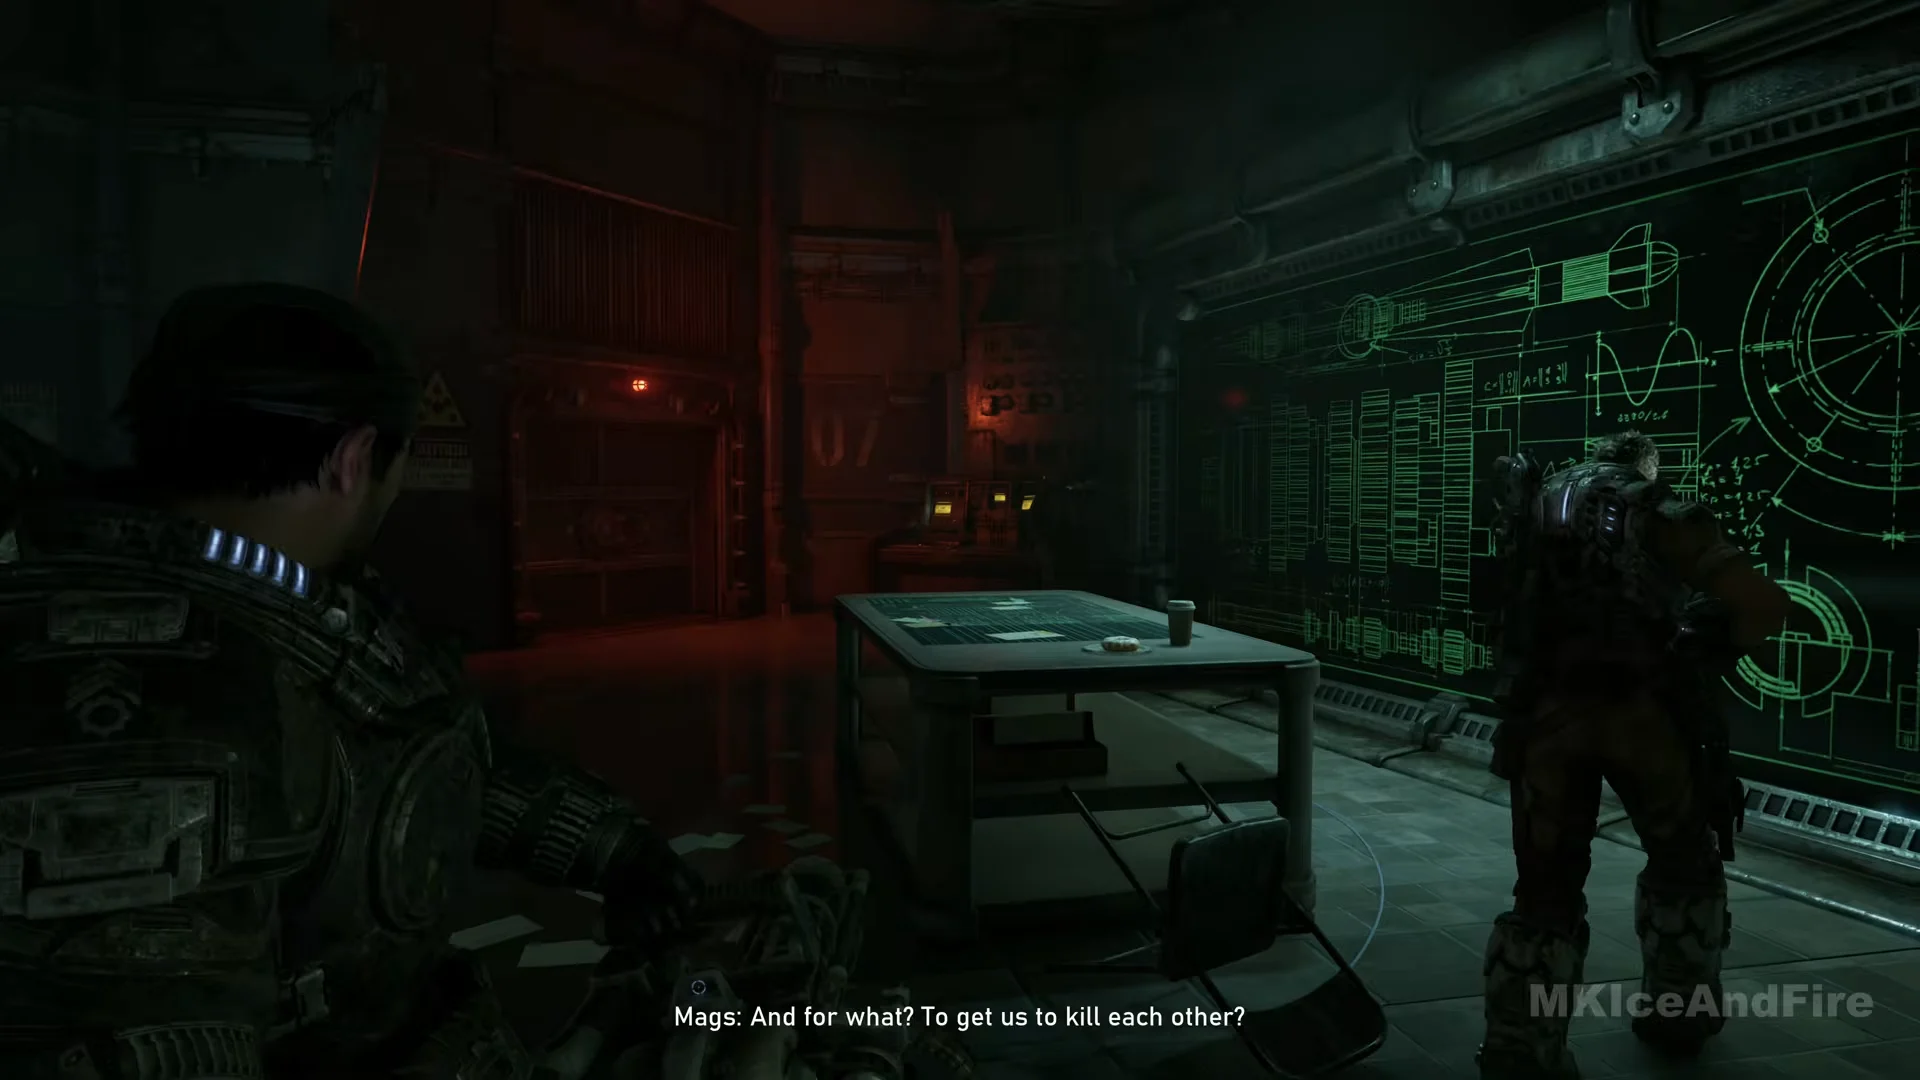
A green missile schematic covers a wall in the next room, a research lab. Opposite that wall, find Dalia Fabbri’s Research Journal on a desk beside a tape player and the blinking equipment racks. This is collectible number four; the pause menu should show 4/5.
Exit through the door bearing a hazard notice and step onto a catwalk over a chamber of churning yellow Imulsion. Follow its downward stretch, then head back up to the control platform lined with warning screens.
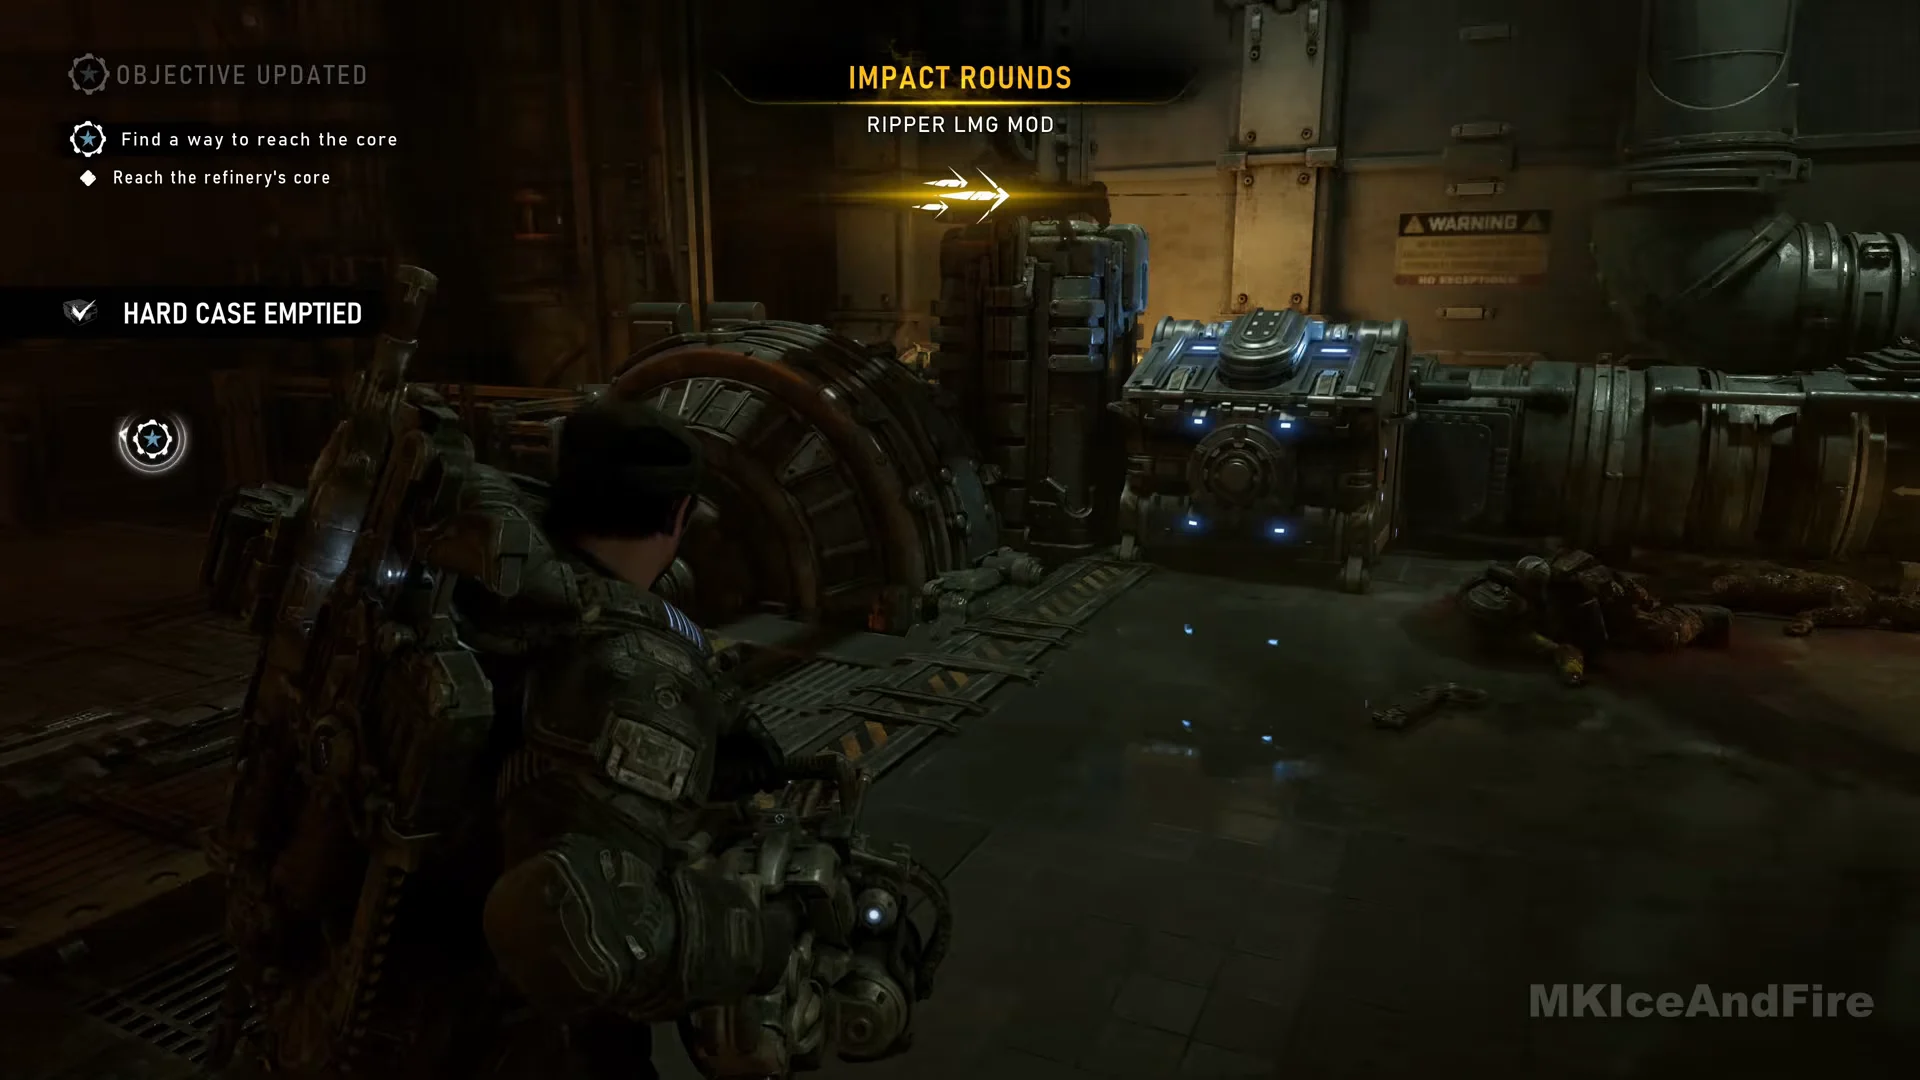
Take the Impact Rounds mod from the Hard Case next to the console. At the platform’s edge, operate the lift using the post; its indicator changes from red to green. Before activating it, collect anything still missing, as this starts the chapter’s final pickup cutoff. A cutscene carries the lift down into the core, where a large Locust clad in red armor unleashes two winged creatures on the squad.
Once the lift goes down, you cannot return for any collectible or Hard Case. The lift leads straight to the boss, and the boss leads into the next act.
Kill the Scoria
Battle takes place on a broad round platform surrounding the glowing converter. Each of the two Scoria is a giant winged beetle with a slim health bar; they alternate between flight and landing. Their blinding yellow blasts set the platform ablaze. When a Scoria aims at you and starts glowing, sprint sideways, then leave the burning area. Getting close to one while it is grounded can cost Marcus his life.
- Open with the carried heavy gun on the first Scoria hovering ahead; it lasts about ten seconds of fire.
- Use the Prototype Lancer on whichever one is flying.
- Put Gut-Puncher grenades on one that has landed.
- Collect each of the three ammo pickups around the outer ring as you pass; this is a long fight on ammo.
Both Scoria must be killed before the objective completes. A cutscene then shows Mags operating a control as yellow Imulsion floods the core, followed by the squad’s escape aboard a rail car. No further enemies appear. Control returns while the train is moving, and the Act 5, Chapter 1: One Problem at a Time title card appears next.
All five Critical Failure collectibles
| Collectible | Location |
|---|---|
| Bust of Allfather Decha Timgad | On the reception counter in the lobby, under the TIMGAD PRIME sign |
| Damaged Gas Mask | Gantry floor beside a dead worker, past the round hatch |
| Tyran Business Monthly | Dark control room off the main floor during “Secure the Area”, on the ledge under the gauges |
| Memorandum to Dr. Elliott | Shelf behind the Amber Labs reception desk, by the water cooler |
| Dalia Fabbri’s Research Journal | Desk opposite the missile schematic wall, next to a tape player |
Four of these sit directly on the route above. The fifth, Tyran Business Monthly, is the one easiest to walk past; it is in the dark control room through the open doorway off the main floor while the objective reads “Secure the Area,” tucked on the ledge beneath the wall of gauges and switches. Grab everything before using the lift control, because the descent to the Scoria seals off the rest of the chapter.