RuneScape: Dragonwilds takes the skills of the mainline games and bends them into a survival crafting loop on the world of Ashenfall, where every tool and plate of armor is something you mine, smelt, and forge yourself. A recent play session captures the exact middle stretch of that loop: setting up a bronze-tier workshop, draining an ore cave on the far side of the map, and then walking straight into the Abyssal Demon, dying, and coming back to kill it.
Quick answer: Copper and tin are packed into the Fractured Plains and a cave reaching the Stormtouched Highlands; both smelt into bronze bars, and the Abyssal Demon is the Whispering Swamp’s level 4 mini boss.
Where copper and tin cluster
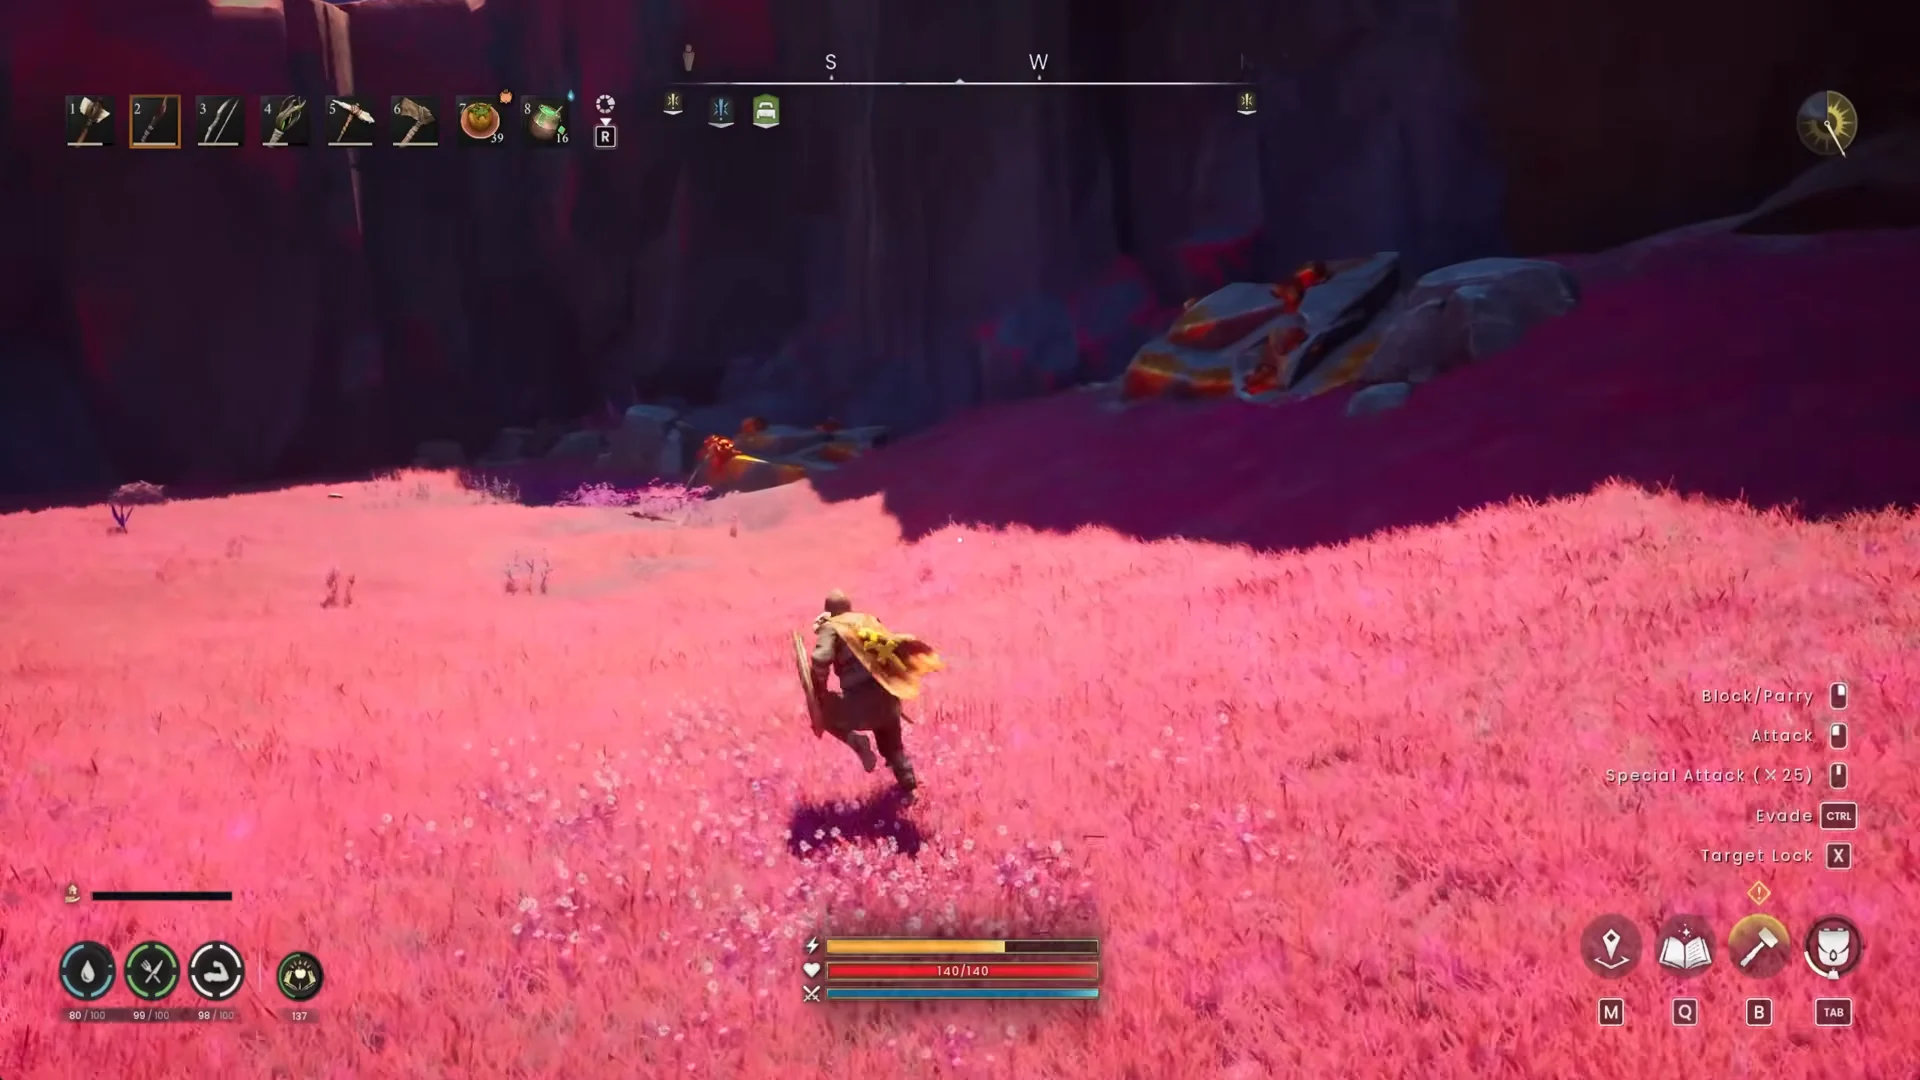
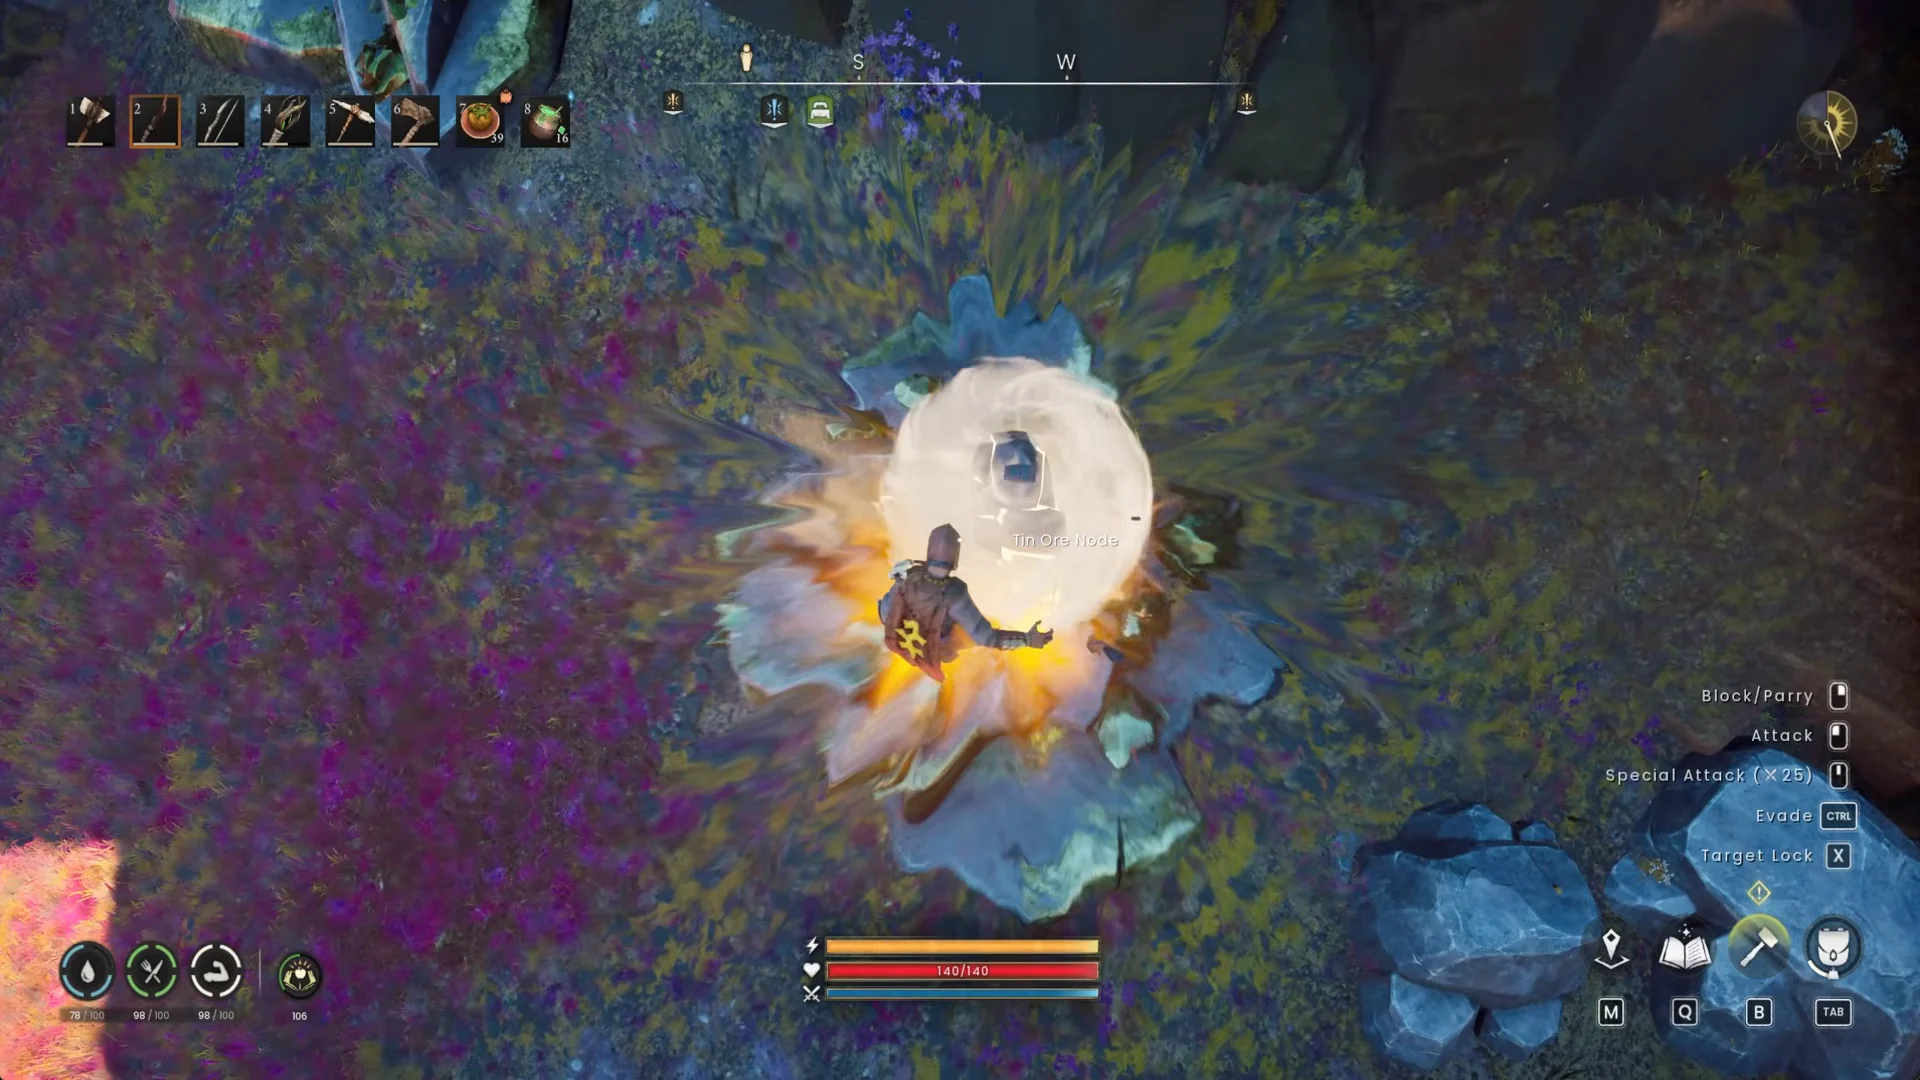
Copper and tin are the first metals on the gear ladder, and they sit almost entirely in the Fractured Plains. It is the fourth area you reach, north of the Whispering Swamp, and it bumps the surrounding enemies up to level three. The nodes are easy to read once you know the pattern: copper rocks carry a gray and orange shell, tin shows green splotches, and both are noticeably larger than the stone boulders and clay piles scattered around them.
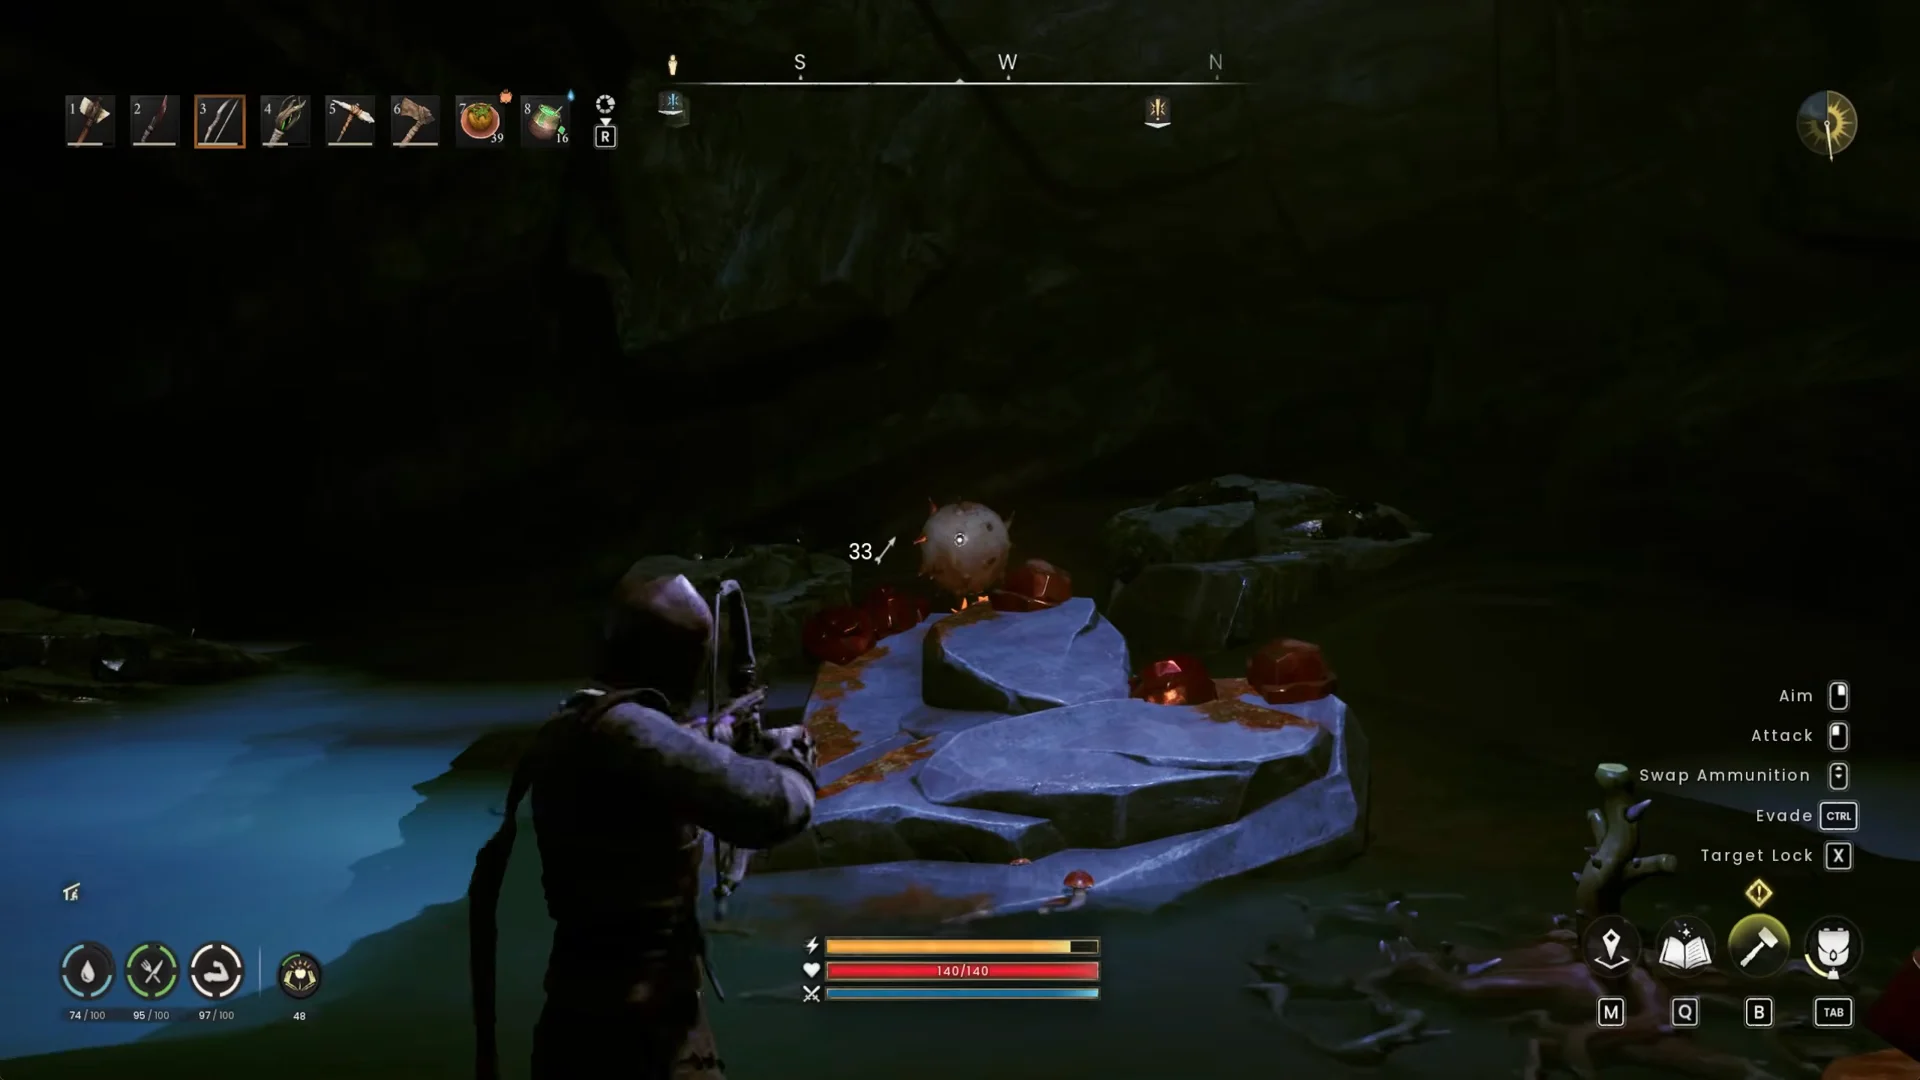
The richest find in the session is a hidden cave, reached by cutting through thorny vines, that runs from the Fractured Plains into the Stormtouched Highlands. Inside is an underground pool chamber ringed with copper and tin deposits, plus a chest holding crafting plans and a Corroded Serrated Blade vestige. Tin nodes do appear in the Stormtouched Highlands too, but there are far fewer of them there since that region is mostly iron, which is why the Fractured Plains stays the place to farm in bulk.
What it takes to mine the nodes
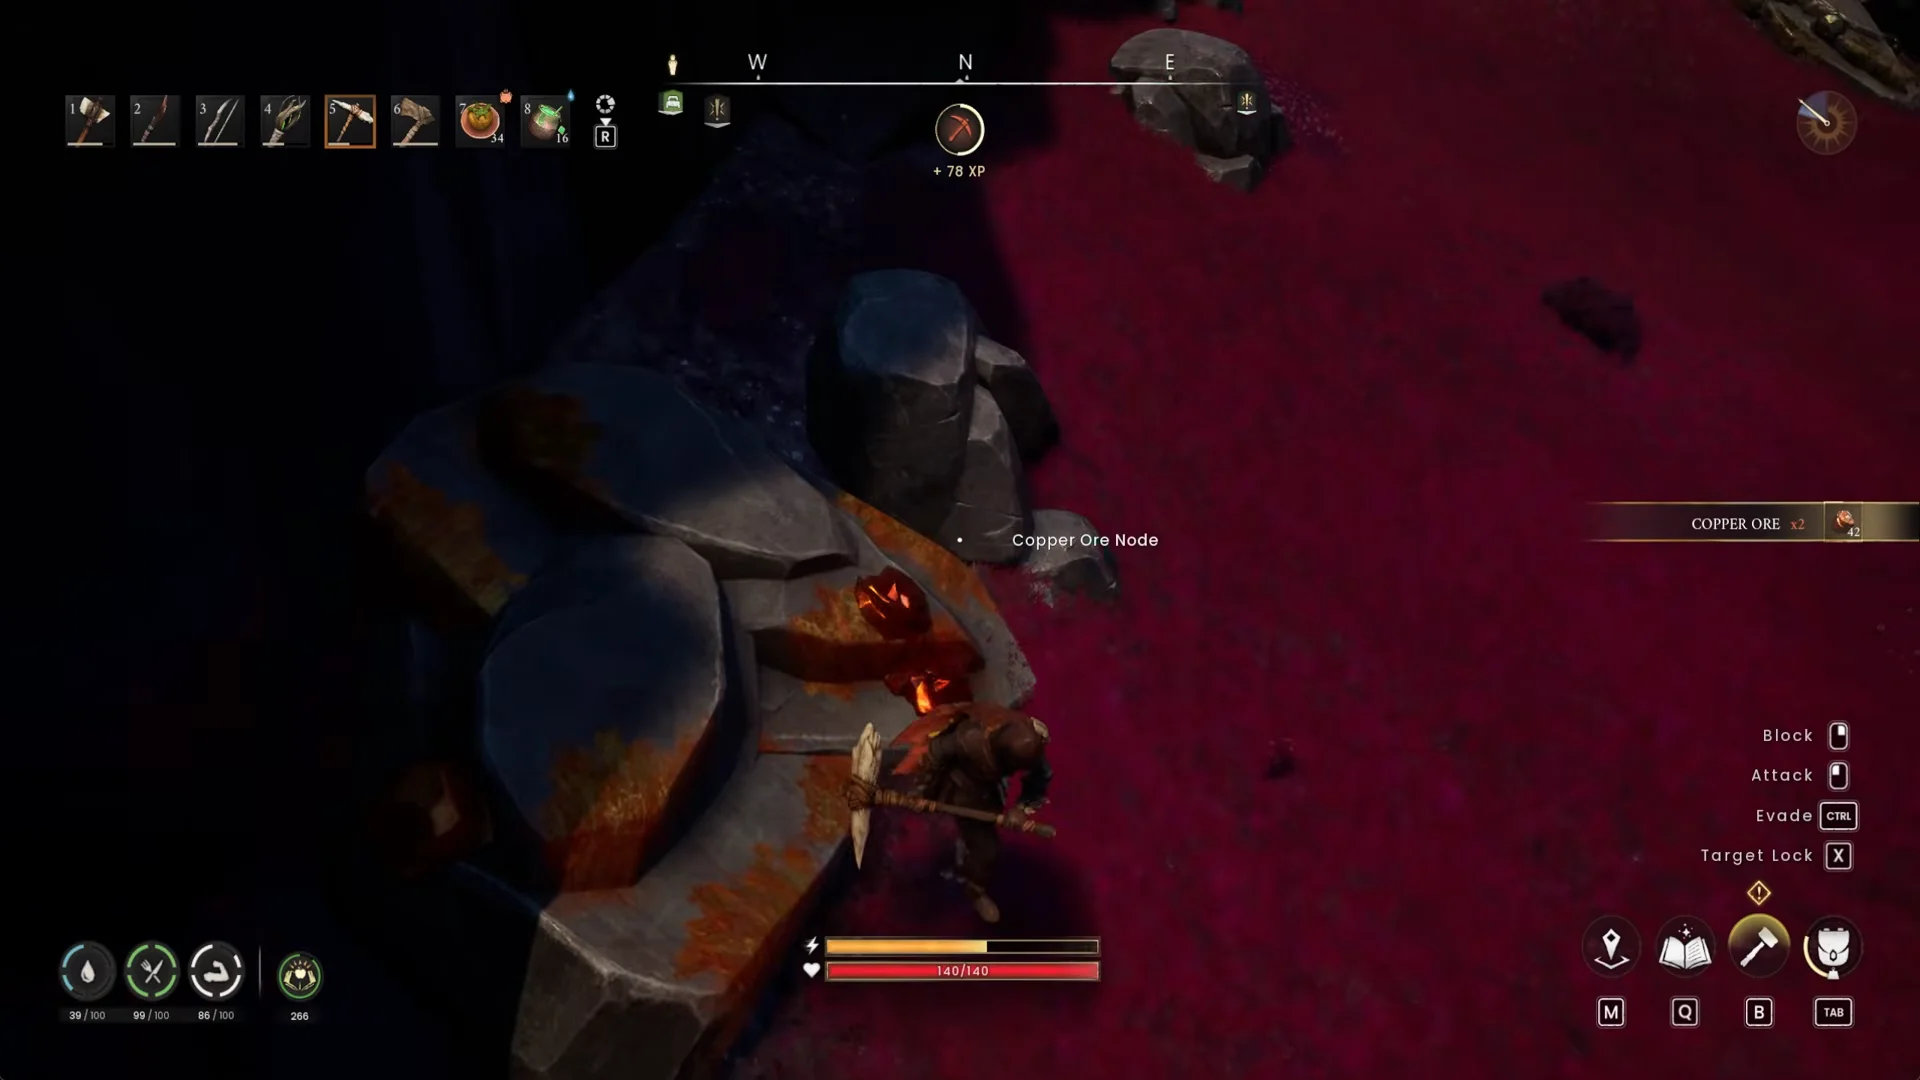
Copper and tin cannot be mined with bare hands or stone tools; you need a Bone Pickaxe or better. For a quicker option, cast Rocksplosion to destroy an entire node and nearby objects in a single burst. Each ore in a node has 75 health. Once a node is emptied, its ore returns after three in-game days if you are at least 100 metres away and have not placed anything directly over it.
| Detail | Value |
|---|---|
| Main region | Fractured Plains |
| Also found | Stormtouched Highlands (sparse) |
| Tool needed | Bone Pickaxe or better |
| Ore health | 75 per ore |
| Respawn | 3 in-game days, 100m away |
| Rare tin bonus | Opal (1 in 20) |
One hard wall shows up in the same cave run. A Granite Deposit sits there, but the game throws up a “You need a more powerful pickaxe!” prompt because standard pickaxes cannot break Granite. That requires a Bronze Pickaxe or higher, which is exactly why the copper-and-tin trip comes first.
Turning ore into bronze gear
Ore becomes useful at a furnace. Feeding in 3 Copper Ore and 3 Tin Ore produces 2 Bronze Bars, awarding Artisan experience each time. From there, bars move to the crafting benches back at base. A Blacksmith’s Bench handles metal tools and melee weapons, while an Armour Bench covers bronze plate and leather ranged pieces.
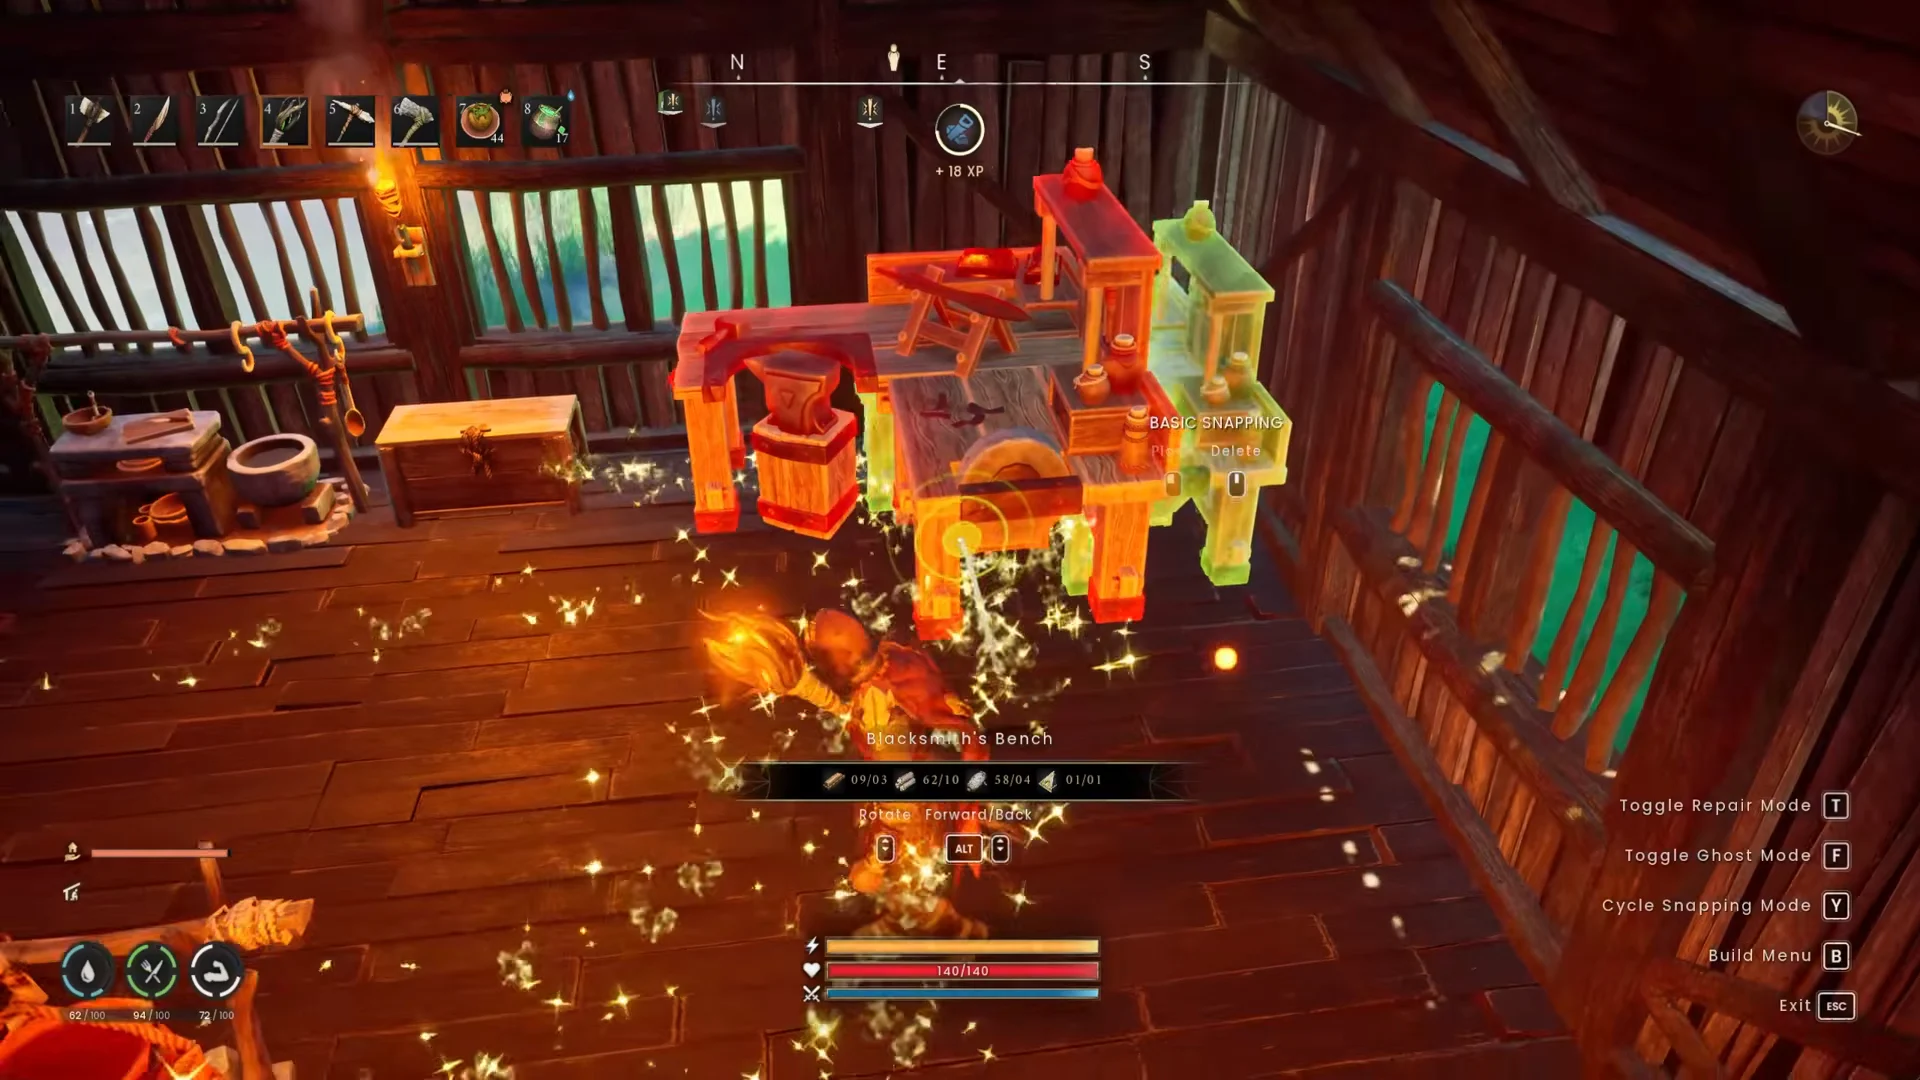
With the benches running, the session forges a full bronze kit, including a Bronze Platebody, Bronze Helmet, and Bronze Platelegs, alongside a Bronze Dagger, a Bronze Warhammer, a Bronze Pickaxe, and the Chieftain’s Blade. That spread of weapons matters later, because the Abyssal Demon reacts very differently to fast strikes than it does to heavy ones.
Keeping the farm watered with Humidity
Food and fiber come from farming plots back at the settlement, and the Humidity spell is the shortcut that keeps them healthy. Casting it drops a rain cloud that waters every tilled plot at once, which removes the manual watering can from the routine entirely. Crops can still turn diseased, shown by a withered red-brown look, and those need Plant Cure applied to recover.
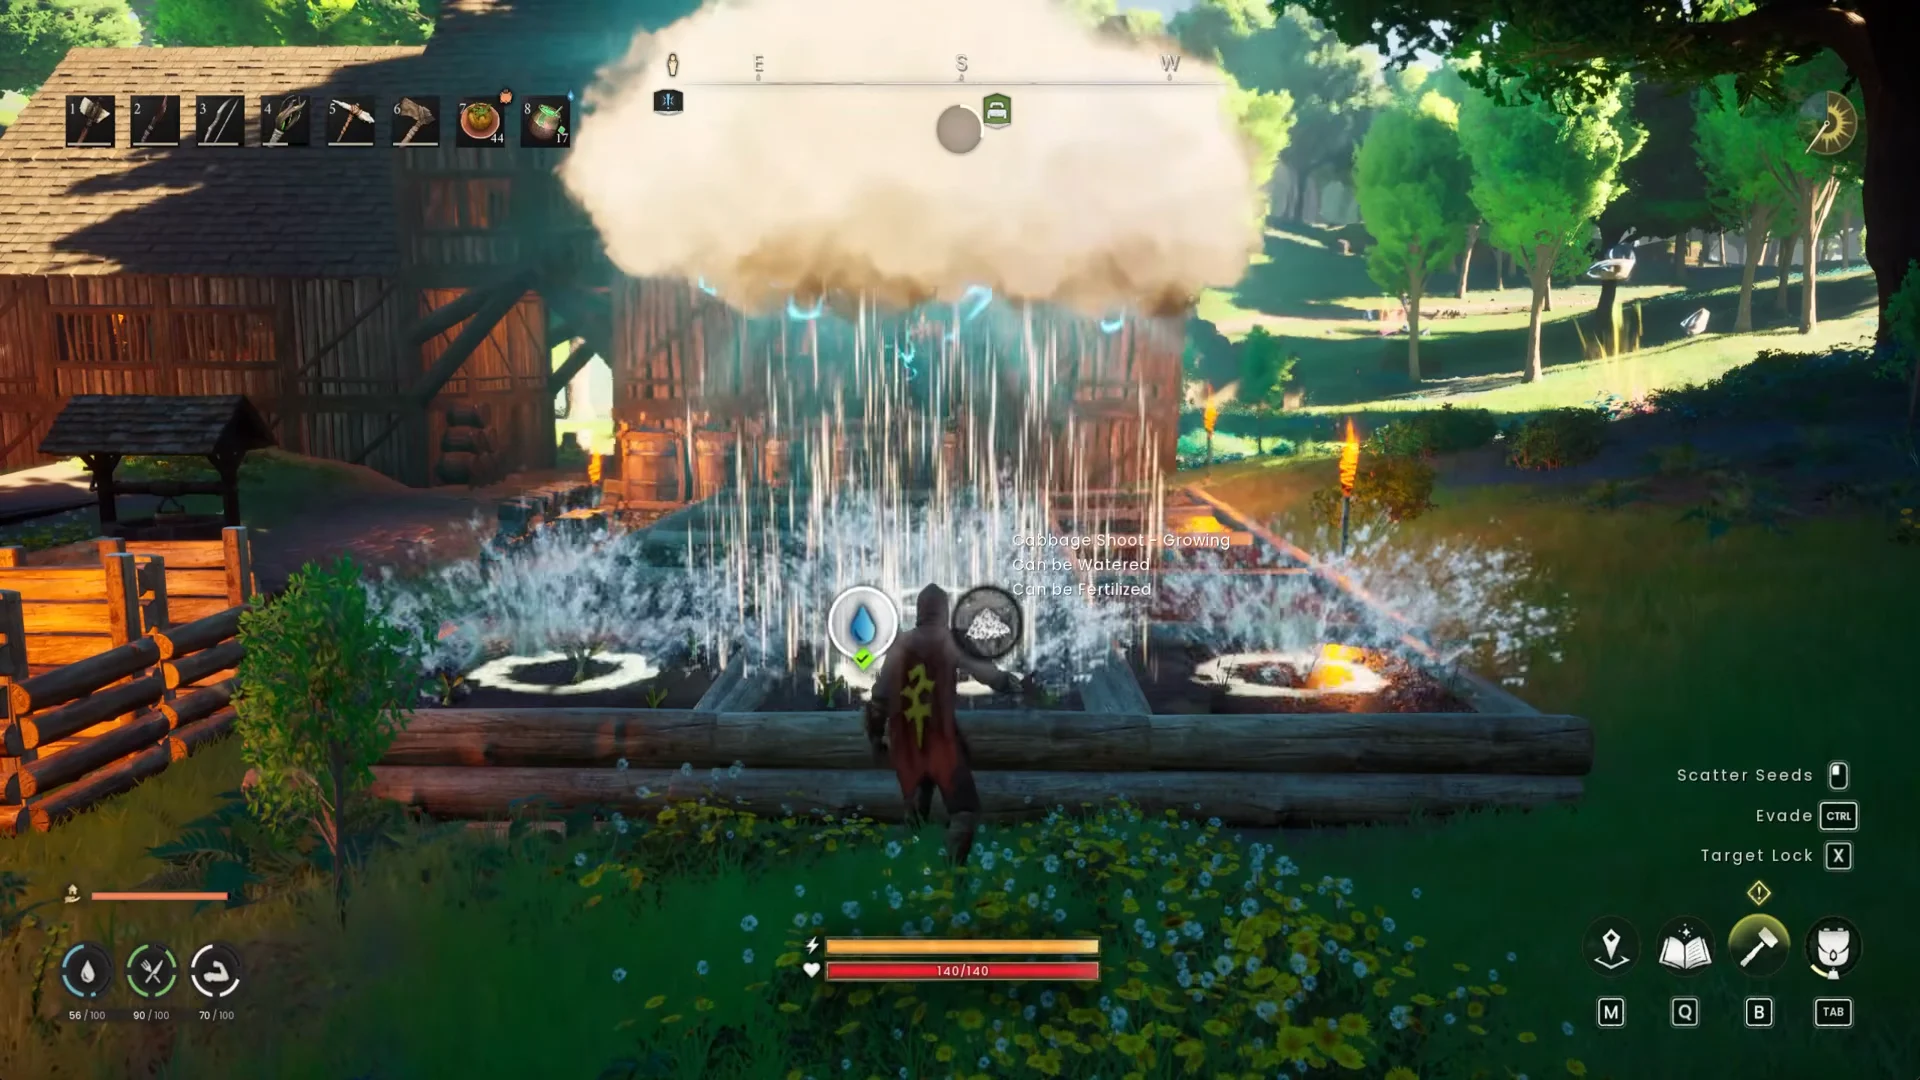
Oak Farming Plots carry zone boundary limits tied to your base territory, so there is a ceiling on how many you can crowd in near the perimeter.
The Abyssal Demon in the Whispering Swamp
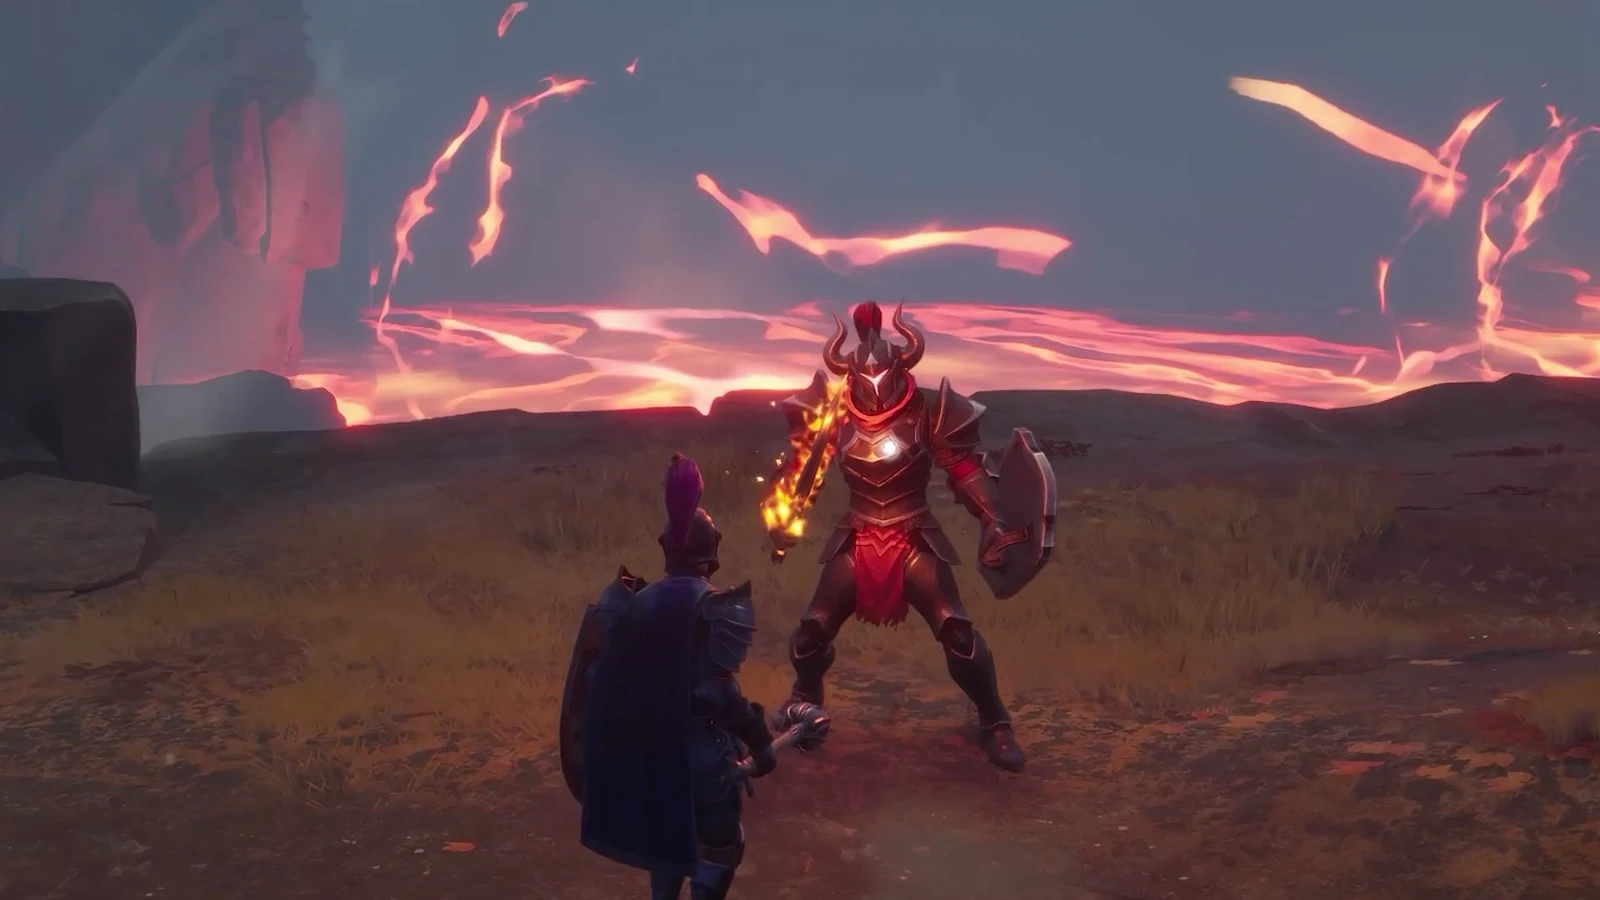
The Abyssal Demon is a power level 4 mini boss, and it is the kind of enemy that can kill you before you have finished reading its name. It roams rather than guarding a fixed room, appears out of nowhere, and attacks faster than its wind-up suggests. In the session it ambushes the player inside stone ruins in the Whispering Swamp and wipes them on the first attempt.
| Stat | Value |
|---|---|
| Power level | 4 |
| Health | 1,500 |
| Weakness | Slash |
| Resistance | Air |
| Aggressive | Yes |
| Respawn | 7 days |
The demon appears across the Whispering Swamp, Fractured Plains, and Bloodblight Swamp. In the Fractured Plains, it is rarely seen and only in the north-east; in the Bloodblight Swamp, it usually roams the south-east around ruins. Its level is 4, higher than the Whispering Swamp’s level 2 and the Fractured Plains’ level 3, making it a clear step up from nearby goblins and garou.
How it fights
Its defining trait is a teleport. If you try to kite it or stand somewhere it cannot path to, it simply jumps to you and then attacks in quick succession, which closes off most run-away tactics. Against ranged or magic attacks the standard advice is to seek higher ground, and fire spells strip its health quickly. For melee, its Slash weakness means swords, the Chieftain’s Blade, and eventually the Abyssal Whip all land harder than blunt weapons, though the Bronze Warhammer is useful for staggering it.
What it drops
| Item | Quantity | Chance |
|---|---|---|
| Abyssal Ashes | 3 | Always |
| Monstrous Fang | 3 | Always |
| Hard Leather | 5 | Always |
| Abyssal Remains | 1 | Always |
| Abyssal Spine | 1 | 45% |
| Ascension Shard (Power Level 4) | 12–19 | 40% |
Version 1.0 made three changes to the drop table: Abyssal Spine now has a 45% drop chance instead of being guaranteed, Abyssal Remains is now guaranteed, and Ascension Shard now has a 40% drop chance. The spine is essential to the Abyssal Whip line. To learn the recipe, take the spine to the Dragonkin effigy inside the Kletterbuja Kara vault, which is in the Bloodblight Swamp. During the session, defeating it with the Bronze Warhammer yields Abyssal Remains and Abyssal Ashes, and unlocks the Abyssal Whip recipe immediately.
Sanguine Urns raise your health cap
The reason the rematch goes better is extra health. Sanguine Urns sit inside swamp ruins, and interacting with one permanently raises your maximum base health. The session pushes the cap from 140 to 150 at the first urn and then from 150 to 160 at a second, with the game confirming each time: “You absorb the power of the urn. You feel healthier than before.” That buffer is often the difference between surviving the demon’s opening flurry and respawning in the base bedroom.
Put together, the footage lays out the natural shape of Dragonwilds’ early-to-mid game. The Fractured Plains ore cave feeds the furnace, the furnace feeds a bronze loadout, and that loadout plus a couple of Sanguine Urns is roughly what it takes to stand in front of the Abyssal Demon long enough to win, and walk away with the Abyssal Spine that starts the whip.