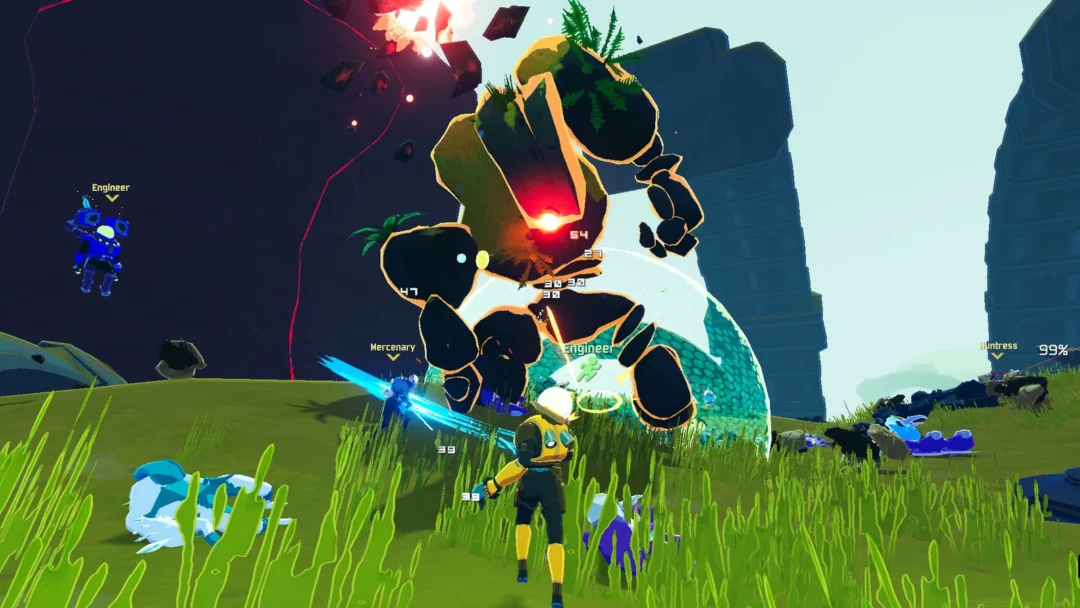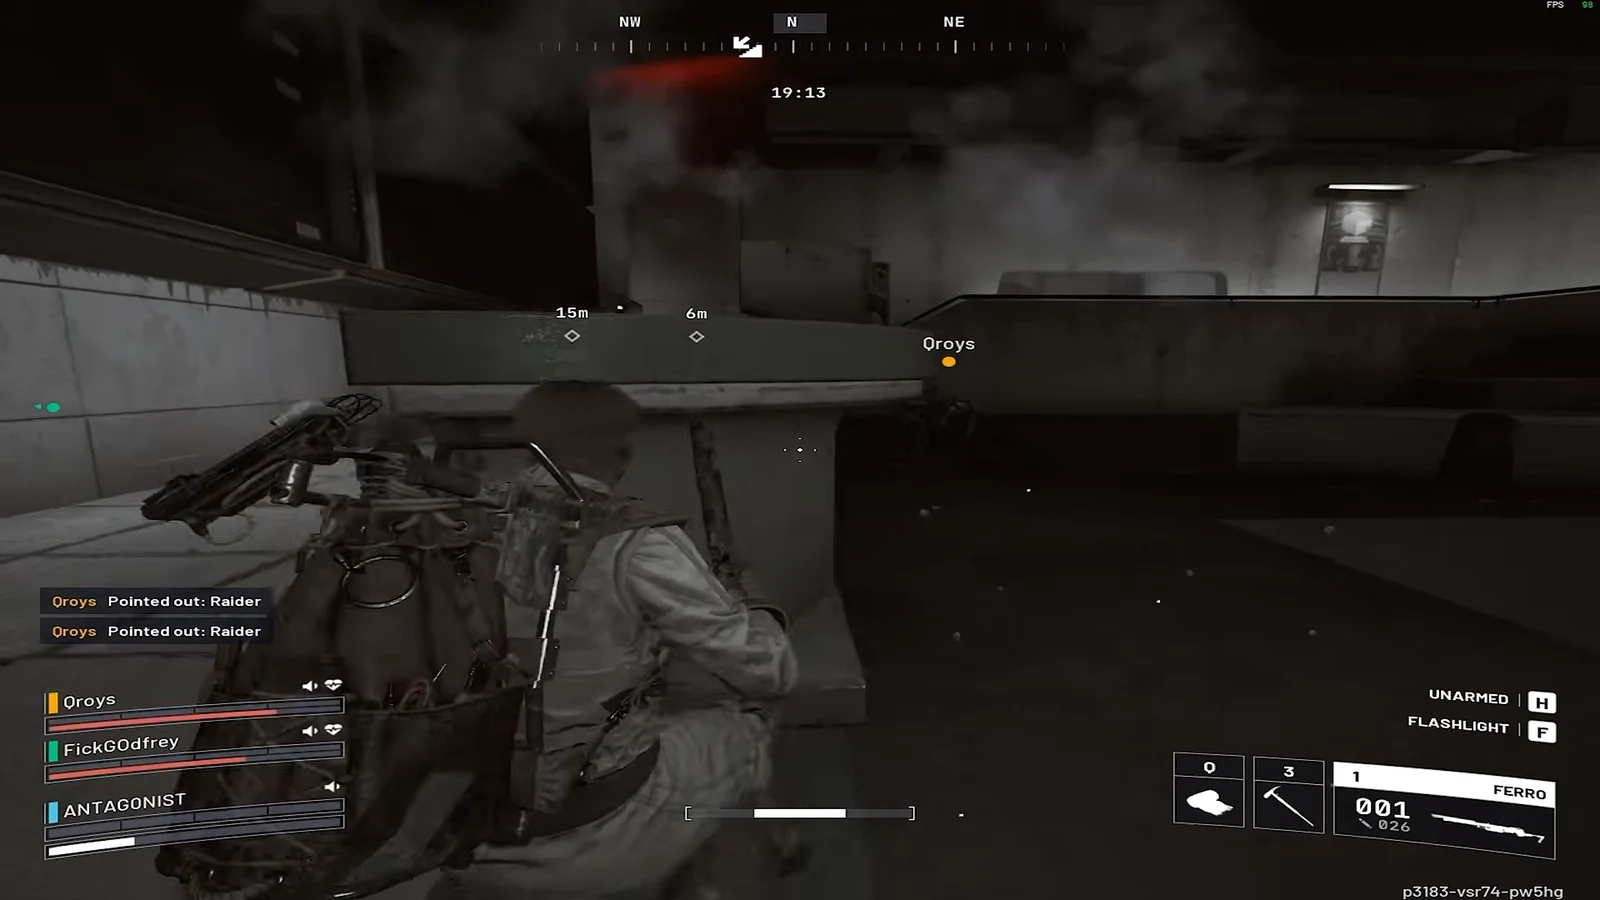
Apollo’s Bait, Fetch, Blast gives you one task that matters: take down a Bully, an armored, four-legged ARC walker, and bring back part of it. The quest lists two objectives, but the battle is the real challenge. Success depends on your aim and making good use of cover.
Quick answer: Head to Pendola Pass and take out the Bully by destroying its frame, its head, or four legs. Recover the Bully Fragmenter from the wreckage, extract, and deliver it to Apollo in Speranza.
Unlock requirements and the free supply kit
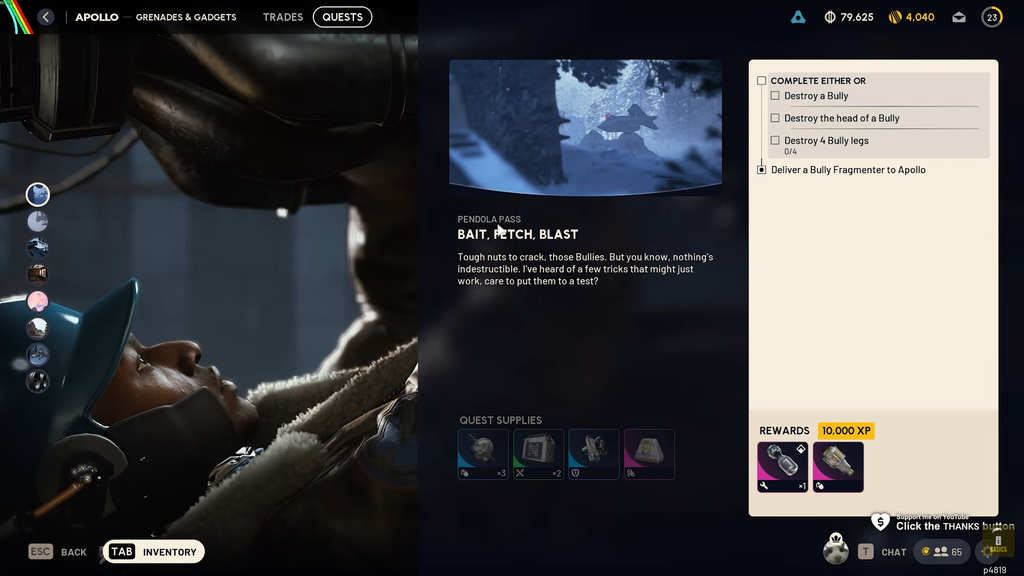
You must complete Tracks of the Beast, given by Shani, before Apollo makes Bait, Fetch, Blast available. Once you finish it, the new quest appears in Apollo’s list for you to accept. It concludes the chain, with no follow-up quest attached.
Accepting the quest places a supply package in your inventory. Equip all of its contents before deploying to avoid using your own gear for the run.
- 3x Showstopper
- 2x Barricade Kit
- 1x Medium Shield
- 1x Looting Mk. 3 (Survivor) augment, with 20 backpack slots and a maximum carry weight of 80
What to bring against the Bully
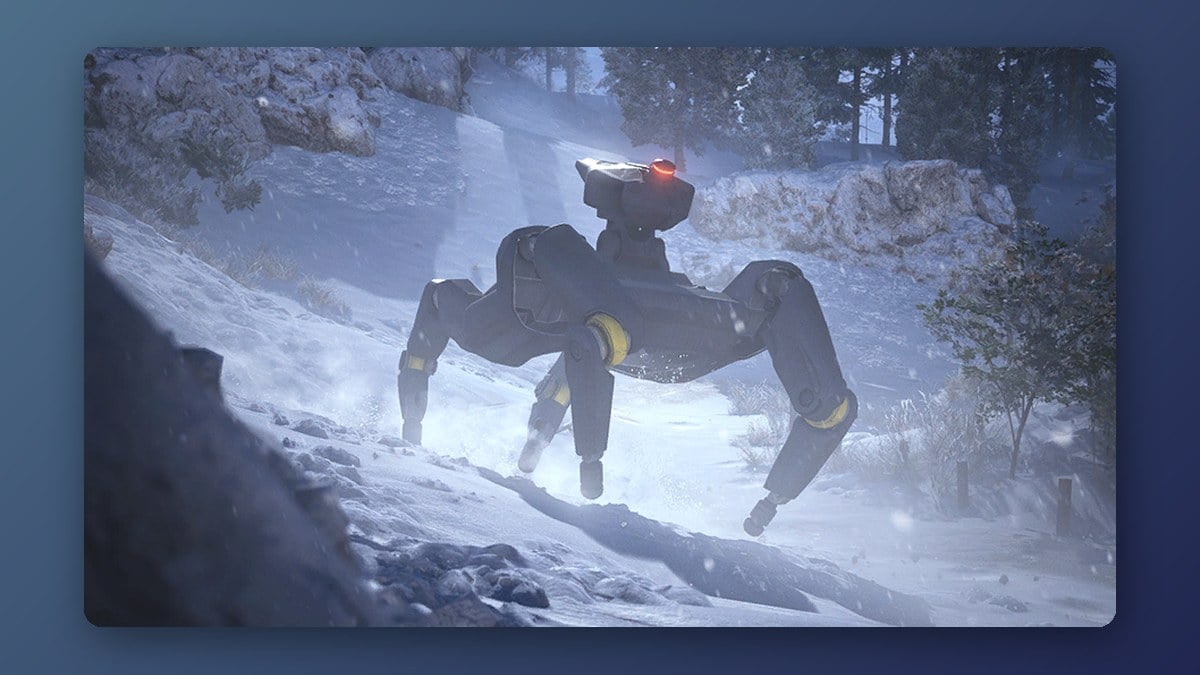
The Bully’s body carries 3,000 health and is heavily armored, so pouring rounds into the chassis is a waste of time. The head sits at 1,600, the upper legs at 500, and the lower legs at 400, which is why breaking legs or the head is the fast route. Bring weapons that punish those weak points, plus enough shielding and healing to trade from cover.
| Weapon | Category | Rarity | Best for |
|---|---|---|---|
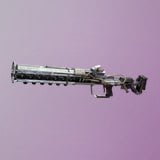
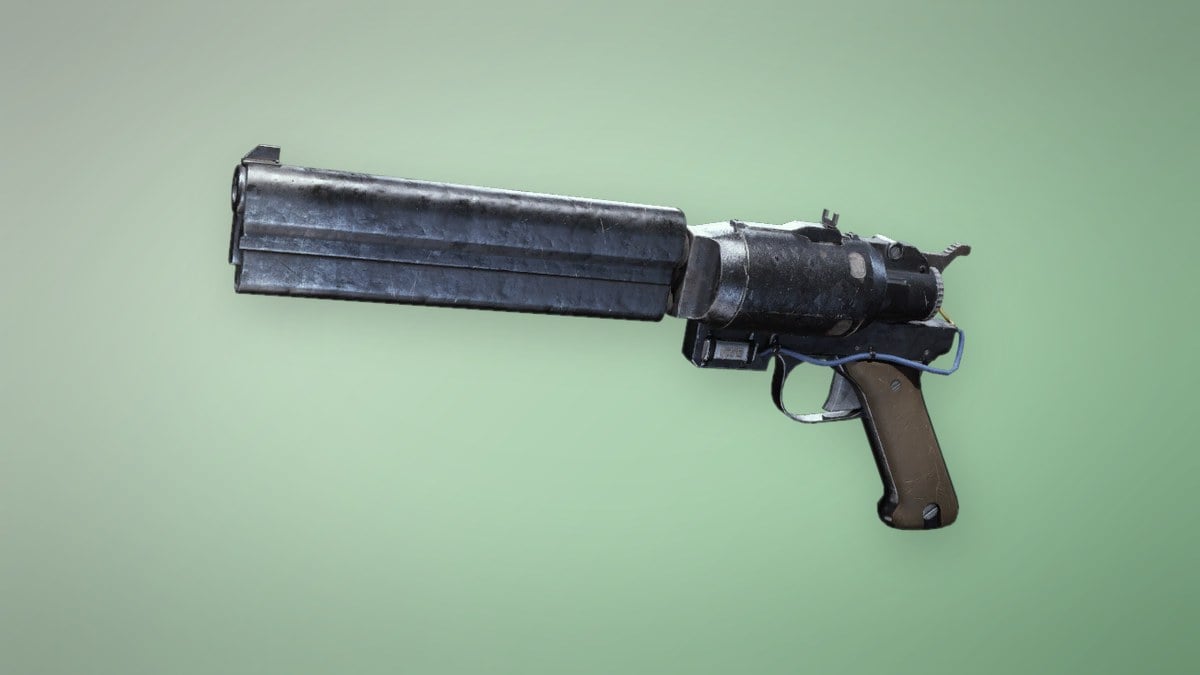
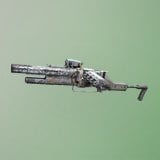 Hullcracker Hullcracker | Special | Epic | Breaking legs and joints |
 Jupiter Jupiter | Sniper Rifle | Legendary | Heavy single-shot damage |
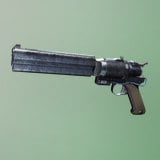 Anvil Anvil | Hand Cannon | Rare | Backup between reloads |
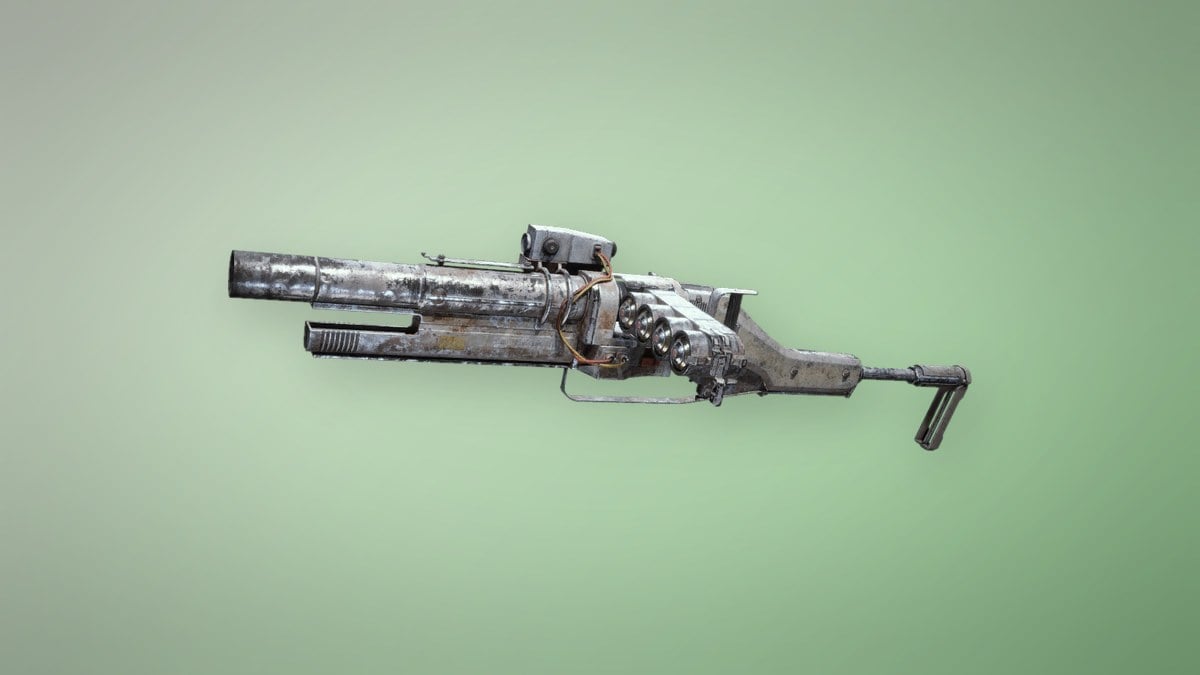
Hullcracker launches explosive rounds that detonate only on ARC targets. Well-aimed shots quickly break leg joints, making it a capable budget option.
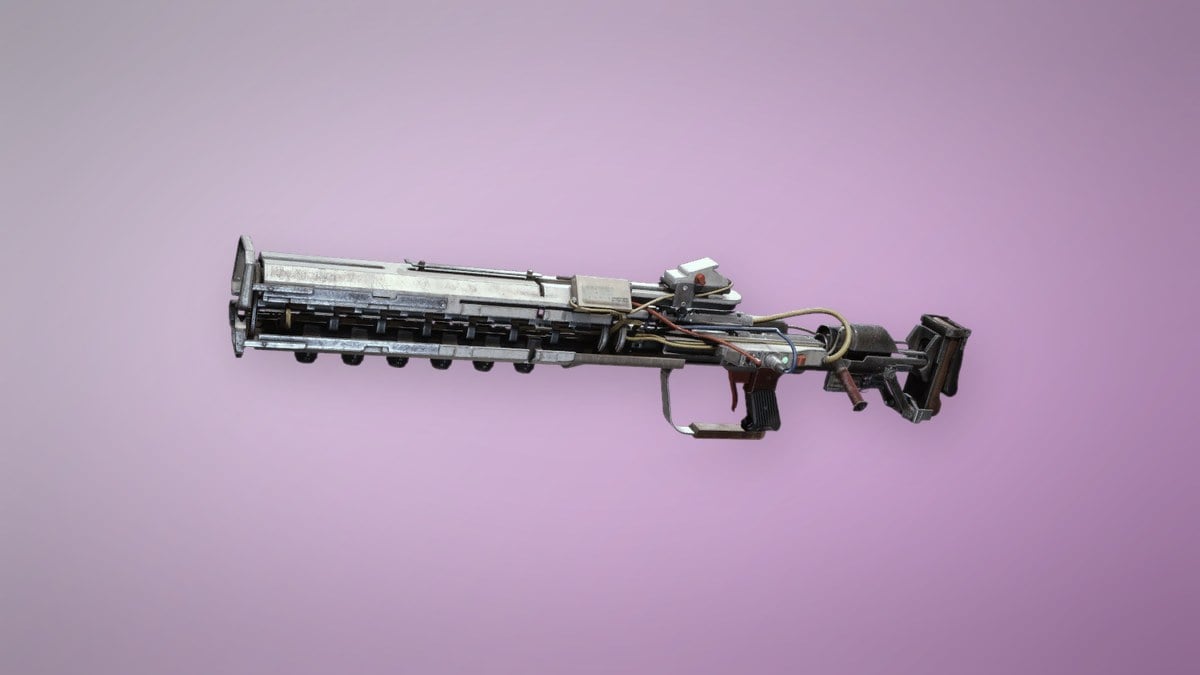
If you have it, choose Jupiter. This bolt-action sniper offers Very Strong ARC armor penetration, and one shot can damage several machine parts, making the fight much quicker.
Anvil works well as a secondary. It hits hard and rewards headshots, though its slow handling means you lean on it to keep pressure up while the Hullcracker reloads.
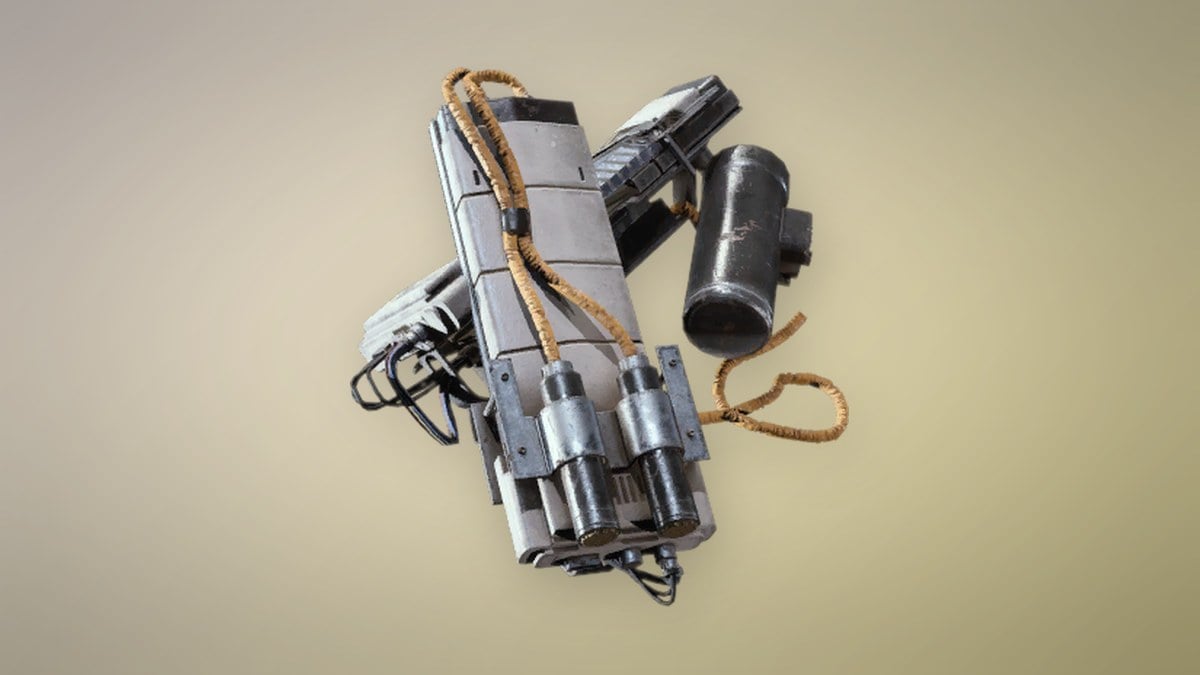
Add the Medium Shield to your loadout: it carries 70 charge and reduces incoming damage by 42.5% at the cost of 5% movement speed. Bring ample ammunition, several healing items, and explosives such as Snap Blasts or Deadline mines to set beneath the machine.
If you are running with a team, put one Raider on bait duty to hold the Bully’s attention while the rest shoot its exposed legs and head.
Where to find a Bully in Pendola Pass
Search Pendola Pass’s snow for a Bully on the move. Its spawn location changes between raids, but the Railyard is a reliable starting point. Listen for the loud machine as you cross exposed ground, and mark it as soon as it appears.
Do not open fire from open terrain. Get next to solid cover first, whether that is a large rock, a damaged train car, or one of the small metal outposts dotted around the tracks. A doorway or window you can shoot through gives you room to reload and heal while the Bully struggles to reach you.
How to destroy the Bully
You can satisfy the combat objective in three ways: destroy the Bully completely, take out its head, or disable four of its legs. Any one of these outcomes clears the step, so use the opening the fight gives you. For most players, breaking the legs is the simplest route.
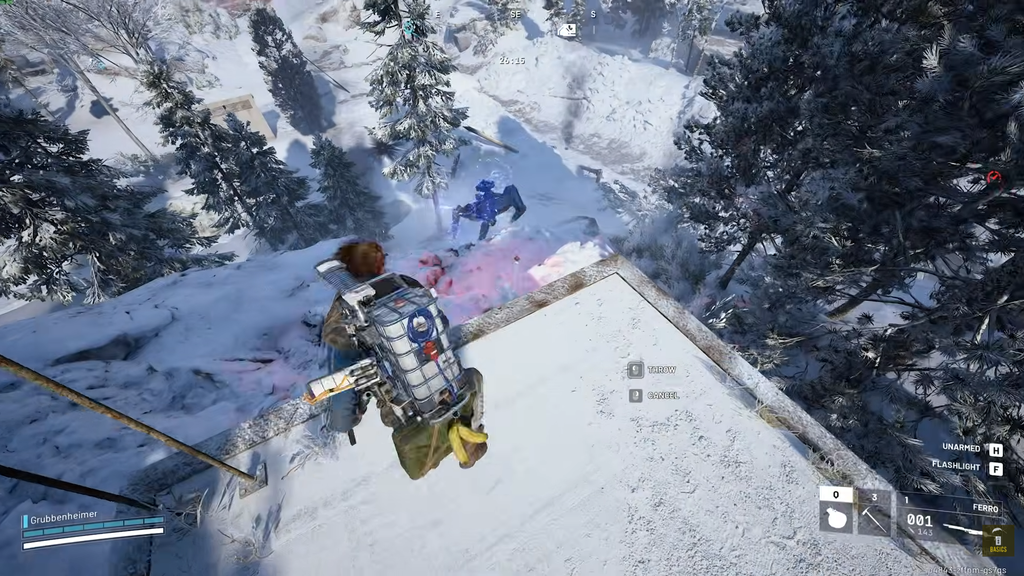
Loot the Bully Fragmenter and extract
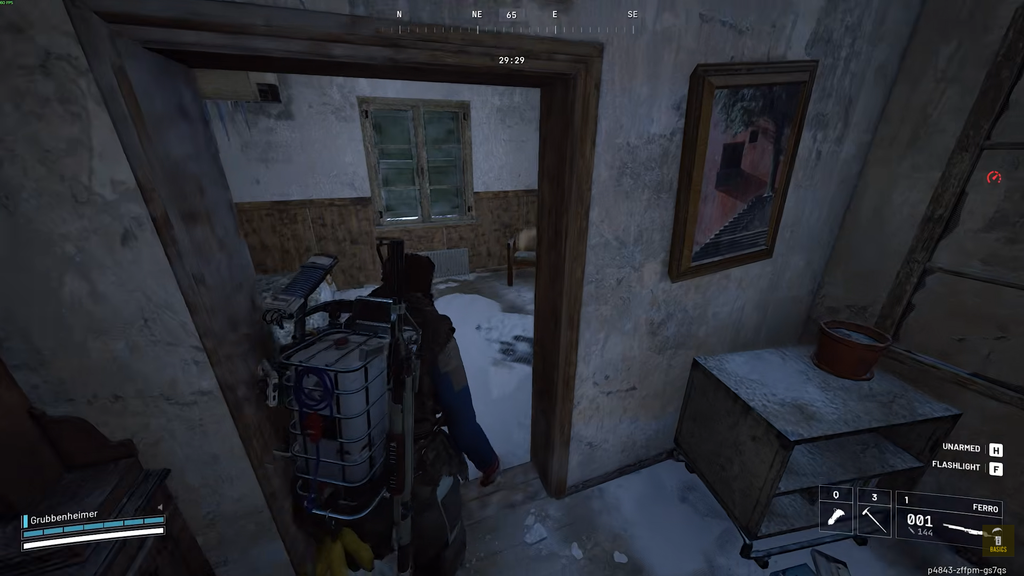
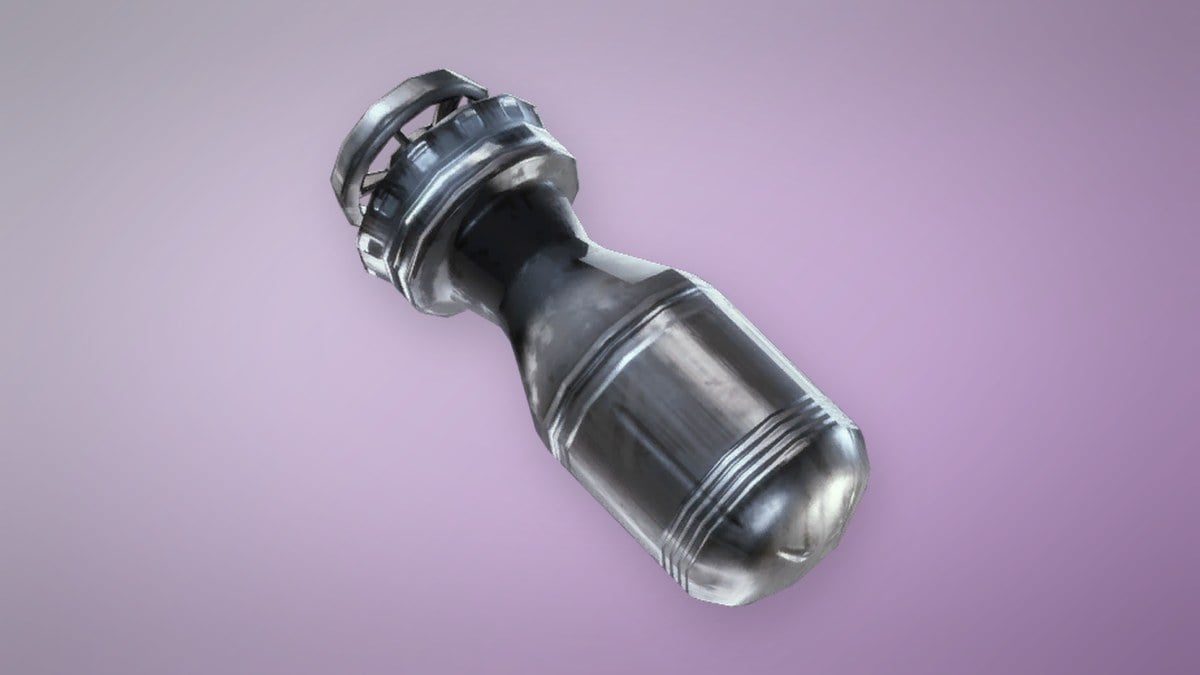
Walk up to the wreck and search it. The Bully drops a mix of loot, and the Bully Fragmenter is the only piece that matters for the quest. Alongside it you will typically find:
- Mechanical Components
- ARC Alloy and other ARC materials
- Shotgun Ammo
- Grenade Launcher Ammo
Put the Fragmenter in your Safe Pocket as soon as you collect it. This protects the quest item if another Raider knocks you down before extraction. It can also be thrown as an explosive, so save the one you need to bring back.
With the item secured, go directly to an extraction point. You have no other raid task to complete, so leave safely instead of risking it in another fight.
Turn in the quest and confirm the rewards
Back in Speranza, open Apollo’s Quests tab and hand over the Bully Fragmenter. The quest marks complete the moment you press Claim, and the rewards land immediately. That Claim screen is your confirmation that everything registered.
| Reward | Quantity |
|---|---|
| XP | 10,000 |
 Wolfpack Wolfpack | 1 |
 Bully Fragmenter Bully Fragmenter | 1 |
The rewards add to the kit you received on accepting the quest, leaving you with a Wolfpack grenade for your next Pendola Pass run. This is the end of Apollo’s chain; there is no further quest tied to it.