Seeking the Sage Walkthrough in Dragon’s Dogma 2: Dark Arisen
Find the Spirit Compass, reach the Shrine of Wisdom, and solve the Sphinx's Riddles of the Body, Soul, and Will.
Find the Spirit Compass, reach the Shrine of Wisdom, and solve the Sphinx’s Riddles of the Body, Soul, and Will.
by AllThingsHow Staff · Edited by Pallav Pathak
Image: CAPCOM Co., Ltd.
Seeking the Sage is the Forsaken Dominion main quest that follows Chilling Tidings, and it deliberately strips away the hand-holding most quests give you. After the clash at the stronghold against the Fallen Dragon, Disa’s soldiers advise you to find Norgan’s sage, who may know how the creature’s undying defenses can be broken. The catch is a malfunctioning minimap and a long trek through blizzards with no clear marker beyond a single compass needle.
Dragon’s Dogma. Image: Capcom
Quick answer: Take the Spirit Compass from the top of the village watchtower, follow its marker through the blizzards to the Shrine of Wisdom, then solve the Sphinx’s three riddles by handing over the Mournful Giant’s Tusk, the Frozen Wyrmslife Crystal, and the Decorative Brooch.
Speak with Dorin in the middle of the village to begin the quest. He explains the path of the sage and tells you that you will need a Spirit Compass to navigate it. Follow him from there to the camp’s watchtower.
Dorin suggests the compass is somewhere in the tower, but it actually sits at the very top. Enter through the door at the base, climb the ladder to the top platform, and open the treasure chest to collect the Spirit Compass.
Head back down and talk to Dorin again. He warns that the route ahead crosses a collapsed bridge you cannot pass normally, then hands you a climbing hook so you can scale around it. Once you have both the compass and the hook, you are ready to set out.
With the compass in hand, a yellow directional marker appears on the minimap. That needle always points toward the sage, so your only job on the road is to keep following it.
Follow the compass to the Shrine of Wisdom
The journey is long, running roughly 30 minutes through packs of enemies and harsh weather. The route takes you past the Beorcan Stronghold and into the wilds beyond, where whiteouts cloud the minimap and make navigation confusing. The yellow marker still works through the storm, so trust the needle even when visibility drops to nothing.
Carry at least 5 Heatstones before you leave. The blizzards along the path drain your maximum stamina through the Chilled condition, and keeping your party warm is what lets you survive the trek and the fights later in the quest.
The compass leads you to the Cavern of Faith. Enter, move through the long hall, and leave by the far exit. Turn right outside, and the path ahead climbs to the Shrine of Wisdom, whose entrance gives off an unmistakable purple glow. A permanent portcrystal sits near the shrine, which makes returning here far quicker during the riddles that follow.
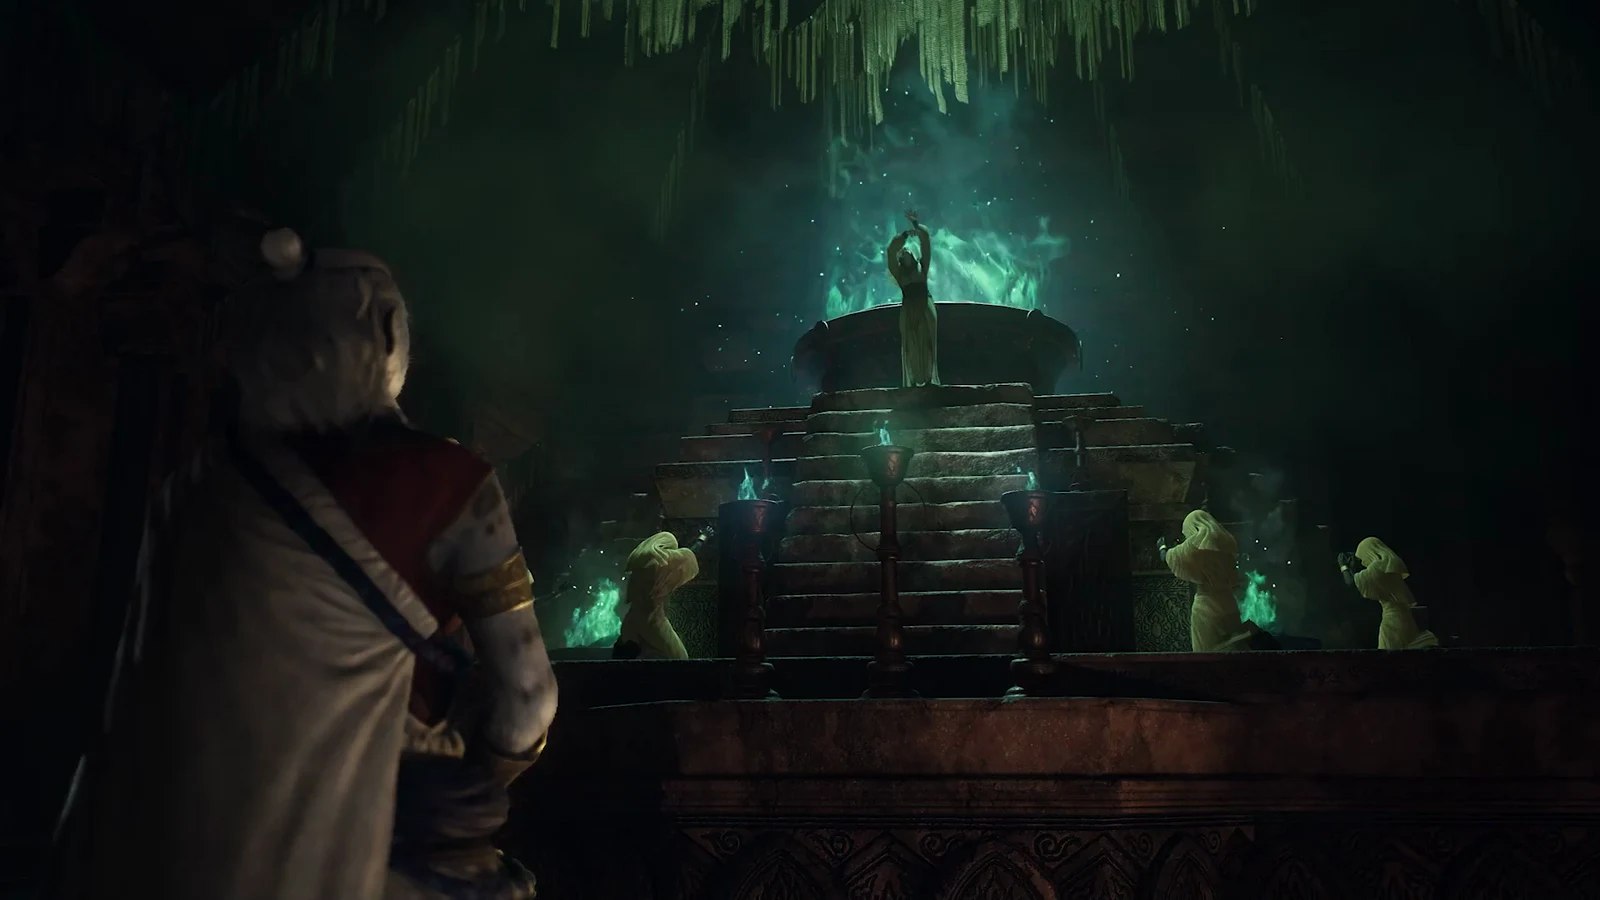
Climb the stairs into the shrine and continue to the courtyard at the top, where the Norgan Sphinx waits. She reveals herself as the sage you have been seeking. After a conversation about the second Arisen and the Fallen Dragon, she refuses to share what she knows until you solve three riddles of what makes a life. Solving them is the Sage’s Wisdom line, and the quest will not close until all three are done.
Solve the Sphinx’s three riddles
Each riddle is answered by bringing the Sphinx a specific item rather than picking a dialogue option. You can tackle them in any order, though the Riddle of the Body eases you into the DLC’s large boss fights before the tougher battle against Fimbl. Each item below is what you hand to the Sphinx to close that riddle.
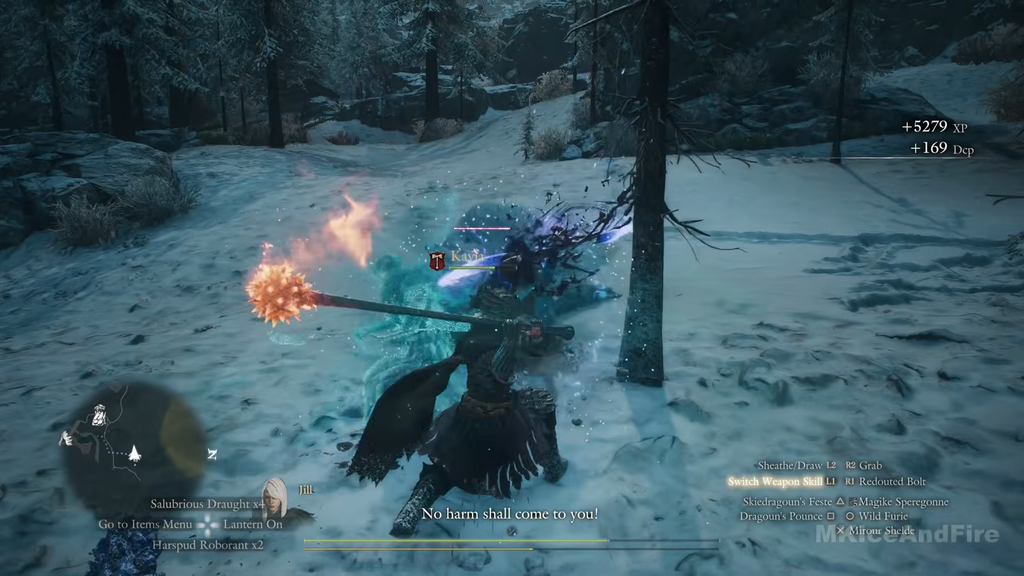
Talk to Dwayne at the Norgandian Inn. He recognizes the giant from the Sphinx’s riddle and promises to share more once he learns it. Keep the conversation going until he starts repeating himself about the giant.
Image credit: CAPCOM Co., Ltd. via YouTube/@MKIceAndFire
Rest at the inn until morning, matching the riddle’s hint about dawn. A giant’s roar wakes the whole inn, and Dwayne points you toward where it was heard. A marker appears on your map.
Follow the marker to the outskirts of the Norgandian Settlement, where a cutscene shows the giant walking off. Continue toward the mountainside and you will meet Dorin at the entrance of the Nival Gorge Collapse, hunting the same creature.
Push through the gorge and fight the Mournful Giant. It hits hard with a swung tree branch and a freezing breath that locks your party in place, and the whole fight takes place in a blizzard, so keep Heatstones active and move clear whenever it winds up its breath. Climbing its back to break its tusks builds stagger and knocks it down for heavy hits.
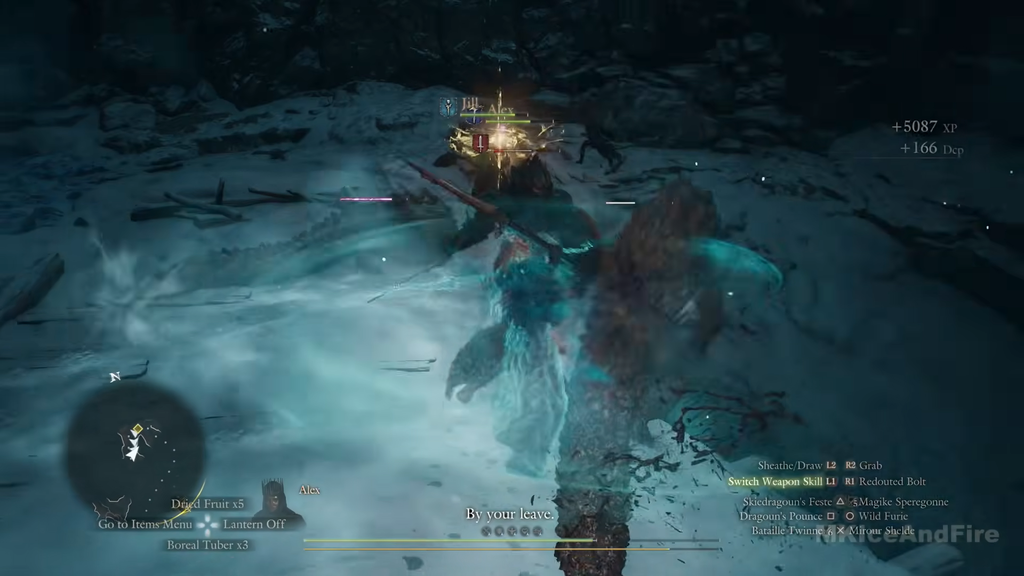
Travel to the Beorcan Stronghold. The blizzard inside slowly drains stamina, so carry Heatstones for the trek and the fight ahead. The storm is caused by Fimbl, the ice dragon holed up in the keep.
Leave the main gate closed and, facing it, follow the wall on your left toward the southwest. A snow-covered opening sits near the frozen soldiers and wooden logs. Strike or walk across the snow to expose it, then use the ladder to descend.
Move through the underground passage, climb the ladder in the next room, and follow the route to the opposite side of the keep. You will pass a riftstone before reaching the courtyard. Climb to the top, where Fimbl is waiting.
Defeat Fimbl. It mixes ground slams that spit icicle shards with lightning and ice spells from the air, and once it drops low enough it begins casting a sustained hailstorm that bleeds the whole party’s health. Fire enchantment on your weapons is one of the most reliable ways to push it down quickly, and striking its exposed heart during a stagger lands big damage. Winning clears the blizzard from the stronghold.
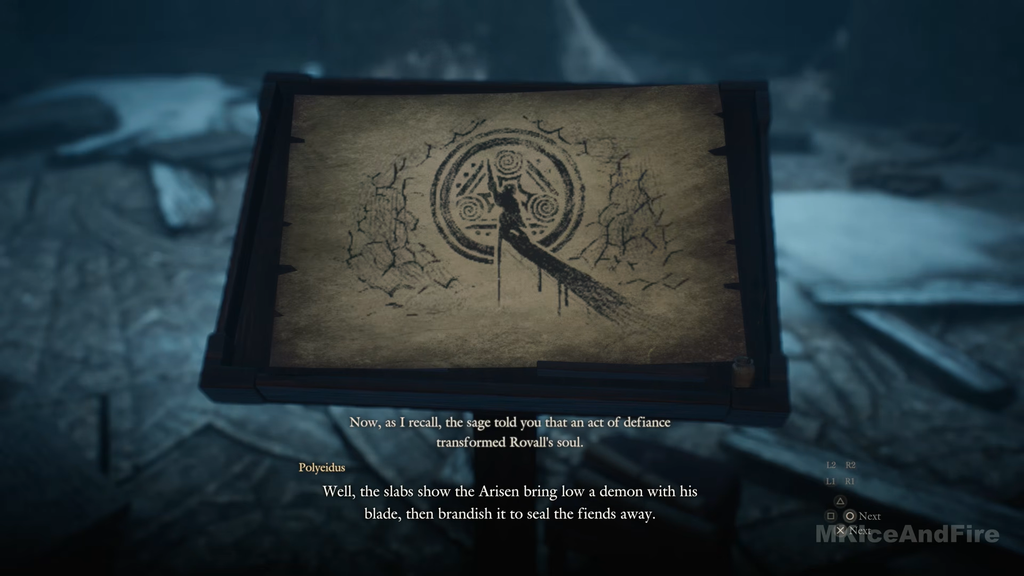
Speak with Polyeidus at the Norgandian Settlement. He points you back toward the Fallen Dragon, meaning the mountain stronghold where you first fought it earlier in the story. Teleporting to the Rivercave Campground portcrystal shortens the return trip.
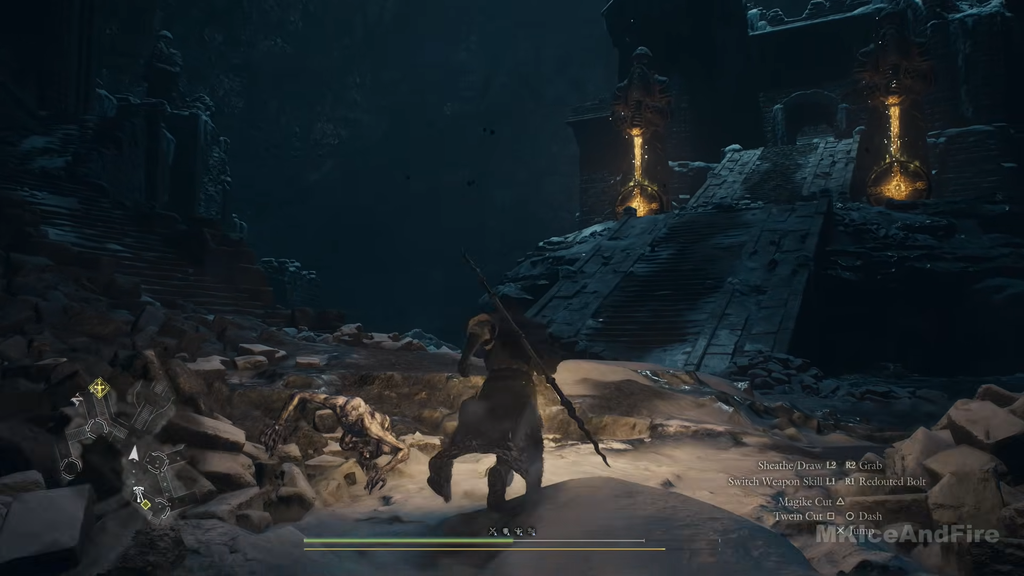
Make your way into the battlefield arena and find the Decorative Brooch on the ground near the center, by the large pattern where Commission soldiers are standing. Picking it up triggers a horde of ghouls.
The ghouls can be left alone while you solve the riddle; take the brooch and depart. Go back to the Sphinx and give it the Decorative Brooch as your answer to the Riddle of the Will.
Image credit: CAPCOM Co., Ltd. via YouTube/@MKIceAndFire
Sphinx treasure rewards
Each solved riddle unlocks one of the treasure chests behind the Sphinx. The rewards are always granted in sequence, so you receive the same set no matter which riddle you clear first.
Riddle cleared
Chest reward
First
Norgan Portcrystal x1
Second
6,000 Rift Crystals
Third
Eternal Wakestone x1
Finish the quest
Handing over all three items is what matters. Defeating the bosses or picking up the brooch on its own does not count until the Sphinx actually receives each one. Once all three riddles are answered, she directs you back to Polyeidus at the Norgandian Settlement.
Return to Polyeidus and finish the conversation. That closes Seeking the Sage and immediately begins the next main quest, Sealed History, which is your confirmation the whole chain is complete.


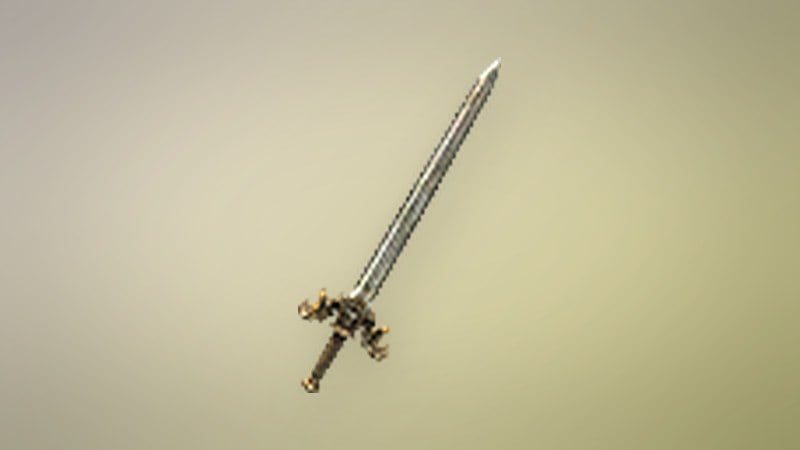
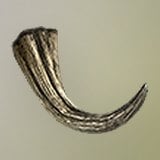 Mournful Giant’s Tusk
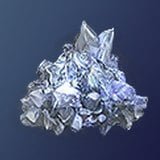 Frozen Wyrmslife Crystal
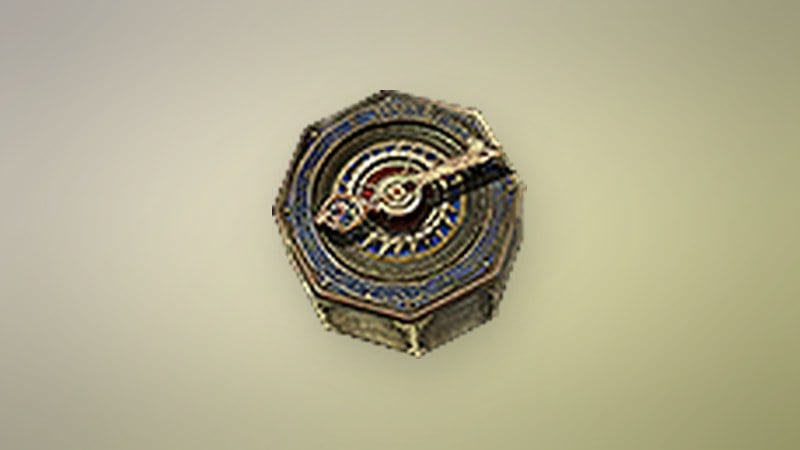
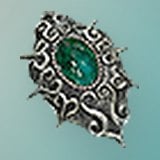 Decorative Brooch