Archer is the pure physical ranged pick in Dragon’s Dogma 2. You trade away magick and elemental coverage for the fastest nock speed in the game, reliable knockdown arrows, and the highest single-target damage ceiling from a distance. Leveling as the vocation pushes Strength and Stamina (both grow at a 1.2 multiplier), which is exactly what a bow build wants. With Dark Arisen live, the equipped skill cap sits at six slots, so you no longer have to choose between damage and control.
Quick answer: Lean on Deathly Arrow for burst, chain Incendiary Shot into Spiral Arrow and Erupting Shot on weakspots, run Critical Shot as your bow special, and prioritize the Lethality, Subtlety, and Endurance augments.
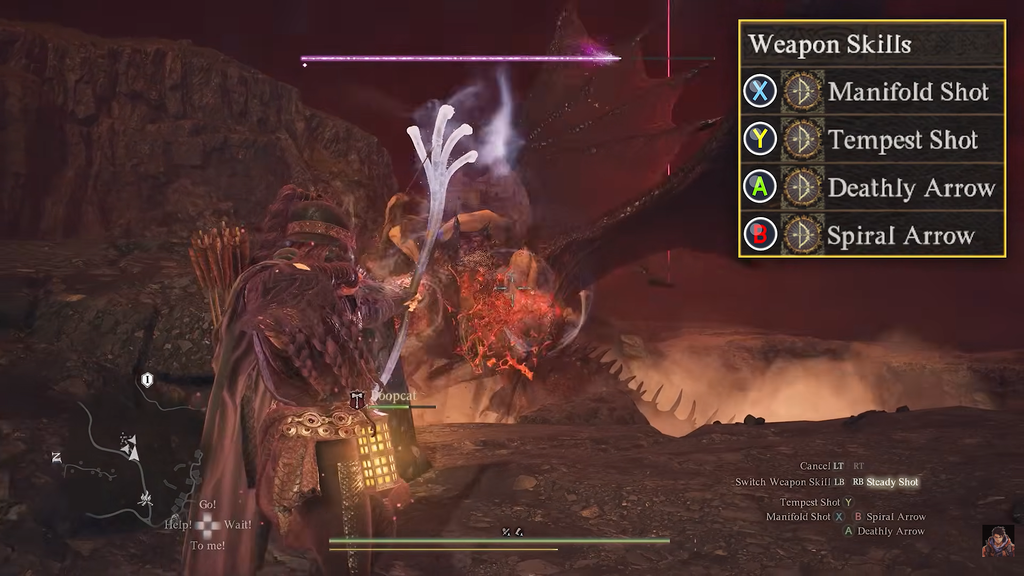
Archer skill loadout for all six slots
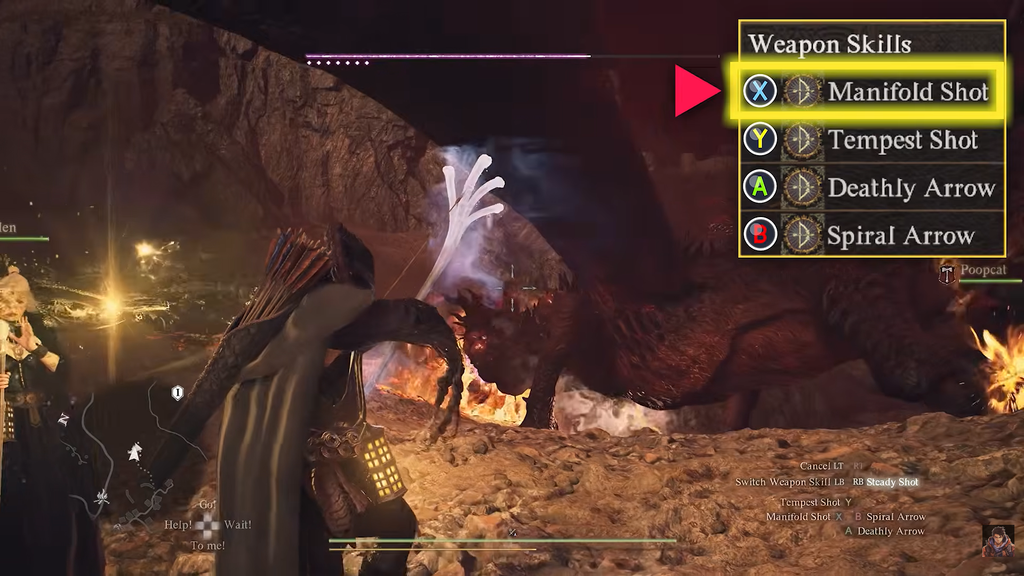
Every slot here does damage, just in a different way. Fill the bar with one mobile pressure skill, one heavy burst, a drilling detonator, and the tar-explosion pair, then keep a disengage tool for when something closes the gap.
| Skill | Unlock | Discipline | Role |
|---|---|---|---|
| Manifold Shot | Upgrade of Barrage Shot | — | Mobile single-target fire |
| Deathly Arrow | Rank 5 | 1,300 | Kneeling weakspot burst |
| Erupting Shot | Rank 5 | 1,300 | Explosive detonation |
| Incendiary Shot | Rank 6 | 1,600 | Tar coat for ignition |
| Spiral Arrow | Rank 8 | 2,500 | Drilling stun and detonator |
| Falcon Arrow | Norgan Obelisk | 2,500 | Disengage and downed execute |
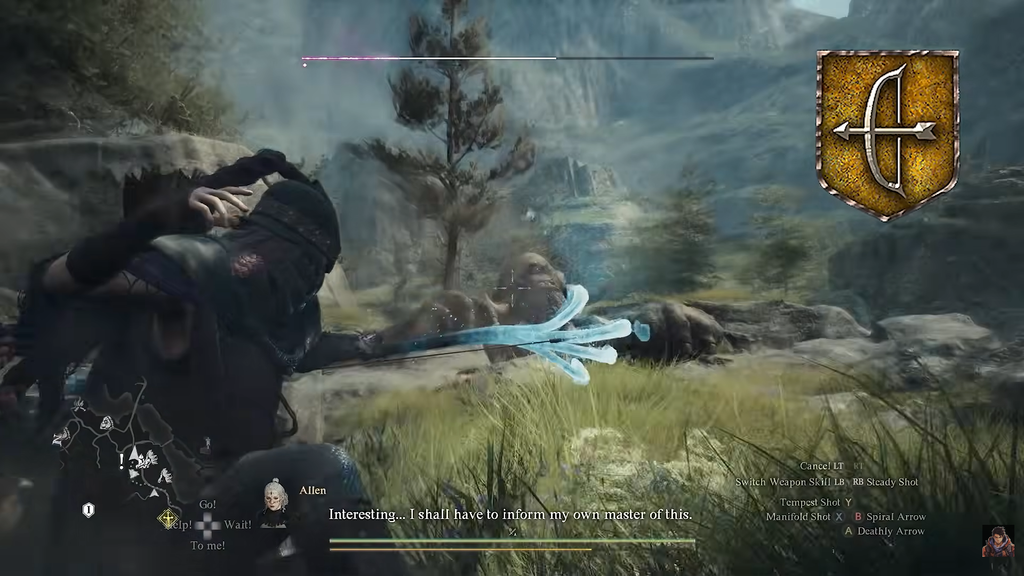
Deathly Arrow is where most of your damage comes from. You take a knee, charge, and release on a weakspot for a massive hit, with a timing window that rewards a clean release. The catch is that you are rooted in place while you do it, so read the room before committing.
Manifold Shot lets you keep moving while you shoot. It hits softer than the rest of the bar, but that mobility is what keeps you alive against bosses and spellcasters who punish standing still. If you never feel starved for a mobile option, this is the slot to swap.
Spiral Arrow fires a spinning arrow that drills in for a flurry of hits, which is strong on stun and part-breaking. It doubles as your detonator, setting off arrows you have already planted. Incendiary Shot coats a target in tar, and Erupting Shot throws an explosive arrow that lights that tar instantly for a large fire hit. Both of the latter require the matching ammunition in your quiver.
Falcon Arrow arrived in Dark Arisen and is obtained from an Obelisk of Benediction in Norgan. It knocks an enemy away while you retreat and loose an arrow; if the enemy is knocked down or staggered, you rise straight above them and fire a powerful shot downward. Use it to break away or finish a foe.
Against groups, swap Manifold Shot for Cascade Shot, the upgraded form of Sweep Shot that hits multiple targets in a wedge. Once you finish the Dark Arisen campaign, you can also obtain Cloudburst Shot at the Archer Obelisk of Benediction beside the Beorcan Stronghold; it sends arrows raining over a broad area.
How to play Archer against large monsters
Your job is the ranged layer. Let frontline pawns hold aggro, hang back, and aim for glowing weakspots and heads where your damage multiplies. Against most fights you can carry the encounter by spamming Deathly Arrow from safety and only moving with Manifold Shot when something turns toward you.
Watch your Stamina. Burning the whole bar leaves you unable to reposition, and a cornered Archer has no block and no real melee option. Falcon Arrow buys you distance in a pinch and raises your Knockdown Resistance during the kick.
The tar-and-explode combo
Best bows for the Archer build
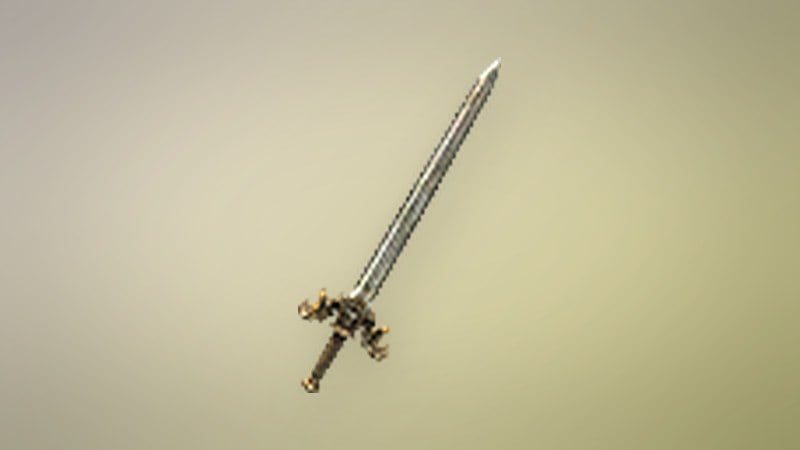
Your bow is pure Strength and Knockdown Power, so you want the highest numbers you can afford at each stage. The Bespoke Bow is the reliable mid-game buy, and a relic bow appraised by Jiera can roll upgraded arrow skills on top of raw Strength.
| Bow | Strength | Knockdown | Source |
|---|---|---|---|
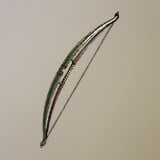 Bespoke Bow Bespoke Bow | 112 | 128 | Buy for 10,500 G |
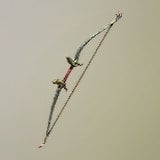 Dragon’s Rancor Dragon’s Rancor | 308 | — | Dragonforged, 110 Crystals |
Bespoke Bow combines bronze with heartwood to support precise aiming, and weighs 1.33 kg before upgrades. It’s available from Roderick’s Smithy, Mondaine, or Celeste’s Smithy. Each of its four enhancement paths raises Strength well above the base value of 112, while the Dwarven path also adds substantial Knockdown Power.
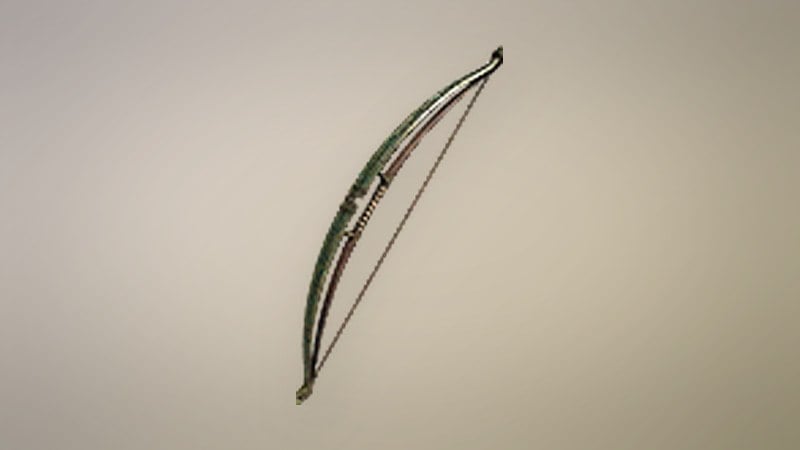
Dragon’s Rancor is a late Dragonforged bow at 308 Strength if you have the Crystals to spare, and it carries the highest raw physical output you will find for the vocation. Any relic bow that rolls extra Strength or an upgraded arrow skill is worth appraising for the same reason.
Special skills, armor, and rings
Critical Shot is the special skill to slot. Because so much of your output lands on heads and glowing spots, a buff that raises weakspot damage effectively multiplies your hardest-hitting skills. If it is not pulling its weight against a particular target, Blighted or Chaotic Strike pairs well with Manifold Shot instead.
For armor, stack defensive skills such as Health or Stamina Boost and targeted Resistance skills. A helmet with Carnivore lets you fire the Heavenly Shot maister skill at no Stamina cost as long as you eat meat first. On leg armor, Hill Strider is worth hunting for because it cuts the movement penalty while you aim and shoot.
Rings
- Vehemence — helps topple large foes faster.
- Skullduggery — more damage to regular enemies hit from behind.
- Ring of Quickening — raises passive Stamina regen if you keep running dry.
Augments for the Archer build
| Augment | Effect |
|---|---|
| Lethality | More damage against weakspots |
| Subtlety | Less likely to be targeted |
| Endurance | Higher max Stamina |
| Dominance | More Knockdown Power |
| Ambuscade | Deals 10% more damage to targets outside battle stance |
| Mettle | More physical defense |
| Thew | Higher carry weight |
Build the core three around Lethality, Subtlety, and Endurance. Lethality feeds directly into the weakspot damage your whole kit relies on, Subtlety keeps enemies looking at your pawns instead of you, and Endurance gives you more Stamina, which means more skills fired before you have to break off and recover.
Dominance earns its slot on almost any physical build because knocking a boss down is as valuable as a damage spike. Ambuscade, unlocked at Archer rank 2 for 300 Discipline, adds a flat 10% to attacks on targets that are not yet in battle stance, which pairs neatly with the opening shots a Subtlety build sets up. If you want more sustain, Exaltation from Mage rank 9 boosts Stamina regeneration and slots in cleanly over any of the flexible options.
Put it together and the Archer becomes a steady ranged carry: Deathly Arrow for the heavy hits, the tar-and-explode chain for burst on weakspots, Critical Shot sharpening all of it, and augments that keep you out of harm’s way while your Stamina lasts.