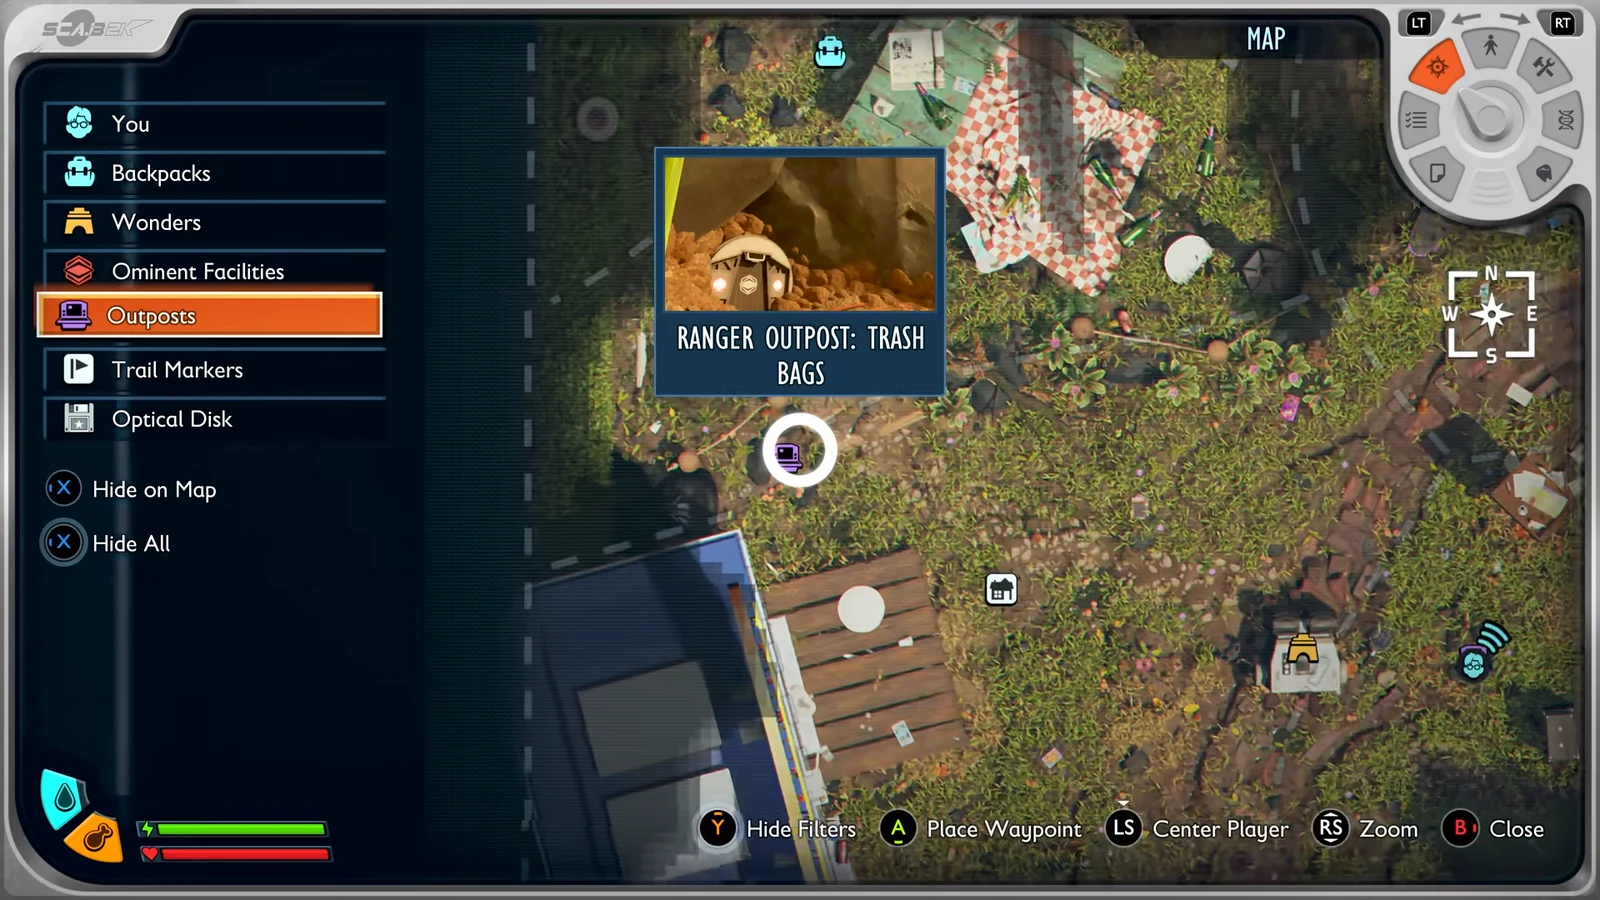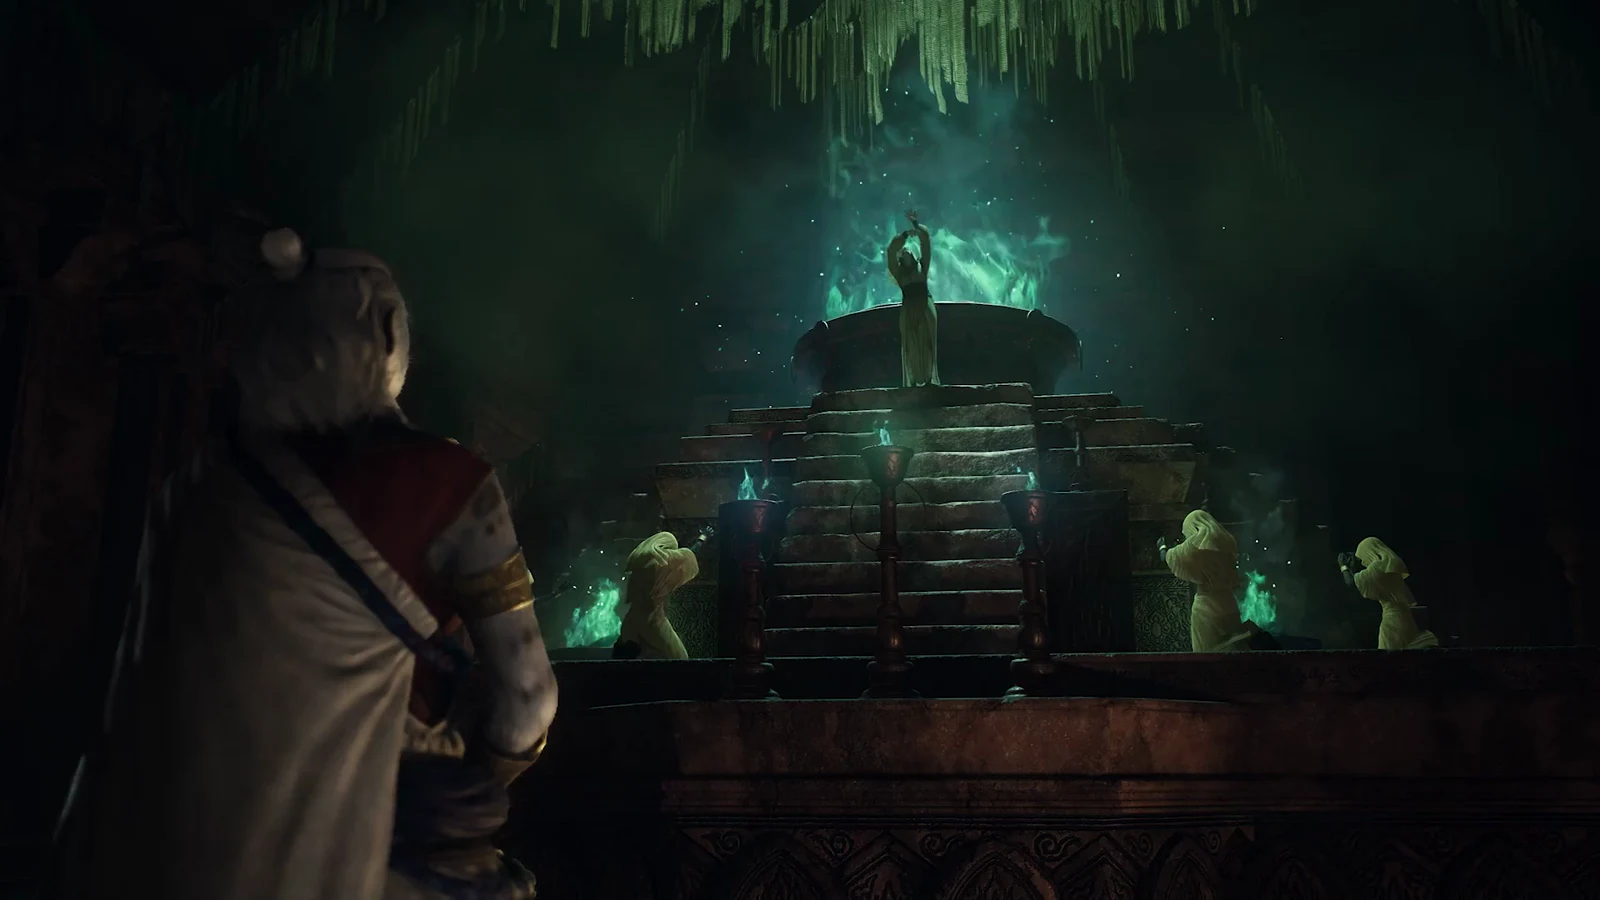
Obelisks of Benediction are stone monuments scattered across the Norgan region added in Dragon’s Dogma 2: Dark Arisen. Each one is tied to a single vocation and permanently strengthens the Arisen (and your main pawn) with a new weapon skill, a stat boost, and a loot buff. There are nine of them, and none of them shows up on your map until you walk up to it in person.
Quick answer: Nine Obelisks of Benediction sit across Norgan, one per vocation — Warfarer has none. Each sells a new skill on sight; spending an Offering Flame from a Lost Rites dungeon also unlocks its advanced form, a one-time stat enhancement, and a temporary loot boost.
What each Obelisk of Benediction gives you
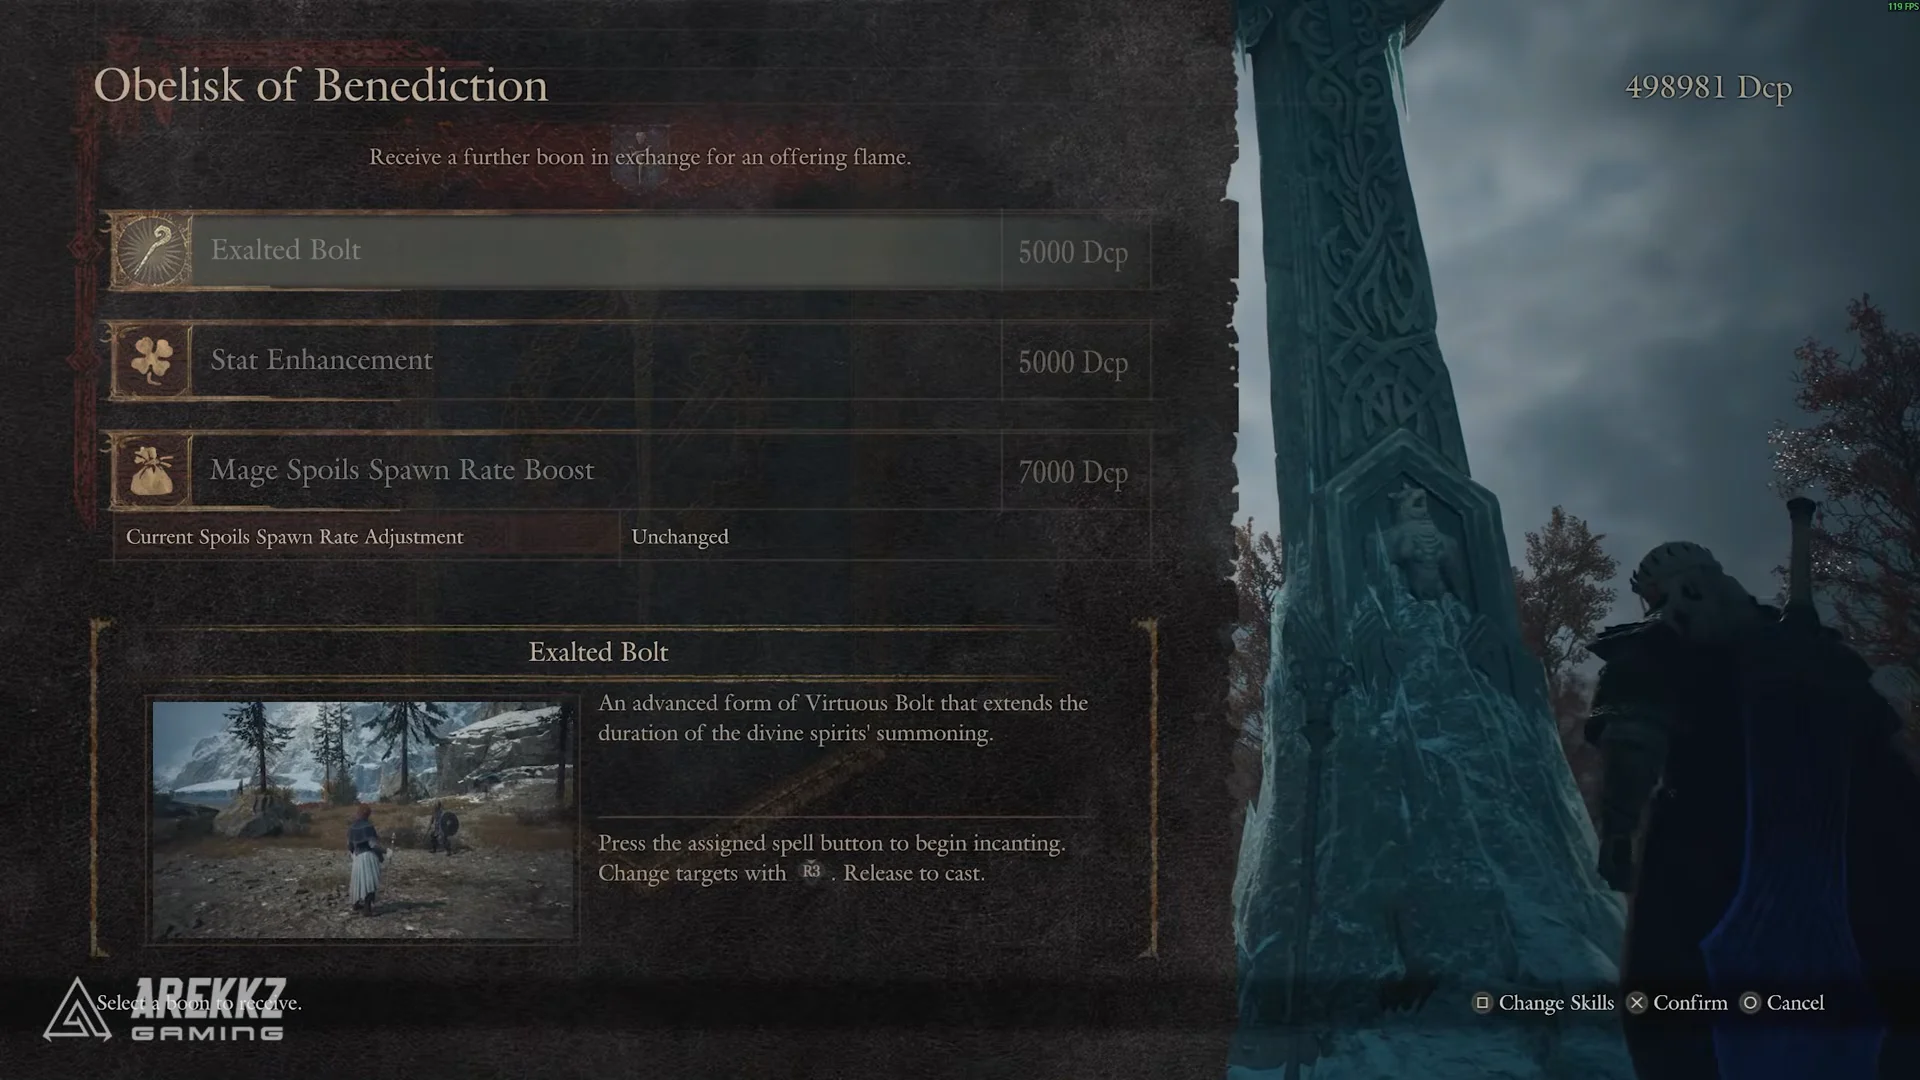
Every obelisk is locked to one vocation. When you reach it and interact with it, the game asks whether you want to spend an Offering Flame to open its full power. If you decline, or you simply do not have a flame, you can still buy the first form of that vocation’s new weapon skill using Discipline Points (Dcp), the vocation currency you earn by fighting.
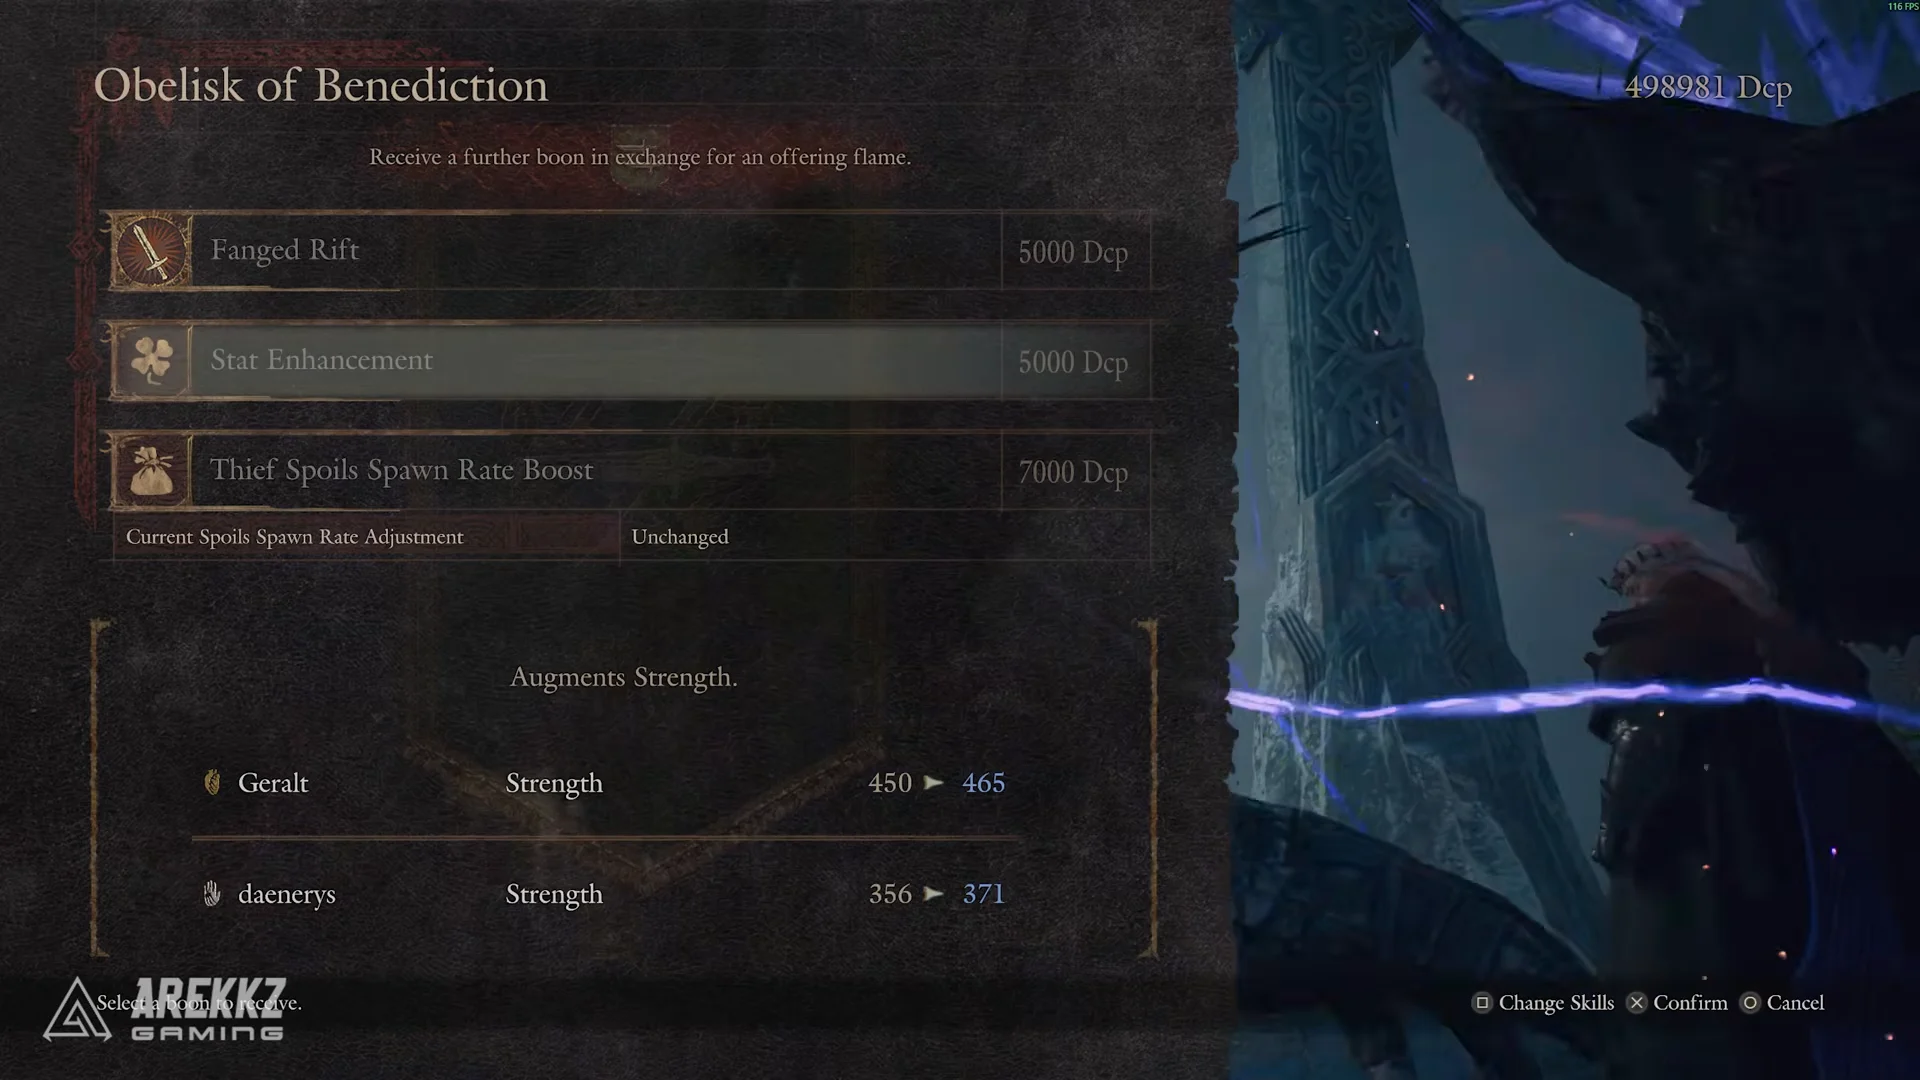
Spend an Offering Flame and the menu opens completely. You can then purchase both the base skill and its upgraded form, claim a permanent stat enhancement, and switch on a temporary buff that raises your chance of finding rare loot across Norgan for that vocation. The stat enhancement can only be bought once per obelisk.
Warfarer has no dedicated obelisk. It relies on the base skills unlocked through the other vocations instead.
Where Offering Flames come from
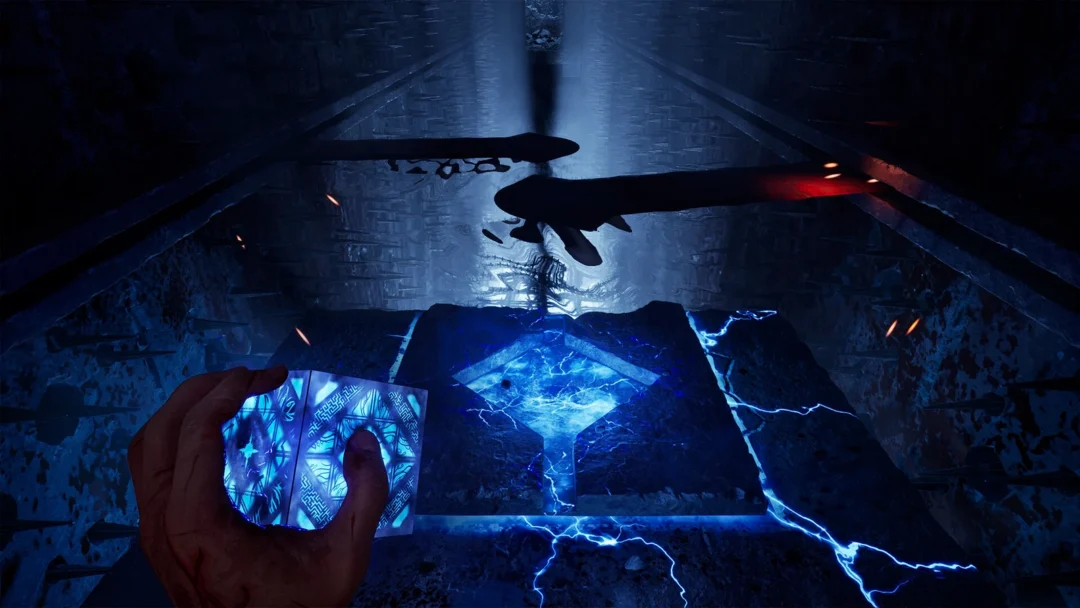
Offering Flames are the keys to each obelisk’s full menu, and they come from Lost Rite trials — dungeons that appear across the base game’s map of Vermund and Battahl once Dark Arisen is installed. You can ask Brant about them at the tavern, and he marks the first dungeon on your map.
Clearing that first trial gives you the Proving Ground Compass, which then reveals the remaining Lost Rites on your map. Each dungeon’s final chest holds an Offering Flame, so you can keep collecting flames as you work through them and spend one at each obelisk you want to fully unlock.
All nine obelisk locations in Norgan
The table below lists where each obelisk sits and the permanent stat enhancement it grants once a flame is spent. Detailed routes follow, grouped by the part of Norgan they sit in.
| Vocation | Area in Norgan | Stat enhancement |
|---|---|---|
| Mage | East of Norgandian Settlement | Magick Defense |
| Fighter | Valgr Ravine, hill above a river crossing | Defense |
| Archer | Mountain northwest of Valgr Ravine | Stamina |
| Thief | North of the Archer obelisk, near Rivercave Campground | Strength |
| Sorcerer | West side of Lake Norgan | Magick |
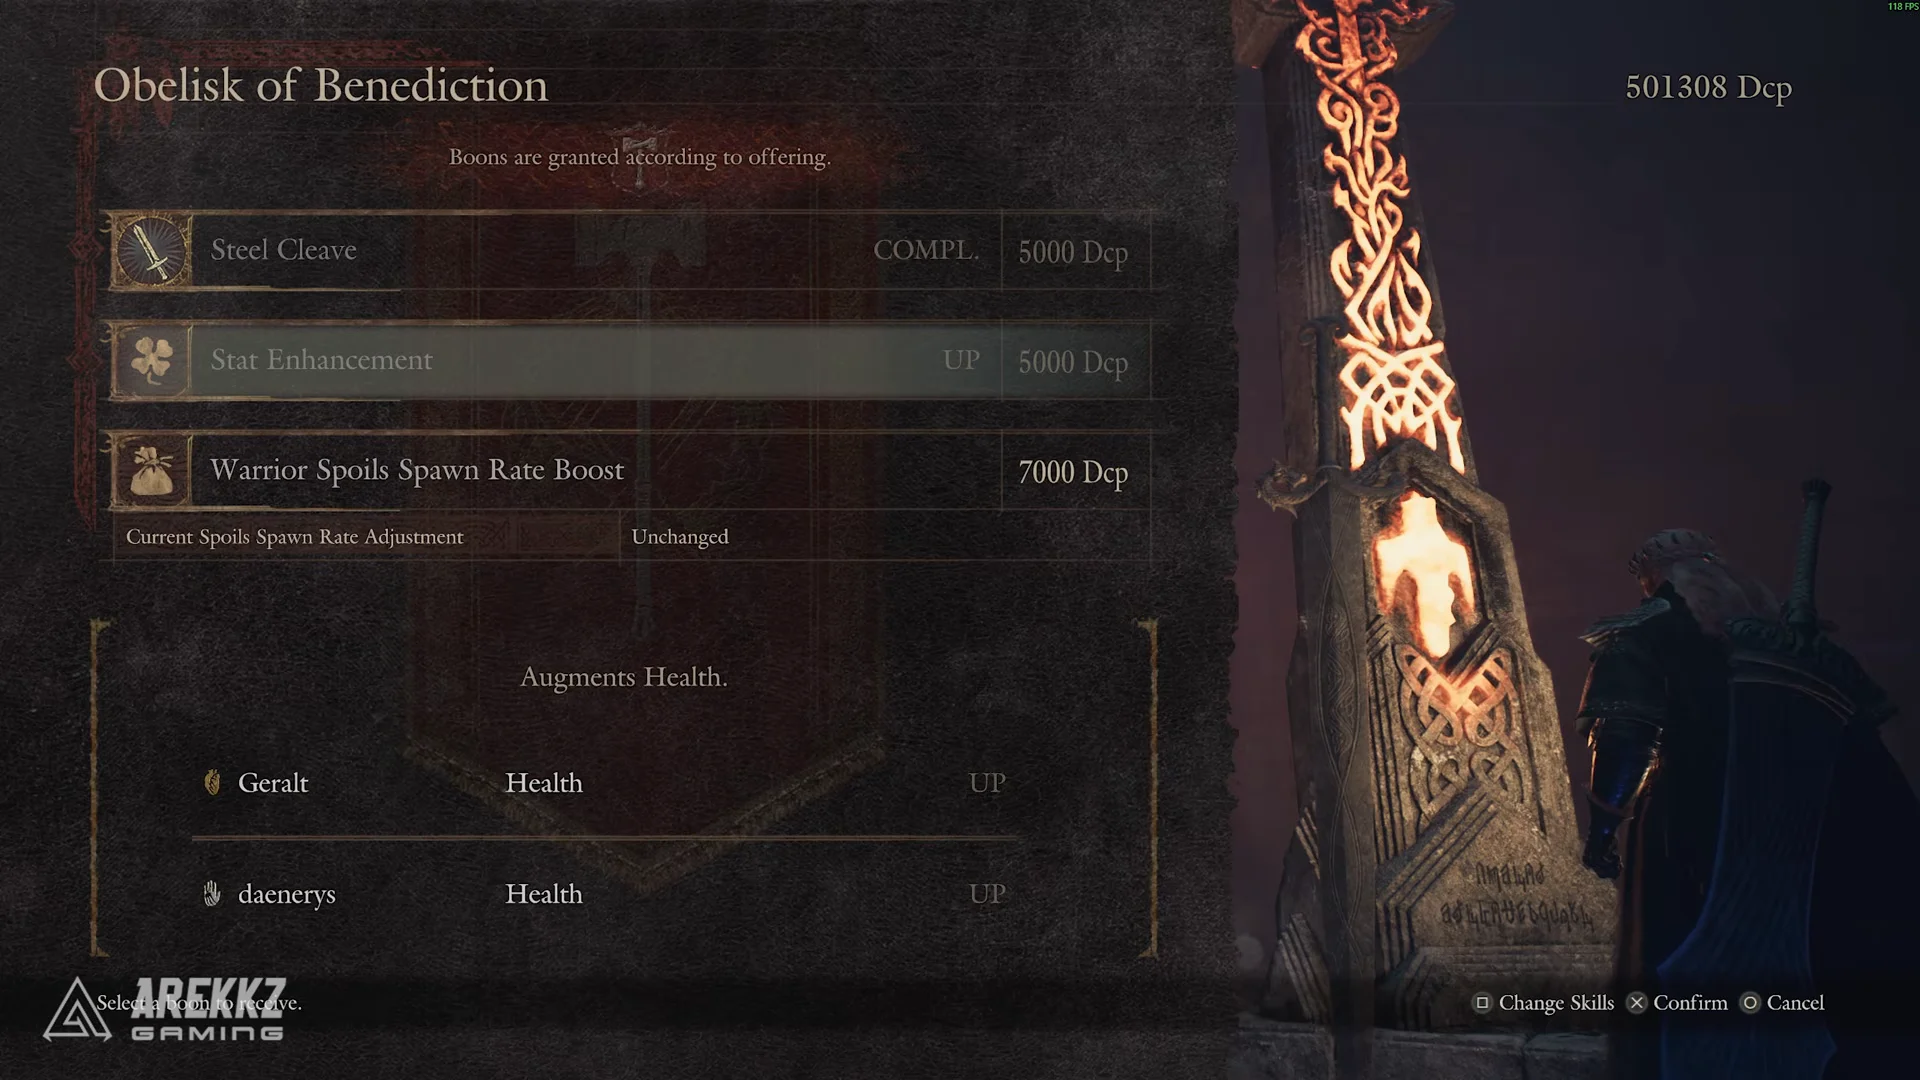
| Warrior | Inside Mad-Lord’s Chapel | Health |
| Mystic Spearhand | Ruined fort past Nival Gorge | Strength and Defense |
| Magick Archer | Middle of Norgan Snowfield | Magick and Magick Defense |
| Trickster | Clearing past the north exit of Gagana’s Grotto | Health and Stamina |
Around the Norgandian Settlement
The Mage obelisk is the nearest one to the starting area, resting on a rock just east of the Norgandian Settlement. Reaching it requires a Climbing Hook; you can find one in a house at the center of the nearby Abandoned Village. Farther northeast, the Fighter obelisk sits on a rocky rise near Valgr Ravine, looking out over a river crossing. A full party of Beorcan enemies usually surrounds it.
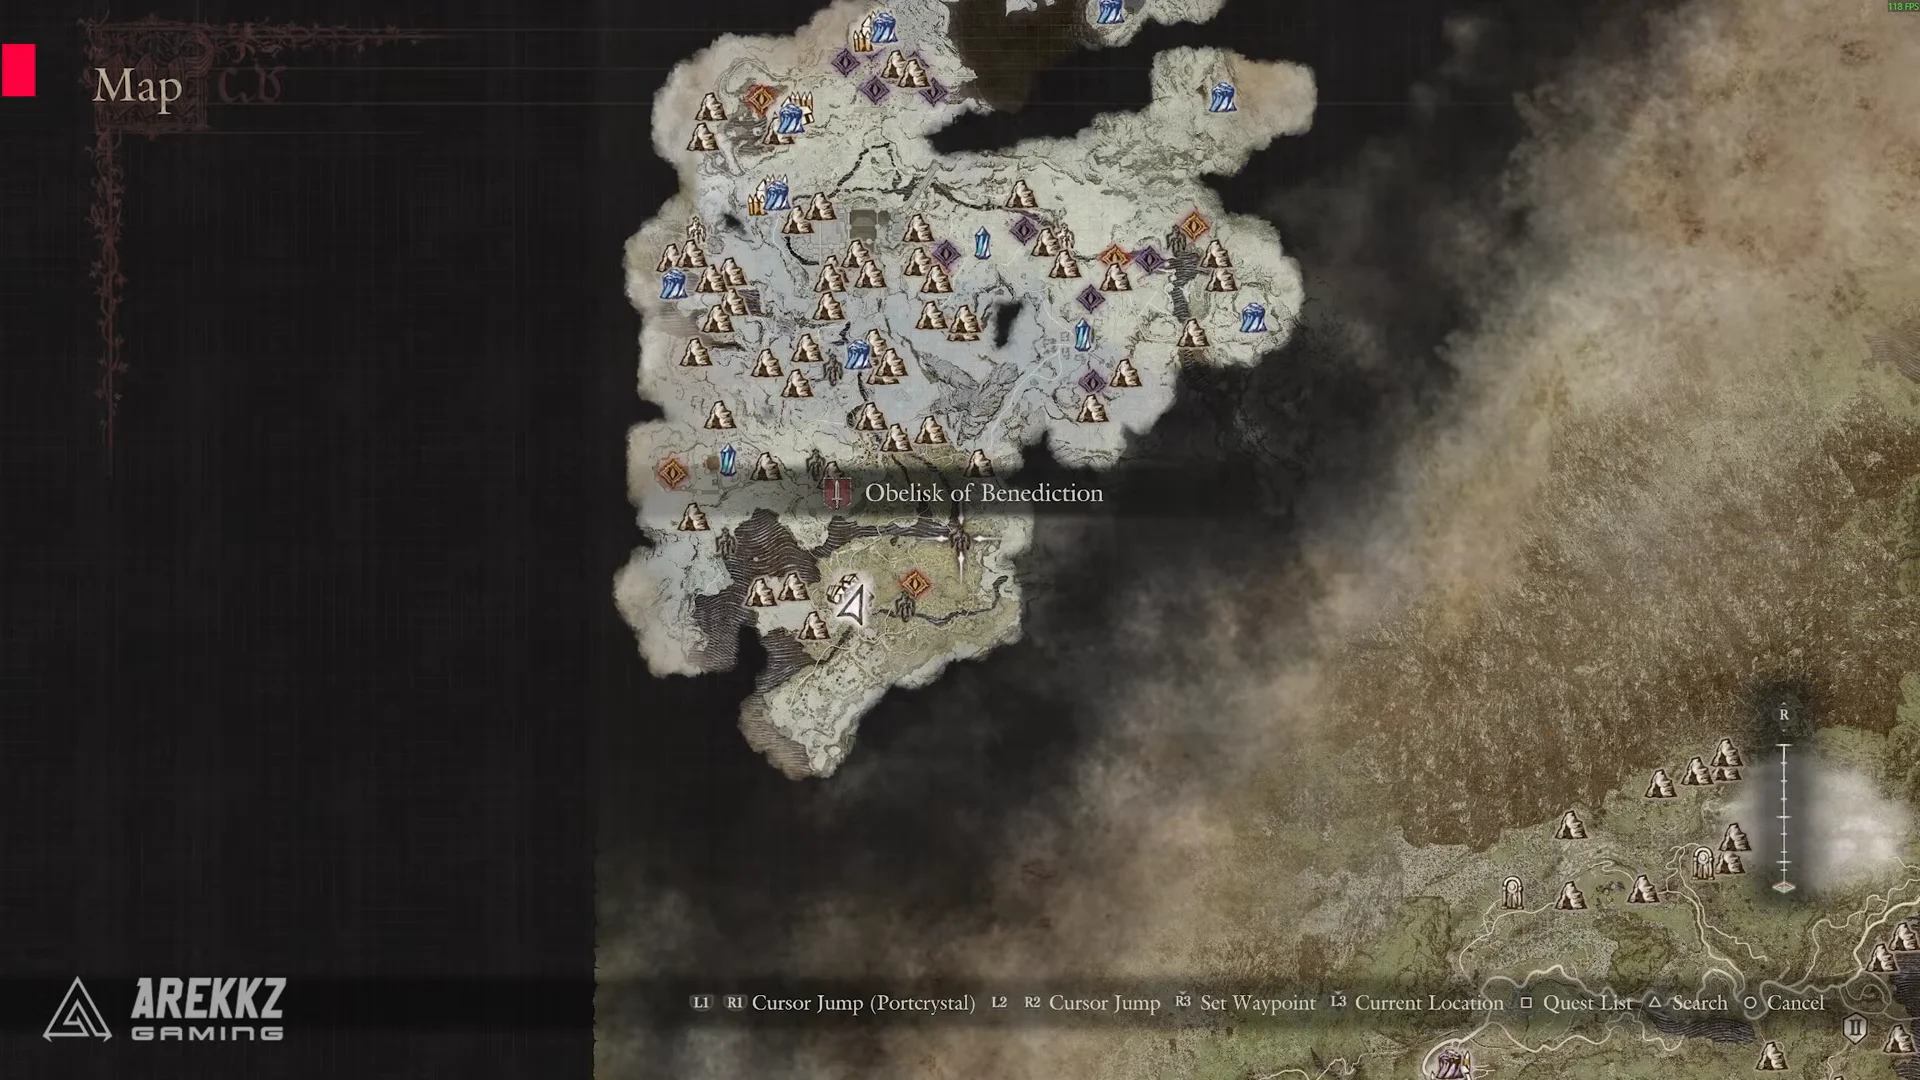
Valgr Ravine, Lake Norgan, and the Shrine of Wisdom
The Archer obelisk sits high on a mountain northwest of Valgr Ravine, and the summit is only reachable from the path to its north. From there, head farther north and you reach the Thief obelisk, set near the main road close to the Beorcan Stronghold and Rivercave Campground, almost always guarded by hostiles.
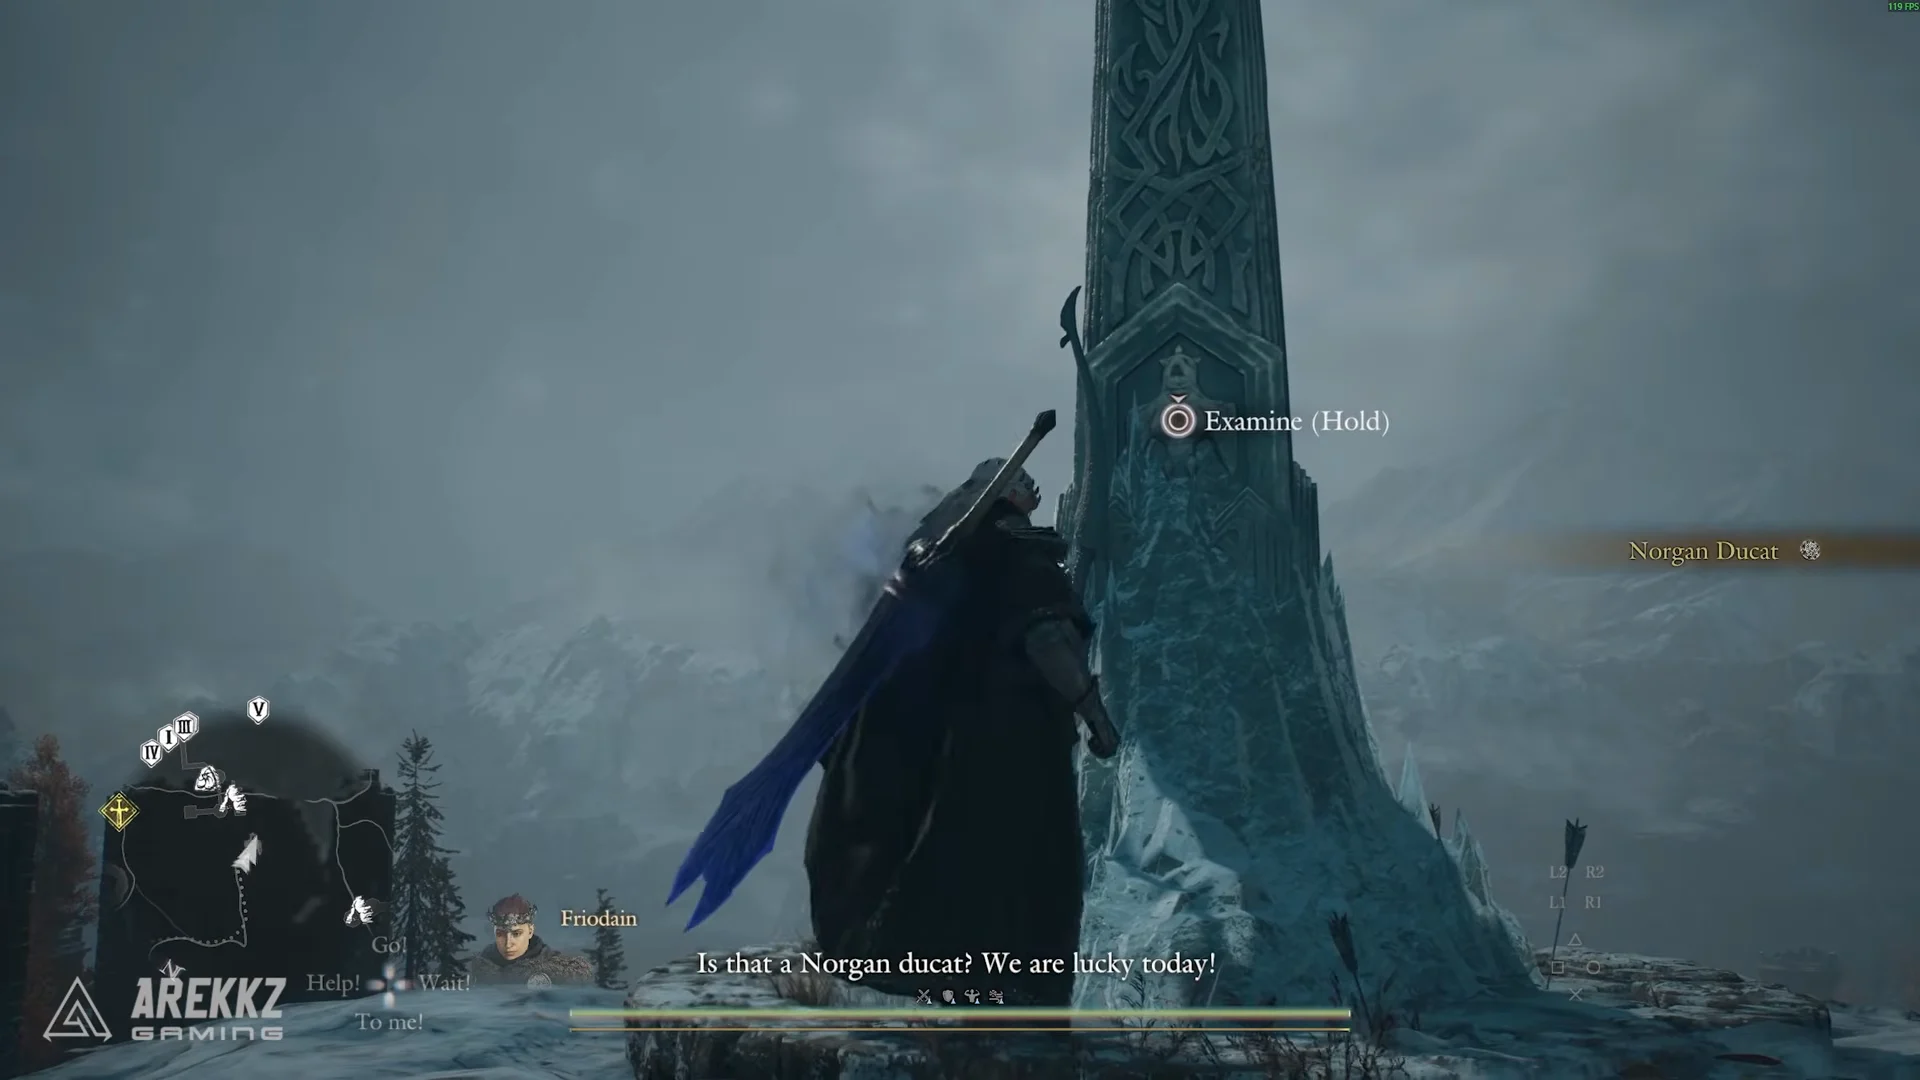
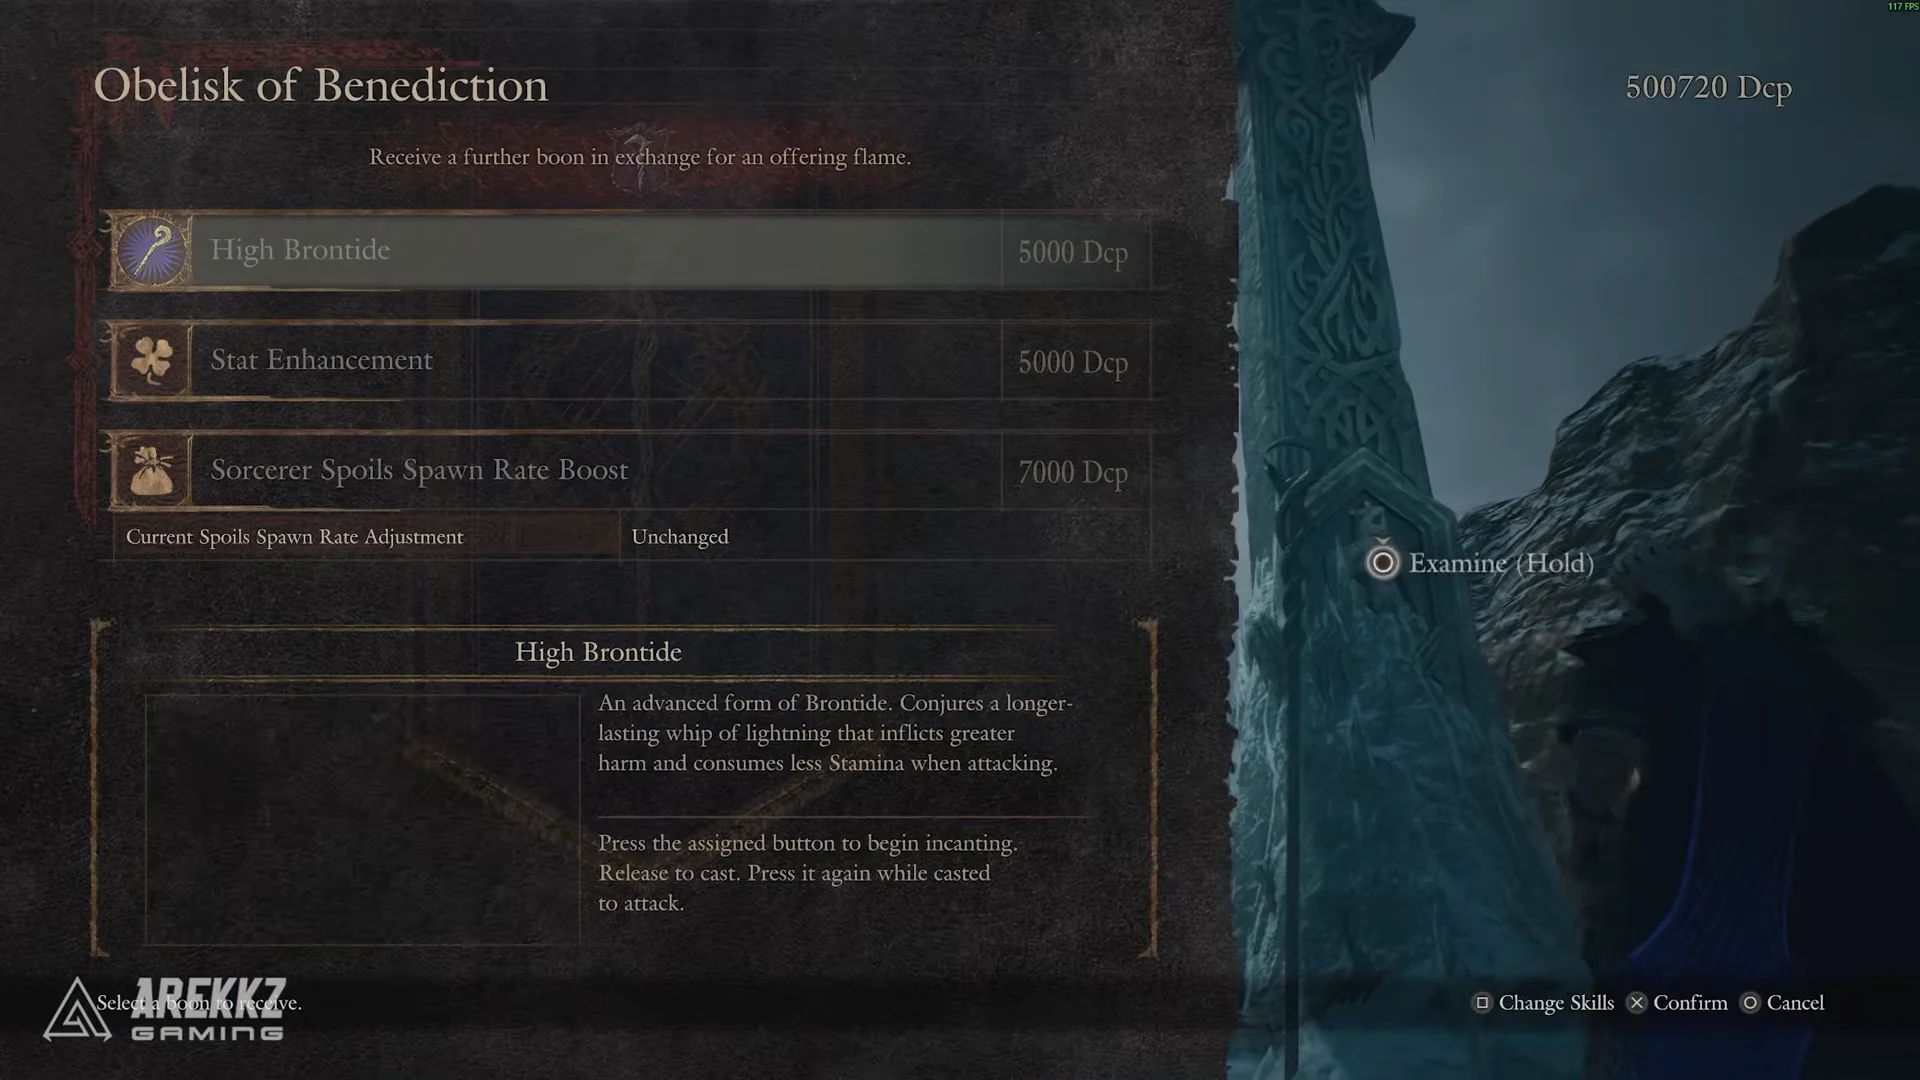
The Sorcerer obelisk overlooks the west side of Lake Norgan, south of the Beorcan Stronghold and close to some Beorcan camps, a giant spawn point, and the Abandoned Lakeside Estate. Direwolves tend to roam the cliff edge around it.
The Warrior obelisk is tucked inside Mad-Lord’s Chapel, a cave reached from the Shrine of Wisdom at the end of Pilgrim’s Path. Go up a flight of stairs before you reach the sage and into the chapel, then clear the Mad Lord miniboss standing directly in front of the obelisk before you can use it.
The Norgan Snowfield (quest-gated)
Progress through the DLC story to gain access to the three northern obelisks. Finishing Rumbles in the North opens the western shore of Lake Norgan and Pilgrim’s Path. The Sage’s Wisdom quest, in turn, lets you enter the Norgan Snowfield through Nival Gorge, northwest of Valgr Ravine.
The Mystic Spearhand obelisk stands by a ruined fort just past the Nival Gorge collapse, northeast of Inner Valley Grotto, with the path opening after you clear the relevant main quest. The Magick Archer obelisk sits in the middle of the Norgan Snowfield near the entrance to Snowslide Pass. The Trickster obelisk is at the edge of a clearing past the north exit of Gagana’s Grotto, and you reach it with a Climbing Hook after circling the chasm and climbing the mountain pass.
Running across the frozen lakes and snowfields in the north means crossing breakable ice that can collapse into the crevices below, so pick your line carefully on the way to these obelisks.
New vocation skills unlocked at the obelisks
Each obelisk hands out one purchasable skill line you can buy on arrival, plus a second skill — the Maister teaching — that is earned later through a post-story fight. Trickster is the exception, with two purchasable lines and a Maister skill.
| Vocation | Obelisk skill (base → advanced) | Maister skill |
|---|---|---|
| Fighter | Whirlwind Strike → Hurricane Strike | Shield Precision |
| Archer | Falcon Arrow → Kite Arrow | Cloudburst Shot |
| Mage | Virtuous Bolt → Exalted Bolt | Benediction |
| Thief | Fanged Schism → Fanged Rift | Combustive Caper |
| Warrior | Iron Cleave → Steel Cleave | Blood Pact |
| Sorcerer | Brontide → High Brontide | Chilling Embrace |
| Mystic Spearhand | Bataille Twinne → Bataille Idole | Hindringe Mirke |
| Magick Archer | Shadebind Bolt → Shadefetter Bolt | Harmonic Pentad |
| Trickster | Curing Cloud → Vitalizing Vapor; Diverting Fume → Rousing Aroma | Dream Giant’s Pommel |
Whirlwind Strike charges the Fighter into a foe for a flurry of slashes that can end with a knockdown blow, and Hurricane Strike is the same move with greater damage. Cloudburst Shot has the Archer loose a barrage of arrows that rains down over a wide area, strongest against groups. Chilling Embrace wreathes the Sorcerer in freezing cold that reduces flinching and detonates for heavy damage. Combustive Caper lets the Thief plant explosives while running that go off over a wide area the moment they stop. Shadefetter Bolt slows enemies and, compared with Shadebind Bolt, lasts longer while using less Stamina. Dream Giant’s Pommel conjures huge illusory limbs that make nearby foes flinch, with more limbs the longer you charge.
Weapon skill reference: forms, upgrade paths, and Dcp costs
Several of the new skills form longer upgrade chains that continue beyond the obelisk versions. The confirmed Discipline Point costs and upgrade targets are below; a dash means no figure is set for that skill.
| Skill | Vocation | Dcp cost | Upgrade path |
|---|---|---|---|
| Whirlwind Strike | Fighter | 2,500 | → Hurricane Strike |
| Hurricane Strike | Fighter | 5,000 | → Tornadic Strike |
| Shield Precision | Fighter | — | → True Precision |
| Cloudburst Shot | Archer | — | → Cloudburst Volley |
| Combustive Caper | Thief | — | → Explosive Escapade |
| Chilling Embrace | Sorcerer | — | → Numbing Embrace |
| Shadefetter Bolt | Magick Archer | 5,000 | from Shadebind Bolt → Shadesnare Bolt |
| Vitalizing Vapor | Trickster | 5,000 | from Curing Cloud → Gliding Gauze |
| Dream Giant’s Pommel | Trickster | — | — |
Shadebind Bolt is the earlier version of Shadefetter Bolt, just as Curing Cloud upgrades into Vitalizing Vapor, which moves more quickly and reaches farther. Shield Precision triggers True Deflect automatically whenever Defend would block an attack, but it drains Stamina continuously while active, so save it for dangerous strikes instead of leaving it on.
Maister skills and the Ruin-Night event
The second new skill for each vocation is a Maister teaching, and you cannot buy it. To reach it you have to push into the DLC’s endgame and trigger the Ruin-Night event, which darkens the sky with an eclipse ring. During Ruin-Night, return to the obelisk for your chosen vocation and you will find an Arcane Specter — a Maister’s force ghost — waiting there.
Speak to the specter, then defeat it in combat. Winning the fight grants that vocation’s Maister skill, the one listed in the right-hand column of the skills table above. Because the specter only appears once the DLC’s main questline is finished, these skills are the last piece to collect after you have already unlocked every obelisk’s purchasable abilities.
You will know an obelisk is fully handled once it appears on your map, its menu offers both the base and advanced skill after a flame is spent, and the matching Maister skill shows up in your vocation list after you beat the Arcane Specter. Work through Norgan with a Climbing Hook in your pack and enough Offering Flames from Lost Rites, and every vocation walks away with its full set of new skills and permanent stat gains.