Prismana Waleetle is the rainbow form of Baleetle, and right now it can only appear in Berylline Vale while the Vein Abundance event is running. The fastest way to pull one out is to charge the region’s Prismatic Energy by catching wild Baleetle in bulk, and the most efficient catcher is a Tubster built entirely for Break. Done right, you spend almost nothing per catch and refund most of what you do spend.
Quick answer: Through October 12, build Berylline Vale’s Prismatic Energy toward the 10,500 guarantee (each nurture also carries a flat 3% Prismana Flow roll) by catching wild Baleetle with a Break-built Tubster, then catch the Prismana Waleetle that spawns.
When Prismana Waleetle is available
Prismana Waleetle is featured in Berylline Vale from October 5 to October 12, 2026, with the window closing at 03:59 UTC on the 12th. After that it leaves the rotation until the Prismana Carnival, when all four recent featured Aniimo return to their home regions at the same time.
| Window (UTC) | Prismana | Region |
|---|---|---|
| Oct 5 – Oct 12 | Prismana Waleetle |  Berylline Vale Berylline Vale |
| Oct 12 – Oct 19 | Prismana Inferlupa |  Nimbus Fields Nimbus Fields |
| Oct 19 – Oct 26 | Glynsera, Melloblum, Waleetle, Inferlupa | All four home regions |
If you miss the current window, the Carnival from October 19 to October 26 is a second chance to catch Prismana Waleetle in Berylline Vale alongside the other three.
How the Prismana spawn triggers in Berylline Vale
Prismana forms only appear during a Prismana Flow weather state. You push the region toward one two ways, and both run through the area’s Prismatic Energy meter. Every nurture you complete adds a fixed amount of energy and carries a flat 3% chance to trigger a Flow on the spot. If the roll keeps missing, the meter is the safety net: once it reaches 10,500, the Flow is guaranteed.
During Vein Abundance, the first three nurture runs each day in the designated area are boosted and grant an extra +50% Prismatic Energy. Harvesting the Veinfruit that grows next to the Bloom after a run adds a further +50% on top of that. Use these boosted attempts before anything else each day.
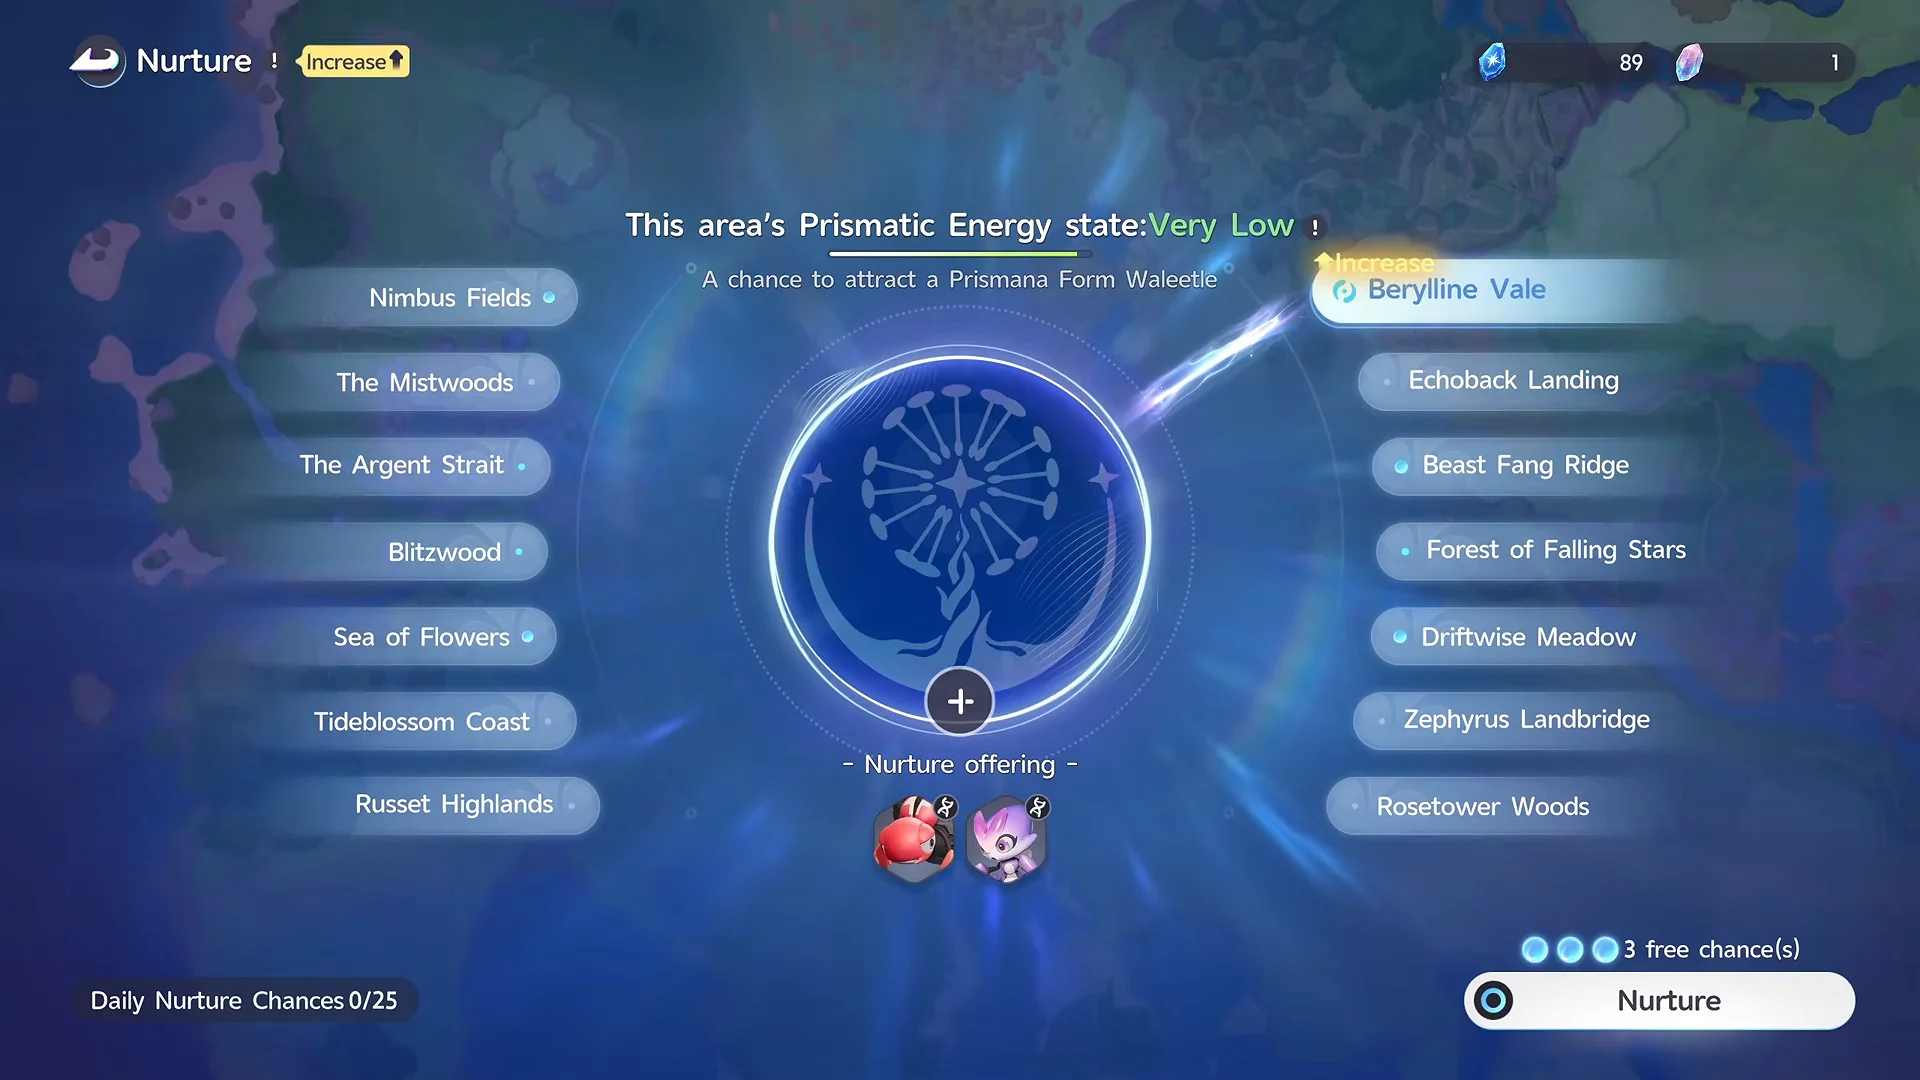
Wild Surge energy comes from captures. Knocking out an Aniimo adds nothing to the meter; only catching one counts. Any catch can roll a Lucky Strike, granting bonus items and energy, with a separate small chance to start a Flow immediately.
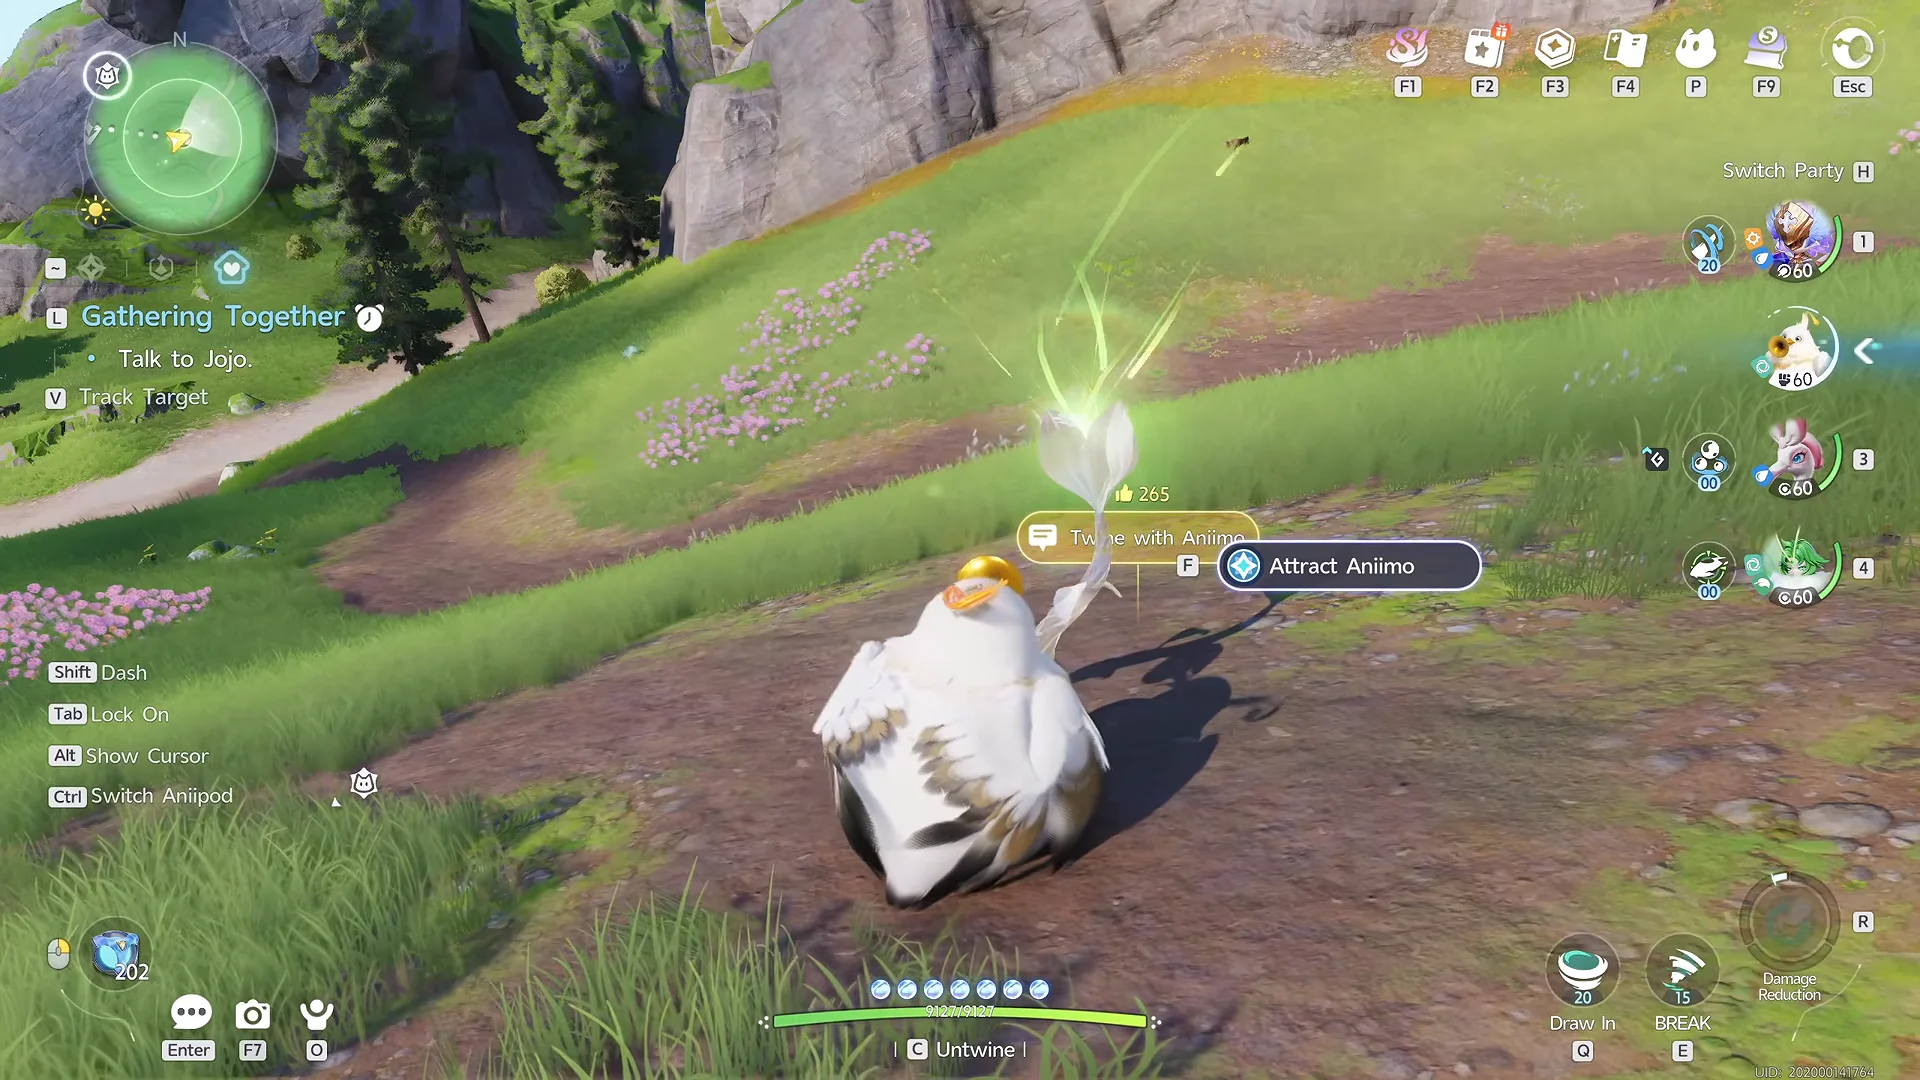
Build Tubster for Break
Tubster is the catcher because it can gather a loose pack of Baleetle and break their shields without killing them. Break the shield and you get a 1.5x catch multiplier; drop the HP low without a knockout and the odds climb further. The goal is a staggered, low-HP crowd you can sweep up on first throws.

How to get Tubster
- Catch the Highland Form at Zephyrus Landbridge once you have collected all the incredible eggs across Russet Highlands and Zephyrus Landbridge.
- Take down Alpha Tubster and capture it at The Argent Strait; have an Ultra Anipod ready.
- Evolve a Chirpi at Aniimo level 18 with Acquired BREAK Potential of 6 or higher, after defeating Alpha Tubster, using one Gust Stone.
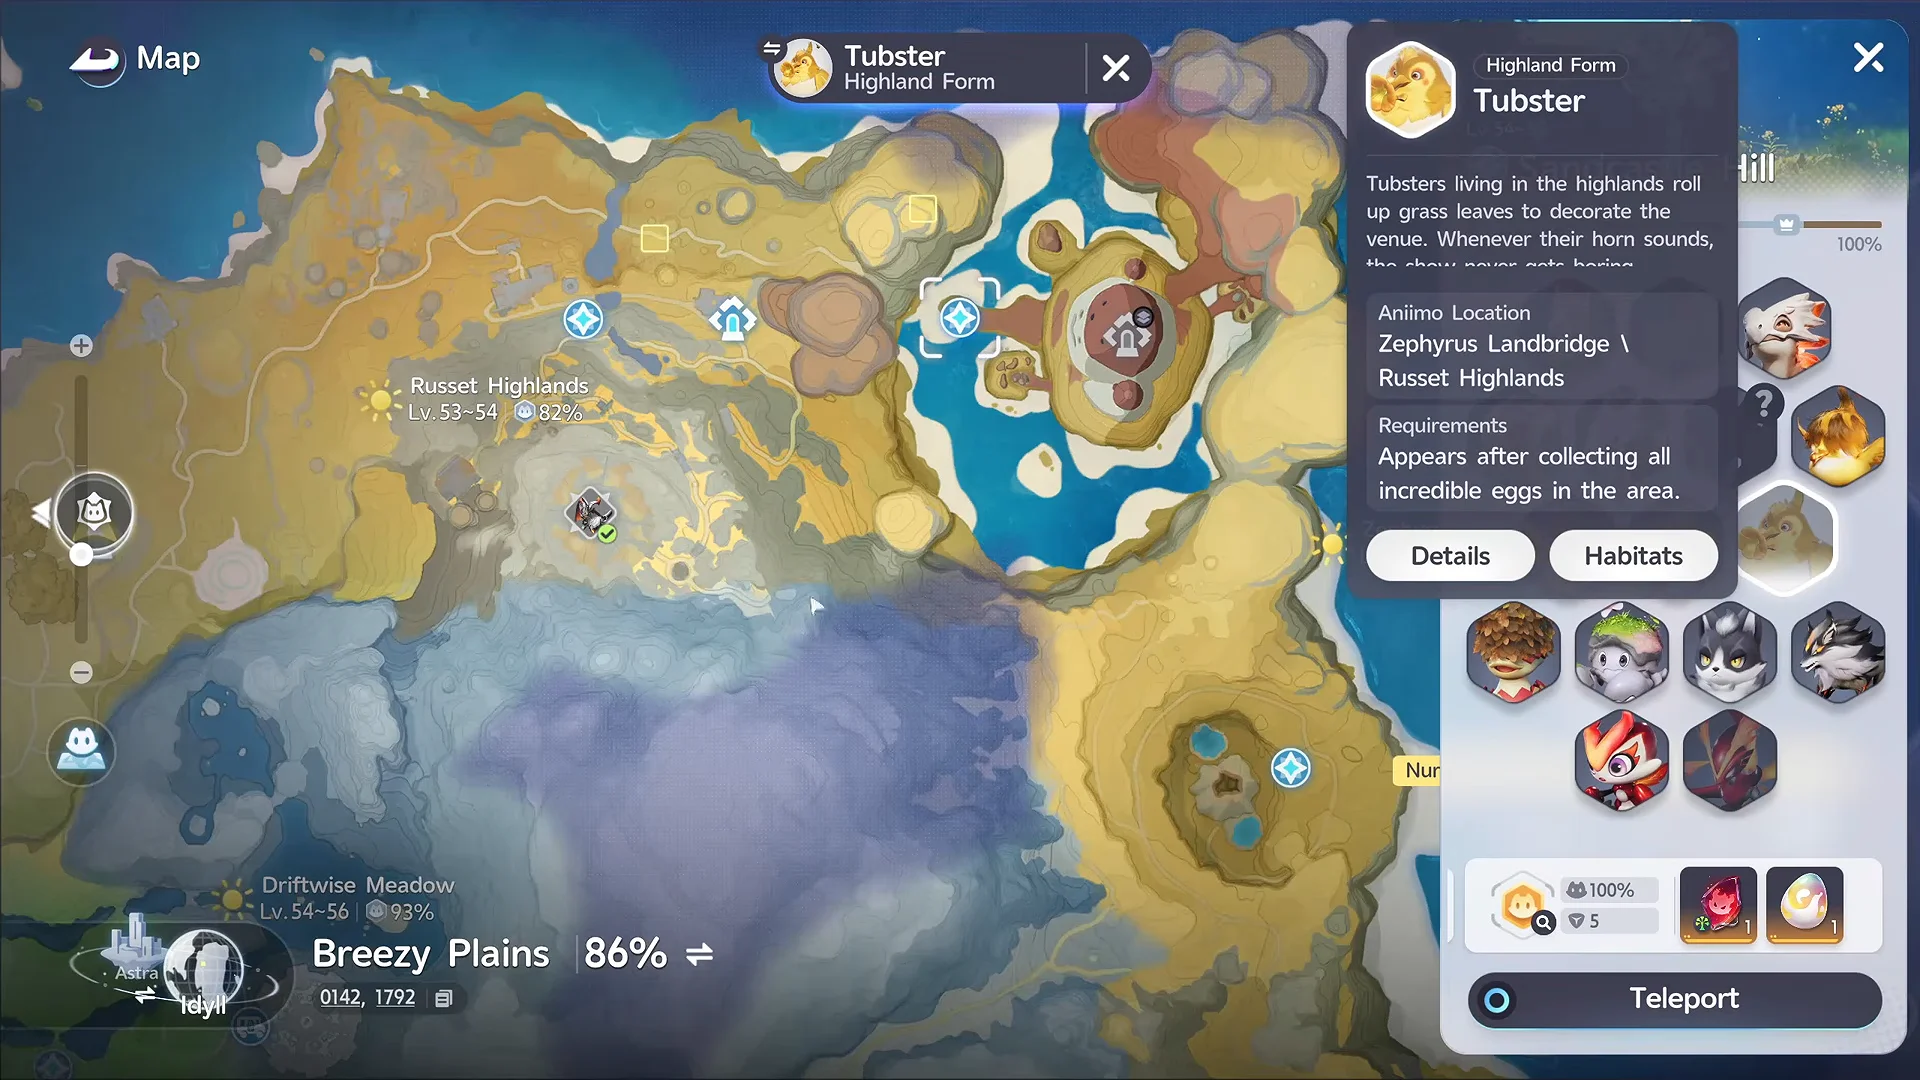
Skills, awakening and held item
Equip Tornado as the grouping tool and Resting Whirlwind for the Break, alongside the Gale Guard core skill. Tornado pulls targets into one spot; Resting Whirlwind flaps out two arcing whirlwinds that drag enemies along and explode where they meet, which strips shields across the whole pack. If you prefer even less damage leaking through, Leaf Tornado works as the low-power pull.
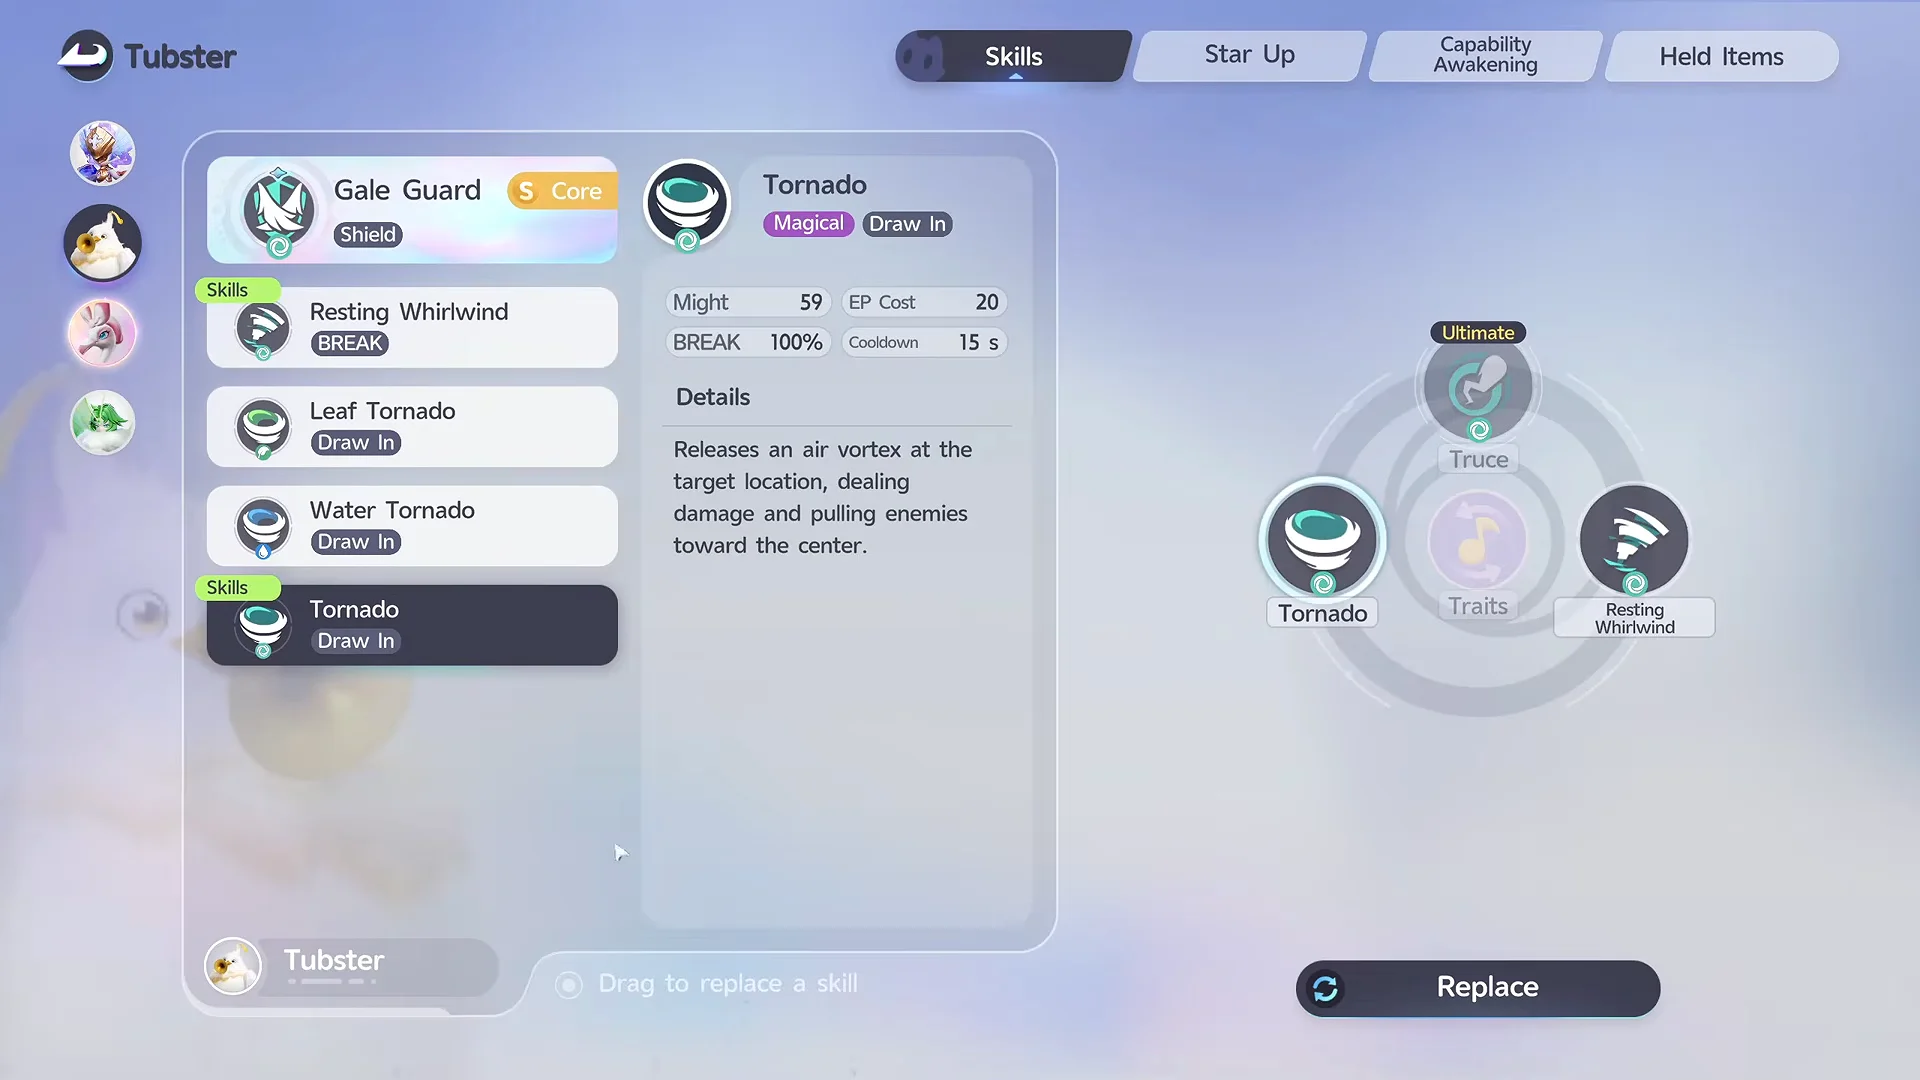
In Capability Awakening, dump every potential point into Break rather than Attack. High Attack is actually a problem here. If your hits kill Baleetle outright, you get zero energy and no catch, so you want big Break and modest damage.
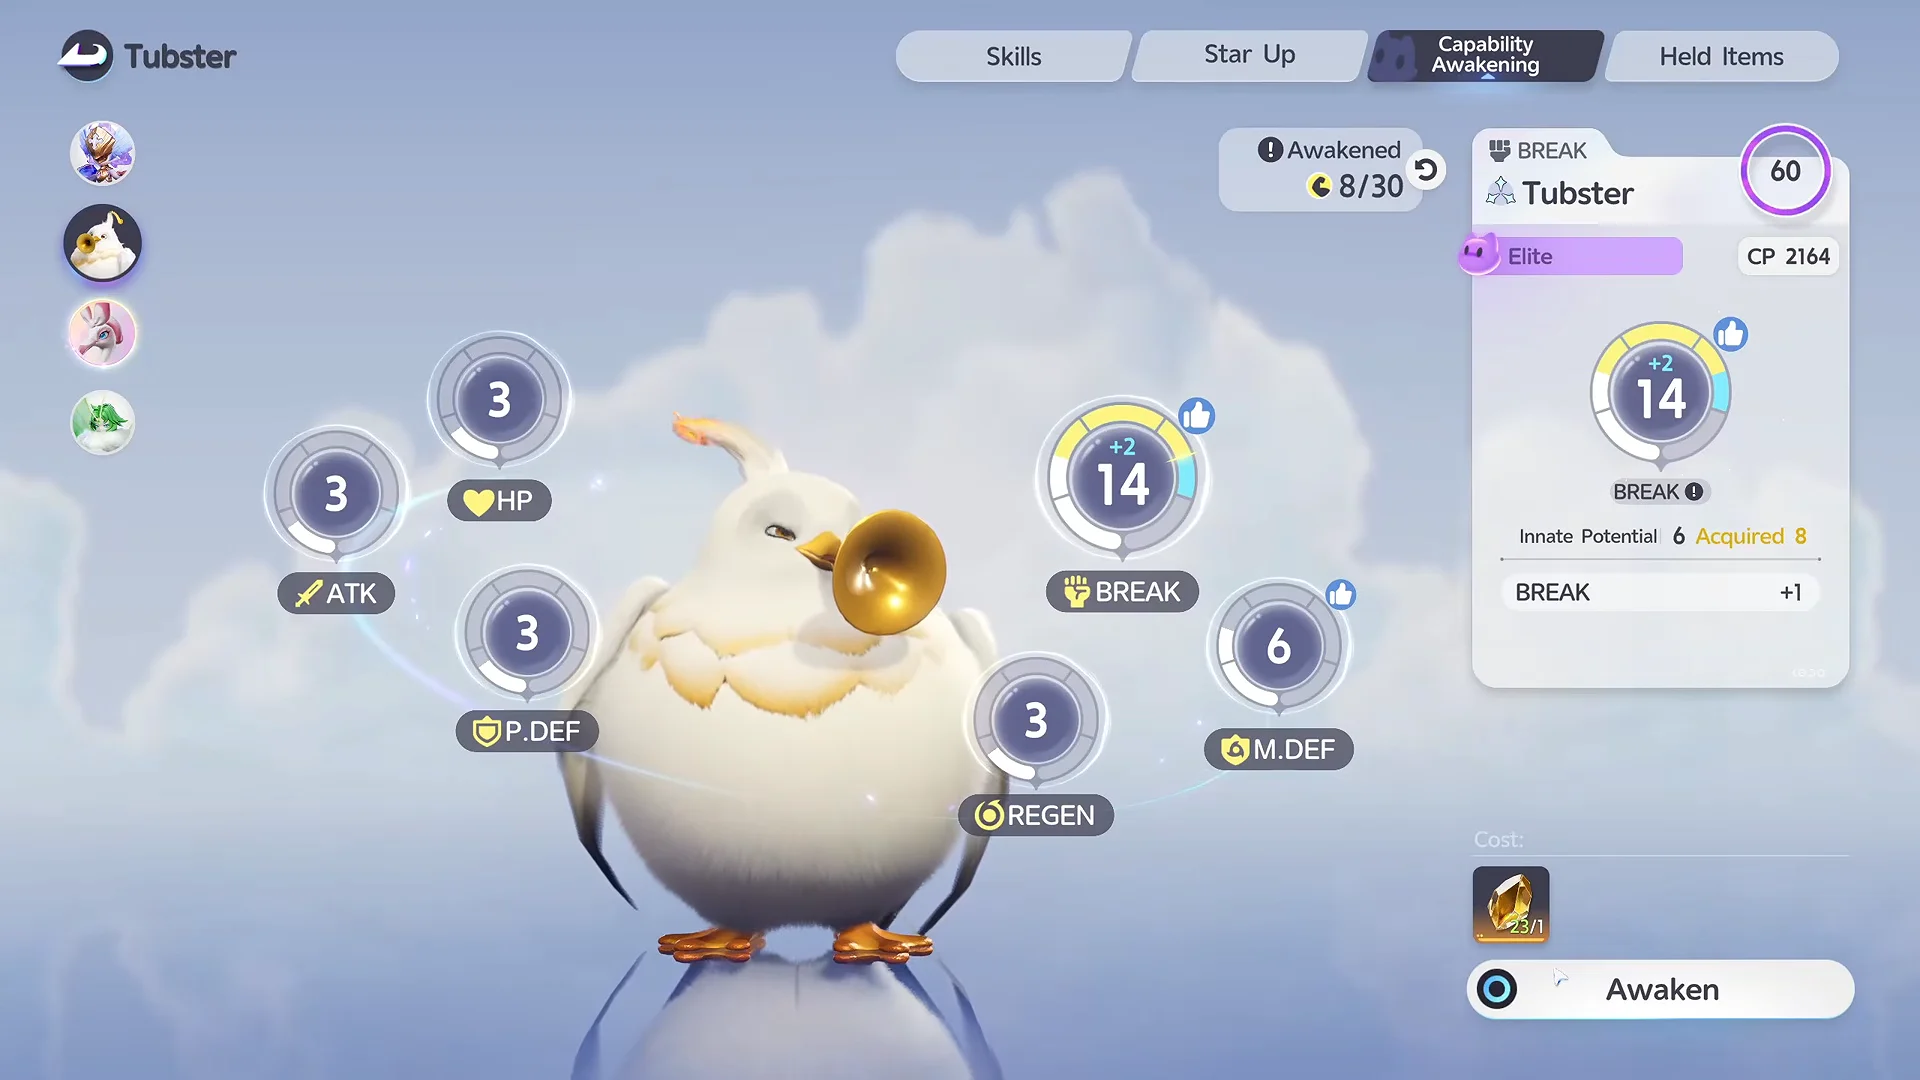
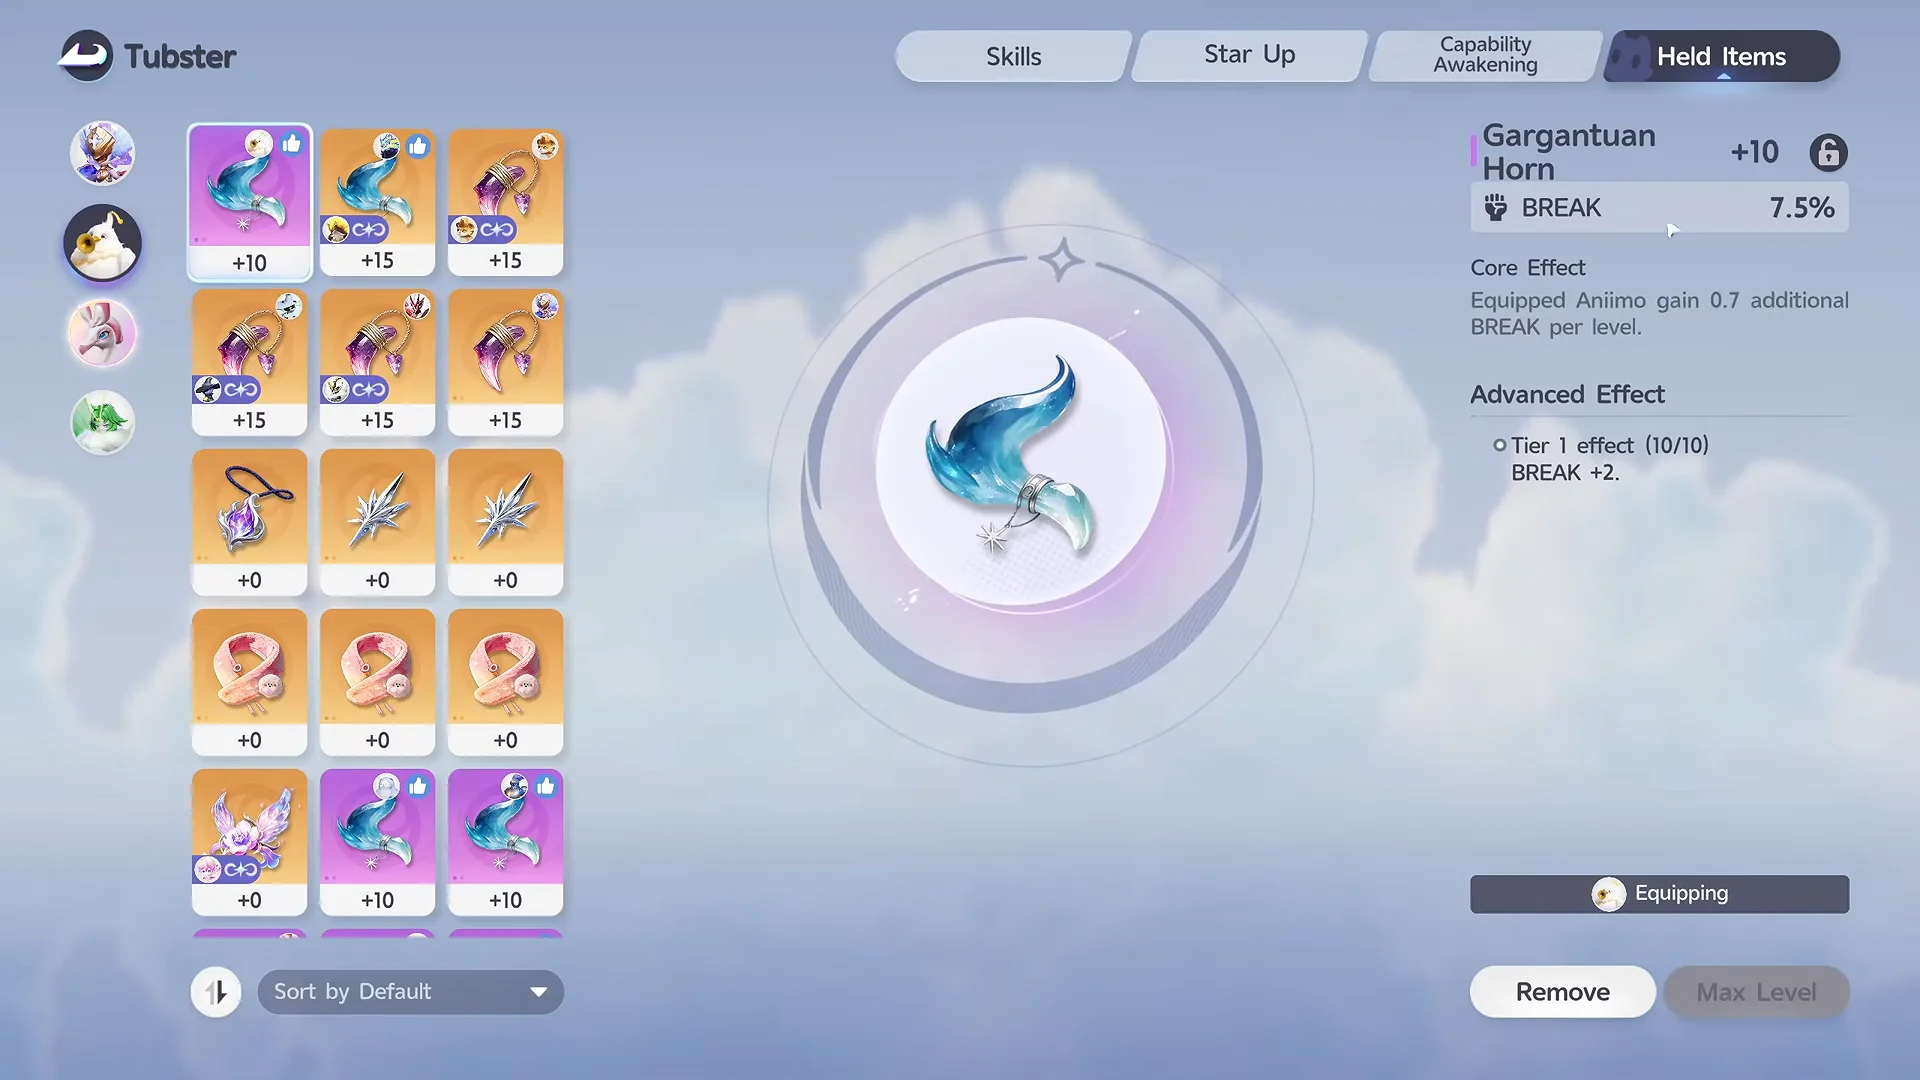
For the held item, slot the Gargantuan Horn, which grants +7.5% BREAK at +10 and +20.0% at +15. Level Tubster to 60 so it has the stat budget to break whole groups in one rotation.
The farming loop: group, break, catch
You know it worked when the Prismana Flow weather state settles over the region and a lit beacon beam marks the Prismana Waleetle spawn near the Bloom. That is your cue to switch over and catch it.
Defeating Baleetle adds nothing to the energy meter. If Tubster is one-shotting the pack, lower your Attack investment, because kills cost you both the catch and the progress.
Catch rate and the Fatal Shot refund
Catch chance stacks from three levers. Lower HP raises the base odds, a Broken status adds a 1.5x multiplier, and Sleep adds a 2x multiplier. Tubster’s break covers the first two on its own; a sleep setup is optional on top.
Landing an Aniimo with your opening ball throw earns the Fatal Shot bonus, returning a large portion of the credits used for that throw. Report rewards and Wild Surge bonuses help keep the cycle self-sustaining. Report each Baleetle you don’t want to get 100 Credits, then put those credits toward more Anipods.
Wild Baleetle stats for the catch
Baleetle is dex number 56, a Rock-element DPS that lives in Berylline Vale at level 40 to 47. Its base catch chance is 38%, which is why breaking it first matters so much. These are the figures that define how hard each throw lands.

| Field | Value |
|---|---|
| Base catch chance | 38% |
| Element |  Rock Rock |
| HP / Attack / Defense | 76 / 98 / 68 |
| Magic Atk / Magic Def | 98 / 68 |
| EP regen / BP attack | 85 / 42 |
| Report reward | Credits (100) |
| Release reward |  Growth Bud (3) Growth Bud (3) |
Baleetle evolves into Waleetle at Aniimo level 39 by completing a perfect trajectory and the Great Rolling Racing Challenge with one Loam Stone, or into Bouldus on a separate path. The Prismana you are hunting is the rainbow version of that Waleetle line.
Prismana Waleetle skills and role
Prismana Waleetle is a DPS that leans on rolling stone-ball attacks with a Dark finisher. A clean rotation opens with Stone Ball Drift to stack its damage boost, channels Sandstorm Spin for extra damage against Broken targets, then unloads Rock Ball Blast. Darkwheel Slash is the shield-breaker, dealing an additional 400% damage to shields. Its trait is Overloaded Engine, and its Homeland work covers Earth Level 4, Dark Level 3, and Hauling Level 4.

| Skill | Element | Power | EP / CD |
|---|---|---|---|
 Stone Ball Drift Stone Ball Drift | Rock | 61 | 20 / 1s |
 Rock Ball Blast Rock Ball Blast | Rock | 195 | 0 / 8s |
 Darkwheel Slash Darkwheel Slash | Dark | 60 | 20 / 1s |
Stone Ball Drift gains 8% damage for 20 seconds whenever it hits, with the bonus stacking up to four times. Rock Ball Blast sends a massive stone sphere rolling through everything along its route before it detonates. Darkwheel Slash hoists the ball and surges forward, ripping through shields.
Should you spend a Sparkling Cube
A Sparkling Cube guarantees the catch, Sparkling status, and Perfect Potential when thrown at a spawned Prismana, but it is a scarce resource. Prismana Waleetle sits at the top of B-tier, so if you are mostly collecting, a standard Ultra Pod is enough to secure it. Save the Sparkling Cube for Prismana Inferlupa in Nimbus Fields, unless you are specifically building a dedicated Earth team around Waleetle.

If you do run it, Bouldus fits as a Rock-line partner, Somniwing or Beesauce adds sleep and support, and Glacy or Prismana Glacy covers healing. Either way, keep catching Baleetle while the Berylline Vale window is open. Every capture feeds the meter, and the Fatal Shot refunds keep the whole loop close to free.