Dragon’s Dogma 2 starts with your character coming to in a prison cell at the Excavation Site, their memories gone and hard labor awaiting in a nearly pitch-black mine. Gaoled Awakening, the first main quest, also teaches movement and combat. The route is brief, but dim tunnels and a shifting quest marker can lead you astray. Follow the full route from the cell to the waterfall, where the quest ends.
Quick answer: Follow the overseer out of the mine, carry a stone block back to Rook, dash up to fight the gorgon, then flee the canyon and press Space to jump off the cliff. The quest ends at the Ultramarine Waterfall.
Before you start: controls
The prompts below are the keyboard-and-mouse controls this quest shows on screen:
- F advances dialogue (Next) and hails NPCs.
- E grabs and releases objects and enemies.
- Shift dashes; hold Shift + W to run forward.
- Space jumps.
- Ctrl + R lights the lantern.
- Hold Tab to skip a cutscene.
Follow the overseer out of the mine
The first task is “Heed the overseer.” Fiska, the overseer, walks ahead of you, so the yellow diamond on the minimap moves as she does and clamps to the edge when she is far away. The minimap also turns with your camera, so read its direction again after every turn.
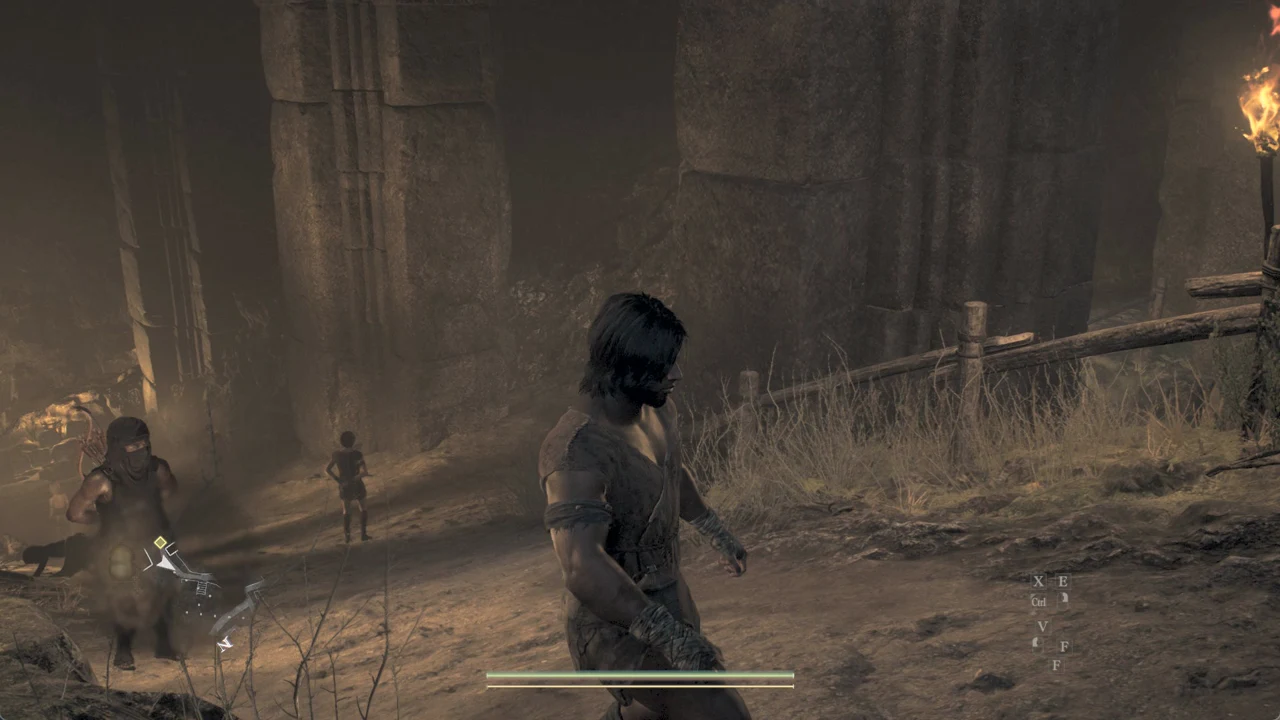
Where the minimap path and the quest diamond point in different directions, follow the path, not the diamond. The diamond is tracking a moving person, not a fixed destination.
Carry a boulder back to Rook
The objective updates to “Pick up a boulder.” A green diamond crosshair marks the edge of the screen and the minimap, pointing to the pit below the large ruin wall. Beside a laborer, square-cut stone blocks lie on the pit’s slope.
Investigate the disturbance
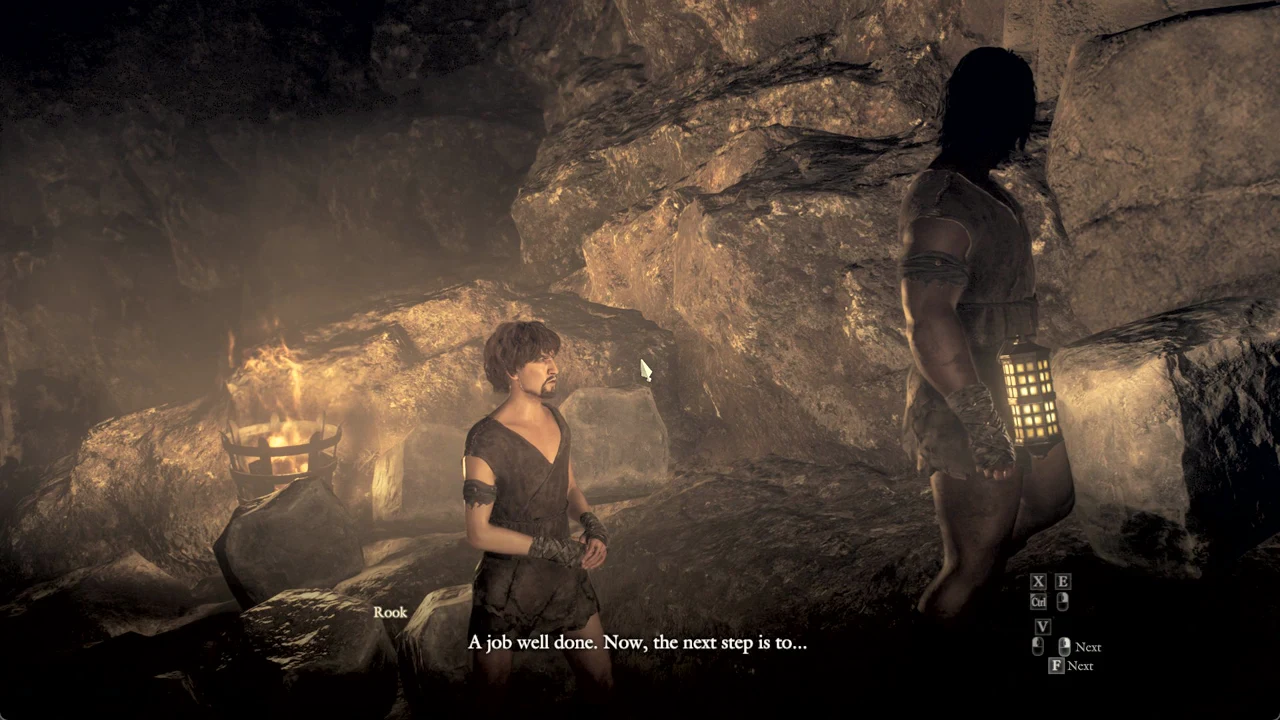
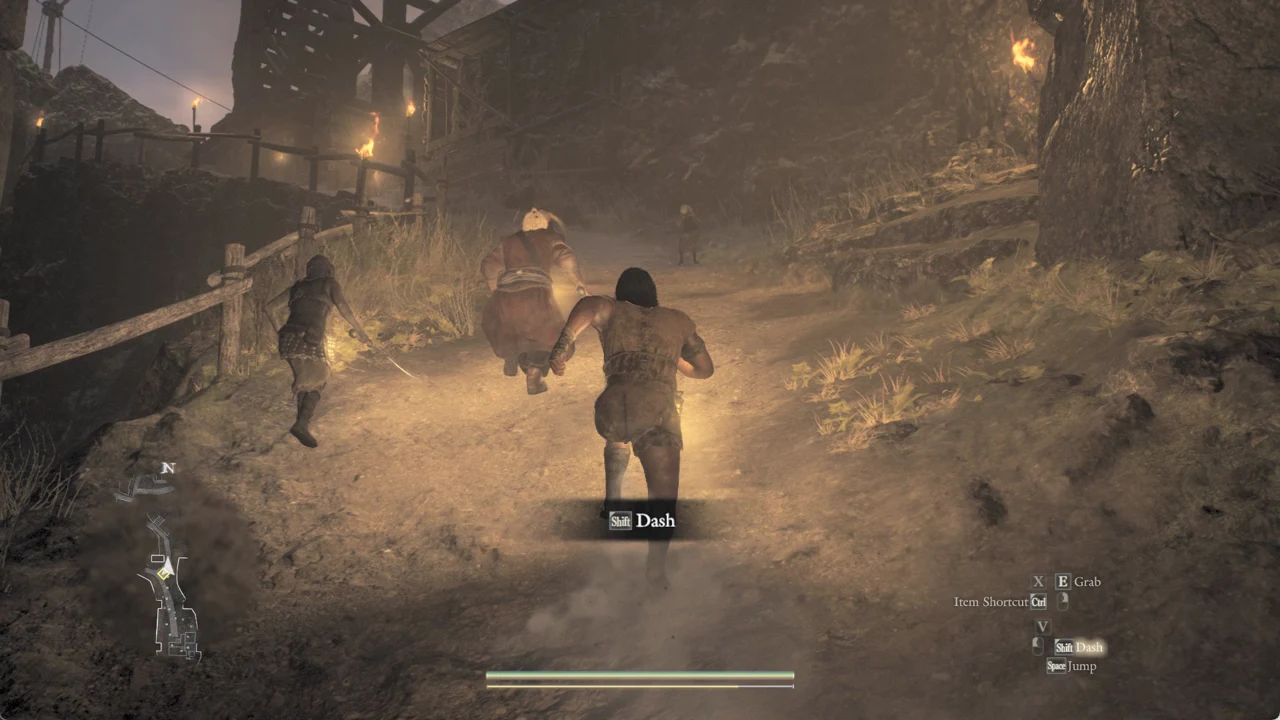
A short scene shows a creature on a roof above a stone arch, and Rook says, “What is this commotion? Perhaps we ought to investigate.” The banner reads “You heeded the overseer’s commands,” then “Investigate the disturbance.” A yellow diamond sits straight ahead, and a “Shift Dash” prompt appears.
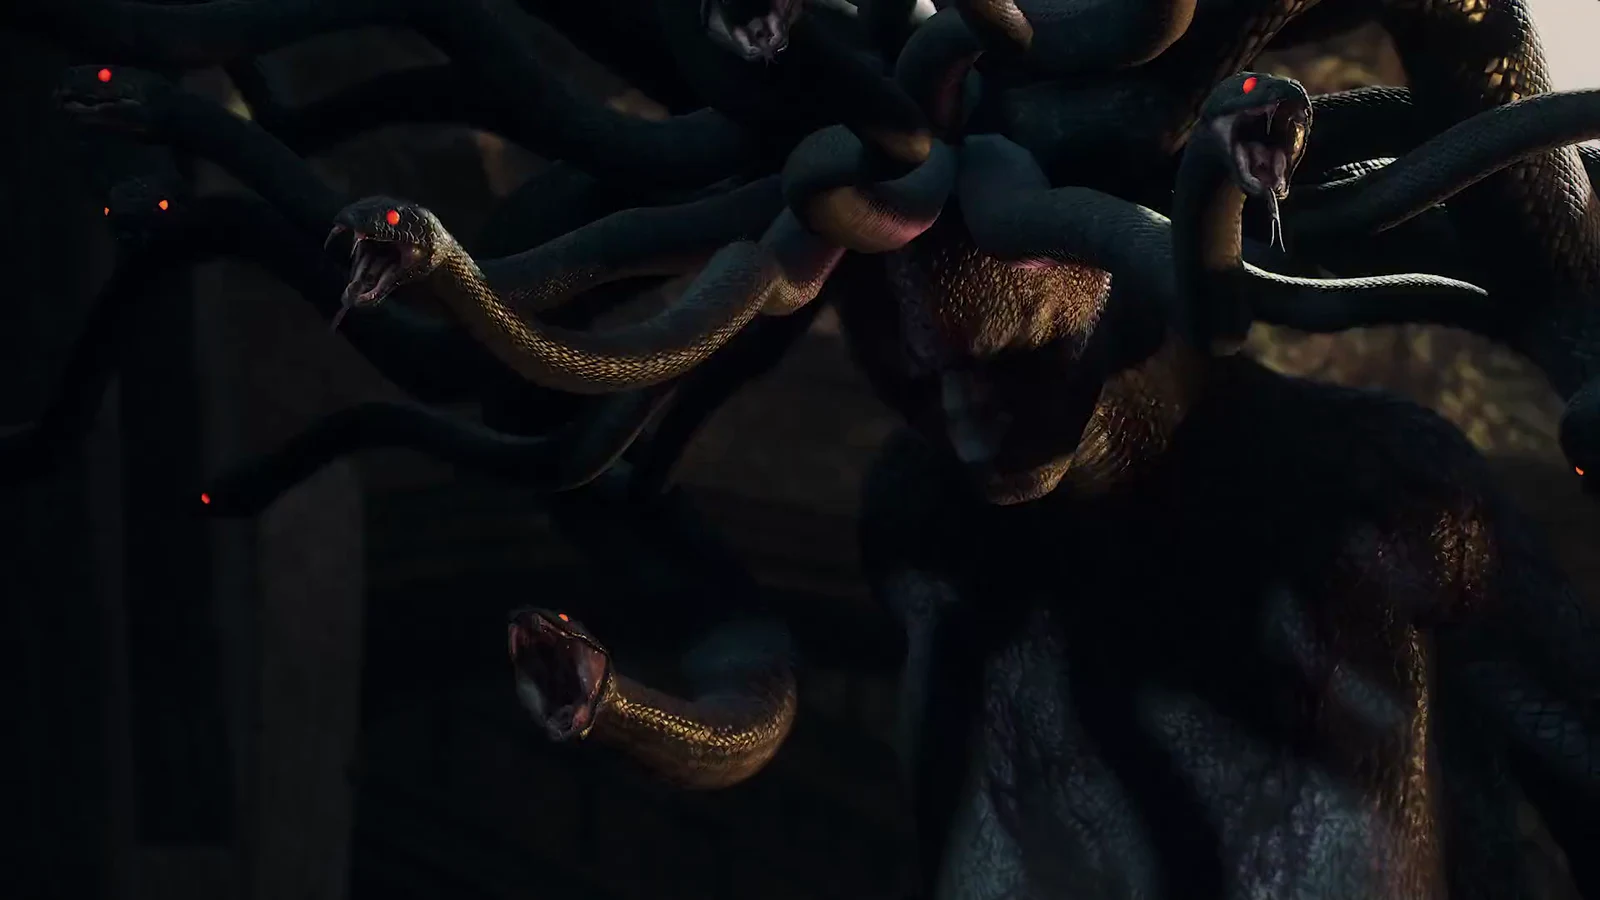
Hold Shift + W to run up the slope past the fleeing laborers to the top. A cutscene starts at the quarry rim showing the gorgon, snake-bodied and snake-haired, rising among the soldiers and laborers. Hold Tab to skip it if you want.
Fend off the beast
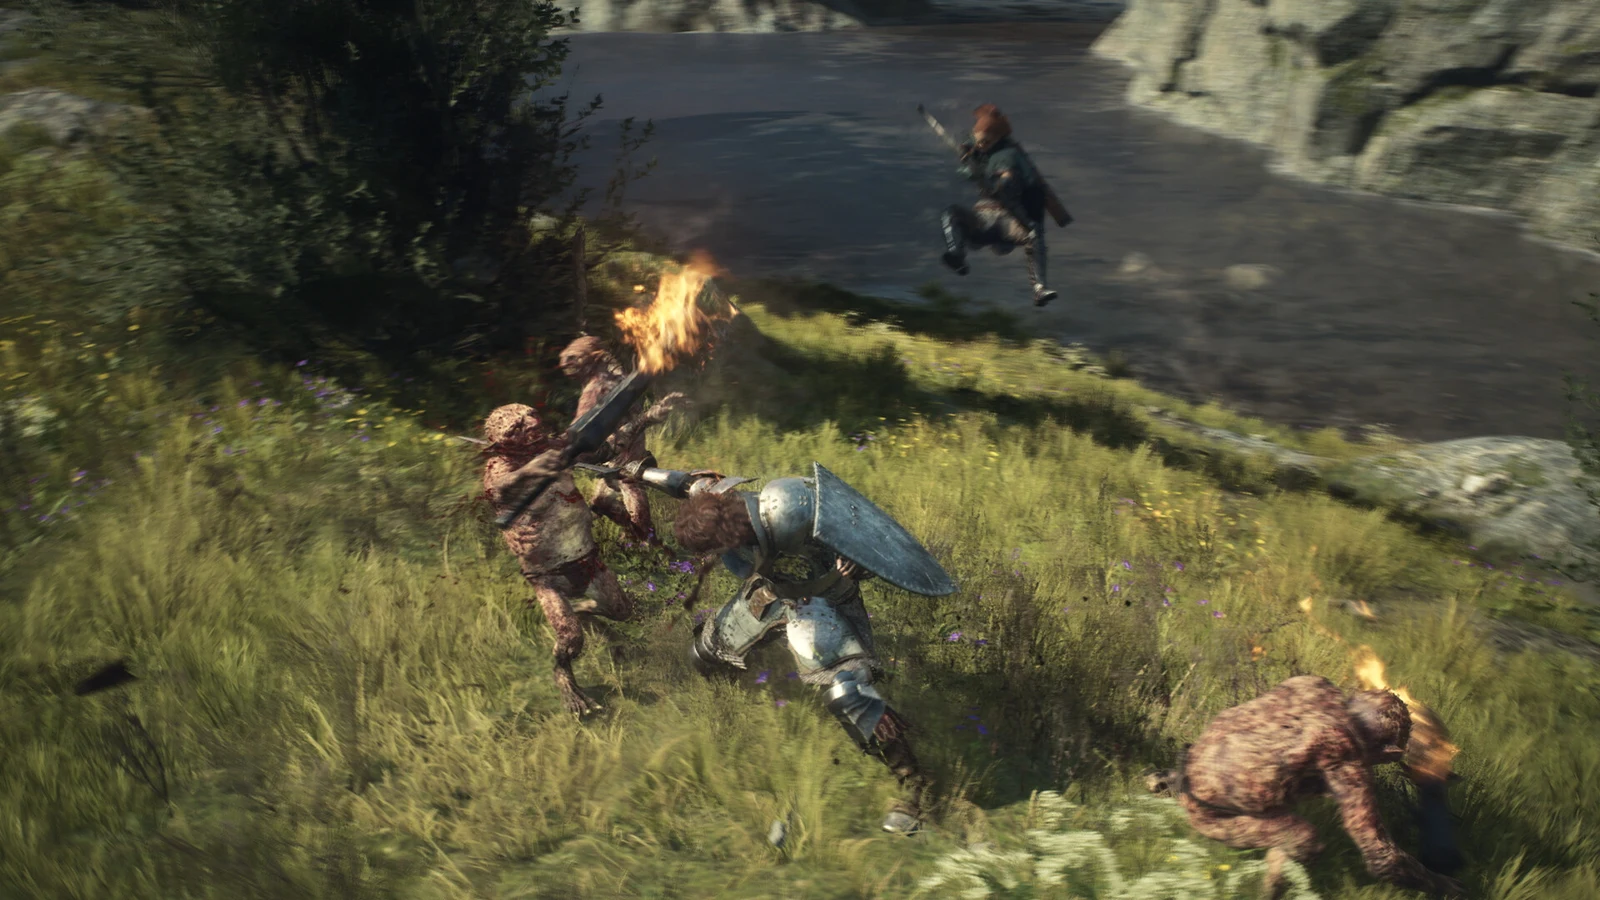
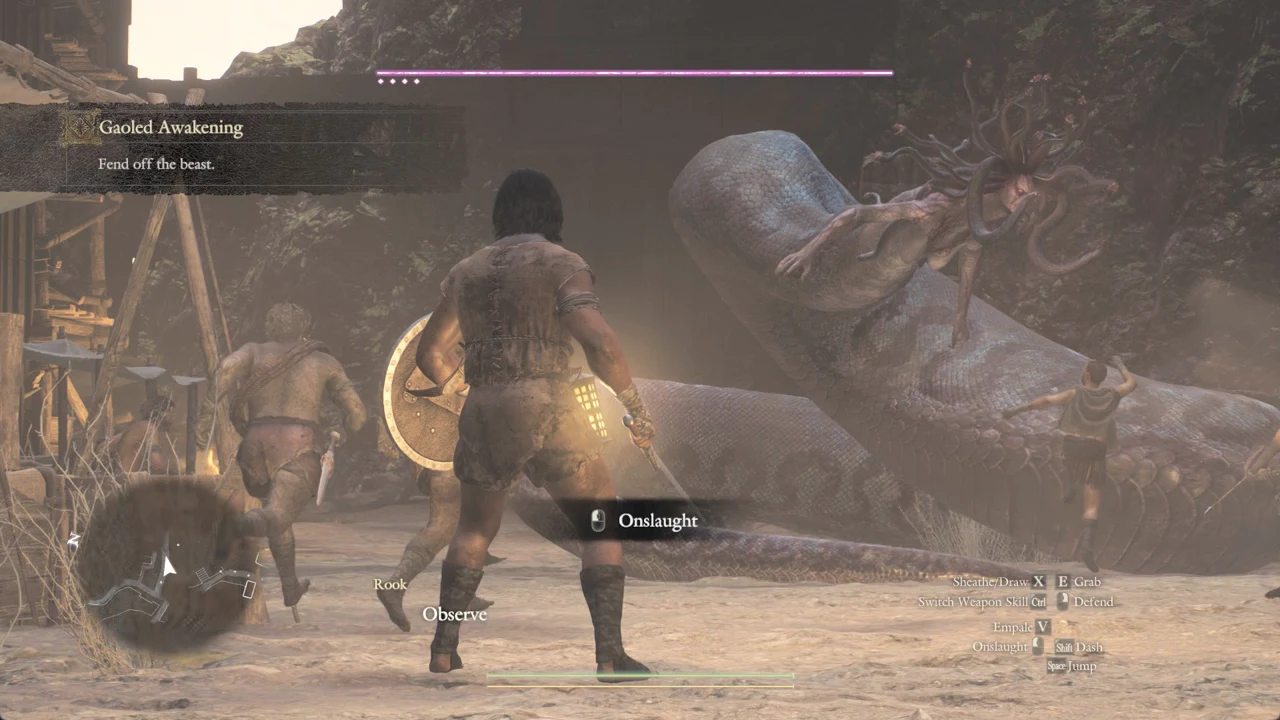
Now the task reads “Fend off the beast.” The gorgon shows a purple health bar at the top of the screen, and Rook fights beside you with a staff.
The combat HUD lists your options: Onslaught on left mouse, Empale on V, Grab on E, Defend on Ctrl and right mouse, Sheathe/Draw on X, Dash on Shift, and Jump on Space. Rook feeds you hints in sequence:
- Watch your foe and attack as the situation allows.
- Press E to pick up objects, then use the mouse to hurl them; boulders and barrels are effective choices.
- Approach an enemy and press E to grab on and cling for targeted strikes.
Attack with Onslaught on left mouse, or follow Rook’s advice and lob nearby rocks at the gorgon.
The fight ends with a cutscene that starts by itself, showing the gorgon rearing above the quarry gate. Hold Tab to skip the scene, and let go as soon as it ends. The banner displays “You fended off the beast,” Rook shouts, “Come this way! Let us flee!”, and your character now has a round wooden shield on their back.
Flee the canyon and jump the cliff
The final task is “Flee for your life.” A marker sits ahead on the left, and the “Shift Dash” prompt returns.
Follow Rook with Shift + W, dashing down the long canyon past the soldiers. Rook warns that their numbers are too great and that you must get away. At the cliff edge above the sea, a ghostly figure called the Pathfinder waits in the light and says, “You must jump. That is the only path forward.”
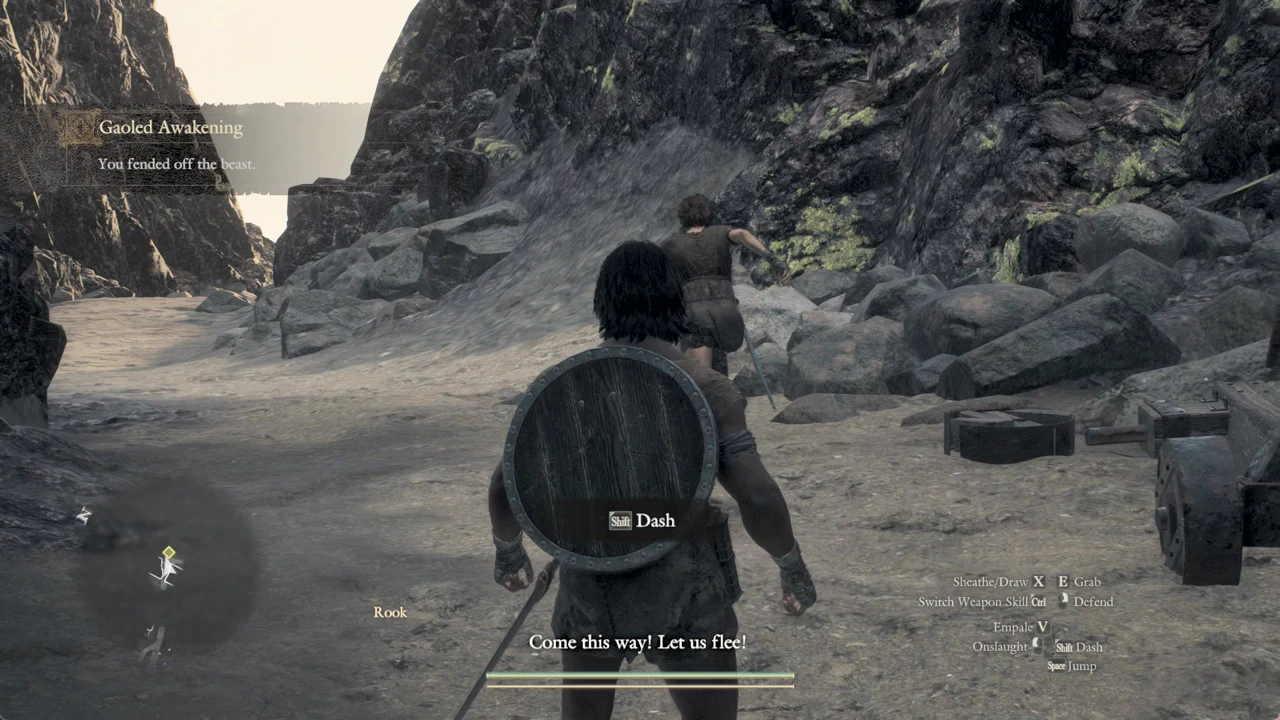
Press Space at the edge to jump. A long cutscene follows.
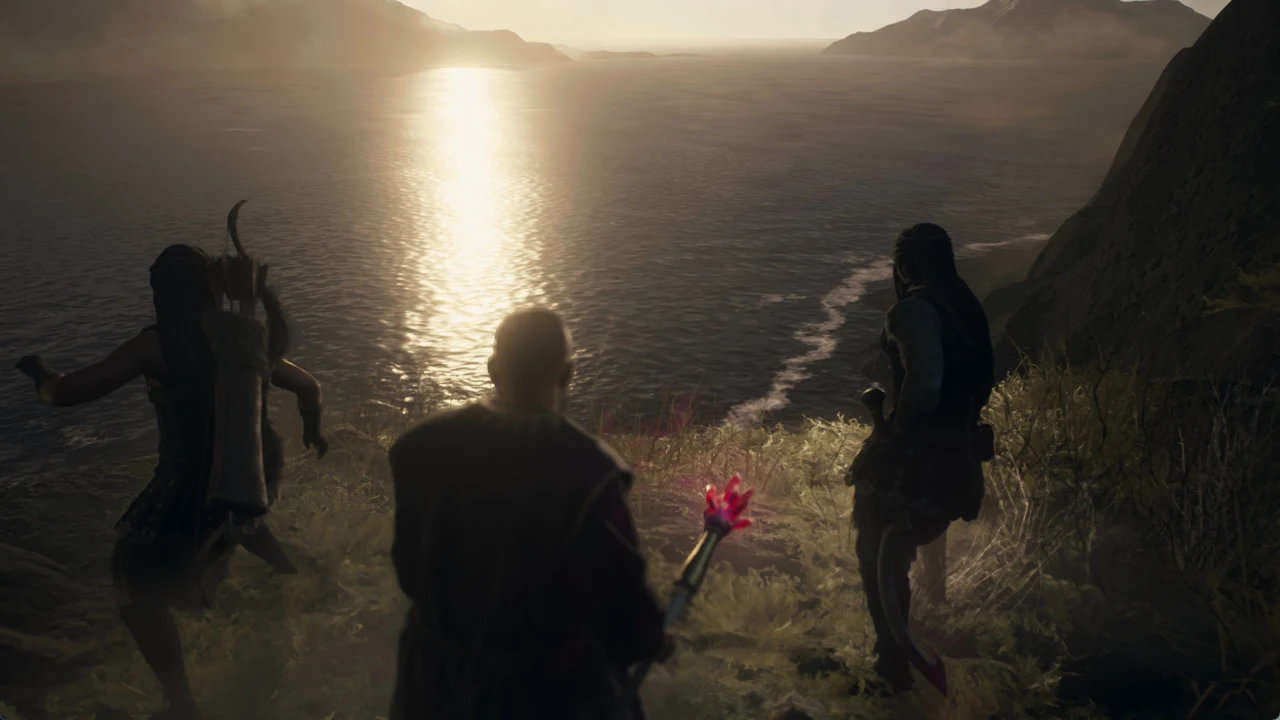
The scene runs through several moments, including the opening title sequence with the Dragon’s Dogma logo and staff credits. Hold Tab to skip the credits. Your character then wakes on a river bank by a waterfall.
How to know the quest is done
The banner “You left the excavation site behind” appears with the place name Ultramarine Waterfall. The soldier Justinn speaks with two others and opens with, “A griffin appears one moment and falls the next… And now you stand before me.” Press F through his line.
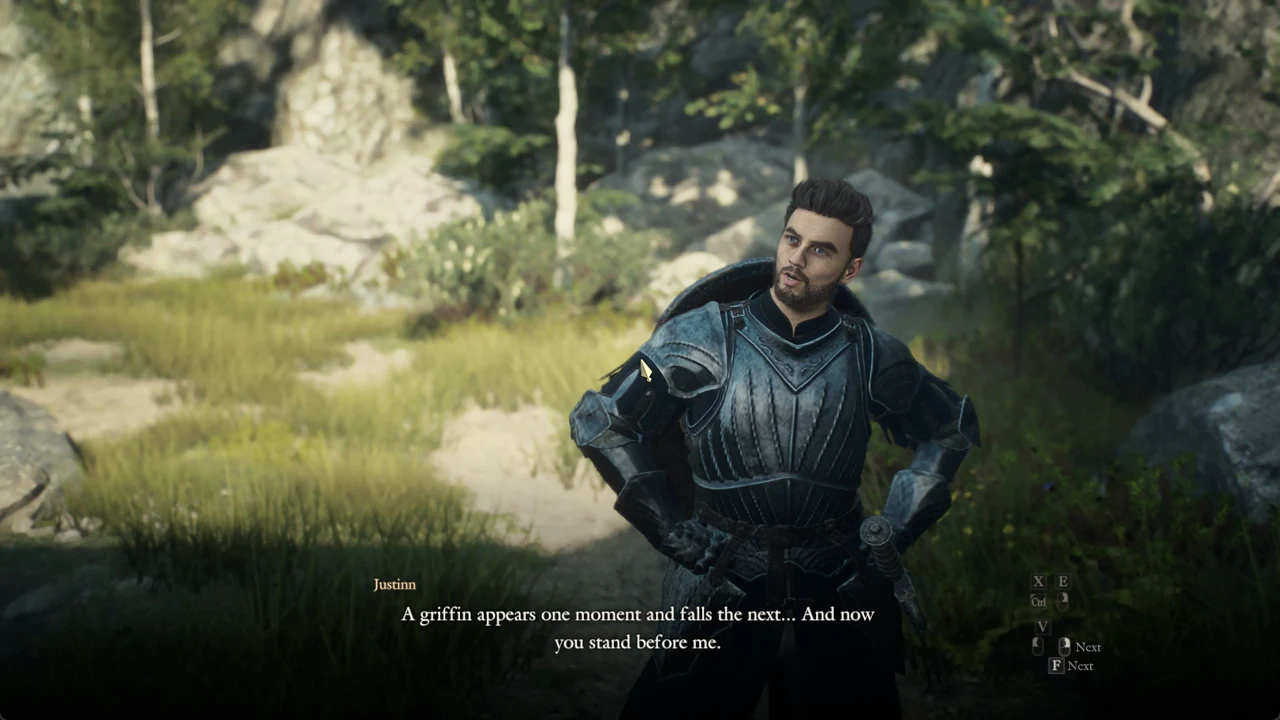
You will see “Completed: Gaoled Awakening,” after which the game sets Tale’s Beginning as the priority quest automatically. Its first task, “Follow Justinn,” confirms you have cleared the opening.
Where players get stuck
Two spots trip people up because the camera is close and the screen is almost black. The gully below the bridge is the worst of them, so a few pointers save a lot of wandering:
- In the dark gully the quest panel reads “No Destination,” so the diamond is not a real marker. The diamond sits on climb-only rock a few meters ahead, and walking straight at it fails. Follow the strip on the minimap instead.
- Pushing W into a rock face makes your character start climbing, which empties the stamina bar and stops your character. If the screen stops changing, walk back down to the path floor rather than pushing on.
- If the pit is too dark to play because the screen is black, turn on the lantern with Ctrl + R.
- Holding Tab past the end of a cutscene opens the Map. Press Esc to close it, then carry on.
From here, Tale’s Beginning starts with “Follow Justinn.”